Articles
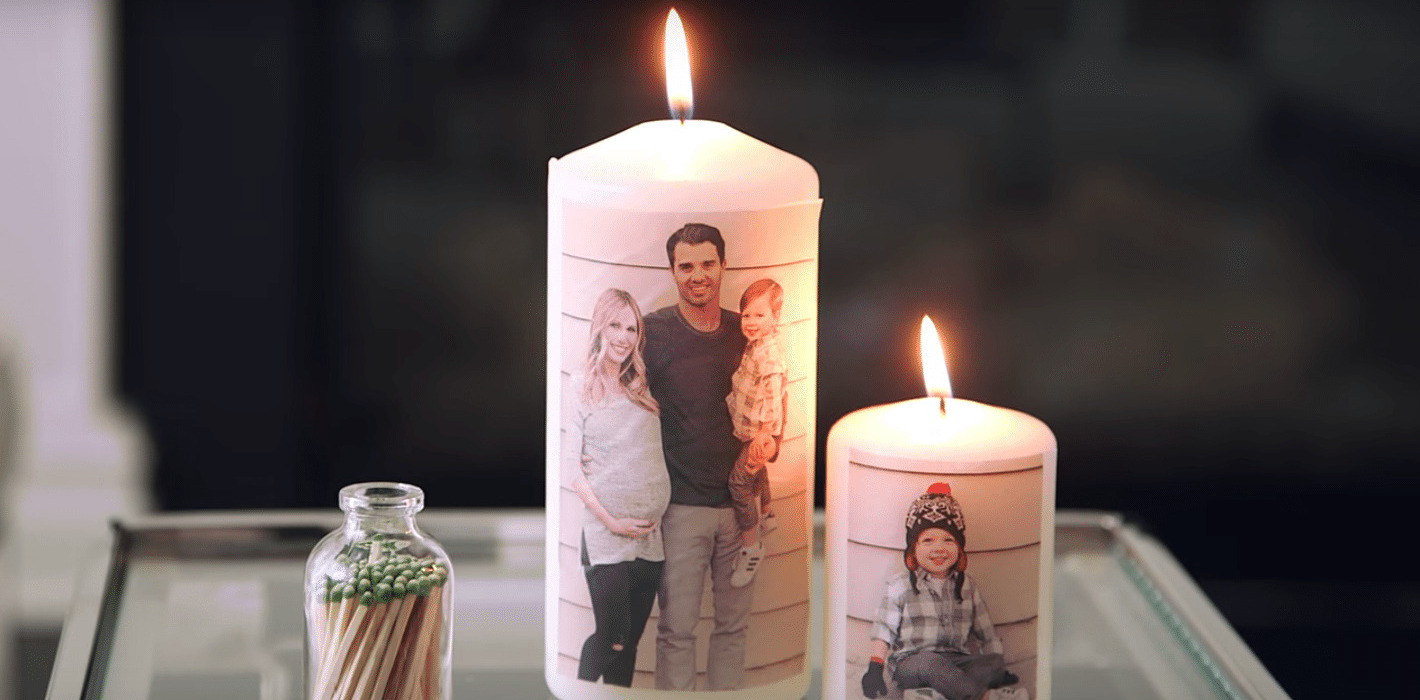
How To Put Pictures On Candles
Modified: August 27, 2024
Learn how to easily put pictures on candles with step-by-step articles. Create beautiful personalized candles for any occasion.
(Many of the links in this article redirect to a specific reviewed product. Your purchase of these products through affiliate links helps to generate commission for Storables.com, at no extra cost. Learn more)
Introduction
Adding pictures to candles is a creative way to personalize your home decor or create custom gifts for loved ones. Whether you want to showcase cherished memories, display beautiful artwork, or add a touch of uniqueness to your candles, this article will guide you through the process step by step.
By following these simple instructions, you can transform ordinary candles into stunning visual pieces. From family photos to inspirational quotes or even beloved characters, the possibilities are endless. So let’s dive in and learn how to put pictures on candles!
Key Takeaways:
- Personalize your home decor or create custom gifts by adding pictures to candles. Follow simple steps to transform ordinary candles into stunning visual pieces using cherished memories, beautiful artwork, or beloved characters.
- Gather materials, prepare candles, choose and print pictures, attach and secure them to create personalized candles. Add optional embellishments and let them cure for 24 hours before displaying or gifting.
Read more: How To Put Pictures On Glass
Materials Needed
Before we start, let’s gather all the materials we’ll need for this project. Here’s a list of items you’ll want to have on hand:
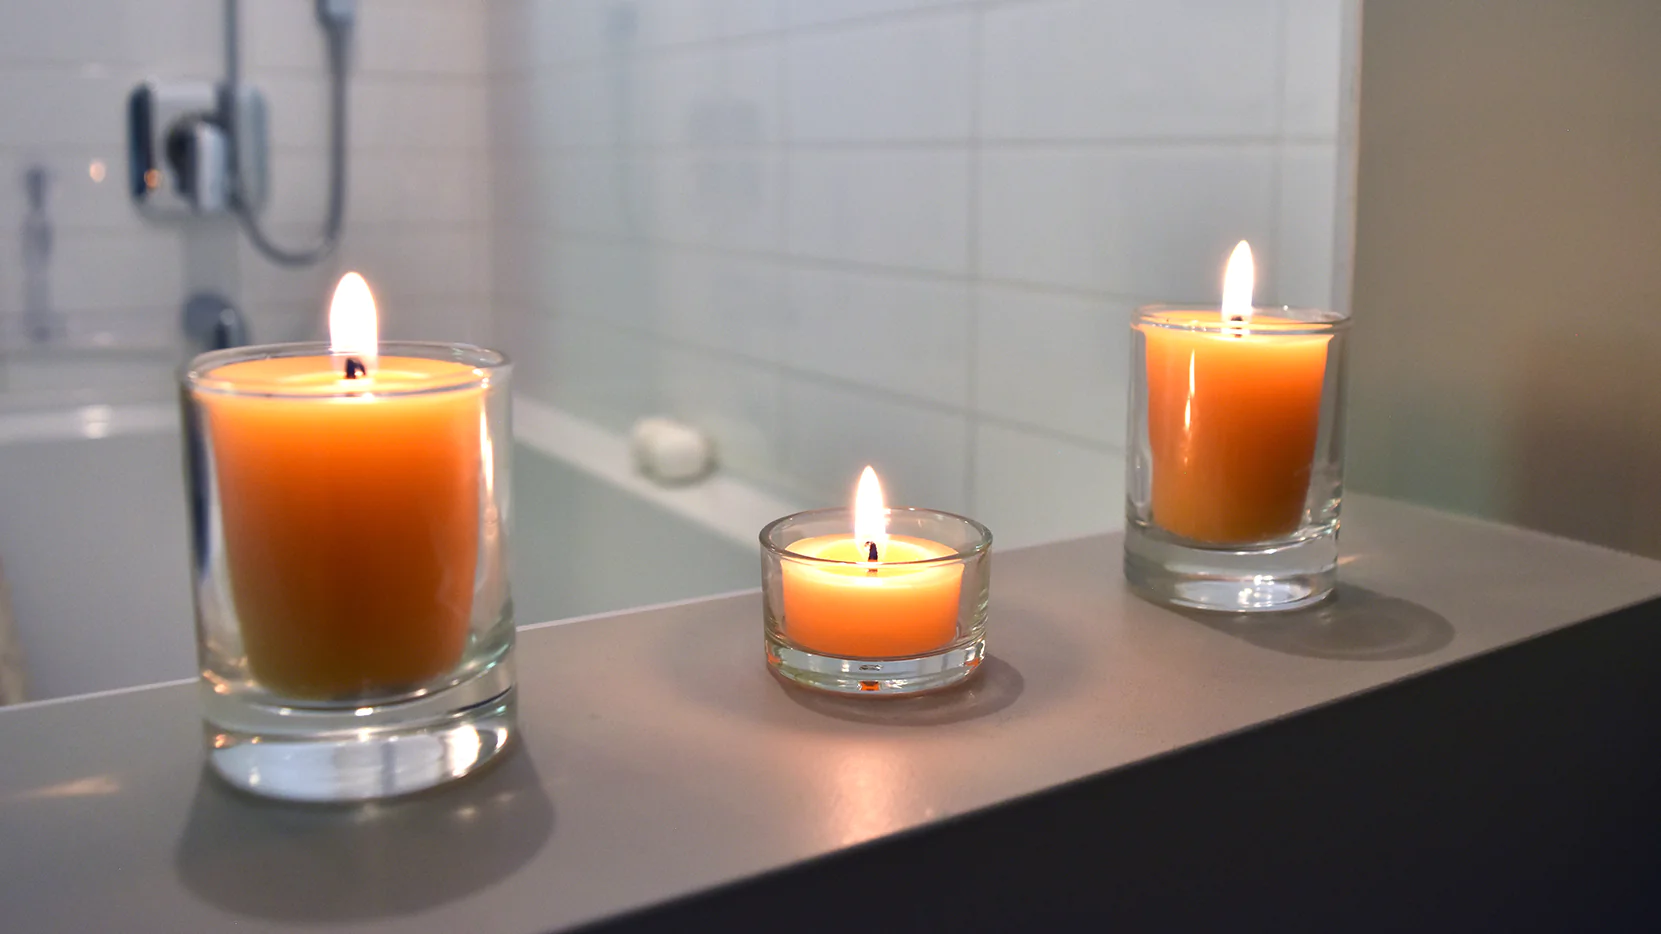
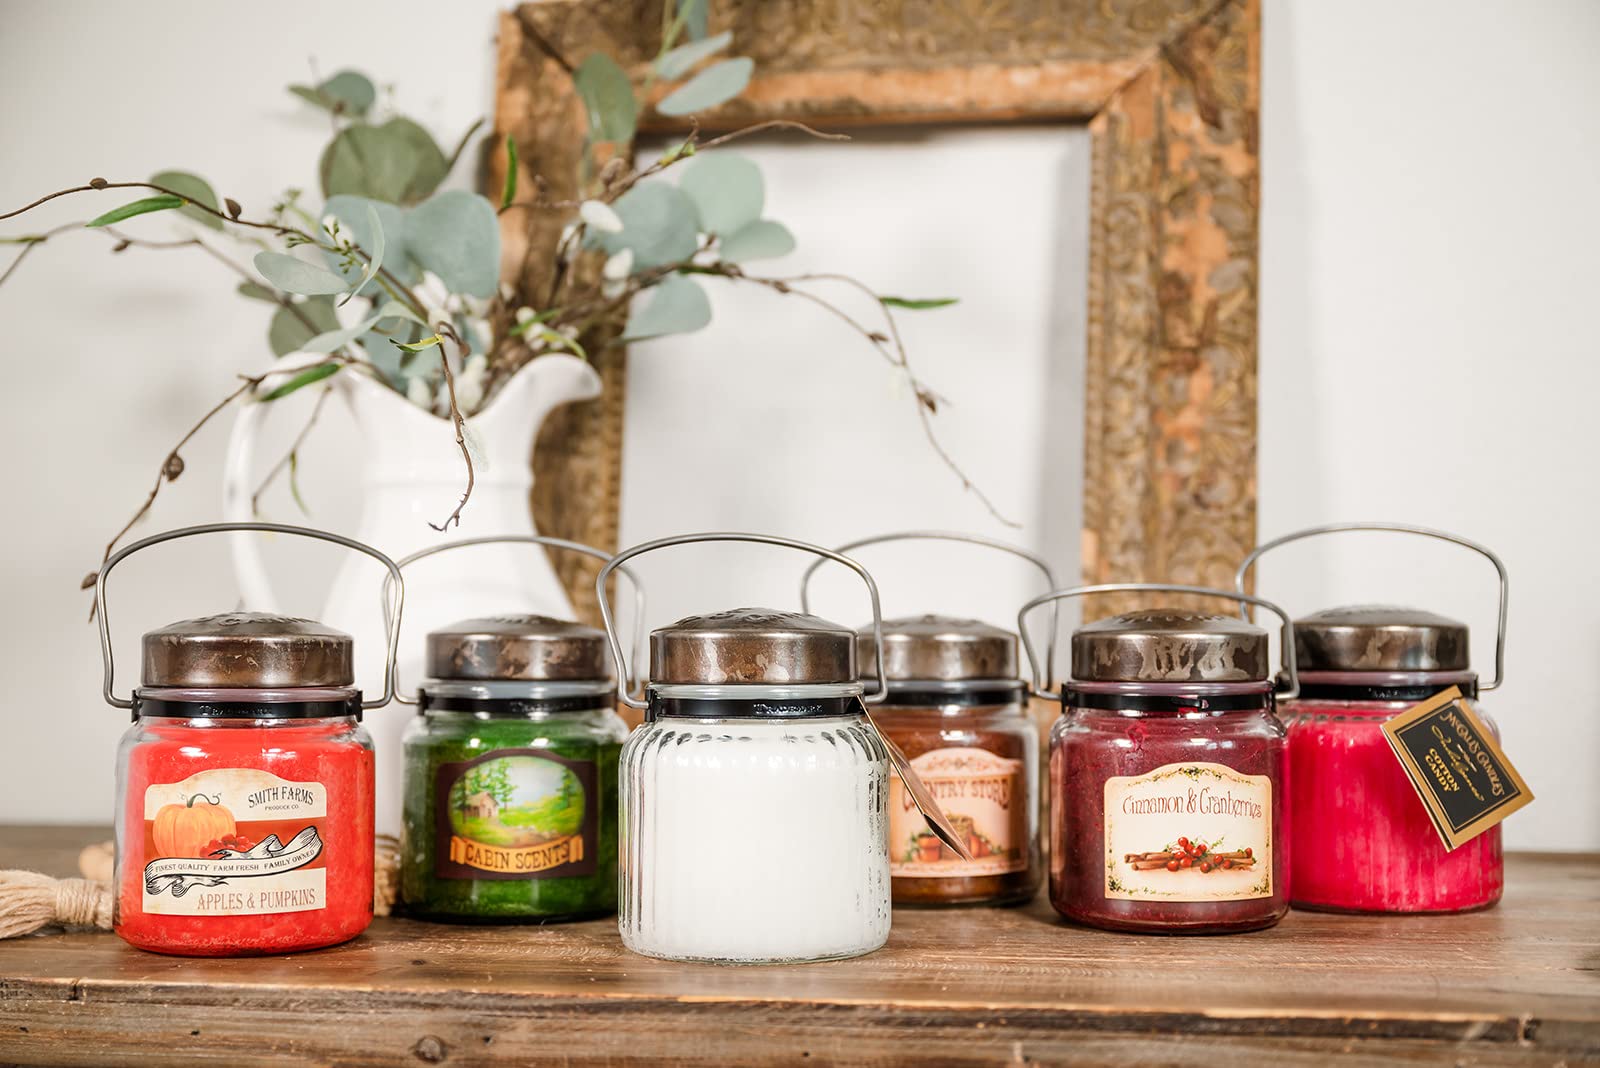
- Candles: Choose plain, unscented candles in the size and shape of your preference. Pillar or jar candles work well for this project.
- Pictures: Print out the images you want to put on the candles. You can use personal photos, artwork, or even downloaded images.
- Scissors: You’ll need a pair of sharp scissors to cut out the pictures to the desired size and shape.
- Wax Paper: This will be used to transfer the pictures onto the candles without damaging them.
- Mod Podge/Decoupage Medium: This adhesive will help attach the pictures to the candles and create a protective seal.
- Brush: Select a small brush to apply the Mod Podge/Decoupage Medium onto the candles.
- Heat Gun/Hair Dryer (optional): If you want to speed up the drying process, a heat gun or hair dryer can be used.
- Decorative Items (optional): If you want to further embellish your candles, consider adding ribbons, lace, or other decorative elements.
Make sure you have all these materials ready before you begin. Now let’s move on to the next step!
Step 1: Prepare the Candles
Before adding pictures to the candles, it’s important to prepare them properly to ensure a successful and long-lasting result. Follow these steps to prepare your candles:
- Clean the candles: Start by wiping down the surface of the candles using a clean cloth or paper towel. Make sure to remove any dust, debris, or residue from the candles.
- Trim the wick (if necessary): If the wick of your candle is too long, trim it down to about 1/4 inch using a pair of scissors or wick trimmers. This will help the candle burn evenly and prevent excessive smoke.
- Protect the surrounding area: Place a protective barrier, such as a newspaper or a cloth, on your work surface to catch any drips or spills that may occur during the process.
By cleaning the candles and trimming the wick, you’ll ensure a smooth surface for attaching the pictures. Additionally, protecting your work area will save you from any potential mess. Now that your candles are prepared, let’s move on to the next step!
Step 2: Choose the Pictures
Now that your candles are prepared, it’s time to choose the pictures you want to put on them. This is where you can get creative and let your imagination soar. Here are some ideas to inspire you:
- Personal photos: Select your favorite photos of family, friends, or special moments that hold sentimental value.
- Artwork: If you’re skilled in painting or drawing, consider creating your own artwork to adorn the candles.
- Quotes or sayings: Find inspirational quotes, meaningful sayings, or even jokes that resonate with you and can be printed on the candles.
- Printed images: Explore the internet or your own collection for beautiful images of nature, animals, or any subject that captures your interest.
Remember to choose pictures that are of good quality and have the desired size to fit on your candles. It’s a good idea to experiment with different images or mix and match them for a more eclectic look.
Once you’ve selected your pictures, make sure to print them out on regular printer paper or photo paper. Now that you have your pictures ready, let’s move on to the next step!
Step 3: Print the Pictures
Now that you’ve chosen the pictures you want to put on your candles, it’s time to print them out. Follow these steps to print the pictures:
- Open the pictures on your computer: Locate the pictures on your computer and open them using your preferred image viewing software.
- Adjust the size (if necessary): Use the image editing tools to adjust the size of the pictures if needed. Ensure that the pictures will fit well on the candles.
- Print the pictures: Load plain printer paper or photo paper into your printer and print the pictures. Make sure to select the highest quality print settings for the best results.
If you’re printing multiple pictures on a single sheet of paper, use image editing software or a word processing program to create a collage. This will allow you to maximize the use of your printer paper and reduce waste.
After printing, let the pictures dry completely before moving on to the next step. If necessary, you can use a hair dryer on the cool setting to speed up the drying process.
Now that you have your printed pictures ready, it’s time to move on to the next step!
To put pictures on candles, print your desired image onto tissue paper, cut it to size, and use a heat gun to transfer the image onto the candle. Smooth out any wrinkles for a clean finish.
Read more: How To Put A Picture On A Blanket
Step 4: Cut the Pictures
With your printed pictures in hand, it’s time to cut them to the desired size and shape. Follow these steps to cut the pictures:
- Lay out the printed pictures: Place the printed pictures on a clean, flat surface. Arrange them in a way that allows you to easily cut around the desired images.
- Prepare your scissors: Ensure that your scissors are sharp and clean. This will make the cutting process smoother and prevent any tearing or ragged edges.
- Trace the shape (optional): If you have specific shapes in mind, such as circles or hearts, you can use a stencil or a template to trace the shape onto the pictures before cutting. This will give you a guide to follow.
- Cut around the images: Carefully cut along the outline of each image, following the lines as closely as possible. Take your time to ensure clean and precise cuts.
Make sure to cut the pictures slightly smaller than the diameter or height of the candles. This will allow for proper adhesion without excessive overlap or wrinkling.
Once you have finished cutting all the pictures, set them aside and prepare for the next step.
Step 5: Attach the Pictures to the Candles
Now that you have the pictures cut to the desired size and shape, it’s time to attach them to the candles. Follow these steps to carefully attach the pictures:
- Apply a thin layer of Mod Podge: Using a small brush, apply a thin and even layer of Mod Podge or decoupage medium onto the back side of one of the cut pictures.
- Position the picture on the candle: Carefully place the picture onto the desired spot on the candle. Press it firmly but gently to ensure good adhesion.
- Smooth out any wrinkles or air bubbles: Use your fingers or a clean, dry cloth to smooth out any wrinkles or air bubbles that may have formed under the picture.
- Repeat the process: Repeat steps 1 to 3 for each picture, adhering them to the desired spots on the candles.
Take your time during this step to ensure proper placement and alignment of the pictures. If needed, you can reposition the pictures before the Mod Podge dries completely.
Remember to work in a well-ventilated area and follow the instructions provided by the manufacturer of the Mod Podge or decoupage medium.
Now that the pictures are attached to the candles, let’s move on to the next step to secure them in place.
Step 6: Secure the Pictures to the Candles
Now that you have attached the pictures to the candles, it’s important to secure them in place to ensure they don’t come off easily. Follow these steps to securely attach the pictures:
- Apply another layer of Mod Podge: Using the same small brush, apply another thin layer of Mod Podge or decoupage medium over the top of each picture on the candle. This layer will act as a protective seal and help keep the picture in place.
- Smooth out any excess Mod Podge: After applying the Mod Podge, use your brush or a clean, dry cloth to smooth out any excess medium around the edges of the pictures. This will create a clean and seamless finish.
- Let it dry: Allow the Mod Podge to dry completely according to the manufacturer’s instructions. This may take a few hours or overnight, depending on the specific product used.
It’s important to allow sufficient drying time to ensure the pictures are securely adhered to the candles. Avoid touching or moving the candles during this time to prevent any smudging or damage to the pictures.
Once the Mod Podge is completely dry, your pictures should be securely attached to the candles. Now it’s time for the final step to finish and enjoy your personalized candles!
Step 7: Finish and Enjoy
Congratulations! You’ve successfully put pictures on your candles. Now it’s time to add the finishing touches and enjoy your personalized creations. Follow these steps to complete the process:
- Inspect the candles: Take a close look at the candles to ensure the pictures are securely attached and there are no loose edges or wrinkles. If needed, apply a small amount of Mod Podge to any areas that require additional sealing.
- Optional embellishments: If you desire, you can further enhance the appearance of your candles by adding decorative elements. Consider tying a ribbon around the base of the candle, attaching small charms, or adding a touch of glitter.
- Let it cure (optional): For maximum durability and longevity, let the candles cure for at least 24 hours before using or gifting them. This will allow the Mod Podge to fully harden and create a strong bond.
Once the candles have cured (if applicable), they are ready to be displayed or gifted to your loved ones. Place them on a shelf, coffee table, or mantelpiece to showcase your personal touch and create a warm and cozy ambiance.
Remember to exercise caution when burning the candles to ensure the safety of your home. Keep them away from flammable materials, never leave them unattended, and follow all standard candle safety guidelines.
Now that you know how to put pictures on candles, you can explore different themes, experiment with various pictures, and create unique designs that reflect your personal style and creativity. Enjoy your personalized candles and the warmth they bring to your space!
Frequently Asked Questions about How To Put Pictures On Candles
Was this page helpful?
At Storables.com, we guarantee accurate and reliable information. Our content, validated by Expert Board Contributors, is crafted following stringent Editorial Policies. We're committed to providing you with well-researched, expert-backed insights for all your informational needs.


0 thoughts on “How To Put Pictures On Candles”