Home>Articles>10 Incredible Personalized Picture Frames for 2025
Articles
10 Incredible Personalized Picture Frames for 2025
Modified: June 10, 2025
Discover the best personalized picture frames for 2025! Create cherished memories with these incredible custom frames. Perfect for any occasion.
(Many of the links in this article redirect to a specific reviewed product. Your purchase of these products through affiliate links helps to generate commission for Storables.com, at no extra cost. Learn more)
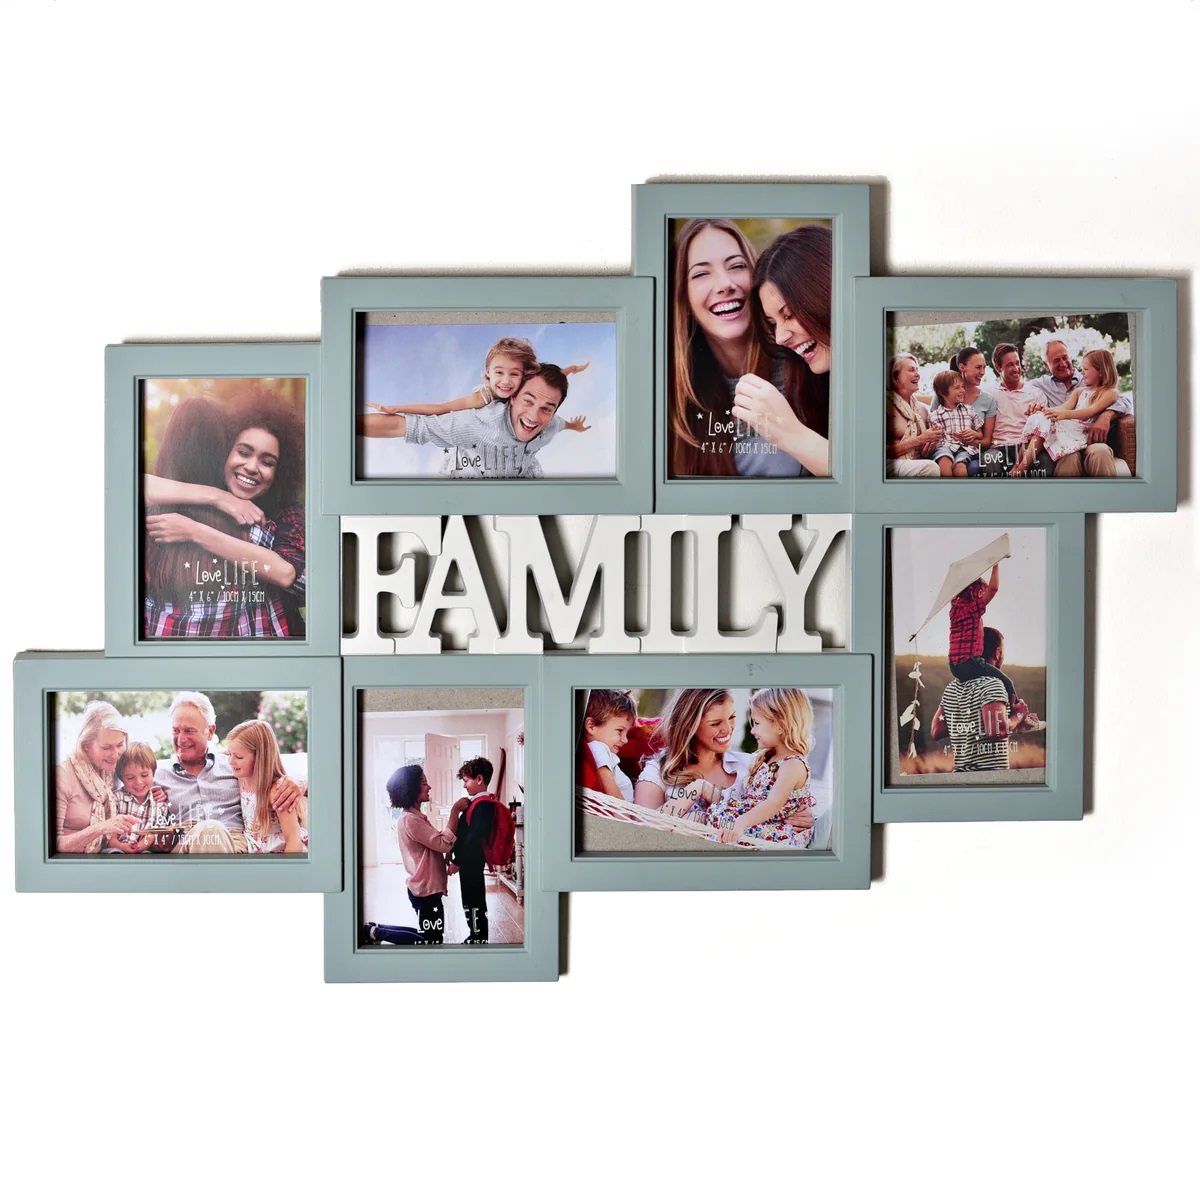
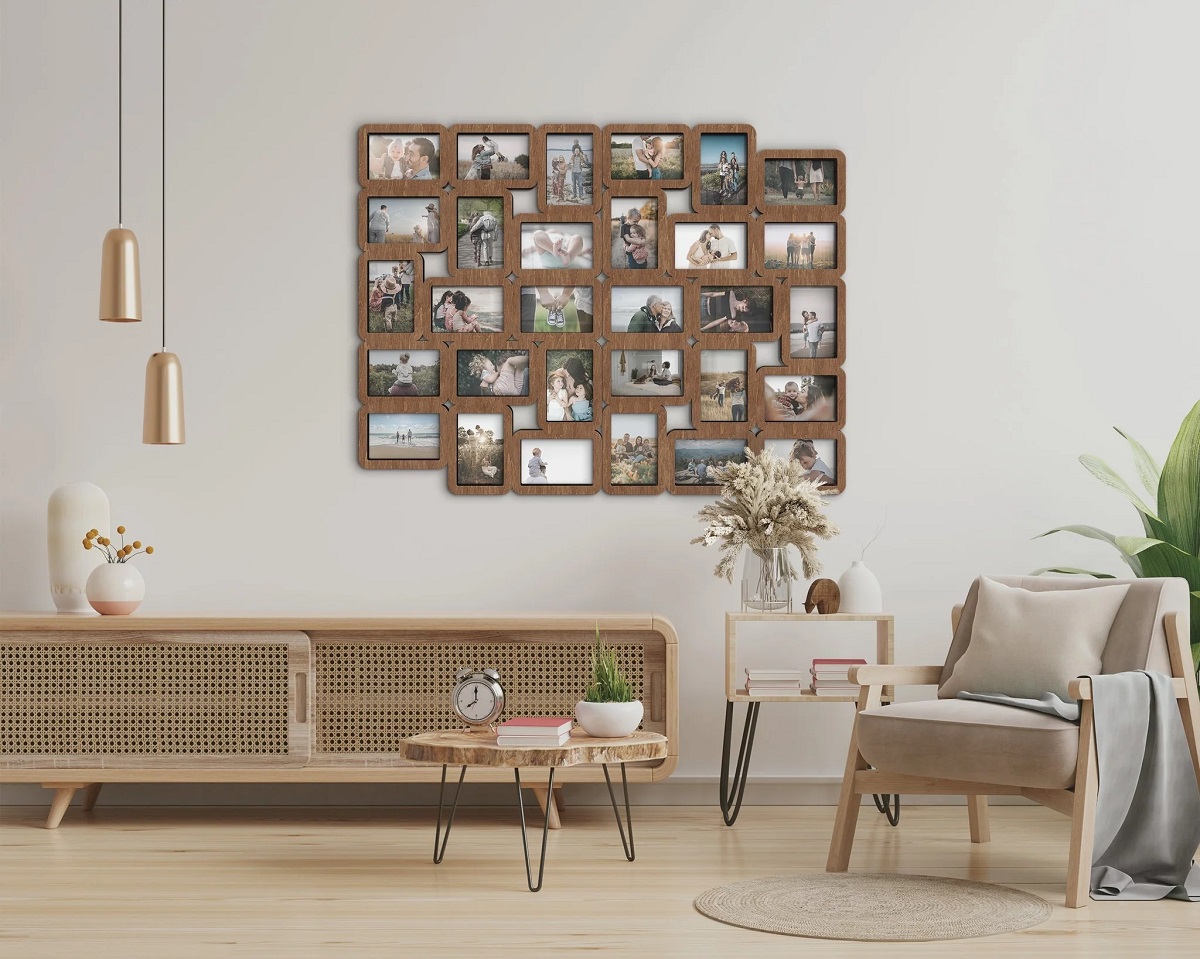
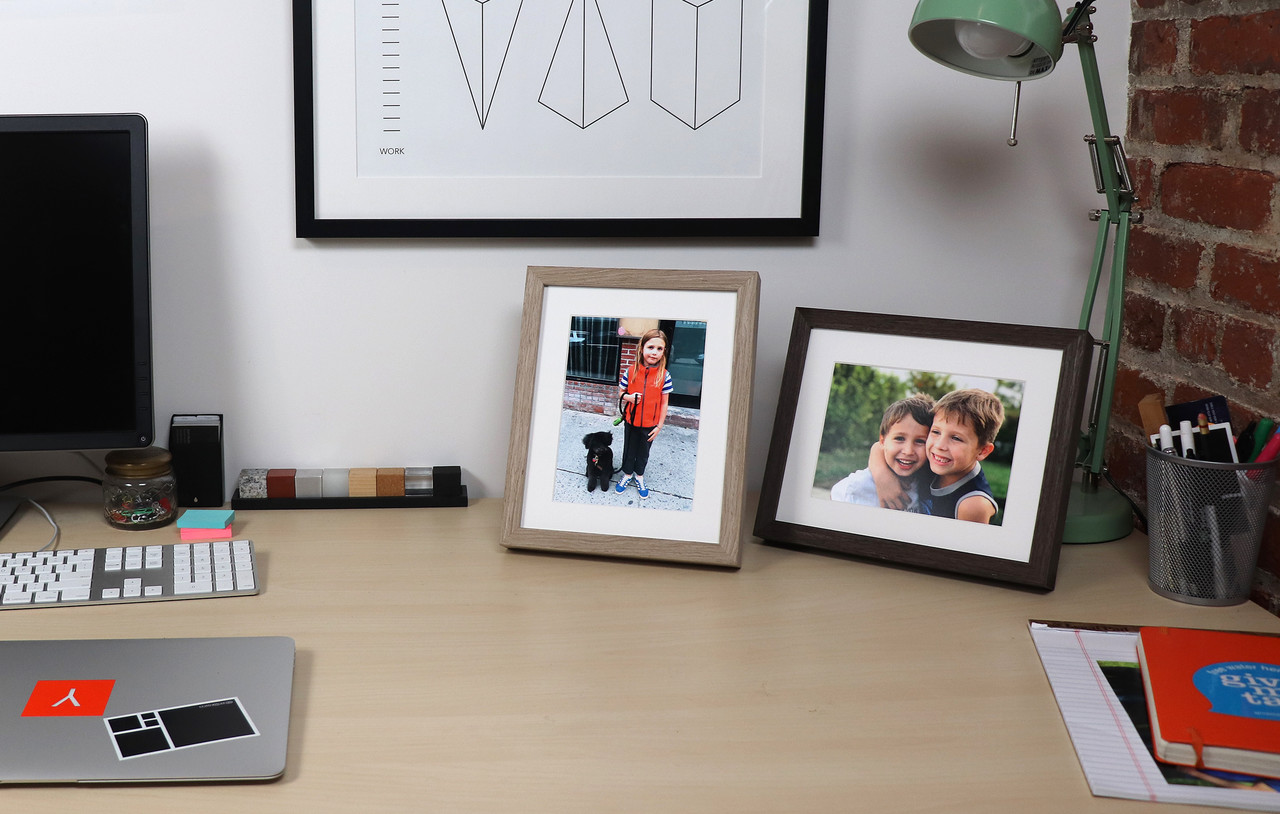
When it comes to capturing and preserving memories, personalized picture frames are the perfect way to showcase your cherished moments. In 2025, the market is filled with an array of incredible options that allow you to add a personal touch to your photos. Whether you're looking for a modern and sleek design or a vintage-inspired frame, there is a wide variety to choose from. From engraved frames that make a heartfelt gift to digital frames that display a slideshow of your favorite pictures, these 10 incredible personalized picture frames are sure to enhance the beauty of your precious memories.
")
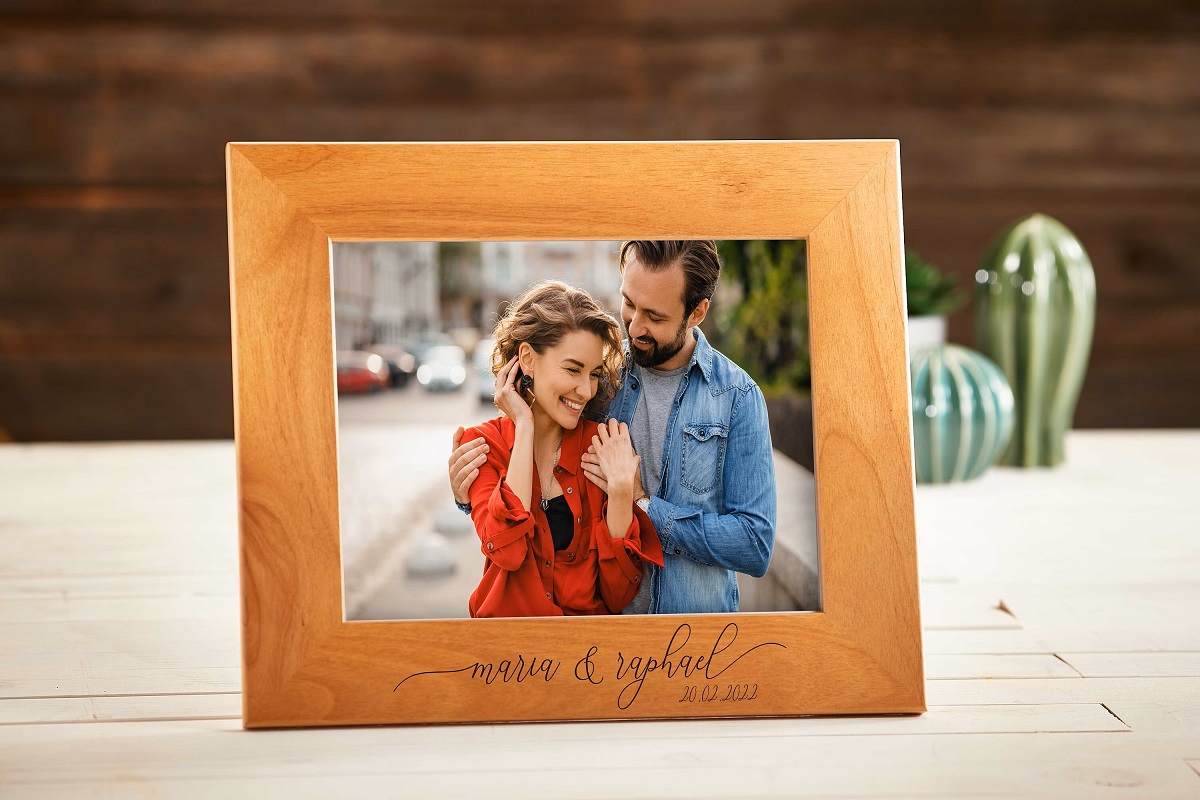
Overall Score: 9/10
Capture your precious memories with the Personalized Add Your Custom Text Hanging/Tabletop Wall Natural Alder Wood Picture Photo Frame. Made with high-quality craftsmanship, this frame is designed to create a lasting memory and make a classic gift for any occasion. It is laser engraved with custom text that will never fade or fall off. The frame can be easily hung on a wall or used on a tabletop, and it comes with a white gift box, glass, and a sturdy folding easel back. Perfectly fitting a 5×7-inch vertical picture, this frame is a wonderful way to showcase your most cherished photos.
Key Features
- Engraved in the USA by talented artisans
- Suitable for various occasions and events
- High-quality craftsmanship with solid wood frame
- Custom text laser engraved into the wood surface
- Comes with white gift box, glass, and folding easel back
- Fits a 5×7-inch vertical picture
Specifications
- Size: 5×7-inch Vertical
Pros
- Professionally engraved with high-quality craftsmanship
- Durable and long-lasting
- Can be hung on a wall or used on a tabletop
- Includes gift box, glass, and folding easel back
- Custom text will never fade or fall off
Cons
- Limited to vertical 5×7-inch pictures
The Personalized Add Your Custom Text Hanging/Tabletop Wall Natural Alder Wood Picture Photo Frame is a beautifully crafted frame that allows you to display your precious memories in a unique and personalized way. With its high-quality craftsmanship and durable construction, this frame will surely stand the test of time. The laser engraved custom text adds a special touch and ensures that the design will never fade or wear off. Whether you choose to hang it on a wall or use it on a tabletop, this frame is a wonderful gift for any occasion. Cherish your most cherished moments with this elegant and customizable picture frame.

Overall Score: 9/10
The EDSG Personalized 5×7 Picture Frame is a lovely wooden frame that can be customized with any text. It is a perfect gift for weddings, grandparents, teachers, and more. The frame is made of wrapped MDF with a French Oak finish and comes with 2mm glass and an MDF back. It is easy to insert your favorite pictures into this 7×5 frame. The frame is laser engraved using professional machinery for a perfect finish that will last a lifetime. You can easily hang it on the wall or use it on a tabletop. Click on the Customize Now button to add your engraving requirements. Overall, this personalized photo frame is a beautiful and high-quality product that makes for a thoughtful and memorable gift.
Key Features
- Personalized Picture Frame: Engrave any text for a memorable gift
- Wooden Frame: Wrapped MDF with French Oak finish and 2mm glass
- Suitable Size: 7×5 frame for wall hanging or tabletop use
- Engraved Picture Frame: Laser engraved for a perfect finish
- Customize Now: Easily add your engraving requirements
Specifications
- Color: Design 02
- Dimension: 0.28Lx0.20Wx0.04H
- Size: Portrait
Pros
- High-quality engraving
- Fast delivery
- Beautiful and well-presented personalization
- Good quality material
Cons
- Engraving preview may not reflect exact sizing
The EDSG Personalized 5×7 Picture Frame is a wonderful gift option for various occasions. Its customization feature allows you to add a personal touch, making it truly meaningful. The frame itself is well-made, with quality materials and a beautiful finish. The engraving is professional and long-lasting. While the engraving preview may not be 100% accurate in terms of sizing, the overall outcome is still impressive. With fast delivery and excellent customer service, this personalized photo frame is highly recommended. Whether it’s for a wedding, graduation, or simply to show appreciation, the EDSG Personalized 5×7 Picture Frame is sure to be a treasured keepsake.

Overall Score: 9/10
The Bemaystar Personalized Rock Slate Photo Frame is a unique and thoughtful gift idea for your loved ones. It allows you to print your own photo on a durable and waterproof rock slate, making it the perfect gift for special occasions like Christmas, Thanksgiving, Mother's Day, Father's Day, and more. This customized photo frame is both meaningful and creative, and is sure to surprise and delight the recipient. The high-quality stone material ensures that the photos printed on it maintain their bright colors and clarity, creating a cute and beautiful display. Additionally, the rock slate picture frame can be used as a tabletop ornament to showcase your precious memories and happy times. With easy customization and a variety of sizes available, this personalized photo frame is a wonderful home decoration item.
Key Features
- Thoughtful gift idea for various occasions
- Customizable with your own photos and text
- Made of durable and waterproof rock slate
- Prints photos with bright colors and clarity
- Great tabletop ornament for home decoration
Specifications
- Color: A-Small Heart-5.9 x 5.9in
- Dimension: 5.90Lx5.90Wx0.99H
Pros
- Unique and personalized gift
- Durable and waterproof material
- Bright and clear photo prints
- Versatile use as a tabletop ornament
Cons
- Challenge to read text on black picture
- Limited color options
- Some confusion with black and white print
The Bemaystar Personalized Rock Slate Photo Frame is a wonderful gift option that combines uniqueness, personalization, and durability. Its ability to showcase customized photos with bright colors and clarity adds a touch of sentiment and beauty. The rock slate material ensures long-lasting use, making it a great value for money. While there are some limitations with certain color options and readability on black pictures, the overall quality and craftsmanship of this photo frame are highly appreciated by customers. Whether it’s for a special occasion or simply as a home decoration piece, this personalized photo frame is sure to bring joy and warm memories to your loved ones.

Overall Score: 9/10
The Oak letters Personalized Picture Frame with Custom Felt Letter Board is a customizable two picture frame that makes a great gift. With over 160 letters, emojis, and symbols included, you can personalize your memories and create a unique message for your loved ones. The frame is built sturdy with quality materials, including a genuine wooden frame and backing, polished glass, and genuine grey felt. It is easy to display with hanging hardware for hassle-free installation. Support a small family business by purchasing this beautiful and sentimental picture frame. Perfect for Father's Day or as a gift from grandkids to their grandparents.
Key Features
- Customizable picture frame with felt letter board
- Includes over 160 letters, emojis, and symbols
- Sturdy construction with genuine wooden frame and backing
- Easy to display with hanging hardware
- Supports small family business
Specifications
- Color: Rustic Brown
- Dimension: 6.00Lx16.50Wx0.00H
- Size: Standard
Pros
- Customizable and unique gift
- High-quality materials
- Easy to display
- Supports small family business
Cons
- Colors may not match expectations
- Letters are attached to a plastic piece
- Pricey for a frame
The Oak letters Personalized Picture Frame with Custom Felt Letter Board is a sentimental and customizable gift option. It allows you to create a unique message for your loved ones while being built to last with quality materials. The frame is easy to display and supports a small family business. However, be aware that the colors may not match expectations and the letters are attached to a plastic piece, which can be a bit of a hassle. Despite these minor drawbacks, this picture frame is a great option for special occasions like Father’s Day or as a gift from grandkids to their grandparents.

Overall Score: 9.2/10
The Awards4U Personalized Picture Frame is a perfect modern gift idea for any occasion. This customizable photo frame holds a 4×6 photo and allows you to choose from portrait or landscape format. The brushed silver aluminum frame features a shiny silver back plate bordering your custom photo, and it includes a glass cover for protection. You can personalize the frame with your choice of font and imprint color, making memories last forever. It is an ideal customized gift for a graduate, anniversary, newlyweds, couples, or family memories. This high-quality frame is custom-made using state-of-the-art printing equipment, ensuring a beautiful finished product. Overall, the Awards4U Personalized Picture Frame combines style, customizability, and durability, making it a top choice in storage products.
Key Features
- Holds a 4×6 photo
- Brushed silver aluminum frame with shiny silver back plate
- Includes glass cover for photo area
- Choice of font and imprint color
- Customizable gift idea for various occasions
Specifications
- Color: Silver
- Dimension: 8.50Lx6.50Wx0.99H
- Size: 6.5 inches x 8.5 inches
Pros
- Customizable with choice of font and imprint color
- High-quality brushed silver aluminum frame
- Includes glass cover for photo protection
- Perfect gift idea for graduations and special occasions
Cons
- Limited to 4×6 photo size
The Awards4U Personalized Picture Frame offers a stylish and customizable way to showcase your precious memories. With the ability to add your own custom text in two imprint locations with three lines, this frame allows you to personalize it exactly to your liking. The brushed silver aluminum frame gives it a modern and sleek look, while the glass cover ensures the photo remains protected. Whether you’re looking for a thoughtful gift for a graduate, anniversary, or any special occasion, this frame is the perfect choice. With its high-quality construction and attention to detail, the Awards4U Personalized Picture Frame is sure to impress. Preserve your memories in style with this customizable and durable photo frame.

Overall Score: 8.4/10
The somiss Personalized Picture Frame Photo Frames are a wonderful way to add a personal touch to your favorite photographs. These custom woody frames can be engraved with any message or text, making them a unique and heartfelt gift. Whether you want to commemorate a special occasion, celebrate a loved one, or simply showcase a cherished memory, these frames are the perfect choice. Made of MDF wooden board, they are durable and resistant to wear and tear. The frames can be placed on a table, hung on a wall, or displayed vertically or horizontally. With a variety of decorative options, they are versatile and can complement any decor. The frames are currently available in the size of 4×6 inches, but more sizes will be released in the future. If you have any issues or concerns with your purchase, the seller offers a service guarantee for a satisfactory solution, including free replacement or a full refund.
Key Features
- Makes an amazing personalized photo frame picture frame
- 100% Customized: All content is customizable
- Made of MDF wooden board, no odor, no harm to the skin
- Supports a variety of decorative ways: can be placed directly or hanging, vertically or horizontally
- Service Guarantee: Free replacement or a full refund
Specifications
- Color: White
- Dimension: 4.90Lx6.90Wx0.01H
- Size: Horizontal
Pros
- Highly customizable
- Durable and long-lasting
- Versatile for various display options
Cons
- Some customers reported unpleasant odor
- Limited size options currently available
The somiss Personalized Picture Frame Photo Frames are a thoughtful and customizable way to display your most cherished memories. With their exquisite wooden design and laser-engraved personalization, these frames make for a beautiful and meaningful gift. The frames are versatile and can be displayed in various ways, allowing you to find the perfect spot to showcase your favorite photographs. While there have been a few reports of an unpleasant odor, overall, the frames have received positive reviews for their quality and appearance. If you’re looking for a unique and customizable photo frame, the somiss Personalized Picture Frame Photo Frames are a great choice.

Overall Score: 8.5/10
The Personalized Picture Frame is a custom wooden photo frame that can be engraved with your own custom message. It comes in a 4×6-inch size and is designed to be given as a gift for various occasions such as anniversaries, weddings, birthdays, and more. The frame is made of durable black solid wood and features a clear HD glass front to display your cherished pictures. It can be displayed vertically or horizontally using the mounting hooks or stands. The frame is carefully wrapped to ensure safe shipping. Overall, it is a great gift idea that shows how much you care.
Key Features
- Free custom engraving with 6 design options
- Great gift for various occasions
- Multifunctional display method
- Durable black solid wood frame
- Clear HD glass front for picture display
- Carefully wrapped for safe shipping
Specifications
- Color: Black
- Dimension: 6.00Lx4.00Wx0.99H
- Size: 4 x 6-inch
Pros
- Free custom engraving adds a personal touch
- Durable black solid wood frame with a classic look
- Clear HD glass front for protecting and displaying pictures
- Can be displayed vertically or horizontally
Cons
- Shipping may take a while
- Engraving may not always be perfect
The Personalized Picture Frame offers a beautiful and customizable way to display your cherished photos. With free custom engraving and various design options, it allows you to create a truly unique gift for your loved ones. The frame is made of high-quality solid wood and features a clear glass front for optimal picture display. While shipping may take some time, the frame arrives carefully wrapped to ensure safe delivery. Overall, it is a great choice for anyone looking to give a personalized and thoughtful gift. Highly recommended!

Overall Score: 8/10
The Personalized Add Your Custom Text Engraved Anodized Aluminum Hanging/Tabletop Personlized Group Family Photo Picture Frame is a lightweight and customizable frame that makes a memorable gift. The frame features a black anodized aluminum surface with white text that will never fade or fall off. It has a felt back and bottom with a glass insert, and holds a 4×6-inch picture. This frame is perfect for gifting to family or friends for occasions such as bereavement, sympathy, tribute, celebration of life, or funeral. The dimensions are 7-3/4-inch (L) x 5-3/4-inch (H) with a 3/8-inch thickness. Add your personal touch to this frame and cherish the memories forever!
Key Features
- Customizable frame with white engraving on black aluminum surface
- Felt back and bottom with glass insert
- Memorable gift for various occasions
- Holds a 4×6-inch picture
- Easel back and glass for easy display
Specifications
- Color: Black
- Dimension: 7.00Lx3.00Wx0.01H
- Size: 4×6-inch Horizontal
Pros
- Customizable and personalized
- High-quality and durable materials
- Elegant black design
- Ideal for gifting on special occasions
Cons
- Some frames may have sticky residue
- Possible quality issues with alignment and bent corners
The Personalized Add Your Custom Text Engraved Picture Frame is a beautiful and thoughtful gift option for various occasions. Its customizable design allows you to add a personal touch and create a truly unique gift. The high-quality materials ensure durability and longevity, preserving memories for years to come. While there may be some minor issues such as sticky residue or bent corners, overall, this frame offers great value for its price. Whether it’s for a birthday, bereavement, or celebration of life, this frame will be cherished by your loved ones. Capture and display your favorite moments with this customizable and elegant photo frame.

Overall Score: 8.2/10
The Paisley Box Personalized Photo Frame is a beautiful and customizable frame that allows you to create your own personalized picture frame. It features an engraved design in a 4×6 inch horizontal frame. The frame is made of high-quality wood and comes with a stand and wall-hanging hardware. The etching/engraving into the wood is well done and the customizable font options are perfect. However, some customers have reported issues with broken frames or flimsy stands that do not support the weight of the frame. Overall, this customizable photo frame is a great gift option for special occasions and comes highly recommended by satisfied customers.
Key Features
- Engraved custom picture frame
- Customizable font options
- Comes with a stand and wall-hanging hardware
Specifications
- Color: Horizontal
- Dimension: 4.00Lx6.00Wx0.99H
- Size: 4×6
Pros
- Well done etching/engraving
- High-quality and sturdy frame
- Arrived earlier than estimated
Cons
- Some frames arrive broken
- Flimsy stand that doesn't support frame's weight
- Poor customer service
The Paisley Box Personalized Photo Frame is a stunning and customizable frame that makes a perfect gift for any special occasion. The engraved design and customizable font options ensure a personalized touch, and the frame itself is of high quality, sturdy, and well-crafted. Although some customers have experienced issues with broken frames or flimsy stands, the majority of reviewers have praised the product for its beauty and timely delivery. With its elegant design and customizable features, this personalized photo frame is an excellent choice for showcasing cherished memories or as a thoughtful gift for loved ones.

Overall Score: 8.5/10
The Personalized Add Your Custom Text Engraved Leatherette Faux Leather Hanging/Tabletop Personalized Group Family Photo Picture Frame is a thoughtful and customizable gift option. Made with high-quality workmanship, this leatherette faux leather frame features a dark brown engraving on brown textured material. The design is laser engraved, ensuring it will never fade or fall off. It comes with an easel back and glass for easy display. This frame is suitable for a variety of occasions such as bereavement, sympathy, tribute, celebration of life, and more. The customizable name adds a personal touch. However, some customers have reported issues with the personalization and color accuracy of the frame. Overall, it is a great quality product with sentimental value.
Key Features
- Memorable personalized gift
- Engraved dark brown design on brown material
- High-quality workmanship
- Suitable for various occasions
- Easel back and glass included
Specifications
- Color: Black
- Dimension: 7.00Lx5.00Wx0.99H
- Size: 4×6-inch Vertical
Pros
- Customizable name option
- Good quality and workmanship
- Suitable for different occasions
- Easel back and glass included
Cons
- Issues with personalization accuracy
- Color discrepancy with advertised image
The Personalized Add Your Custom Text Engraved Leatherette Faux Leather Hanging/Tabletop Personalized Group Family Photo Picture Frame is a beautiful and thoughtful gift option. It offers a customizable name, high-quality workmanship, and a design that will last. Although some customers have experienced issues with personalization accuracy and color, overall, it is a great quality product. The frame adds a sentimental touch to any occasion, making it a meaningful and cherished gift for friends and family. Whether it’s for a celebration of life or as a tribute, this customizable frame is sure to leave a lasting impression.
Buyer's Guide: Personalized Picture Frames
Buying personalized picture frames can be an exciting and unique way to showcase your cherished memories. With countless options available in the market, it's important to make an informed decision. Our comprehensive buyer's guide will help you navigate through the vast array of choices and make a choice that best suits your needs and style.
Things to Consider
When purchasing personalized picture frames, keep the following factors in mind:
- Frame Material: Choose a frame material that complements both the photo and your home decor. Popular options include wood, metal, acrylic, and plastic.
- Size: Measure the dimensions of the photo you want to display accurately to ensure a perfect fit. Consider whether you want the frame to accommodate a single photo or multiple images.
- Personalization Options: Determine if you want to add names, dates, quotes, or custom designs to your picture frame. Some frames offer engraving, while others have customizable mats or inserts.
- Style and Design: Decide on the frame style that matches your taste. Whether you prefer a classic, rustic, modern, or decorative design, there are endless options available to choose from.
- Display Options: Consider how you plan to showcase your personalized frame. Decide between freestanding frames, wall-mounted frames, or frames with easel backs.
- Quality and Durability: Look for frames that are well-constructed and built to last. Ensure that the materials used are of high quality to protect and preserve your precious memories.
What to Look for in Personalized Picture Frames
When browsing for personalized picture frames, focus on the following features:
- Customization Options: Check if the frame allows you to personalize it according to your desires, such as choosing the font, inscription, or decorative designs.
- Ease of Use: Consider frames that are user-friendly, with features like easy photo insertion and secure closures to ensure your photo remains intact.
- Versatility: Opt for frames that offer versatility in terms of display options, allowing you to showcase the frame in various settings or orientations.
- Easy Maintenance: Look for frames that are easy to clean and maintain, ensuring your personalized frame continues to look its best.
- Aesthetics: Pay attention to the frame's aesthetics, including color, texture, and finish, as they contribute to the overall appeal of your personalized frame.
Frequently Asked Questions about 10 Incredible Personalized Picture Frames For 2025
Absolutely! Personalized picture frames make fantastic gifts for birthdays, anniversaries, weddings, or any special occasion. They add a personal touch and show thoughtfulness.
The price of personalized picture frames can vary based on factors such as materials, size, and customization options. While some personalized frames may have a higher price point, there are options available at varying price ranges to suit different budgets.
Yes, many personalized picture frames come in standard sizes and can accommodate various photo dimensions, including 4×6, 5×7, 8×10, and more. Always check the product details to ensure the frame can fit your desired photo size.
It depends on the frame and the personalization method used. Some frames offer interchangeable mats or inserts, allowing you to switch the personalization easily. However, frames with permanent engraving may not allow changes.
To clean personalized picture frames, simply wipe them gently with a soft, lint-free cloth. Avoid using abrasive cleaners or solvents, as they can damage the frame. Regular maintenance ensures your frame stays beautiful and preserves your cherished memories.
The level of personalization differs from frame to frame. Some frames may have limits on the number of characters for engraving, while others offer more extensive customization options. Check the product details to understand the specific personalization options available.
Yes, personalized frames can be used for displaying certificates, diplomas, artwork, or any other document or image that holds significance to you. They provide a personalized touch to these items and make them more special.
Absolutely! Personalized frames are a perfect way to showcase your collection of photographs. You can choose identical frames or mix and match them according to your preference, creating a cohesive and personalized display.
Personalized frames can feature either glass or acrylic fronts. Glass offers a timeless and elegant look, while acrylic is lightweight and shatter-resistant, making it a safer option in certain environments or when shipping frames.
Can I add my own photos to personalized frames?
That concludes our comprehensive buyer’s guide on personalized picture frames. Armed with this knowledge, you can now confidently explore the market and find the perfect personalized frame to showcase your memories with style and elegance. Happy frame hunting!
Was this page helpful?
Trust Storables.com for unbiased and honest product reviews. Our reviews are rigorously assessed by our Expert Board Contributors and adhere to strict Editorial Standards. We ensure that each review is transparent and trustworthy, helping you make informed purchasing decisions.


0 thoughts on “10 Incredible Personalized Picture Frames for 2025”