
Articles
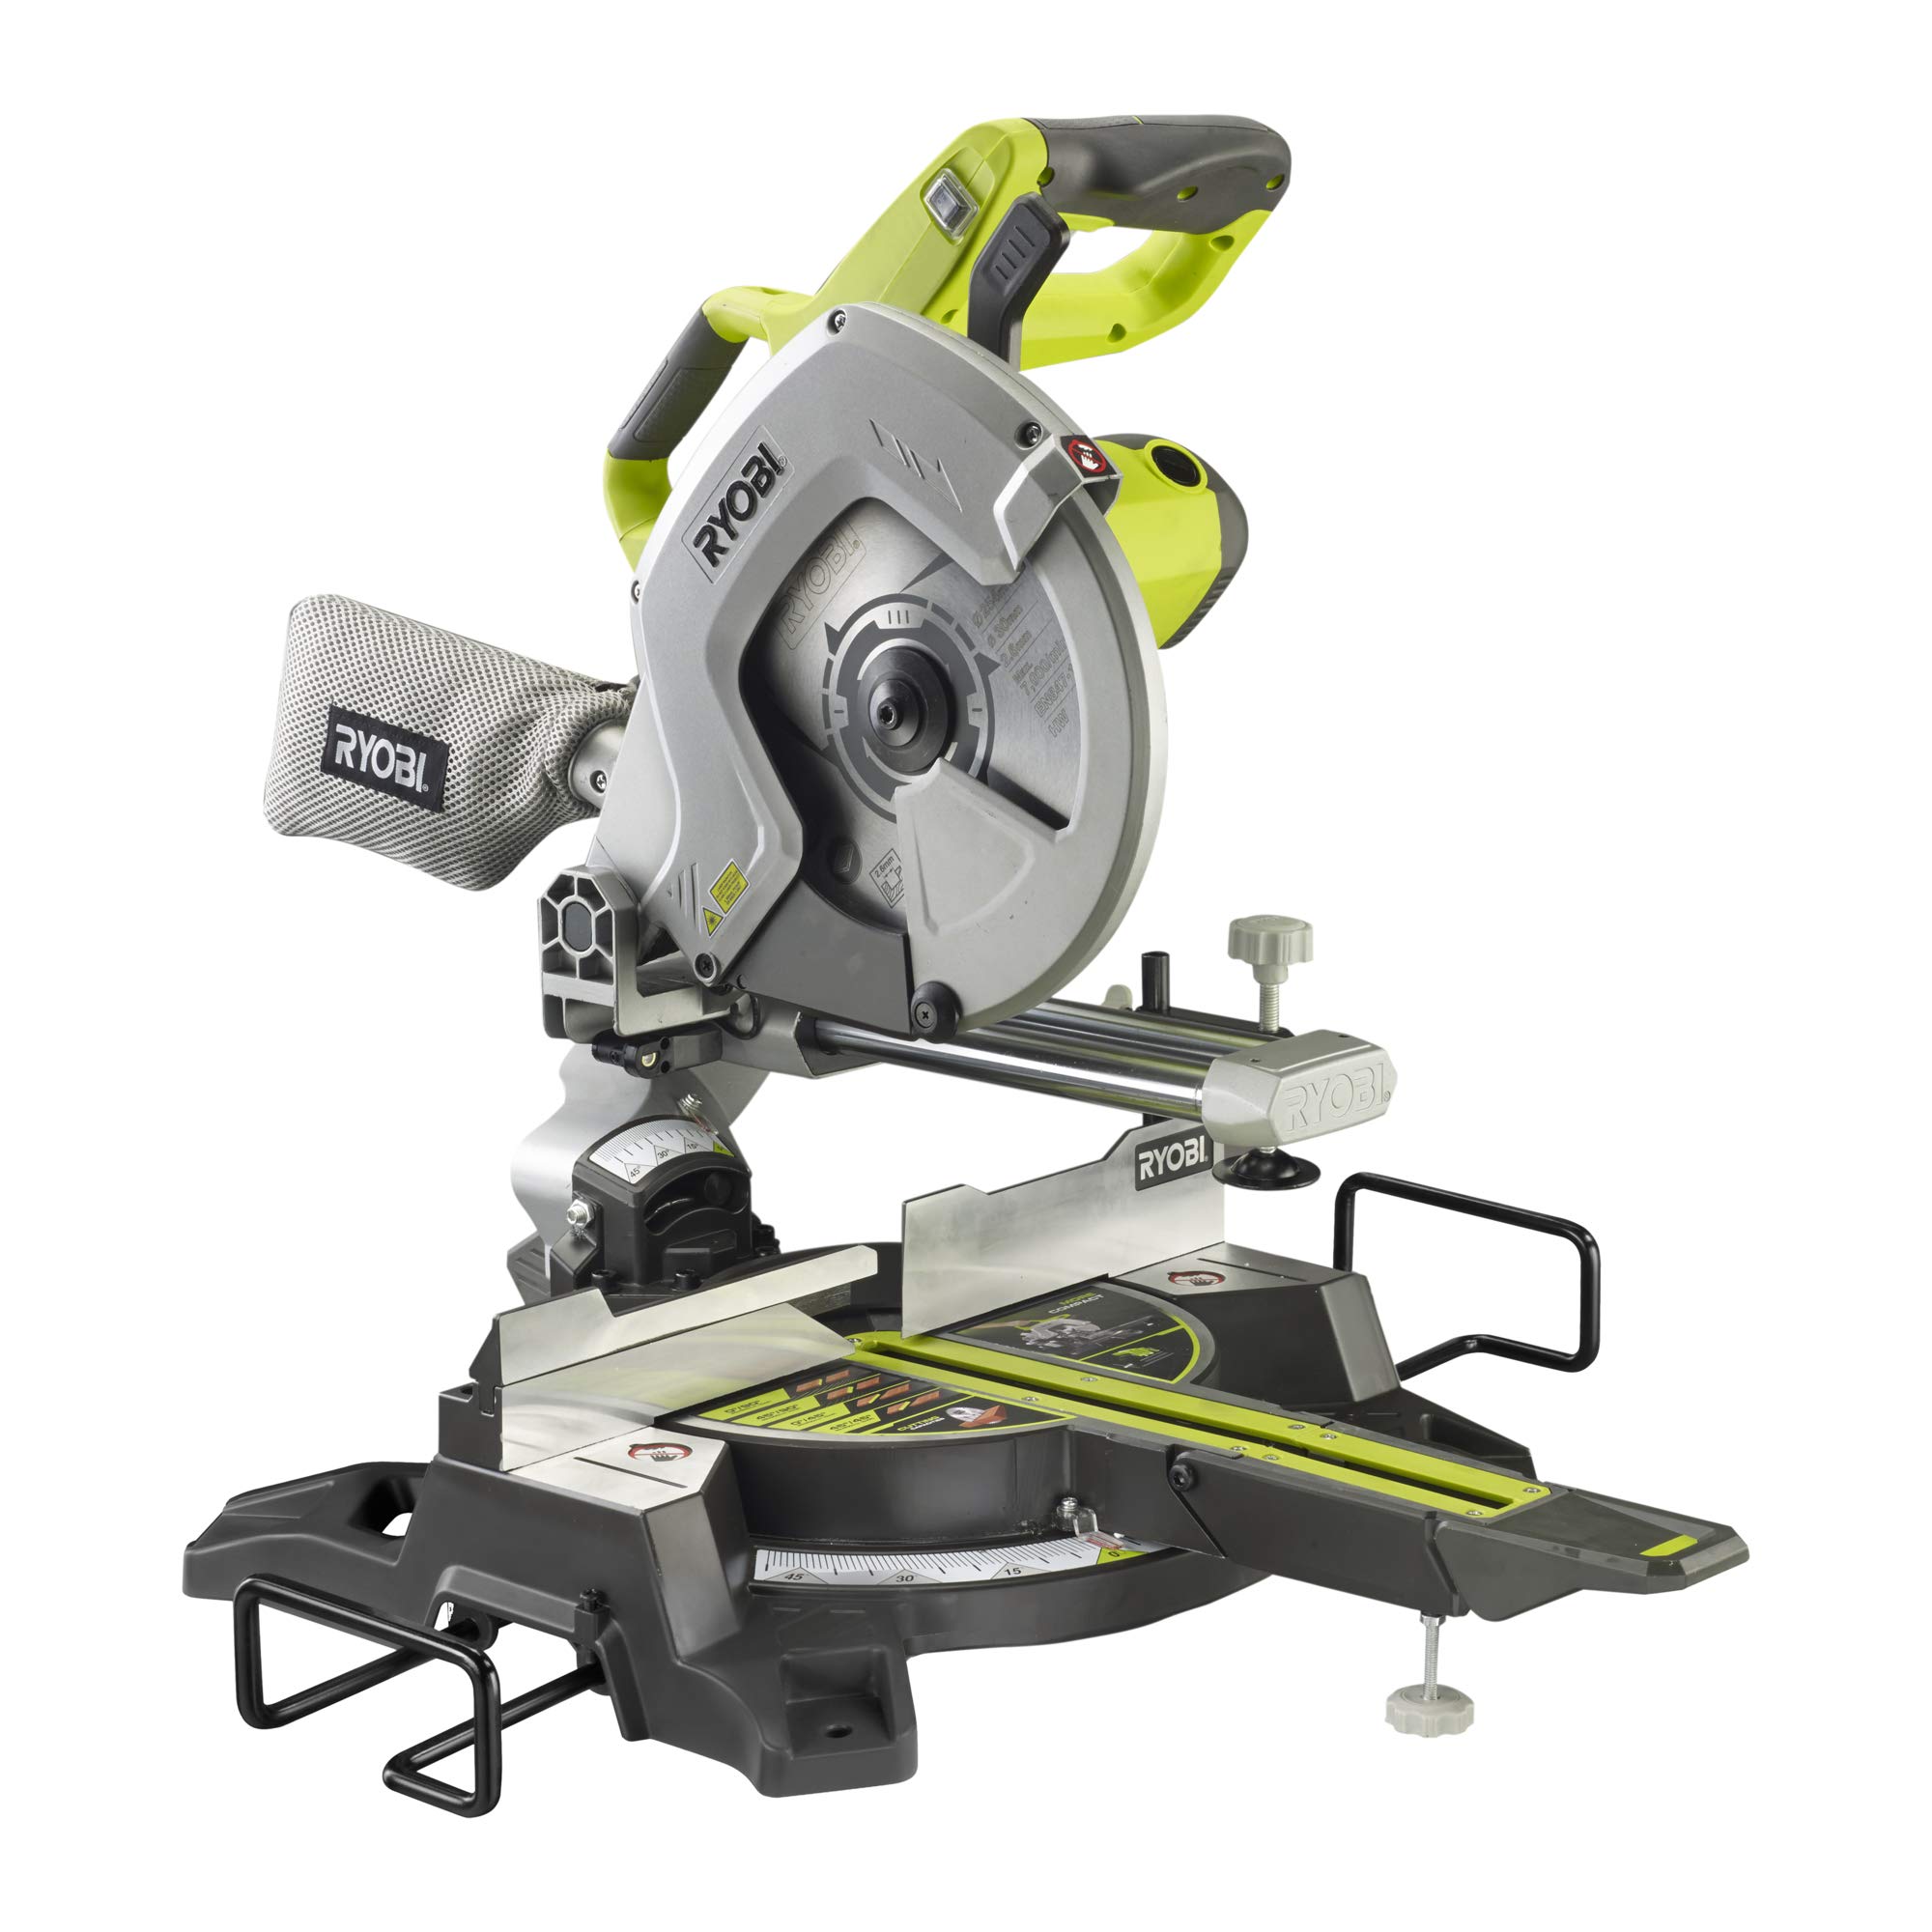
How To Change The Blade On Ryobi Miter Saw
Modified: December 7, 2023
Learn how to change the blade on your Ryobi miter saw with this comprehensive guide. Find step-by-step instructions, tips, and safety precautions.
(Many of the links in this article redirect to a specific reviewed product. Your purchase of these products through affiliate links helps to generate commission for Storables.com, at no extra cost. Learn more)
Introduction
Changing the blade on your Ryobi miter saw is an essential skill that every DIY enthusiast and woodworking hobbyist should possess. Whether you need to replace a dull blade or switch to a different type of blade for a specific project, knowing how to safely and efficiently change the blade can greatly enhance your cutting experience.
In this article, we will guide you through the step-by-step process of changing the blade on your Ryobi miter saw. We will also provide you with some valuable tips and safety precautions to ensure that you can successfully complete the task without any accidents or mishaps.
Before we dive into the details, let’s take a moment to emphasize the importance of safety. Remember, miter saws are powerful tools that can cause serious injury if not handled properly. Always wear appropriate safety gear, including eye protection and work gloves, and exercise caution throughout the blade changing process.
Now that we have set the foundation for safety, let’s explore the tools and materials you will need for this blade replacement endeavor.
Key Takeaways:
- Safety is paramount when changing the blade on your Ryobi miter saw. Always follow the manufacturer’s instructions, wear appropriate safety gear, and ensure the workspace is well-prepared and free from obstructions.
- Mastering the blade-changing process for your Ryobi miter saw empowers you to tackle woodworking projects with confidence and precision. By following the step-by-step guide and conducting thorough tests, you can ensure optimal cutting performance.
Read more: How To Change The Blade On A Ryobi Table Saw
Safety Precautions
When it comes to working with power tools, safety should always be your top priority. Before you begin changing the blade on your Ryobi miter saw, make sure to follow these important safety precautions:
- Disconnect the power source: Before you start any maintenance or blade replacement task, ensure that your miter saw is completely unplugged or disconnected from its power source. This will eliminate the risk of accidental startup while you are working on the blade.
- Wear appropriate safety gear: Protect your eyes with safety glasses or goggles to shield them from any flying debris. Additionally, wear work gloves to prevent any potential cuts or abrasions.
- Work in a well-ventilated area: Choose a well-lit workspace with proper ventilation to keep the area clear of dust and fumes.
- Secure the workpiece: Before changing the blade, make sure to remove any workpieces or debris from the cutting area. This will prevent any accidental contact or interference while handling the blade.
- Use the manufacturer’s manual as a reference: Consult your Ryobi miter saw’s user manual for specific instructions and safety guidelines related to blade replacement. Different saw models may have slight variations in the process.
- Handle the blade with care: Ensure that the blade is handled with caution. Sharp edges can cause severe injury, so avoid touching the blade directly. Instead, always use appropriate tools or wear protective gloves when handling the blade.
By adhering to these safety precautions, you can minimize the risks associated with blade replacement and maintain a safe working environment. Now, let’s move on to the tools and materials you will need for this task.
Tools and Materials Needed
Before you begin changing the blade on your Ryobi miter saw, gather the following tools and materials:
- Allen wrench or blade wrench: This tool is usually included with your miter saw and is used to loosen or tighten the blade clamp.
- New blade: Ensure you have the correct size and type of blade for your Ryobi miter saw. Refer to the user manual or the old blade for specifications.
- Clean cloth: This will be useful for wiping down the saw and removing any debris.
- Lubricating oil: Apply a small amount of lubricating oil to the blade arbor to ensure smooth movement.
- Workbench or sturdy table: Find a stable surface where you can securely place your miter saw for the blade changing process.
Once you have gathered all the necessary tools and materials, you’re ready to begin the process of changing the blade on your Ryobi miter saw. In the next section, we will walk you through the step-by-step instructions for a smooth blade replacement.
Step 1: Preparation
Before you start changing the blade on your Ryobi miter saw, it’s important to make sure you are prepared for the task. Follow these steps to ensure a smooth and efficient process:
- Turn off and unplug the miter saw: Before you begin any maintenance or blade replacement, make sure to disconnect the miter saw from its power source. This will prevent any accidental startup or injury.
- Clear the workspace: Remove any objects or debris from the work area to create a clean and safe workspace. This will give you ample room to work and help prevent any potential accidents or obstructions.
- Inspect the saw: Take a moment to inspect your Ryobi miter saw for any signs of damage or wear. Look for any cracks, loose parts, or unusual vibrations. If you notice any issues, address them before proceeding to avoid any complications during the blade replacement process.
- Secure the saw: Place your miter saw on a sturdy workbench or table to provide stability during the blade changing process. Make sure the saw is firmly anchored to prevent any movement or wobbling while working.
- Read the manufacturer’s instructions: Refer to the user manual provided by Ryobi for specific instructions related to your miter saw model. Familiarize yourself with the blade changing process recommended by the manufacturer to ensure a safe and successful blade replacement.
By following these preparation steps, you will set a solid foundation for changing the blade on your Ryobi miter saw. Once you have completed these steps, proceed to the next section to learn how to remove the old blade.
Step 2: Removing the Old Blade
Now that you’re prepared, it’s time to remove the old blade from your Ryobi miter saw. Follow these steps to safely remove the old blade:
- Locate the blade arbor: The blade arbor is the shaft on which the blade is mounted. It is typically located at the center of the miter saw’s blade guard.
- Secure the blade: Insert the blade wrench or Allen wrench into the arbor’s lock nut to prevent the blade from rotating.
- Loosen the arbor bolt: Rotate the arbor bolt counterclockwise using the appropriate tool. Keep in mind that this bolt may be tight, so apply steady pressure to loosen it. Be cautious of any residual tension that may cause the bolt to “pop” loose.
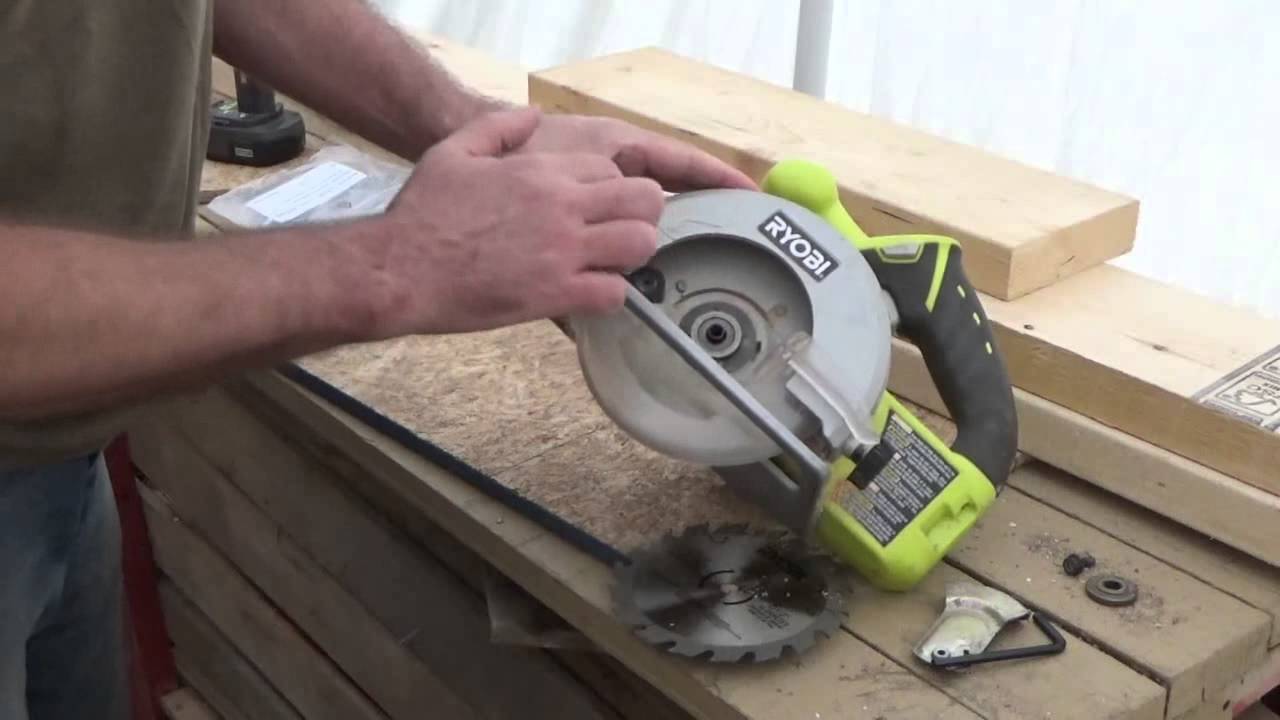
- Remove the outer washer and old blade: Once the arbor bolt is sufficiently loosened, you can remove the outer washer and carefully lift off the old blade from the arbor.
- Inspect the arbor and washers: Take a moment to inspect the arbor for any signs of damage or wear. Also, check the washers for any debris or damage. If needed, clean or replace any worn or damaged parts.
Remember to handle the old blade with care and dispose of it properly. You can place it in a suitable container or packaging to prevent any accidental injuries.
Now that you have successfully removed the old blade, it’s time to proceed to the next step of installing the new blade.
Before changing the blade on your Ryobi miter saw, make sure to unplug the saw and wear protective gloves. Use the provided wrench to loosen the blade bolt, then carefully remove and replace the blade, ensuring it is properly aligned and tightened.
Read more: How To Unlock A Ryobi Miter Saw
Step 3: Installing the New Blade
With the old blade removed, it’s time to install the new blade onto your Ryobi miter saw. Follow these steps to correctly install the new blade:
- Clean the arbor and washers: Before installing the new blade, wipe down the arbor and washers with a clean cloth to remove any debris or residue.
- Align the blade with the arbor: Hold the new blade over the arbor, making sure the mounting hole in the center of the blade is properly aligned with the arbor shaft.
- Replace the outer washer: Slide the outer washer back onto the arbor, ensuring it sits flush against the new blade.
- Tighten the arbor bolt: Insert the blade wrench or Allen wrench into the arbor’s lock nut and rotate it clockwise to tighten the arbor bolt. Apply firm pressure, but avoid over-tightening, as it may cause damage to the blade or the arbor.
- Ensure proper blade alignment: Once the arbor bolt is securely tightened, double-check that the blade is properly aligned and centered on the arbor. Make any necessary adjustments before proceeding.
At this point, you have successfully installed the new blade onto your Ryobi miter saw. However, before moving on, it’s important to check and adjust the blade to ensure optimal performance. This will be covered in the next step.
Step 4: Checking and Adjusting the Blade
After installing the new blade on your Ryobi miter saw, it’s crucial to check and adjust the blade to ensure proper alignment and performance. Follow these steps to check and adjust the blade:
- Disconnect the power source: Before proceeding, ensure that your miter saw is unplugged or disconnected from its power source for safety.
- Inspect the blade guard: Check that the blade guard moves freely and does not interfere with the rotation of the blade. If needed, adjust or tighten the blade guard to ensure smooth operation.
- Check for blade wobble: Power on the miter saw and let the blade come to full speed. Observe the blade for any wobbling or excessive vibration. A slight wobble is normal, but if there is significant movement, it may indicate an issue with the arbor or blade installation.
- Adjust the blade alignment if necessary: If you notice any blade wobble, turn off the saw and unplug it. Loosen the arbor bolt slightly and adjust the blade to ensure it is centered and aligned with the arbor. Tighten the arbor bolt securely.
- Test the blade rotation: With the miter saw still turned off, manually rotate the blade and check for any obstructions or unusual resistance. Ensure that the blade spins freely without any interference.
If you encounter any persistent issues with the blade alignment or rotation, consult the user manual or contact Ryobi’s customer support for further assistance. It’s essential to ensure that your miter saw is functioning correctly to avoid any safety hazards during operation.
Now that you have checked and adjusted the blade, it’s time to move on to the next step of the blade changing process.
Step 5: Securing the Blade
Once you have checked and adjusted the blade on your Ryobi miter saw, it’s crucial to properly secure the blade before using the saw. Follow these steps to securely fasten the blade in place:
- Ensure the arbor lock is engaged: Make sure the arbor lock is engaged to prevent the blade from rotating while securing it.
- Tighten the arbor bolt: Use the blade wrench or Allen wrench to firmly tighten the arbor bolt in a clockwise direction. Apply enough pressure to ensure the bolt is securely fastened, but avoid over-tightening, as it may cause damage to the blade or the arbor.
- Double-check the blade tightness: After tightening the arbor bolt, manually rotate the blade to confirm that it is snugly secured and does not have excessive movement.
By properly securing the blade, you ensure that it remains in place during operation, minimizing the risk of accidents or injury. Take a moment to visually inspect the blade and confirm that it is aligned with the blade guard and arbor.
Now that you have securely fastened the blade, it’s time for the final step – testing the blade to ensure proper functionality.
Step 6: Testing the Blade
After going through the previous steps to change the blade on your Ryobi miter saw, it’s essential to test the blade before proceeding with any cutting tasks. Follow these steps to properly test the blade:
- Reconnect the power source: Plug in or reconnect the power source to the miter saw.
- Perform a test run: Turn on the miter saw and let the blade come to full speed. Observe the blade for any unusual vibrations, wobbling, or noise. If you notice any issues, turn off the saw immediately and recheck the blade alignment and securing.
- Make a test cut: Select a scrap piece of wood and make a test cut to ensure that the blade is cutting smoothly and accurately. Pay attention to the quality of the cut and any signs of dragging or binding.
- Check for any issues: Inspect the test cut for any signs of burning, roughness, or other abnormalities. If you notice any issues, power off the saw and reevaluate the blade alignment and condition.
By performing a thorough test of the blade, you can verify its functionality and ensure that it is ready for actual cutting tasks. Pay attention to any warning signs and address them promptly to ensure optimal performance and safety.
Congratulations! You have successfully changed the blade on your Ryobi miter saw. Remember, always use proper safety precautions and consult your user manual for any additional maintenance or troubleshooting guidelines.
Now that you are equipped with the knowledge and skills to change the blade on your Ryobi miter saw, you can confidently tackle your woodworking projects with precision and efficiency.
Happy cutting!
Read more: How To Adjust Ryobi Miter Saw
Conclusion
Changing the blade on your Ryobi miter saw is a fundamental skill that allows you to maintain optimal cutting performance and tackle a variety of woodworking projects. By following the step-by-step process outlined in this guide and adhering to proper safety precautions, you can confidently replace the blade and ensure a smooth and efficient cutting experience.
Throughout this article, we highlighted the importance of safety, the tools and materials needed, and detailed each step involved in changing the blade. Remember to always wear appropriate safety gear, disconnect the power source, and handle the blades with care.
From preparing your workspace and removing the old blade to installing the new one, checking and adjusting the blade, securing it properly, and conducting a thorough test, each step is essential to the overall process. Pay close attention to any signs of damage or misalignment and make the necessary adjustments to guarantee optimal performance.
By practicing these steps regularly, you will become more efficient and skilled in changing the blade on your Ryobi miter saw, allowing you to undertake woodworking projects with confidence and precision.
Remember to consult your user manual for any model-specific instructions or guidelines, and never hesitate to reach out to Ryobi’s customer support for further assistance or clarification.
Now that you have the knowledge and expertise, go forth and make incredible cuts with your newly changed blade on your Ryobi miter saw. Happy woodworking!
Frequently Asked Questions about How To Change The Blade On Ryobi Miter Saw
Was this page helpful?
At Storables.com, we guarantee accurate and reliable information. Our content, validated by Expert Board Contributors, is crafted following stringent Editorial Policies. We're committed to providing you with well-researched, expert-backed insights for all your informational needs.

0 thoughts on “How To Change The Blade On Ryobi Miter Saw”