Articles
How To Remove A Cabinet Door
Modified: September 1, 2024
Learn how to remove a cabinet door with ease. A step-by-step guide for home maintenance.
(Many of the links in this article redirect to a specific reviewed product. Your purchase of these products through affiliate links helps to generate commission for Storables.com, at no extra cost. Learn more)
Introduction
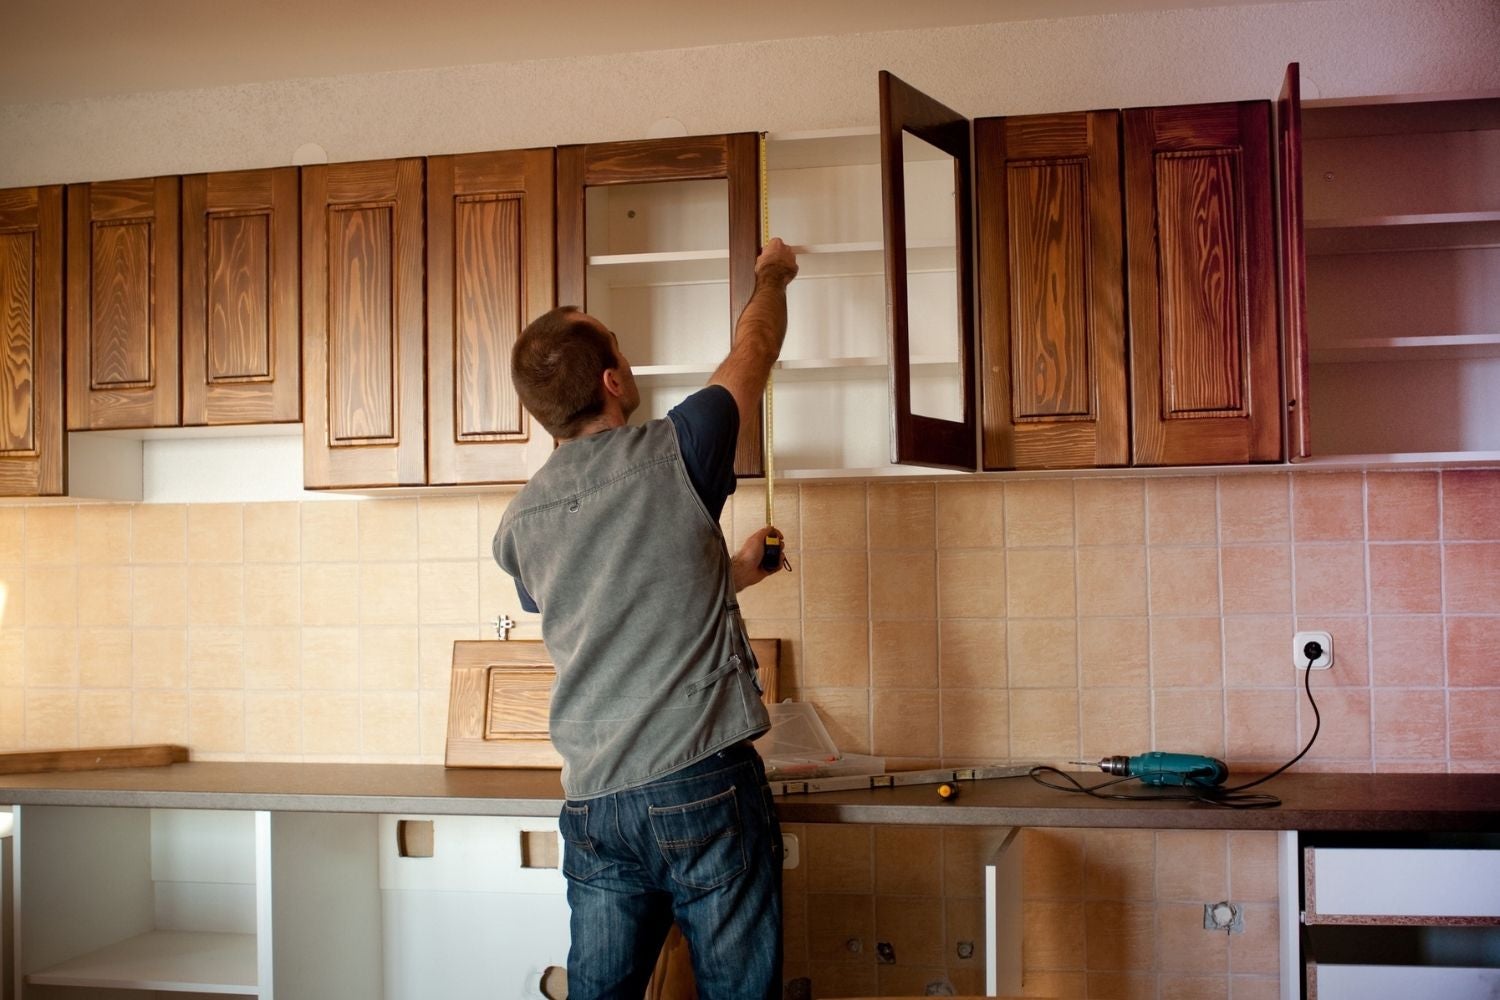
Removing a cabinet door may seem like a daunting task, but it is actually a fairly straightforward process that anyone can accomplish with the right tools and a little patience. Whether you are replacing the door, refinishing it, or simply need access to the inside of the cabinet, removing the door is the first step.
In this guide, we will walk you through the step-by-step process of removing a cabinet door with ease. By following these instructions, you will be able to take off the door without causing any damage to the cabinet frame or the door itself.
Before we get started, make sure you have the necessary tools and materials handy. Having everything you need in one place will save you time and frustration during the removal process. So, gather up the following items:
Key Takeaways:
- Easily remove a cabinet door by following simple steps and using basic tools like a screwdriver and masking tape. Safely release the latch and store or repurpose the door for a creative DIY project.
- Whether you’re refinishing, replacing, or repurposing a cabinet door, follow these steps to remove it without damaging the frame. Store or dispose of the door responsibly, and enjoy your home improvement project!
Read more: How To Make A Cabinet Door
Tools and Materials Needed
Before you begin removing the cabinet door, it’s important to have the right tools and materials readily available. Here’s a list of what you’ll need:
- Screwdriver – You’ll need a screwdriver to remove any screws holding the door hinges in place.
- Drill (optional) – If the cabinet door has any additional hardware, such as handles or knobs, you may need a drill to remove them.
- Masking Tape – It can be helpful to use masking tape to mark the position of the hinges on the cabinet frame before removing the door. This will make it easier to reattach the door later.
- Soft Cloth – A soft cloth will come in handy for gently cleaning the door and cabinet frame if needed.
- Bucket or Container – Have a bucket or container nearby to store any screws or hardware that you remove from the door.
Once you have gathered all the necessary tools and materials, you are ready to begin removing the cabinet door. Just follow the step-by-step instructions outlined below.
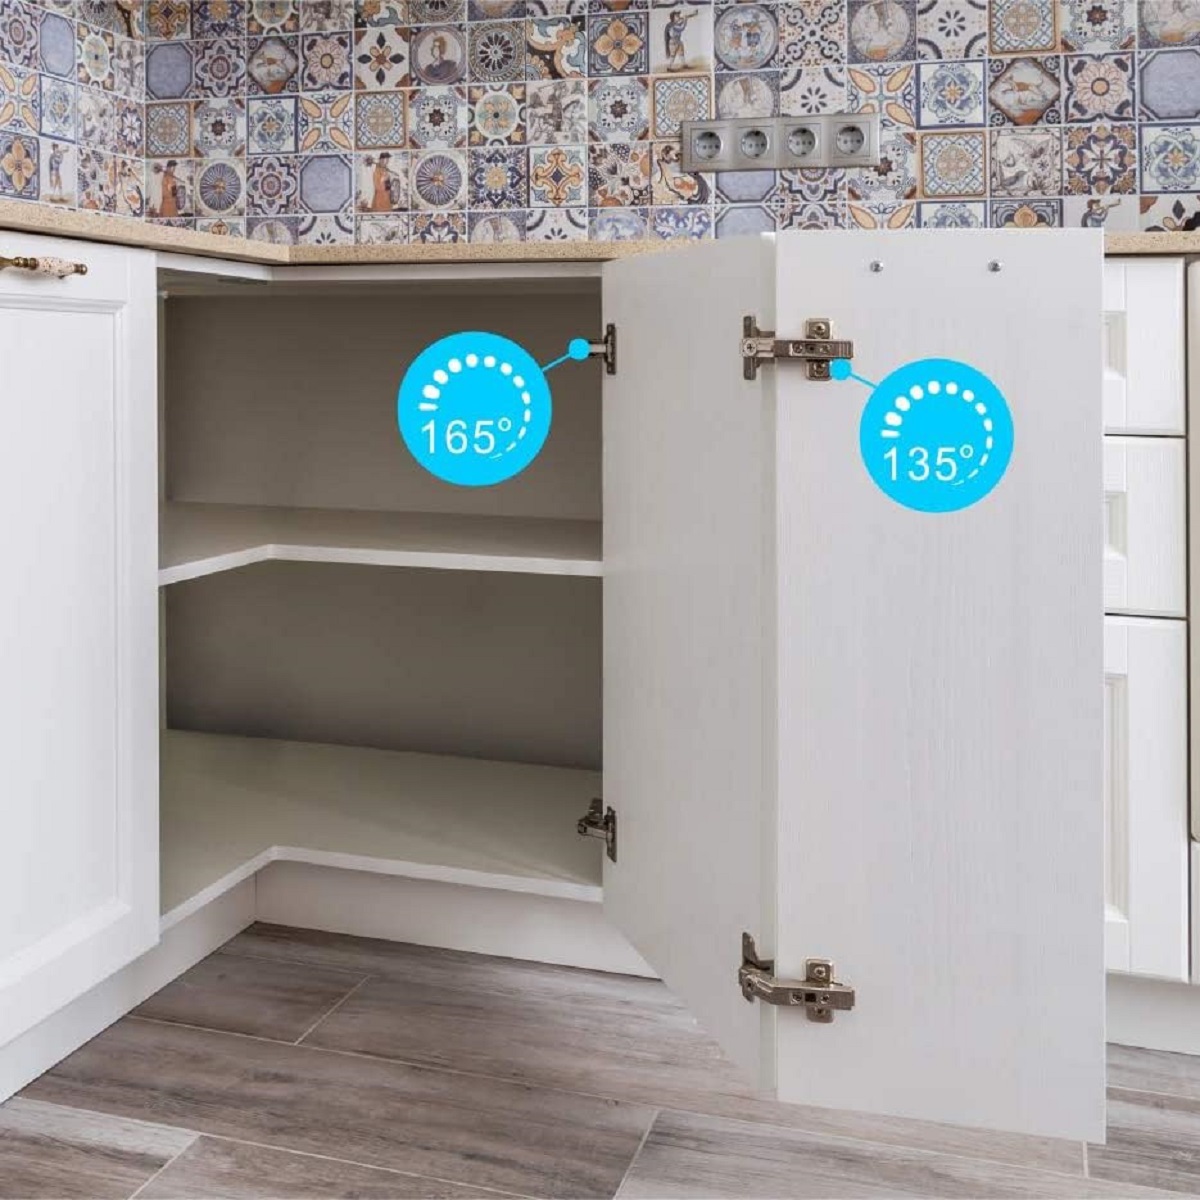
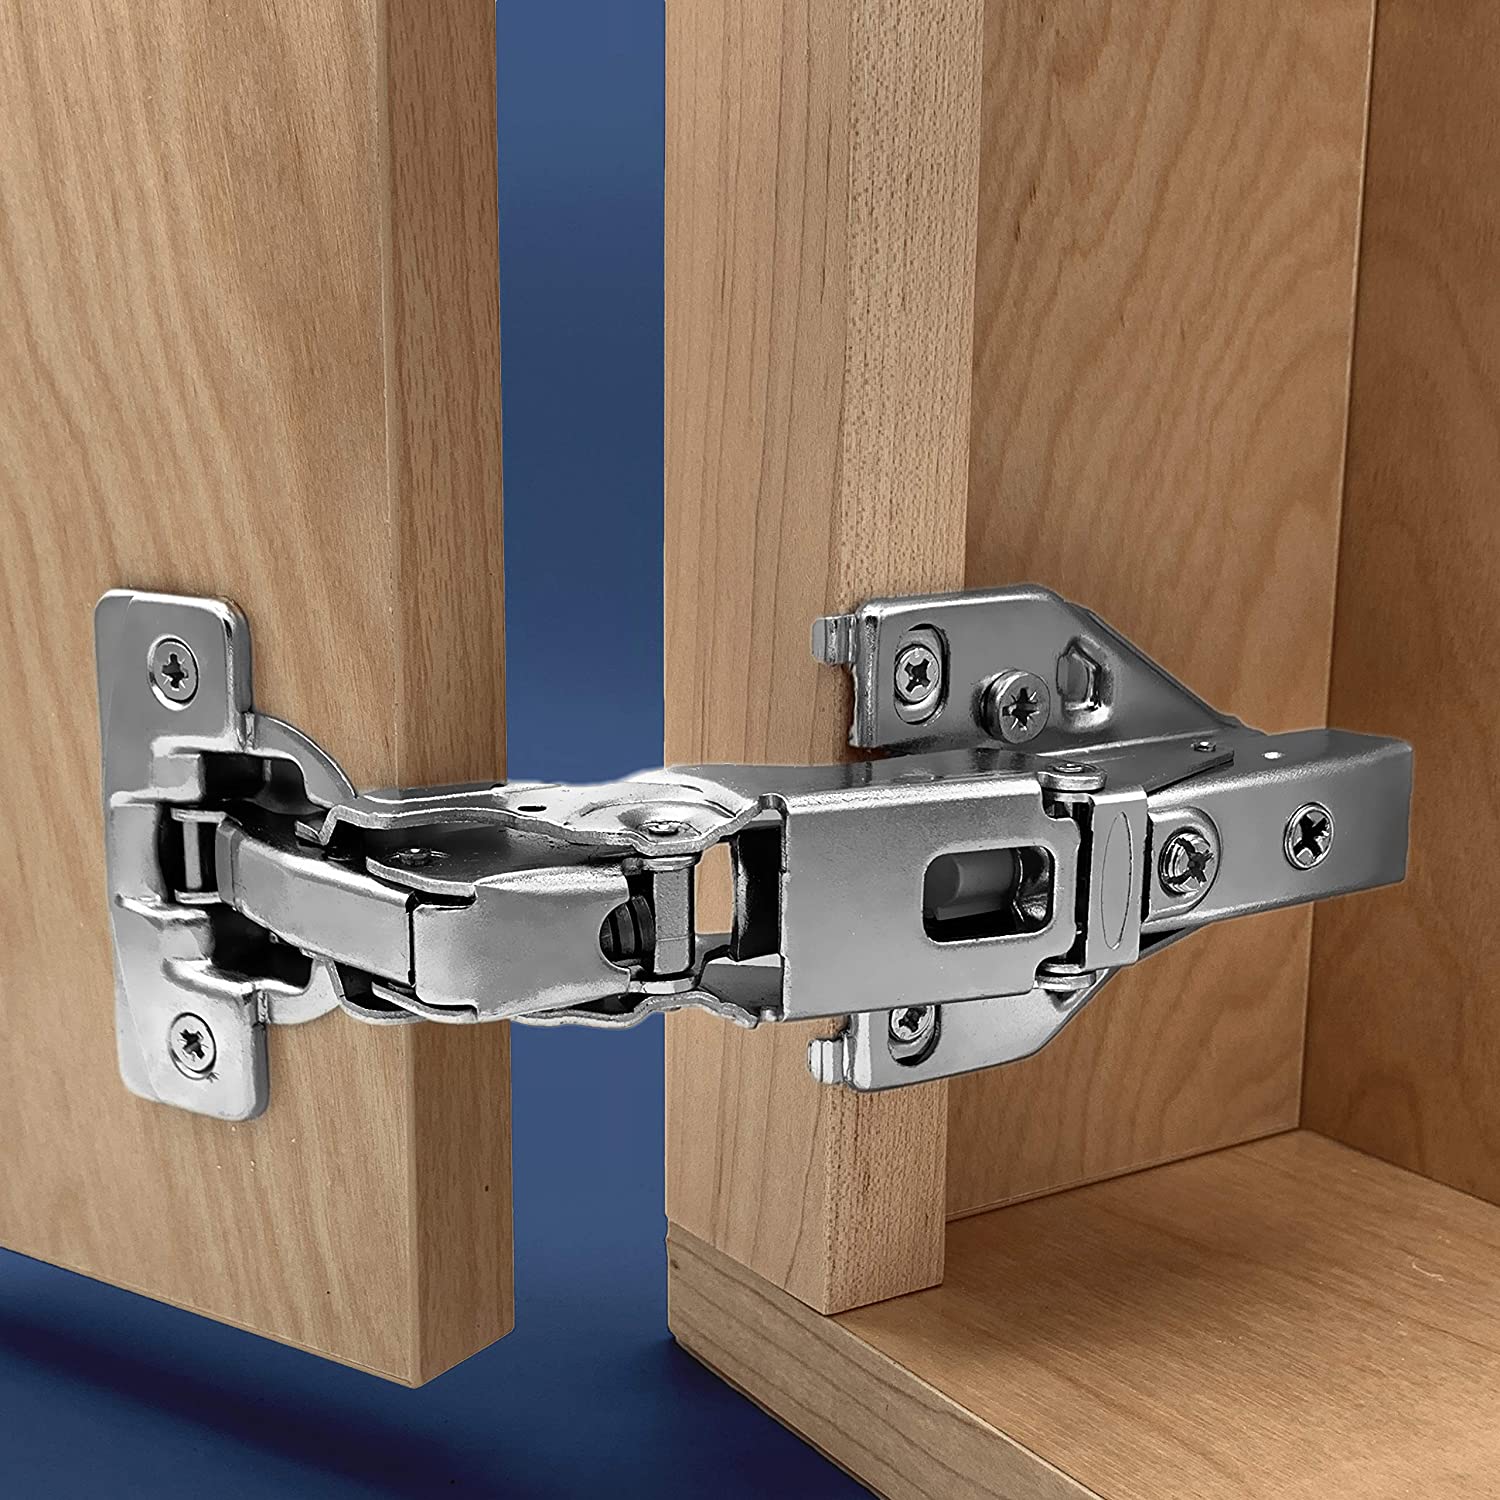
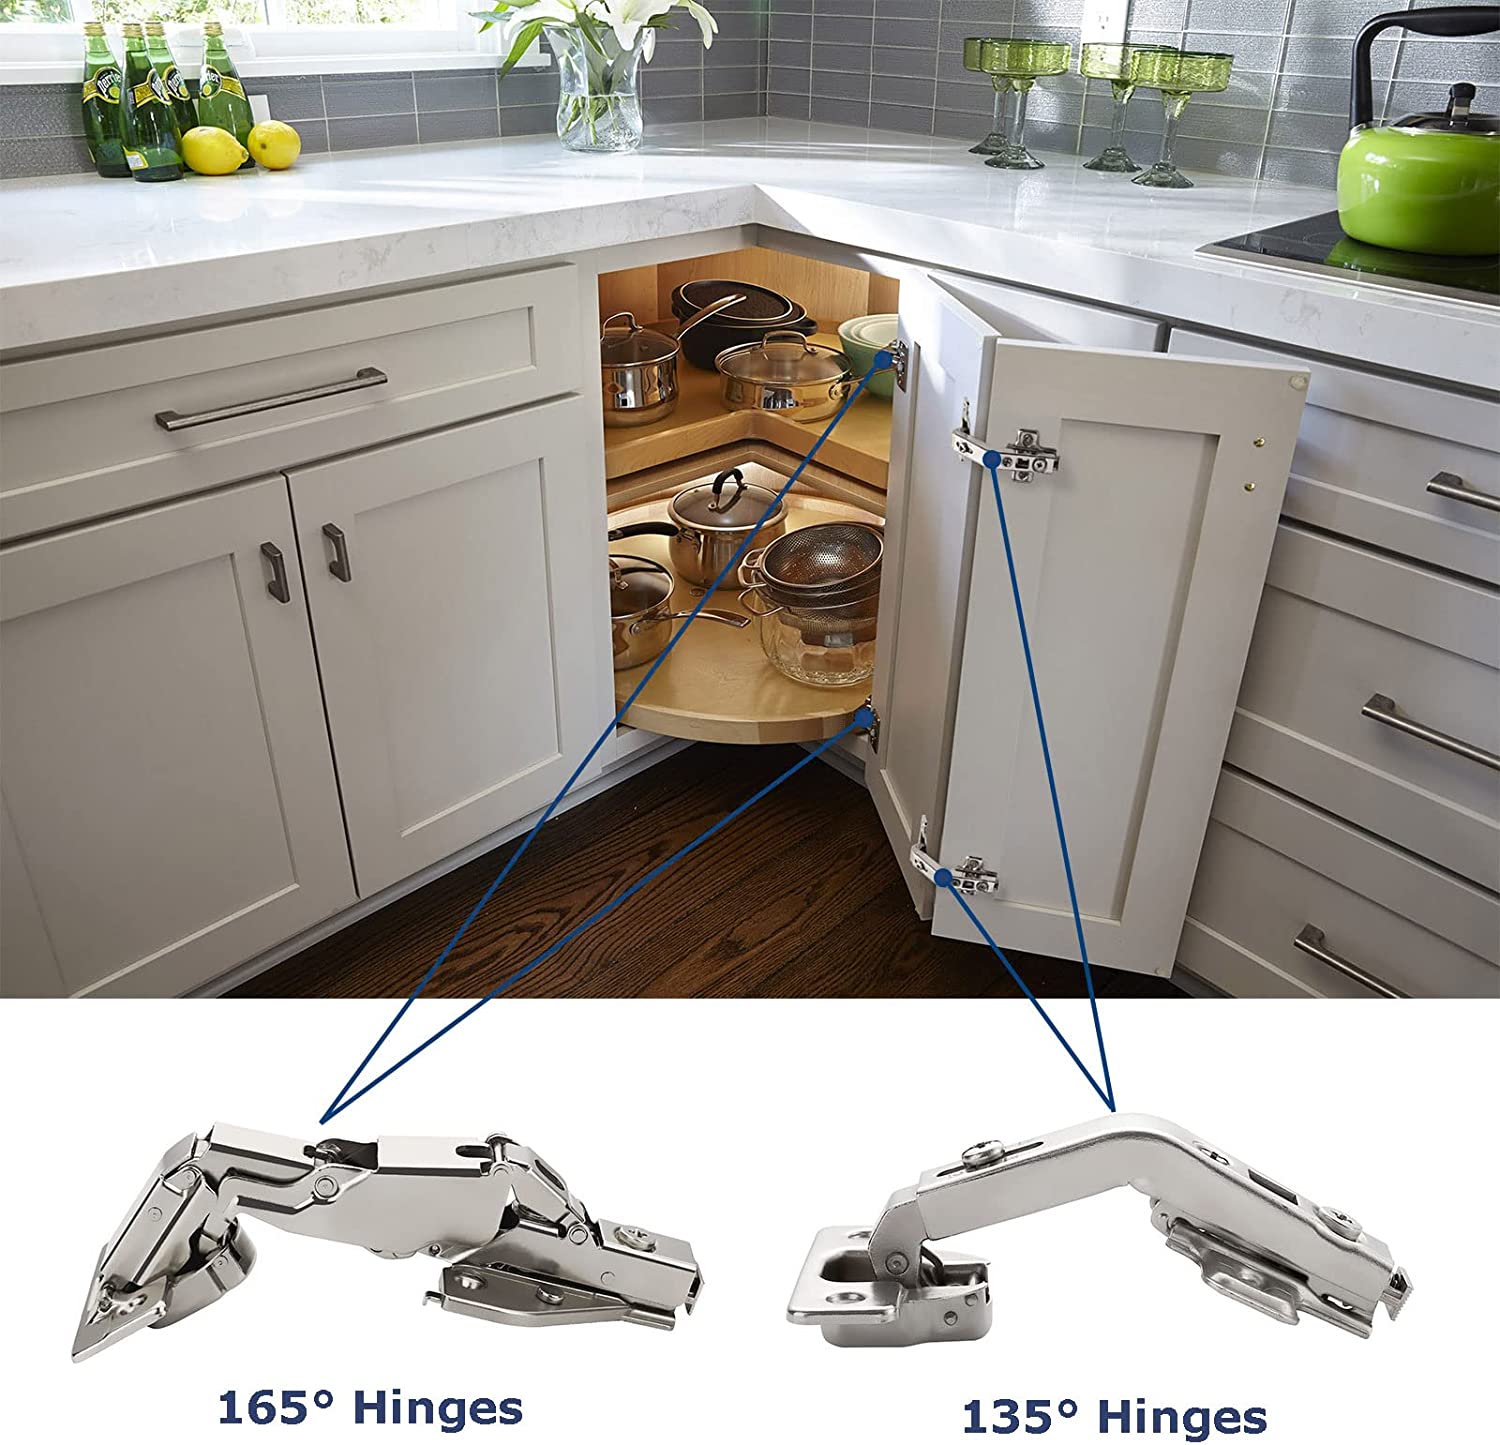
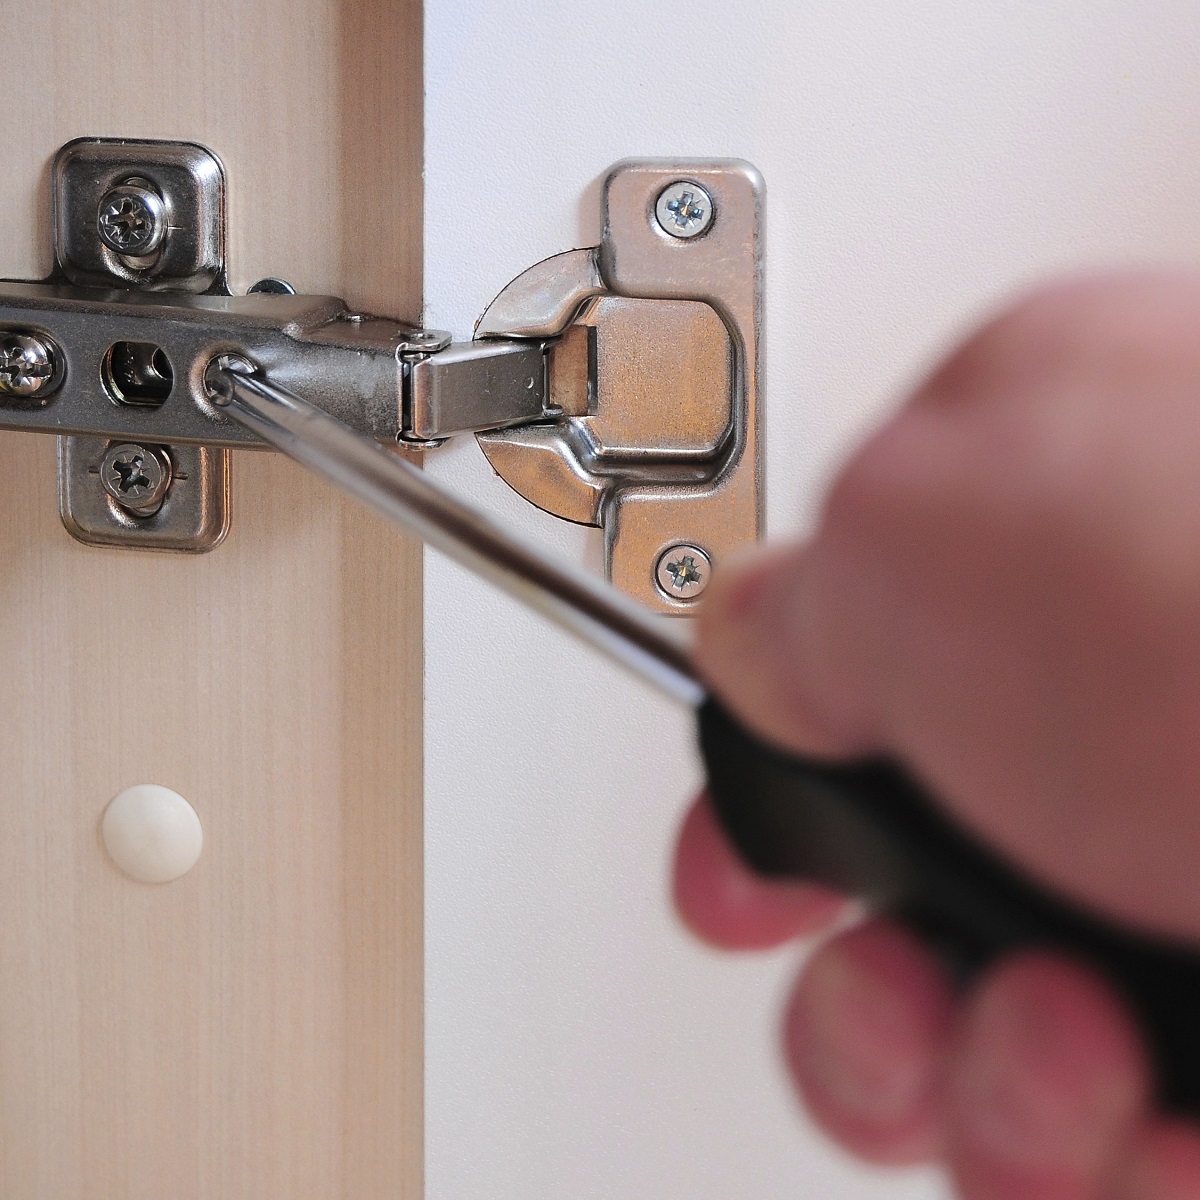
Step 1: Remove the Hinges
The hinges are what hold the cabinet door in place, so they need to be removed first. To do this, follow these steps:
- Open the cabinet door fully to expose the hinges.
- Locate the screws that attach the hinges to the cabinet frame.
- Using a screwdriver, carefully unscrew the screws from the hinges. Make sure to hold onto the door while removing the screws to prevent it from falling.
- Once the screws are removed, gently lift the door up and away from the cabinet frame.
- Place the screws in a container or bucket, so they don’t get lost.
- If there are multiple hinges on the door, repeat this process for each hinge until all of them are removed.
With the hinges removed, the cabinet door should now be detached from the frame. However, there may still be a latch or catch holding it in place, which we will address in the next step.
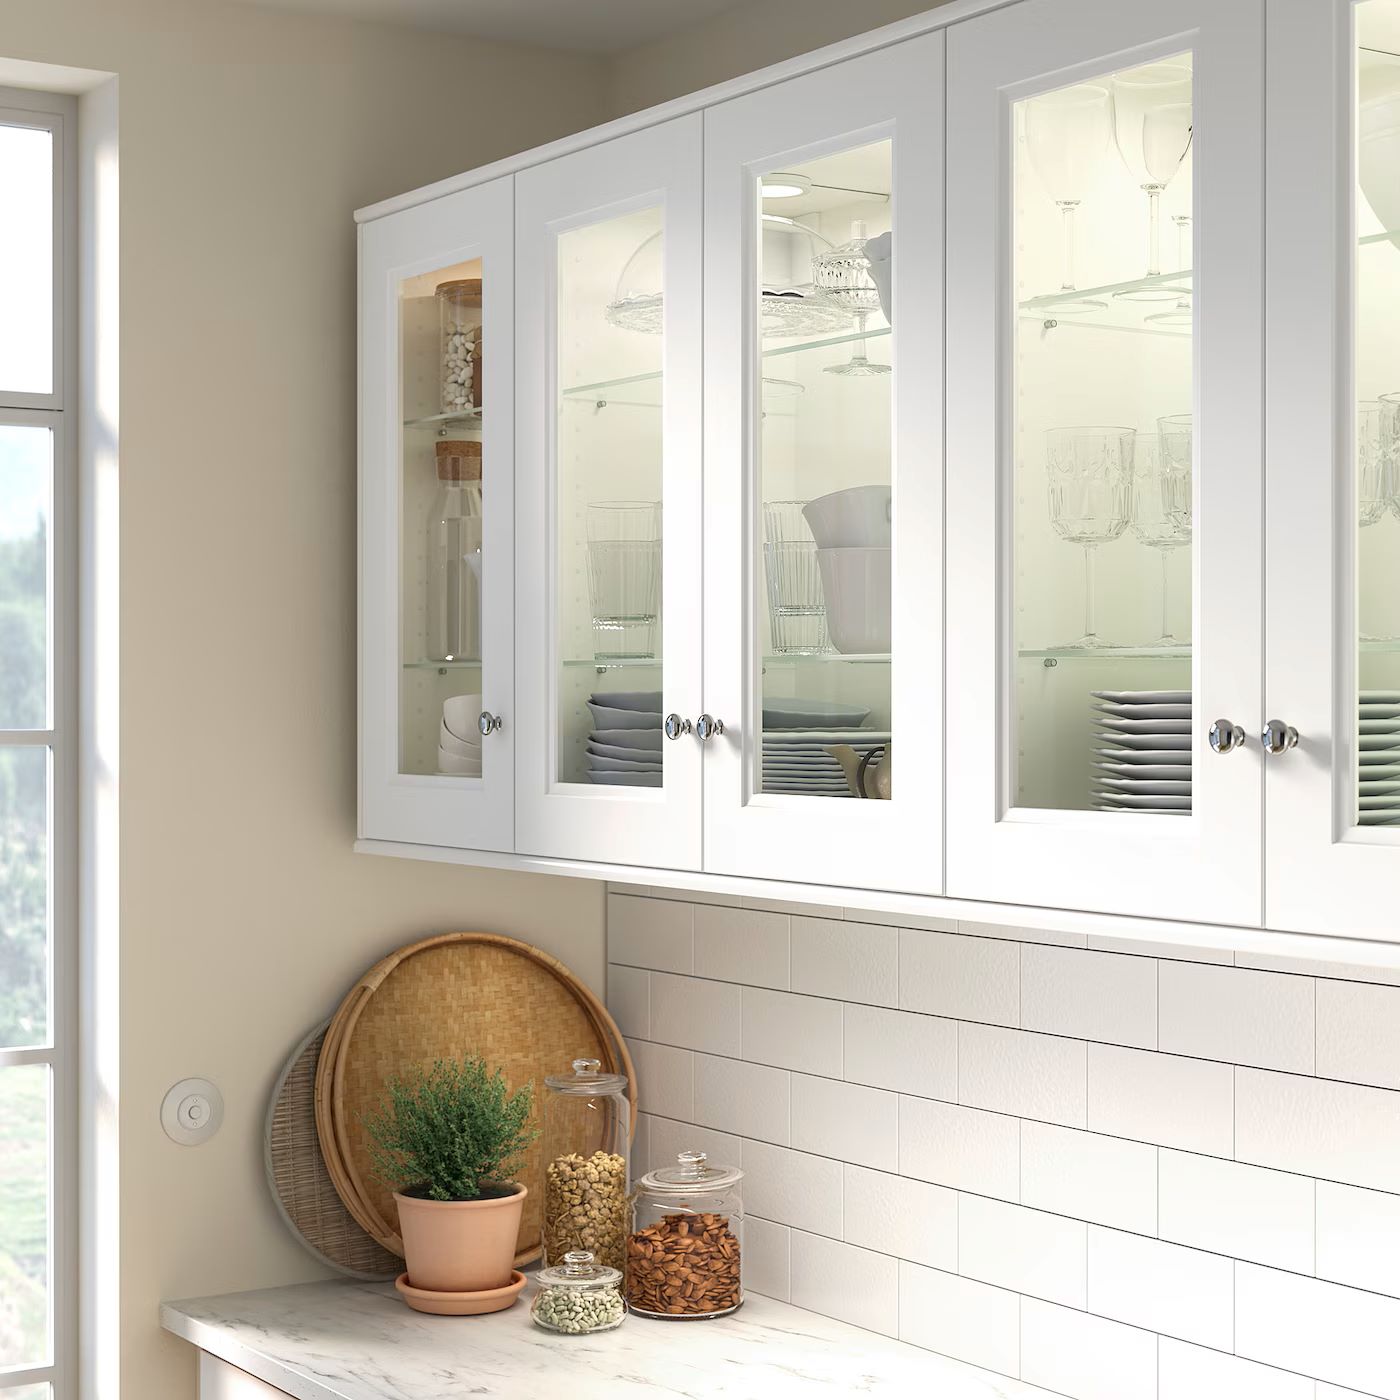
Step 2: Release the Latch or Catch
Some cabinet doors may have a latch or catch mechanism that keeps them securely closed. Before you can completely remove the door, you’ll need to release this latch or catch. Follow these instructions:
- Inspect the cabinet door for any visible latch or catch mechanism.
- If you spot a latch, it is typically located on the inside of the door, near the top or bottom edge.
- If there is a catch, it is usually located on the cabinet frame, aligned with the latch on the door.
- Using your fingers or a small tool, such as a flathead screwdriver, press down or push the latch mechanism to release it.
- Once the latch or catch is released, you should feel the door become loose.
If you are unable to locate a latch or catch mechanism, it’s possible that your cabinet door does not have one. In that case, you can proceed to the next step.
Now that the latch or catch is released, we can move on to the next step, which involves removing the door from the cabinet frame.
To remove a cabinet door, first, open the door and locate the hinges. Unscrew the hinges from the door and the cabinet frame. Lift the door off the hinges and set it aside.
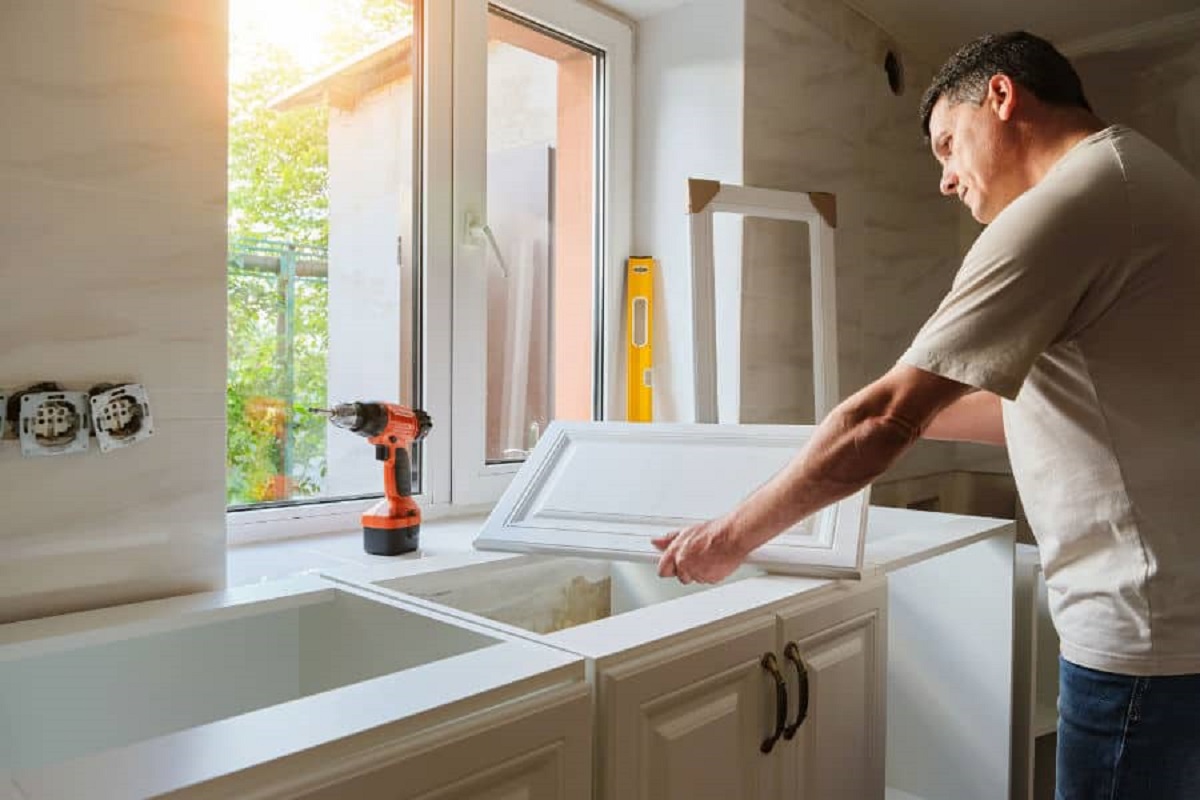
Step 3: Remove the Door from the Cabinet Frame
With the hinges detached and the latch or catch mechanism released, it’s time to remove the cabinet door from the frame. Follow these steps:
- Hold onto the cabinet door firmly with both hands.
- Gently tilt the top of the door towards you while simultaneously pulling it away from the cabinet frame.
- Continue to pull the door away from the frame until it is completely removed.
- Set the door aside in a safe location where it won’t get damaged.
When removing the door, be mindful of any electrical wires or plumbing pipes that may be located inside the cabinet. Avoid placing the door in a position where it can potentially damage these objects.
Now that the cabinet door is removed, you can proceed to the next step, which involves optional removal of any additional hardware.
Read more: How To Measure Cabinet Doors
Step 4: Optional – Remove any Additional Hardware
Depending on the design and style of your cabinet door, there may be additional hardware attached that you might want to remove. This step is optional but can be helpful if you plan to refinish or replace the hardware. Here’s how you can remove any extra hardware:
- Inspect the cabinet door for any handles, knobs, or other attachments.
- If there are any screws visible, use a screwdriver to remove them.
- If the hardware is attached with bolts or other fasteners, use the appropriate tool to loosen and remove them.
- Place the screws or hardware in a container or bag to keep them organized and prevent loss.
- Once you have removed all the additional hardware, set them aside or store them in a safe place if you plan to reuse them.
Note: If you are removing hardware that is attached with adhesive or glue, take extra care to avoid damaging the cabinet door’s surface. Use a suitable solvent or adhesive remover to dissolve the adhesive before gently prying off the hardware.
Now that you have removed any additional hardware, you can either proceed to the next step or conclude the process if you have achieved your desired outcome.
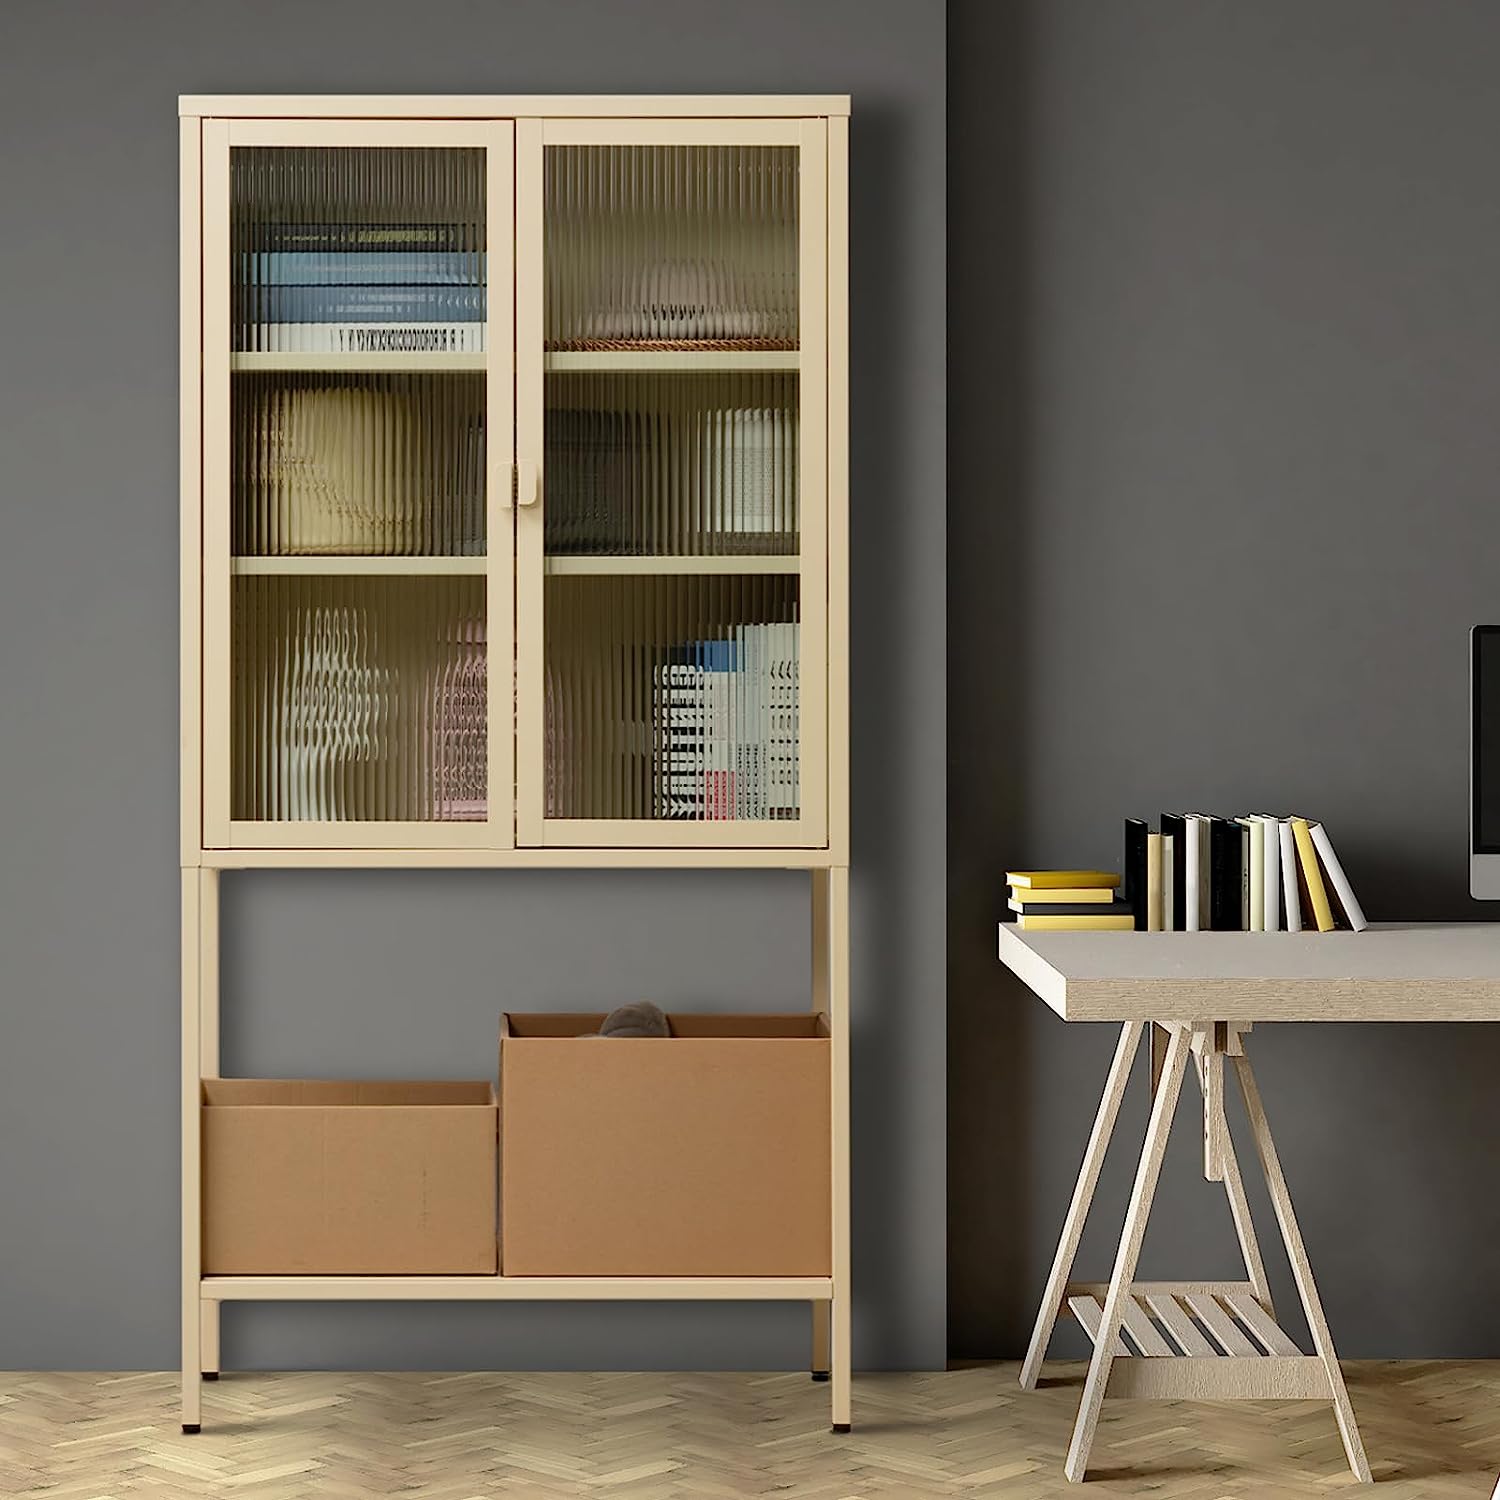
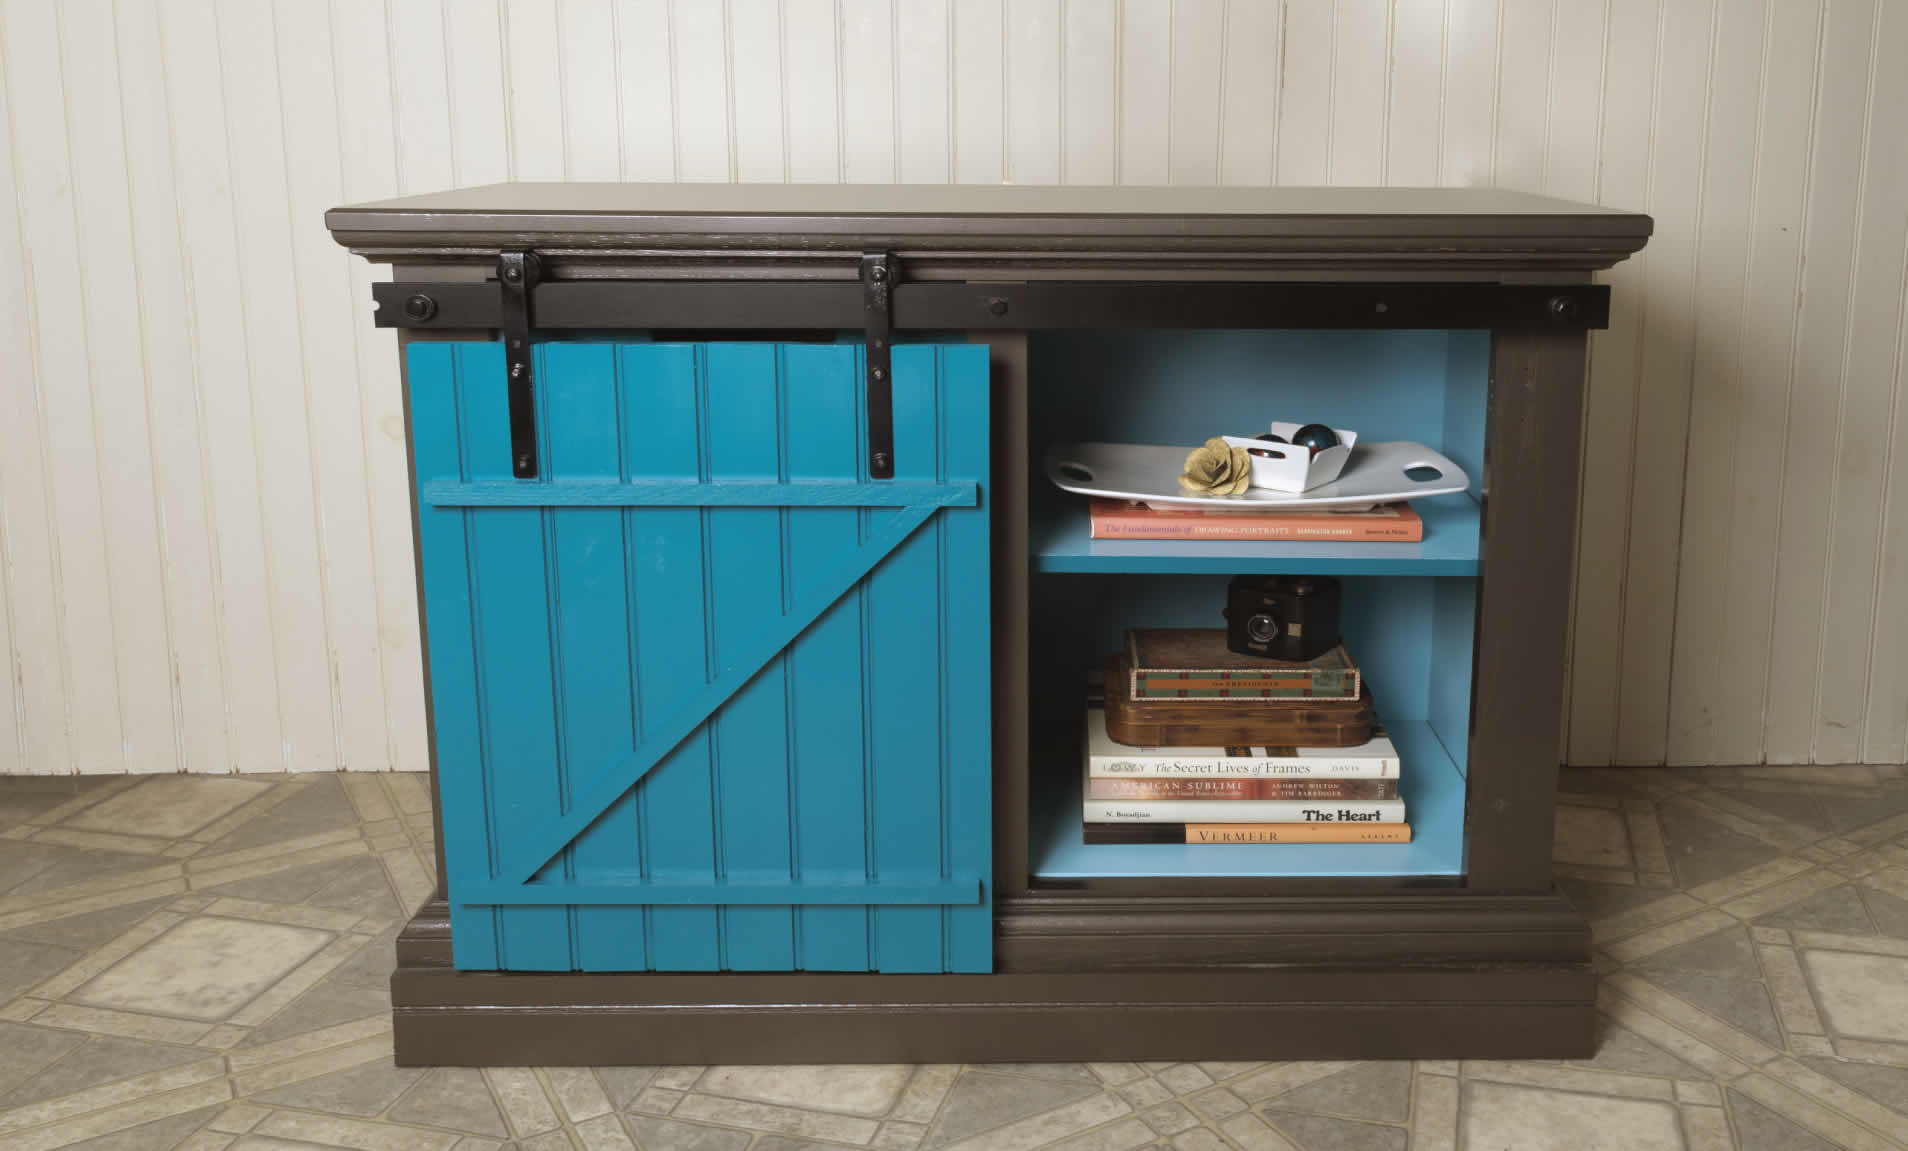
Step 5: Store or Dispose of the Cabinet Door
Once you have successfully removed the cabinet door, you need to decide whether you will keep and store it or dispose of it. Consider the following options:
- Storage: If you plan to reuse the cabinet door in the future, it’s important to store it properly to prevent any damage. Find a clean and dry area where the door can be stored upright or flat. You may want to wrap it in a soft cloth or bubble wrap to provide additional protection.
- Repurpose: If you have a creative mind and enjoy DIY projects, you can repurpose the old cabinet door. You could transform it into a small tabletop, a decorative wall panel, or even a picture frame.
- Donate or Sell: If the cabinet door is in good condition and you have no use for it, consider donating it to a local charity or selling it online. Someone else might be looking for a spare cabinet door or a matching replacement for their own project.
- Dispose: If the cabinet door is damaged beyond repair or you have exhausted all other options, you may need to dispose of it. Check with your local waste management facility to find out the proper way to dispose of wooden items in your area.
Choose the option that best suits your needs and the condition of the cabinet door. Remember to be mindful of recycling and environmental practices when disposing of any unwanted materials.
By following these steps, you have successfully removed the cabinet door from its frame. Whether you plan to replace, refinish, or simply access the inside of the cabinet, you can now proceed with your project confidently. Good luck!
Conclusion
Removing a cabinet door may seem like a daunting task at first, but with the right tools and a step-by-step approach, it can be done easily and safely. By following the instructions outlined in this guide, you can successfully remove a cabinet door without causing any damage to the door or cabinet frame.
Remember to gather all the necessary tools and materials before you begin. Having everything at hand will make the process smoother and more efficient. Additionally, take your time and proceed with caution to avoid any accidents or mishaps.
Once you have removed the hinges and released the latch or catch, gently pull the door away from the cabinet frame. If needed, remove any additional hardware and store or dispose of the door accordingly. Whether you plan to refinish, replace, or repurpose the door, ensure that you store it properly to prevent any damage.
If you are uncertain about any steps or encounter any difficulties, consult a professional or seek guidance from experienced individuals. They can provide expert advice and ensure that your cabinet door removal process goes smoothly.
Now that you have successfully removed the cabinet door, you are one step closer to achieving your desired outcome. Whether you are renovating your kitchen, refinishing your cabinets, or simply need access to the interior, this guide has equipped you with the knowledge and confidence to complete the task at hand.
Remember to exercise caution and consider safety measures throughout the process. Enjoy your project and the transformations it will bring to your space!
Frequently Asked Questions about How To Remove A Cabinet Door
Was this page helpful?
At Storables.com, we guarantee accurate and reliable information. Our content, validated by Expert Board Contributors, is crafted following stringent Editorial Policies. We're committed to providing you with well-researched, expert-backed insights for all your informational needs.

0 thoughts on “How To Remove A Cabinet Door”