Home>Furniture & Design>Interior Design Trends>How To Put Vinyl On Glass
Interior Design Trends
How To Put Vinyl On Glass
Modified: October 19, 2024
Learn the latest interior design trends with our guide on how to put vinyl on glass. Elevate your space with this popular design technique. Discover expert tips and tricks today!
(Many of the links in this article redirect to a specific reviewed product. Your purchase of these products through affiliate links helps to generate commission for Storables.com, at no extra cost. Learn more)
Introduction
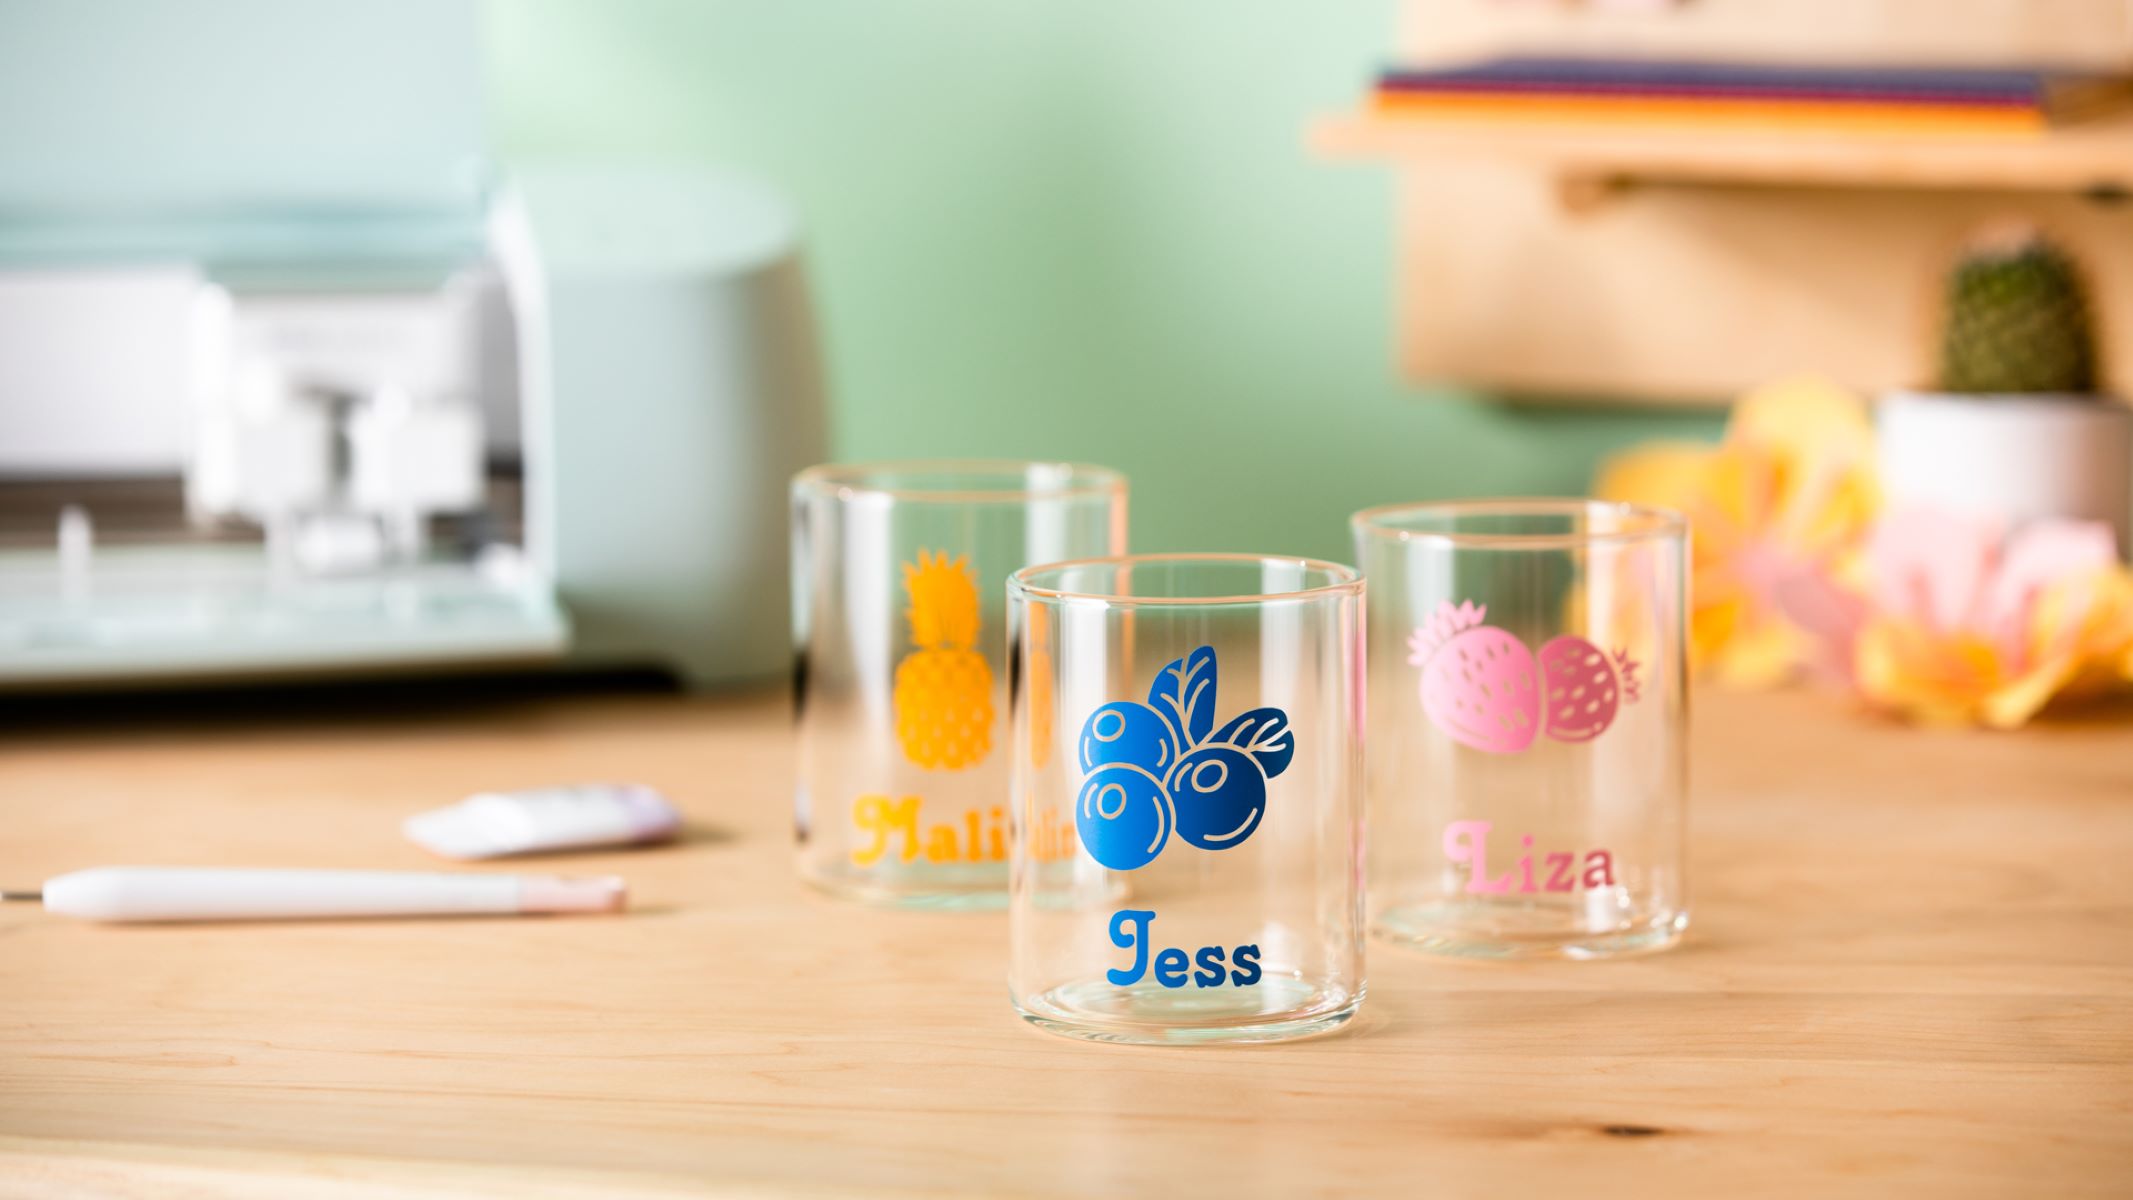
Vinyl decals are a fantastic way to add a personal touch to glass surfaces, whether it's a window, mirror, or glass door. With the right materials and a bit of patience, you can transform a plain glass surface into a stunning work of art. Whether you're looking to add a decorative flourish to your home or create an eye-catching storefront display, applying vinyl to glass can be a rewarding and creative endeavor.
In this comprehensive guide, we will walk you through the step-by-step process of applying vinyl to glass. From gathering the necessary materials to achieving a flawless application, you'll learn the techniques and tips to ensure a successful outcome. Whether you're a seasoned DIY enthusiast or a novice looking to explore a new creative outlet, this guide will equip you with the knowledge and confidence to tackle this project with ease.
By the end of this tutorial, you'll be able to confidently apply vinyl to glass surfaces, unleashing your creativity and personalizing your living or working space. So, gather your materials and let's embark on this exciting journey of transforming ordinary glass into a canvas for your imagination.
Key Takeaways:
- Transform plain glass into stunning art with vinyl decals. Gather materials, clean the surface, measure, apply, smooth, and unveil your personalized creation with confidence and precision.
- Applying vinyl to glass is a creative journey. From meticulous preparation to flawless application, unleash your imagination and personalize your space with professional-looking results.
Read more: How To Put Shutters On Vinyl Siding
Step 1: Gather the necessary materials
Before embarking on the process of applying vinyl to glass, it's essential to gather all the necessary materials. Having the right tools at your disposal will ensure a smooth and successful application, allowing you to achieve professional-looking results. Here's a comprehensive list of the materials you'll need:
-
Vinyl Decal: Select a high-quality vinyl decal in the design and size of your choice. Ensure that the vinyl is suitable for use on glass surfaces and is equipped with a strong adhesive backing.
-
Transfer Tape: This essential tool allows you to transfer the vinyl decal from its backing onto the glass surface seamlessly. Opt for a high-quality transfer tape to ensure easy application and smooth removal.
-
Glass Cleaner: Before applying the vinyl, it's crucial to clean the glass surface thoroughly. Choose a glass cleaner that effectively removes dirt, dust, and any residue, providing a clean and smooth surface for the vinyl application.
-
Lint-Free Cloth: To achieve a pristine glass surface, have a lint-free cloth on hand to wipe away any remaining streaks or particles after cleaning.
-
Measuring Tape: Accurate measurements are key to ensuring the vinyl decal fits the intended space perfectly. A measuring tape will help you determine the precise dimensions for cutting the vinyl.
-
Scissors or Cutting Tool: Depending on the complexity of the design, you may need scissors or a cutting tool to trim the vinyl to the desired size and shape.
-
Squeegee or Credit Card: A squeegee or credit card is essential for smoothing out the vinyl decal once it's applied to the glass. This tool helps remove air bubbles and ensures a secure adhesion to the surface.
-
Masking Tape (Optional): If you're working with a large vinyl decal or intricate design, masking tape can be used to secure the decal in place before applying it to the glass.
By gathering these materials, you'll be well-prepared to begin the process of applying vinyl to glass. With the right tools at your disposal, you can proceed to the next steps with confidence, knowing that you have everything you need to achieve a professional and visually stunning result.
Step 2: Clean the glass surface
Before applying the vinyl decal, it's crucial to prepare the glass surface by ensuring it is clean and free of any debris or residue. A pristine glass surface not only facilitates a smooth application but also ensures the longevity of the vinyl adhesion. Follow these steps to effectively clean the glass surface:
-
Gather the Necessary Materials: Begin by assembling the materials required for cleaning the glass surface. This includes a high-quality glass cleaner, a lint-free cloth, and possibly some masking tape if needed for securing the decal during the cleaning process.
-
Prepare the Glass Cleaner: If using a commercial glass cleaner, ensure it is well-shaken to activate its cleaning properties. If you prefer a DIY solution, a mixture of equal parts white vinegar and water can serve as an effective and eco-friendly glass cleaner.
-
Spray and Wipe: Liberally spray the glass cleaner onto the surface of the glass. Starting from the top, use a lint-free cloth to wipe the glass in horizontal or vertical motions, ensuring thorough coverage. This process effectively removes dirt, dust, and any existing residue from the glass.
-
Focus on Edges and Corners: Pay special attention to the edges and corners of the glass, as these areas tend to accumulate more dirt and grime. Use the cloth to reach these areas and ensure they are impeccably clean.
-
Inspect for Streaks and Residue: After wiping the glass, inspect the surface for any streaks or remaining residue. If necessary, reapply the glass cleaner and wipe the surface again until it is completely clean and streak-free.
-
Allow the Glass to Dry: Once the glass is thoroughly cleaned, allow it to air dry or use a dry lint-free cloth to remove any remaining moisture. It's essential to ensure the glass surface is completely dry before proceeding to the next steps.
By meticulously cleaning the glass surface, you create an optimal foundation for the vinyl application. A clean and smooth glass surface not only enhances the visual impact of the vinyl decal but also promotes a strong and durable bond between the vinyl and the glass. With the glass surface prepared, you're now ready to move on to the next steps of applying the vinyl decal with confidence and precision.
Step 3: Measure and cut the vinyl
Accurate measurements and precise cutting are essential for ensuring that the vinyl decal fits the intended glass surface perfectly. This step requires attention to detail and a methodical approach to achieve a seamless and professional-looking result. Follow these detailed steps to measure and cut the vinyl with precision:
-
Prepare the Work Area: Find a clean and well-lit area to work on the vinyl. Lay the vinyl decal on a flat surface, ensuring that it is free from any wrinkles or creases that could affect the accuracy of measurements.
-
Measure the Glass Surface: Use a measuring tape to determine the exact dimensions of the glass surface where the vinyl will be applied. Measure both the width and height, taking into account any specific placement considerations, such as borders or alignment with other elements.
-
Transfer Measurements to the Vinyl: With the measurements in hand, use a pencil or a washable marker to mark the dimensions directly onto the vinyl backing. This step ensures that you have a clear guide for cutting the vinyl to the precise size required for the glass surface.
-
Cut the Vinyl: Using sharp scissors or a cutting tool, carefully cut along the marked lines on the vinyl backing. Take your time to maintain a steady hand and follow the markings accurately, ensuring that the edges are clean and the shape matches the measurements of the glass surface.
-
Trim Excess Material (If Necessary): In cases where the vinyl decal features intricate designs or patterns, you may need to trim excess material around the edges to achieve a precise fit. Pay attention to fine details and curves, making small adjustments as needed to ensure a perfect match with the glass surface.
-
Inspect the Cut Vinyl: Once the vinyl is cut to size, carefully inspect it to ensure that the dimensions align with the measurements of the glass surface. Verify that the edges are smooth and the overall shape matches the intended area of application.
By meticulously measuring and cutting the vinyl, you set the stage for a seamless and visually striking application on the glass surface. Attention to detail during this step is crucial for achieving a professional finish and ensuring that the vinyl decal enhances the aesthetic appeal of the glass. With the vinyl accurately prepared, you're now ready to proceed to the next steps of applying the decal to the glass surface with confidence and precision.
Step 4: Apply transfer tape to the vinyl
Applying transfer tape to the vinyl is a critical step that facilitates the seamless transfer of the vinyl decal from its backing onto the glass surface. The transfer tape serves as a carrier, allowing you to position and affix the vinyl with precision while ensuring that the adhesive backing adheres securely to the glass. Follow these detailed steps to apply the transfer tape to the vinyl effectively:
-
Prepare the Work Surface: Begin by laying the vinyl decal with the adhesive side facing up on a clean and flat work surface. Ensure that the vinyl is free from any dust or debris that could interfere with the adhesion of the transfer tape.
-
Cut the Transfer Tape: Using scissors or a cutting tool, carefully trim a piece of transfer tape slightly larger than the size of the vinyl decal. It's essential to have enough transfer tape to cover the entire surface of the vinyl while allowing for a secure grip for the application process.
-
Peel the Transfer Tape: Gently peel the backing away from the transfer tape, exposing the sticky side that will adhere to the vinyl. Take care to avoid any wrinkles or folds in the transfer tape, as these could affect the smooth application onto the vinyl.
-
Position the Transfer Tape: Carefully align the sticky side of the transfer tape with one edge of the vinyl decal. Slowly lower the transfer tape onto the vinyl, ensuring that it makes full contact with the adhesive side without trapping air bubbles or creases.
-
Smooth Out the Transfer Tape: Use a squeegee or the edge of a credit card to smooth out the transfer tape, starting from the center and working outward toward the edges. This process helps to secure the transfer tape to the vinyl, ensuring a firm bond that enables easy transfer to the glass surface.
-
Apply Pressure: Once the transfer tape is in place, apply firm and even pressure across the entire surface using the squeegee or credit card. This step ensures that the transfer tape adheres securely to the vinyl, creating a cohesive unit ready for application to the glass.
By effectively applying the transfer tape to the vinyl, you create a unified assembly that is ready for seamless transfer to the glass surface. This step sets the stage for the precise positioning and affixing of the vinyl decal, ensuring a professional and visually stunning result. With the transfer tape securely in place, you're now prepared to proceed to the next steps of positioning and applying the vinyl to the glass with confidence and precision.
Before applying vinyl to glass, make sure the surface is clean and dry. Use a squeegee to smooth out any air bubbles and ensure the vinyl adheres properly.
Read more: How To Seal Vinyl On Glass
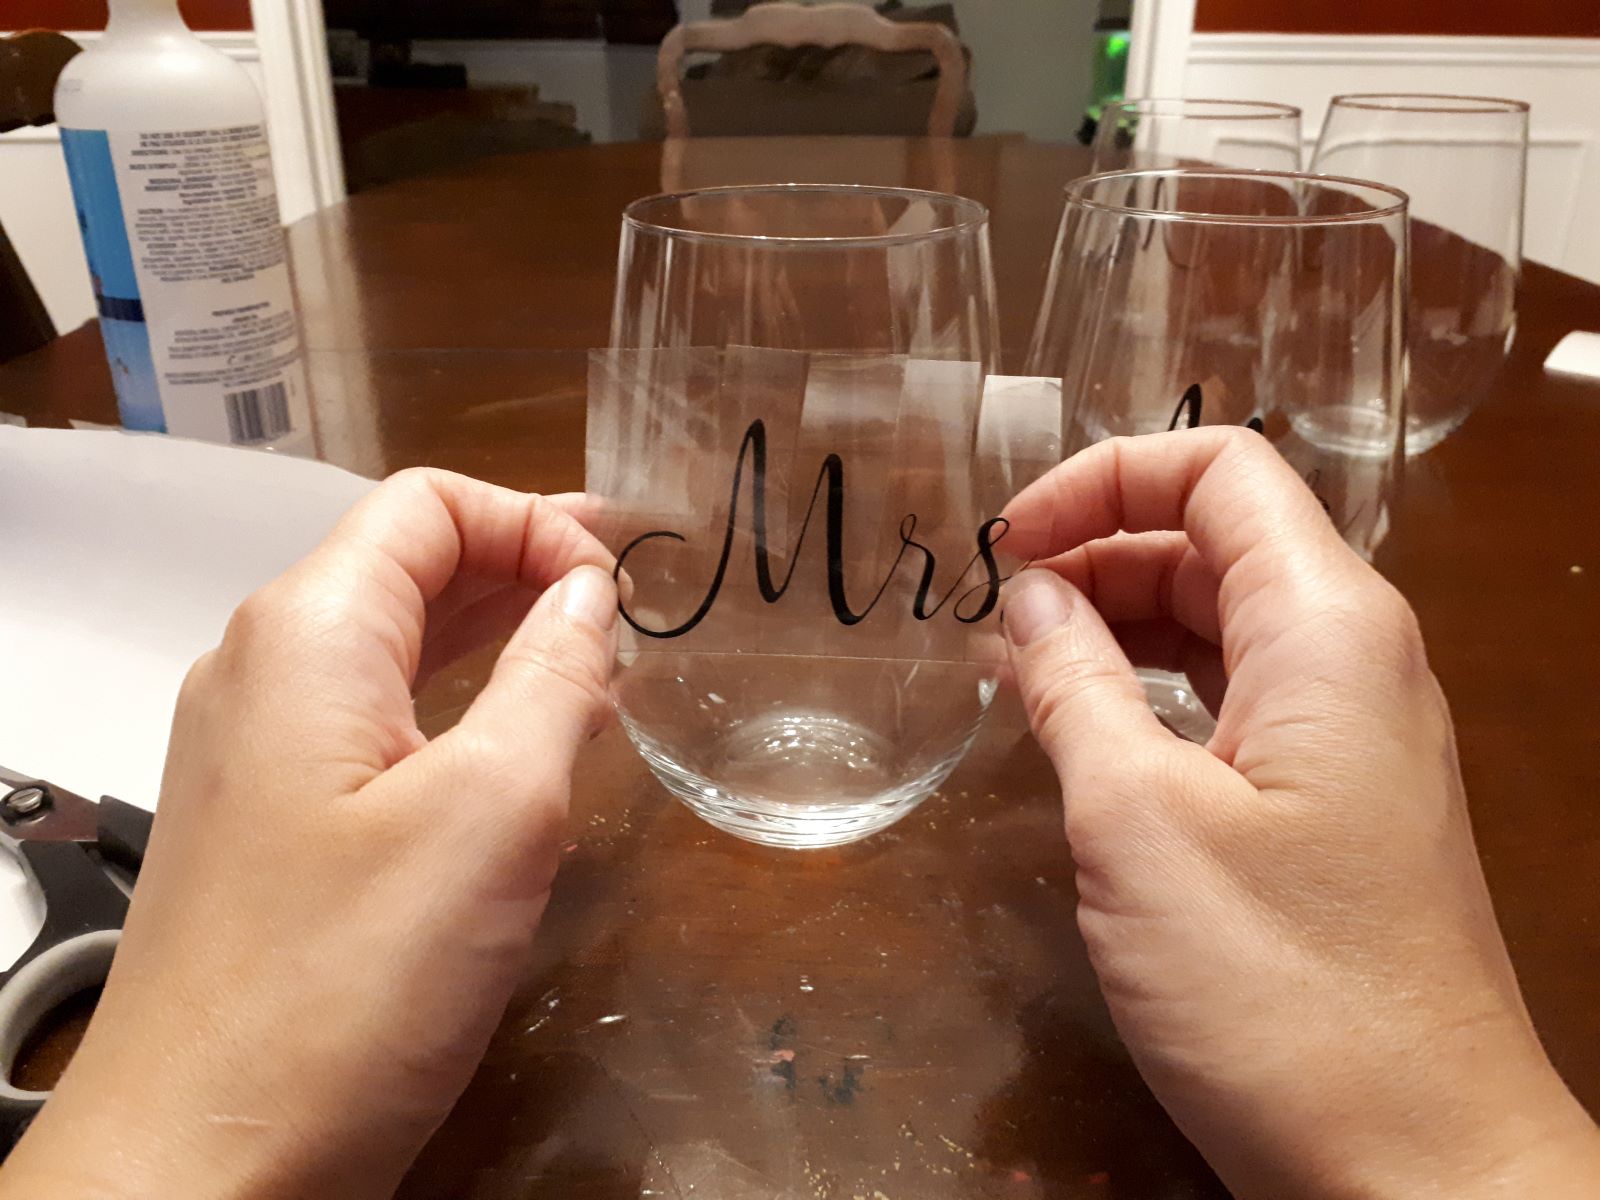
Step 5: Position the vinyl on the glass
With the vinyl decal prepared and the transfer tape securely affixed, it's time to position the vinyl onto the glass surface with precision and care. This step requires a methodical approach to ensure that the vinyl aligns perfectly and adheres smoothly to the glass, creating a visually striking and professional result.
Follow these detailed steps to position the vinyl on the glass effectively:
-
Prepare the Glass Surface: Ensure that the glass surface is clean and dry, free from any dust, streaks, or residue. A pristine glass surface provides the ideal foundation for the vinyl application, promoting a strong and durable bond.
-
Align the Vinyl: Carefully position the vinyl decal with the transfer tape onto the desired area of the glass surface. Take your time to align the edges and corners of the vinyl, ensuring that it fits precisely within the intended space.
-
Use Masking Tape (Optional): If working with a large vinyl decal or intricate design, consider using strips of masking tape to temporarily secure the vinyl in place. This step can provide added stability and control during the positioning process.
-
Smooth Out the Vinyl: Once the vinyl is positioned on the glass, use a squeegee or the edge of a credit card to smooth out the decal. Start from the center and gently push outward toward the edges, ensuring that the vinyl adheres securely to the glass surface.
-
Check for Alignment: Verify that the vinyl is aligned correctly and sits flush against the glass surface. Pay attention to any borders, edges, or design elements to ensure that the positioning is accurate and visually appealing.
-
Adjust as Needed: If the vinyl requires any adjustments, carefully lift the edges and reposition as necessary. Take your time to achieve the perfect placement before proceeding to the next step.
By meticulously positioning the vinyl onto the glass surface, you set the stage for a flawless and visually captivating application. Attention to detail during this step is crucial for ensuring that the vinyl enhances the aesthetic appeal of the glass while creating a lasting and professional impression.
With the vinyl accurately positioned, you're now ready to proceed to the next steps of smoothing out the vinyl and removing the transfer tape, bringing the project one step closer to completion.
Step 6: Smooth out the vinyl
Once the vinyl decal is positioned on the glass surface, the next crucial step is to ensure that it adheres smoothly and securely, creating a flawless and professional finish. Smoothing out the vinyl is essential for eliminating air bubbles, promoting strong adhesion, and enhancing the overall visual impact of the decal. Follow these detailed steps to smooth out the vinyl with precision and care:
-
Use a Squeegee or Credit Card: Begin by using a squeegee or the edge of a credit card to gently smooth out the vinyl decal. Starting from the center of the decal, apply even pressure and push outward toward the edges. This method helps to remove any trapped air bubbles and ensures that the vinyl makes full contact with the glass surface.
-
Work in Sections: If the vinyl decal is large, consider working in manageable sections to ensure thorough and consistent smoothing. Gradually move across the decal, applying pressure and smoothing out each section methodically. This approach helps to maintain control and achieve a uniform finish.
-
Pay Attention to Edges and Corners: Focus on the edges and corners of the vinyl decal, ensuring that they adhere smoothly to the glass surface. Use the squeegee or credit card to carefully press along the edges, smoothing out any potential creases or air pockets.
-
Apply Firm Pressure: As you smooth out the vinyl, apply firm but gentle pressure to ensure that the decal adheres securely to the glass. Avoid using excessive force, as this could potentially damage the vinyl or the glass surface.
-
Inspect for Imperfections: After smoothing out the entire decal, inspect the surface for any remaining air bubbles or imperfections. If necessary, use the squeegee or credit card to gently work out any lingering bubbles, ensuring a flawless and professional finish.
By meticulously smoothing out the vinyl decal, you ensure that it adheres seamlessly to the glass surface, creating a visually stunning and professional result. Attention to detail during this step is crucial for achieving a flawless finish and ensuring that the vinyl enhances the aesthetic appeal of the glass. With the vinyl smoothly adhered to the glass, you're now prepared to proceed to the final step of removing the transfer tape, bringing the project one step closer to completion.
Step 7: Remove the transfer tape
The final step in the process of applying vinyl to glass involves the careful removal of the transfer tape, revealing the beautifully adhered vinyl decal on the glass surface. This step requires precision and patience to ensure that the vinyl remains securely affixed while the transfer tape is peeled away, unveiling the stunning result of your meticulous work.
Follow these detailed steps to remove the transfer tape effectively and unveil the flawless vinyl decal on the glass surface:
-
Begin at a Corner: Start by selecting a corner of the transfer tape and gently lifting it away from the glass surface. Take care to peel the tape back at a sharp angle, ensuring that the vinyl remains adhered to the glass without lifting or peeling along with the transfer tape.
-
Peel Slowly and Steadily: As you continue to peel the transfer tape, do so slowly and steadily, maintaining a consistent angle to prevent any disruption to the vinyl decal. Pay close attention to any areas where the vinyl may be lifting, using your fingers to press it back onto the glass as needed.
-
Use the Squeegee or Credit Card: If you encounter any resistance or find that the vinyl is lifting with the transfer tape, gently press the affected area with a squeegee or the edge of a credit card. This method helps to secure the vinyl to the glass while allowing for smooth and uninterrupted removal of the transfer tape.
-
Inspect for Adhesion: As the transfer tape is removed, periodically inspect the vinyl decal to ensure that it remains securely adhered to the glass surface. If you notice any areas where the vinyl is lifting, pause the removal process and address those areas with gentle pressure to reaffix the vinyl.
-
Complete the Removal: Continue peeling the transfer tape until it is completely removed from the glass surface. Take your time to ensure that the vinyl remains intact and perfectly adhered, creating a seamless and visually striking addition to the glass.
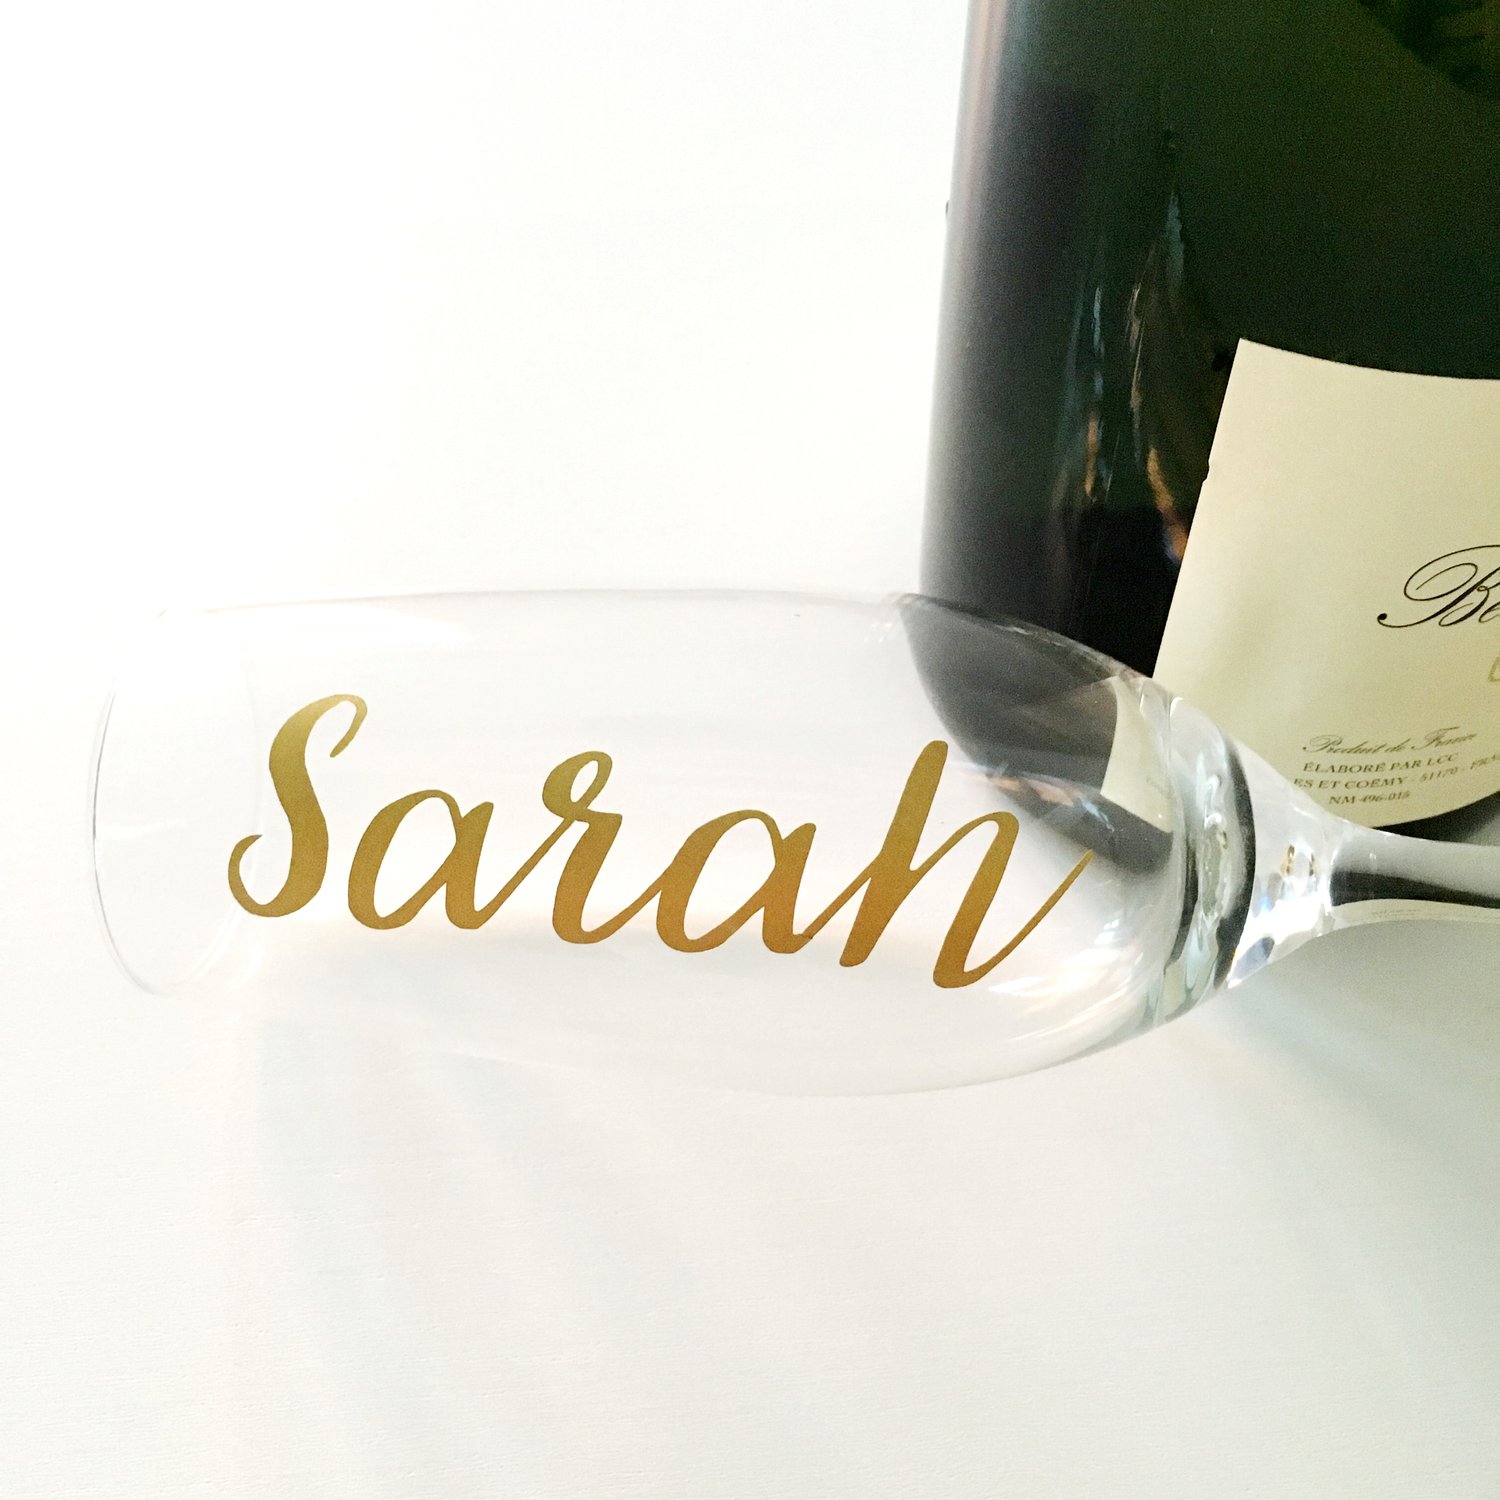
By meticulously removing the transfer tape, you reveal the stunning result of your efforts – a flawlessly applied vinyl decal that enhances the aesthetic appeal of the glass surface. Attention to detail during this final step is crucial for achieving a professional finish and ensuring that the vinyl stands out as a captivating and personalized addition to your living or working space. With the transfer tape removed, step back and admire the transformation, knowing that your meticulous work has resulted in a visually stunning and professionally applied vinyl decal on glass.
Conclusion
In conclusion, the process of applying vinyl to glass surfaces offers a creative and rewarding opportunity to personalize and enhance living and working spaces. From gathering the necessary materials to meticulously removing the transfer tape, each step in this comprehensive guide plays a crucial role in achieving a flawless and visually striking result.
By following the step-by-step instructions outlined in this guide, you have gained the knowledge and confidence to embark on your own vinyl application projects with ease. The careful preparation of the glass surface, precise measurement and cutting of the vinyl, and the methodical application and smoothing process have equipped you with the skills to achieve professional-looking results.
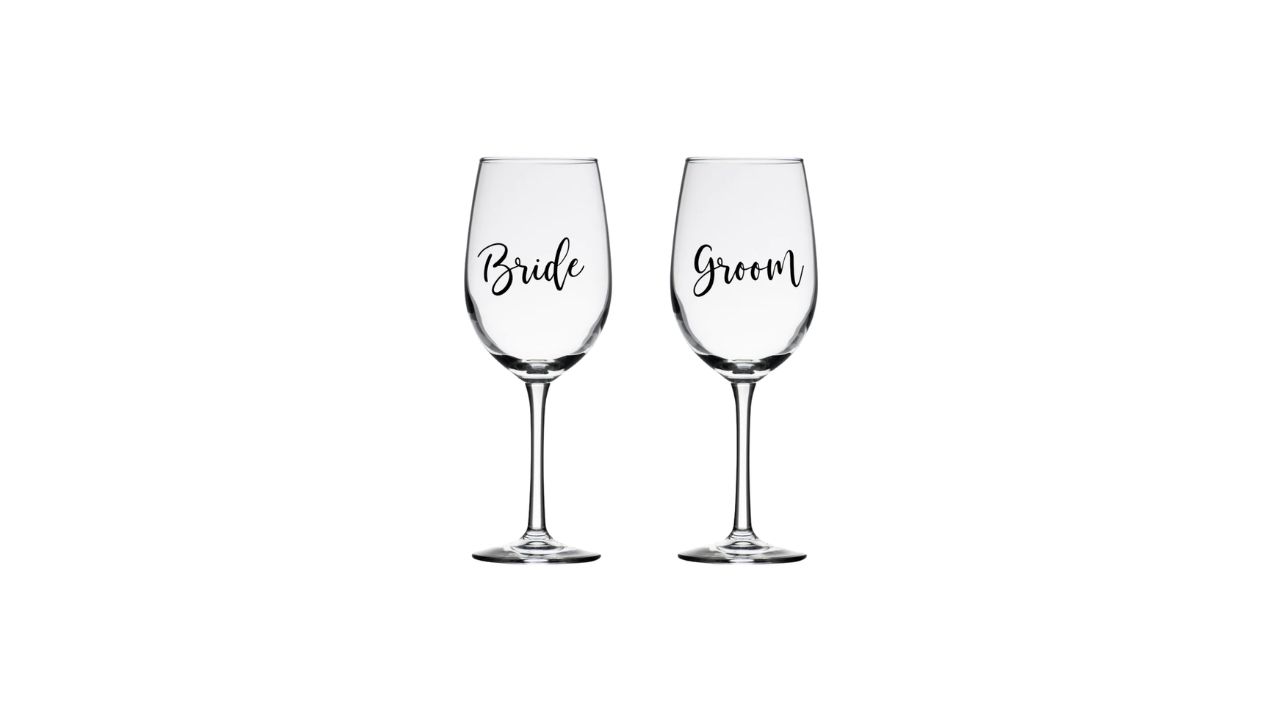
As you admire the beautifully applied vinyl decal on the glass, take pride in the transformation you have brought to the space. Whether it's a decorative flourish in your home, an eye-catching storefront display, or a personalized gift for a loved one, the application of vinyl to glass allows you to unleash your creativity and make a lasting impression.
Furthermore, the versatility of vinyl decals opens up a world of possibilities for expressing your unique style and personality. From intricate designs to inspirational quotes, the ability to customize and apply vinyl to glass empowers you to create captivating visual elements that resonate with your individual taste and preferences.
As you continue to explore the art of vinyl application, remember that practice and experimentation are key to honing your skills and discovering new creative possibilities. Embrace the process, enjoy the journey, and let your imagination guide you as you embark on future projects.
In the end, the application of vinyl to glass is not just a DIY endeavor; it's a form of self-expression that adds a touch of artistry and personality to the spaces we inhabit. With the knowledge and skills acquired from this guide, you are well-equipped to embark on your own vinyl application ventures, bringing your creative visions to life and transforming ordinary glass surfaces into captivating works of art.
Frequently Asked Questions about How To Put Vinyl On Glass
Was this page helpful?
At Storables.com, we guarantee accurate and reliable information. Our content, validated by Expert Board Contributors, is crafted following stringent Editorial Policies. We're committed to providing you with well-researched, expert-backed insights for all your informational needs.


0 thoughts on “How To Put Vinyl On Glass”