Articles
How To Match Vinyl Siding
Modified: October 28, 2024
Learn how to match vinyl siding with expert articles and tips. Find step-by-step instructions and solutions for seamless siding replacement.
(Many of the links in this article redirect to a specific reviewed product. Your purchase of these products through affiliate links helps to generate commission for Storables.com, at no extra cost. Learn more)
Introduction
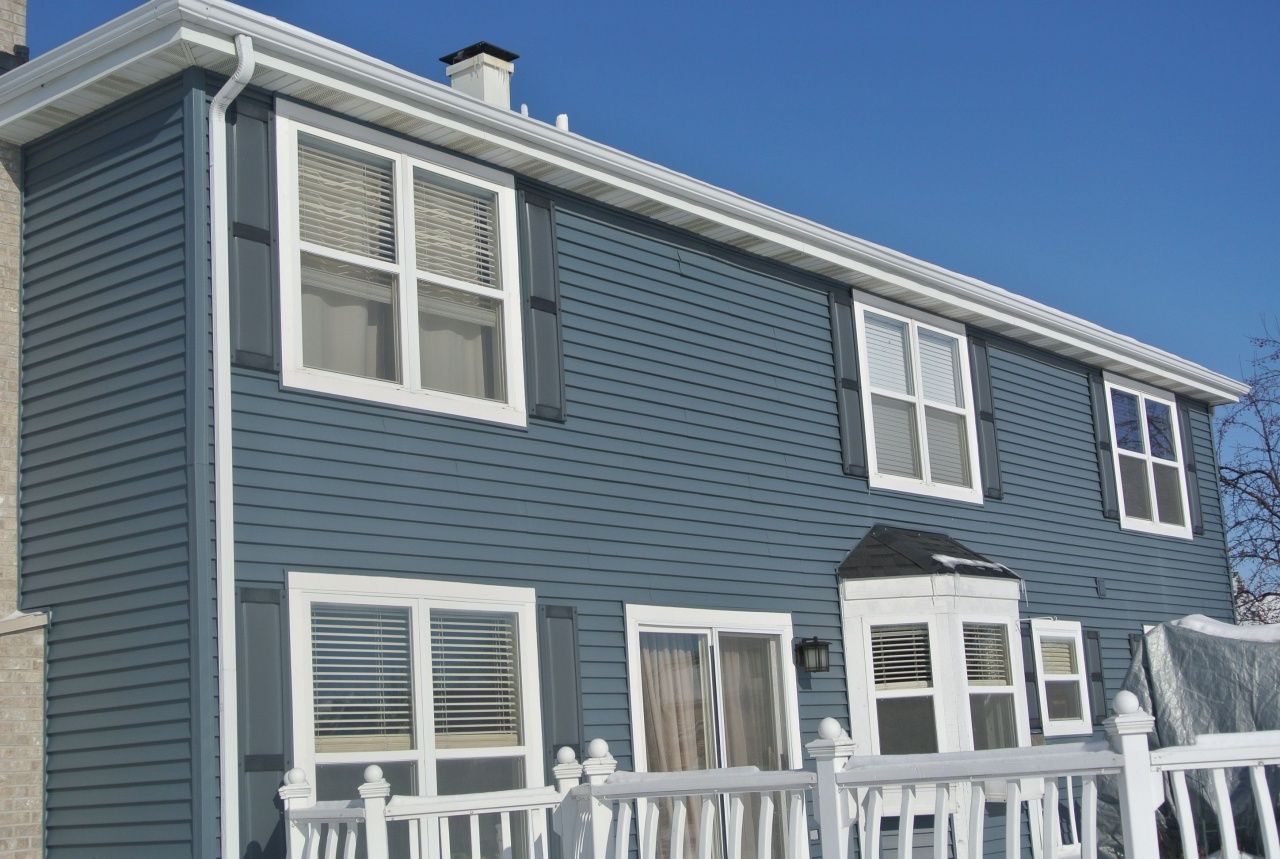
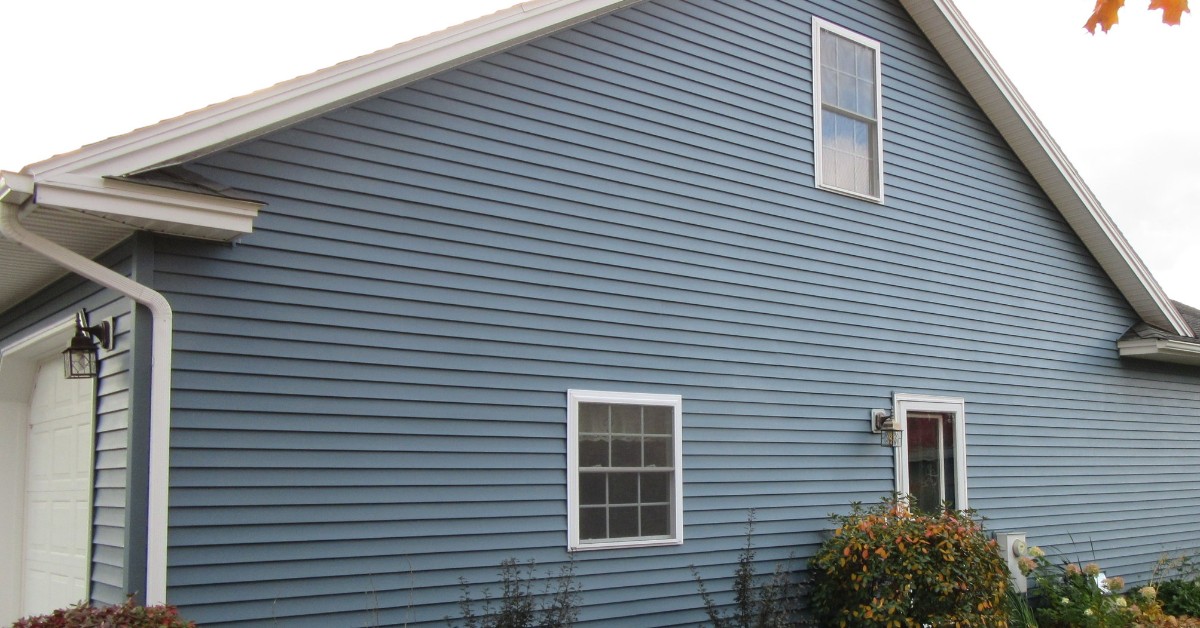
When it comes to renovating or upgrading the exterior of your home, one of the most popular options is vinyl siding. Vinyl siding is a durable and cost-effective material that not only adds a fresh look to your home but also provides protection against the elements.
However, choosing the right vinyl siding to match your home’s existing exterior can be a daunting task. With a wide range of colors, profiles, and dimensions available, it’s essential to have a clear understanding of the steps involved in finding the perfect match.
In this article, we will guide you through the process of matching vinyl siding to ensure a seamless and harmonious look for your home. We will cover important steps such as color selection, identifying the siding profile, measuring dimensions, and properly installing the siding. By following these steps, you can achieve a professional-looking result that enhances the beauty and value of your home.
So, whether you are replacing your old siding or adding new siding to your home, let’s delve into the world of vinyl siding and discover how to match it to your home’s exterior.
Key Takeaways:
- Choose the right color, profile, and dimensions of vinyl siding to harmonize with your home’s style and environment, ensuring a visually appealing and long-lasting exterior.
- Properly prepare, align, and secure the vinyl siding during installation, and add finishing touches to achieve a professional and polished appearance that enhances your home’s curb appeal.
Read more: How Thick Is Vinyl Siding
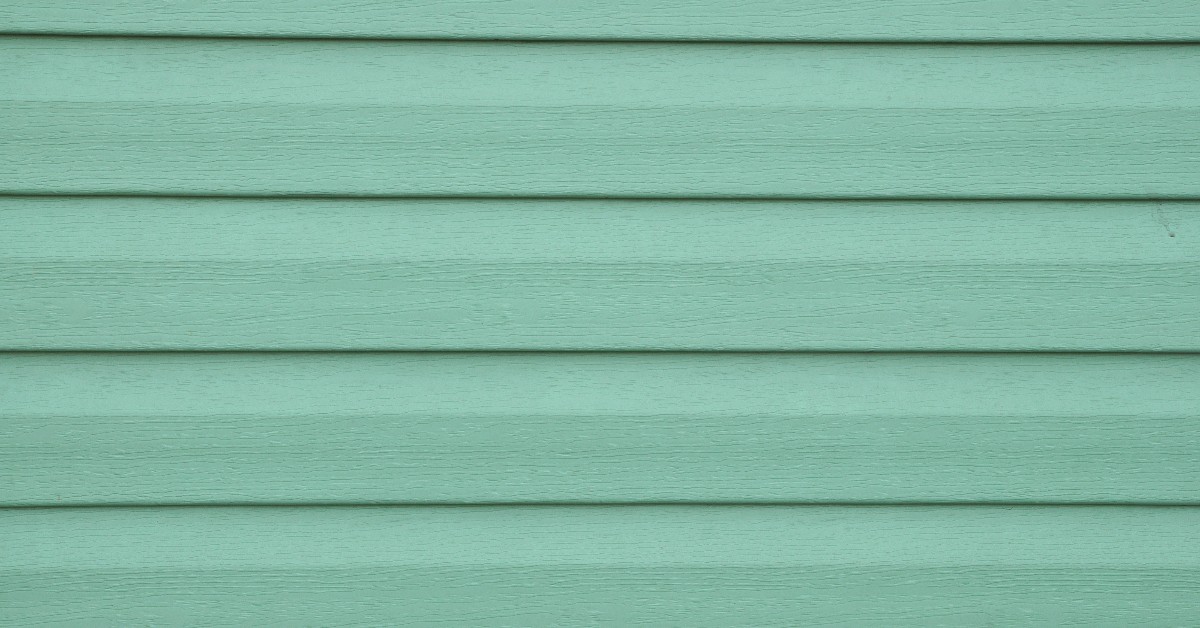
Step 1: Choosing the Right Color
Choosing the right color for your vinyl siding is an important decision as it can significantly impact the overall aesthetic of your home. The goal is to select a color that complements your home’s architectural style and blends well with the surrounding environment.
Here are some tips to consider when choosing the right color for your vinyl siding:
- Consider the architectural style: Take into account the architectural style of your home. Traditional homes often look great with neutral colors like beige, gray, or cream, while more contemporary or modern homes can handle bolder or darker shades.
- Assess the surroundings: Consider the colors of neighboring houses and the natural elements surrounding your home, such as trees, landscape, or other exterior features. You want your vinyl siding color to harmonize with the existing environment rather than clash with it.
- Think about the visual impact: Certain colors can create visual illusions that can enhance or downplay different aspects of your home. Lighter colors tend to make a house look larger, while darker colors can make it appear more compact.
- Consider the long-term: While current trends may influence your decision, it’s important to think long-term. You want a color that will stand the test of time and won’t become outdated quickly. Neutral or classic colors are generally a safe bet.
Don’t hesitate to request samples or consult with a professional. Many manufacturers provide color samples or online visualization tools that allow you to see how different colors would look on your home. This can help you make a more confident and informed decision.
Once you have chosen a color, make note of its name and code to ensure consistency when ordering your vinyl siding. With the color selected, you can move on to the next step: identifying the siding profile.
Step 2: Identifying the Siding Profile
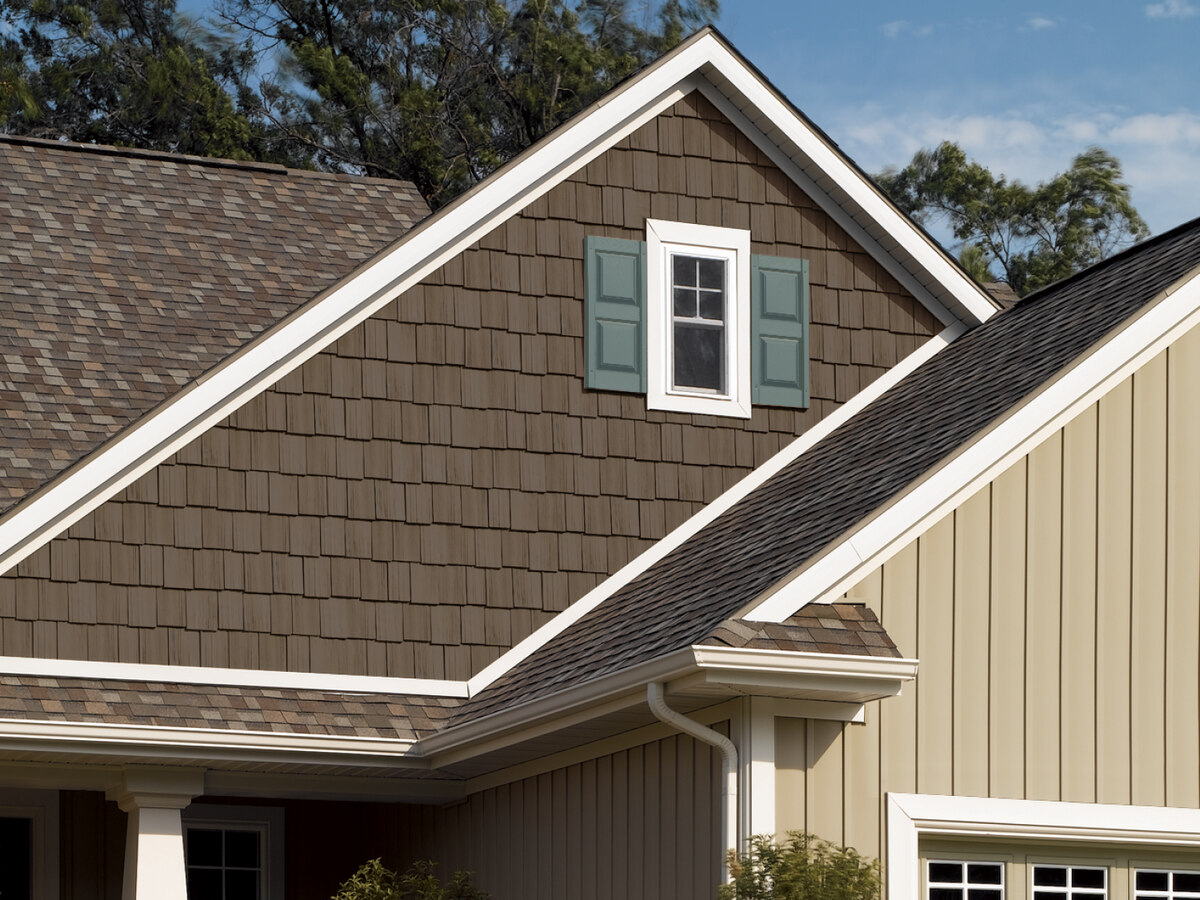
Identifying the siding profile is crucial in ensuring a seamless match when installing new vinyl siding. The profile refers to the specific shape and texture of the siding panels. Different profiles create different visual effects and styles, so it’s essential to choose a profile that matches your home’s existing siding or desired aesthetic.
Here are some common types of vinyl siding profiles:
- Dutch Lap: Also known as clapboard siding, this profile features a slight groove or notch at the top of each panel, adding depth and dimension to the overall look.
- Beaded: This profile includes a rounded bead at the bottom of each panel, providing a more distinctive look and a traditional appeal.
- Board and Batten: This profile consists of wide vertical panels with slimmer pieces called battens covering the seams between each panel. It creates a rustic and charming look.
- Shake/Shingle: This profile replicates the appearance of cedar shingles or shakes. It is often used to achieve a more rustic or cottage-style look.
- Scalloped: This profile features curved and scalloped panels, adding a touch of elegance and uniqueness to your home’s exterior.
To identify your current siding profile, examine the existing siding panels or consult with a professional. Take note of the shape, texture, and dimensions of the panels to ensure a proper match when ordering new vinyl siding.
If you want to change the profile of your siding, consider the architectural style of your home and the desired look you want to achieve. Keep in mind that changing the profile may require additional preparation and installation techniques.
Once you have determined the siding profile, you are ready to move on to the next step: measuring the siding dimensions.
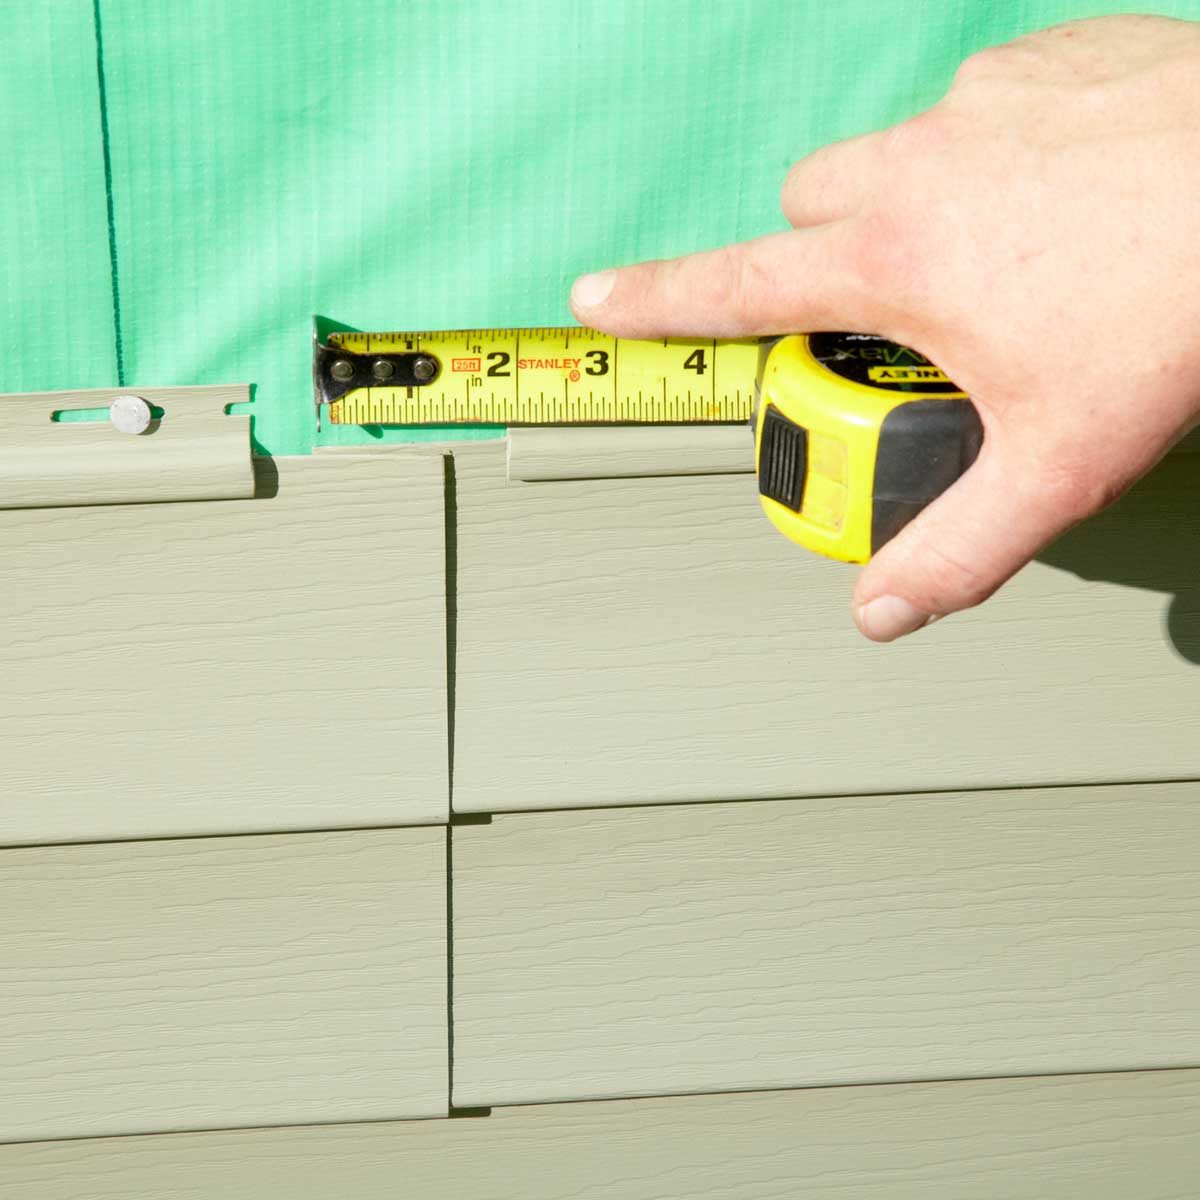
Step 3: Measuring the Siding Dimensions
Accurate measurements are crucial when ordering vinyl siding to ensure a proper fit and a flawless installation. Measuring the siding dimensions involves determining the length, width, and height of the areas where the siding will be installed.
Here are the steps to measure the siding dimensions:
- Measure the length: Start by measuring the length of each wall where the siding will be installed. Measure from one corner to the other, accounting for any openings such as windows or doors. Repeat this process for each wall.
- Measure the height: Next, measure the height of each wall from the foundation to the eaves or soffits. Take into account any overhangs or other elements that affect the height. Repeat this process for each wall.
- Calculate the area: To determine the square footage of each wall, multiply the length by the height. Add up the square footage of all the walls to determine the total area that needs to be covered with vinyl siding.
It’s important to consider any additional areas where siding is required, such as gables or dormers. These areas may have different dimensions or shapes, so measure them separately and calculate their square footage.
Keep in mind that it’s always better to order slightly more siding than you think you will need. This allows for any mistakes, waste, or future repairs. Some manufacturers recommend adding 10% to 15% to your total square footage to account for these factors.
Once you have accurate measurements, you are ready to move on to the next step: ordering the correct amount of siding.
Step 4: Ordering the Correct Amount of Siding
Ordering the correct amount of vinyl siding is crucial to ensure a smooth installation process without any delays or shortages. With accurate measurements in hand, you can calculate the exact quantity of siding panels required to cover your home’s exterior.
Here’s how to order the correct amount of siding:
- Convert square footage to squares: Vinyl siding is typically sold in “squares,” with one square equaling 100 square feet. Divide your total square footage by 100 to determine the number of squares needed.
- Consider waste factor: It’s important to account for waste when ordering vinyl siding. The waste factor depends on the complexity of your home’s design, the profile of the siding, and any potential mistakes during installation. Adding 10% to 20% to the total number of squares is recommended to accommodate waste.
- Check the quantity per box: Each box of vinyl siding contains a specific quantity of panels, depending on the manufacturer. Divide the total number of squares needed, including the waste factor, by the number of squares per box to determine the number of boxes to order.
- Consider accessories: Take into account any additional accessories you may need, such as corner pieces, J-channels, or trim. These accessories should be factored into your order to ensure all necessary components are available for installation.
When placing your order, provide the supplier or manufacturer with the color, profile, and quantity of siding panels needed. Confirm the delivery date and any specific instructions for handling and storage.
By ordering the correct amount of vinyl siding, you can avoid unnecessary delays or additional costs. With the siding on its way, you can now move on to the next step: preparing the siding for installation.
Read more: How To Drill Into Vinyl Siding
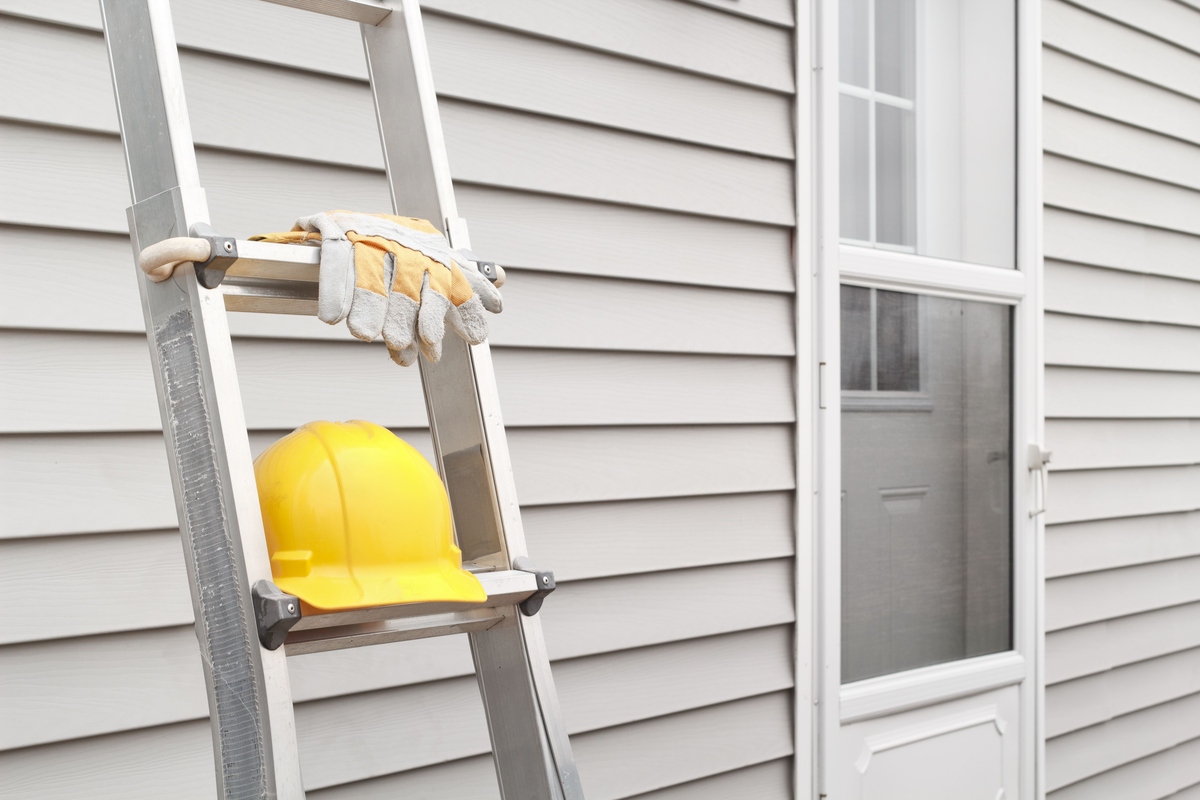
Step 5: Preparing the Siding for Installation
Before installing the vinyl siding, it’s essential to properly prepare the material to ensure a smooth and successful installation process. Taking the time to prepare the siding will help you achieve a professional-looking result and enhance the longevity of the siding.
Here are the steps to prepare the siding for installation:
- Unpack the siding: Carefully unpack the vinyl siding panels, taking care not to damage or bend them. Keep the panels organized and in a clean area, protected from dirt, debris, and extreme weather conditions.
- Inspect the siding: Thoroughly inspect each panel for any defects, imperfections, or damage. Check for cracks, warping, or discoloration. It’s crucial to address any issues before starting the installation process.
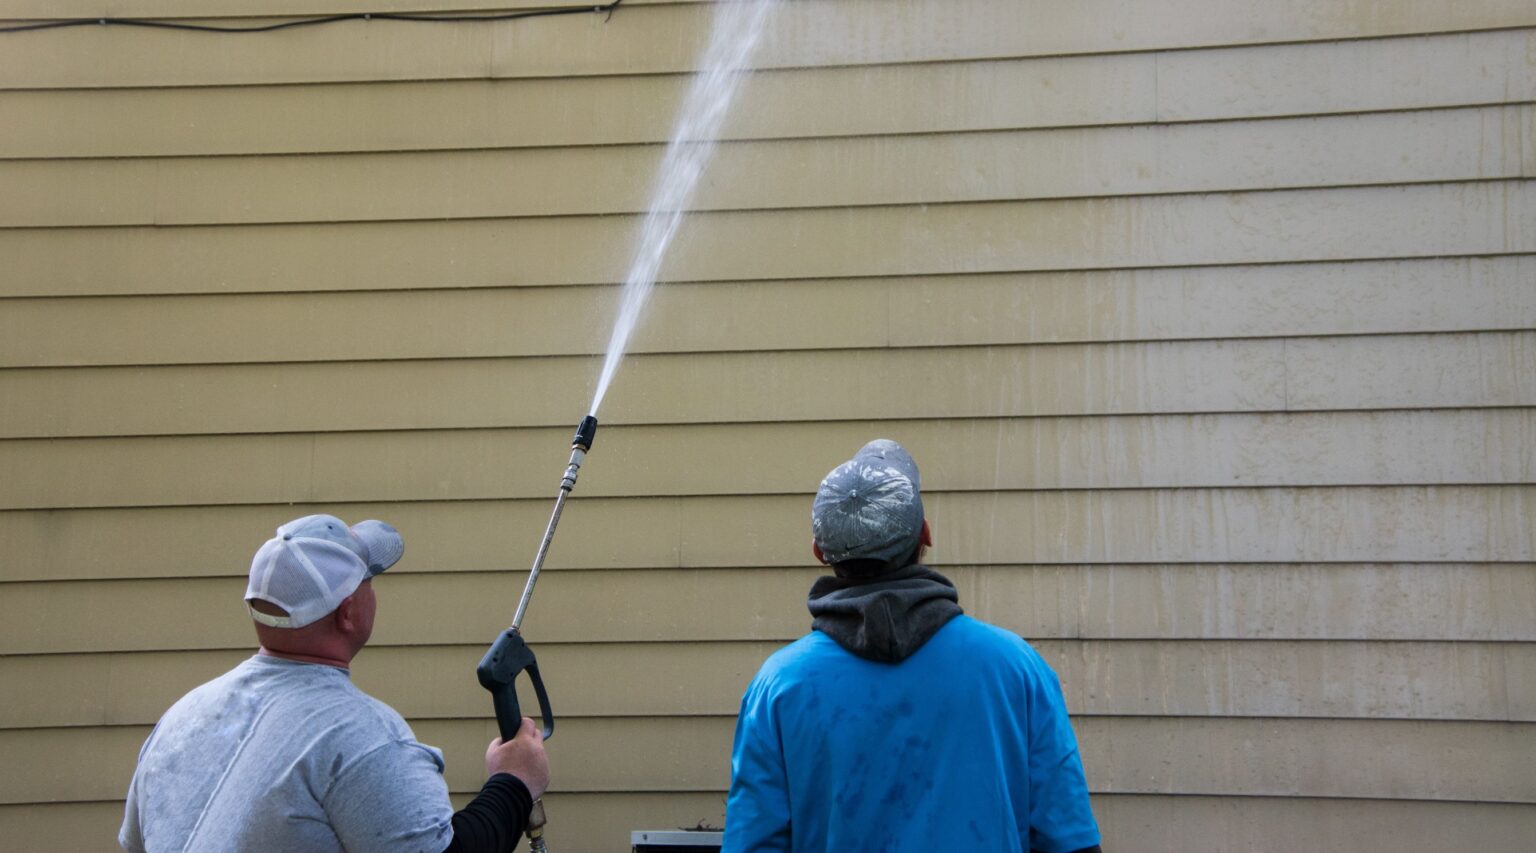
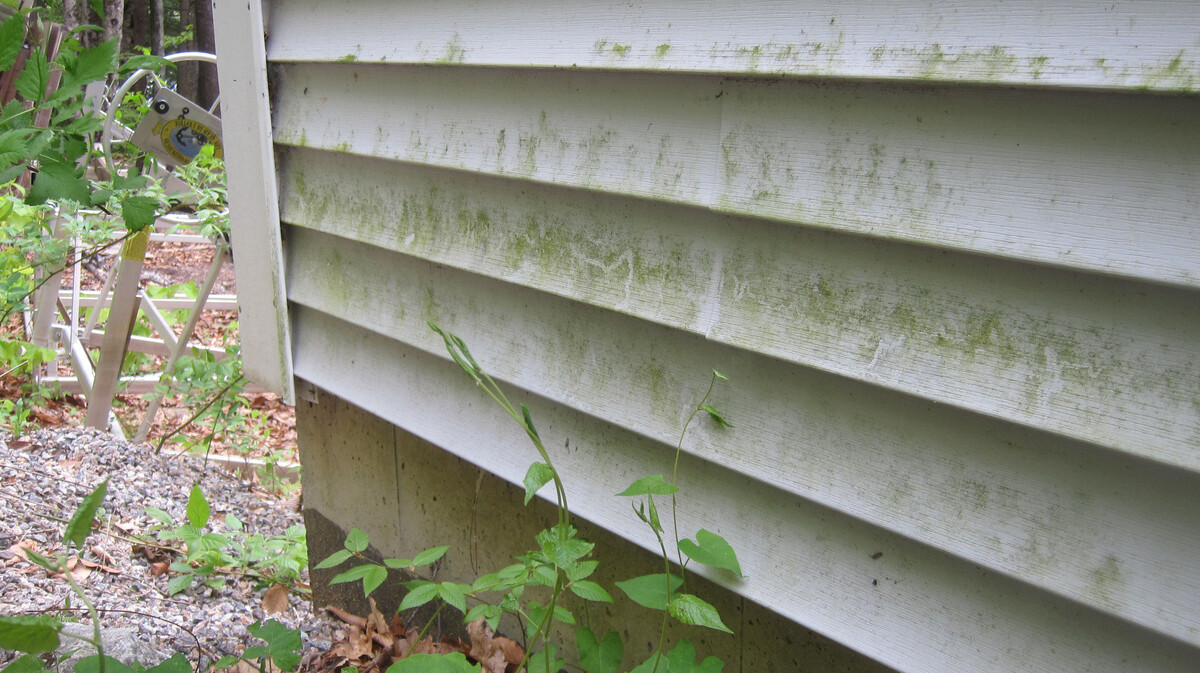
- Clean the siding: Clean the siding panels using a mild detergent or vinyl siding cleaner. Gently scrub the surface to remove any dirt, dust, or residue. Rinse the panels thoroughly with clean water and allow them to dry completely.
- Cut the siding: If you need to make any cuts or adjustments to the siding panels to fit specific areas of your home, mark the measurements accurately and use a vinyl siding cutting tool or a sharp utility knife to make clean and precise cuts.
- Organize the accessories: Sort and organize any accessories, such as corner pieces, J-channels, or trim. Ensure that you have the necessary accessories for each section of the house, and keep them easily accessible during the installation process.
Properly preparing the vinyl siding will allow for a more efficient and seamless installation. It’s also a good opportunity to address any concerns or defects before you start applying the siding to your home’s exterior.
Once the siding is prepared, you can move on to the next step: aligning the first piece of siding.
When matching vinyl siding, it’s important to consider the color, texture, and profile of the existing siding. Take a sample to the store to ensure a close match.
Step 6: Aligning the First Piece of Siding
Aligning the first piece of vinyl siding is a crucial step in the installation process as it sets the foundation for the rest of the siding. Proper alignment ensures a seamless and visually pleasing result, creating a cohesive look for your home’s exterior.
Here are the steps to align the first piece of siding:
- Start with a level line: Measure and mark a level line along the bottom of the wall where you will install the first piece of siding. Use a level or a chalk line to ensure the line is straight and level across the entire length.
- Secure the starter strip: Install a starter strip along the bottom of the wall, following the level line. The starter strip provides a secure base for the first piece of siding to attach to. Nail or screw the starter strip securely into place, ensuring it is level and aligned with the line.
- Align the first piece horizontally: Place the first piece of siding horizontally onto the starter strip, aligning it carefully with the level line. Make sure the bottom edge of the siding rests snugly against the starter strip.
- Check for level and plumb: Use a level to ensure the first piece of siding is both level horizontally and plumb vertically. Adjust the position as needed to ensure it is perfectly aligned.
- Secure the first piece: Once the first piece of siding is aligned, secure it in place by nailing or screwing it into the wall. Place the fasteners near the top of the siding panel, allowing some room for expansion and contraction.
- Overlap the siding: If necessary, overlap the subsequent pieces of siding slightly to ensure a secure fit. Follow the manufacturer’s guidelines for overlapping and interlocking the siding panels.
Taking the time to properly align the first piece of siding will ensure a neat and professional appearance for the entire installation. Pay attention to the level and alignment, as any misalignment at this stage can lead to a skewed and uneven result.
With the first piece aligned and secured, you can now move on to the next step: installing the remaining pieces of siding.
Step 7: Installing the Remaining Pieces of Siding
With the first piece of vinyl siding properly aligned and secured, it’s time to install the remaining pieces to complete the installation. Installing the siding correctly ensures a seamless and visually appealing appearance for your home’s exterior.
Here are the steps to install the remaining pieces of siding:
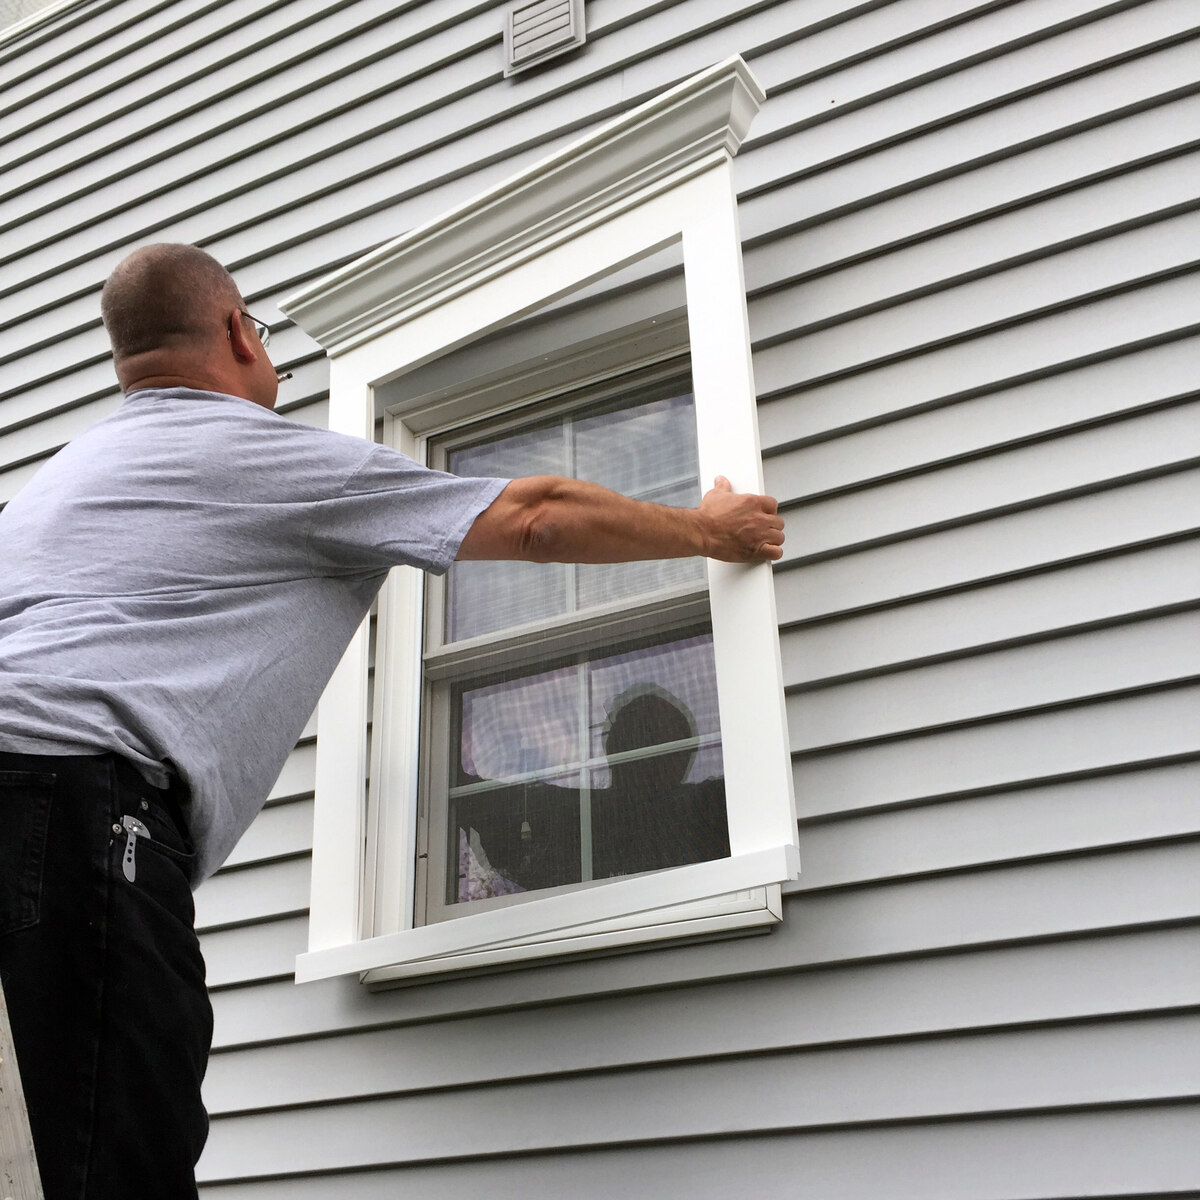
- Place the next piece of siding: Align the next piece of siding with the previously installed piece, ensuring a tight fit and proper overlap. Slide the bottom edge of the siding into the previously installed piece’s top edge.
- Insert the siding into the trim: If your home has trim pieces, such as J-channels or corner pieces, insert the siding properly into the trim, following the manufacturer’s instructions. Ensure a snug and secure fit.
- Level and align the siding: Use a level to check the alignment and a plumb line to maintain verticality on each piece of siding as you install it. Make any necessary adjustments to ensure each piece is level and aligned with the previous ones.
- Secure the siding: Nail or screw the siding panels into the wall, following the manufacturer’s recommended fastening guidelines. Place the fasteners at the top of the siding, allowing for expansion and contraction.
- Repeat the process: Continue installing the remaining pieces of siding, working your way up the wall. Ensure each piece is aligned and secured properly.
- Trim as necessary: If you encounter areas where the siding needs to be trimmed or cut to fit around windows, doors, or corners, use a vinyl siding cutting tool or a sharp utility knife to make clean and precise cuts.
Take your time and pay attention to the alignment and levelness of each piece of siding. Proper installation ensures a uniform and visually pleasing look for your home’s exterior.
Once all the siding panels are installed, you can proceed to the next step: securing the siding properly.
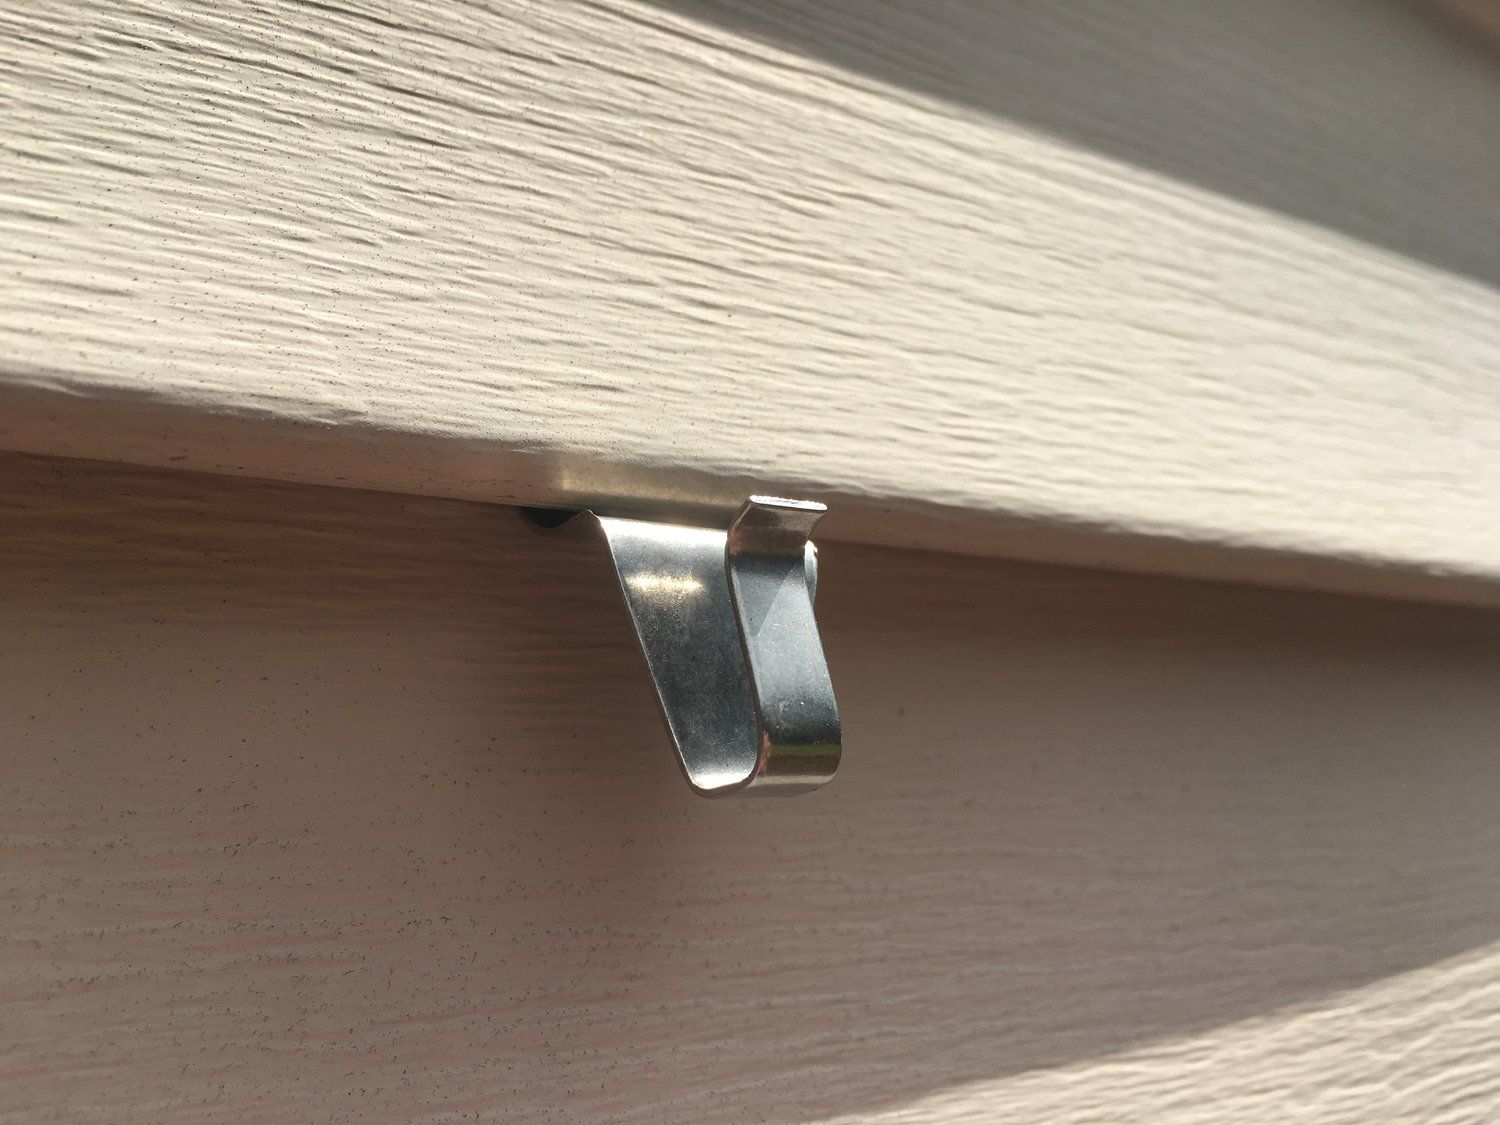
Step 8: Securing the Siding Properly
Securing the vinyl siding properly is essential to ensure its stability and longevity. Properly secured siding will withstand the elements and maintain its appearance over time. Taking the necessary steps to secure the siding will contribute to a successful and durable installation.
Here are the steps to secure the siding properly:
- Adjust the fasteners: Check the fasteners on each piece of siding to ensure they are secure but not over-tightened. The siding should have some freedom to expand and contract with temperature changes.
- Space the fasteners: Ensure that the fasteners are spaced appropriately according to the manufacturer’s guidelines. Improper spacing can cause the siding to warp or buckle.
- Attach the siding to the wall: Make sure the siding is securely attached to the wall by checking the fasteners’ tightness. Loose siding can result in noise, movement, or potential damage during strong winds or other weather conditions.
- Consider using trim pieces: Utilize trim pieces, such as J-channels, utility trim, or corner pieces, where necessary to provide additional support and a finished look. Trim pieces help secure the edges and corners of the siding.
- Inspect for gaps: Inspect the siding for any gaps or spaces between panels. Gaps can allow moisture or pests to enter, compromising the integrity of the siding. If you notice any gaps, make the necessary adjustments and secure the siding properly.
- Seal any penetrations: Properly seal any penetrations, such as around windows, doors, or vents, to prevent water infiltration. Use a high-quality caulking material that is compatible with the vinyl siding.
By securing the vinyl siding correctly, you ensure its stability and protect your home’s exterior from potential damage. Take your time to inspect and adjust the fasteners as needed to achieve a secure and reliable installation.
With the siding properly secured, you can now move on to the final step: adding finishing touches.
Read more: How To Measure For Vinyl Siding
Step 9: Adding Finishing Touches
Adding finishing touches to your vinyl siding installation helps to enhance the overall appearance and functionality of your home’s exterior. These final steps add those extra details that make a significant difference in the final result. Taking the time to complete these finishing touches will ensure a polished and professional-looking outcome.
Here are the steps to add finishing touches:
- Install trim pieces: Install any trim pieces, such as corner posts, J-channels, or window and door trim, as needed. These pieces serve both decorative and functional purposes, adding visual appeal and providing a finished look to your siding installation.
- Clean up: Clean up any debris, tools, or leftover materials from the installation process. Remove any protective coverings, such as tape or plastic wrap, from windows, doors, or other surfaces to reveal the clean and fresh appearance of your newly installed vinyl siding.
- Inspect for any touch-ups: Take a thorough look at your siding installation to identify any areas that may require touch-ups or adjustments. Look out for any visible gaps, uneven seams, or imperfections in the siding panels. Make the necessary adjustments or repairs to achieve a flawless finish.
- Consider additional features: If desired, you can consider adding additional features to enhance the aesthetic appeal of your home’s exterior. These features could include decorative shutters, trim accents, or outdoor lighting to further enhance the overall look of your home.
- Maintain the siding: It’s important to regularly maintain your vinyl siding to keep it looking its best. Follow the manufacturer’s maintenance instructions, which may include regular cleaning with a mild detergent, inspecting for damage, and addressing any issues promptly.
By adding these finishing touches, not only will your newly installed vinyl siding look visually appealing, but it will also have an improved lifespan and durability. Attention to detail during this final step will leave you with a beautiful and long-lasting siding installation.
With these finishing touches completed, you have successfully matched and installed your vinyl siding, transforming the appearance of your home’s exterior and protecting it for years to come.
Congratulations on a job well done!
Conclusion
Matching vinyl siding to your home’s exterior can be a rewarding and transformative process. By following the steps outlined in this article, you can achieve a seamless and visually appealing result that enhances the beauty and value of your home.
From choosing the right color and identifying the siding profile to measuring the dimensions and securing the siding properly, each step plays a crucial role in achieving a successful installation. Taking the time to properly prepare and align the siding, as well as adding finishing touches, ensures a professional and polished appearance.
Remember to consider the architectural style of your home, the surrounding environment, and the long-term endurance of your chosen color. Pay close attention to measurement accuracy, secure the siding with proper fastening techniques, and address any necessary trim or touch-ups.
Regular maintenance and upkeep are essential to preserve the beauty and functionality of your vinyl siding. By following the manufacturer’s instructions and conducting routine inspections, you can extend the lifespan of your siding and keep it looking its best for years to come.
Whether you are replacing old siding or adding new siding to your home, the process of matching vinyl siding should not be taken lightly. With careful planning, attention to detail, and a little bit of creativity, you can achieve a harmonious and stunning exterior that enhances the overall curb appeal of your home.
So go ahead and embark on your vinyl siding journey, confident in your ability to match and install the perfect siding that will transform your home into a beautiful, durable, and stylish place to live.
Frequently Asked Questions about How To Match Vinyl Siding
Was this page helpful?
At Storables.com, we guarantee accurate and reliable information. Our content, validated by Expert Board Contributors, is crafted following stringent Editorial Policies. We're committed to providing you with well-researched, expert-backed insights for all your informational needs.


0 thoughts on “How To Match Vinyl Siding”