Articles
How To Mount To Vinyl Siding
Modified: December 7, 2023
Learn how to mount articles to vinyl siding with our step-by-step guide. Ensure a secure and lasting installation for your home exterior.
(Many of the links in this article redirect to a specific reviewed product. Your purchase of these products through affiliate links helps to generate commission for Storables.com, at no extra cost. Learn more)
Introduction
Welcome to our comprehensive guide on how to mount objects to vinyl siding. Vinyl siding is a popular choice for home exteriors due to its durability, low maintenance, and versatility. However, figuring out the best way to hang or mount objects on vinyl siding can be a bit tricky.
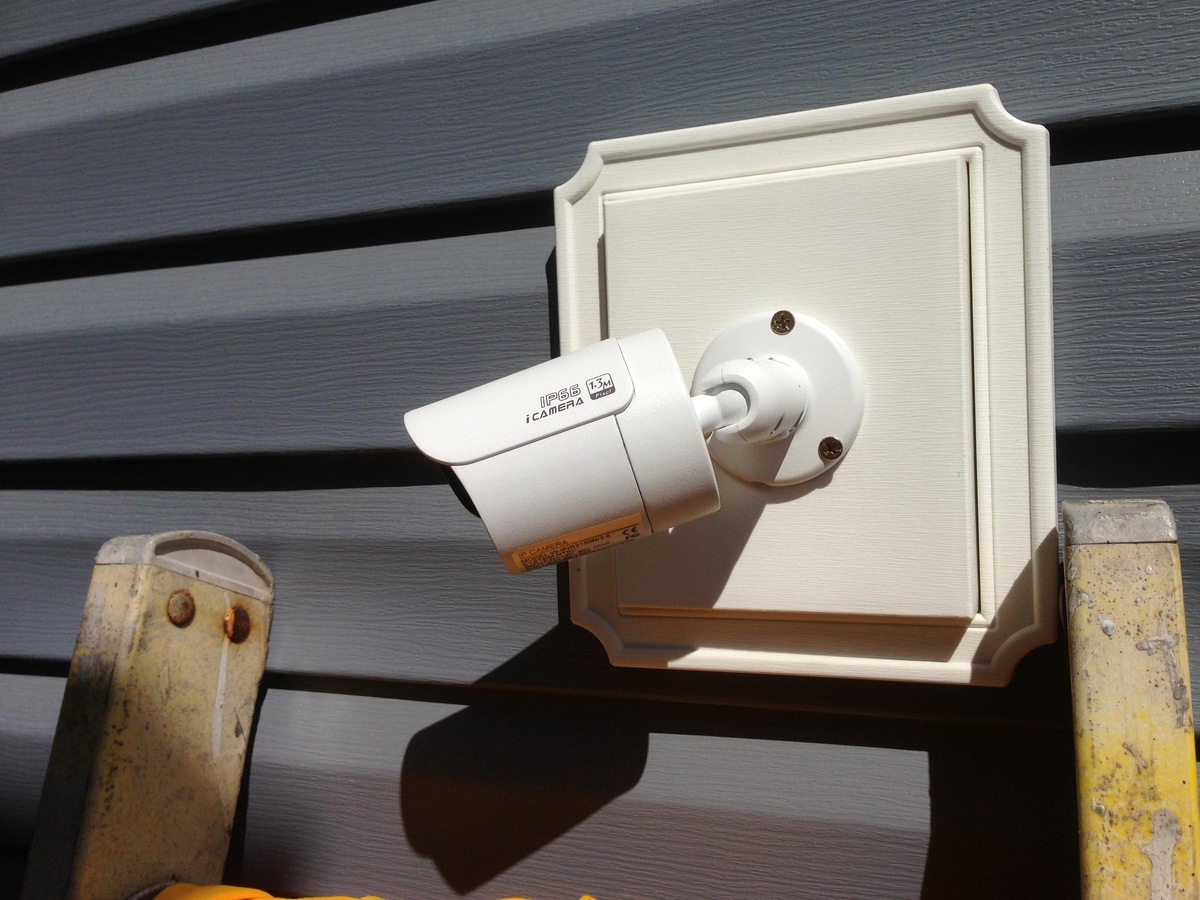
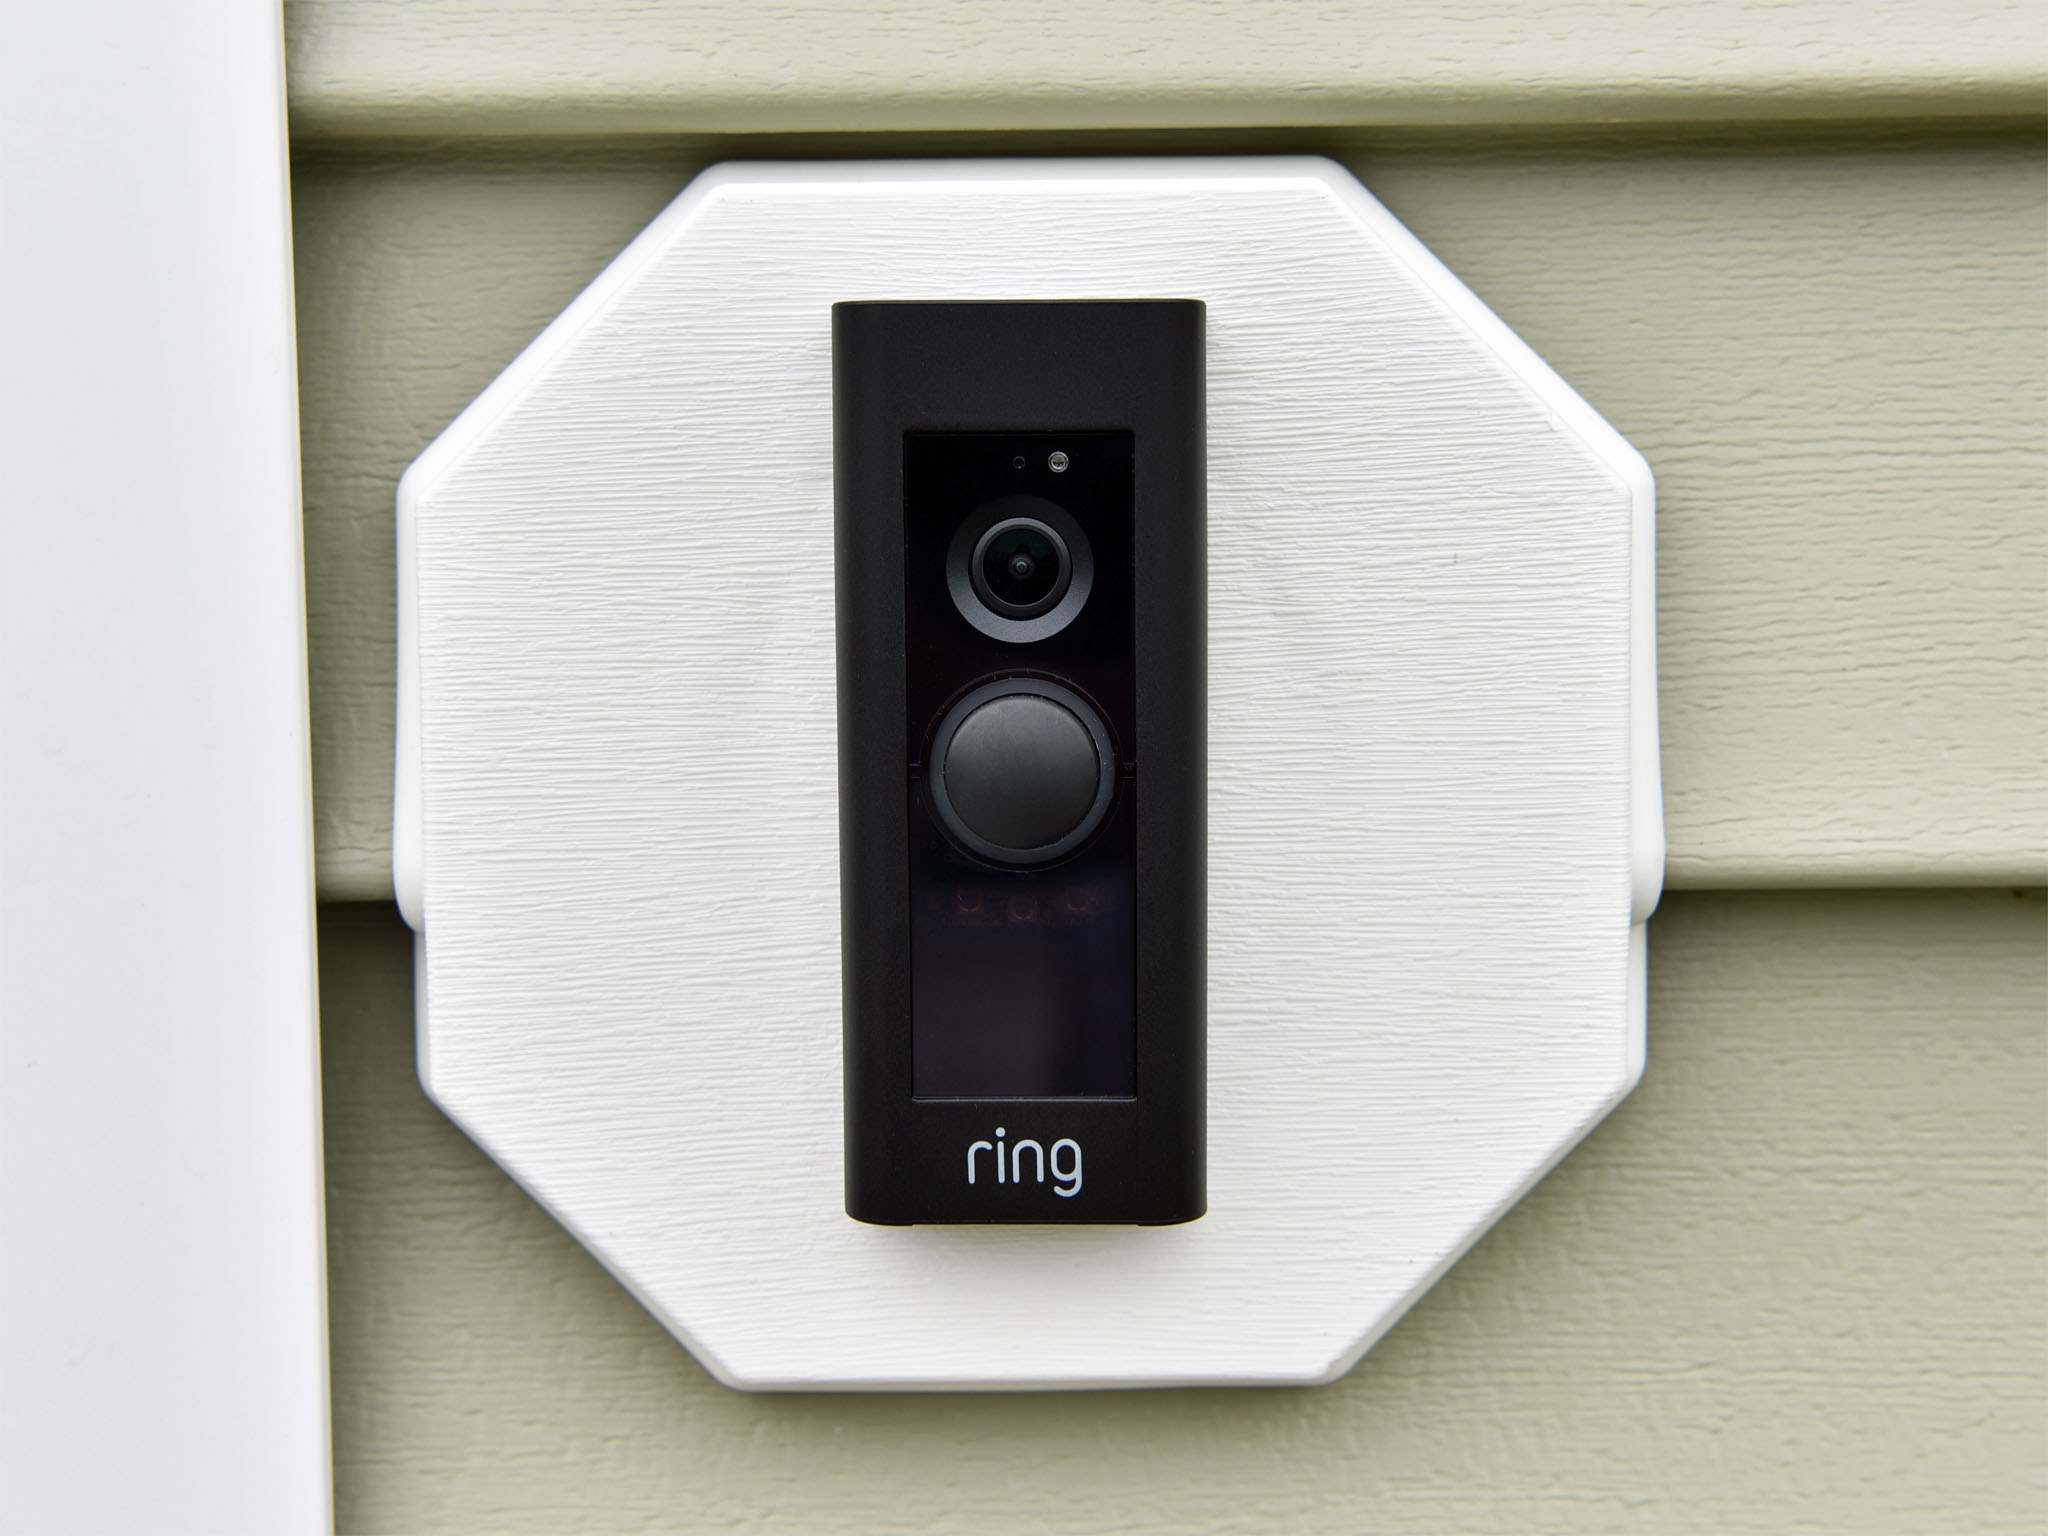
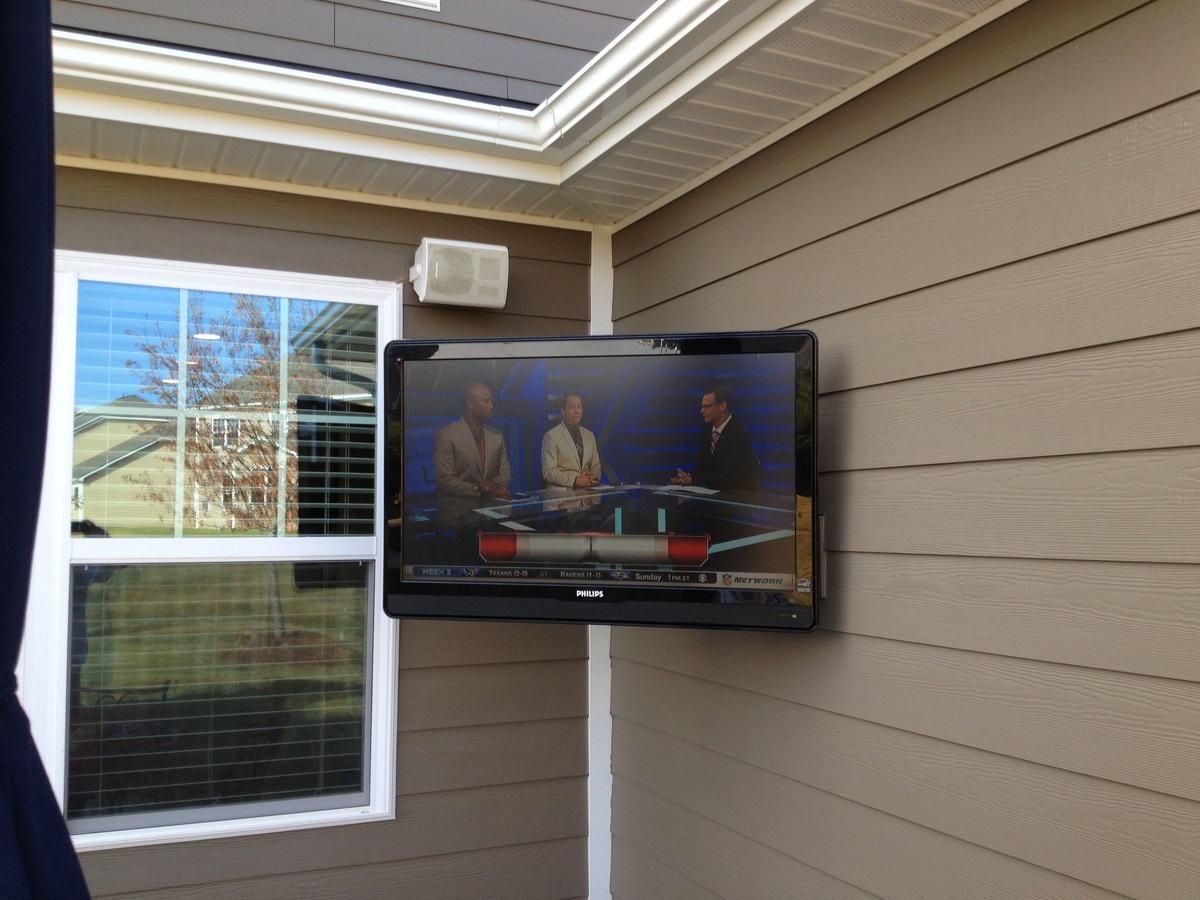
Whether you want to hang decorative items like flower baskets or outdoor lighting fixtures, or need to mount a security camera or other functional objects, this article will provide you with step-by-step instructions on how to do it properly and securely.
Before we dive into the specifics, it’s important to note that mounting objects on vinyl siding requires some planning and careful execution. Improper installation can damage the siding or compromise its integrity. Therefore, it’s crucial to follow the steps outlined in this guide to ensure a successful and long-lasting installation.
In the following sections, we will discuss the necessary tools and materials, how to choose the mounting location, preparing the vinyl siding surface, attaching the mounting bracket, securing the object to the bracket, testing stability, and making any necessary adjustments. So, let’s get started!
Key Takeaways:
- Securely mount objects to vinyl siding by gathering the right tools, choosing the ideal location, and preparing the surface for a stable and durable installation.
- Ensure stability and longevity by carefully attaching the mounting bracket, securing the object, and testing for stability, adding functionality and personalization to your home’s exterior.
Read more: How To Mount TV To Vinyl Siding
Step 1: Gather the necessary tools and materials
Before you begin, it’s essential to have all the required tools and materials on hand to ensure a smooth installation process. Here’s a list of what you’ll need:
- Power drill or screwdriver
- Stud finder
- Mounting brackets or hooks
- Outdoor screws or nails
- Level
- Tape measure
- Pencil or marker
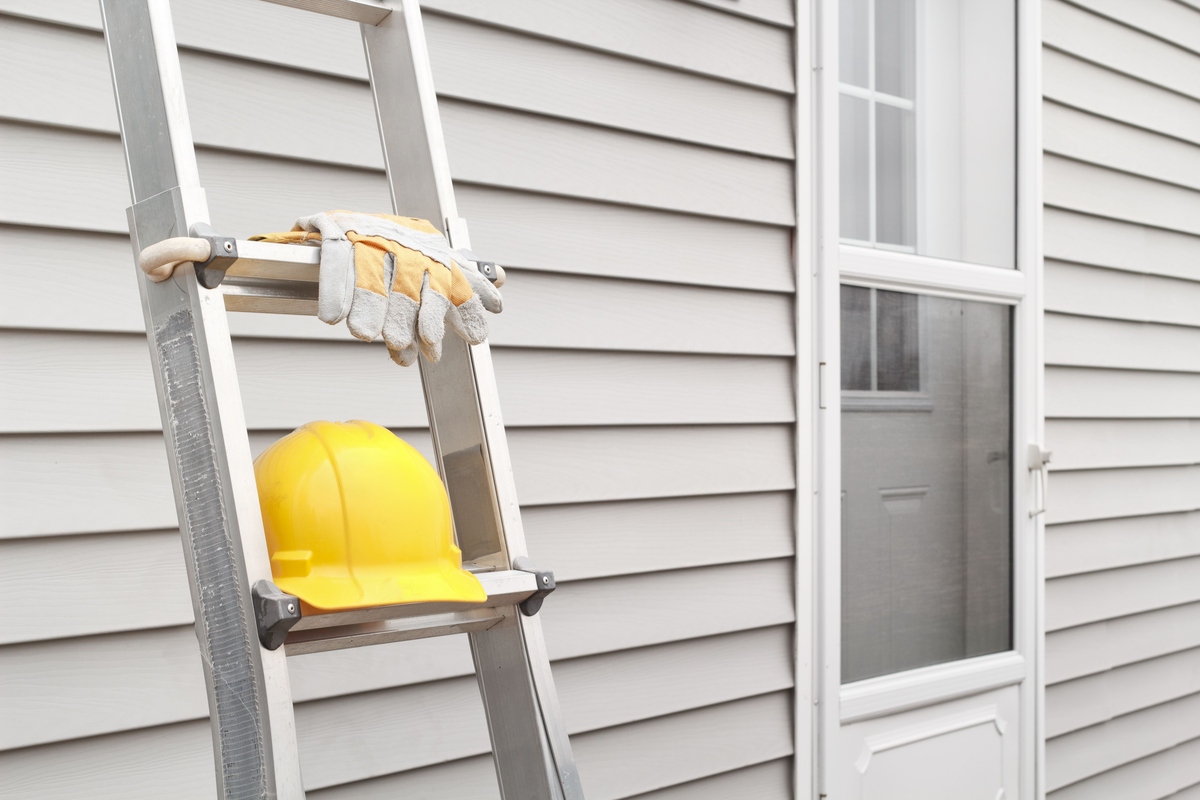
- Ladder or step stool (if necessary)
The power drill or screwdriver will be used to attach the mounting brackets or hooks to the vinyl siding, so make sure you have the appropriate bits for the job. A stud finder is useful for locating the wall studs beneath the siding, as they provide the most secure anchor points.
When choosing the mounting brackets or hooks, opt for ones specifically designed for vinyl siding. These are often made of durable materials like stainless steel or heavy-duty plastic that can withstand outdoor elements.
In terms of screws or nails, outdoor-grade options are recommended as they are designed to resist rust and corrosion. Check the weight and size requirements of the object you’re mounting to determine the appropriate size and quantity of screws or nails needed.
A level is essential to ensure that the mounting bracket or hook is installed straight and level. It will help prevent the object from tilting or becoming unstable once mounted.
Lastly, a tape measure, pencil, or marker will be crucial for measuring and marking the desired mounting location on the vinyl siding.
With all the necessary tools and materials gathered, you’re now ready to move on to the next step: choosing the mounting location.
Step 2: Choose the mounting location
Choosing the right mounting location is crucial to ensure the stability and functionality of the object you’re mounting. Here are some factors to consider when selecting the ideal spot:
- Weight distribution: Consider the weight of the object and its distribution. Mounting heavier objects on a stud or solid surface is recommended for optimal stability.
- Visibility: Determine the visibility of the object from different angles. Make sure it’s easily visible and accessible for its intended purpose.
- Drainage: Ensure that the mounting location doesn’t interfere with the natural drainage of rainwater or create any water pooling issues.
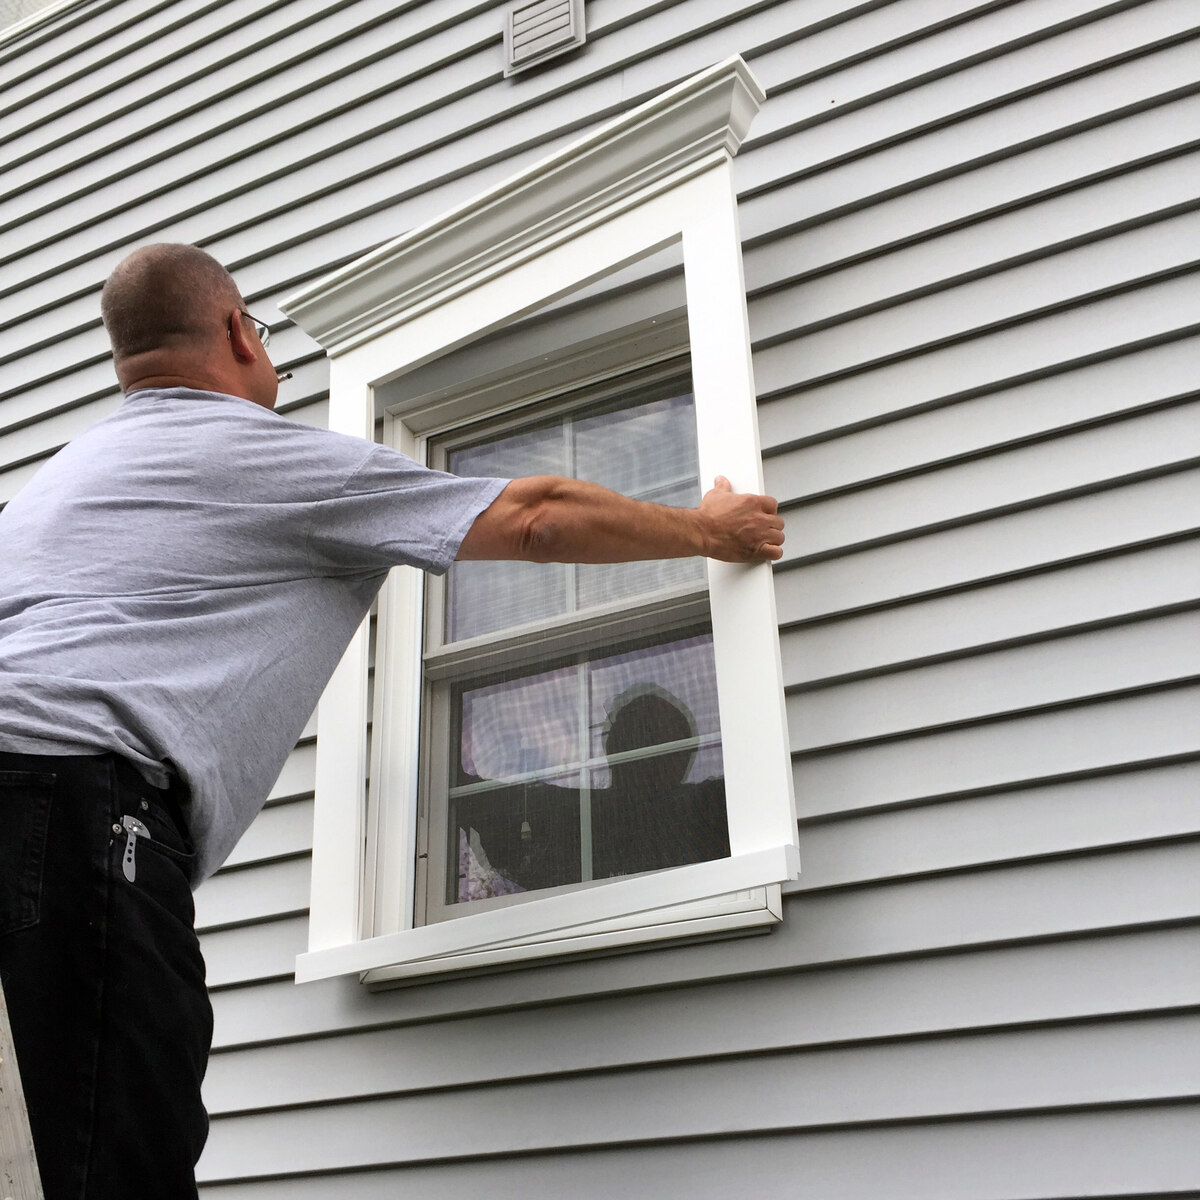
- Siding integrity: Take into account the condition of the vinyl siding. Avoid mounting near any existing cracks, gaps, or damaged areas.
- Object proximity: Consider the proximity of the mounting location to other objects or structures to maintain a visually balanced appearance.
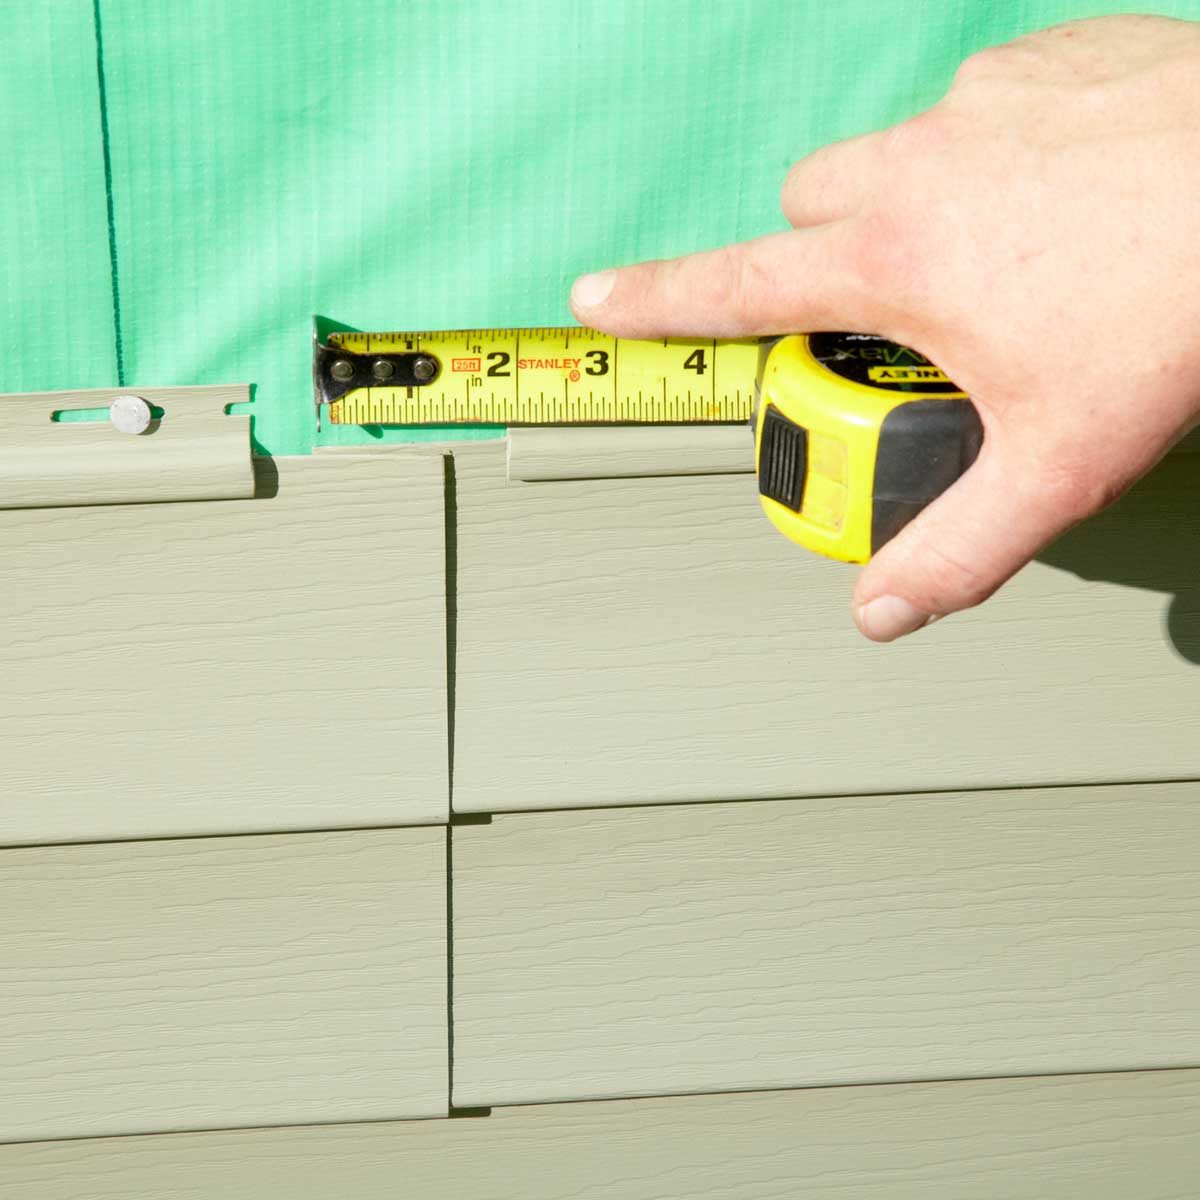
Once you’ve evaluated these factors, use a tape measure to determine the precise location for the mounting bracket or hook. Measure and mark the spot with a pencil or marker for accurate drilling.
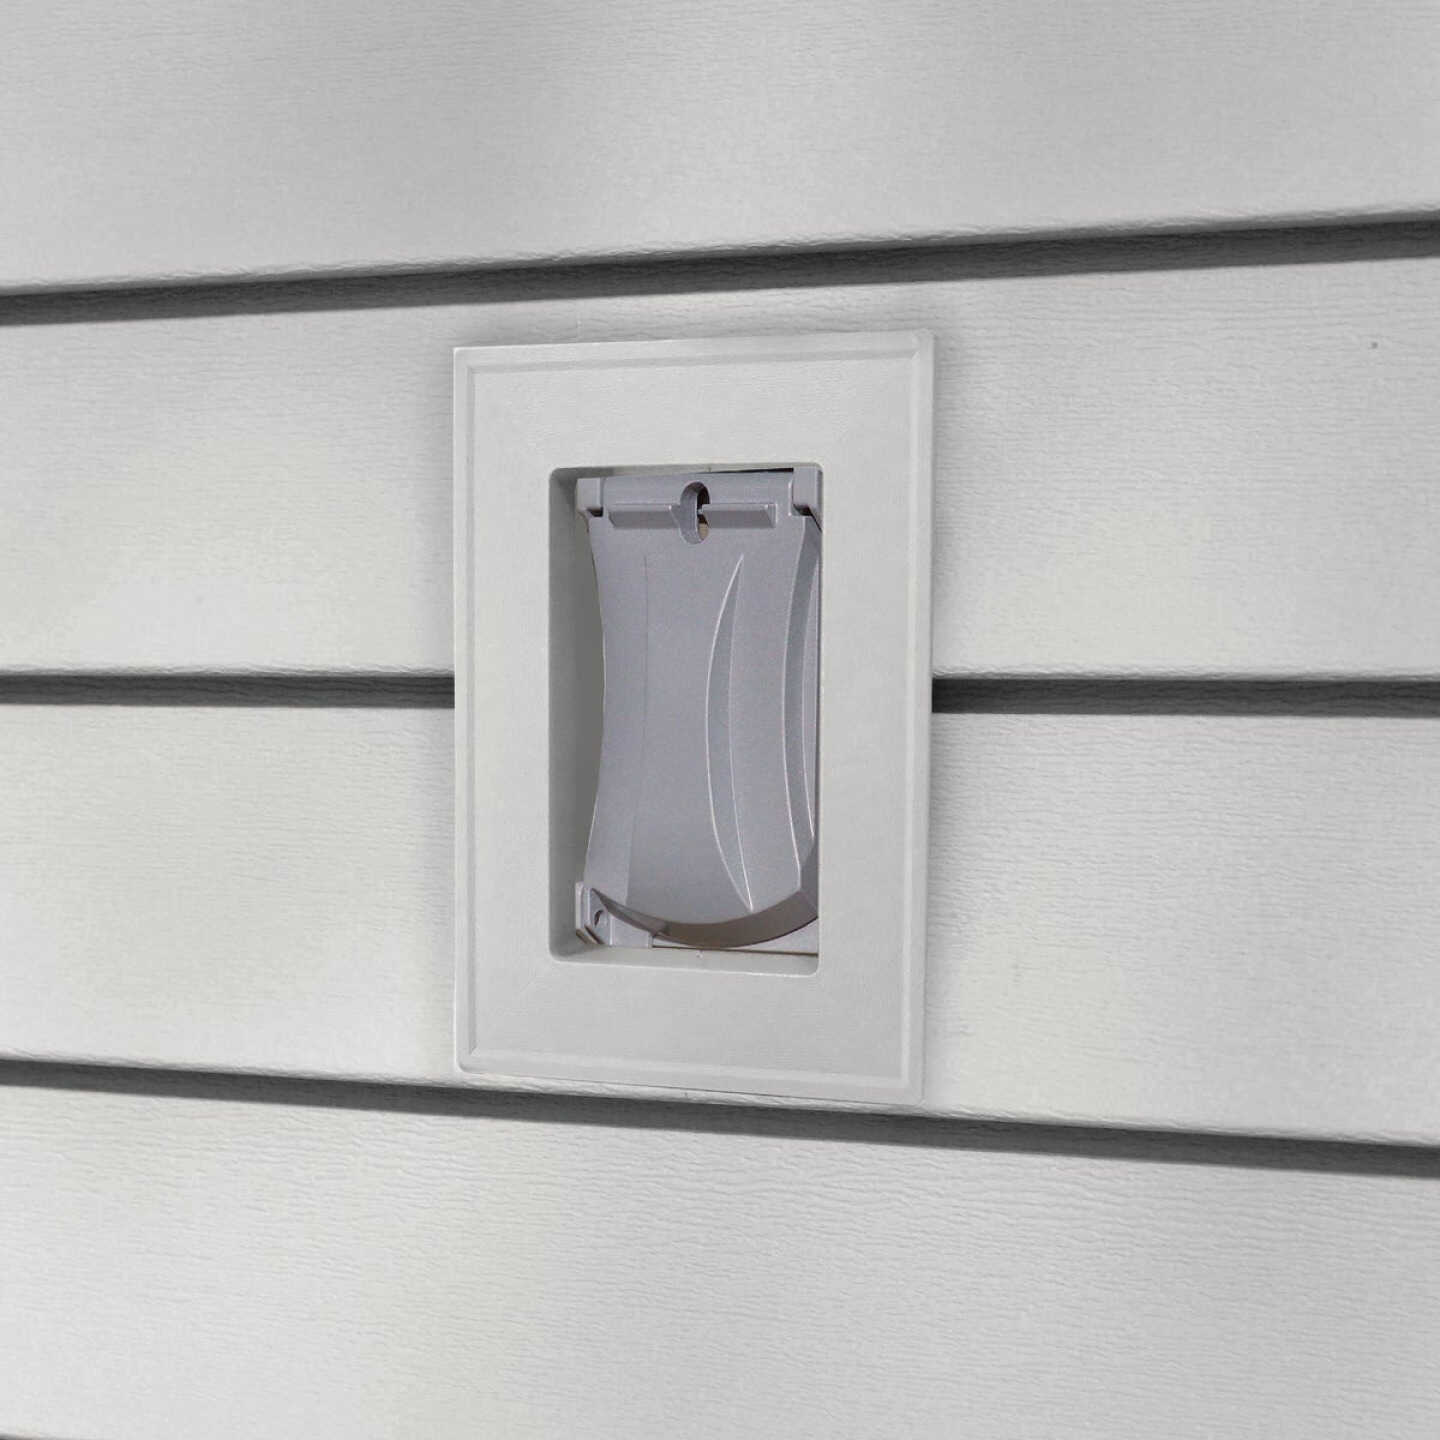
Keep in mind that it’s important to avoid mounting directly onto the vinyl siding without proper support. Mounting brackets or hooks provide a secure anchor point without damaging the siding itself.
Now that you’ve chosen the mounting location, it’s time to prepare the vinyl siding surface for installation. Move on to the next step for detailed instructions on how to do this.
Step 3: Prepare the vinyl siding surface
Before attaching the mounting bracket or hook, it’s crucial to properly prepare the vinyl siding surface to ensure a secure and long-lasting installation. This step will help maintain the integrity of the siding and prevent any damage.
Here’s how to prepare the vinyl siding surface:
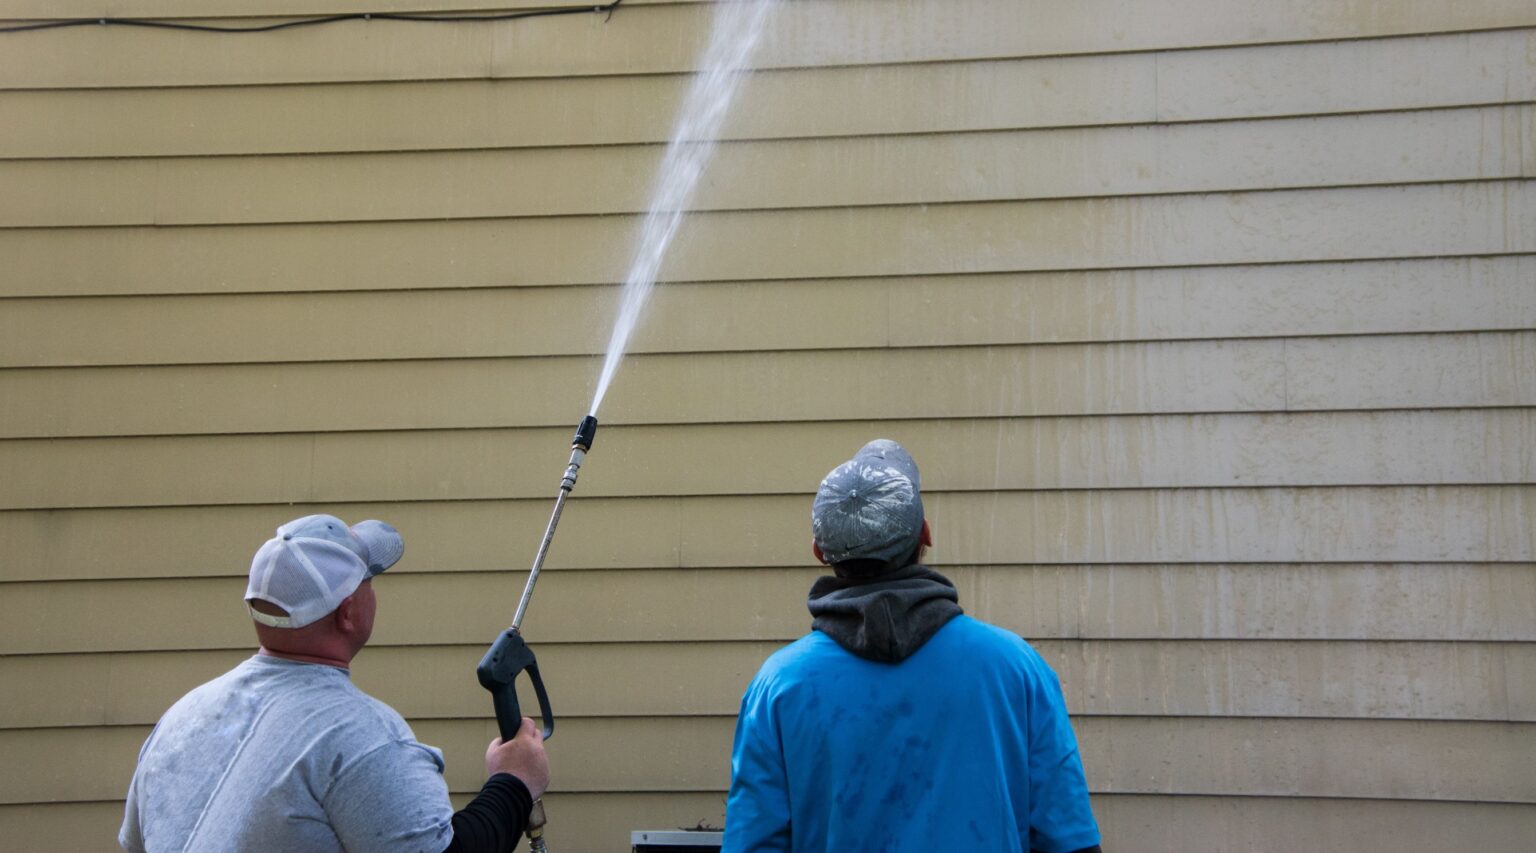
- Clean the area: Use a mild detergent mixed with water to clean the section of the siding where you plan to mount the object. Scrub gently with a soft brush or sponge to remove any dirt, grime, or debris. Rinse thoroughly with clean water and allow it to dry completely.
- Locate studs: Use a stud finder to locate the studs beneath the vinyl siding. This step is crucial for stability, especially when mounting heavier objects. Mark the location of the studs with a pencil or marker.
- Choose a mounting method: Depending on the weight and size of the object you’re mounting, you may opt for different mounting methods. If the object is relatively small and lightweight, using adhesive hooks or suction cups designed for outdoor use may be sufficient. However, for larger or heavier objects, using mounting brackets that can be secured into the studs is recommended.
- Position the bracket: Hold the mounting bracket or hook against the cleaned and dried surface, aligning it with the marked stud locations if applicable. Use a level to ensure it’s straight and adjust as needed.
- Mark the mounting holes: Once you’re satisfied with the bracket’s position, use a pencil or marker to mark the mounting holes on the vinyl siding. These marks will serve as drilling guides.
By following these steps to prepare the vinyl siding surface, you’ll ensure a clean, stable, and secure foundation for mounting your desired object. Now, let’s move on to the next step for attaching the mounting bracket.
When mounting to vinyl siding, use siding hooks or clips designed specifically for vinyl siding to avoid damaging the material. Make sure to follow the manufacturer’s instructions for proper installation.
Step 4: Attach the mounting bracket
With the vinyl siding surface prepared, it’s time to attach the mounting bracket or hook. This step will provide the foundation for securely holding the object you’re mounting. Follow these steps for a successful installation:
- Drill pilot holes: Using a power drill or screwdriver, carefully drill pilot holes into the marked locations on the vinyl siding. Be sure to use a drill bit that is slightly smaller than the screws or nails you will be using to secure the bracket.
- Align the bracket: Position the mounting bracket or hook against the vinyl siding, aligning it with the drilled pilot holes. Ensure that it is level and straight using a level tool.
- Secure the bracket: Once the bracket is properly aligned, insert the screws or nails through the mounting holes and into the pilot holes in the siding. Begin by screwing or hammering lightly to hold the bracket in place. Avoid overtightening to prevent damage to the siding.
- Double-check alignment: Check once again that the bracket is level and aligned correctly. Make any necessary adjustments before fully securing it in place.
- Tighten the screws or nails: Using a screwdriver or hammer, fully tighten the screws or nails to securely attach the bracket to the vinyl siding. Ensure that all screws or nails are tightened evenly to maintain stability.
Take a step back to inspect the installed bracket. Ensure that it’s level, securely attached, and aligned with your desired mounting location. If everything looks satisfactory, you’re ready to move on to the next step: securing the object to the mounting bracket.
Note: If you’re using adhesive hooks or suction cups instead of a mounting bracket, follow the manufacturer’s instructions for proper installation.
Step 5: Secure the object to the mounting bracket
Now that you have successfully attached the mounting bracket to the vinyl siding, it’s time to secure the object you want to mount. Follow these steps to ensure a secure and stable attachment:
- Check the object’s weight and requirements: Before proceeding, make sure you are aware of the weight and any specific mounting requirements of the object. This will help you choose the appropriate hardware for a secure installation.
- Choose the right hardware: Select screws or other fasteners that are suitable for the weight and size of the object. It’s important to use hardware that is specifically designed for outdoor use to prevent rust and corrosion.
- Position the object: Carefully position the object on the mounting bracket, aligning it with the pre-drilled holes or slots on the bracket.
- Insert and tighten the hardware: Insert the screws or fasteners through the holes or slots on the object and into the corresponding holes on the mounting bracket. Use a screwdriver or appropriate tool to tighten them securely, but be cautious not to overtighten and damage the object or the bracket.
- Test the stability: Once the object is securely attached, give it a gentle shake to test its stability. Ensure that it doesn’t wobble or feel loose. If necessary, tighten the screws or adjust the position of the object to improve stability.
It’s important to note that if you’re mounting an object that requires additional support or stability, such as a large planter or a heavy light fixture, you may need additional hardware or mounting techniques. Consult the manufacturer’s instructions or seek professional advice if you’re unsure about the proper installation for a specific object.
With the object securely attached to the mounting bracket, you’re almost done! The next step will involve testing the stability and making any necessary adjustments.
Step 6: Test the stability and adjust if needed
After mounting the object to the vinyl siding, it’s crucial to test its stability and make any necessary adjustments for a secure installation. Follow these steps to ensure everything is properly in place:
- Gently test the stability: Give the mounted object a gentle shake or tap to check its stability. Pay attention to any signs of wobbling, swinging, or feeling loose. This step will help identify any immediate issues.
- Observe the object over time: Keep an eye on the mounted object over the next few days or weeks to ensure it remains steady and secure. Monitor it during different weather conditions, such as rain or wind, to assess its durability.
- Make necessary adjustments: If you notice any instability or movement, it’s essential to take immediate action. This may involve tightening screws or fasteners, adjusting the position of the object, or reinforcing the mounting bracket.
- Consider professional assistance: If you’re unsure about the stability or if you’re experiencing persistent issues, it’s advisable to seek professional assistance. A handyman or contractor with experience in mounting objects to vinyl siding can provide valuable guidance and ensure a secure installation.
Remember, safety is paramount when mounting objects to vinyl siding. It’s crucial to address any stability issues promptly to prevent damage to the siding or potential hazards. By following these steps and remaining attentive to the stability of the mounted object, you can enjoy a reliable and long-lasting installation.
Congratulations! You have successfully mounted an object to your vinyl siding. Take a step back and admire your handiwork. Now, you can enjoy the benefits and functionality of your mounted object while maintaining the integrity of your vinyl siding.
Before we wrap up, let’s briefly summarize the key steps we covered in this guide:
Conclusion
Mounting objects to vinyl siding may seem daunting, but with the right tools, materials, and careful execution, it can be a straightforward and successful process. By following the step-by-step instructions outlined in this guide, you can ensure a secure and durable installation while preserving the integrity of your vinyl siding.
From gathering the necessary tools and materials to choosing the ideal mounting location, preparing the vinyl siding surface, attaching the mounting bracket, securing the object, and testing for stability, each step plays a vital role in the overall success of the installation.
Remember to consider the weight and requirements of the object you’re mounting, choose appropriate hardware, and follow the manufacturer’s instructions for any additional support or stability needs. Regularly check the mounted object’s stability and make any necessary adjustments to ensure its longevity and safety.
If you’re unsure about any aspect of the installation or encounter persistent issues, don’t hesitate to seek professional assistance. A skilled handyman or contractor can provide valuable advice and ensure a secure mounting installation.
By successfully mounting objects to your vinyl siding, you can add functionality, decoration, and personalization to your home’s exterior. So go ahead and hang that flower basket, mount that security camera, or showcase your favorite outdoor décor with confidence and peace of mind.
Remember, a well-mounted object not only enhances the aesthetics of your home but also adds value and convenience. Enjoy the benefits of your newly mounted object and revel in the satisfaction of a job well done!
Frequently Asked Questions about How To Mount To Vinyl Siding
Was this page helpful?
At Storables.com, we guarantee accurate and reliable information. Our content, validated by Expert Board Contributors, is crafted following stringent Editorial Policies. We're committed to providing you with well-researched, expert-backed insights for all your informational needs.


0 thoughts on “How To Mount To Vinyl Siding”