
Articles
How To Restore Vinyl Siding
Modified: January 8, 2024
Learn how to restore vinyl siding with these helpful articles. Find step-by-step guides and expert tips to bring back the beauty of your home's exterior.
(Many of the links in this article redirect to a specific reviewed product. Your purchase of these products through affiliate links helps to generate commission for Storables.com, at no extra cost. Learn more)
Introduction
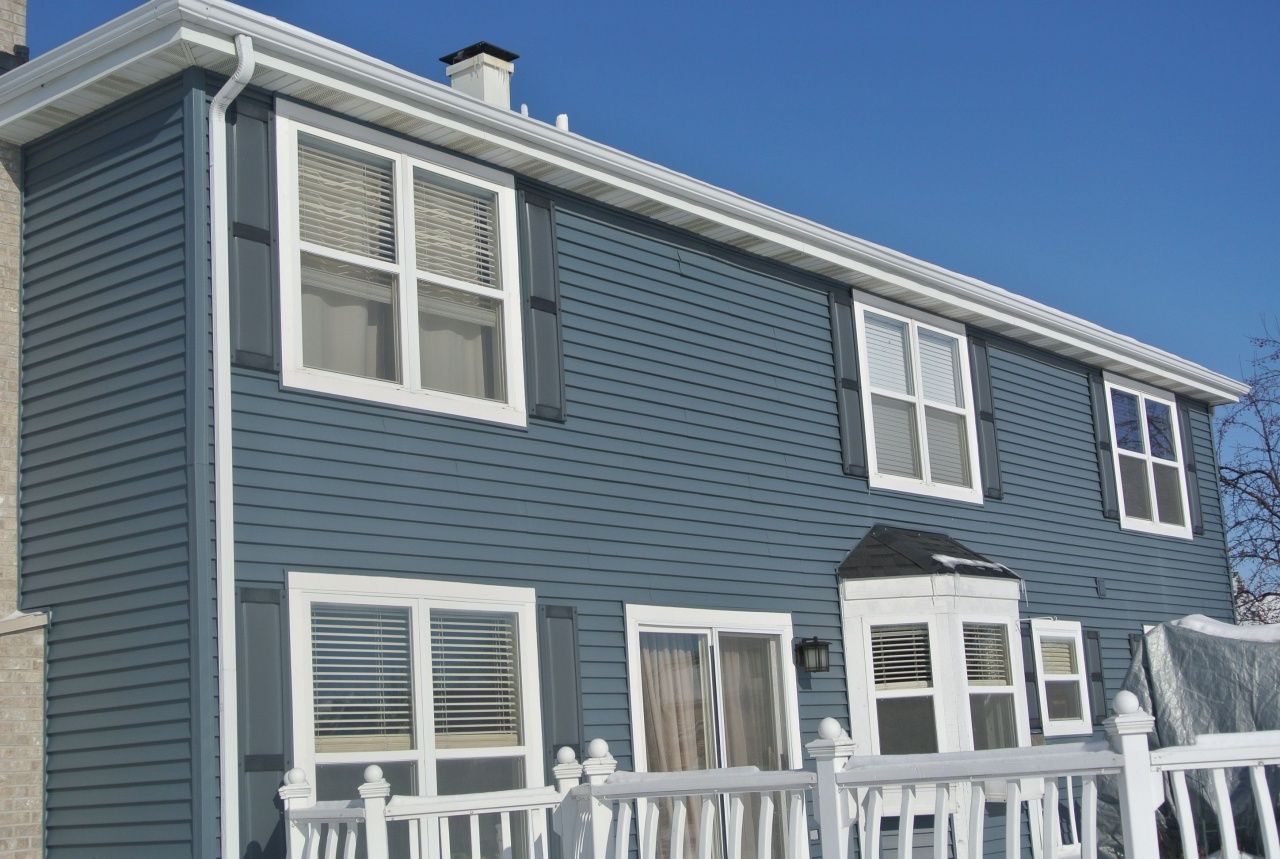
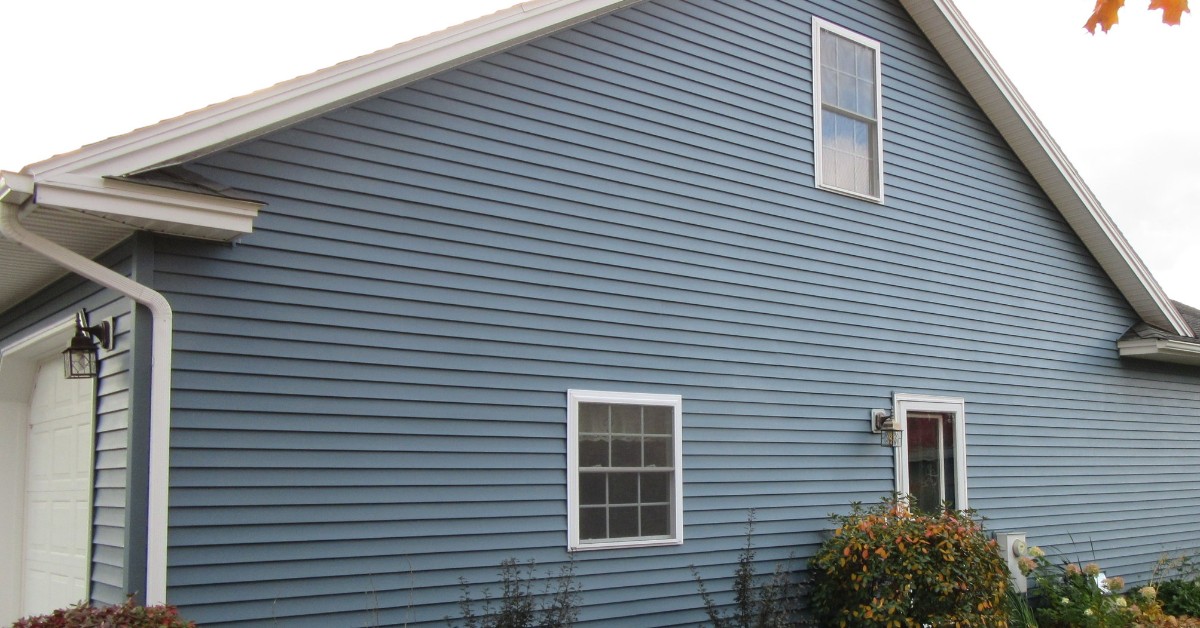
Vinyl siding is a popular choice for homeowners due to its durability, low maintenance requirements, and ability to enhance the curb appeal of a property. However, over time, the color of vinyl siding may fade, become dull, or develop unsightly stains. Fortunately, restoring vinyl siding to its original beauty is a relatively simple process that can be completed with a few basic tools and materials.
In this article, we will guide you through a step-by-step process on how to restore vinyl siding. From inspecting the siding for damage to cleaning, repairing, painting, and applying a protective finish, we will cover all the essential steps to bring your vinyl siding back to life.
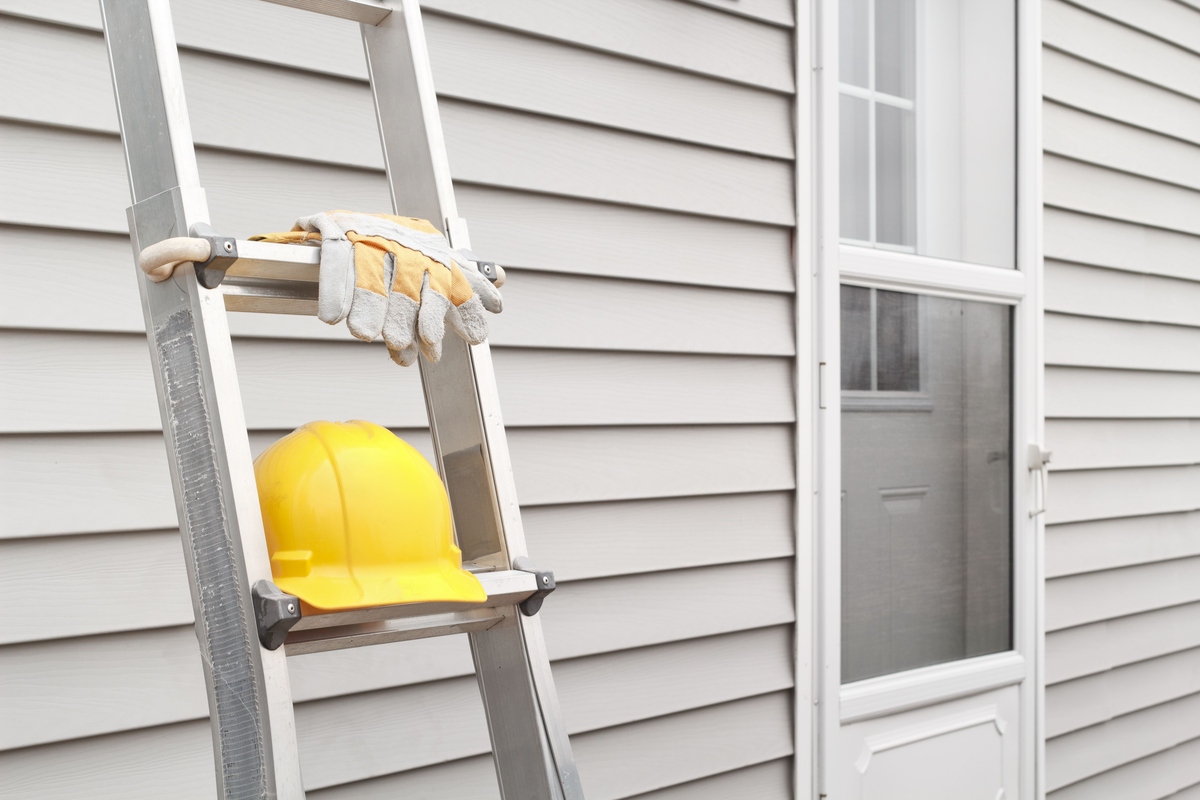
Before you begin the restoration process, it’s essential to gather the necessary materials. You will need a ladder, a soft-bristle brush or sponge, a mild cleanser or specialized vinyl siding cleaner, a bucket, water, a putty knife, exterior caulk, paintbrushes or a paint sprayer, vinyl-safe paint, and a clear sealant or protective finish.
Keep in mind that the specific steps and materials required may vary depending on the condition of your vinyl siding and your desired outcome. Let’s jump right into the first step of inspecting the vinyl siding.
Key Takeaways:
- Revitalize your home’s exterior by restoring vinyl siding with a thorough cleaning, repairs, fresh paint, and a protective finish. Maintain its beauty with regular care to ensure long-lasting appeal.
- Transform your vinyl siding with a step-by-step restoration process, from inspection to painting and maintenance. Enjoy a refreshed exterior that enhances curb appeal and withstands the elements.
Read more: How To Restore Outdoor Vinyl Furniture
Step 1: Inspect the Vinyl Siding
Before you can begin the process of restoring vinyl siding, it’s important to thoroughly inspect it for any signs of damage or wear. Walk around your home and carefully examine the vinyl siding from a close distance. Look out for cracks, chips, or any other noticeable defects that may require repair.
If you come across any damaged areas, mark them with a small piece of tape or make a note of their location. Your inspection should also include checking for any signs of mildew, mold, or other stains on the siding’s surface.
The purpose of this inspection is to identify any areas that need to be repaired or cleaned before proceeding with the restoration process. Catching and addressing these issues early on will help ensure that your vinyl siding looks its best after restoration.
During the inspection, pay attention to the siding’s overall condition and color. Vinyl siding tends to fade over time due to exposure to the sun’s UV rays. If you notice significant color fading or inconsistency, you may want to consider repainting the siding as part of the restoration process.
Once you have completed the inspection and identified any areas that require attention, you can move on to the next step of cleaning the vinyl siding.
Step 2: Clean the Vinyl Siding
Now that you have inspected the vinyl siding and identified any areas that need attention, it’s time to give it a thorough cleaning. Cleaning the siding will remove dirt, grime, mildew, and other stains, preparing it for repairs and painting.
Start by mixing a mild cleanser or specialized vinyl siding cleaner with water in a bucket according to the manufacturer’s instructions. It’s important to use a gentle cleanser to avoid damaging the vinyl surface.
With the cleaning solution ready, dip a soft-bristle brush or sponge into the bucket and begin scrubbing the vinyl siding. Work in small sections, applying gentle pressure and using circular motions to remove any dirt or stains.
Pay extra attention to areas that have significant buildup or staining. For stubborn stains or mildew growth, allow the cleaning solution to sit on the surface for a few minutes before scrubbing. In cases where mold or mildew is present, you may need to use a mixture of water and bleach or a specialized mold and mildew cleaner to effectively remove it.
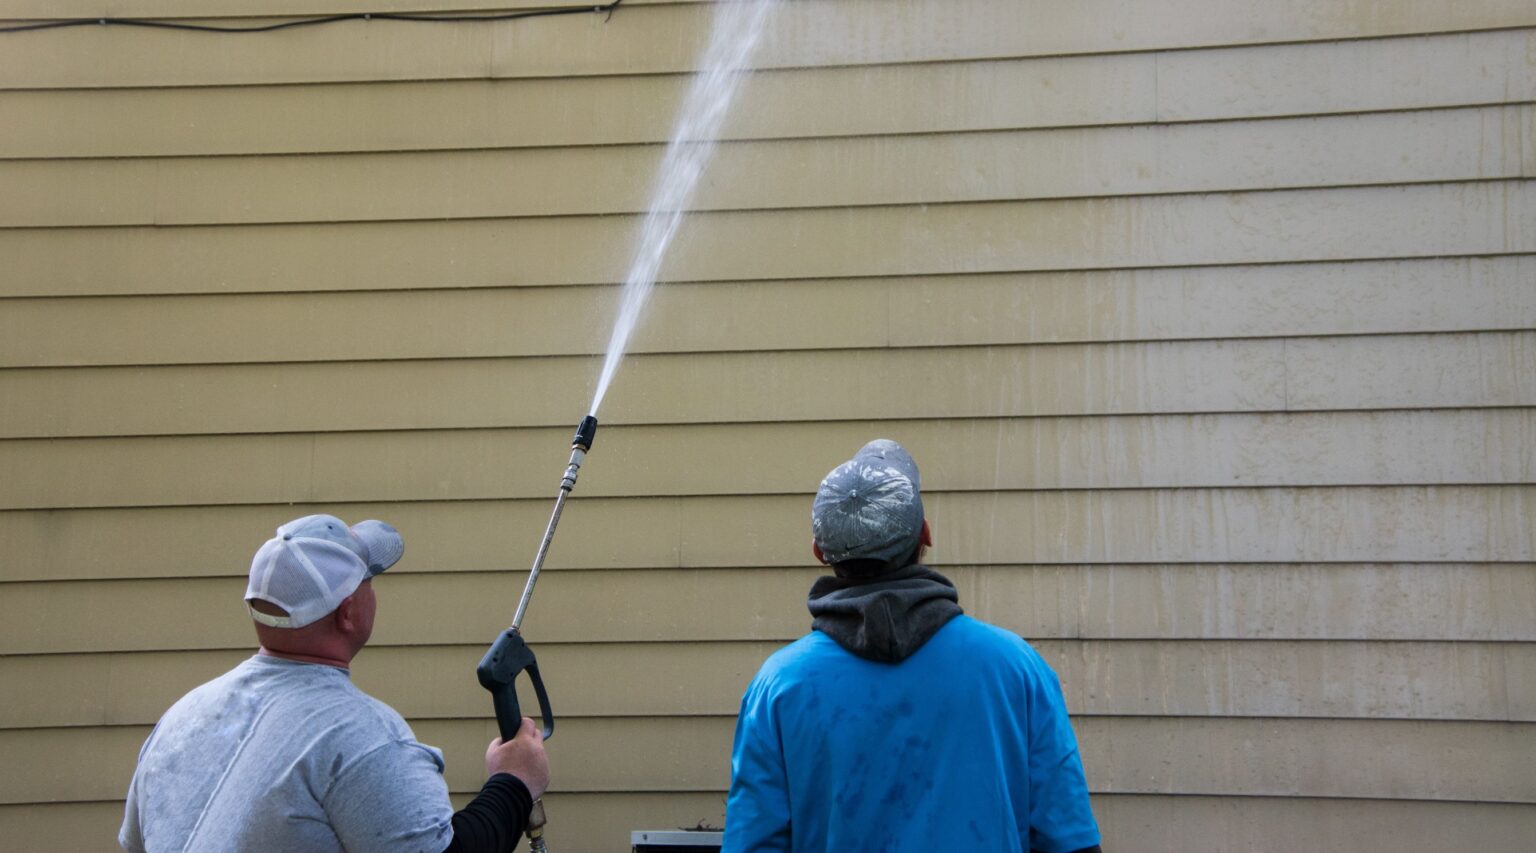
After cleaning a section, rinse it thoroughly with clean water using a hose or a pressure washer on a low setting. Make sure to remove all traces of the cleaning solution to avoid leaving residue behind.
Continue this process until you have cleaned the entire surface of the vinyl siding. Remember to work from the top of the house downwards to prevent dirt and debris from dripping onto already clean areas.
If you find that a soft-bristle brush or sponge is not sufficient to remove tough stains or buildup, consider using a power washer with a low-pressure nozzle. However, be cautious not to use excessive pressure, as it can damage the vinyl siding.
Once the siding is clean and free of dirt and stains, allow it to dry completely before proceeding to the next step of repairing any damaged areas.
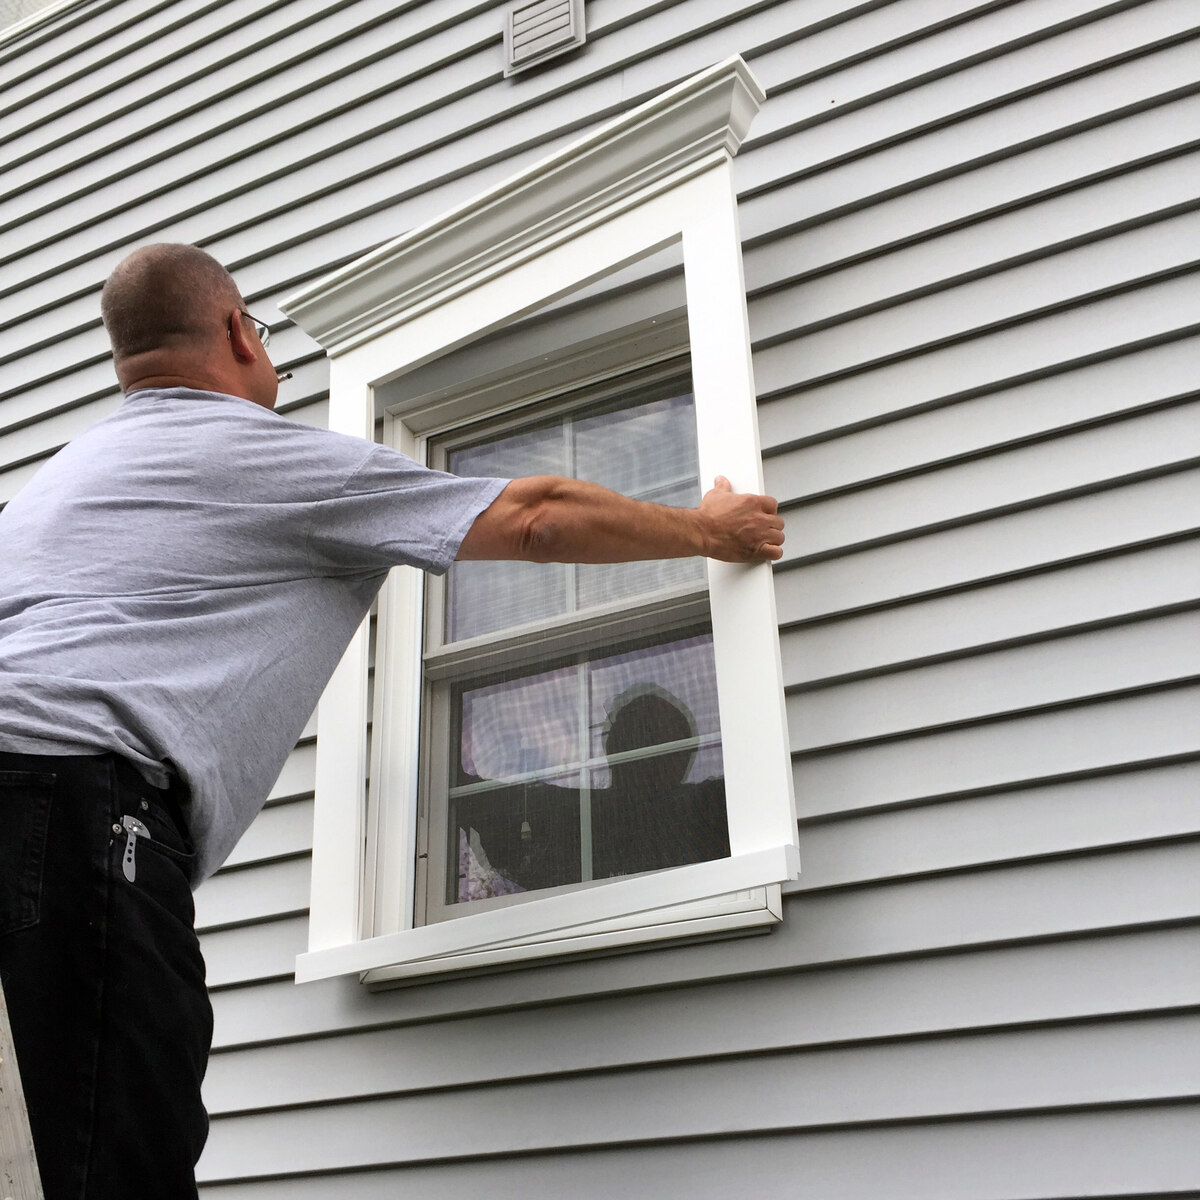
Step 3: Repair Any Damaged Areas
After cleaning the vinyl siding, it’s time to address any damaged areas that were identified during the inspection. Repairing these areas will help restore the structural integrity of the siding and ensure a smoother painting process.
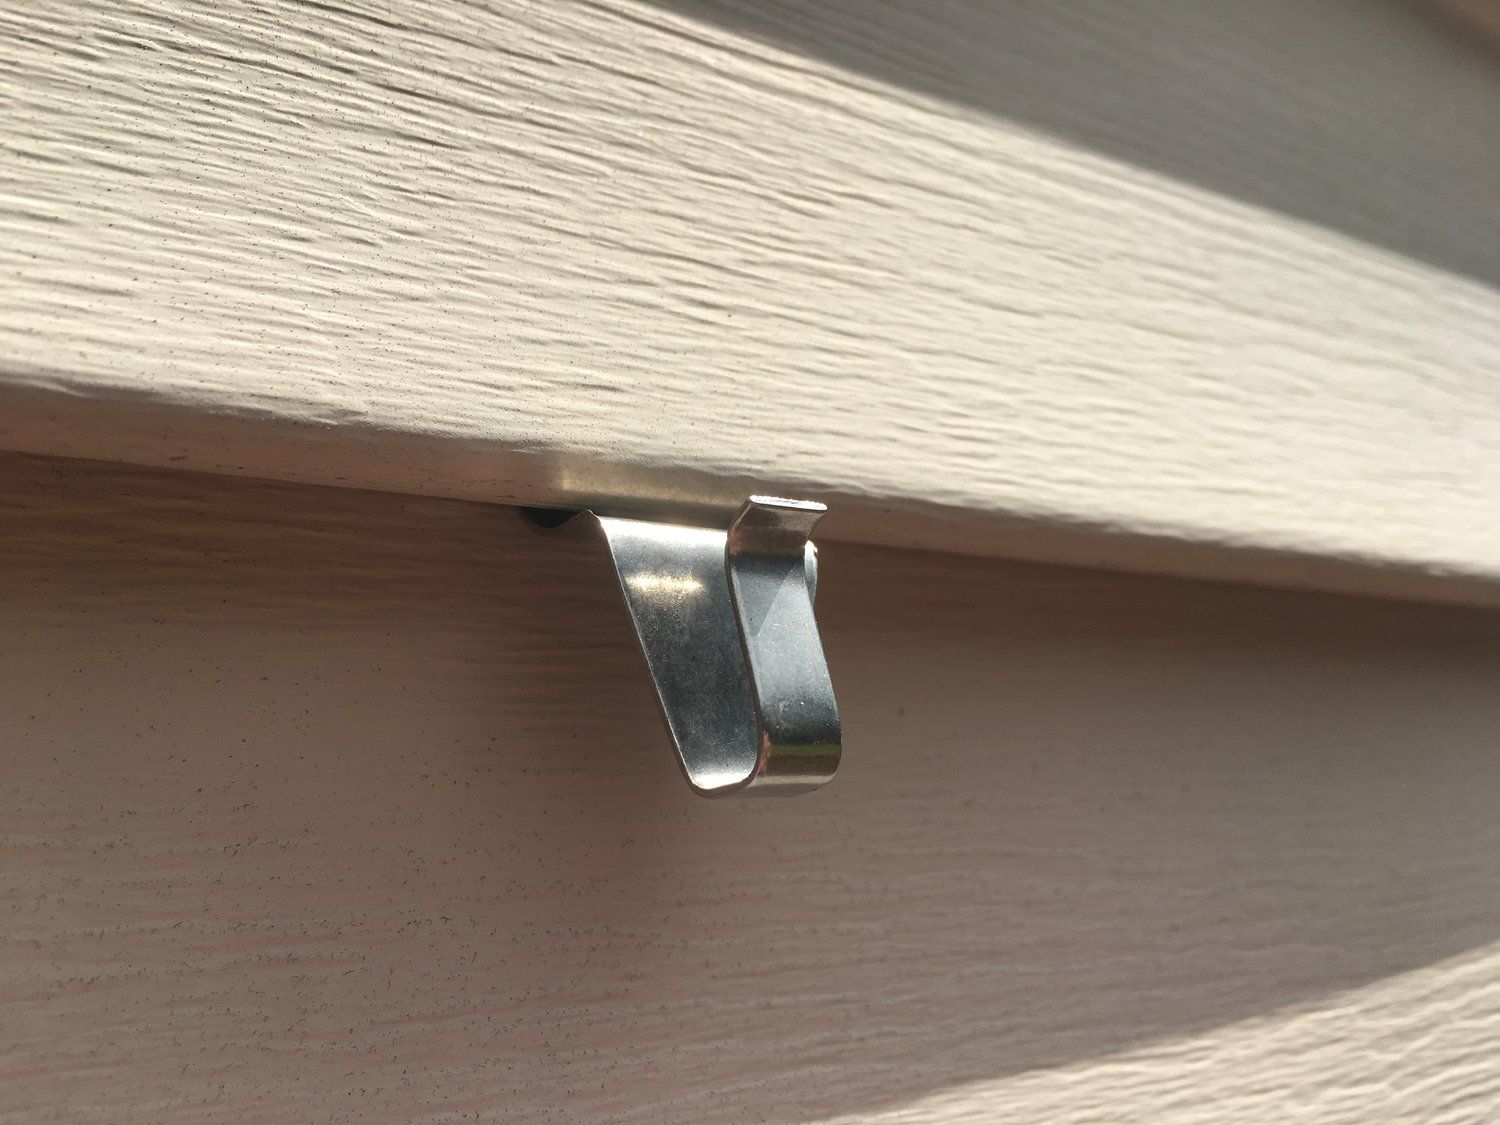
Start by examining the marked or noted damaged areas. This can include cracks, chips, or loose pieces of vinyl siding. If you come across any loose pieces, gently pry them off using a putty knife and set them aside for repair.
To repair cracks or chips in the vinyl siding, use exterior-grade caulk that is specifically designed for vinyl surfaces. Apply a small bead of caulk along the crack or chip, and use a putty knife to smooth it out and blend it with the surrounding area. Allow the caulk to dry according to the manufacturer’s instructions.
If you encounter any larger or more significant damage, you may need to replace the affected piece of vinyl siding. You can purchase individual replacement pieces from your local hardware store or contact a professional for assistance.
Once the repairs are complete, reattach any loose pieces of vinyl siding that were removed. Make sure they fit securely and are aligned with the rest of the siding. Nail or screw them back into place as needed.
Take a step back and inspect the repaired areas to ensure they blend seamlessly with the surrounding vinyl siding. If there are any noticeable discrepancies, use a soft cloth or sponge to clean the area and reapply a small amount of caulk to achieve a smoother finish.
With the damaged areas repaired, you can now proceed to the next step of preparing the vinyl siding for painting.
Step 4: Prepare for Painting
Now that the vinyl siding is clean and any damaged areas have been repaired, it’s time to prepare it for painting. Proper preparation will ensure that the paint adheres well to the surface and provides a long-lasting finish.
Start by protecting the surrounding areas and covering any surfaces that you don’t want to get paint on. Use plastic sheets or drop cloths to cover windows, doors, and nearby plants or landscaping.
Next, give the entire vinyl siding a light sanding using a fine-grit sandpaper. This will help remove any residual debris or roughness on the surface, allowing the paint to adhere better. Be sure to sand gently to avoid damaging the vinyl.
After sanding, wipe down the siding using a clean, damp cloth to remove any dust or sanding residue. This will ensure a clean surface for the paint application.
If you’re planning to change the color of the vinyl siding, it’s a good idea to apply a coat of primer before painting. The primer will help the new paint color adhere better and provide a more even finish. Choose a primer specifically formulated for vinyl surfaces and follow the manufacturer’s instructions for application.
Allow the primer to dry completely before moving on to the next step. This typically takes a few hours, but refer to the instructions for specific drying times.
Once the primer is dry, you’re ready to proceed with painting the vinyl siding. Choose a high-quality, exterior-grade paint that is specifically designed for use on vinyl surfaces. Select a color that complements your home’s aesthetic and follows any guidelines or restrictions set by your homeowners’ association or local regulations.
Prepare the paint according to the manufacturer’s instructions and gather the necessary tools. You can use brushes for smaller areas or a paint sprayer for larger sections. Ensure that the tools are clean and in good condition to achieve a smooth application.
With everything in place, you are now ready to apply the paint and transform the appearance of your vinyl siding. In the next step, we will delve into the details of how to effectively paint the vinyl siding.
To restore vinyl siding, use a solution of water and mild detergent to gently scrub away dirt and grime. Rinse thoroughly with a hose and avoid using harsh chemicals or abrasive tools to prevent damage.
Read more: How Thick Is Vinyl Siding
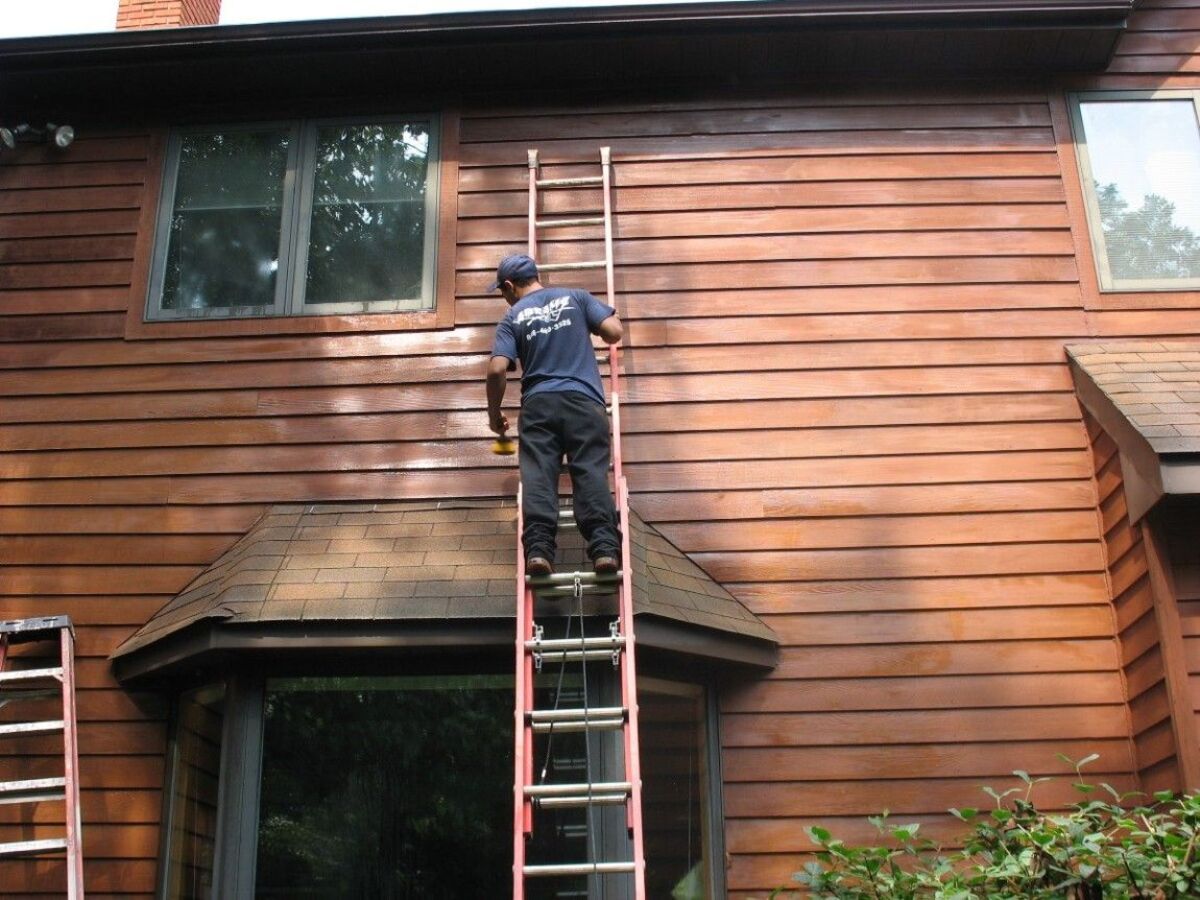
Step 5: Paint the Vinyl Siding
Painting the vinyl siding is the step that will truly revitalize its appearance and give it a fresh, updated look. When done correctly, painting can transform your home’s exterior and provide long-lasting protection against the elements.
Before you begin painting, make sure the weather conditions are ideal. Choose a day that is dry, with moderate temperatures and low humidity. Avoid painting in direct sunlight or during extremely hot or cold temperatures, as this can affect the paint’s application and drying process.
Start by applying a thin and even coat of paint onto the vinyl siding. Use a brush or a paint sprayer, depending on the size of the area you’re painting and your personal preference. Begin at the top of the house and work your way down, overlapping each stroke slightly to ensure smooth coverage.
Take care to avoid drips, runs, or excessive buildup of paint. Keep a clean cloth or rag handy to quickly wipe away any mistakes or spills before they dry.
Work methodically and section by section, ensuring each area is fully coated before moving on to the next. This will help maintain a consistent look throughout the vinyl siding.
If you’re painting a large area, it may be necessary to take breaks during the process. If you need to stop, try to complete each section or side of the house to avoid visible lines or uneven coverage.
Allow the first coat of paint to dry completely before applying a second coat. This typically takes a few hours, but refer to the paint manufacturer’s instructions for specific drying times.
Once the first coat is dry, examine the vinyl siding for any areas that may need touch-ups. Look for thin spots or spots where the previous color is still visible. Apply a second coat of paint, following the same technique as before, to ensure full coverage and a professional finish.
After completing the second coat, step back and inspect the freshly painted vinyl siding. Make sure the color is even and that there are no visible imperfections or inconsistencies.
Finally, allow the paint to fully cure before proceeding to the next step of applying a protective finish. Again, refer to the paint manufacturer’s instructions for the recommended curing time.
Now that the vinyl siding is beautifully painted, it’s time to protect and enhance the final result with a protective finish.
Step 6: Apply a Protective Finish
After painting the vinyl siding, it’s important to apply a protective finish to seal and safeguard the new paint job. A protective finish will help prolong the life of the paint, maintain the color, and provide additional resistance against UV rays and weathering.
There are different types of protective finishes available, such as clear sealants or topcoat products specifically designed for vinyl surfaces. Choose a product that is recommended for use on painted vinyl siding and follow the manufacturer’s instructions for application.
Before you begin applying the protective finish, ensure that the painted vinyl siding is clean and free of dust or debris. Use a soft cloth or sponge to gently wipe away any dirt or particles that may have accumulated during the painting process.
If the protective finish comes in a spray form, shake the can well to mix the contents. Hold the can at least 12 inches away from the surface and apply an even, thin layer of the product. Work in small sections, using smooth and overlapping motions to ensure full coverage.
For products that require brush or roller application, pour the protective finish into a tray and evenly coat the brush or roller. Apply the product in the same manner as you would paint, ensuring that each section is covered before moving on to the next.
As you apply the protective finish, be mindful of drips or pooling of the product. Use a clean cloth or brush to quickly remove any excess or uneven application to achieve a smooth and consistent finish.
Allow the protective finish to dry completely before considering additional coats, if necessary. Refer to the manufacturer’s instructions for the recommended drying time.
Once the protective finish is dry, step back and admire the freshly restored vinyl siding. The combination of a fresh coat of paint and a protective finish will not only enhance the appearance of your home but also provide long-lasting durability.
Now that the vinyl siding is restored and protected, let’s move on to the final step of maintaining the siding to ensure its longevity and continued beauty.
Step 7: Maintain the Vinyl Siding
After going through the process of restoring and painting your vinyl siding, it’s essential to implement regular maintenance to preserve its appearance and extend its lifespan. Here are some tips to help you maintain your vinyl siding:
- Clean Regularly: Regularly clean your vinyl siding to prevent the buildup of dirt, grime, and other debris. Use a soft-bristle brush or sponge, along with a mild cleanser or specialized vinyl siding cleaner, to gently scrub the surface. Rinse thoroughly with water to remove any remaining cleaning solution.
- Inspect for Damage: Conduct regular inspections to identify any signs of damage, such as cracks, chips, or loose pieces of vinyl siding. Address these issues promptly to prevent further damage and maintain the integrity of the siding.
- Trim Back Foliage: Trim back any trees, shrubs, or other foliage that may come into contact with the vinyl siding. This will help prevent scratches, stains, and damage caused by rubbing or contact with branches or leaves.
- Avoid High Heat: Avoid placing grills, fire pits, or other heat sources near the vinyl siding. The intense heat can cause the siding to warp or melt. Maintain a safe distance to protect the integrity of the material.
- Protect from Harsh Chemicals: Avoid using harsh chemicals, solvents, or abrasive cleaners on your vinyl siding, as they can cause damage or discoloration. Stick to mild cleansers specifically designed for use on vinyl surfaces.
- Address Mold or Mildew: If you notice any mold or mildew growth on the vinyl siding, tackle it promptly. Use a mixture of water and bleach or a specialized mold and mildew cleaner to remove the growth. Rinse thoroughly afterward.
- Touch-Up as Needed: Keep an eye on the condition of the paint and protective finish. If you notice any areas that have chipped, faded, or shows signs of wear, touch them up with the appropriate products to maintain a uniform appearance.
By following these maintenance practices, you can ensure that your vinyl siding remains in excellent condition for years to come. Regular care and attention will help preserve its color, integrity, and overall appearance.
With these steps completed, you have successfully restored and maintained your vinyl siding. Take pride in a job well done, knowing that your home’s exterior will continue to look beautiful and protected.
Remember, if you have any concerns or complex repairs, it’s always a good idea to consult with a professional for guidance and assistance. They can provide expert advice and ensure that your vinyl siding is properly maintained for years of enjoyment.
Conclusion
Restoring vinyl siding can breathe new life into your home’s exterior, enhancing its curb appeal and protecting it from the elements. By following the steps outlined in this guide, you can successfully restore, paint, and maintain your vinyl siding, giving it a fresh and appealing look.
Start by thoroughly inspecting the vinyl siding for any signs of damage or wear. Clean the surface using a mild cleanser or specialized vinyl siding cleaner, removing dirt, grime, and stains. Repair any damaged areas, such as cracks or chips, to restore the siding’s structural integrity.
Prepare for painting by protecting the surrounding areas, sanding the surface, and applying a primer if desired. Choose a high-quality, exterior-grade paint in the desired color and apply multiple thin coats for even coverage. Allow each coat to dry completely before applying the next.
To ensure the longevity of your freshly painted vinyl siding, apply a protective finish designed for vinyl surfaces. This will seal and safeguard the paint, providing additional resistance against UV rays and weathering.
Maintain the vinyl siding by regularly cleaning it, inspecting for damage, trimming back foliage, and avoiding high heat or harsh chemicals. Address any mold or mildew promptly and touch up the paint or protective finish as needed.
Remember, proper care and maintenance are key to preserving the beauty and durability of your vinyl siding. With regular attention and adherence to these steps, your restored vinyl siding will continue to enhance the appearance of your home for years to come.
Whether you are looking to improve your home’s curb appeal or protect your investment, restoring vinyl siding is a worthwhile endeavor. Take pride in your restored vinyl siding and enjoy the renewed beauty it brings to your home.
Frequently Asked Questions about How To Restore Vinyl Siding
Was this page helpful?
At Storables.com, we guarantee accurate and reliable information. Our content, validated by Expert Board Contributors, is crafted following stringent Editorial Policies. We're committed to providing you with well-researched, expert-backed insights for all your informational needs.


0 thoughts on “How To Restore Vinyl Siding”