
Articles
How To Drill Into Vinyl Siding
Modified: May 6, 2024
Learn how to safely drill into vinyl siding with our informative articles. Find step-by-step guides and expert tips for a successful installation.
(Many of the links in this article redirect to a specific reviewed product. Your purchase of these products through affiliate links helps to generate commission for Storables.com, at no extra cost. Learn more)
Introduction
The popularity of vinyl siding has grown significantly in recent years due to its durability, low-maintenance needs, and aesthetic appeal. Homeowners often choose vinyl siding as an exterior cladding option for their houses. However, drilling into vinyl siding can be a somewhat daunting task as it requires precision and care to avoid damaging the siding material.
In this article, we will guide you through the process of drilling into vinyl siding, providing you with step-by-step instructions and helpful tips to ensure a successful and damage-free installation. By following these guidelines, you’ll be able to securely attach mounting hardware for various applications, such as hanging decorations, installing outdoor lights, or mounting security cameras.
Before you begin, it’s important to note that drilling into vinyl siding may void any warranties, so proceed with caution and consider consulting with a professional if you’re unsure about your abilities or the implications for your specific siding warranty.
Now, let’s gather the necessary tools and materials to get started.
Key Takeaways:
- Proper preparation, including gathering the right tools, choosing the correct drill bit, and accurately marking the drilling spot, is crucial for successfully drilling into vinyl siding without causing damage.
- Carefully drilling into vinyl siding and securely attaching mounting hardware can enhance the functionality and aesthetic appeal of your home exterior, allowing for the safe installation of various items and decorations.
Read more: How To Drill Into Aluminum Siding
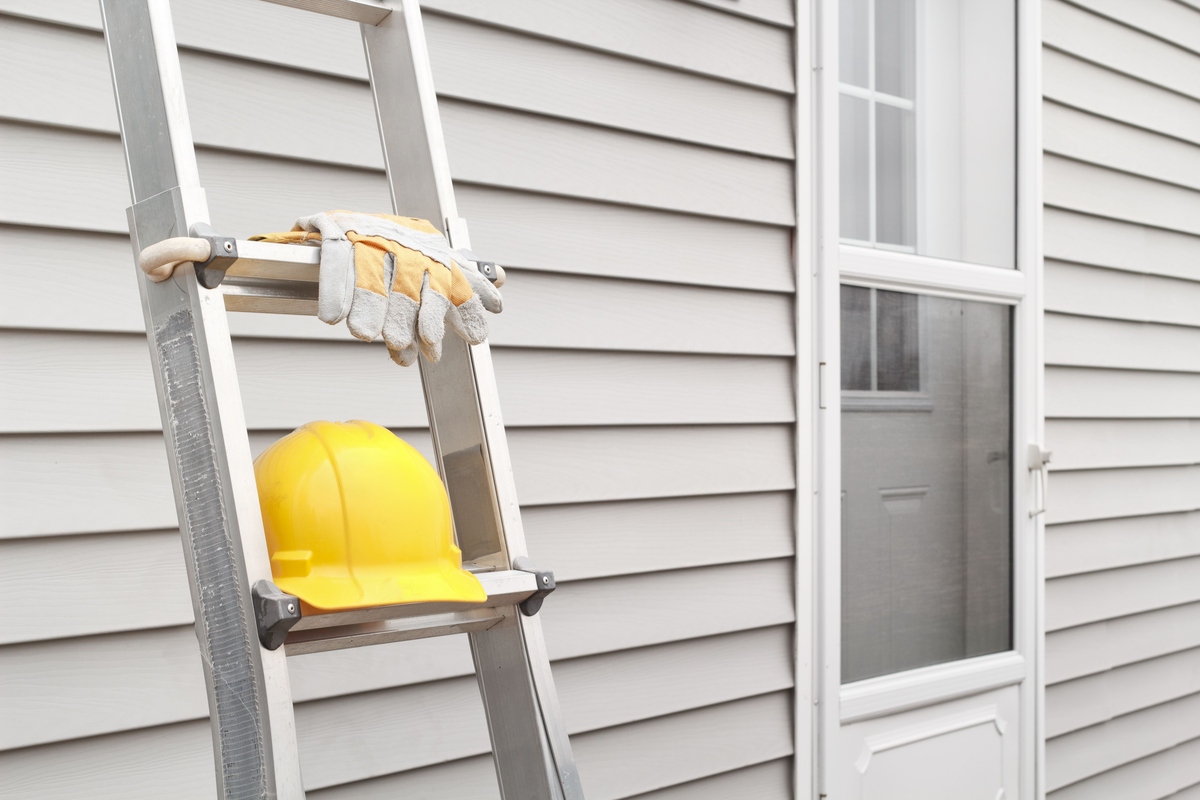
Step 1: Gather the Necessary Tools and Materials
Before you begin drilling into vinyl siding, it’s crucial to gather all the necessary tools and materials. This preparation will help ensure a smooth and successful installation process. Here’s a list of what you’ll need:
- Power drill: Choose a drill with variable speed settings and a cordless option for added convenience.
- Drill bits: Use high-quality drill bits specifically designed for drilling into vinyl siding. Avoid using regular wood or metal drill bits, as they can damage the siding material.
- Measuring tape: Accurate measurements are essential when marking the drilling spot, so have a measuring tape on hand.
- Pencil or marker: Use a pencil or marker to mark the precise location where you’ll be drilling.
- Safety glasses and gloves: Protect your eyes and hands by wearing safety glasses and gloves throughout the drilling process.
- Mounting hardware: Depending on your specific needs, gather the appropriate mounting hardware, such as screws, hooks, brackets, or anchors.
By having all these tools and materials ready, you’ll be well-prepared to proceed with the drilling process. Once you have everything gathered, it’s time to move on to the next step: choosing the right drill bit.
Step 2: Choose the Right Drill Bit
Choosing the right drill bit is crucial when drilling into vinyl siding. The wrong drill bit can cause damage to the siding material, leading to unsightly cracks or breaks. Follow these guidelines to select the appropriate drill bit:
1. Consider the material: Vinyl siding is a synthetic material, so it’s important to use a drill bit specifically designed for this type of material. Look for drill bits made of carbide or high-speed steel (HSS) with sharp cutting edges.
2. Opt for a smaller bit: It’s recommended to use a smaller drill bit diameter than the screw or anchor you’ll be using to attach the mounting hardware. This ensures a secure fit while minimizing the risk of damaging the siding.
3. Check the drill bit length: The drill bit should be long enough to penetrate through the siding material and into the wall surface behind it. Measure the depth of the mounting hardware or consult the manufacturer’s instructions to determine the appropriate length.
4. Use a pilot hole drill bit: For larger or heavier mounting hardware, it’s advisable to use a pilot hole drill bit. This smaller drill bit creates a guide hole, allowing for easier installation of the larger screws or anchors.
5. Test on a scrap piece: If you’re uncertain about the drill bit’s compatibility, it’s a good idea to test it on a scrap piece of vinyl siding or in an inconspicuous area. This will help you determine if the drill bit is suitable without risking damage to the visible portions of your siding.
Once you’ve chosen the correct drill bit, you’re ready to mark the drilling spot on the vinyl siding.
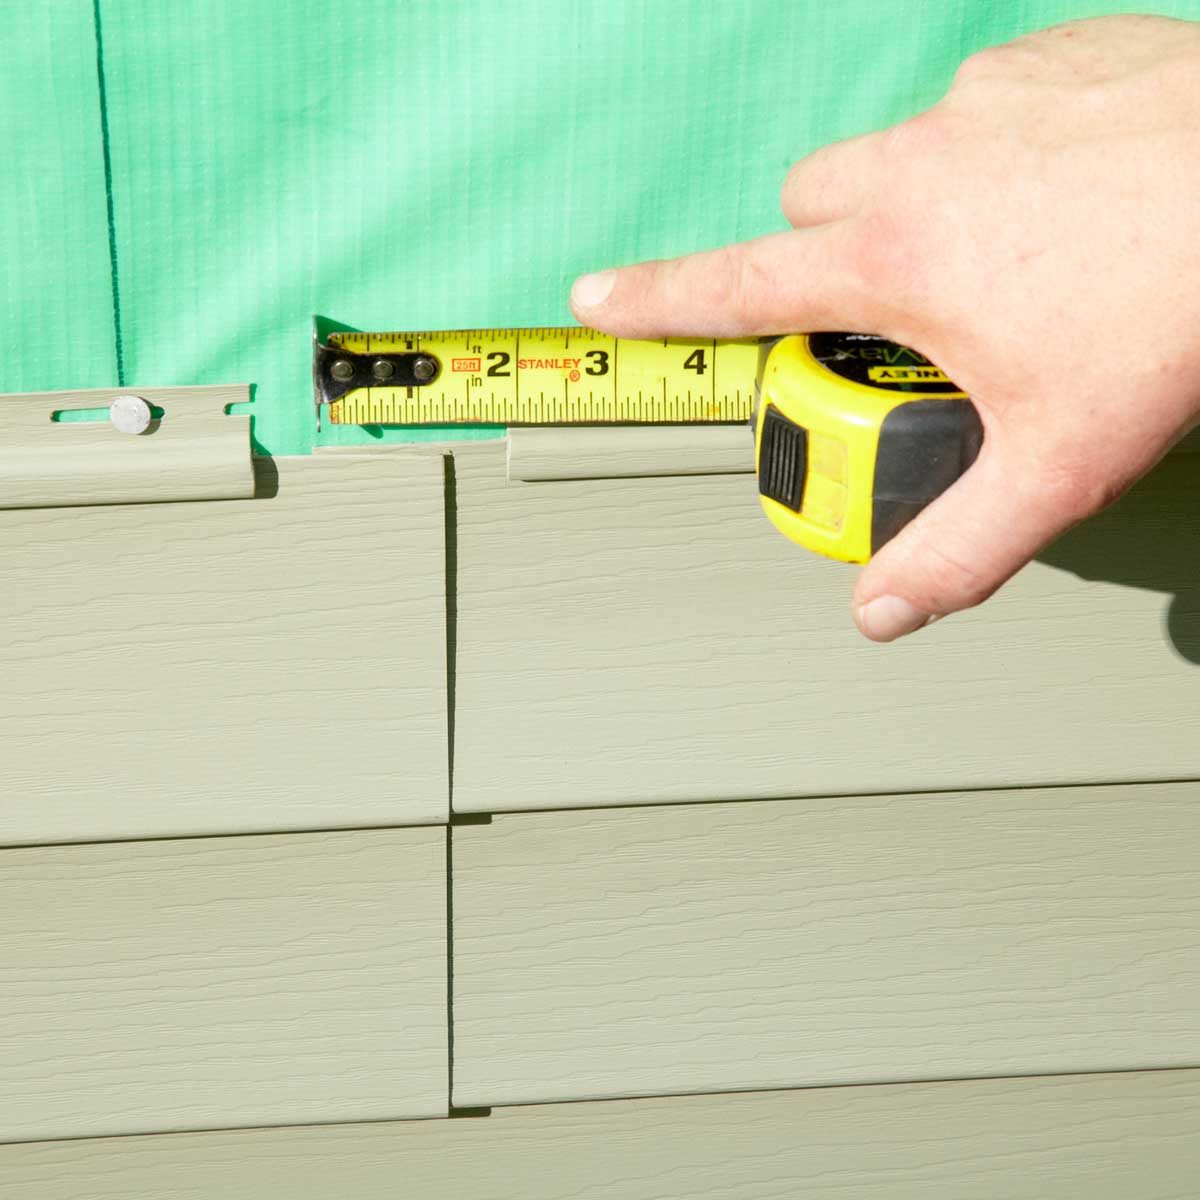
Step 3: Mark the Drilling Spot
Accurately marking the drilling spot on the vinyl siding is essential to ensure a precise and secure installation of the mounting hardware. Here’s how to go about it:
1. Locate the stud: If possible, locate the wall stud behind the vinyl siding using a stud finder. Drilling into a stud provides a secure anchor point for heavier items and reduces the risk of damaging the siding. Mark the stud position on the siding using a pencil or marker.
2. Measure and mark: Use a measuring tape to determine the desired placement of the mounting hardware. Mark the exact spot on the vinyl siding where you’ll be drilling. Measure multiple times to ensure accuracy.
3. Consider the siding panels: Vinyl siding is typically installed in overlapping panels. Take this into account when marking the drilling spot. Avoid drilling too close to the edges of the panels, as this can weaken the siding and compromise its integrity.
4. Align vertically and horizontally: Make sure the mark for the drilling spot is both vertically and horizontally aligned. Using a level can help ensure that the hardware will be straight once installed.
5. Double-check: Before proceeding, double-check the marked spot to ensure it’s in the desired location. Ensure it aligns with your intended mounting position and takes any obstructions or nearby features into account.
By taking the time to carefully mark the drilling spot, you’ll minimize the risk of errors and ensure a successful installation. With the spot accurately marked, it’s time to prepare the drill for the next step.
Step 4: Prepare the Drill
Before you start drilling into vinyl siding, it’s important to properly prepare your drill for the task at hand. Follow these steps to ensure your drill is ready:
1. Install the appropriate drill bit: Insert the correct drill bit into your drill’s chuck. Ensure it is securely tightened, reducing the risk of it slipping or becoming loose while drilling.
2. Adjust the drill speed: Vinyl siding is a relatively delicate material, so it’s important to choose the appropriate drill speed. Set your drill to a low or medium speed setting to prevent excessive force and minimize the risk of damaging the siding.
3. Secure the workpiece: If possible, secure the vinyl siding panel that you’ll be drilling into. This will prevent it from moving or vibrating during the drilling process, leading to cleaner and more accurate holes.
4. Put on safety gear: Before you start drilling, ensure you are wearing safety glasses and gloves to protect yourself from flying debris and potential accidents.
5. Connect the drill to a power source: If you’re using a corded drill, connect it to a power source. For cordless drills, ensure the battery is fully charged to avoid any interruptions during the drilling process.
By following these steps, you’ll have a drill that’s properly equipped and ready to drill into vinyl siding. Now, it’s time to proceed with the actual drilling process in the next step.
When drilling into vinyl siding, use a sharp drill bit and start with a small pilot hole to prevent cracking. Be sure to drill into a stud for a secure anchor.
Read more: How Thick Is Vinyl Siding
Step 5: Drill into the Vinyl Siding
Now that you have prepared the drill, it’s time to drill into the vinyl siding. Follow these steps for a successful drilling process:
1. Position the drill bit: Place the tip of the drill bit directly on the marked spot on the vinyl siding. Hold the drill perpendicular to the siding, ensuring it’s straight and level.
2. Apply gentle pressure: Start drilling slowly and apply gentle pressure to the drill. Let the drill bit do the work and avoid forcing it into the siding. Applying excessive pressure can cause the siding to crack or break.
3. Drill at a controlled speed: Maintain a controlled drilling speed throughout the process. Too much speed can generate excessive heat and damage the vinyl siding. Remember to keep the drill speed low or medium, as recommended.
4. Monitor the drilling depth: As you drill, periodically check the depth to ensure you’re reaching the desired depth without going too far. Avoid drilling too deeply, as it can damage the wall surface behind the siding.
5. Clear the debris: While drilling, debris may accumulate around the drill bit or in the drilled hole. Pause occasionally to clear away any debris using a brush or cloth. This will help maintain a clean drilling environment.
6. Take breaks if needed: If you notice the drill or drill bit getting too hot, take breaks to allow them to cool down. This will prevent overheating and potential damage to the drill or the siding.
By following these steps, you’ll be able to drill into the vinyl siding with precision and care. Once you have successfully drilled the hole, it’s time to move on to the next step: securely attaching the mounting hardware.
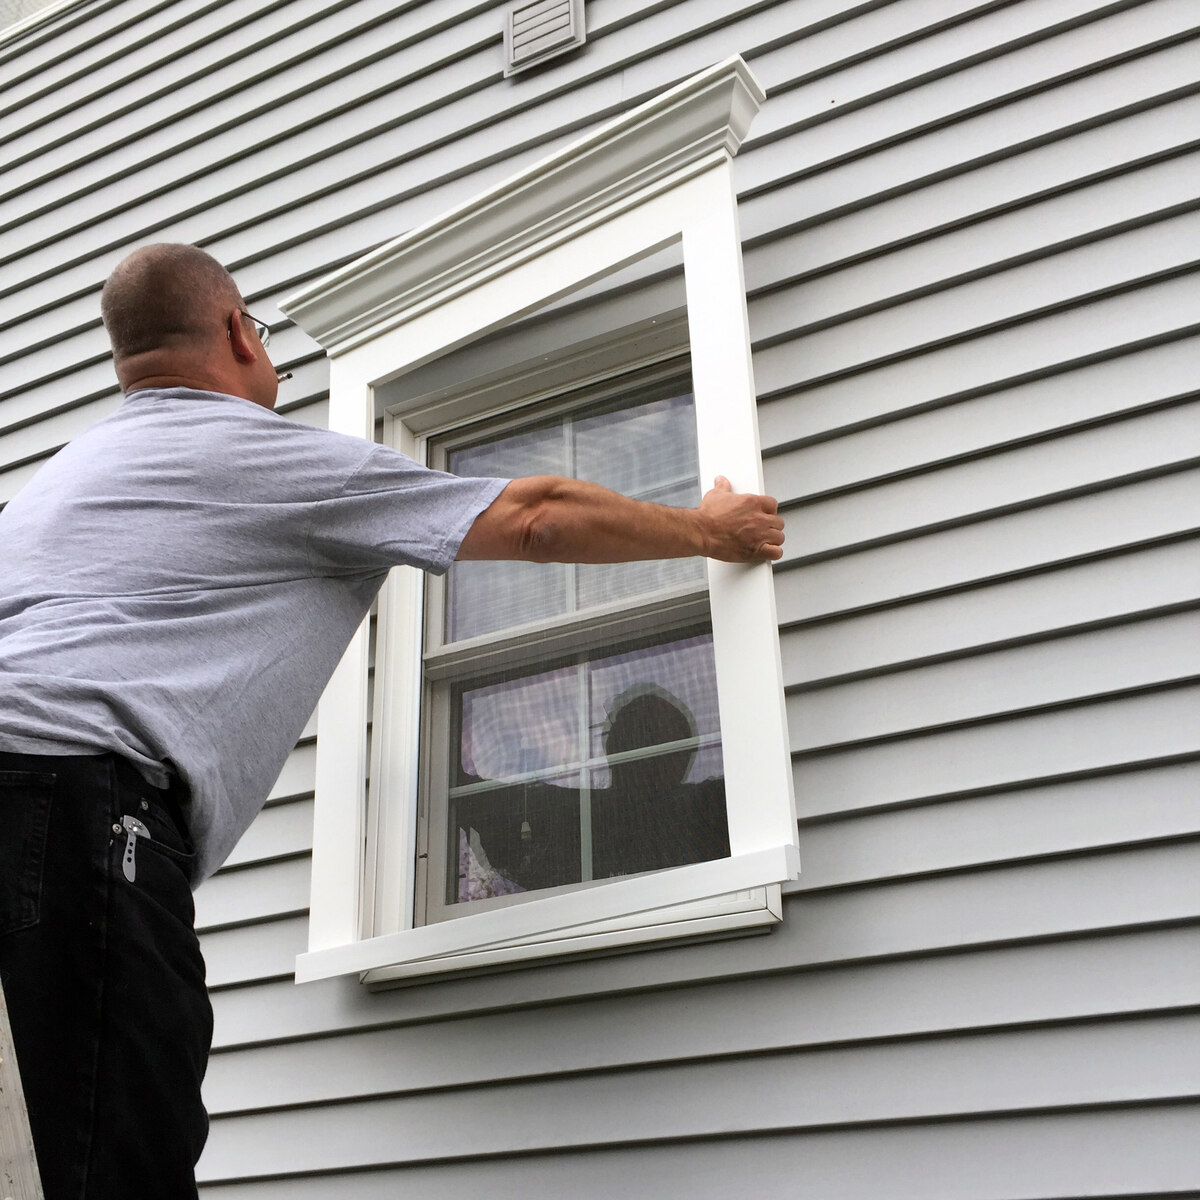
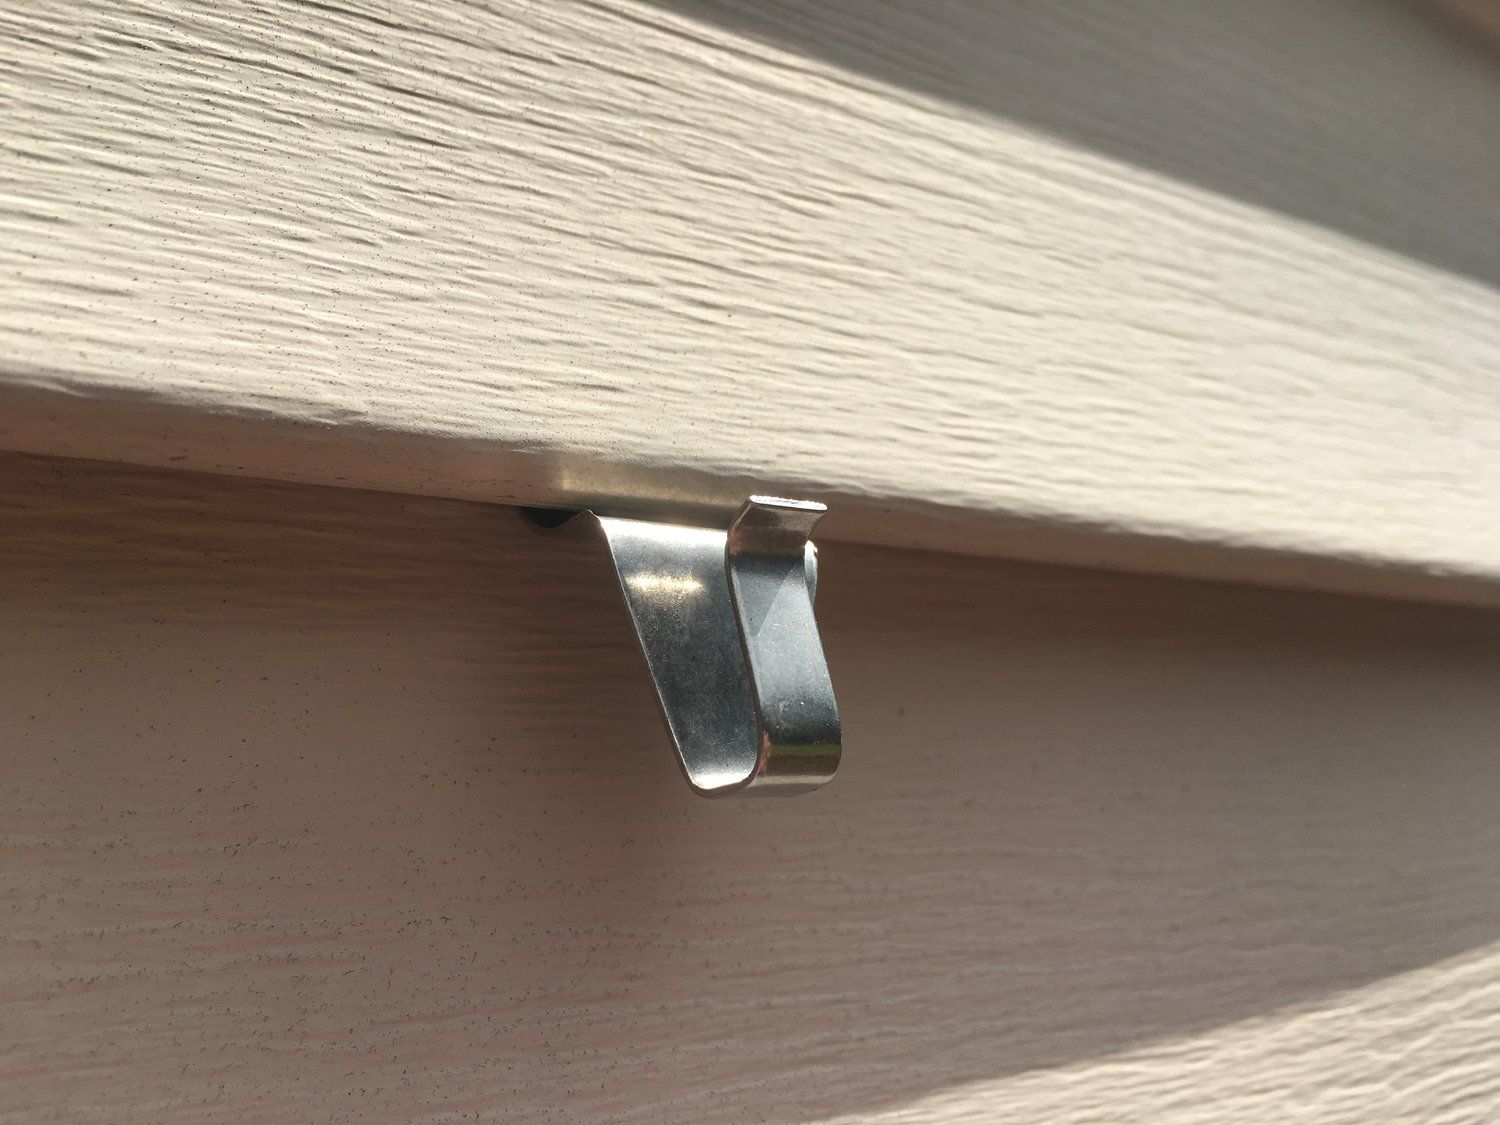
Step 6: Securely Attach the Mounting Hardware
After drilling the hole into the vinyl siding, it’s time to securely attach the mounting hardware. Properly securing the hardware ensures stability and longevity. Follow these steps for a reliable installation:
1. Select the appropriate hardware: Depending on your specific needs, choose the appropriate screws, hooks, brackets, or anchors for your mounting hardware. Ensure they are suitable for the weight and type of item you’ll be attaching.
2. Align the hardware: Position the mounting hardware over the drilled hole, aligning it with the marked spot on the vinyl siding. Ensure it’s straight and level, using a level if necessary.
3. Start by hand: Begin by hand-screwing the mounting hardware into the hole. This will help ensure proper alignment and prevent damage to the vinyl siding. Rotate it clockwise and apply pressure as needed until it is securely in place.
4. Use a screwdriver or drill: Once the hardware is hand-screwed in, you can use a screwdriver or drill with a screwdriver bit to tighten the screws further. Be careful not to overtighten, as this can damage the vinyl siding.
5. Test the stability: Give the mounted hardware a gentle tug to ensure it is securely attached to the vinyl siding. If there is any noticeable movement or instability, remove the hardware and reposition or readjust it as necessary.
6. Repeat the process: If you have multiple pieces of mounting hardware to install, repeat the process for each one, ensuring they are evenly spaced and aligned.
By following these steps, you’ll be able to securely attach the mounting hardware to the vinyl siding, providing a stable foundation for your desired application. With the hardware securely in place, it’s time to move on to the final step: testing and adjusting the fit.
Step 7: Test and Adjust the Fit
After securely attaching the mounting hardware to the vinyl siding, it’s important to test and adjust the fit to ensure everything is properly aligned and functioning as intended. Follow these steps to ensure a perfect fit:
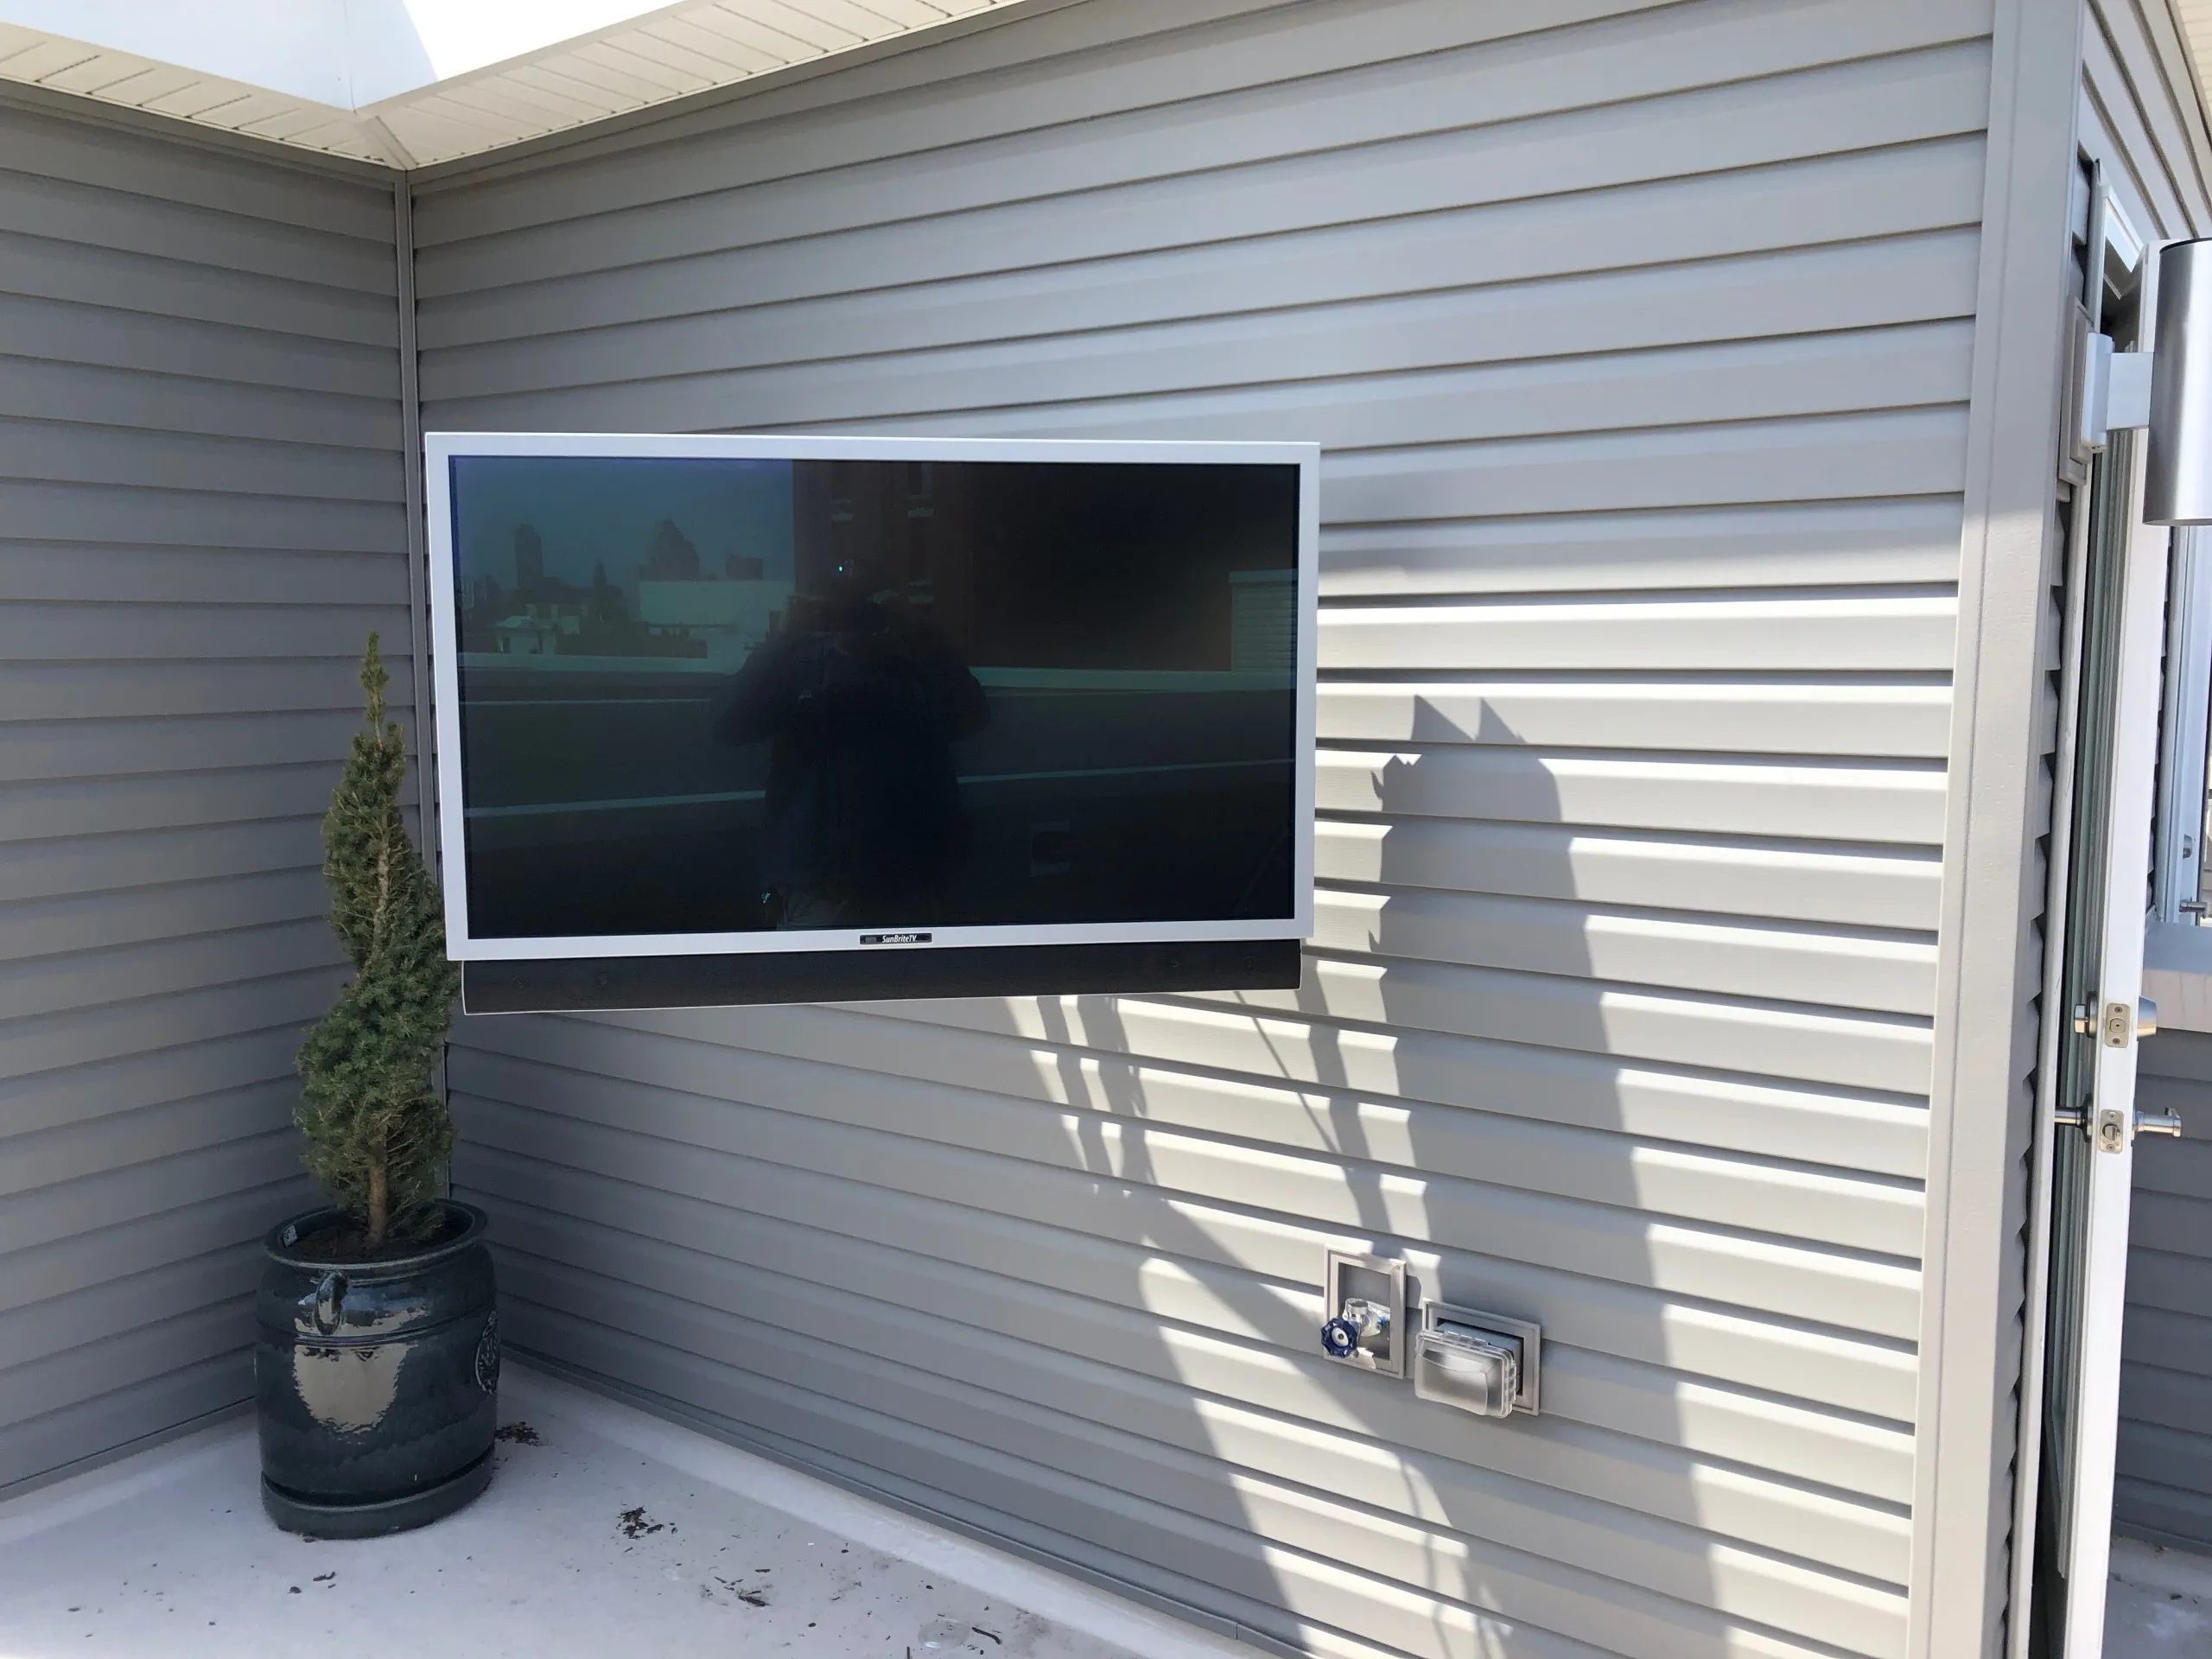
1. Install the item: If you’re attaching a specific item, such as a decoration, light fixture, or security camera, carefully install it onto the mounted hardware. Follow the manufacturer’s instructions for installation, ensuring proper alignment and attachment.
2. Check for level: Use a level to ensure that the installed item is perfectly level or aligned as desired. Adjust as necessary by loosening the mounting hardware and readjusting the position.
3. Test stability: Gently shake or apply pressure to the installed item to check for stability. If there is any noticeable movement or instability, tighten the mounting hardware further or consider using additional mounting support, such as additional screws or brackets.
4. Observe the overall appearance: Step back and visually inspect the installed item and surrounding area. Ensure that the mounting hardware and item are aesthetically pleasing and do not detract from the overall appearance of the vinyl siding.
5. Make adjustments if needed: If any issues or imperfections are noticed during the testing process, make the necessary adjustments. This may involve repositioning the item, readjusting the hardware, or seeking professional assistance if the problem persists.
By testing and adjusting the fit, you can ensure that the installed item is stable, level, and visually appealing. Taking the time to ensure a perfect fit will enhance the overall appearance of your vinyl siding and the functionality of the mounted hardware or item.
With these steps completed, you’ve successfully drilled into and installed mounting hardware onto your vinyl siding. Remember to always exercise caution and consult professional help if needed. Enjoy your newly mounted items or decorations, and admire the enhanced aesthetics of your home exterior!
Conclusion
Drilling into vinyl siding may seem like a challenging task, but with the right techniques and careful execution, you can achieve a successful and damage-free installation. By following the step-by-step process outlined in this article, you have learned how to gather the necessary tools and materials, choose the right drill bit, mark the drilling spot accurately, prepare the drill, drill into the vinyl siding, securely attach the mounting hardware, and test and adjust the fit.
Remember, vinyl siding is a durable and low-maintenance exterior cladding option, but proper care must be taken when drilling into it. Always use the appropriate tools and techniques to ensure you do not compromise the integrity of the siding. Additionally, be aware that drilling into the vinyl siding may void any warranties, so it’s important to proceed with caution and consult professionals when in doubt.
Whether you’re hanging decorations, installing outdoor lights, or mounting security cameras, these steps will guide you through the process and help you achieve a clean and professional-looking installation. By taking the time to prepare, measure, and secure the mounting hardware, you can enhance both the functionality and aesthetic appeal of your vinyl siding.
Now that you have the knowledge and confidence to drill into vinyl siding, you can embark on your home improvement projects with ease. As always, remember to prioritize safety by wearing protective gear and following the manufacturer’s instructions for any specific items you’re installing.
Enjoy the process of transforming your vinyl siding into a customized and personalized exterior that reflects your style and preferences. With the proper techniques and a little creativity, you can make your home stand out while maintaining the durability and longevity of your vinyl siding.
Curious about upgrading your home's exterior? Our guide on "vinyl siding" options for 2024 showcases exciting trends and designs that can transform your space. If you're a fan of tackling projects yourself, you might also enjoy our insights on why "DIY projects" are so rewarding. Both articles are packed with tips and tricks that will help you make informed decisions and enjoy the process along the way.
Frequently Asked Questions about How To Drill Into Vinyl Siding
Was this page helpful?
At Storables.com, we guarantee accurate and reliable information. Our content, validated by Expert Board Contributors, is crafted following stringent Editorial Policies. We're committed to providing you with well-researched, expert-backed insights for all your informational needs.


0 thoughts on “How To Drill Into Vinyl Siding”