
Articles
How To Install Awning On Vinyl Siding
Modified: October 19, 2024
Learn how to install an awning on vinyl siding with our informative articles. Discover step-by-step instructions and expert tips for a successful installation.
(Many of the links in this article redirect to a specific reviewed product. Your purchase of these products through affiliate links helps to generate commission for Storables.com, at no extra cost. Learn more)
Introduction
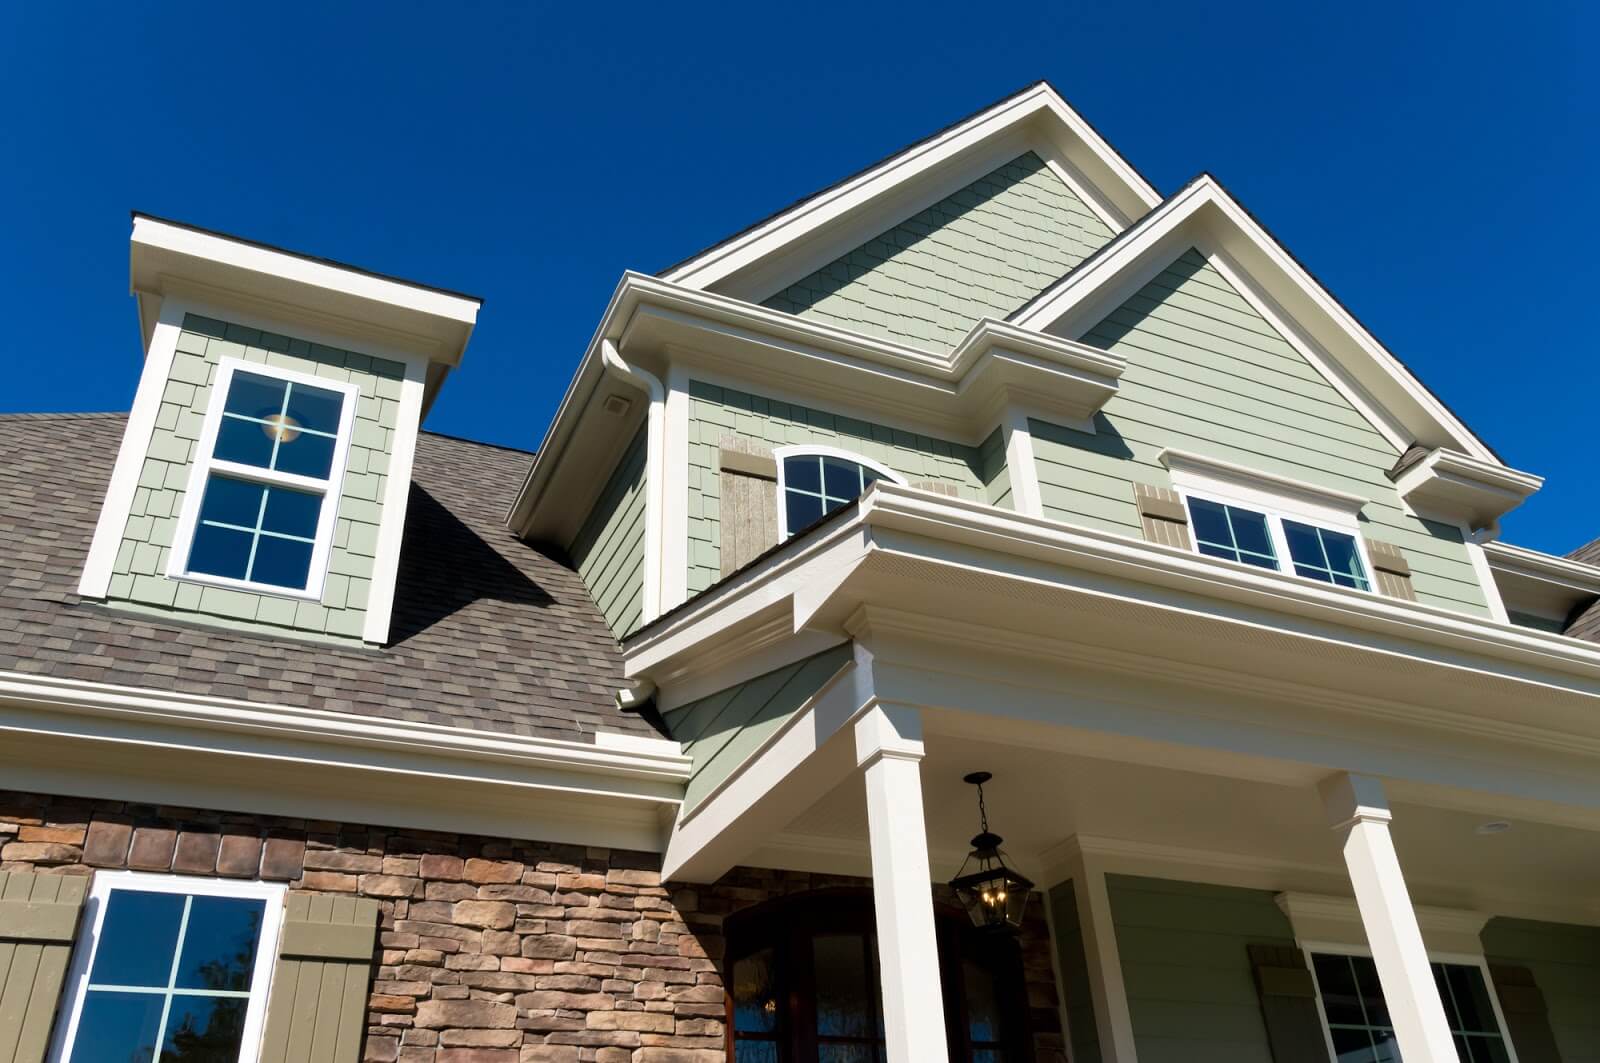
Welcome to the ultimate guide on how to install an awning on vinyl siding. Awning installation can be a great way to improve the functionality and aesthetic appeal of your home or business. Whether you’re looking to create shaded areas for outdoor activities, protect your windows from harsh sunlight, or add an element of style to your property, installing an awning on vinyl siding can be a relatively simple and rewarding project.
Before we dive into the step-by-step process of installing an awning on vinyl siding, it’s important to gather the necessary tools and materials. This will help ensure a smooth and successful installation. Additionally, we’ll discuss how to choose the right location for your awning and how to properly measure and mark the desired position.
Once the preparations are complete, we’ll guide you through the process of preparing the vinyl siding for installation. This includes ensuring a stable surface, determining the height and angle at which the awning will be installed, and making any necessary adjustments to the vinyl siding.
Next, we’ll explore how to attach the awning brackets to the vinyl siding. This step is crucial for securely mounting the awning frame and ensuring its stability. We’ll provide detailed instructions on how to properly position and secure the brackets, as well as advice on the type and number of brackets you’ll need.
With the brackets in place, it’s time to install the awning frame. We’ll walk you through the process of attaching the frame to the brackets, making sure it is level and properly aligned. Additionally, we’ll discuss different types of frames and materials that you can choose from, depending on your specific needs and preferences.
Once the frame is securely in place, we’ll guide you through the steps of attaching the awning fabric or material. This can range from traditional canvas to modern synthetic materials designed for durability and weather resistance. We’ll cover how to properly stretch and fasten the fabric, ensuring a smooth, tight fit that will withstand the elements.
Finally, we’ll address the importance of testing and adjusting the awning for proper functionality. This includes making sure it opens and closes smoothly, as well as checking for any areas of tension or sagging. We’ll provide tips on how to make any necessary adjustments to ensure your awning operates optimally.
By the end of this guide, you’ll have all the knowledge and confidence needed to successfully install an awning on vinyl siding. So, grab your tools and let’s get started on transforming your outdoor space into a functional and stylish oasis!
Key Takeaways:
- Proper preparation is key to a successful awning installation. From gathering the right tools to choosing the ideal location and measuring accurately, attention to detail ensures a smooth and secure process.
- Testing and adjusting the awning for functionality is crucial. Ensuring smooth operation, proper coverage, and stability in various weather conditions will maximize the benefits of your newly installed awning.
Step 1: Gather the necessary tools and materials
Before you begin the installation process, it’s important to gather all the necessary tools and materials. Having everything prepared ahead of time will make the installation process smoother and more efficient. Here’s a list of tools and materials you’ll need:
- Screwdriver or drill: You’ll need a power drill or screwdriver to attach the awning brackets to the vinyl siding.
- Tape measure: Accurate measurements are crucial for proper placement and alignment of the awning. A tape measure will help you determine the correct dimensions.
- Level: A level is necessary to ensure that the awning is installed correctly and is horizontally aligned.
- Pencil or marker: Use a pencil or marker to mark the desired awning position on the vinyl siding.
- Awnings and brackets: Choose the type of awning and brackets that best suit your needs and preferences. There are various options available on the market, ranging from retractable awnings to fixed ones.
- Screws and anchors: Depending on the type of awning and the weight it will bear, you’ll need screws and anchors to securely attach the brackets to the vinyl siding.
- Awning fabric or material: If your awning requires a separate fabric or material, make sure you have it ready for installation.
It’s important to ensure that you have all the necessary tools and materials before starting the installation process. This will save you time and prevent any interruptions during the installation. Additionally, having the right tools on hand will ensure that the installation is done correctly and securely.
Once you’ve gathered all the necessary tools and materials, move on to the next step: choosing the right location for the awning installation.
Step 2: Choose the right location for the awning installation
Choosing the right location for your awning installation is crucial for both functionality and aesthetics. The location will determine the amount of shade and protection you’ll get, as well as how the awning will blend with the overall design of your home or business. Here are some factors to consider when selecting the ideal location:
- Sun exposure: Assess the sun’s movement throughout the day to determine the best spot for your awning. You’ll want to choose a location where the awning can provide shade during the hours when the sun is most intense. Consider the orientation of your home and any existing structures that may offer natural shade.
- Proximity to windows and doors: If your primary goal is to provide shade for windows or protect doorways from rain, make sure to select a location that aligns with those areas. This will ensure maximum coverage and functionality.
- Structural integrity: Examine the area where you plan to install the awning to ensure the vinyl siding is in good condition. Look for any signs of damage or weak spots that could affect the stability of the awning. It’s important to install the awning on a structurally sound surface to prevent any potential issues in the future.
- Obstructions: Take note of any potential obstructions such as trees, electrical wiring, or vents that may hinder the installation or use of the awning. Clear any obstacles before proceeding with the installation.
- Aesthetics: Consider how the awning will enhance the overall appearance of your home or business. Choose a location that complements the architectural style and color scheme. You want the awning to seamlessly blend in with your property’s design.
Once you’ve carefully evaluated these factors, you can mark the chosen location on the vinyl siding. Use a pencil or marker to indicate the position where the awning brackets will be installed. Double-check the measurements and alignment before moving on to the next step.
Now that you have chosen the ideal location for your awning installation, it’s time to move on to measuring and marking the desired awning position.
Step 3: Measure and mark the desired awning position
Accurate measurements are crucial for a successful awning installation. Before proceeding with attaching the brackets, you need to measure and mark the desired awning position on the vinyl siding. Here’s how to do it:
- Start by measuring the width of the area where you want to install the awning. Use a tape measure to determine the distance between two points where the brackets will be attached. Make sure to measure both the top and bottom of the area to ensure accuracy.
- Next, measure the height at which you want the awning to be installed. This will depend on your personal preference and the desired level of shade and coverage. Keep in mind any window or door heights that the awning should align with or cover.
- Using a pencil or marker, mark the measured dimensions on the vinyl siding. Draw vertical lines for the height and horizontal lines for the width. This will create a visual guide for attaching the brackets in the correct position.
- Double-check the measurements and the accuracy of the marked lines before proceeding. Ensure that the lines are straight and properly aligned with the desired area for the awning.
If your awning requires multiple brackets, repeat the measuring and marking process for each bracket. This will ensure proper spacing and alignment between the brackets, resulting in a secure and stable installation.
It’s important to note that the awning width should be slightly wider than the marked width to allow for proper installation and function. This will prevent the awning from being too tight or restricted when fully extended.
Once you have measured and marked the desired awning position, you’re ready to move on to the next step: preparing the vinyl siding for installation.
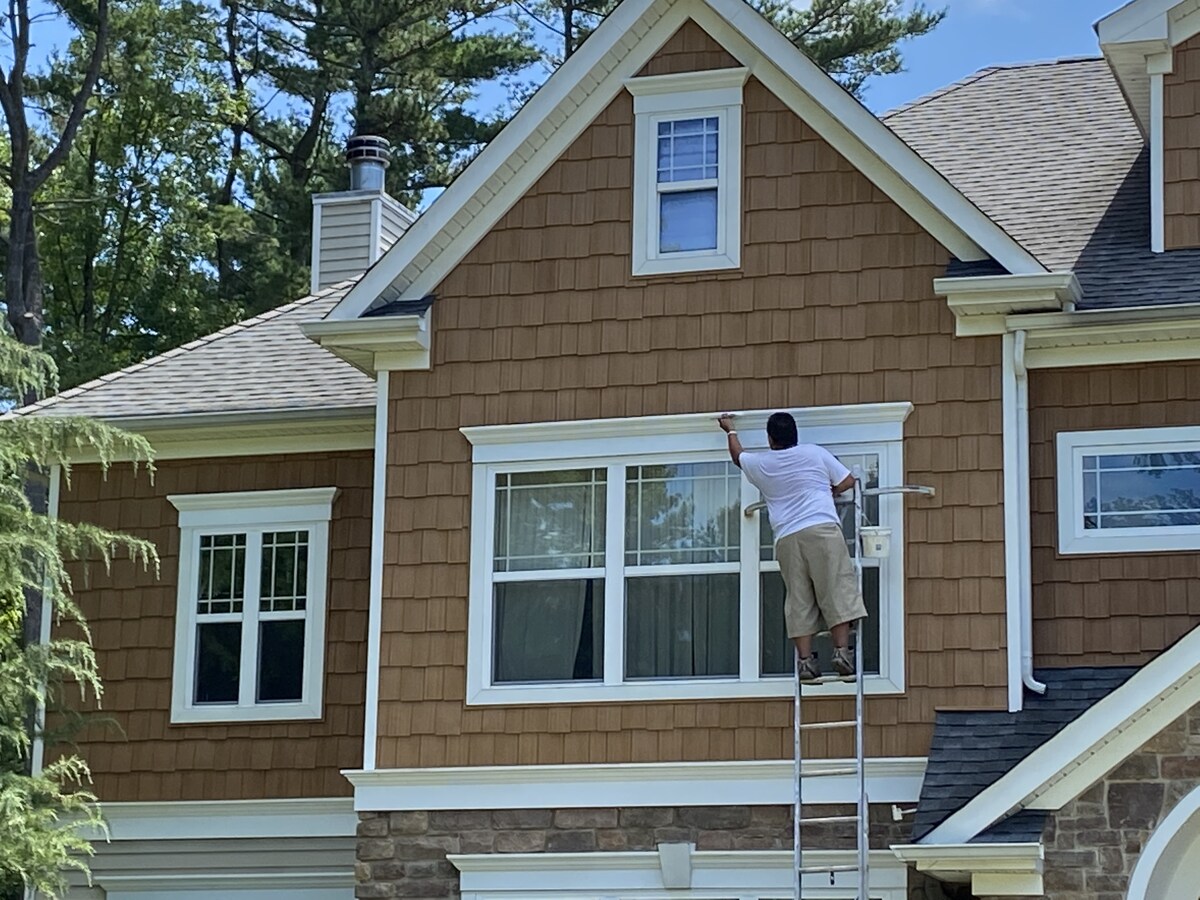
Step 4: Prepare the vinyl siding for installation
Properly preparing the vinyl siding before installing the awning is crucial for a secure and stable installation. This step ensures that the surface is clean, stable, and ready to support the weight of the awning. Here’s how to prepare the vinyl siding:
- Start by examining the vinyl siding for any signs of damage, such as cracks or loose pieces. Repair or replace any damaged sections before proceeding with the installation.
- Use a soft brush or cloth to remove any dirt, debris, or stains from the vinyl siding. This will create a clean surface for attaching the brackets and ensure a secure connection.
- If the siding is textured or has a rough surface, consider using a mild detergent mixed with water to gently scrub away any stubborn dirt or grime. Rinse thoroughly with clean water to remove any residue.
- Make sure the vinyl siding is dry before proceeding. Moisture can affect the adhesion and stability of the brackets.
- If necessary, use a level to ensure that the area where the brackets will be attached is horizontal. Make any adjustments to ensure a straight and level surface for installation.
- Consider using a mounting block or reinforcement behind the vinyl siding for added stability, especially if the awning is large or heavy. This will help distribute the weight and prevent any potential damage to the siding.
By properly preparing the vinyl siding, you’ll ensure a solid foundation for the awning installation. This will contribute to the longevity of the awning and prevent any issues down the line. Taking the time to prepare the surface will also help maintain the integrity of the vinyl siding and minimize the risk of damage during the installation process.
Once the vinyl siding is clean, dry, and level, you’re ready to move on to the next step: attaching the awning brackets to the vinyl siding.
When installing an awning on vinyl siding, be sure to use stainless steel screws to prevent rust and discoloration. Pre-drill holes to avoid cracking the siding and use a level to ensure the awning is installed straight.
Step 5: Attach the awning brackets to the vinyl siding
Attaching the awning brackets to the vinyl siding is a crucial step in the installation process. The brackets provide the necessary support and stability for the awning frame. Here’s how to attach the awning brackets:
- Position the first bracket according to the marked lines on the vinyl siding. Ensure that the bracket is aligned with the desired awning position.
- Using a power drill or screwdriver, secure the bracket to the vinyl siding by driving screws through the pre-drilled holes in the bracket. Be sure to use screws that are appropriate for vinyl siding, as they will provide the necessary strength and grip.
- Repeat the process for the remaining brackets, ensuring that they are evenly spaced and aligned with the marked lines. This will ensure a balanced and stable installation.
- Double-check the tightness of the screws to ensure that the brackets are securely attached to the vinyl siding. Tighten any loose screws as needed.
- If your awning requires additional support, consider installing a support arm or bracket. This will provide extra stability and prevent sagging or strain on the awning frame.
It’s important to follow the manufacturer’s instructions when attaching the awning brackets. They may provide specific guidelines on the number of brackets needed, the recommended spacing between them, and any additional requirements for a secure installation.
As you attach the brackets, take care not to overtighten the screws, as this can damage the vinyl siding. Ensure that the brackets are firmly attached, but avoid excessive force that may cause cracks or breaks in the siding.
By securely attaching the awning brackets to the vinyl siding, you’ll create a solid foundation for the awning frame. This will allow for smooth and stable operation of the awning, ensuring its longevity and functionality.
With the brackets securely in place, it’s time to move on to the next step: installing the awning frame onto the brackets.
Step 6: Install the awning frame onto the brackets
Installing the awning frame onto the brackets is an important step in completing the installation process. The frame provides the structure and support for the awning fabric or material. Here’s how to install the awning frame:
- Position the awning frame onto the brackets, ensuring that it aligns with the installed brackets and the marked lines on the vinyl siding.
- Depending on the type of awning frame you have, you may need to slide it into place or secure it with screws or bolts. Follow the manufacturer’s instructions for your specific awning frame to ensure proper installation.
- Check the level of the awning frame using a spirit level. Adjust the frame as necessary to ensure it is level and properly aligned with the brackets and marked lines.
- Tighten any screws or bolts to securely attach the awning frame to the brackets. Make sure they are tightened enough to provide stability, but be careful not to over-tighten and risk damaging the frame or brackets.
- Inspect the awning frame to ensure it is securely attached and level. A stable and level frame is essential for proper functioning and durability.
If your awning frame has adjustable arms or a retractable mechanism, make sure they are properly positioned and locked in place according to the manufacturer’s instructions. This will allow for smooth operation and adjustment of the awning as needed.
It’s important to note that the installation process may vary depending on the specific awning frame design and manufacturer. Always refer to the manufacturer’s instructions for detailed guidance on installing your particular awning frame.
Once the awning frame is securely installed, you’re ready to move on to the next step: securing the awning fabric or material.
Step 7: Secure the awning fabric or material
Securing the awning fabric or material is the next step in the installation process. This is where the visual appeal and functionality of the awning come together. Here’s how to securely attach the awning fabric or material:
- If your awning requires a separate fabric or material, lay it out over the installed frame, ensuring that it covers the desired area and aligns with the frame’s dimensions.
- Starting from one corner or end, stretch the fabric or material tightly across the frame. Make sure it is evenly spread and free of wrinkles or sagging.
- Use the appropriate fastening method for your awning fabric or material. This may include using hooks, clips, or fasteners provided by the manufacturer. Follow the instructions provided to securely attach the fabric to the frame.
- Double-check the fabric’s alignment and tension as you go along. Make any necessary adjustments to ensure a smooth and taut fit.
- If your awning is a retractable or adjustable type, test the functionality to ensure that the fabric rolls or extends smoothly. Make any necessary adjustments to the fabric’s tension or positioning for optimal operation.
- Inspect the fabric from multiple angles to ensure it is evenly stretched and securely fastened. Loose or sagging fabric can affect the appearance and functionality of the awning.
It’s important to follow the manufacturer’s instructions for your specific awning fabric or material. They may provide specific guidelines on how to securely fasten the fabric, as well as any recommendations for maintenance or cleaning.
If your awning fabric or material is pre-installed on the frame, make sure it is properly aligned and securely attached. Check for any areas of the fabric that may need additional reinforcement or adjustment.
Once the awning fabric or material is securely in place, you’re almost done with the installation process. The final step is to test and adjust the awning for proper functionality.
Step 8: Test and adjust the awning for proper functionality
Testing and adjusting the awning for proper functionality is the final step in the installation process. This step ensures that the awning operates smoothly and meets your desired requirements. Here’s how to test and adjust the awning:
- Starting with the control mechanism, whether it’s a manual crank or a motorized system, test the operation to ensure it opens and closes smoothly. Make sure all components are functioning properly.
- Observe the extension and retraction of the awning. Check for any areas of tension or resistance. If the awning does not extend or retract smoothly, re-check the alignment of the fabric and the tension of the frame.
- Once the awning is fully extended, observe the coverage and shade it provides. Adjust the positioning if necessary to achieve the desired coverage and alignment with windows and doors.
- Test the stability of the awning by gently shaking or applying light pressure to different sections. Ensure that the frame and fabric are securely attached and do not sag or move excessively.
- If your awning has adjustable arms or a tilt mechanism, test the functionality. Adjust the angle of the awning as needed to provide optimal shade and protection.
- Monitor the awning’s performance during different weather conditions, such as wind and rain. Ensure that it remains stable and resistant to these elements.
- Make any necessary adjustments to the fabric tension or alignment to improve the functionality and appearance of the awning.
It’s important to conduct a thorough testing of the awning to ensure its proper functionality and performance. This step will help identify any issues or areas that require adjustment before regular use.
If you encounter any difficulties during the testing process or notice any issues with the awning’s operation, consult the manufacturer’s instructions or seek professional assistance for troubleshooting and adjustments.
Once you’re satisfied with the awning’s performance, congratulations! You’ve successfully installed an awning on vinyl siding. Enjoy the added shade, protection, and aesthetic appeal it brings to your outdoor space.
As a final note, regular maintenance and inspection of the awning will help prolong its lifespan and ensure continued functionality. Follow any care instructions provided by the manufacturer to keep your awning in top condition.
Conclusion
Congratulations on successfully completing the installation of an awning on vinyl siding! By following the step-by-step guide and taking the time to gather the necessary tools and materials, choose the right location, measure and mark, prepare the vinyl siding, attach the brackets, install the frame, secure the fabric, and test for proper functionality, you have transformed your outdoor space into a functional and stylish oasis.
An awning provides numerous benefits, such as shade from the sun, protection from the rain, and an enhanced aesthetic appeal to your home or business. It creates a comfortable outdoor space where you can enjoy the outdoors with added comfort and protection.
Remember to periodically inspect and maintain your awning to ensure its longevity and optimal performance. Regular cleaning, checking for any loose fasteners, and addressing any signs of damage promptly will help maintain its functionality and appearance over time.
Whether you’re looking to create a cozy outdoor seating area, shade your windows, or add a touch of elegance to your property, installing an awning on vinyl siding is a rewarding project that can significantly enhance your outdoor living experience.
Thank you for following this comprehensive guide. We hope it has provided valuable insights and guidance throughout the installation process. Enjoy your new awning and the many benefits it brings!
Now that you've mastered installing an awning, why not tackle more DIY projects or consider updating your home with new hardwood floors? Engaging in DIY projects not only sharpens your skills but also brings a sense of accomplishment. Meanwhile, choosing the right hardwood floors can transform any space, making your home renovation efforts truly shine. Both guides offer valuable insights and practical advice to enhance your living space creatively and efficiently.
Frequently Asked Questions about How To Install Awning On Vinyl Siding
Was this page helpful?
At Storables.com, we guarantee accurate and reliable information. Our content, validated by Expert Board Contributors, is crafted following stringent Editorial Policies. We're committed to providing you with well-researched, expert-backed insights for all your informational needs.


0 thoughts on “How To Install Awning On Vinyl Siding”