
Articles
How To Quilt With Rulers
Modified: January 24, 2024
Learn how to quilt with rulers and create beautiful designs with our informative articles. Enhance your quilting skills today!
(Many of the links in this article redirect to a specific reviewed product. Your purchase of these products through affiliate links helps to generate commission for Storables.com, at no extra cost. Learn more)
Introduction
Welcome to the wonderful world of quilting with rulers! If you’re a quilting enthusiast, you may already be familiar with the traditional methods of quilting, but have you ever tried using rulers to enhance your quilting projects? Quilting with rulers is a fantastic technique that allows you to create precise and intricate designs, adding a whole new dimension to your quilts.
Using rulers in quilting provides you with more control and accuracy, allowing you to create beautifully symmetrical patterns, straight lines, and unique shapes. Whether you’re a beginner or an experienced quilter, incorporating rulers into your quilting repertoire can take your projects to the next level.
In this article, we will explore the world of quilting with rulers, from choosing the right rulers to mastering basic techniques, piecing blocks, and creating stunning ruler quilting designs. We will also share some tips and tricks to help you navigate this exciting quilting method and highlight common mistakes to avoid.
So, if you’re ready to elevate your quilting skills and embark on an exciting quilting adventure, let’s dive into the world of quilting with rulers!
Key Takeaways:
- Elevate your quilting projects by incorporating rulers for precise designs, straight lines, and accurate measurements. Choose the right rulers and master basic techniques to unleash your creativity and take your quilting to the next level.
- Embrace ruler quilting as a journey of creativity and precision. Avoid common mistakes, practice with patience, and enjoy the process of creating stunning quilts with the versatile and powerful tools of rulers.
Read also: 10 Amazing Quilt Ruler for 2024
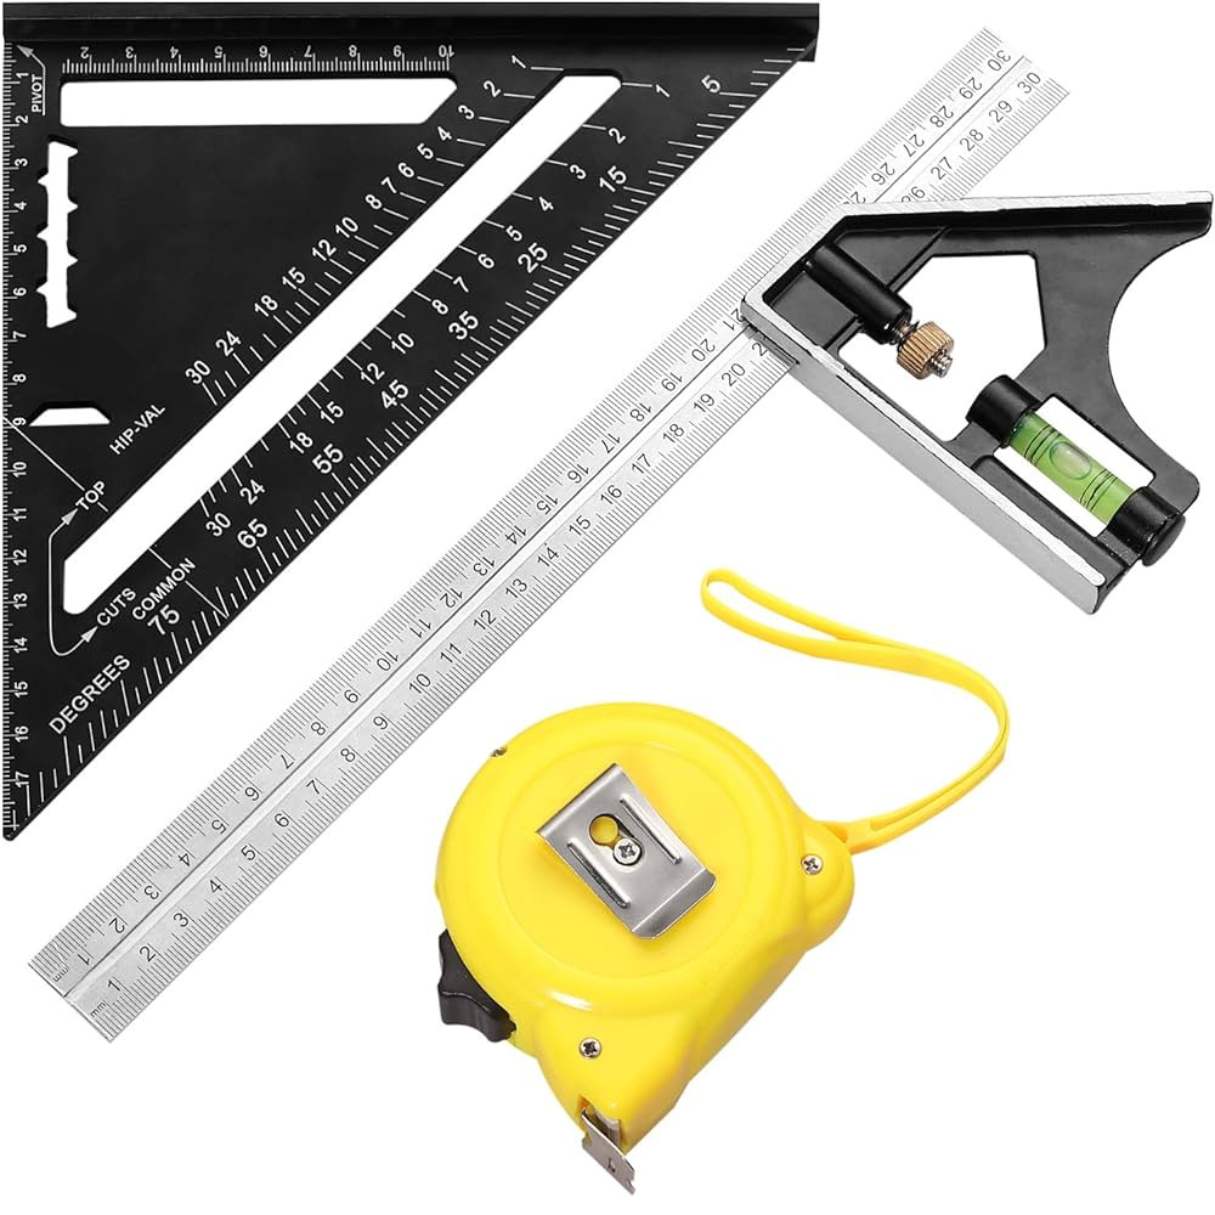
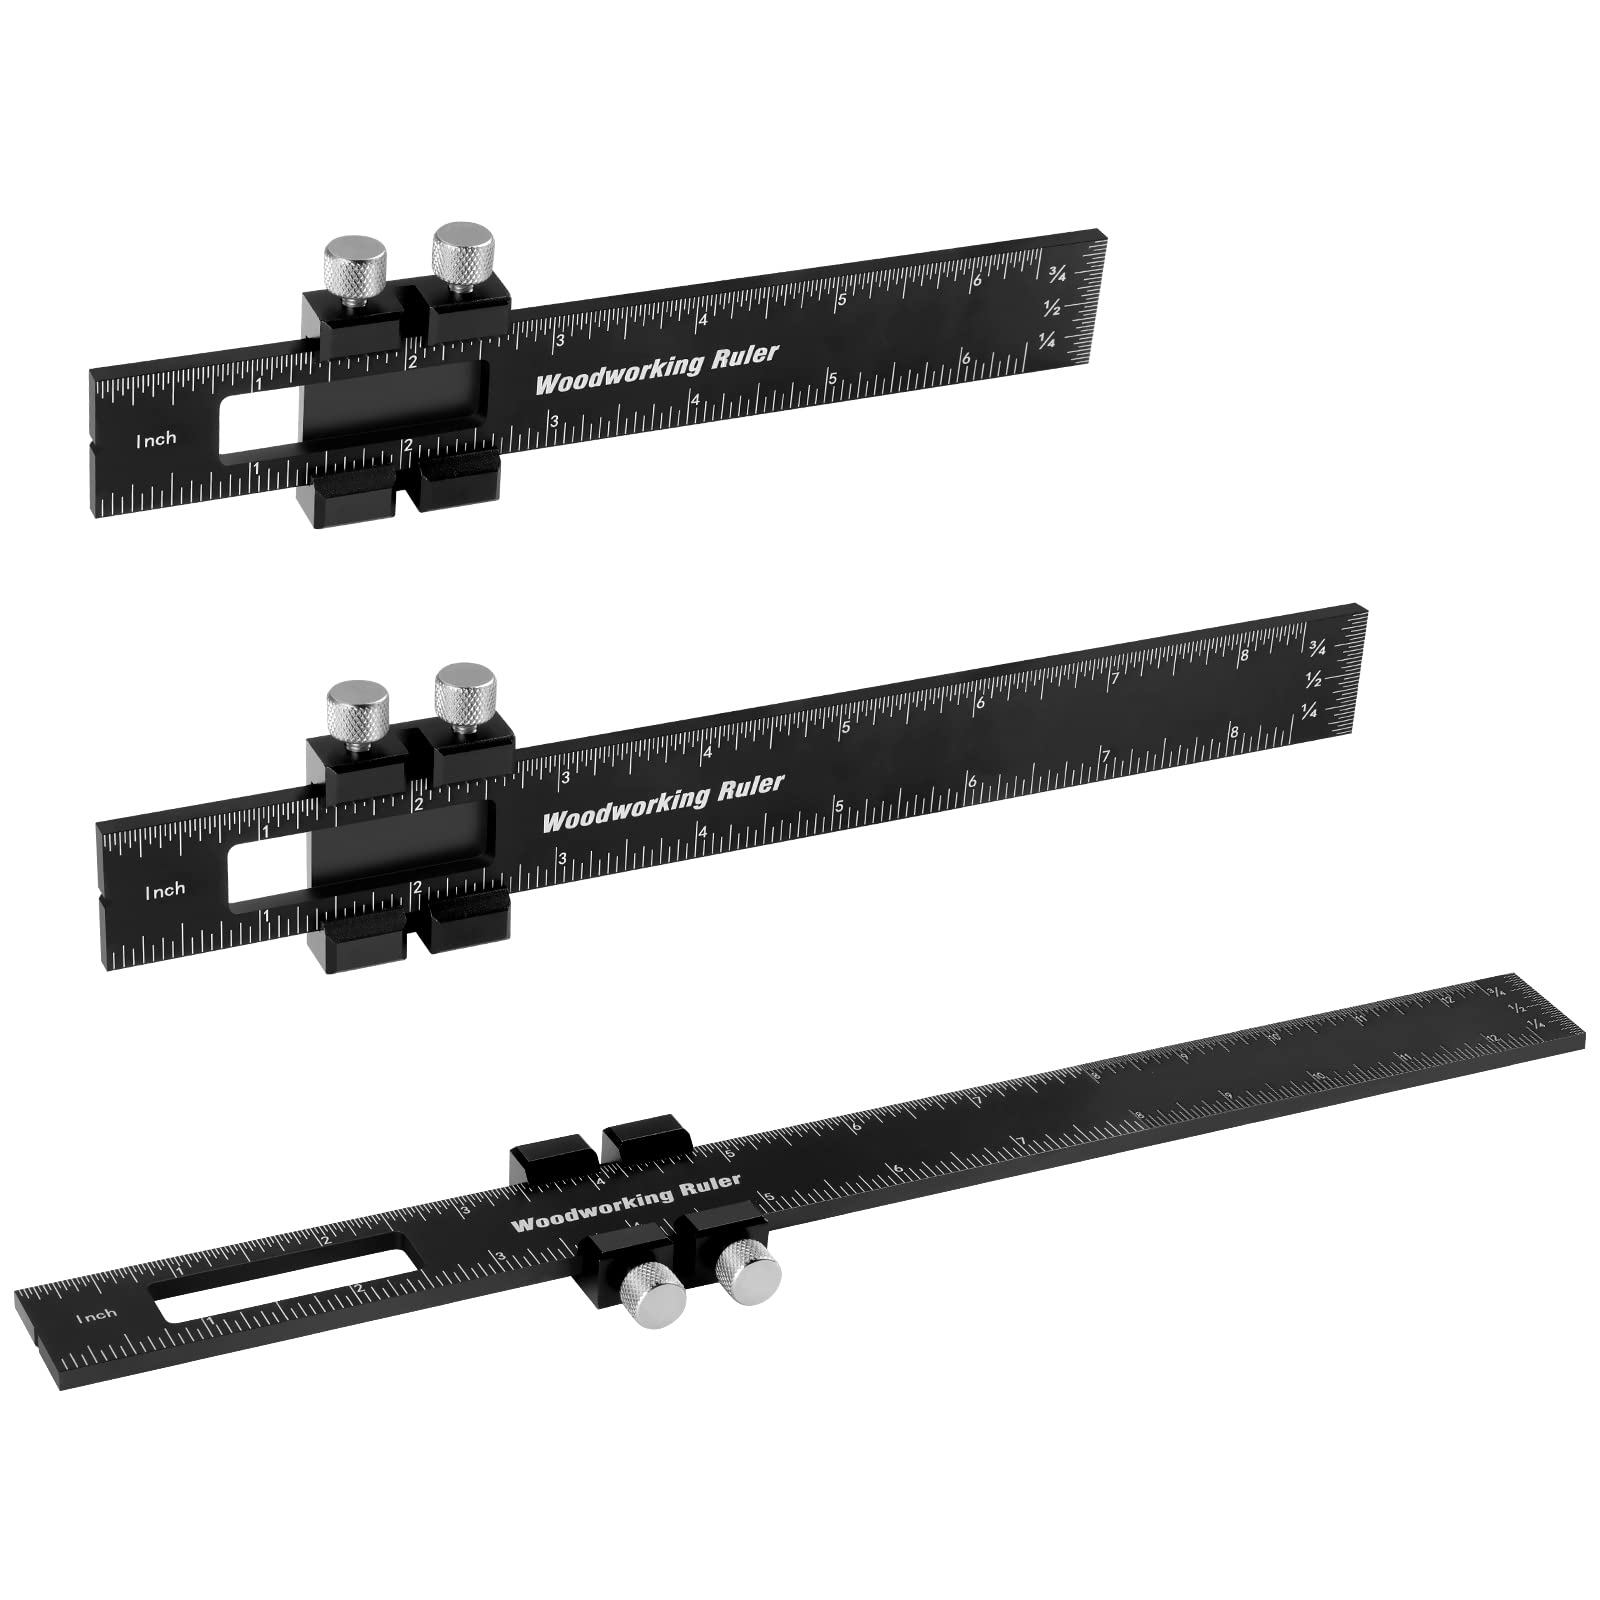
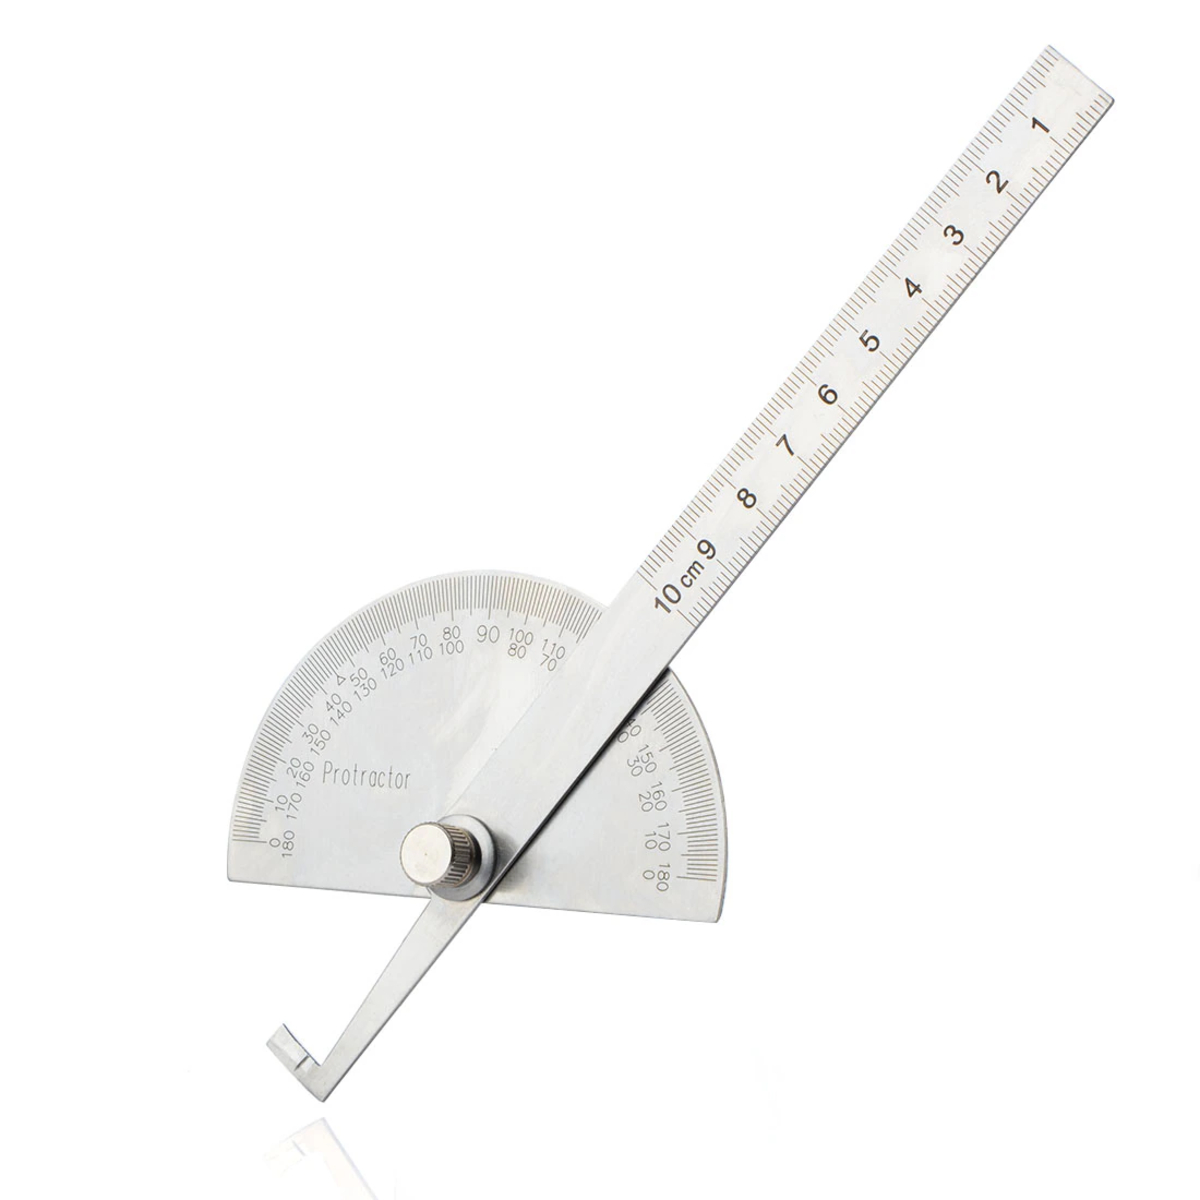
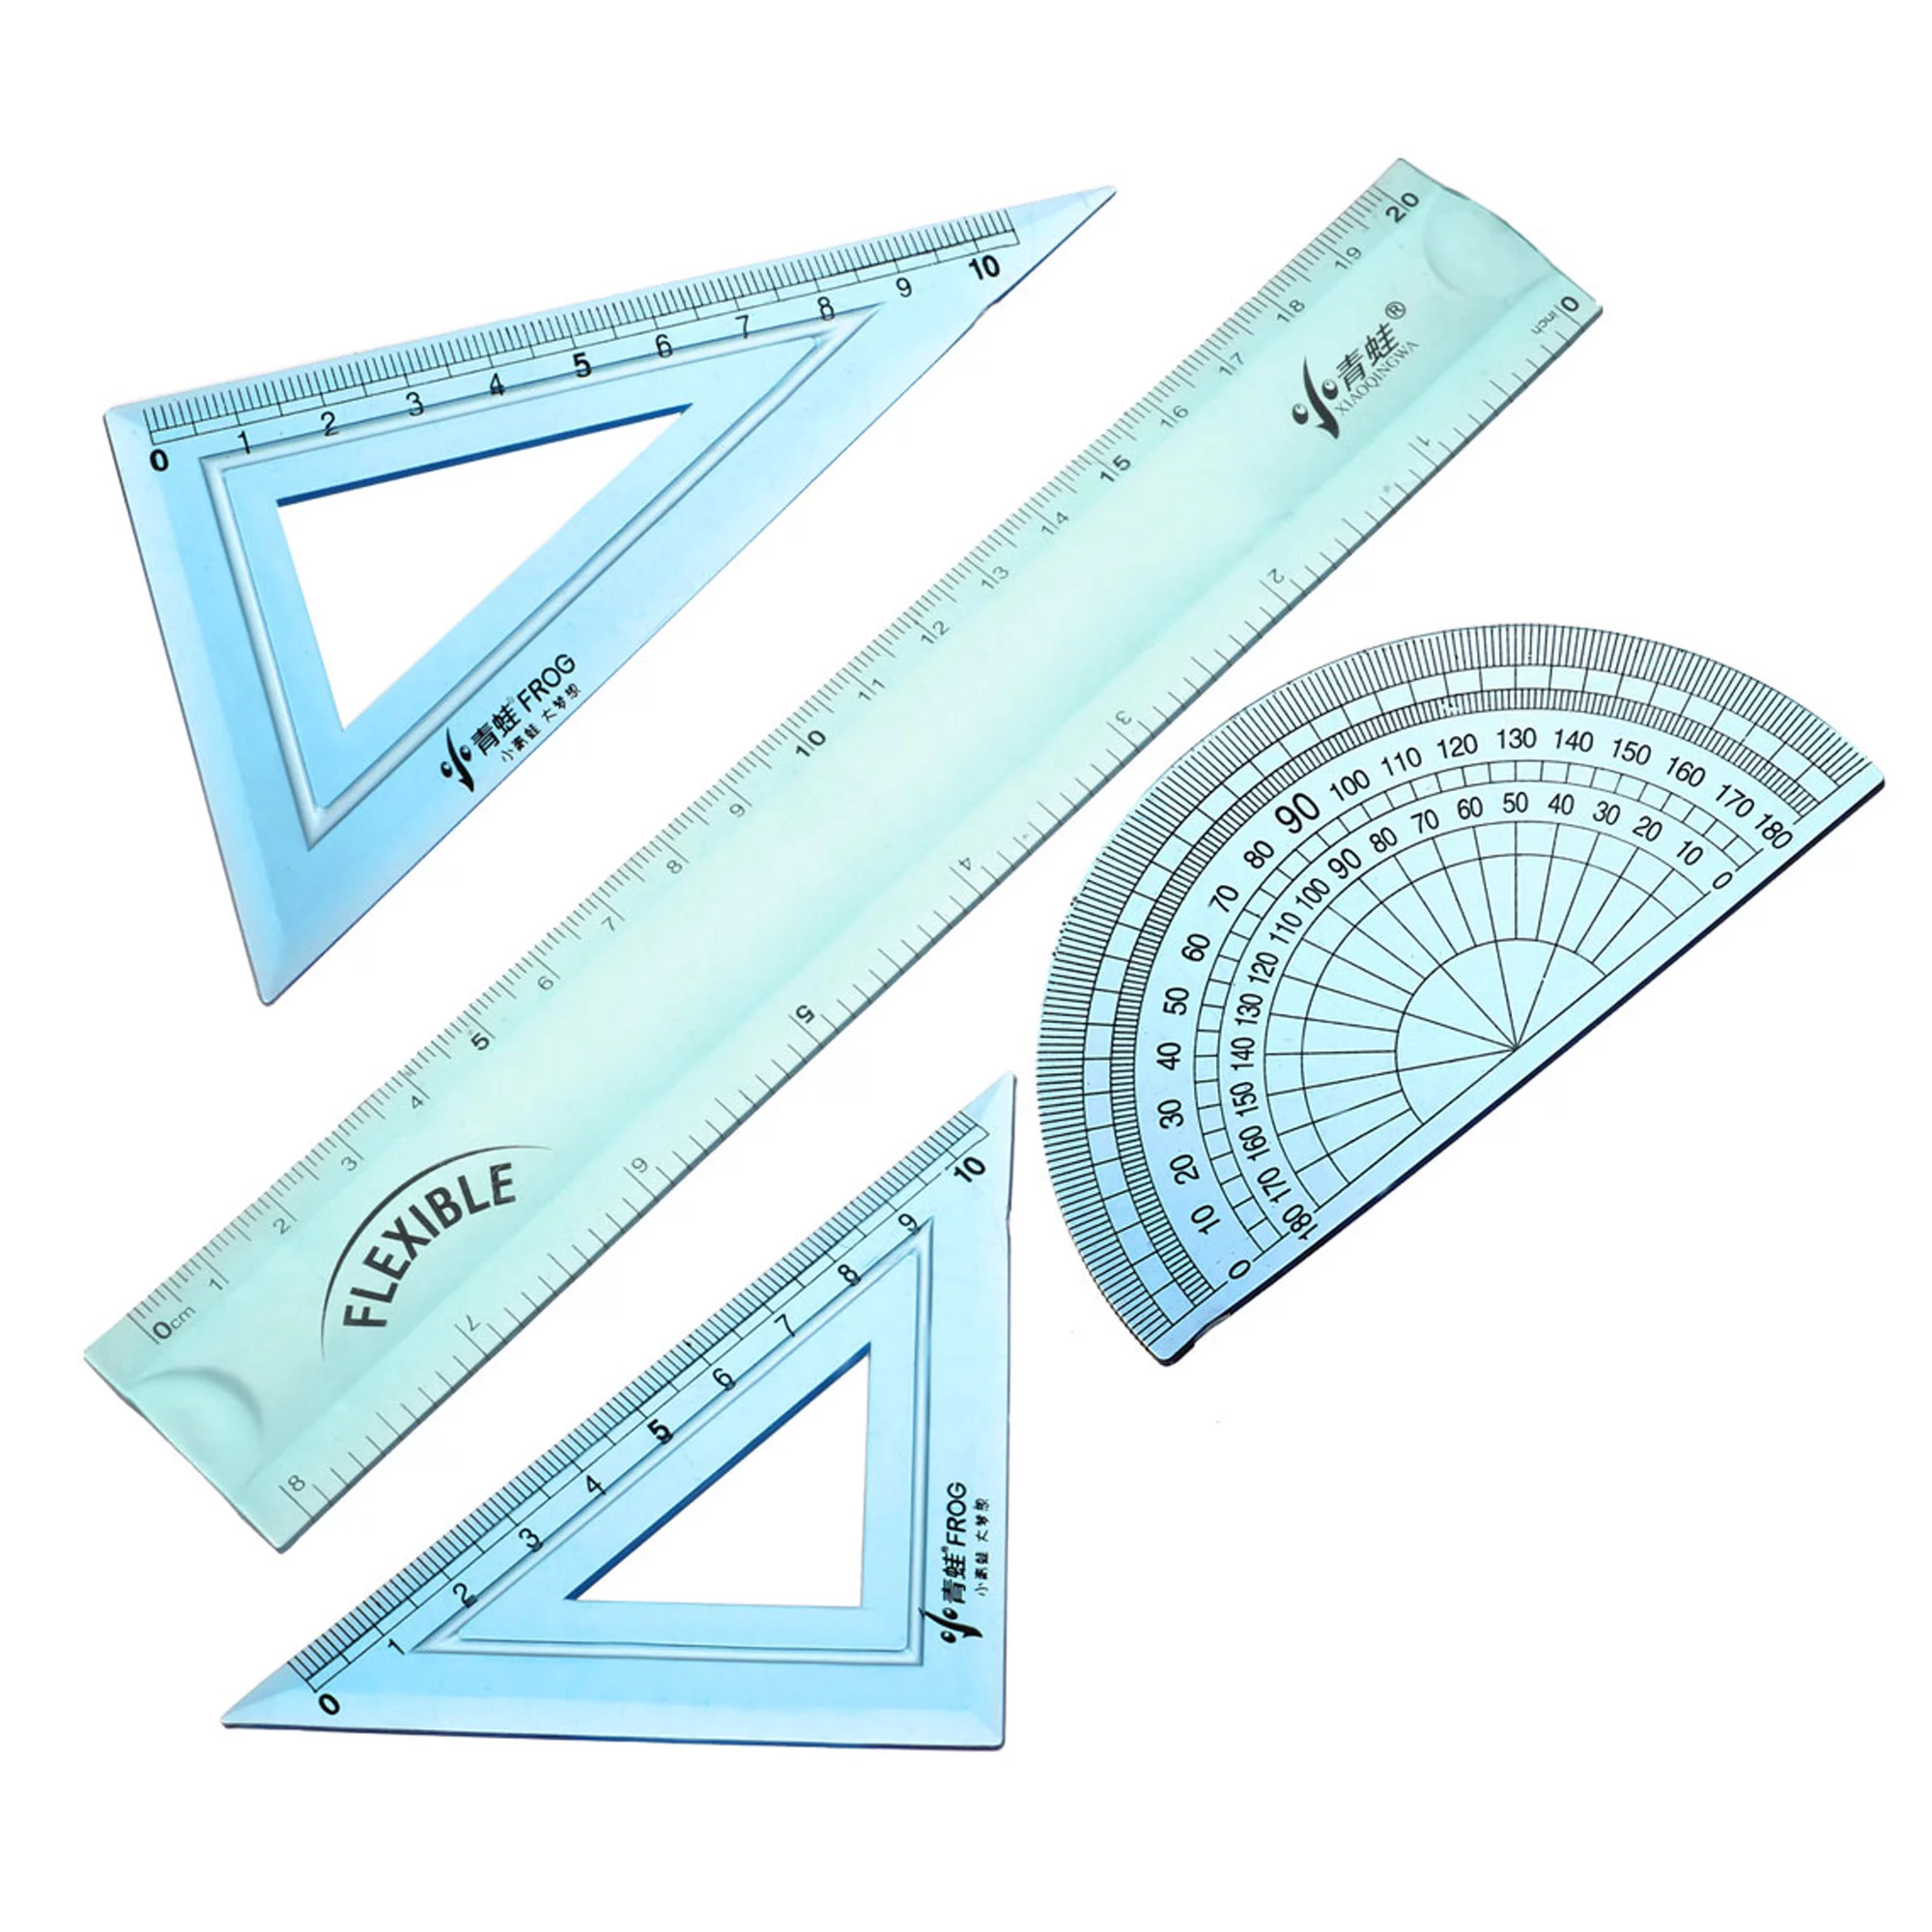
Choosing the Right Quilting Rulers
When it comes to quilting with rulers, choosing the right rulers for your projects is essential. The variety of rulers available may seem overwhelming, but understanding their purpose and features can help you make informed decisions. Here are some factors to consider when selecting quilting rulers:
- Size: Rulers come in various sizes, from small handy ones to larger ones designed for quilting. Consider the size of your quilting projects and choose rulers that are appropriate for the scale of your work. Larger rulers are ideal for cutting long strips and making larger blocks, while smaller rulers are great for working on intricate designs.
- Shape: Quilting rulers come in a variety of shapes, such as squares, rectangles, triangles, and circles. Choose rulers with shapes that align with the patterns and designs you want to create. Having a variety of shapes in your ruler collection can provide more flexibility and allow you to experiment with different styles.
- Thickness: The thickness of quilting rulers plays a crucial role in accuracy. Look for rulers that are at least 1/8-inch thick, as thinner rulers may flex and result in inaccurate measurements. Thicker rulers provide stability and ensure precise cuts and markings.
- Non-slip Grips: Some rulers come with non-slip grips on the bottom, which help prevent the ruler from sliding on the fabric while cutting or marking. Non-slip rulers provide stability and make it easier to achieve accurate measurements and cuts.
- Clear Markings: Clear and easy-to-read markings are essential on quilting rulers. Look for rulers with well-defined grid lines, numbers, and markings that are visible on both light and dark fabrics. Having clear markings simplifies the process of measuring, cutting, and aligning your fabric correctly.
- Special Features: Some rulers come with additional features, such as built-in seam allowances, angle markings, or measurement guides for specific quilting techniques. These rulers can be handy for specific projects or if you prefer having multiple functions in a single ruler.
Remember, it’s not necessary to have a vast collection of rulers right from the start. Start with a few essential rulers that cover different shapes and sizes and gradually expand your collection as you gain more experience and try out different quilting techniques.
By choosing the right quilting rulers that suit your needs and projects, you set yourself up for success and can unleash your creativity in the most precise and accurate way possible.
Basic Quilting Ruler Techniques
Once you have chosen the right quilting rulers, it’s time to explore some basic techniques that will help you make the most of your rulers and achieve precise and professional-looking results. Here are some fundamental quilting ruler techniques to get you started:
- Measuring and Cutting: One of the primary uses of quilting rulers is for measuring and cutting fabric. Place the ruler on your fabric, aligning the desired measurement with the edge of the fabric. Hold the ruler securely and use a rotary cutter to make accurate cuts along the ruler’s edge. Ensure you’re using a sharp rotary cutter for clean and precise cuts.
- Trimming Blocks: Quilting rulers are invaluable when it comes to trimming blocks to ensure they are perfectly square and have consistent measurements. Place the ruler on top of the block, aligning it with the edges of the block. Trim the excess fabric along the edges of the ruler, using it as a guide. This technique helps maintain accuracy in block sizes and ensures your quilt top pieces fit together seamlessly.
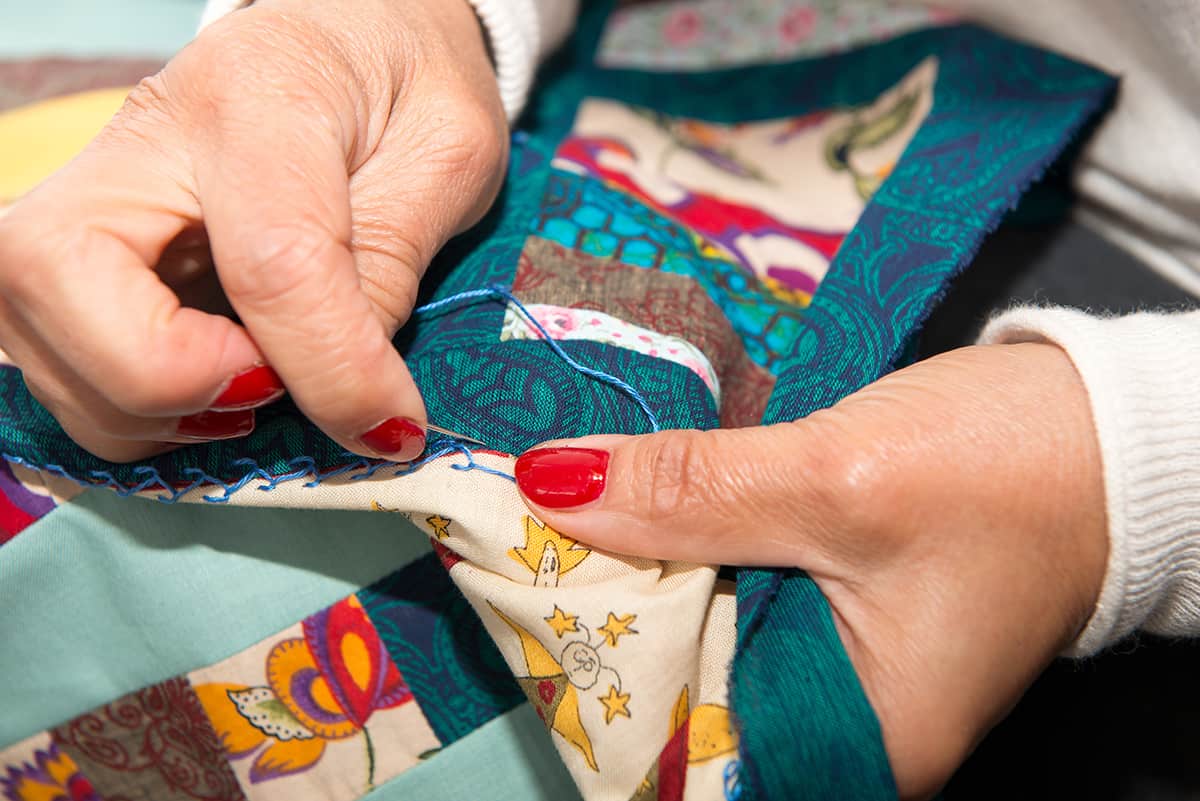
- Marking Seam Allowances: Quilting rulers with built-in seam allowances are excellent tools for marking sewing lines on fabric. Use the appropriate ruler with seam allowance markings and place it on the fabric. Use a fabric marker or pencil to mark the sewing lines directly on the fabric, ensuring accuracy for sewing and piecing blocks together.
- Creating Borders and Binding: Quilting rulers can also aid in creating borders and binding strips of consistent width. Align the ruler along the edge of the fabric and mark the desired width. Use the ruler as a guide to cut the border or binding strips, ensuring they are even and straight.
- Aligning and Matching Seams: Quilting rulers can assist in aligning and matching seams, resulting in neat and precise seam intersections. Place the ruler along the seam line and use it to check if the seams match up accurately. Adjust and pin as necessary before sewing to ensure perfect seam alignments.
These basic quilting ruler techniques provide you with a solid foundation to begin exploring the endless possibilities that come with using rulers in your quilting projects. Practice these techniques, experiment with different rulers, and gradually expand your repertoire as you gain confidence and experience in ruler quilting.
Remember, precision and accuracy are key when using quilting rulers, so take your time, measure twice if needed, and enjoy the process of creating beautiful quilts with the help of these versatile tools.
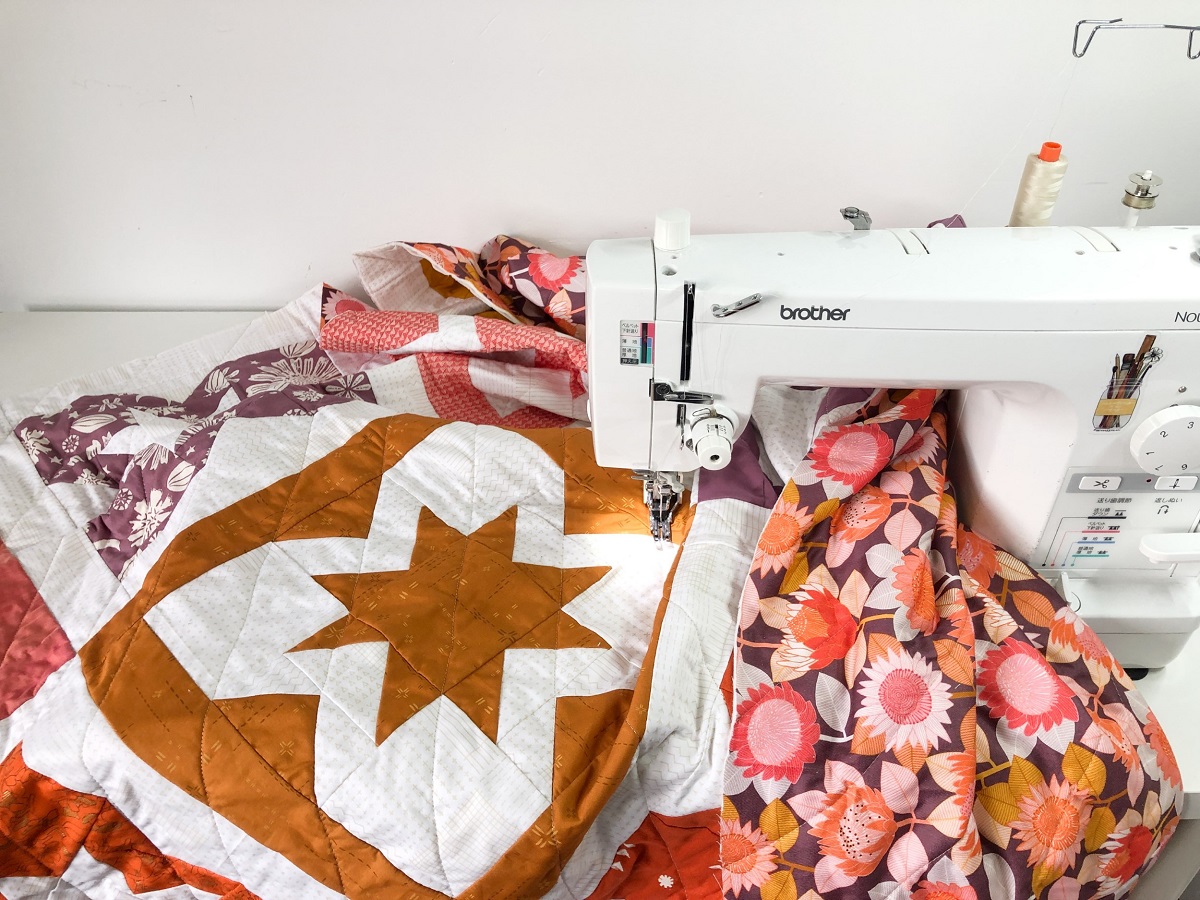
Piecing Blocks with Rulers
Quilting with rulers not only allows you to cut fabric with precision, but it also offers the opportunity to piece blocks with accuracy. Whether you’re working on simple square blocks or intricate designs, utilizing rulers can greatly enhance your block piecing process. Here are some helpful tips for piecing blocks with rulers:
- Consistent Measurements: One of the advantages of using rulers is that they provide consistent measurements, ensuring all your blocks are the same size. When cutting fabric for your blocks, use the same ruler and apply the same pressure throughout the process to maintain uniformity.
- Alignment and Straight Seams: Rulers enable you to accurately align pieces of fabric, resulting in straight seams. Use the lines and markings on your rulers to align the fabric edges and maintain a consistent seam allowance. When sewing, check the alignment by running the edge of your ruler along the seam line to ensure it remains straight.
- Trimming Half-Square Triangles (HSTs): Half-square triangles are commonly used in quilt blocks, and rulers can help achieve precise HSTs. Once you have sewn and pressed the HST, place your ruler on top, aligning the diagonal seam with the ruler’s diagonal line. Trim the excess fabric, ensuring the edges of the ruler align with the edges of the HST. This technique results in perfectly trimmed and square HSTs.
- Matching Points and Corners: Rulers are incredibly useful when it comes to matching points and creating sharp corners in your blocks. Use the ruler’s lines and markings as guides to align and match up the fabric pieces at crucial points, such as the intersection of seams or corners. Pinning carefully and using the ruler to check alignment will help achieve accurate and visually appealing block construction.
- Fussy Cutting: If you want to highlight specific elements in your fabric, rulers can assist in fussy cutting. Place the ruler over the fabric, ensuring the desired design is centered within the ruler’s measurement. Cut around the ruler to create fussy-cut pieces that can be incorporated into your block designs for added visual interest.
By incorporating rulers into your block piecing process, you can achieve precise and well-constructed blocks. Take the time to align, measure, and trim with accuracy, and you’ll be amazed at the professional and polished results you can achieve.
Remember, practice makes perfect when it comes to piecing blocks with rulers, so don’t be afraid to experiment and try different techniques. With patience and dedication, you’ll become proficient in using rulers to create stunning quilt blocks that showcase your craftsmanship and creativity.
When quilting with rulers, always use a ruler foot on your sewing machine to ensure smooth and accurate movement along the edge of the ruler. This will help prevent slipping and ensure precise stitching.
Ruler Quilting Designs
Quilting with rulers opens up a world of possibilities when it comes to creating stunning and intricate designs on your quilts. Whether you prefer traditional or modern aesthetics, rulers can help you achieve precise and eye-catching quilting patterns. Here are some popular ruler quilting designs to explore:
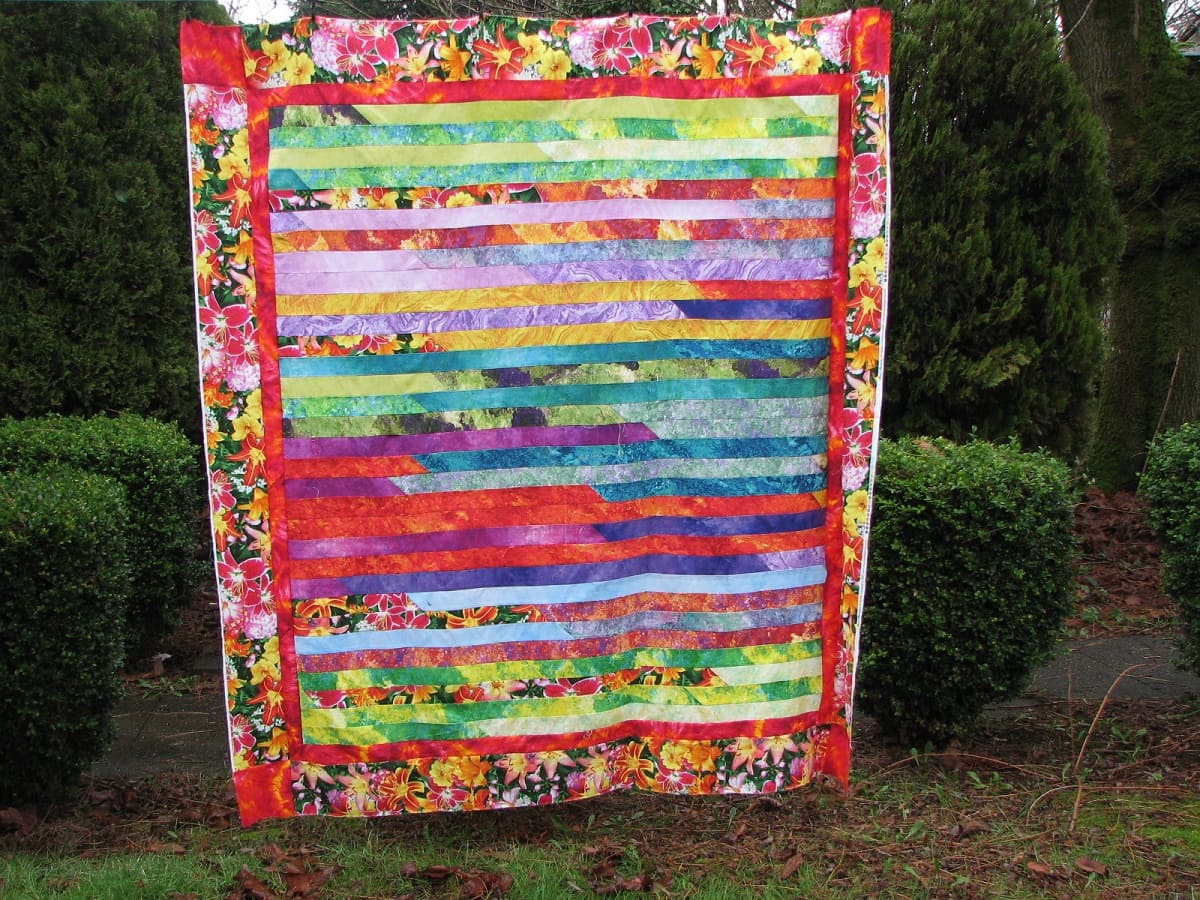
- Straight Line Quilting: One of the simplest and most elegant ruler quilting designs is straight line quilting. Using a long ruler, you can create perfect straight lines across your quilt. Whether you opt for parallel lines or a grid pattern, straight line quilting adds a clean and modern look to your project.
- Feather Designs: Feather designs are classic and timeless, lending an air of sophistication to your quilts. With the help of curved rulers, you can create intricate feather motifs that flow gracefully across your quilt. From simple single feathers to elaborate feather wreaths, ruler-guided feather quilting adds a touch of elegance to any quilt.
- Echo Quilting: Echo quilting is a technique where you quilt lines that mirror the shape of a specific pattern or design element. Rulers can be invaluable in achieving precise and even echoes. By following the curves or angles of a ruler, you can create beautiful echo designs that enhance the visual impact of your quilts.
- Crosshatch Quilting: Crosshatch quilting involves quilting intersecting straight lines to create a checkerboard-like pattern. Rulers with grid markings can assist in achieving evenly spaced lines and accurate angles. Crosshatch quilting adds texture and dimension to your quilts, enhancing the overall visual appeal.
- Circles and Curves: Rulers with curved edges are perfect for creating circles and curves in your quilting designs. From simple arcs to elaborate swirls, ruler-guided circle and curve quilting can add a whimsical or decorative element to your quilts. Whether you quilt individual circles or interlocking curves, the result is a beautiful and mesmerizing effect.
These are just a few examples of the endless design possibilities that ruler quilting offers. As you become more familiar with using rulers in your quilting projects, you can explore and create your unique designs by combining various ruler shapes, angles, and patterns.
Remember to practice and experiment with different ruler quilting designs. Start with smaller projects or quilt samplers to gain confidence and proficiency. Over time, you’ll develop your style and proficiency in using rulers to transform your quilts into stunning and personalized works of art.
Read also: 10 Superior Quilt Rulers for 2024
Tips and Tricks for Quilting with Rulers
Quilting with rulers can be a rewarding and enjoyable process, but it does require some practice and know-how to get the best results. Here are some tips and tricks to help you make the most of your ruler quilting experience:
- Start with Simple Projects: If you’re new to ruler quilting, start with simple projects like table runners or small wall hangings. This will allow you to practice your ruler quilting skills on a smaller scale and build your confidence before moving on to larger projects, such as bed-sized quilts.
- Use a Non-Slip Mat: To prevent rulers from slipping while cutting or quilting, use a non-slip mat or grip pads underneath your fabric and rulers. This will provide stability and ensure accurate measurements and cuts.
- Secure the Ruler: When quilting with rulers, it’s important to secure the ruler in place to avoid any movement while quilting. You can use grip adhesive or grip tape on the underside of the ruler to hold it steady on the fabric. Additionally, always use consistent hand pressure to keep the ruler in place.
- Practice Ruler Maneuvering: Maneuvering the ruler smoothly and accurately takes practice. Take the time to practice moving the ruler along the fabric in steady and controlled motions. This will help you maintain straight lines, achieve precise curves, and create complex designs with ease.
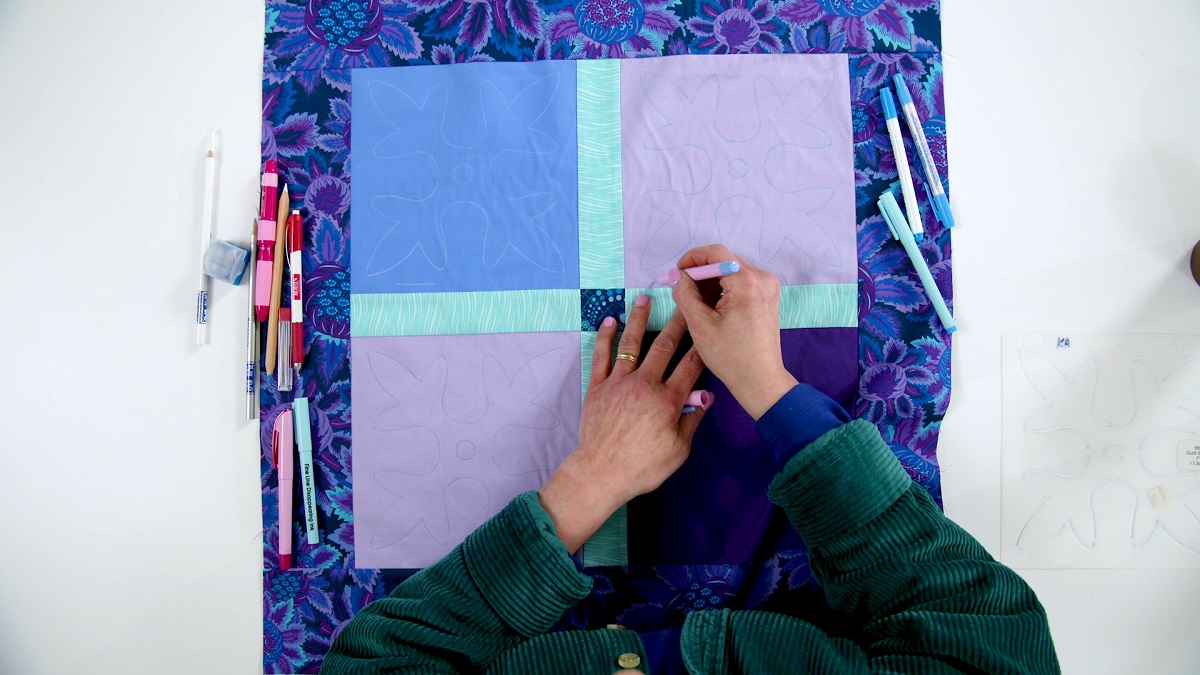
- Create Reference Points: To ensure consistent and symmetrical designs, create reference points on your quilt top. You can use removable fabric markers or tape to mark key points where you want your ruler lines to intersect or follow. Having these reference points will guide your ruler placement and result in more precise quilting lines.
- Experiment with Ruler Patterns: Don’t be afraid to experiment with different ruler patterns and combinations. Mix and match rulers of different shapes and sizes to create unique designs and add interest to your quilting. The more you explore and experiment, the more your creativity will flourish.
- Take Breaks and Rest Your Hands: Ruler quilting can be physically demanding on your hands and wrists. Remember to take regular breaks and rest your hands to prevent fatigue and discomfort. Stretching exercises for your hands and fingers can also help alleviate any stiffness or tension.
By incorporating these tips and tricks into your ruler quilting practice, you’ll be well on your way to improving your skills and achieving beautiful and precise quilting designs.
Remember, ruler quilting is a journey, and like any skill, it takes time and practice to master. Embrace the learning process, enjoy the creative expression it offers, and have fun with your ruler quilting adventures!
Common Mistakes to Avoid in Ruler Quilting
Ruler quilting can be a gratifying and creative process, but it’s important to be aware of common mistakes that can hinder your progress and result in less-than-desirable outcomes. By knowing what to avoid, you can elevate your ruler quilting skills and achieve better results. Here are some common mistakes to watch out for:
- Inaccurate Measurements: One of the primary causes of quilting mistakes is inaccurate measurements. Always double-check your measurements before cutting or marking your fabric. Even the slightest miscalculation can throw off the entire design and affect the overall fit and look of your quilt blocks.
- Using Dull Rotary Blades: Using a dull rotary blade can lead to uneven and jagged cuts, compromising the accuracy of your quilting projects. Regularly replace your rotary blades and ensure they are sharp for clean and precise cuts.
- Not Securing the Ruler: Failing to secure the ruler firmly in place can result in slippage, leading to inaccurate lines and cuts. Use grip adhesive, grip tape, or non-slip mats to hold the ruler in place and prevent any movement during the quilting process.
- Inconsistent Hand Pressure: Inconsistent hand pressure when holding the ruler can cause the ruler to shift, resulting in crooked lines and cutting errors. Maintain a firm and even grip on the ruler throughout the process to ensure stable and accurate results.
- Overworking the Fabric: Repeatedly repositioning the ruler or making multiple cuts along the same line can stretch or distort the fabric. This can lead to inaccuracies and cause difficulties when piecing the blocks together. Plan your cuts and markings carefully to minimize unnecessary fabric handling.
- Skipping the Practice: Ruler quilting, like any skill, requires practice to improve. Don’t skip the practice sessions and jump straight into more complex projects. Take the time to familiarize yourself with the rulers, experiment with various techniques, and hone your ruler quilting skills.
- Not Following the Ruler’s Edge: Ensure that the fabric is aligned precisely with the ruler’s edge when cutting or marking. Deviating from the ruler’s edge can result in uneven lines and measurements, impacting the overall finish of your quilting work.
Being aware of these common mistakes and taking steps to avoid them will help you achieve better results in ruler quilting. Remember, practice, patience, and attention to detail are key factors in mastering this technique. With time and dedication, you’ll refine your skills and create exquisite quilts with precision and confidence.
Embrace the learning process, celebrate your progress, and enjoy the journey of ruler quilting!
Conclusion
Quilting with rulers opens up a whole new world of possibilities for both beginners and experienced quilters. By incorporating rulers into your quilting repertoire, you gain greater control, precision, and the ability to create intricate designs. From choosing the right rulers to mastering basic techniques, ruler quilting offers endless opportunities for creativity and expression.
Throughout this article, we have explored the importance of selecting the right quilting rulers, mastering basic techniques such as measuring, cutting, and piecing blocks, and creating stunning ruler quilting designs. We have also provided valuable tips and tricks to enhance your ruler quilting experience and highlighted common mistakes to avoid.
Quilting with rulers is a journey that requires practice, patience, and a willingness to learn. Start with simple projects and gradually build your skills and confidence. Experiment with different rulers, patterns, and techniques to discover what resonates with your personal quilting style.
Remember, ruler quilting is not just about achieving precise measurements, but also about embracing your creativity and enjoying the process. Let your imagination soar as you explore the multitude of possibilities that rulers offer in creating unique and beautiful quilts.
So, whether you’re a quilting beginner looking to expand your skills or an experienced quilter seeking new techniques, give ruler quilting a try. Embrace the power of rulers and watch as your quilts come to life with precision, beauty, and your unique artistic touch.
Happy quilting!
Frequently Asked Questions about How To Quilt With Rulers
Was this page helpful?
At Storables.com, we guarantee accurate and reliable information. Our content, validated by Expert Board Contributors, is crafted following stringent Editorial Policies. We're committed to providing you with well-researched, expert-backed insights for all your informational needs.

0 thoughts on “How To Quilt With Rulers”