Articles
How To Quilt In The Ditch
Modified: August 22, 2024
Learn the art of quilting in the ditch with our comprehensive articles. Discover tips, techniques, and guides to achieve flawless results in your quilting projects.
(Many of the links in this article redirect to a specific reviewed product. Your purchase of these products through affiliate links helps to generate commission for Storables.com, at no extra cost. Learn more)
Introduction
Welcome to the world of quilting, where art and craftsmanship come together to create stunning fabric masterpieces. One popular quilting technique that every quilter should know is “quilting in the ditch.” This technique involves stitching along the seams of the quilt top, also known as the “ditch,” to secure the layers together and add texture and dimension to the quilt.
Quilting in the ditch is a versatile method that can be used with various quilt designs, from traditional patchwork to modern art quilts. It is an excellent way to enhance the overall aesthetic of your quilt while keeping it sturdy and durable. In this article, we will take a closer look at the process of quilting in the ditch, step by step, so you can confidently incorporate this technique into your quilting projects.
Whether you are a beginner or an experienced quilter, mastering quilting in the ditch will open up a whole new world of possibilities for your quilting creations. So, let’s dive in and learn all about the tools, materials, and techniques needed to achieve professional-looking quilting in the ditch!
Key Takeaways:
- Mastering quilting in the ditch provides stability, durability, and professional-looking finishes to your quilts, enhancing their overall aesthetic and adding texture and dimension.
- Attention to detail, patience, and practice are key to successfully quilting in the ditch. Embrace the creative process, experiment with different designs, and make each quilt uniquely yours.
Read more: What To Plant In A Drainage Ditch
Understanding Quilting in the Ditch
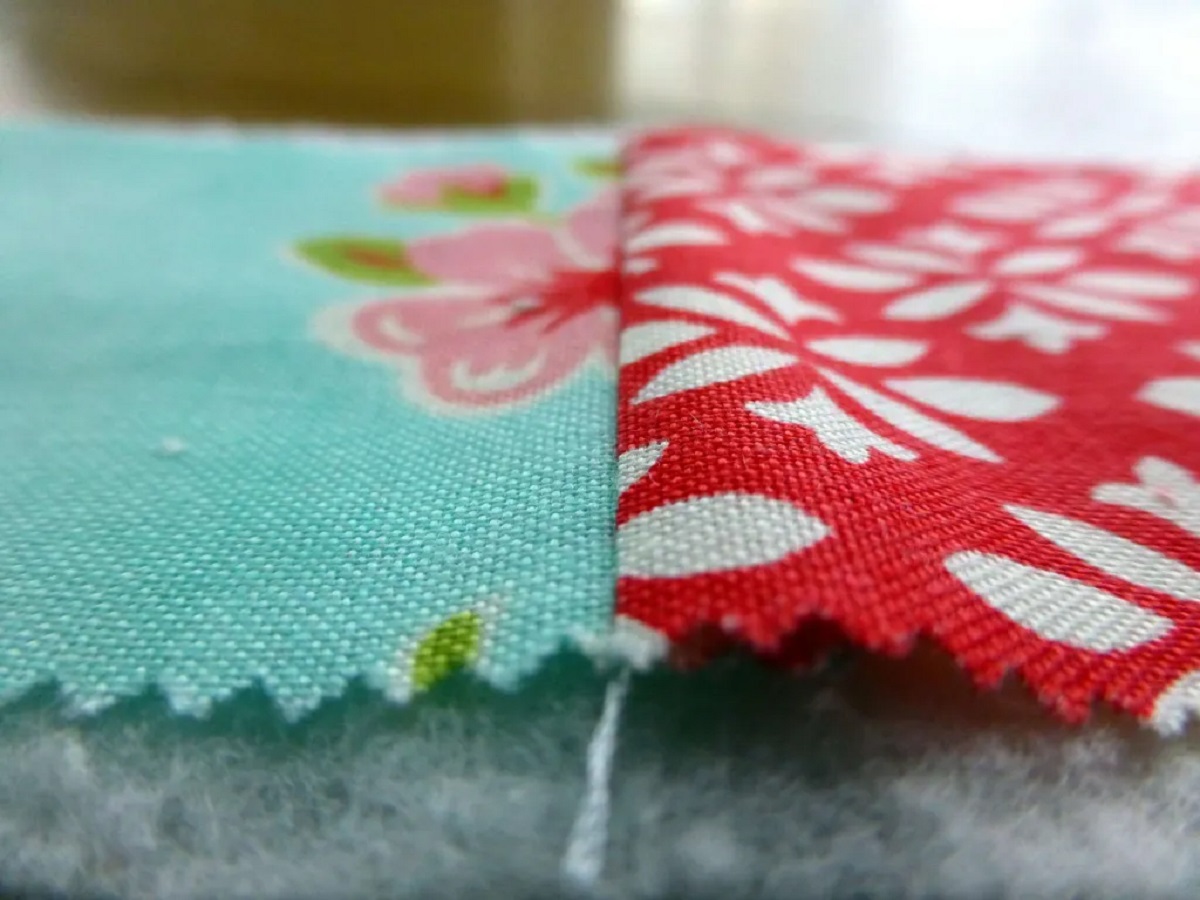
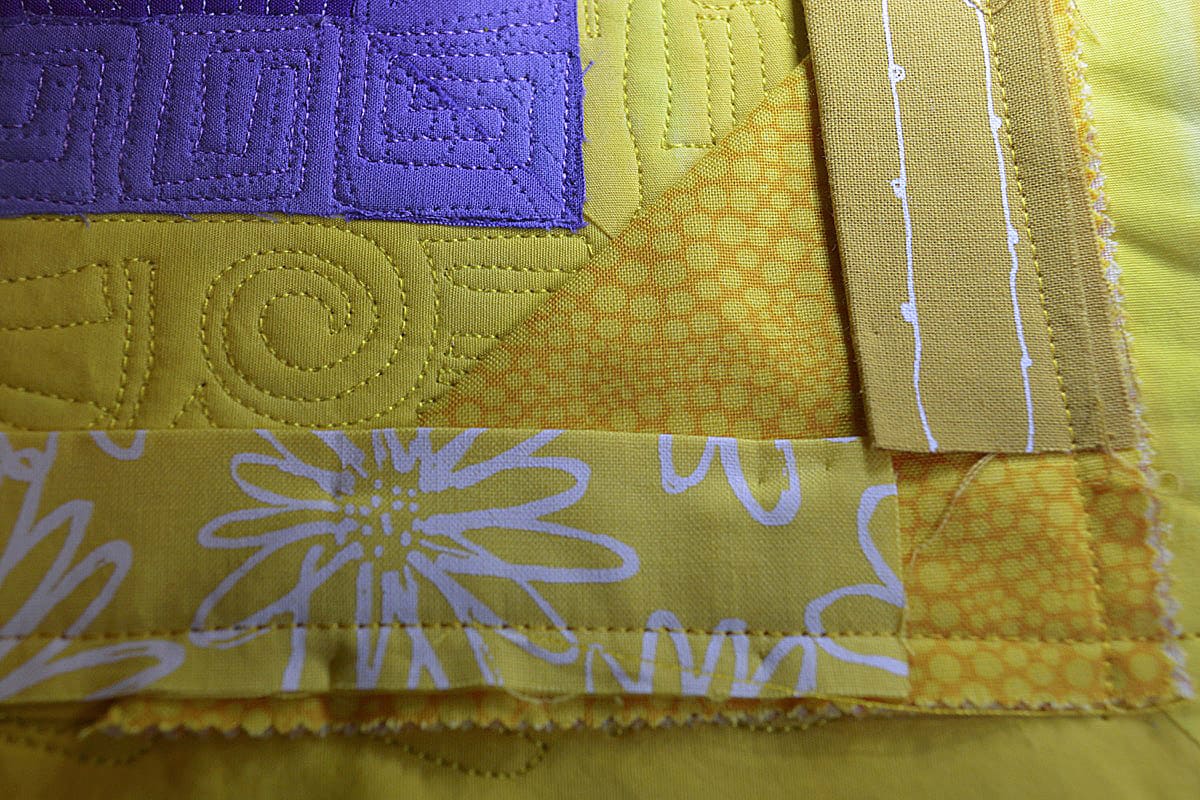
Quilting in the ditch is a technique that involves stitching along the seams of the quilt, also known as the ditch, to join the layers together. Unlike other quilting methods that create decorative designs on the quilt top, quilting in the ditch is a more subtle approach that focuses on securing the layers while maintaining the overall look of the quilt. The goal is to have the stitching blend seamlessly with the quilt top, making it almost invisible.
One of the main advantages of quilting in the ditch is that it helps to stabilize the quilt, preventing shifting and bunching of the layers over time. It gives the quilt a durable and professional finish, making it suitable for both decorative quilts and functional bed quilts.
Quilting in the ditch also enhances the visual appeal of the quilt by adding subtle texture and definition to the overall design. It can help highlight the piecing and bring out the intricate patterns created by the quilt blocks. Additionally, quilting in the ditch can be used to accentuate specific areas or create a grid-like pattern for a modern and minimalist look.
While quilting in the ditch may seem straightforward, it does require careful attention to detail and precision stitching. The goal is to stitch as close as possible to the seam line without crossing into the fabric piecing. It’s important to maintain a steady pace and keep the stitching even throughout the entire quilt to achieve a professional result.
It’s worth noting that quilting in the ditch is not the only quilting technique you can use on a quilt. You can combine it with other quilting methods, such as free-motion quilting or stippling, to add more intricate designs and textures to your quilt. However, mastering the art of quilting in the ditch is a fundamental skill that will serve as a solid foundation for your quilting journey.
Now that we have a better understanding of what quilting in the ditch is and its benefits, let’s explore the tools and materials you’ll need to get started on your quilting project.
Tools and Materials Needed
Before you embark on your quilting in the ditch journey, it’s essential to gather the necessary tools and materials to ensure a smooth and successful quilting experience. Here are the key items you’ll need:
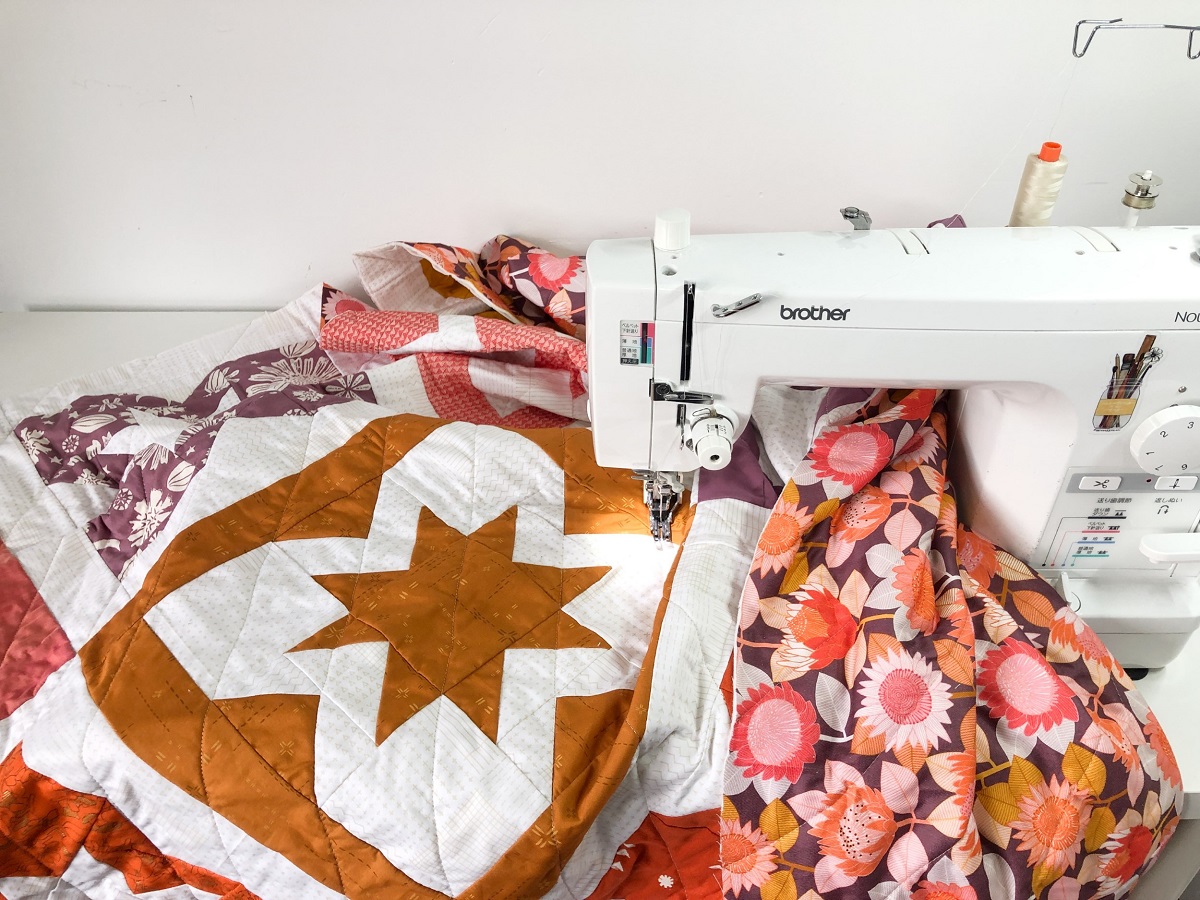
- Sewing Machine: A reliable and well-maintained sewing machine is crucial for quilting in the ditch. Make sure it is in good working condition, with an even stitch tension and a walking foot or a dual feed system for easier quilting.
- Quilting Needles: Choose the right quilting needles based on your fabric thickness. Opt for sharp quilting needles for tightly woven fabrics and larger needles for heavier fabrics.
- Quilting Thread: Select a high-quality quilting thread that complements your quilt’s color scheme and weight. Cotton thread is popular for quilting, but polyester thread can also be a suitable option.
- Quilting Ruler: A clear acrylic quilting ruler is helpful for marking straight lines and ensuring accuracy in your quilting stitches. Choose a ruler with measuring lines and grid markings for versatility.
- Fabric Marking Tools: You’ll need fabric marking tools like washable fabric pens, chalk, or water-soluble markers to mark the ditch lines on your quilt top.
- Quilting Gloves: Quilting gloves provide better grip and control while guiding the quilt layers through the sewing machine. They help reduce hand fatigue and improve overall stitching accuracy.
- Rotary Cutter and Cutting Mat: A rotary cutter and a self-healing cutting mat are essential for accurately cutting fabric pieces and trimming excess fabric.
- Quilting Pins or Clips: Use quilting pins or clips to secure the layers of your quilt while quilting in the ditch. They help prevent shifting and ensure smooth stitching.
- Iron and Ironing Board: A well-pressed quilt top and quilt backing are essential for achieving precise stitching. Make sure you have a reliable iron and an ironing board for this step.
Aside from these essential tools, don’t forget to gather your preferred fabric for the quilt top and backing, as well as batting for the middle layer. Consider using 100% cotton fabric for better stitch definition and longevity.
Now that you have gathered all the necessary tools and materials, it’s time to prepare your quilt for quilting in the ditch. Stay tuned for the next section, where we will guide you through the preparation process!
Preparing Your Quilt
Before you start quilting in the ditch, it’s important to prepare your quilt top, backing, and batting to ensure a smooth and successful quilting process. Here’s a step-by-step guide to help you prepare your quilt:
- Press Your Quilt: Begin by pressing your quilt top to remove any wrinkles or creases. Use an iron on a medium heat setting and press from the center outward to avoid distorting the fabric. Repeat this step for the backing fabric as well.
- Trim the Excess Fabric: If needed, trim the excess fabric from the edges of your quilt top. Use a rotary cutter and ruler to achieve straight and even edges. Remember to leave a small border of fabric to account for any shifting during the quilting process.
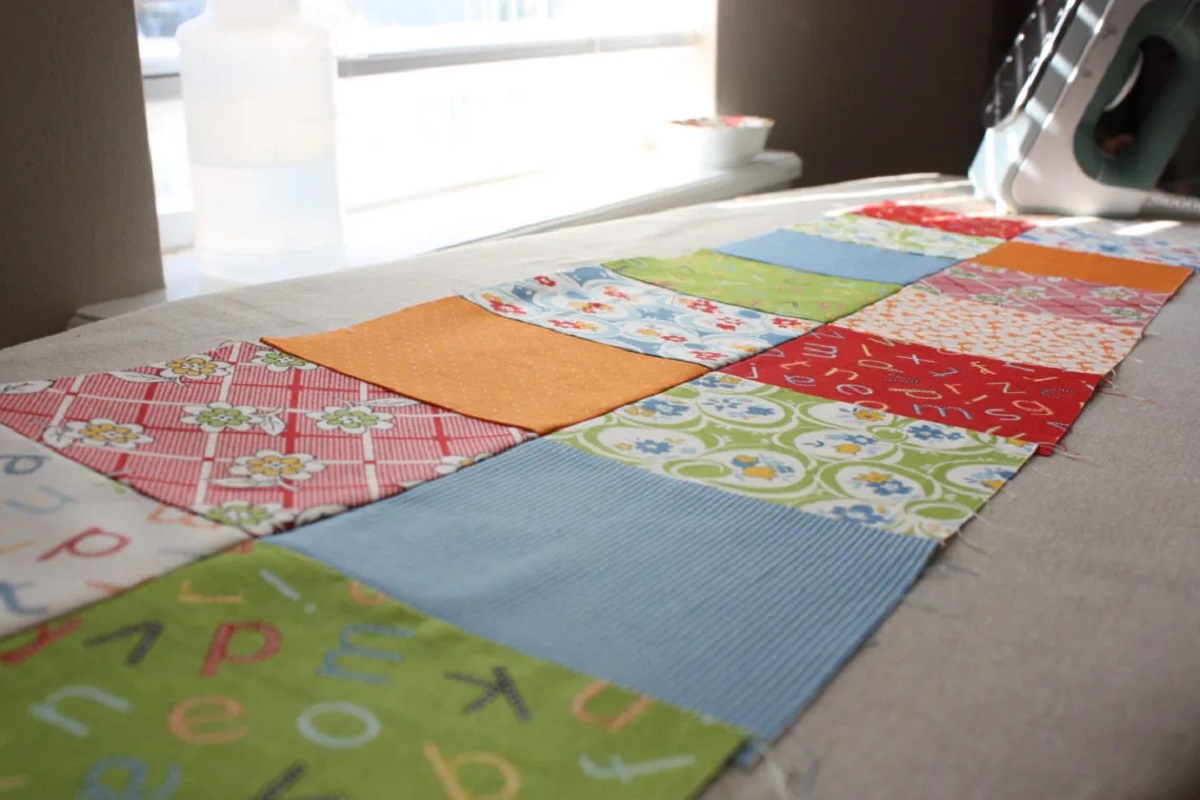
- Make Your Quilt Sandwich: Lay your quilt backing fabric on a flat surface, wrong side up. Smooth out any wrinkles and secure it in place using quilting pins or clips. Next, place the batting on top of the backing fabric, ensuring it covers the entire quilt area. Finally, layer your quilt top right side up, aligning it with the backing and batting layers. Smooth out any wrinkles and use quilting pins or clips to hold the layers together and prevent shifting.
- Baste Your Quilt: Basting is the process of temporarily securing the layers of your quilt before quilting. There are several methods you can use, such as using safety pins or using a temporary spray adhesive. Choose the method that works best for you and baste your quilt at regular intervals to keep the layers in place.
- Stabilize the Quilt Layers: To prevent the fabric layers from shifting during quilting, consider stitching around the edges of your quilt sandwich, about 1/8 to 1/4 inch from the edge. This will provide extra stability and ensure that the layers stay aligned throughout the quilting process.
Once you have completed these steps, your quilt will be ready for quilting in the ditch. Take a moment to double-check that all layers are securely basted and that the quilt top is flat and smooth. Now, let’s move on to the next section, where we will discuss the importance of choosing the right thread for quilting in the ditch.
Choosing the Right Thread
When it comes to quilting in the ditch, selecting the right thread is essential. The thread you choose will not only affect the overall appearance of your quilt but also its durability and longevity. Here are some factors to consider when choosing the right thread for quilting in the ditch:
- Thread Weight: The weight of the thread refers to the thickness or fineness of the thread. For quilting in the ditch, it’s generally recommended to use a medium-weight thread, such as 40 or 50 weight thread. These threads are strong enough to withstand the quilting process and provide good stitch definition without overpowering the quilt design.
- Thread Fiber: Thread is available in various fiber options, including cotton, polyester, silk, and rayon. Each fiber has its characteristics and affects the overall look and feel of the quilt. Cotton thread is a popular choice for quilting as it blends well with cotton fabrics and is known for its strength. Polyester threads are another excellent option as they are strong, durable, and come in a wide range of colors.
- Color: Consider the color of the thread and how it will complement your quilt top. You can choose a thread color that matches the background fabric, blends with the quilt blocks, or provides contrast for added visual interest. Remember that a thread color that is slightly darker than the fabric will be less noticeable in the finished quilt.
- Thread Quality: Investing in high-quality thread is crucial for achieving successful quilting in the ditch. Quality threads have a smoother finish, are less prone to breakage, and create more even stitches. Look for well-known thread brands that specialize in quilting or sewing to ensure consistent results.
It’s also a good idea to test your chosen thread on scrap fabric before quilting in the ditch. This will help you determine if the thread blends well with your quilt top and if any adjustments in tension or stitch length are needed.
Remember, quilting in the ditch requires continuous stitching along the seam lines, so it’s important to ensure that your machine is threaded properly and the tension is set correctly. Take time to experiment with different thread options and settings to find the combination that works best for your quilting project.
Now that you have selected the perfect thread for your quilting in the ditch, it’s time to mark the ditch lines on your quilt top. Stay tuned for the next section where we will discuss various techniques for marking the quilt!
When quilting in the ditch, use a walking foot to help feed the layers evenly and prevent shifting. Take your time and use a matching thread color for a seamless look.
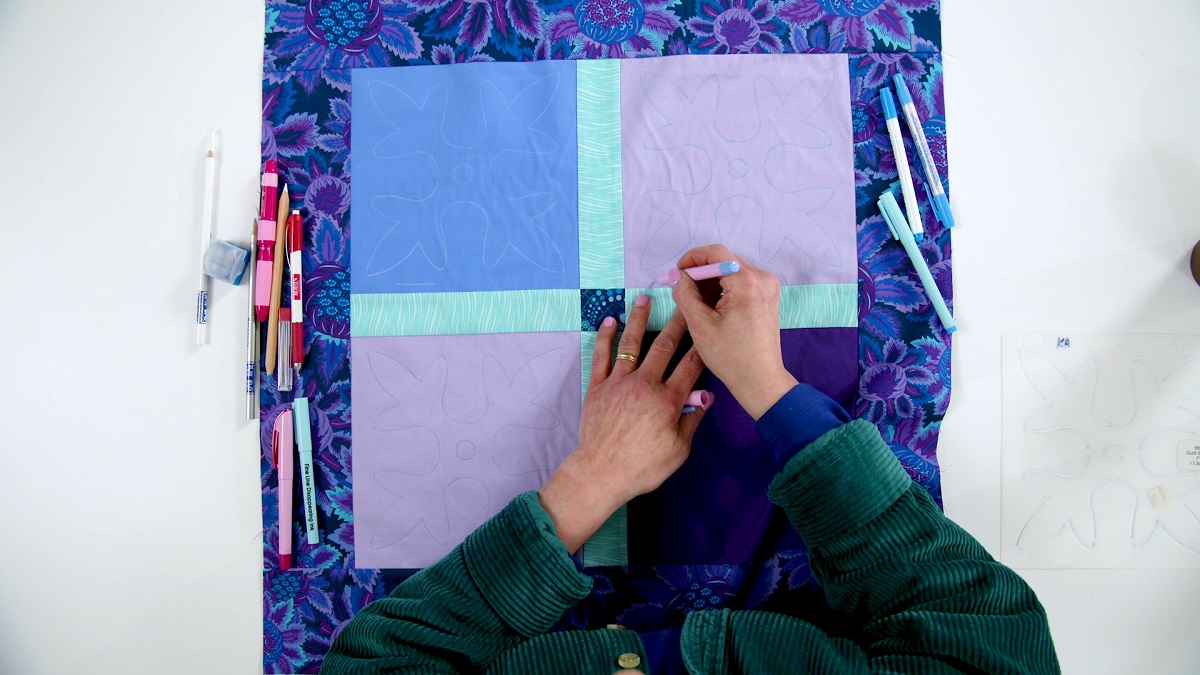
Marking the Ditch Lines
Before you begin quilting in the ditch, it’s crucial to mark the ditch lines on your quilt top. Marking the lines will serve as a guide for your stitching, ensuring that you stay along the seams and achieve a clean and even result. Here are some techniques you can use to mark the ditch lines:
- Washable Fabric Markers: Washable fabric markers are a popular choice for marking quilt lines. These markers come in various colors and tip styles, such as fine or chisel tip. Test the marker on a scrap piece of fabric first to ensure it washes out easily without leaving any residue.
- Chalk: Chalk is another common marking tool used in quilting. You can find tailor’s chalk or quilting chalk in various colors. Apply a thin line of chalk along the seam lines, and it will brush away easily once you’re finished quilting.
- Water-Soluble Markers: Water-soluble markers are a temporary marking option that disappears with water or steam. These markers give you more control over your marking lines and are great for projects where the markings need to be removed completely.
- Masking Tape or Painter’s Tape: If you prefer not to mark directly on the fabric, you can use masking tape or painter’s tape to create a guide for your stitching. Simply place the tape along the seams, stitching just beside it.
- Quilting Ruler and Pencil: For more precise marking, you can use a quilting ruler and a fine-tipped pencil to lightly mark the ditch lines. Make sure to use a pencil that is easily removable or erasable to avoid leaving permanent marks on your quilt top.
When marking the ditch lines, it’s essential to be accurate and consistent. Take your time and use a ruler or straight edge to ensure straight and even lines. If you’re working on a large quilt, consider marking the lines in sections to make it more manageable.
Remember, the goal is to have the stitching blend seamlessly with the quilt top, so choose a marking method that suits your fabric and personal preference. Once you have marked the ditch lines, you’re ready to start quilting in the ditch using the techniques we will discuss in the next section.
Stay tuned for the upcoming section, where we will explore various quilting in the ditch techniques to achieve beautiful and professional results!
Quilting in the Ditch Techniques
Quilting in the ditch can be done using various techniques depending on the design of your quilt and the level of intricacy you desire. Here are some common techniques to consider:
- Stitching in the Ditch: This technique involves stitching directly in the seam line, keeping your stitching as close to the seam as possible. Start stitching just before the intersection of two seams, backstitch to secure the thread, and continue stitching along the seam line. Use a walking foot or engage the dual feed system on your sewing machine for ease of stitching. Take your time and adjust the quilt layers if needed to maintain even stitches.
- Echo Quilting: Echo quilting is a technique where you stitch a parallel line of quilting slightly away from the seam line. This technique adds depth and dimension to your quilt top. Begin by stitching in the ditch, then move your stitching line a quarter or half-inch away from the seam and continue stitching parallel lines. Repeat this process until you have achieved the desired effect.
- Curved Quilting: If your quilt design has curved seams or arcs, you can follow the curves of the seams with your quilting stitches. This technique adds movement and interest to your quilt top. Take your time and use gentle curves to stay in the ditch, matching the shape of the seams as closely as possible. This technique may require some practice to achieve smooth and even curves.
- Grid Quilting: Grid quilting involves creating a grid-like pattern across your quilt top by stitching in the ditch vertically and horizontally. This technique is commonly used in modern quilting to accentuate the geometric design of the quilt. Start by stitching in the ditch along the vertical seams, then stitch in the ditch along the horizontal seams, creating a grid pattern. You can adjust the spacing between the lines based on your preference.
- Outlining Quilting: In this technique, instead of stitching directly in the ditch, you stitch just slightly away from the seam line, outlining the shapes and blocks of your quilt top. This technique adds emphasis and highlighting to the piecing and can be a great way to draw attention to specific design elements or focal points in your quilt.
Remember to always take care to maintain consistent stitch length and even tension as you quilt in the ditch. Also, consider quilting from the center outward to ensure that the layers stay aligned and flat. Take breaks between sections to check your progress and make any necessary adjustments.
If you’re feeling adventurous, you can combine quilting in the ditch with other quilting techniques, such as free-motion quilting or stippling, to create more intricate designs and textures on your quilt top. The key is to experiment and find the technique that best enhances your quilt’s design and suits your personal style.
Once you have completed quilting in the ditch, it’s time to address any common issues that may arise during the quilting process. Stay tuned for the next section, where we will troubleshoot some common problems you may encounter and provide helpful solutions!
Troubleshooting Common Issues
While quilting in the ditch can be a gratifying process, it’s not uncommon to encounter a few bumps along the way. Here are some common issues that may arise during quilting in the ditch and some tips for troubleshooting:
- Uneven Stitches: If you notice that your stitches are uneven or inconsistent, check your machine’s tension. Adjust the tension dial slightly to achieve balanced stitches. Additionally, make sure you are maintaining a steady speed and even pressure while quilting. Practice on scrap fabric to find the optimal tension setting before quilting on your actual quilt.
- Skipped Stitches: If your machine is skipping stitches, try using a new needle or making sure the needle is properly inserted and tightened. Sometimes a dull or bent needle can cause skipped stitches. Additionally, check that your machine is set to a suitable stitch length and that you are not pulling the fabric too forcefully while quilting.
- Puckering: Puckering occurs when the fabric becomes wrinkled or gathered during quilting. To prevent puckering, ensure that the quilt layers are smooth and taut before quilting. Baste your quilt securely and adjust the tension on your machine if necessary. Quilting at a slower speed can also help keep the fabric flat and prevent puckers.
- Breaking Thread: If your thread keeps breaking, check the tension on your machine. A too-tight tension can put excessive stress on the thread, causing it to break. Consider using a stronger thread or adjusting the stitch length to alleviate tension. Thread breakage can also occur if the needle is too small for the thread thickness, so make sure to use a suitable needle size for your chosen thread.
- Inaccurate Stitching: If you find that your stitches are consistently veering away from the ditch lines, practice guiding the quilt layers with a light touch. Keep your eye focused on the seam line and use your hands to gently guide the fabric in the desired direction. It may take some practice, but with time, you’ll develop better control and accuracy.
Remember, quilting is a learned skill, and it’s natural to encounter challenges along the way. Don’t be discouraged by these issues. Take the time to troubleshoot and practice, and you’ll grow more confident and proficient in quilting in the ditch.
Once you have successfully quilted in the ditch, it’s time to add those finishing touches that will complete your quilt. Continue reading to the next section to discover some ideas for adding those special details!
Adding Finishing Touches
After completing the quilting in the ditch, it’s time to add those final touches that will bring your quilt to life and give it a polished and professional look. Here are some ideas for adding those finishing touches:
- Binding: Binding is the fabric strip that surrounds and frames the edges of the quilt. It not only adds a decorative element but also provides durability and strength. Consider using a coordinating or contrasting fabric for the binding to complement your quilt design.
- Labeling: Adding a quilt label is a wonderful way to personalize your quilt and provide important information such as your name, the date, and the recipient’s name. Hand or machine embroider the details onto a fabric label and sew it onto the back of the quilt.
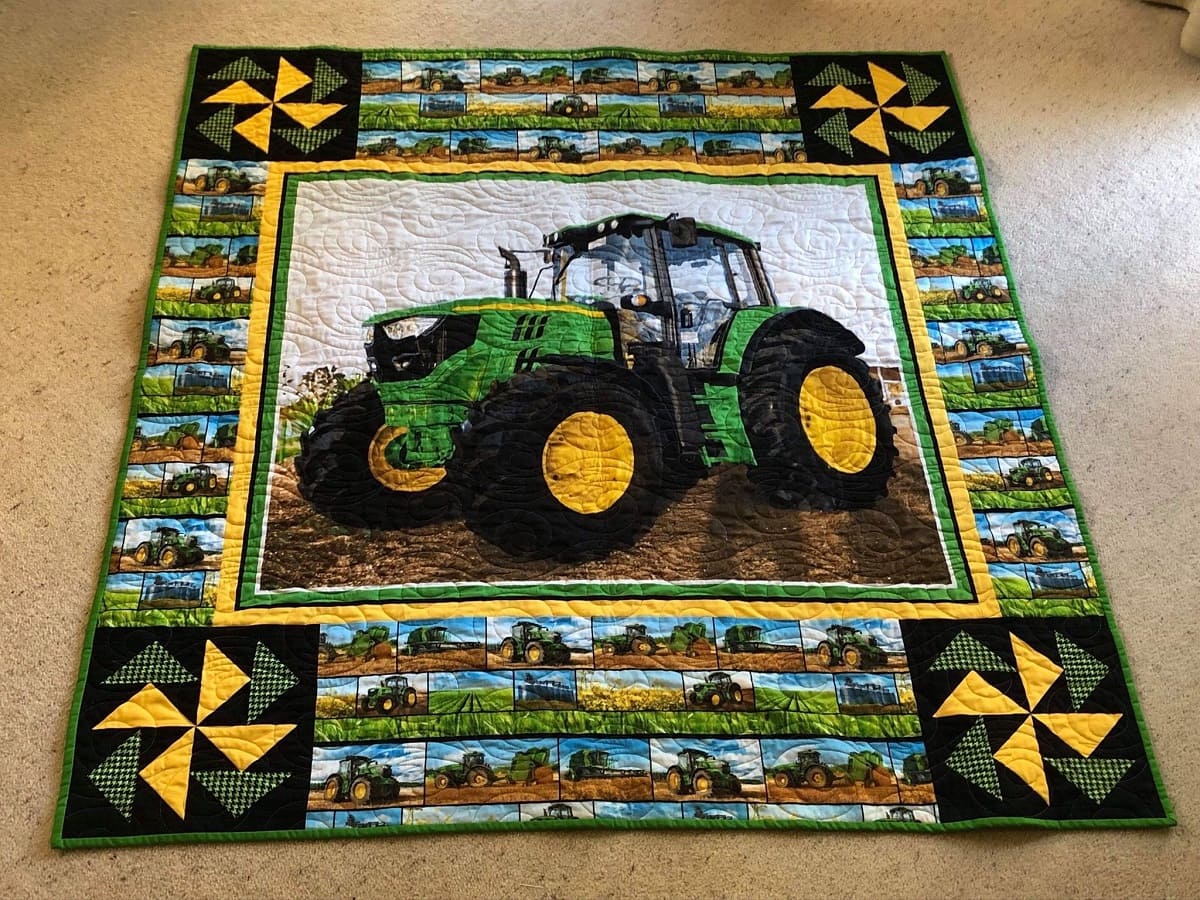
- Borders: If your quilt design allows, you can consider adding borders to frame your quilt top. Borders can be a single fabric strip or a pieced design that complements the overall theme of your quilt.
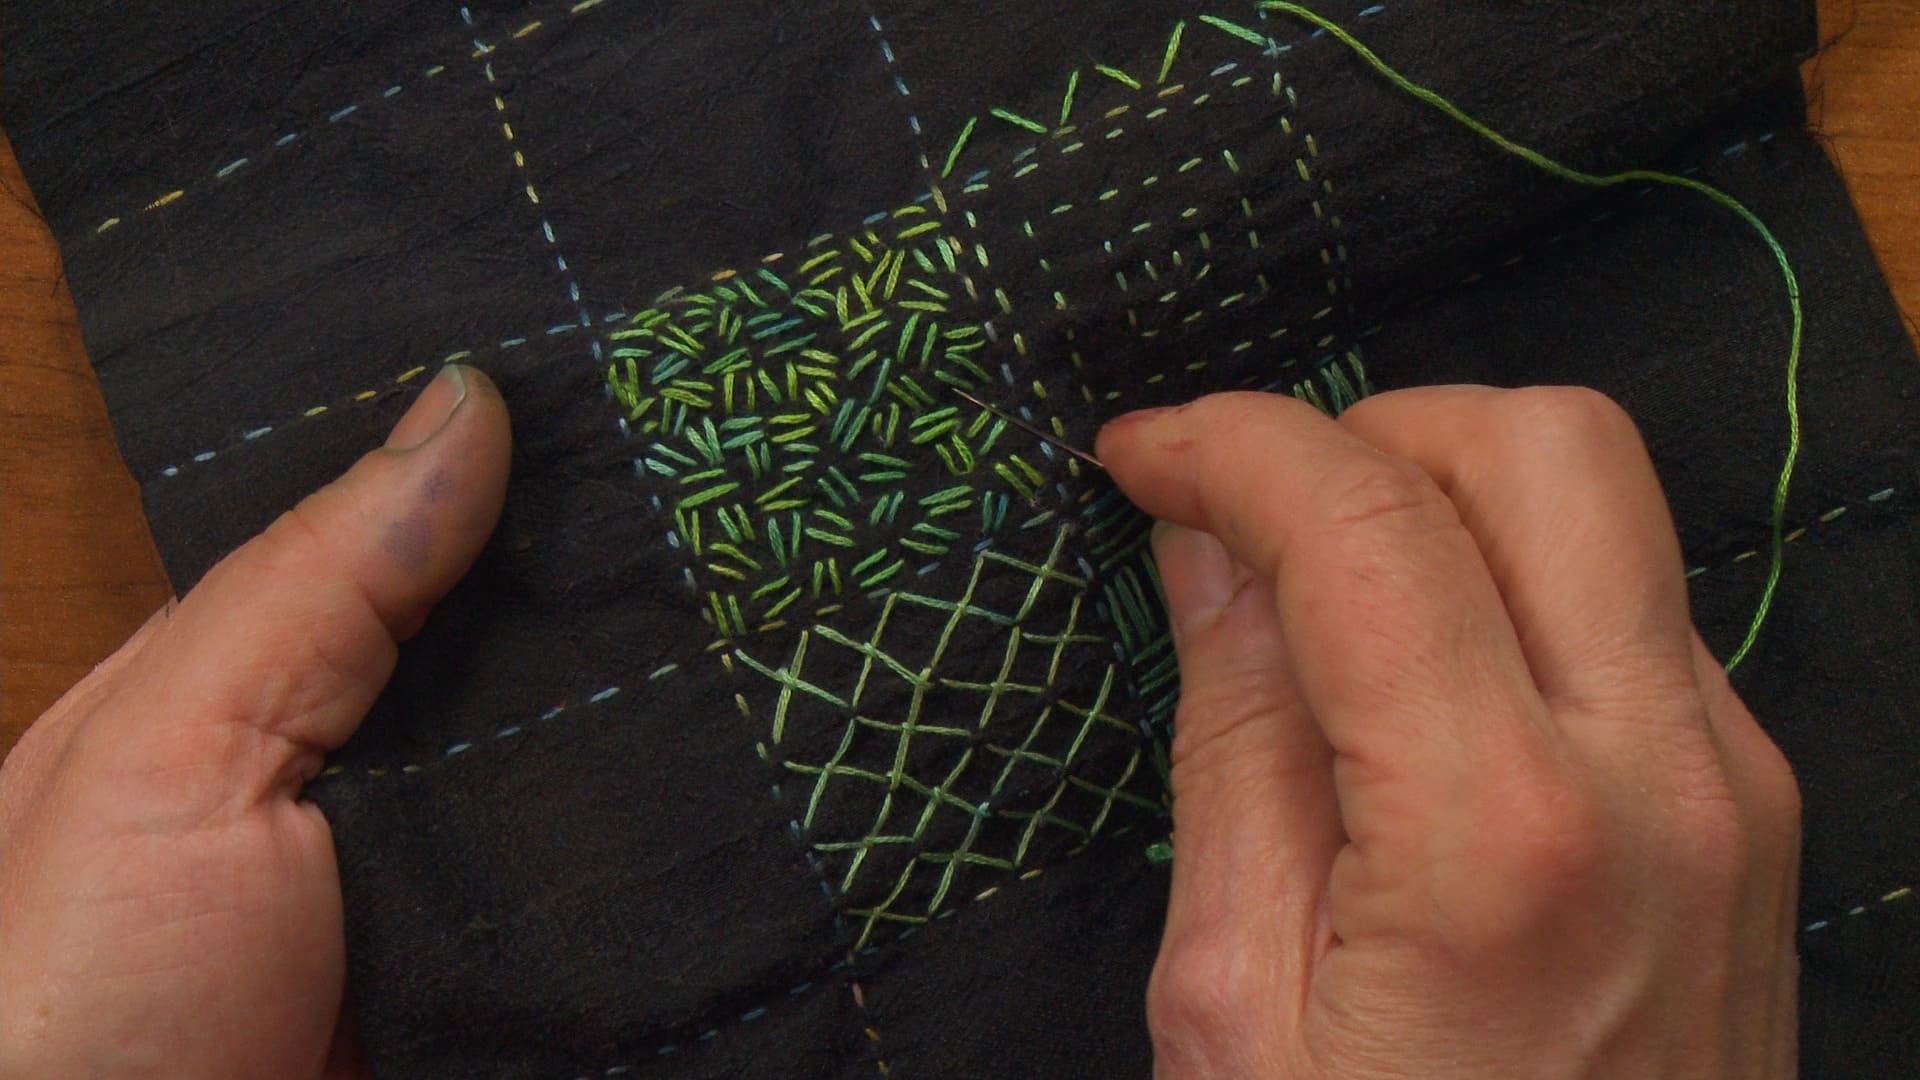
- Quilting Embellishments: If you want to add an extra special touch to your quilt, consider incorporating quilting embellishments such as appliqué, embroidery, or even beads. These elements can enhance the design and make your quilt truly unique.
- Quilt Hanging Sleeve: If you plan to display your quilt on a wall, adding a hanging sleeve to the back makes it easy to hang. A hanging sleeve is a fabric strip sewn to the back of the quilt, allowing a rod to be inserted for display purposes.
- Quilt Care Instructions: Lastly, consider including care instructions for the quilt. This can be as simple as a small note indicating whether the quilt is machine washable or if it needs special care. This helps the recipient or future generations maintain the quilt’s condition.
Adding these finishing touches not only completes the look of your quilt but also adds personal meaning and functionality. Take the time to consider which elements will enhance your quilt and make it truly special.
Once you have completed these finishing touches, step back and admire your quilting masterpiece! You have successfully quilted in the ditch and added those final details that showcase your skill and creativity. Your quilt is now ready to be cherished and enjoyed for years to come.
Congratulations on completing your quilting in the ditch journey! We hope this guide has provided you with the tools, techniques, and inspiration to create beautiful and professional quilts. Happy quilting!
Read more: How To Build A Drainage Ditch Around A House
Conclusion
Quilting in the ditch is a versatile and essential technique in the art of quilting. It not only provides stability and durability to your quilt but also enhances its overall aesthetic. By stitching along the seam lines, you can achieve a professional-looking finish that adds texture and dimension to your quilt top.
Throughout this guide, we have explored the various aspects of quilting in the ditch, from understanding its purpose and benefits to selecting the right tools, marking the ditch lines, and troubleshooting common issues. We have also discussed different techniques and finishing touches that can elevate your quilting projects to new heights.
Quilting in the ditch requires attention to detail, patience, and practice. It’s a skill that can be honed over time, and with each project, you’ll gain more confidence and expertise. Remember to embrace the creative process, experiment with different designs, and make each quilt uniquely yours.
Whether you’re a beginner or an experienced quilter, mastering quilting in the ditch opens up a world of possibilities for your quilting journey. It serves as a strong foundation for more advanced quilting techniques, such as free-motion quilting or appliqué, allowing you to expand and explore new creative paths.
So, gather your tools, select your fabrics, and let your imagination flow as you embark on your next quilting adventure. Quilting in the ditch awaits, ready to transform your fabric into a work of art that will be treasured for generations.
Happy quilting!
Frequently Asked Questions about How To Quilt In The Ditch
Was this page helpful?
At Storables.com, we guarantee accurate and reliable information. Our content, validated by Expert Board Contributors, is crafted following stringent Editorial Policies. We're committed to providing you with well-researched, expert-backed insights for all your informational needs.


0 thoughts on “How To Quilt In The Ditch”