
Articles
How To Refurbish Furniture
Modified: September 1, 2024
Learn how to refurbish furniture and give it a new lease on life. Upgrade your home decor with these easy furniture restoration tips.
(Many of the links in this article redirect to a specific reviewed product. Your purchase of these products through affiliate links helps to generate commission for Storables.com, at no extra cost. Learn more)
Introduction
Welcome to the world of furniture refurbishment! If you’re looking to breathe new life into your old or worn-out furniture pieces, you’ve come to the right place. Refurbishing furniture is a rewarding and cost-effective way to update your decor and create unique pieces that reflect your personal style.
In this guide, we will walk you through the step-by-step process of refurbishing furniture. Whether you have a beloved family heirloom that needs some TLC or a thrift store find that has potential, we’ll help you transform it into a stunning piece that you’ll be proud to display in your home.
Refurbishing furniture allows you to customize and revitalize your pieces to match your current interior design aesthetic. Instead of spending a fortune on brand new furniture, you can breathe new life into what you already have. Not only does this save you money, but it also offers a sense of satisfaction and accomplishment.
Throughout this guide, we will cover everything from assessing your furniture and cleaning it to repairing damaged parts, sanding the surface, applying primer, painting or staining, sealing the finish, reassembling the furniture, and adding those finishing touches. By following each step carefully, you will be able to achieve professional-looking results even if you’re a novice.
Before we dive into the process, it’s important to gather the necessary tools and supplies. Depending on the furniture piece you’re refurbishing, you may need items such as sandpaper, paint or stain, a paintbrush or roller, primer, screwdrivers, wood glue, and various other tools. Having everything prepared and within reach will make the process smoother and more efficient.
So, let’s get started on this exciting journey of furniture refurbishment! Get ready to unleash your creativity and transform your old furniture into stunning pieces that will become the focal point of your space.
Key Takeaways:
- Refurbishing furniture is a rewarding and eco-friendly way to breathe new life into old pieces. From assessing and repairing to painting and adding finishing touches, the process allows for personalization and creativity.
- Attention to detail and patience are crucial when refurbishing furniture. Proper cleaning, repairs, sanding, and sealing ensure professional results and longevity. The process culminates in unique, personalized pieces that elevate any space.
Read more: How To Refurbish An Old Dresser
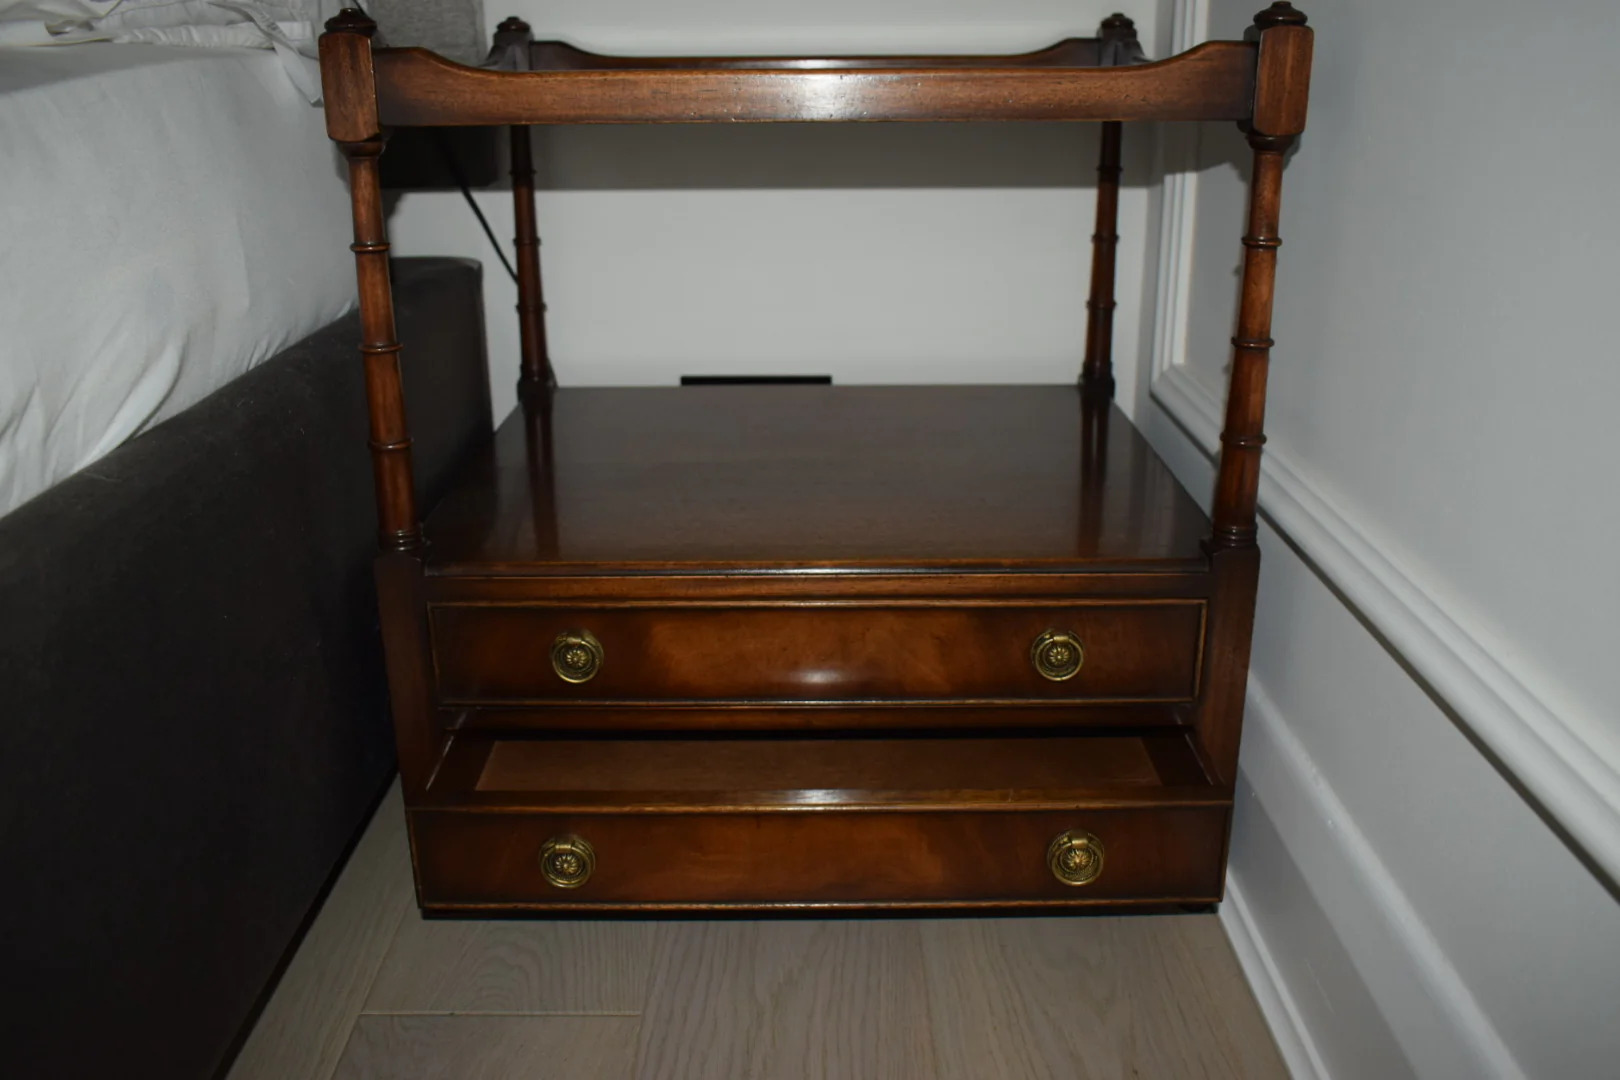
Step 1: Assessing the Furniture
Before diving into the refurbishment process, it’s essential to thoroughly assess the furniture piece you wish to refurbish. This step will help you identify any potential issues that need to be addressed and determine the best approach for transforming the piece.
Start by examining the overall condition of the furniture. Look for any structural damage, such as loose joints, broken or missing parts, or cracked wood. Take note of any areas that require repairs or replacement components.
Next, consider the surface of the furniture. Are there deep scratches, gouges, or unsightly stains? Take a closer look at the finish to determine if it needs to be stripped and refinished or if a simple touch-up will suffice.
It’s also important to assess the style and design of the piece. Does it align with your overall vision for your space? Consider how you can update or modify the piece to better suit your personal style. This could involve changing the hardware, updating the upholstery, or giving it a fresh coat of paint.
When assessing the furniture, keep in mind its sentimental or historical value. If the piece has sentimental significance or is an antique, you may want to preserve its original character as much as possible. Alternatively, if the furniture is a more generic piece with no particular sentimental value, you have the freedom to be more creative with your refurbishment plans.
Once you have thoroughly assessed the furniture and made note of any issues or modifications you would like to make, it’s time to move on to the next step: cleaning the furniture.
Key Points for Step 1: Assessing the Furniture:
- Examine the overall condition of the furniture for any structural damage.
- Inspect the surface for scratches, stains, or signs of wear and tear.
- Evaluate the style and design of the piece and consider how it can be updated to suit your vision.
- Take into account the sentimental or historical value of the furniture.
By thoroughly assessing the furniture, you will have a clear understanding of its current state and be better equipped to plan the refurbishment process accordingly.
Step 2: Cleaning the Furniture
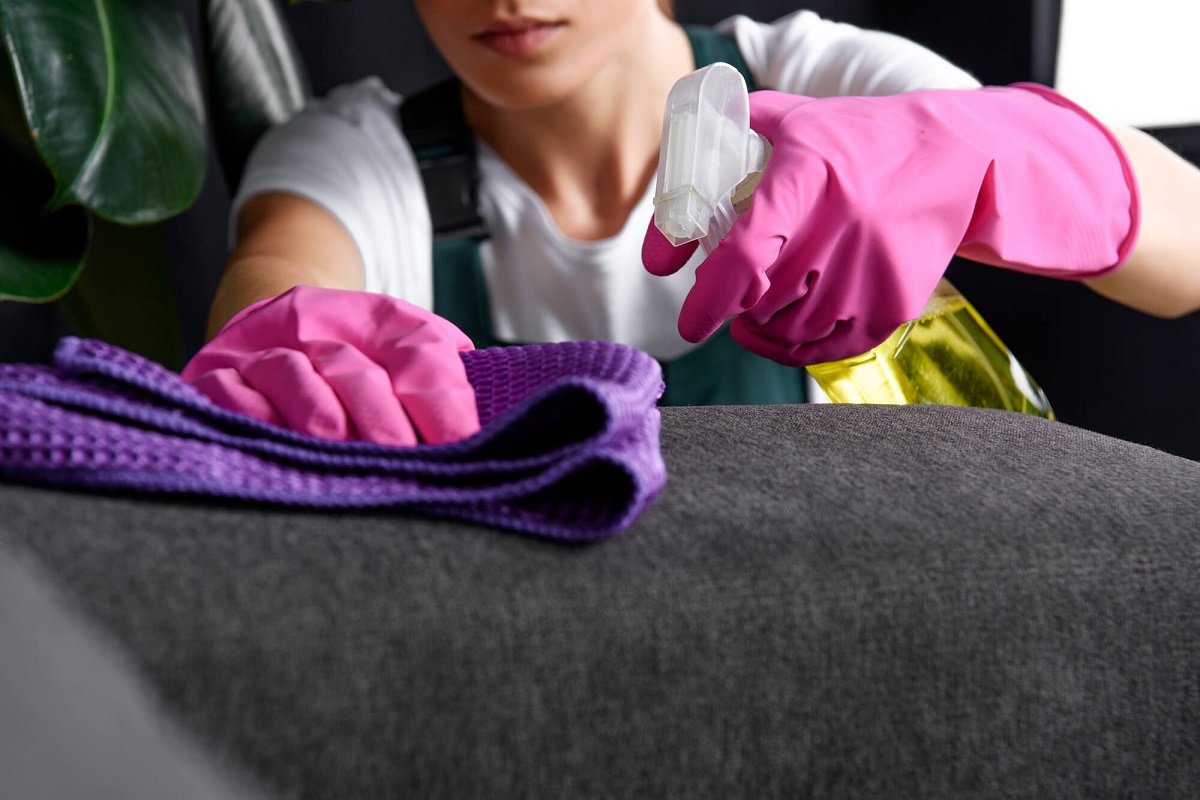
Now that you have assessed the furniture and identified any repairs or modifications needed, it’s time to give the piece a thorough cleaning. Cleaning the furniture is an essential step in the refurbishment process as it helps to remove dirt, grime, and old finishes, preparing the surface for further treatments.
Start by removing any loose debris or dust from the furniture using a soft brush or a lint-free cloth. Pay attention to crevices and hard-to-reach areas, ensuring that all dirt and dust are removed.
Next, determine the appropriate cleaning method based on the material of the furniture. Different materials may require different cleaning agents or techniques:
- Wood: If the furniture is made of wood, use a gentle wood cleaner or a mixture of warm water and mild soap. Apply the solution to a clean cloth and gently wipe the surface, following the grain of the wood. Avoid using excessive moisture, as it can damage the wood.
- Upholstery: For upholstered furniture, check the manufacturer’s instructions for any specific cleaning recommendations. Use a fabric cleaner designed for the type of upholstery material and test it in a small, inconspicuous area first to ensure it doesn’t cause any discoloration or damage.
- Metal or Glass: Use a non-abrasive cleaner specifically formulated for metal or glass surfaces. Apply the cleaner to a soft cloth and gently clean the metal or glass components of the furniture.
After cleaning the furniture, rinse it with clean water or wipe it down with a damp cloth to remove any remaining cleaning solution. Allow the furniture to dry completely before moving on to the next step.
In addition to cleaning the surface, it’s also important to clean the hardware, such as handles, knobs, and hinges. Remove the hardware from the furniture if possible, and clean it separately using appropriate cleaners or polishes. This will help restore the hardware’s shine and functionality.
Key Points for Step 2: Cleaning the Furniture:
- Remove loose debris and dust from the furniture using a soft brush or a lint-free cloth.
- Choose the appropriate cleaning method based on the material of the furniture.
- For wood, use a gentle wood cleaner or a mixture of warm water and mild soap.
- For upholstery, use a fabric cleaner designed for the type of upholstery material.
- For metal or glass surfaces, use a non-abrasive cleaner formulated for these materials.
- Rinse the furniture with clean water or wipe it down with a damp cloth and allow it to dry completely.
- Clean and polish any hardware separately.
Properly cleaning the furniture sets the stage for the next steps in the refurbishment process. It ensures a clean and smooth surface for repairs, sanding, and applying new finishes.
Step 3: Repairing Damaged Parts
After cleaning the furniture, it’s time to address any damaged parts and make necessary repairs. This step is crucial in restoring the functionality and structural integrity of the piece.
Start by assessing the extent of the damage and identifying the repairs needed. Common issues include loose joints, broken or missing pieces, cracked wood, or damaged upholstery.
If you have loose joints, such as wobbly chair legs or a shaky table, you’ll need to reattach and reinforce them. Apply wood glue to the joint and use clamps or straps to hold the pieces together while the glue dries. Once the glue has cured, remove the clamps and test the joint to ensure it is secure.
For broken or missing pieces, evaluate if they can be repaired or if replacement parts are necessary. If possible, glue broken pieces back together using strong wood adhesive. If a piece is missing, consider sourcing a replacement from a salvage yard, online marketplace, or contacting a professional furniture restorer for assistance.
Cracked wood can be repaired using wood filler. Apply the filler to the crack and smooth it out with a putty knife. Once dry, sand the filled area until it is level with the surrounding surface.
If the furniture has upholstery, inspect it for tears, rips, or sagging. Small tears can often be repaired using fabric glue or by stitching them up with a needle and thread. For more significant damage, consider reupholstering the piece entirely or seeking the help of a professional upholsterer.
When making repairs, it’s crucial to use the appropriate tools and materials for the job. Invest in high-quality wood glues, clamps, wood fillers, and upholstery repair supplies to ensure long-lasting results.
Key Points for Step 3: Repairing Damaged Parts:
- Assess the extent of the damage and identify the repairs needed.
- Reinforce loose joints with wood glue and clamps.
- Repair broken pieces using strong wood adhesive.
- Source replacement parts if necessary.
- Repair cracked wood using wood filler.
- Address tears or sagging in upholstery with fabric glue or professional reupholstery.
- Use high-quality tools and materials for the repairs.
By taking the time to repair any damaged parts, you are ensuring the longevity of the furniture and setting the stage for a successful refurbishment.
Step 4: Sanding the Surface
Once you have repaired any damaged parts of the furniture, it’s time to sand the surface. Sanding is a crucial step in the refurbishment process as it helps to create a smooth and even surface for the new finish to adhere to.
Start by selecting the appropriate sandpaper grit for the job. For initial sanding or removing old finishes, a coarse grit such as 80 or 120 is recommended. As you progress, move to finer grits like 220 or 320 to achieve a smoother finish.
Before you begin sanding, ensure that the furniture is properly secured to prevent it from moving around. This can be done by using clamps, a workbench, or securing it with heavy objects. Then, start sanding with long, even strokes, following the natural grain of the wood.
Be sure to sand all surfaces of the furniture, including the top, sides, and any intricate or hard-to-reach areas. Pay particular attention to any rough spots, scratches, or uneven surfaces, as sanding will help to smooth them out.
As you sand, periodically check the surface to assess your progress. The goal is to achieve a smooth and consistent texture across the entire piece. It’s important to remove any previous finishes, paint, or stains entirely, ensuring a clean surface for the new finish to adhere to.
Wipe away any dust or debris produced during the sanding process using a clean, damp cloth. This will help you assess the surface more accurately and prepare it for the next steps of finishing.
Key Points for Step 4: Sanding the Surface:
- Select the appropriate sandpaper grit for the job.
- Secure the furniture to prevent movement during sanding.
- Sand all surfaces of the furniture, following the natural grain of the wood.
- Pay attention to rough spots, scratches, and uneven surfaces.
- Achieve a smooth and consistent texture across the entire piece.
- Remove any previous finishes, paint, or stains entirely.
- Wipe away dust and debris using a clean, damp cloth.
By properly sanding the surface, you are creating an ideal foundation for the new finish, ensuring that it will adhere properly and provide a professional and polished look to your refurbished furniture.
Read also: 12 Amazing Refurbished Television For 2025
Step 5: Applying Primer
With the surface of the furniture sanded and smooth, it’s time to prepare it for the new finish by applying primer. Primer creates a uniform base that helps the paint or stain adhere better and provides a more durable and long-lasting finish.
Before applying primer, make sure the surface is clean and free from any dust or debris. Use a tack cloth or a damp cloth to wipe away any remaining sanding dust.
Choose a primer that is specifically formulated for the type of finish you plan to apply. For example, if you’re using latex-based paint, select a latex-based primer. If you’re using oil-based paint or stain, choose an oil-based primer.
Begin applying the primer using a high-quality brush or roller, following the manufacturer’s instructions. Work in smooth and even strokes, making sure to cover the entire surface of the furniture. Pay attention to any intricate details or hard-to-reach areas, ensuring that they are adequately primed as well.
Allow the primer to dry completely according to the instructions on the product. This typically takes a few hours. Once dry, inspect the furniture for any areas that may require additional priming or touch-ups.
After the primer has dried, lightly sand the surface with fine-grit sandpaper. This step helps to smoothen any imperfections or raised wood fibers caused by the primer. Wipe away any dust or debris using a clean cloth or tack cloth.
Key Points for Step 5: Applying Primer:
- Ensure the surface is clean and free from any dust or debris.
- Choose a primer that is compatible with the finish you plan to apply.
- Apply the primer using a high-quality brush or roller.
- Cover the entire surface, including intricate details or hard-to-reach areas.
- Allow the primer to dry completely according to the instructions.
- Inspect and touch up any areas that require additional priming.
- Lightly sand the dried primer for a smooth surface.
Applying primer is an important step that ensures a professional and flawless finish for your refurbished furniture. It provides a solid foundation for the paint or stain, enhancing its adhesion and improving the overall longevity of the piece.
When refurbishing furniture, always start by thoroughly cleaning the piece to remove any dirt, grime, or old finishes. This will provide a clean surface for any repairs or refinishing.
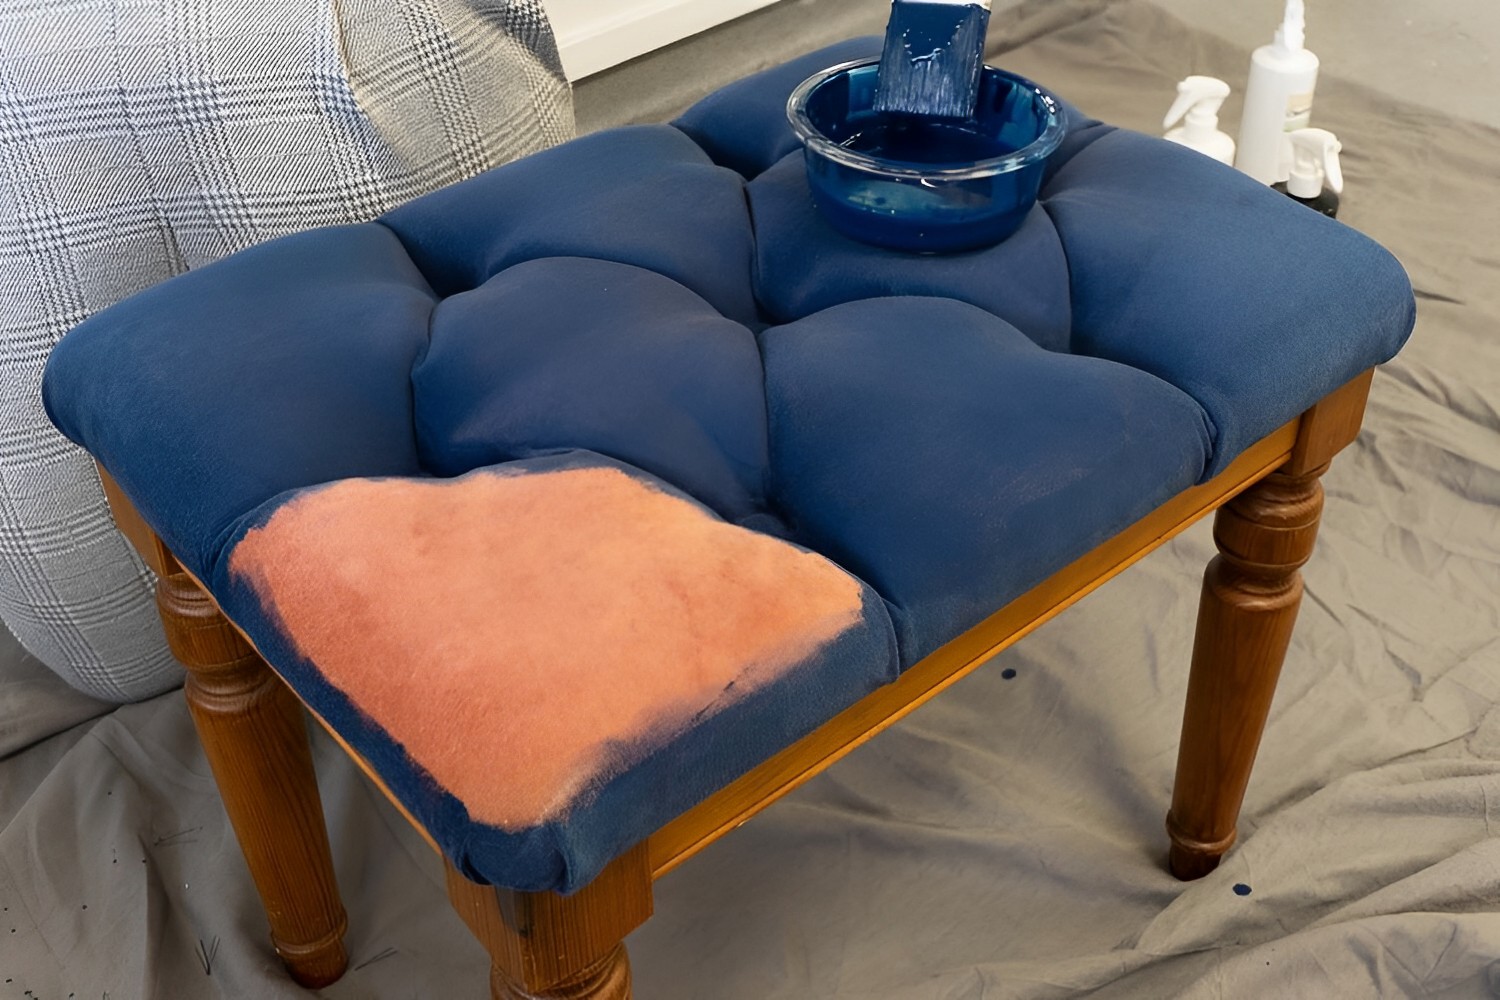
Step 6: Painting or Staining
Now comes the exciting part – adding color and character to your refurbished furniture! Whether you choose to paint or stain the piece, this step will transform its appearance and bring your vision to life.
If you prefer the painted look, choose a high-quality paint specifically formulated for furniture. Opt for latex-based paint for easier cleanup, or oil-based paint for a more durable finish. Select your desired color and gather the necessary painting supplies, including brushes or rollers, paint trays, and drop cloths to protect your work area.
If you prefer the natural beauty of the wood grain to shine through, staining is the way to go. Choose a stain color that complements your desired aesthetic and the type of wood you’re working with. Consider using gel stains for easier application and better control. Ensure you have appropriate brushes, staining pads, and clean, lint-free cloths for the staining process.
Before painting or staining, it’s essential to prepare the surface by ensuring it is clean and free from dust or debris. Lightly sand the primed surface with fine-grit sandpaper to ensure smoothness and remove any imperfections. Wipe away any sanding residue with a clean, damp cloth, and allow the surface to dry completely.
If you’re painting, start by applying a thin and even coat of paint. Work in one direction, following the grain of the wood if applicable. Allow the first coat to dry completely before applying additional coats as needed. Lightly sand between coats if necessary for a smoother finish. Let the final coat dry thoroughly according to the manufacturer’s instructions.
If you’re staining, apply the stain following the instructions on the product label. Use smooth and even strokes, working in the direction of the wood grain. Wipe away any excess stain with a clean cloth after a few minutes to achieve the desired color intensity. Allow the first coat to dry, and then apply additional coats if necessary to achieve the desired depth of color. Allow the final coat to dry thoroughly.
Key Points for Step 6: Painting or Staining:
- Choose high-quality paint or wood stain specifically formulated for furniture.
- Prepare the surface by ensuring it is clean and free from dust or debris.
- Paint with thin and even coats, allowing each coat to dry completely.
- Stain using smooth and even strokes, wiping away excess stain.
- Apply additional coats as needed and allow the final coat to dry thoroughly.
Painting or staining your refurbished furniture allows you to add your personal touch and create a unique piece that suits your style. Whether you opt for a bold and vibrant color or a timeless wood finish, this step will truly bring your furniture to life.
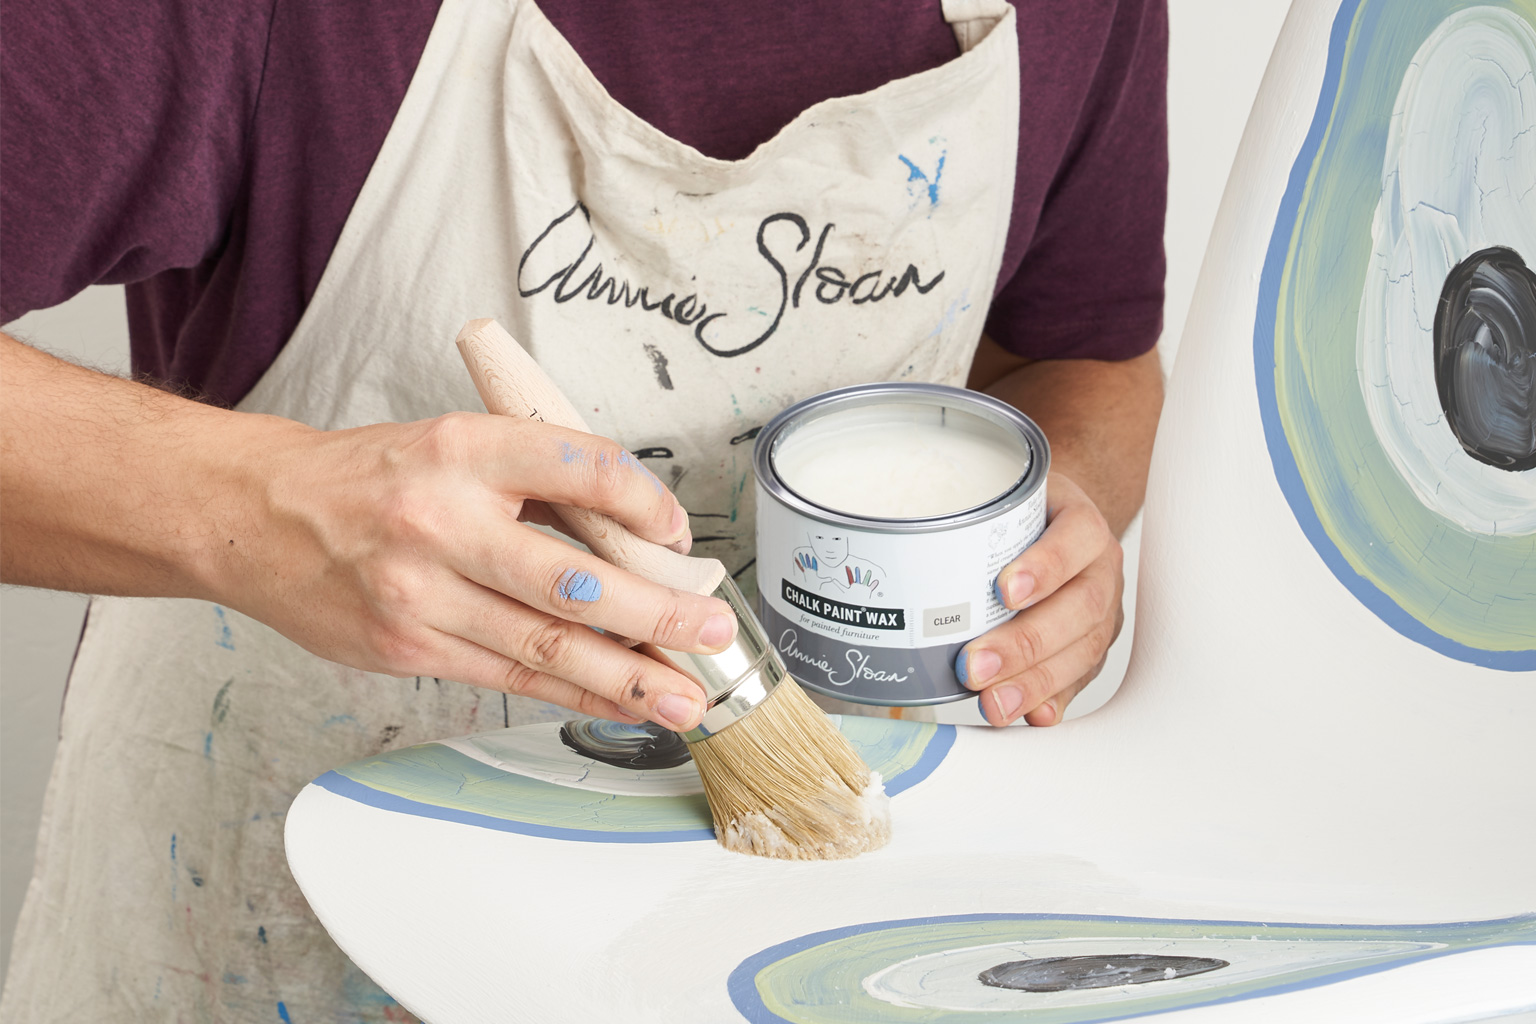
Step 7: Sealing the Finish
After painting or staining your refurbished furniture, it’s crucial to seal the finish to protect it and ensure its longevity. The sealant creates a protective barrier, guarding against scratches, moisture, and everyday wear and tear. It also enhances the overall appearance of the piece and adds a professional touch.
When selecting a sealant, consider the type of finish you’re working with. For painted furniture, a clear polyurethane or polycrylic sealer is an excellent choice. These sealants come in various sheens, such as matte, satin, or gloss, allowing you to customize the final look of your furniture.
If you’ve chosen to stain the furniture, you have the option of using a clear polyurethane or a furniture wax as a sealant. Polyurethane is known for its durability and water resistance, making it ideal for high-use pieces. Furniture wax, on the other hand, offers a more traditional and natural finish while providing protection.
Before applying the sealant, ensure that the painted or stained surface is clean and completely dry. Remove any dust or debris using a soft brush or a lint-free cloth.
Apply the sealant following the manufacturer’s instructions. Use a high-quality brush or roller to achieve even coverage. Apply thin and even coats, allowing each coat to dry completely before applying the next. Lightly sand between coats for a smoother finish, if desired. Make sure to cover all surfaces, including hard-to-reach areas and edges.
Once the final coat has dried, inspect the furniture for any imperfections or areas that may require touch-ups. Use fine-grit sandpaper to smooth out any rough spots or bubbles, ensuring a flawless finish.
Key Points for Step 7: Sealing the Finish:
- Select a sealant appropriate for the type of finish on your furniture.
- Ensure the painted or stained surface is clean and dry.
- Apply the sealant in thin and even coats, following the manufacturer’s instructions.
- Allow each coat to dry completely before applying the next.
- Lightly sand between coats for a smoother finish, if desired.
- Inspect and touch up any areas that require attention.
Sealing the finish of your refurbished furniture provides essential protection, enhances its appearance, and ensures its longevity. Taking the time to properly seal the piece will help preserve your hard work and keep your furniture looking beautiful for years to come.
Step 8: Reassembling the Furniture
After completing the painting or staining process and allowing the finish to dry and cure, it’s time to reassemble the furniture. This step involves putting all the pieces back together and ensuring that everything is securely in place.
Start by referencing any notes or photographs you took during the disassembly process to help guide you in reassembling the furniture correctly. If you didn’t take any notes or photos, carefully examine the individual components and their connections to determine the proper reassembly order.
Reattach any hardware or fasteners, such as screws, nails, or hinges, ensuring they are tightly secured. If you had to replace any parts during the refurbishment process, make sure they are properly installed and functioning correctly.
If you made any adjustments or modifications to the furniture during the refurbishment, such as resizing or reinforcing certain areas, double-check that they have been done correctly and are structurally sound.
Take your time during the reassembly process to ensure that all the pieces fit together properly. If you encounter any difficulties or inconsistencies, refer to any instructions or owner’s manuals that came with the furniture or seek professional assistance if needed.
Key Points for Step 8: Reassembling the Furniture:
- Refer to any notes or photographs taken during disassembly.
- Carefully examine components to determine the proper reassembly order.
- Securely reattach all hardware and fasteners.
- Ensure any replaced parts are correctly installed.
- Double-check adjustments or modifications for structural integrity.
- Take your time and seek professional assistance if needed.
By properly reassembling the furniture, you ensure its stability and functionality. Completing this step with care will provide you with a fully restored piece that is ready to be enjoyed in your home.
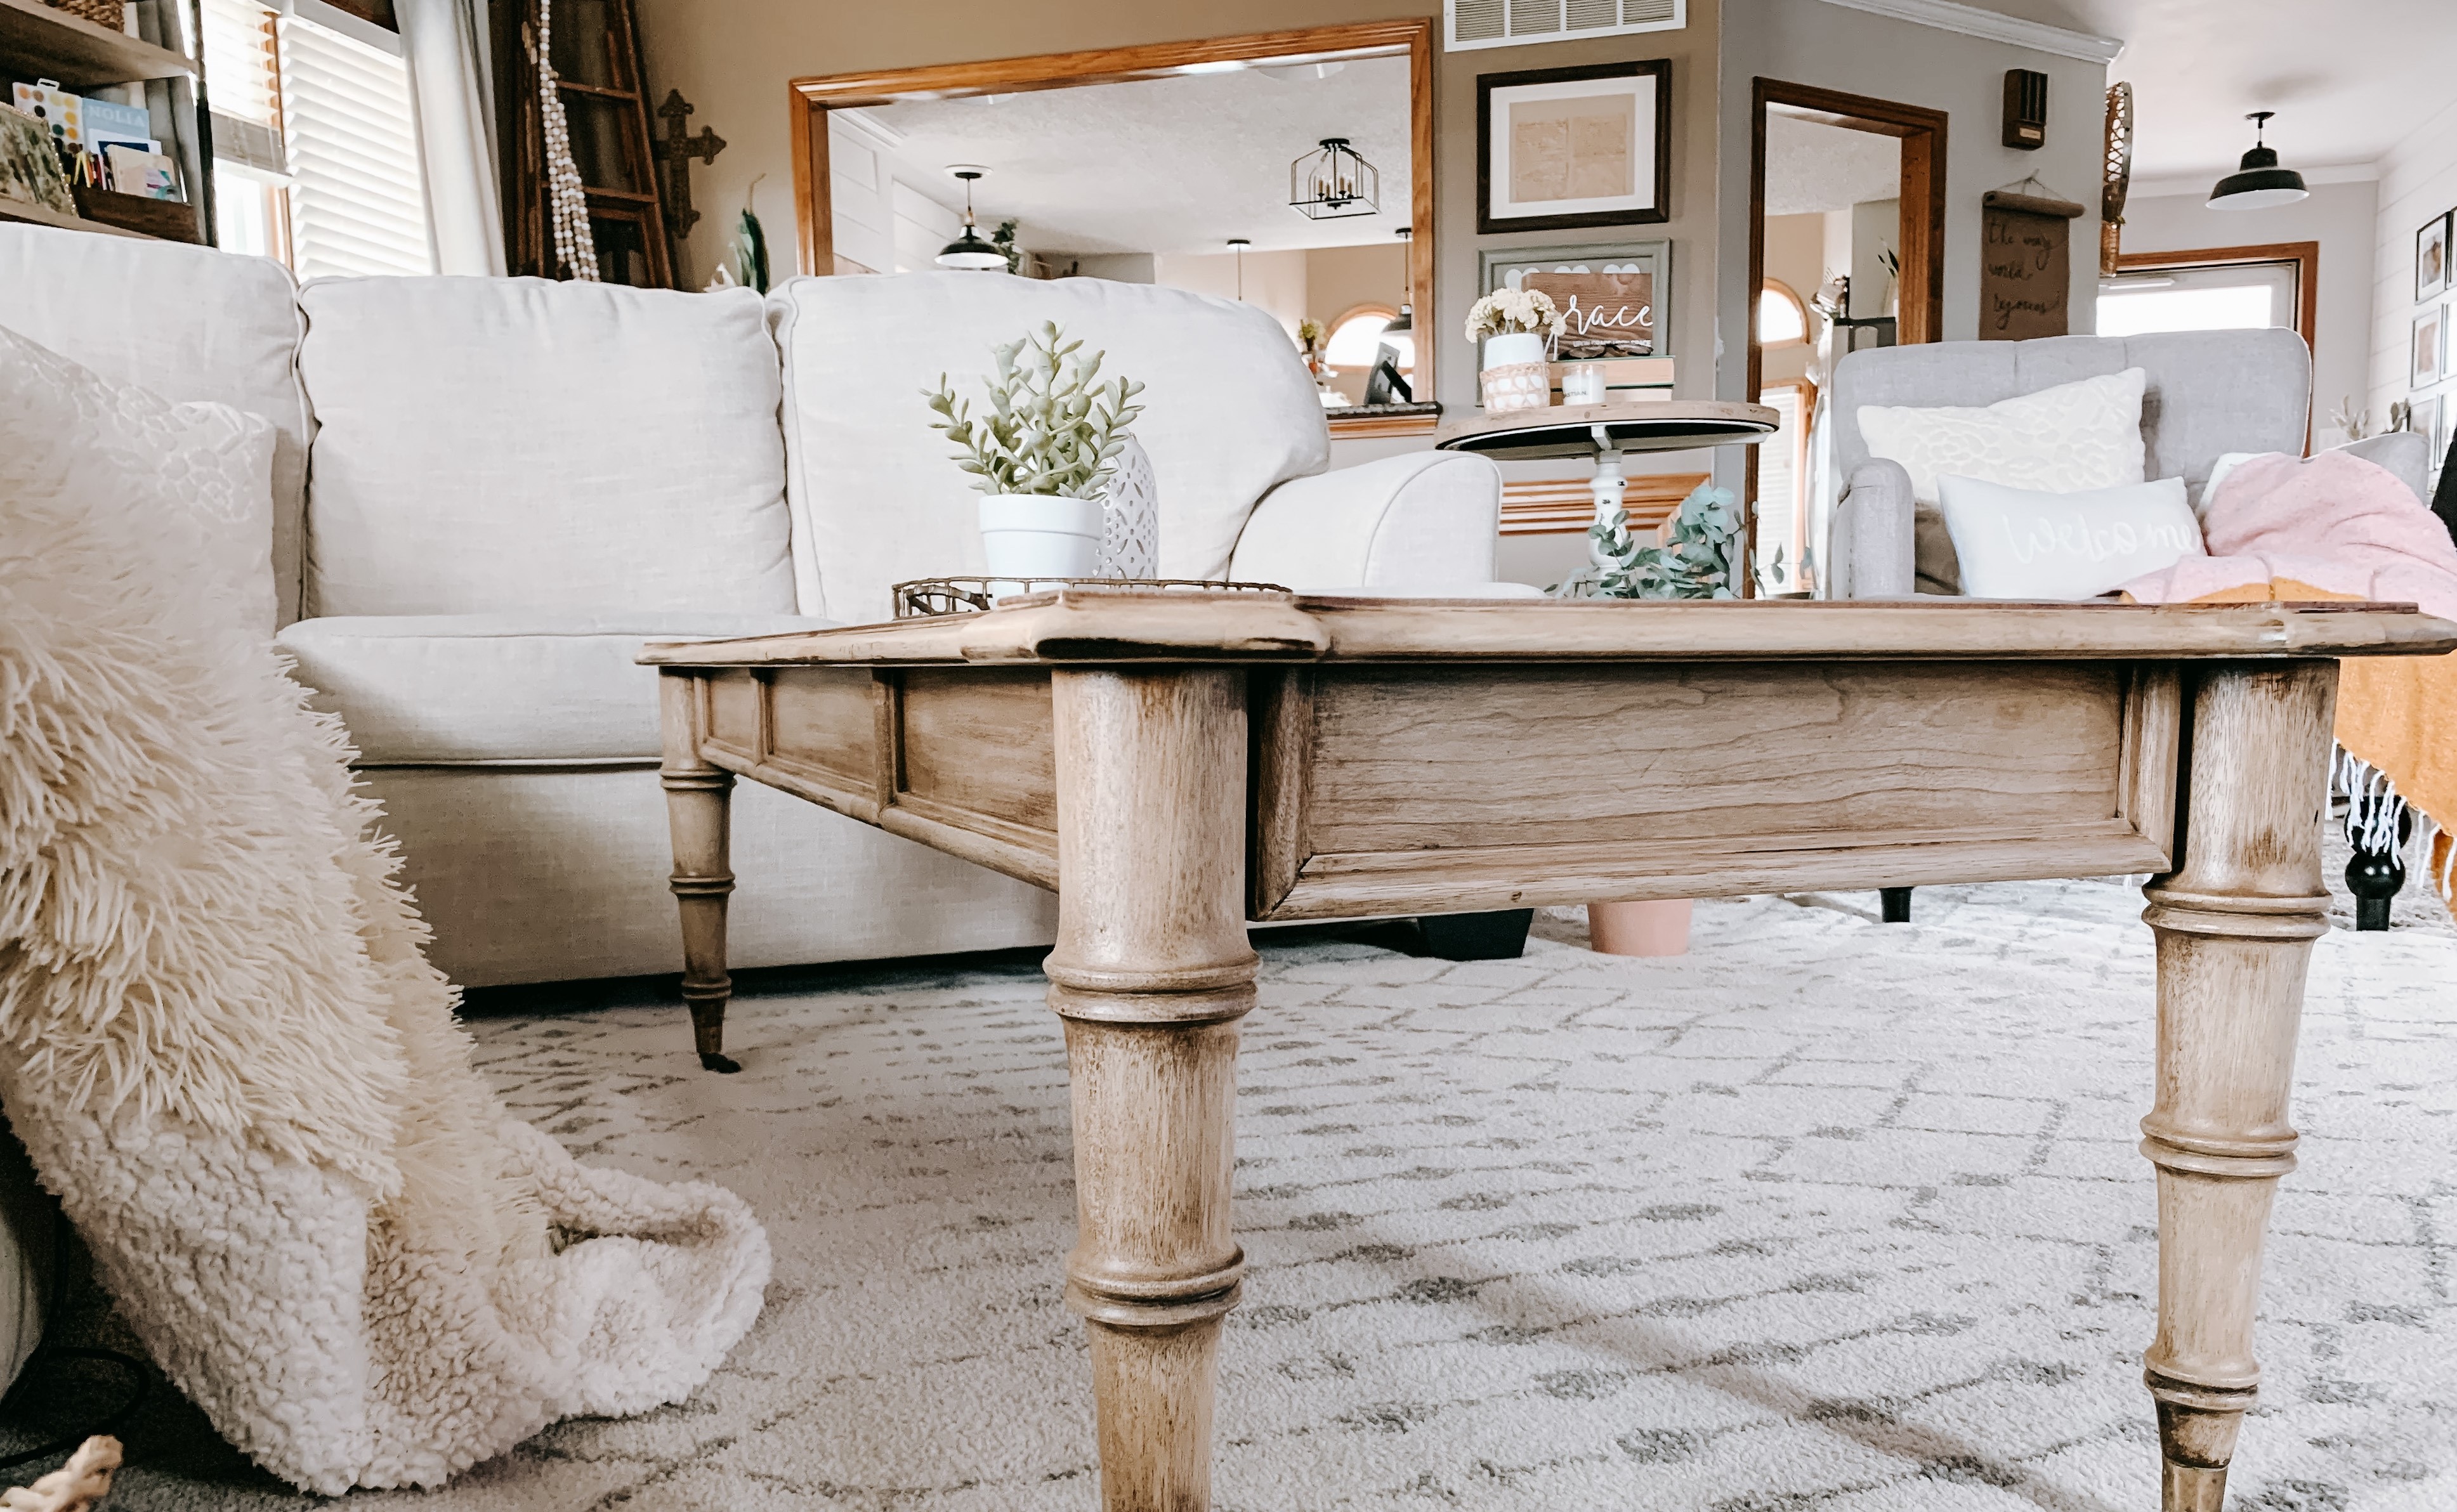
Step 9: Adding Finishing Touches
Congratulations! You’re now in the final step of refurbishing your furniture – adding those special finishing touches that will truly make your piece shine and showcase your personal style.
Consider the following ideas for adding those extra details to your refurbished furniture:
- Hardware: Replace old or worn-out hardware with new handles, knobs, or hinges that complement your refurbished piece. Choose hardware that matches the overall style and aesthetic you’re aiming for.
- Decorative Accents: Consider adding decorative accents such as appliques, trim, or carved details to enhance the beauty and uniqueness of your furniture. These can be found at local craft stores or online, and they add dimension and character to your piece.
- Upholstery: If your furniture has upholstery, give it a fresh new look by reupholstering it with a fabric that suits your style. This is an opportunity to choose a new pattern or color that complements the paint or stain you’ve used.
- Distressing: To achieve a vintage or aged look, consider distressing certain areas of the furniture. You can use sandpaper or a distressing tool to gently rub away some of the paint or stain, creating a worn or weathered appearance.
- Decorative Painting or Stenciling: Get creative by adding decorative painting or stenciling to your furniture. This can involve freehand designs, geometric patterns, or intricate stencils to add a unique touch and make your piece truly one-of-a-kind.
Remember to apply any finishing touches after the sealant has completely dried and cured. Take your time to ensure precision and attention to detail.
Key Points for Step 9: Adding Finishing Touches:
- Replace old hardware with new pieces that complement the refurbished furniture.
- Add decorative accents such as appliques, trim, or carved details.
- Reupholster the furniture with a fabric that suits your style.
- Consider distressing certain areas for a vintage or aged look.
- Add decorative painting or stenciling for a unique touch.
By adding those final touches, you elevate your refurbished furniture to a whole new level. These details allow you to put your personal stamp on the piece and make it truly your own.
Conclusion
Congratulations on completing the comprehensive refurbishment of your furniture! By following the step-by-step process outlined in this guide, you have transformed your old or worn-out pieces into beautiful and personalized treasures that reflect your unique style and taste.
Refurbishing furniture not only allows you to breathe new life into your belongings but also provides a cost-effective and eco-friendly alternative to purchasing new items. It’s a gratifying experience to witness the transformation of your furniture and to know that you played a significant role in its revival.
Throughout the refurbishment process, you learned how to assess the furniture, clean it thoroughly, repair any damaged parts, sand the surface, apply primer, paint or stain, seal the finish, reassemble the furniture, and add those finishing touches that truly make it stand out.
Remember, patience and attention to detail are key when refurbishing furniture. Take the time to properly prepare, choose high-quality materials, and ensure each step is completed with care. This will guarantee that your refurbished furniture not only looks stunning but also stands the test of time.
Now that you have completed the refurbishment process, it’s time to proudly display your newly refurbished furniture in your home. Whether it’s a statement piece in your living room, a stylish addition to your bedroom, or a functional piece in your dining area, your furniture will undoubtedly become a conversation starter and a source of pride.
Continue to care for your refurbished furniture by regularly cleaning and maintaining it. Follow any recommended care instructions specific to the type of finish you applied. With proper upkeep, your furniture will continue to bring joy and elevate the aesthetics of your space for years to come.
Thank you for embarking on this furniture refurbishment journey with us. We hope you’ve enjoyed the process and gained valuable insights and skills. Happy refurbishing!
Frequently Asked Questions about How To Refurbish Furniture
Was this page helpful?
At Storables.com, we guarantee accurate and reliable information. Our content, validated by Expert Board Contributors, is crafted following stringent Editorial Policies. We're committed to providing you with well-researched, expert-backed insights for all your informational needs.


0 thoughts on “How To Refurbish Furniture”