Articles
How To Clean Lacquer Furniture
Modified: August 30, 2024
Learn effective techniques and tips for cleaning lacquer furniture and restoring its shine. Keep your furniture looking pristine with our step-by-step guide.
(Many of the links in this article redirect to a specific reviewed product. Your purchase of these products through affiliate links helps to generate commission for Storables.com, at no extra cost. Learn more)
Introduction
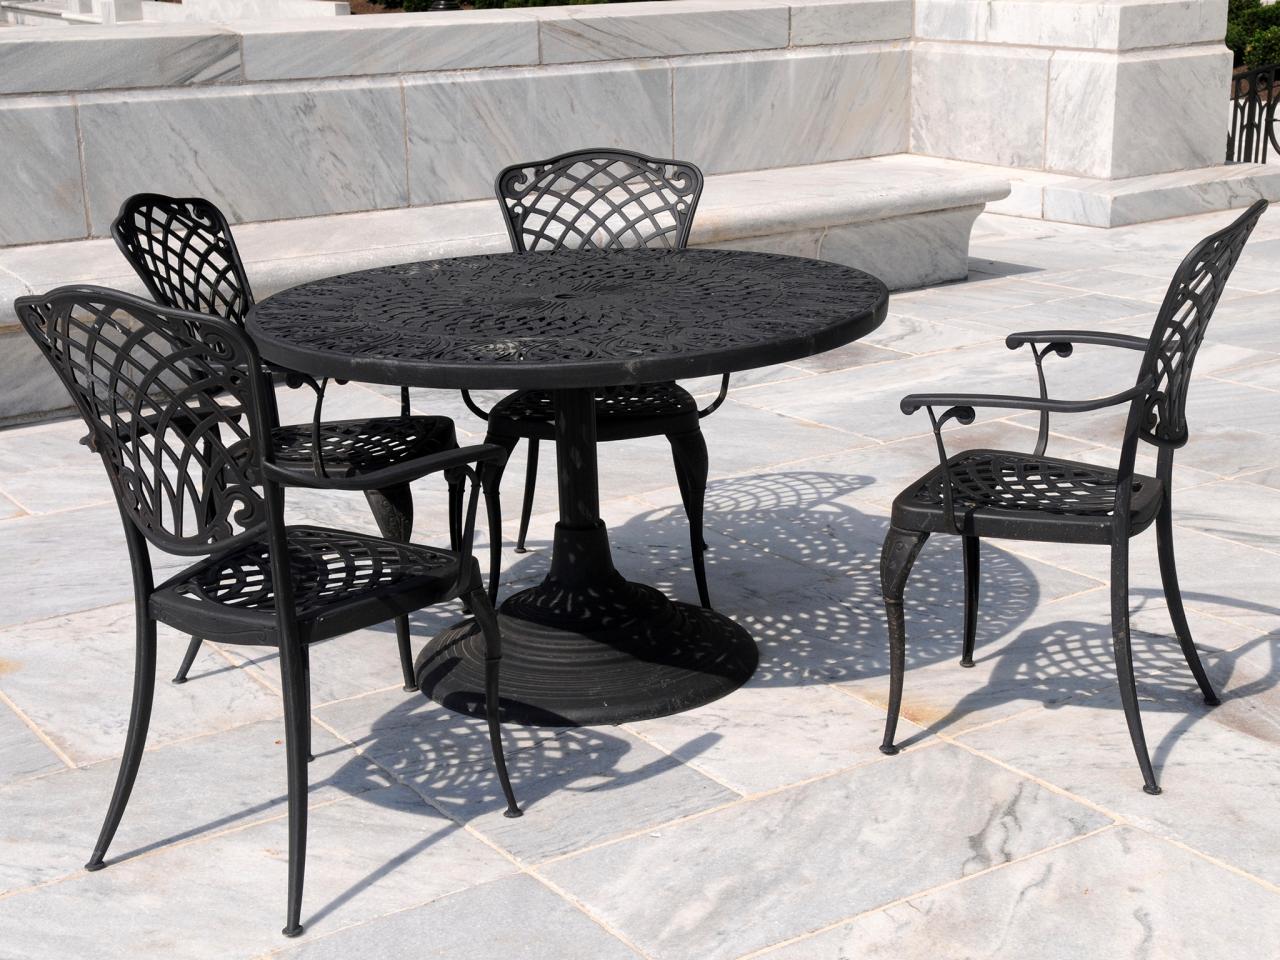
Welcome to the world of lacquer furniture, where elegance meets durability. Lacquer furniture has gained popularity for its sleek and glossy finish, making it a favorite choice for modern interior design. Whether you have a lacquer dining table, coffee table, or cabinet, keeping it clean and well-maintained is essential to preserve its beauty and extend its lifespan.
In this article, we will guide you on how to clean and care for your lacquer furniture. We will provide you with step-by-step instructions, along with the necessary tools and materials to ensure a thorough and effective cleaning process. By following these guidelines, you can keep your lacquer furniture looking brand new and enhance its longevity.
So, let’s dive into the world of lacquer furniture and discover the secrets to maintaining its timeless elegance.
Key Takeaways:
- Preserve the timeless elegance of lacquer furniture by using gentle cleaning techniques and natural solutions to remove stains. Regular maintenance and protective measures will ensure its longevity and lustrous shine.
- Prepare, clean, restore, and maintain lacquer furniture with care and attention to detail. From gathering the right tools to addressing specific stains, follow the steps to keep your furniture looking brand new.
Tools and Materials Needed
Before you begin the cleaning process, gather the following tools and materials to ensure you have everything you need:
- Soft microfiber cloth
- Mild dish soap or specialized lacquer cleaner
- Distilled water
- Cotton swabs
- Soft-bristled brush
- Lint-free cloth
- Isopropyl alcohol
- White vinegar
- Lemon juice (optional)
- Protective gloves
The soft microfiber cloth is essential for gently wiping the lacquer surface without causing any scratches or damage. Avoid using abrasive materials such as rough sponges or scrub brushes, as they can scratch the lacquer finish.
If your lacquer furniture has stubborn stains or grime, you may need a mild dish soap or specialized lacquer cleaner. Always check the manufacturer’s instructions to ensure the product is safe to use on lacquer surfaces.
Distilled water is recommended for mixing with cleaning agents, as it doesn’t contain any impurities that could potentially leave marks or spots on your furniture.
Cotton swabs and a soft-bristled brush can be helpful for cleaning hard-to-reach areas and intricate details. Use them with caution to prevent any damage.
A lint-free cloth is essential for drying and buffing the lacquer surface after cleaning. It helps to achieve a streak-free and shiny finish.
Isopropyl alcohol, white vinegar, and lemon juice can be used for tackling tougher stains or sticky residue. However, be cautious when using these substances, as they can potentially damage the lacquer finish if not used correctly.
Lastly, wearing protective gloves is recommended to protect your hands from any cleaning agents and to prevent transferring oils or dirt onto the lacquer surface.
With these tools and materials ready, you are now prepared to embark on the journey of cleaning your lacquer furniture effectively and safely.
Preparing the Furniture for Cleaning
Before you start cleaning your lacquer furniture, it’s crucial to take some preparatory steps to ensure the best results:
- Clear the surface: Remove any decorative items, books, or other objects from the furniture surface. This will make it easier to access and clean every part of the furniture.
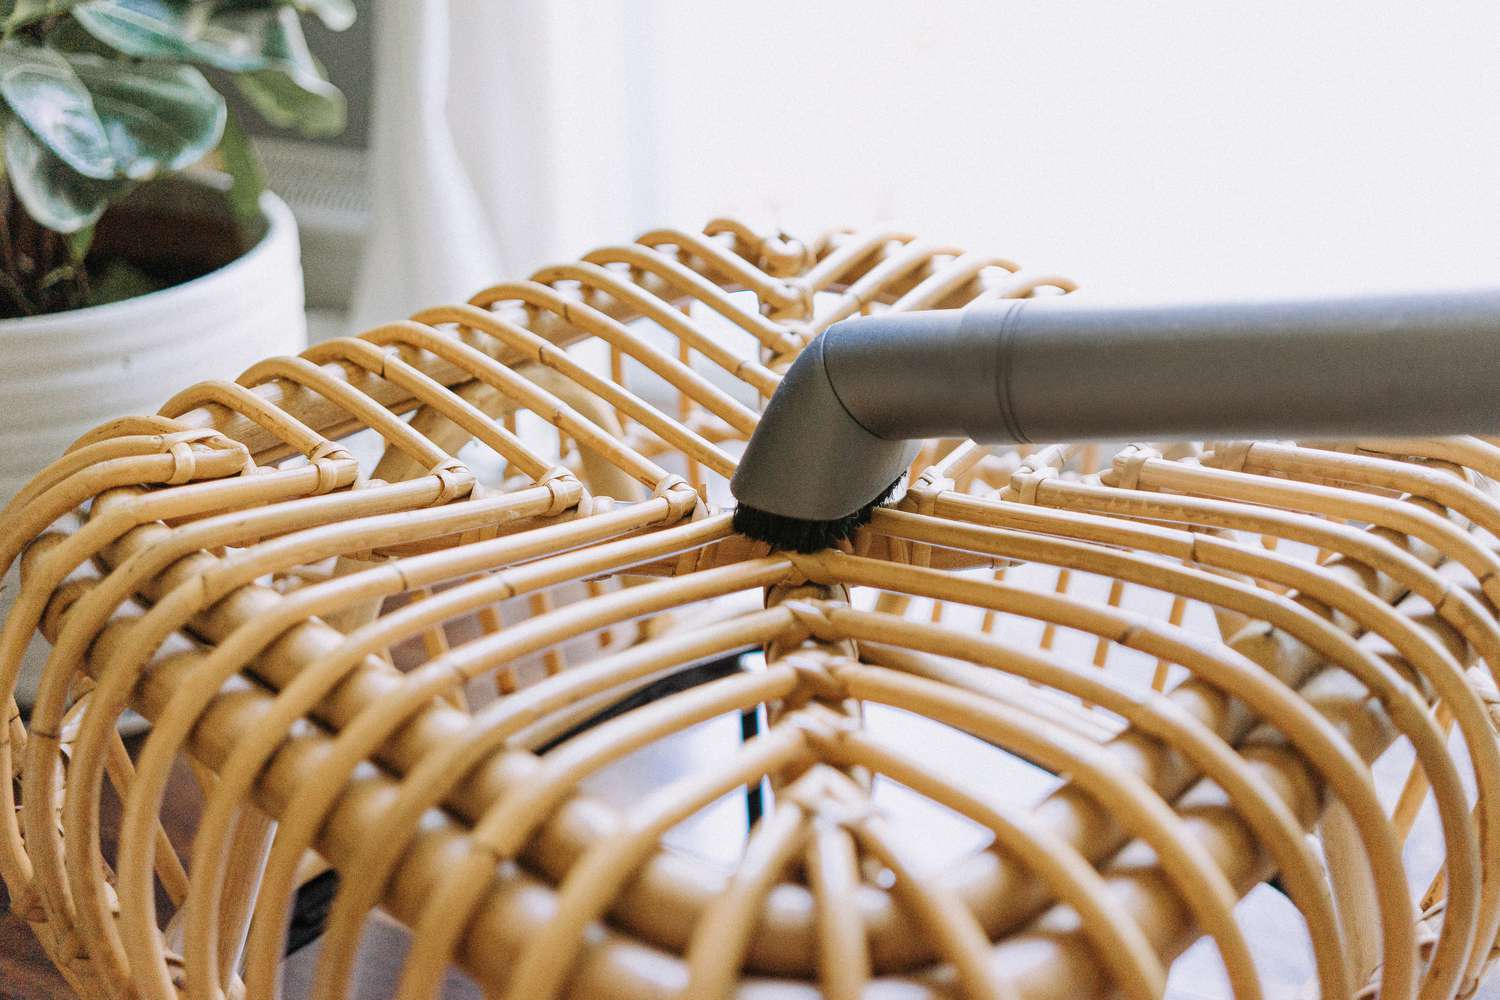
- Dust the furniture: Use a soft microfiber cloth to gently dust the entire surface of the furniture. Dust particles can accumulate on lacquer furniture and scratch the surface when wiped. By removing the dust beforehand, you minimize the risk of causing any scratches during the cleaning process.
- Check for damage: Inspect your furniture for any visible damage, such as scratches, chips, or cracks in the lacquer finish. If you notice any significant damage, it’s best to consult a professional furniture repair specialist before attempting to clean the piece.
Once you have completed these steps, you can proceed with the cleaning process confidently, knowing that you have prepared your lacquer furniture appropriately.
Remember, taking the time to prepare the furniture beforehand ensures a more thorough cleaning and prevents any further damage that may occur during the process. Now that your furniture is ready, let’s move on to the next steps – cleaning the lacquer surface.
Cleaning the Lacquer Surface
Now that you have prepared your lacquer furniture, it’s time to start cleaning the lacquer surface. Follow these steps to ensure a safe and effective cleaning process:
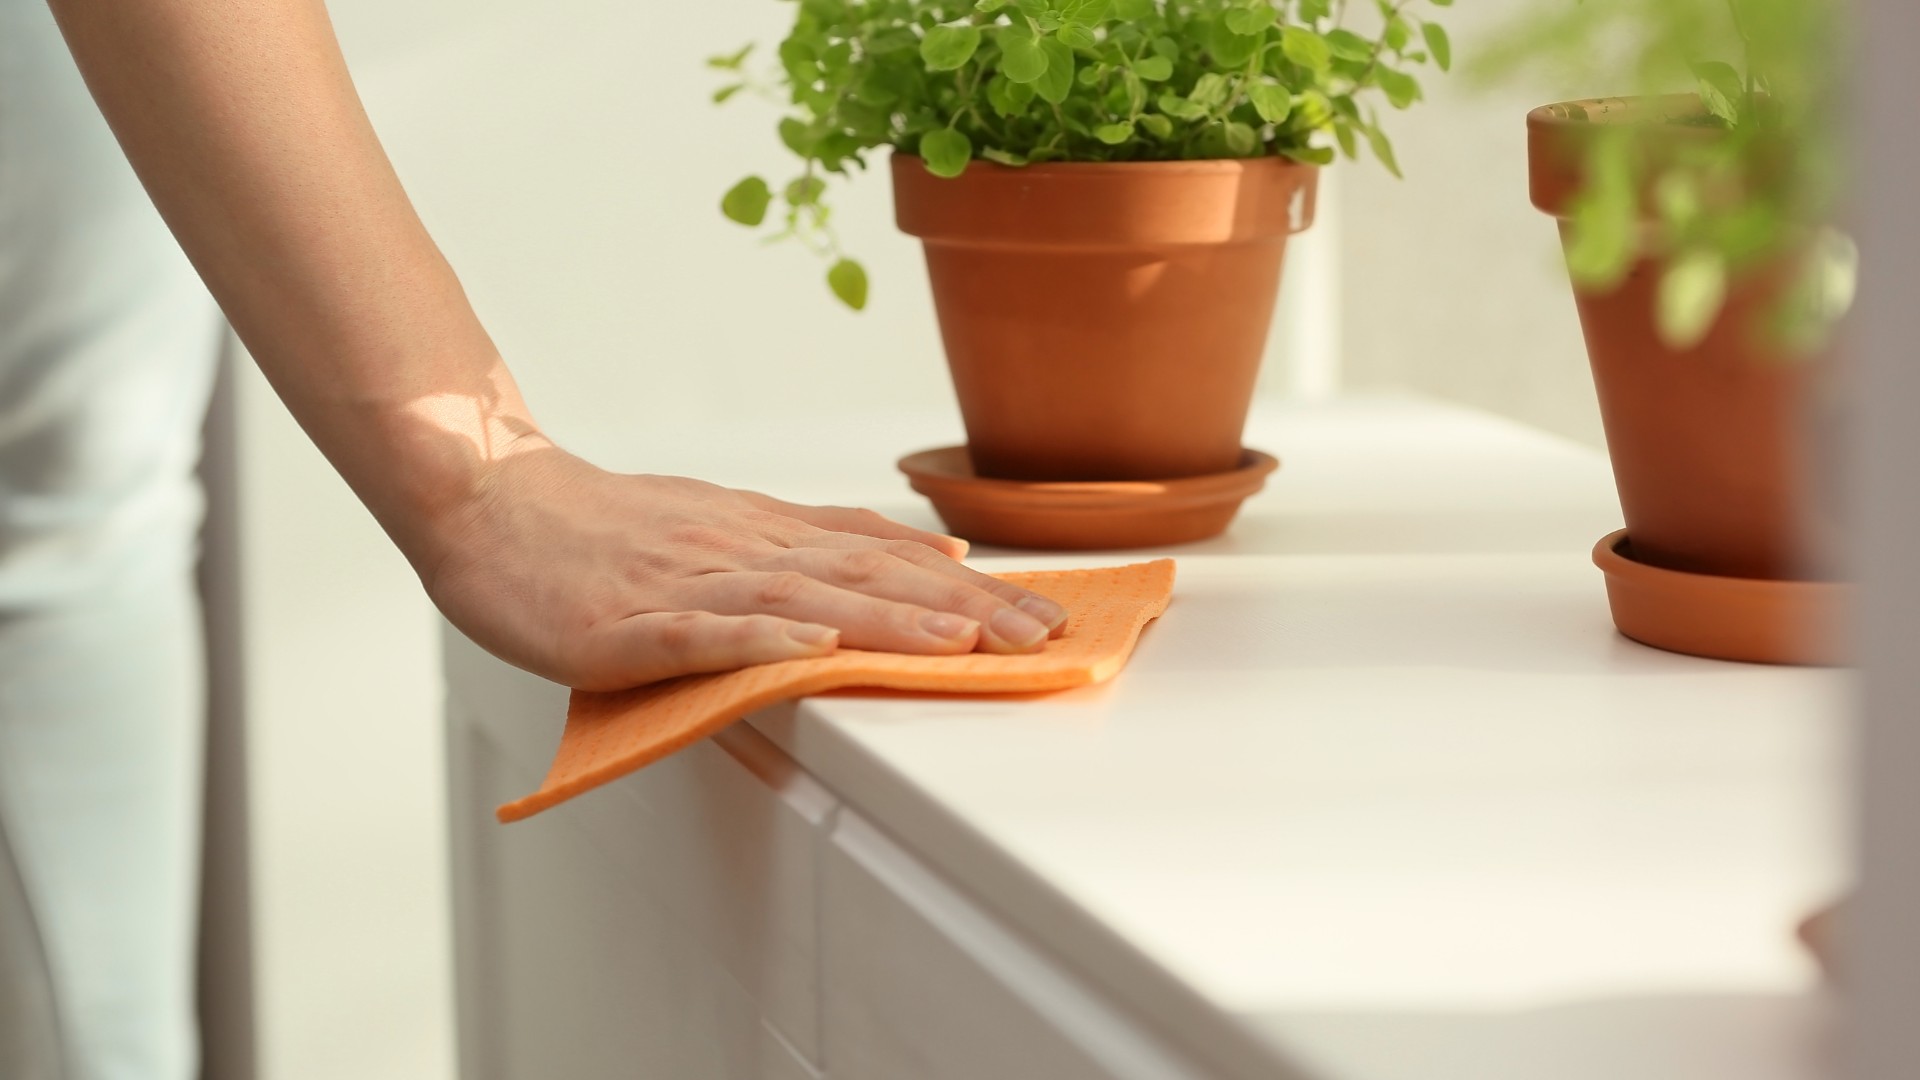
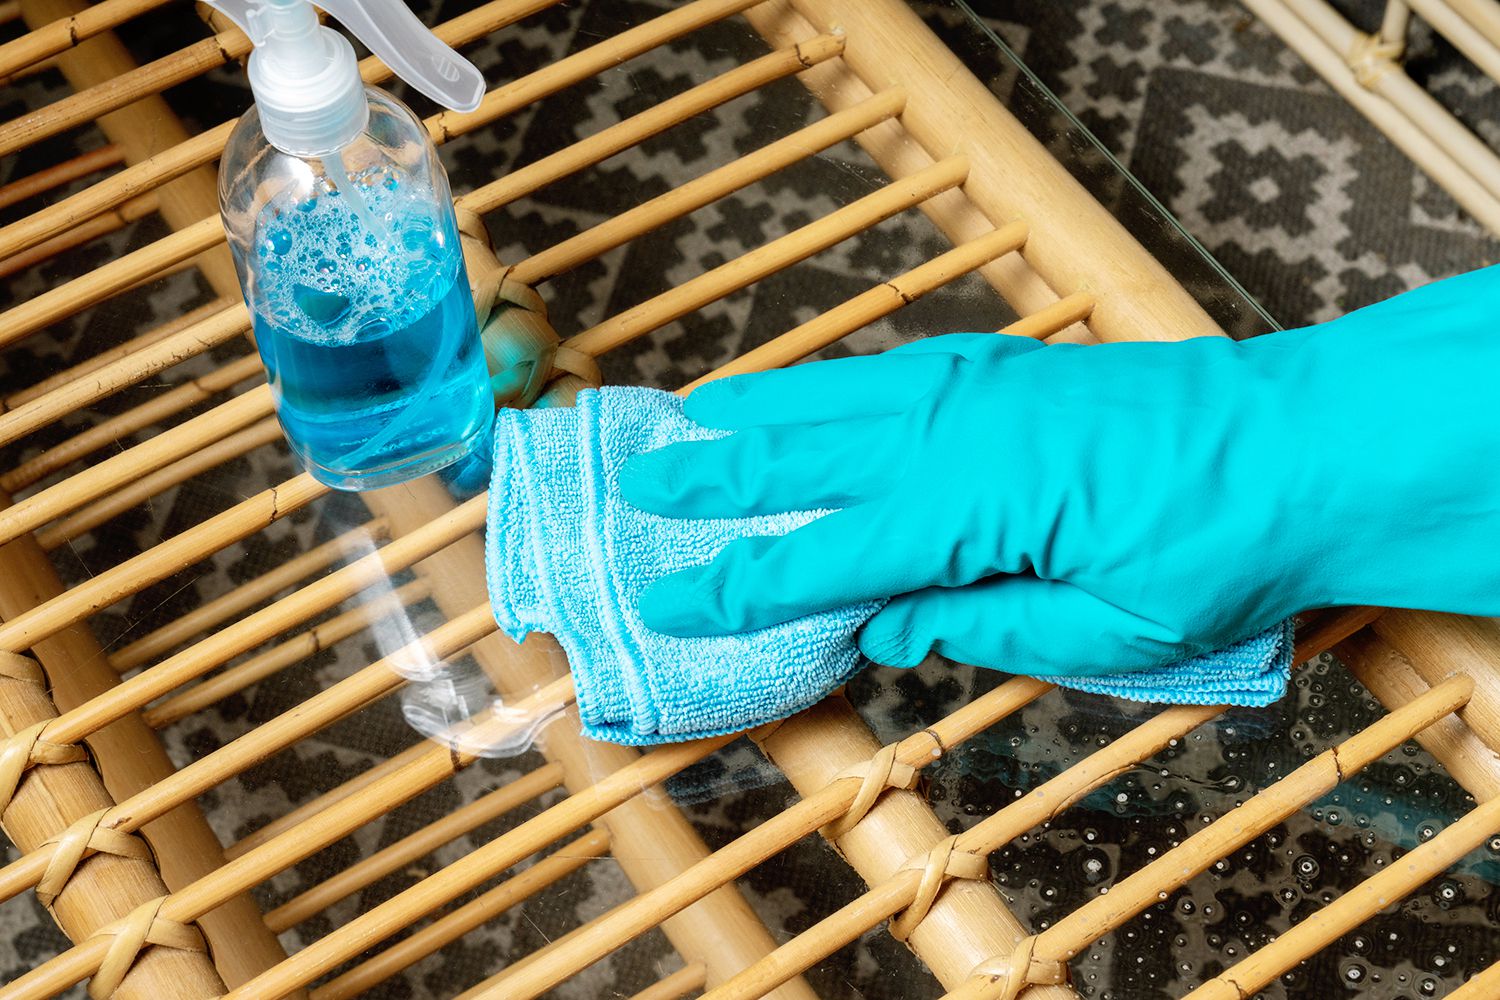
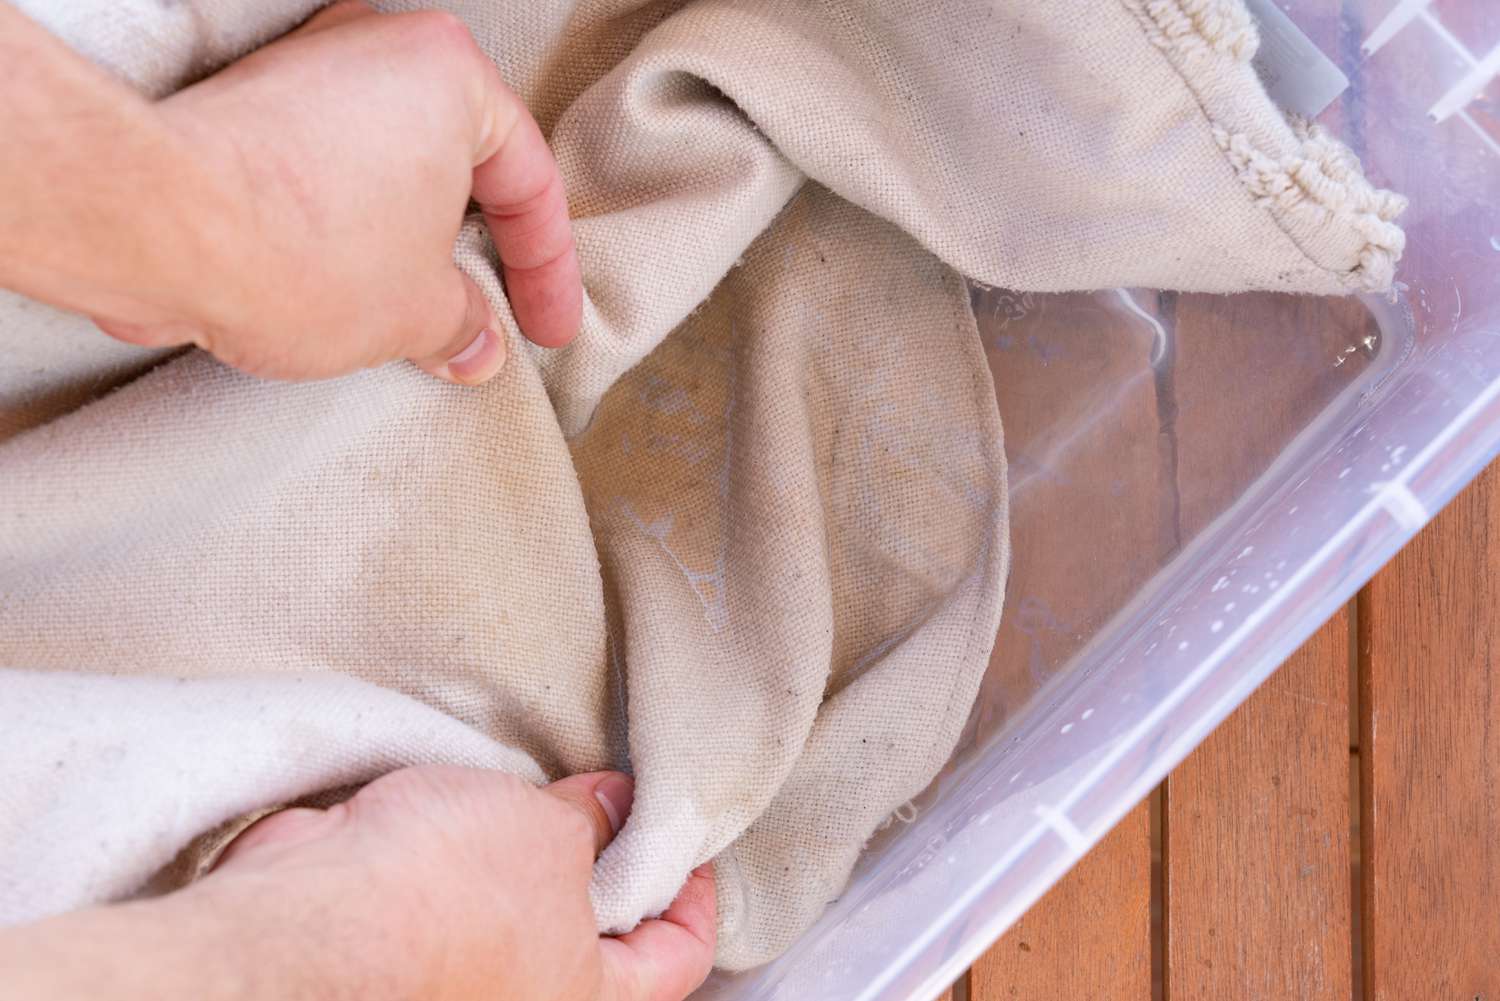
- Dampen the cloth: Moisten a soft microfiber cloth with a mixture of mild dish soap or specialized lacquer cleaner and distilled water. Make sure the cloth is only slightly damp and not soaking wet.
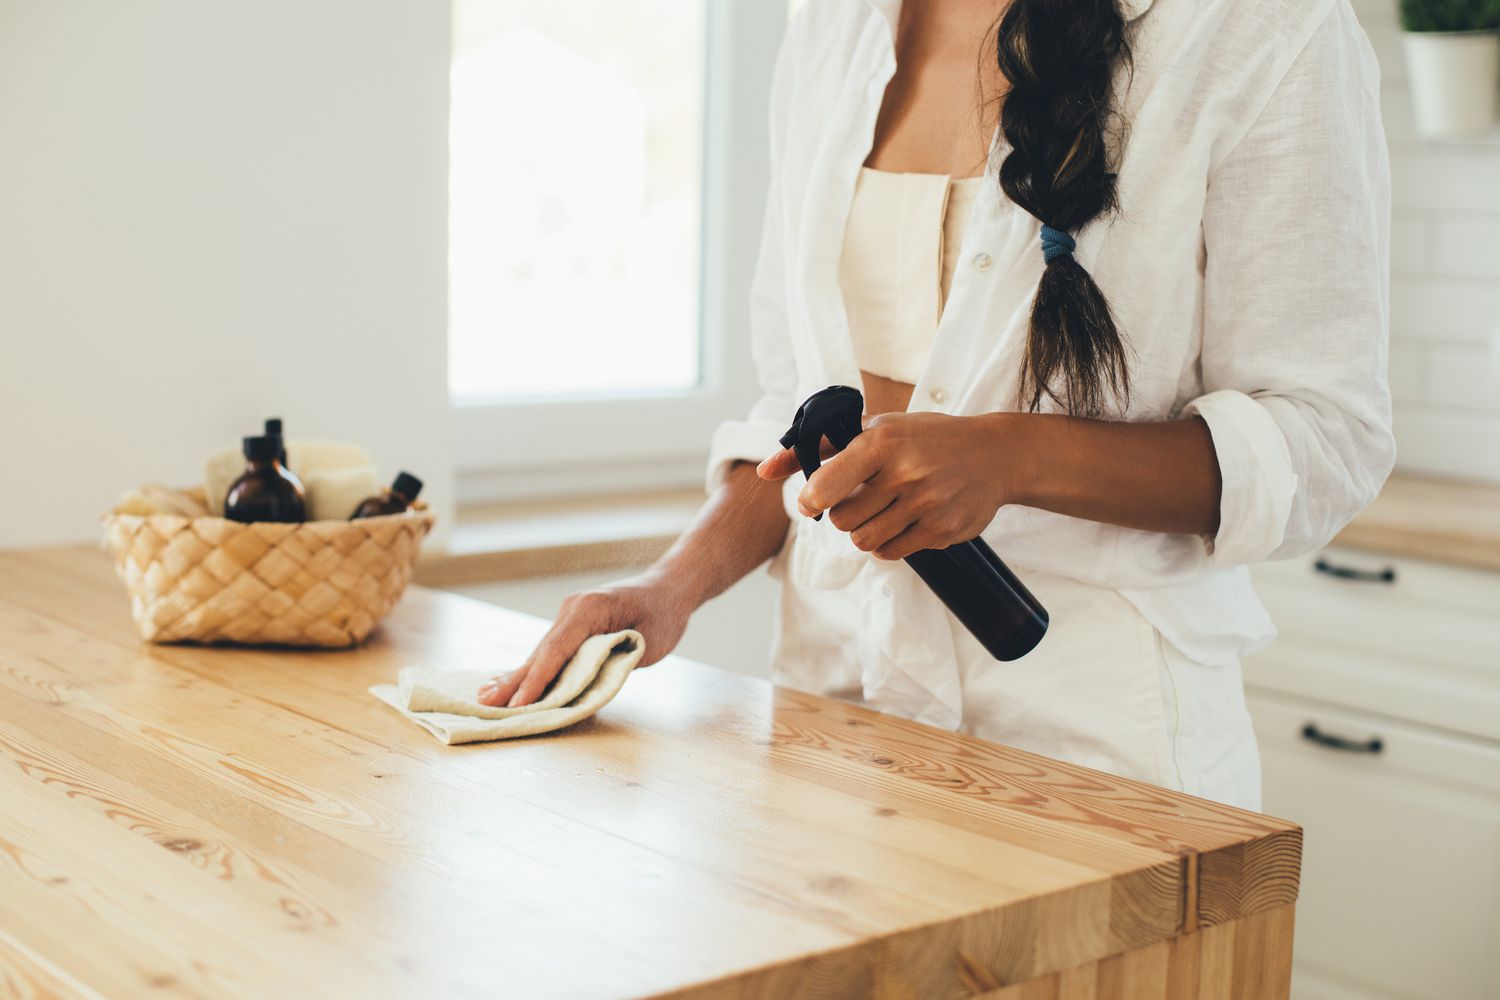
- Gently wipe the surface: Begin wiping the lacquer surface with the damp cloth, starting from the top and working your way down. Use gentle, circular motions, applying minimal pressure to avoid scratching the lacquer finish.
- Pay attention to detail: Take time to clean any intricate details or hard-to-reach areas using a cotton swab or a soft-bristled brush. These areas can easily accumulate dust and grime, so make sure to be thorough.
- Rinse the cloth: Rinse the cloth with clean water to remove any soap residue, then squeeze out the excess water.
- Wipe off soap residue: Use the rinsed cloth to wipe off any remaining soap residue from the lacquer surface. This step is essential to prevent the buildup of soap residue, which can dull the shine of your furniture.
- Dry the surface: Use a lint-free cloth to carefully dry the lacquer surface. Ensure that there are no wet spots remaining on the furniture, as excess moisture can damage the lacquer finish.
Remember, when cleaning your lacquer furniture, it’s crucial to be gentle and avoid using abrasive materials or harsh chemicals. Stick to mild dish soap or specialized lacquer cleaners that are designed for this purpose.
If you encounter any stubborn stains or spots that can’t be removed with just soapy water, we’ll cover the steps to address those in the next section.
With the lacquer surface now clean and dry, it’s time to move on to the next steps – removing stains and spots from your lacquer furniture.
To clean lacquer furniture, use a soft, damp cloth to wipe away dust and dirt. Avoid harsh chemicals or abrasive materials that can damage the finish. If needed, use a mild soap and water solution, then dry immediately with a clean cloth.
Removing Stains and Spots
Even with regular cleaning, your lacquer furniture may encounter stains or spots that require special attention. Here are some techniques to help you effectively remove stains and spots from your lacquer furniture:
- Identify the stain type: Different stains require different treatments. Determine the type of stain you’re dealing with, such as watermarks, ink stains, or food stains, as this will guide your stain removal method.
- Water-based stains: For water-based stains, such as water rings or spills, dampen a soft cloth with distilled water and gently blot the stain from the outside in. Avoid rubbing, as this can spread the stain further.
- Ink stains: Ink stains can be challenging to remove. Dampen a cloth with isopropyl alcohol and gently dab the stained area. Be careful not to saturate the cloth or the furniture, as excessive moisture can damage the lacquer finish. If the stain remains, consult a professional furniture cleaner.
- Food stains: For food stains, mix equal parts of white vinegar and distilled water. Dampen a cloth with the vinegar solution and gently blot the stain. Rinse the cloth with clean water and wipe away any residue. Dry the area thoroughly after cleaning.
- Grease and oil stains: Grease or oil stains can be treated by applying a small amount of mild dish soap to a damp cloth. Gently wipe the stain, ensuring not to scrub vigorously. Rinse the cloth with clean water and remove any soap residue. Dry the area thoroughly with a lint-free cloth.
- Stubborn stains: If none of the above methods work, mix a paste of baking soda and distilled water. Apply the paste to the stain, let it sit for a few minutes, then gently scrub with a soft brush. Rinse the area with clean water and dry thoroughly.
Always test any stain removal method on a small, inconspicuous area of the furniture before applying it to the entire surface. This precaution will help you ensure that the cleaning process doesn’t cause any damage or discoloration.
Remember, patience is key when dealing with stains. Take your time and repeat the process as necessary until the stain is completely removed. Once you’ve successfully tackled the stains, it’s time to restore the shine of your lacquer furniture.
Read more: How To Clean Microfiber Furniture
Restoring the Shine of Lacquer Furniture
Over time, the shine of lacquer furniture can diminish due to regular use or exposure to sunlight. Fortunately, there are simple methods to restore its lustrous appearance. Follow these steps to bring back the shine of your lacquer furniture:
- Dust the furniture: Use a soft microfiber cloth to dust the entire surface of the furniture. Removing any dust or debris will prevent them from getting sealed into the lacquer during the restoration process.
- Mix a cleaning solution: In a small bowl, combine equal parts of white vinegar and distilled water. Alternatively, you can mix lemon juice with distilled water for a natural shine-enhancing solution.
- Dampen a cloth: Dip a soft cloth into the vinegar or lemon juice solution and wring out any excess liquid. The cloth should be slightly damp but not wet.
- Gently wipe the surface: Starting from the top, gently wipe the lacquer surface with the damp cloth. Use circular motions and apply gentle pressure to restore the shine. Avoid excessive scrubbing, as it can damage the lacquer finish.
- Dry and buff: Use a clean, lint-free cloth to dry the surface. Then, in circular motions, buff the lacquer furniture to achieve a glossy shine. Take your time to ensure a thorough buffing.
- Apply a protective finish: If desired, you can further protect and enhance the shine of the lacquer furniture by applying a thin layer of lacquer polish or furniture wax. Follow the manufacturer’s instructions for the specific product you choose.
It’s important to note that while these methods can help restore the shine of your lacquer furniture, excessive or aggressive polishing can potentially damage the finish. Use gentle techniques and avoid abrasive materials to maintain the longevity of your furniture.
By following these steps, you can bring back the vibrant shine of your lacquer furniture and enjoy its timeless beauty in your home.
Maintenance Tips for Lacquer Furniture
To keep your lacquer furniture looking pristine and to extend its lifespan, follow these essential maintenance tips:
- Dust regularly: Regularly dust your lacquer furniture using a soft microfiber cloth. This will prevent the buildup of dust and debris that can scratch the lacquer finish over time.
- Use coasters and placemats: When placing glasses, cups, or hot objects on your lacquer furniture, use coasters or placemats to protect the surface from heat and moisture. This will prevent water rings and other damage.
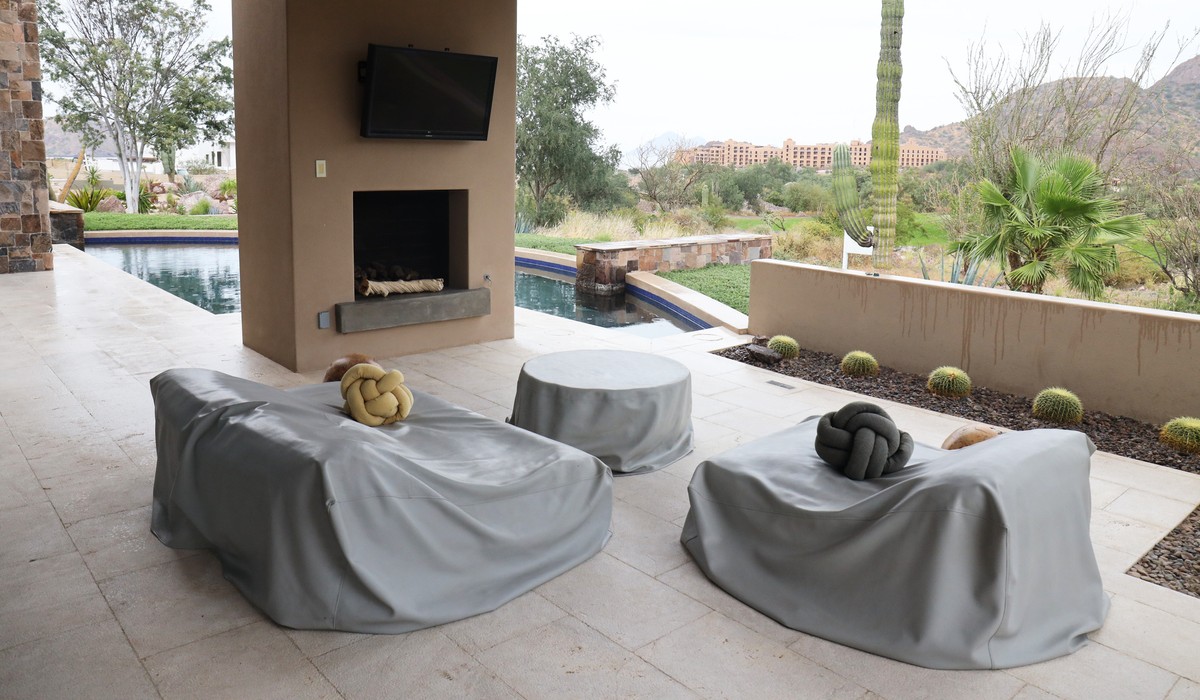
- Avoid direct sunlight: Prolonged exposure to direct sunlight can fade and damage the lacquer finish. Keep your lacquer furniture away from windows or use curtains or blinds to block harsh sunlight.
- Protect from extreme temperatures: Avoid placing lacquer furniture near heat sources or in areas with extreme temperature fluctuations. This can cause the lacquer to crack or warp.
- Handle with care: When moving or rearranging your lacquer furniture, lift and carry it instead of dragging or pushing it across the floor. This will prevent scratches and damage to both the lacquer surface and the flooring.
- Address spills immediately: If any spills occur, wipe them up promptly with a soft cloth. Avoid letting liquids sit on the surface, as they can penetrate and damage the lacquer finish.
- Avoid harsh cleaning agents: Avoid using harsh chemicals, abrasive cleaners, or rough scrub brushes on your lacquer furniture. Stick to mild dish soap or specialized lacquer cleaners specifically designed for this type of furniture.
- Perform regular inspections: Periodically inspect your lacquer furniture for any signs of damage, such as cracks, chips, or scratches. Address any issues promptly to prevent further damage and ensure the longevity of your furniture.
- Follow manufacturer’s instructions: If your lacquer furniture came with specific care instructions from the manufacturer, be sure to follow them. These instructions are tailored to the specific type of lacquer finish used on your furniture.
By following these maintenance tips, you can preserve the beauty and integrity of your lacquer furniture for years to come.
Conclusion
Lacquer furniture adds a touch of elegance and sophistication to any living space. By properly cleaning and maintaining your lacquer furniture, you can ensure its longevity and preserve its timeless beauty. The steps outlined in this article provide a comprehensive guide to help you clean, remove stains, restore shine, and maintain your lacquer furniture effectively.
Remember to gather the necessary tools and materials, such as soft microfiber cloths, mild dish soap or lacquer cleaner, distilled water, cotton swabs, and a soft-bristled brush. Preparing the furniture by clearing the surface, dusting, and checking for any damage is crucial for a successful cleaning process.
Cleaning the lacquer surface involves using gentle circular motions with a damp cloth and removing soap residue to achieve a streak-free finish. However, for stubborn stains and spots, specific techniques targeting different types of stains are necessary. It’s important to identify the stain type before proceeding with the appropriate stain removal method.
To restore the shine of your lacquer furniture, a mixture of vinegar and water or lemon juice is used to gently wipe the surface. Drying and buffing the furniture is essential to achieve a glossy finish. Consider applying a protective finish such as lacquer polish or furniture wax for extra shine and protection.
To maintain your lacquer furniture, dust regularly, use coasters and placemats, protect from direct sunlight and extreme temperatures, handle with care, address spills immediately, avoid harsh cleaning agents, and perform regular inspections.
By following these guidelines, you can ensure that your lacquer furniture remains stunning and pristine for years to come, becoming a cherished piece in your home. So, go ahead and give your lacquer furniture the care it deserves and enjoy the beauty it brings to your living space.
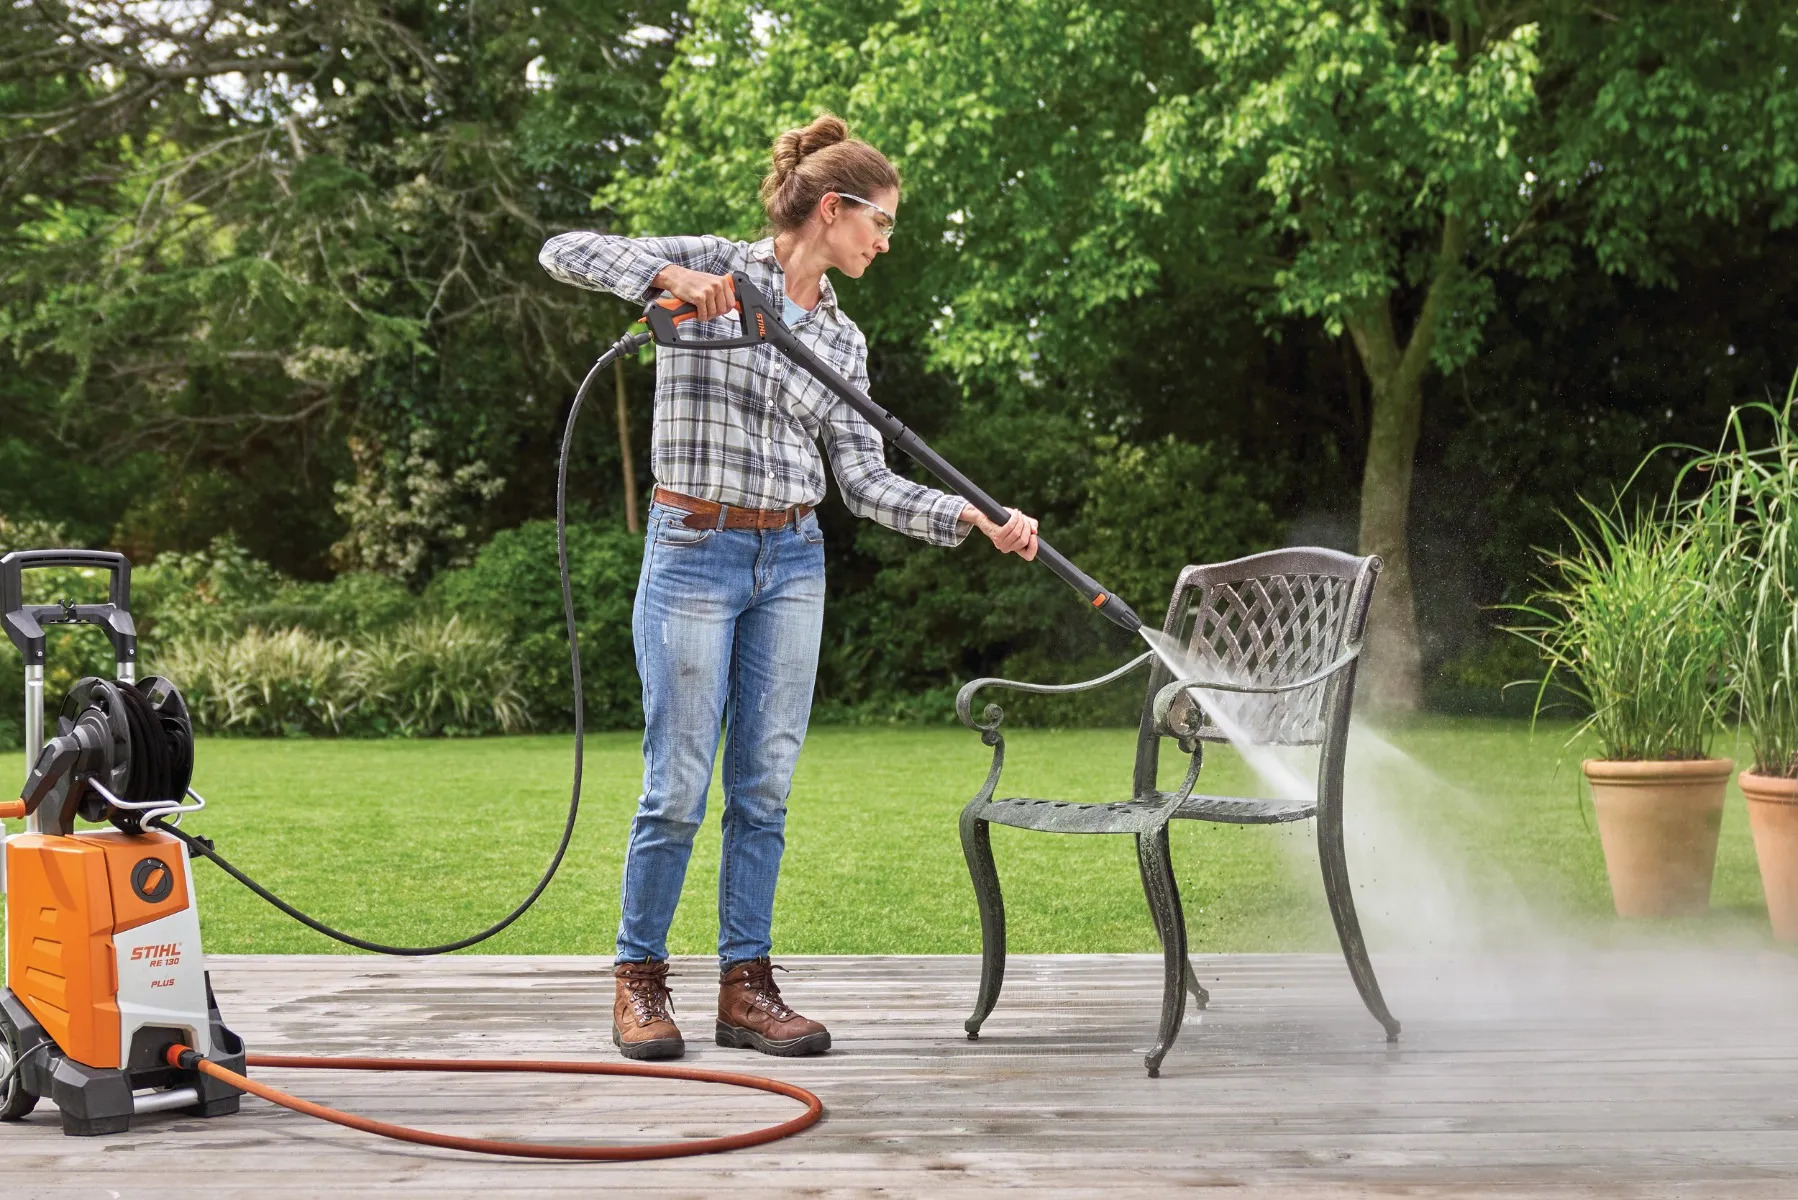
Now that you've mastered keeping your lacquer furniture in tip-top shape, why not tackle another cleaning challenge? If your home's exterior could use a refresh, our guide on using a pressure washer to spruce up siding is just what you need. This handy article provides all the savvy cleaning techniques required to strip away dirt and grime effortlessly, giving your home's facade a facelift. Don't miss out on these practical insights to maintain your home's curb appeal!
Frequently Asked Questions about How To Clean Lacquer Furniture
Was this page helpful?
At Storables.com, we guarantee accurate and reliable information. Our content, validated by Expert Board Contributors, is crafted following stringent Editorial Policies. We're committed to providing you with well-researched, expert-backed insights for all your informational needs.

0 thoughts on “How To Clean Lacquer Furniture”