
Articles
How To Dye Furniture
Modified: January 19, 2024
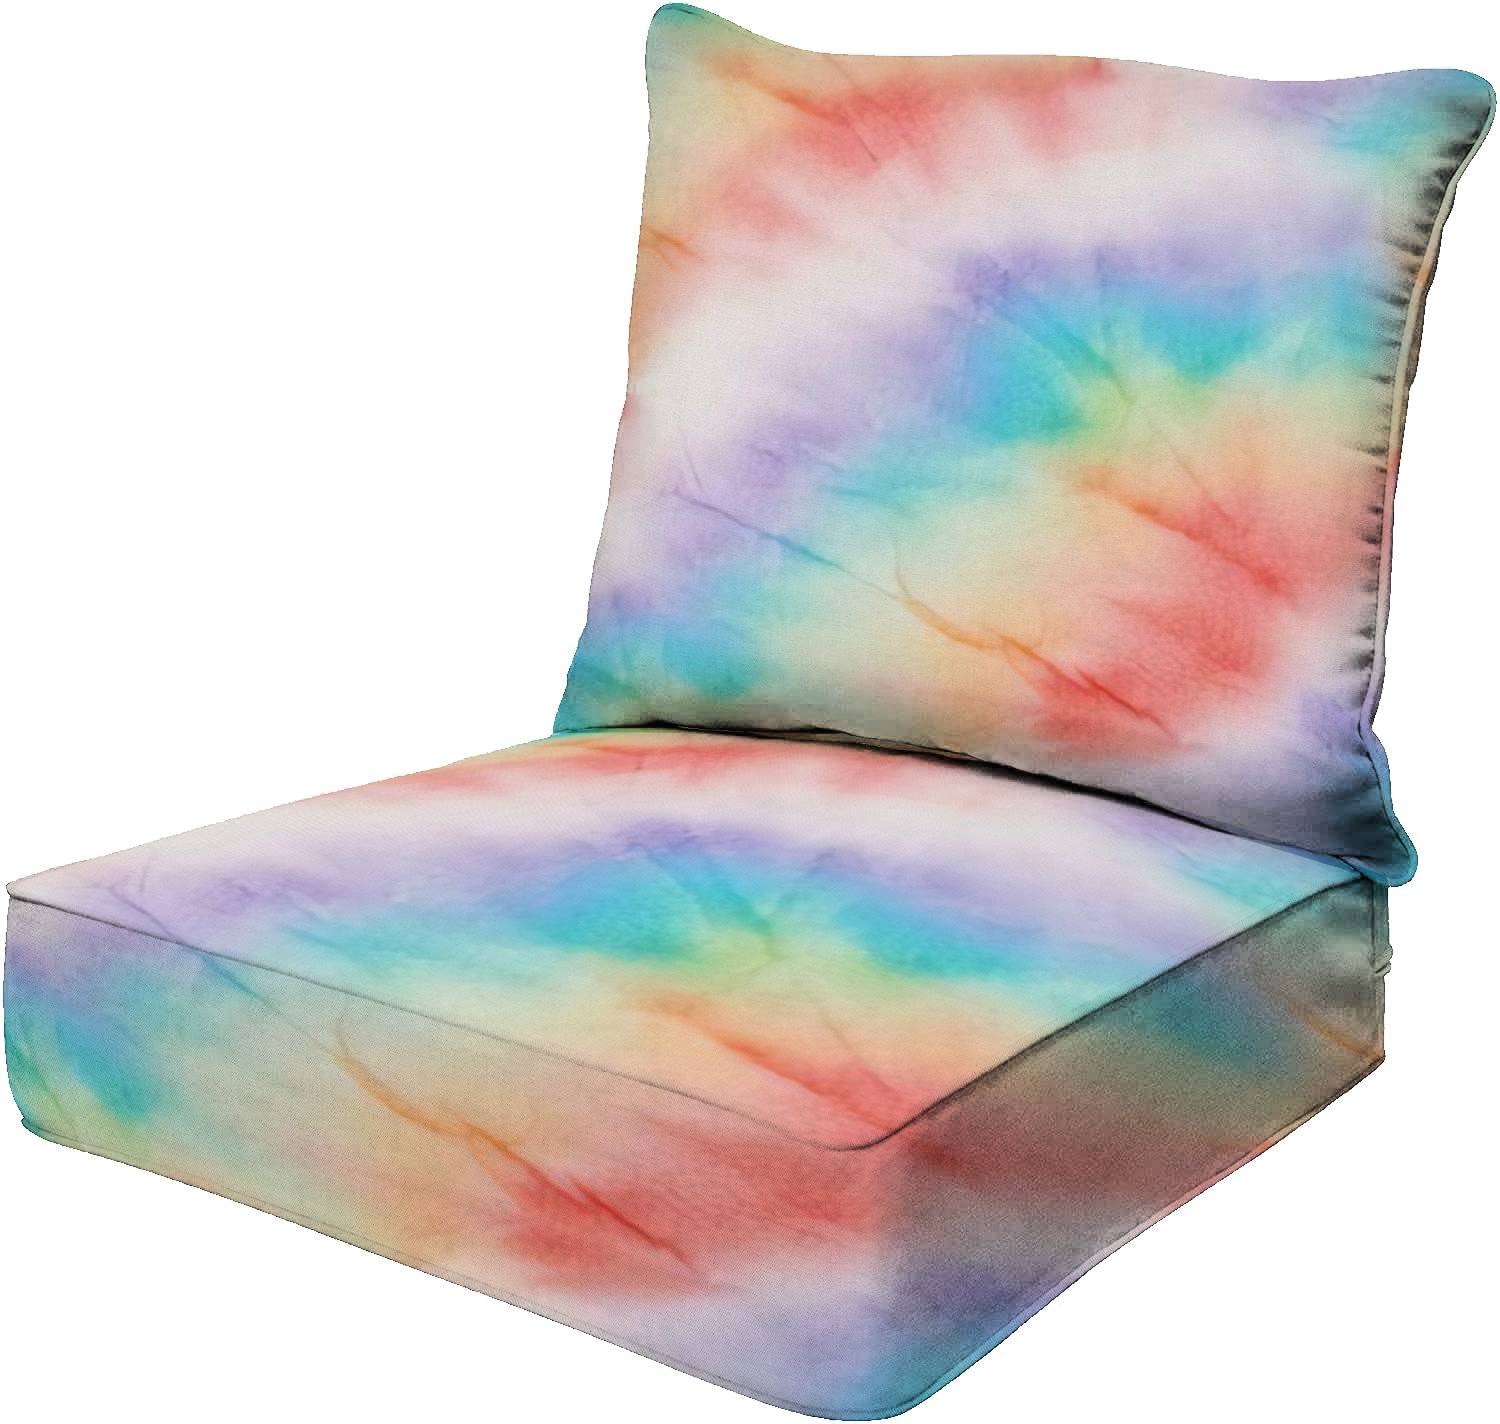
Learn how to dye your furniture and give it a fresh new look. Follow our step-by-step guide to transform your old furniture into something trendy and stylish.
(Many of the links in this article redirect to a specific reviewed product. Your purchase of these products through affiliate links helps to generate commission for Storables.com, at no extra cost. Learn more)
Introduction
Welcome to the world of furniture dyeing! If you’re looking to give your furniture a fresh new look or simply want to update its color, dyeing is a fantastic option. Dyeing furniture allows you to transform outdated pieces into stylish and modern ones, all while saving money and avoiding the need to purchase new furniture. In this article, we’ll guide you through the process of dyeing furniture, from preparing the surface to applying the dye and adding the finishing touches.
Dyeing furniture is a practical and cost-effective way to revamp your space, whether you’re refinishing an old piece or customizing a new one. With the right tools, materials, and techniques, you can achieve professional-looking results that will make your furniture a standout feature in any room.
Before we dive into the step-by-step process, let’s take a look at the tools and materials you’ll need for this project.
Key Takeaways:
- Revamp your furniture with a fresh new look by dyeing it! Save money and avoid buying new pieces while achieving professional results with the right tools, materials, and techniques.
- Transform your living space with cost-effective furniture dyeing. From surface preparation to applying the perfect dye, follow the steps and tips to achieve outstanding, personalized results.
Read more: How To Dye Patio Furniture Cushions
Tools and Materials Needed
Before you begin the furniture dyeing process, it’s essential to gather all the necessary tools and materials. Having everything prepared in advance will ensure a smooth and efficient dyeing experience. Here are the tools and materials you’ll need:
- Protective gloves: To shield your hands from the dye and any chemicals you may use.
- Drop cloth or plastic sheeting: Cover the work area to protect it from spills and splatters.
- Sandpaper and/or sanding block: Use to remove any existing finish or smooth out rough surfaces.
- Respirator mask: To protect yourself from inhaling dust or fumes during sanding or applying chemicals.
- Tack cloth: Use to wipe away dust and debris after sanding.
- Painter’s tape: To tape off any areas you want to protect from dye, such as hardware or edges.
- Quality dye: Choose a dye specifically made for furniture, such as a water-based or oil-based dye. The type of dye will depend on the material of your furniture and the desired outcome.
- Clean cloth or sponge: For applying the dye evenly and wiping away excess.
- Paintbrush or foam brush: Use for details and intricate areas that require precise dye application.
- Sealer or topcoat: Optional but recommended to enhance the durability and longevity of the dye finish.
It’s important to note that the tools and materials required may vary depending on the type of furniture you’re dyeing and the dyeing technique you plan to use. Make sure to read and follow the instructions provided by the dye manufacturer.
Now that you have all the necessary tools and materials ready, let’s move on to preparing the furniture for dyeing.
Preparing the Furniture
Before you apply dye to your furniture, it’s crucial to properly prepare the surface. This step ensures that the dye adheres well and provides a smooth and even finish. Here’s how to prepare your furniture for dyeing:
- Clean the furniture: Remove any dirt, dust, or grime from the furniture using a mild cleaner and a clean cloth. This will help the dye adhere better to the surface.
- Remove the existing finish: If your furniture has a previous finish, such as paint or varnish, you’ll need to remove it to expose the bare wood. Use sandpaper or a sanding block to gently sand away the finish. Start with a rougher grit and gradually move to a finer grit to achieve a smooth surface. Take care not to sand too aggressively, as it could damage the wood.
- Smooth out imperfections: If there are any bumps, nicks, or scratches on the furniture, use sandpaper to smooth them out. This step will ensure a flawless finish once the dye is applied.
- Wipe down the furniture: After sanding, use a tack cloth to wipe away any remaining dust and debris. This step is vital to create a clean surface for the dye to adhere to.
- Protect areas you don’t want to dye: If there are any areas of the furniture that you want to keep dye-free, such as hardware or edges, use painter’s tape to cover them. This will prevent the dye from spreading to unwanted areas.
Once you’ve completed these steps, your furniture is ready for dyeing! The preparation process ensures that the dye will have maximum adherence and provide a professional-looking finish. Now, let’s move on to choosing the right dye for your furniture.
Choosing the Right Dye
When it comes to dyeing furniture, choosing the right dye is crucial for achieving the desired results. There are several factors to consider when selecting a dye, including the type of furniture material, the color you want to achieve, and the level of durability you’re looking for. Here’s a guide to help you choose the right dye:
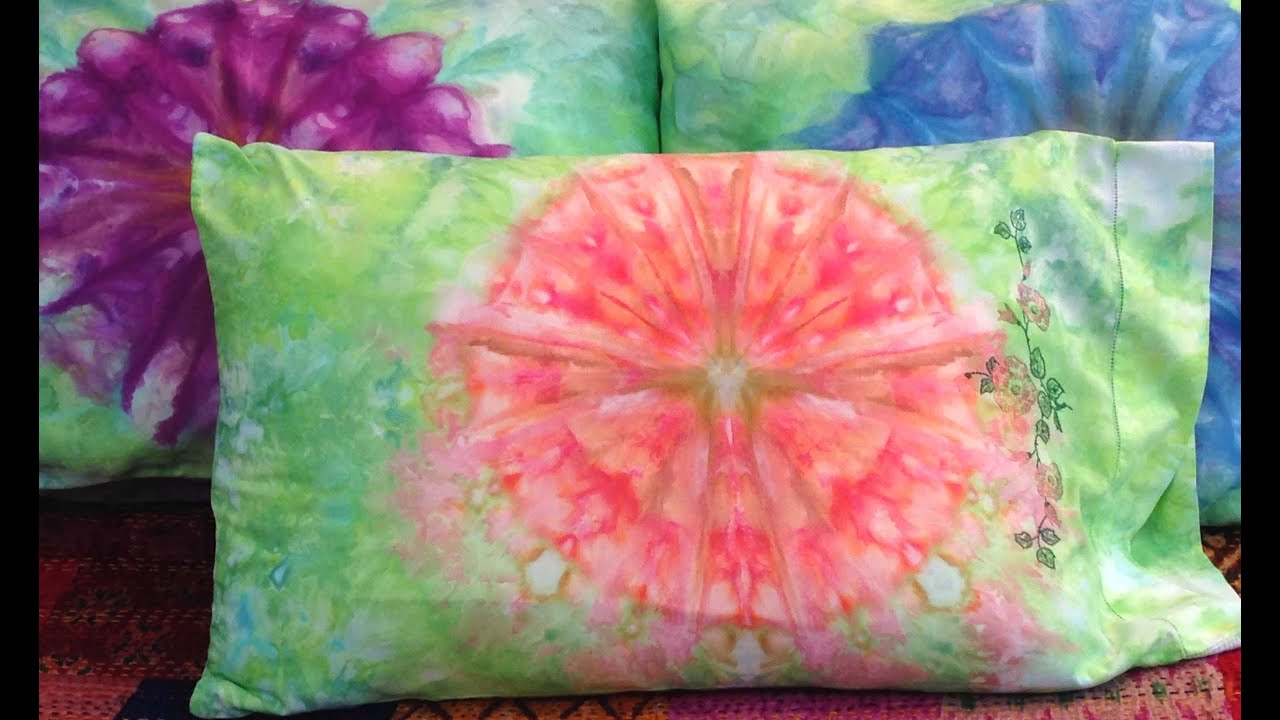
- Furniture material: The type of material your furniture is made of will influence the choice of dye. For wooden furniture, both water-based and oil-based dyes are suitable. Water-based dyes are easy to use and clean up, while oil-based dyes provide a deeper, richer color. If your furniture is made of fabric or upholstery, make sure to choose a dye specifically designed for these materials.
- Color choices: Consider the color you want to achieve. Dyes come in a wide range of colors, from natural wood tones to vibrant hues. Test the dye on a small, inconspicuous area of the furniture or on a sample piece of wood to ensure it matches your desired color.
- Opacity and coverage: Dyes can be transparent, semi-transparent, or opaque. Transparent dyes allow the natural grain of the wood to show through, while opaque dyes provide solid and uniform coverage. Choose the opacity level that suits your preference.
- Durability and protection: Depending on the level of use your furniture will receive, you may want to consider a dye that offers additional protection, such as UV resistance or water-resistant properties. Some dyes may require a sealer or topcoat to enhance durability.
It’s essential to read the instructions provided by the dye manufacturer and follow their recommendations for application and finishing. Consider testing the dye on a small, inconspicuous area of the furniture first to ensure it meets your expectations.
Now that you’ve chosen the right dye for your furniture, let’s move on to the exciting part: applying the dye!
When dyeing furniture, always sand the surface first to ensure the dye adheres properly. This will help create a smooth and even finish.
Applying the Dye
Now that you have the perfect dye for your furniture, it’s time to apply it and bring your desired color to life. Follow these steps to ensure a smooth and successful dyeing process:
- Prepare your workspace: Lay down a drop cloth or plastic sheeting to protect your work area from any spills or splatters.
- Put on protective gloves: Wear protective gloves to shield your hands from the dye and any chemicals.
- Stir the dye: Give the dye a good stir to ensure it is well mixed. Some dyes may require dilution with water or a specific solvent according to the manufacturer’s instructions.
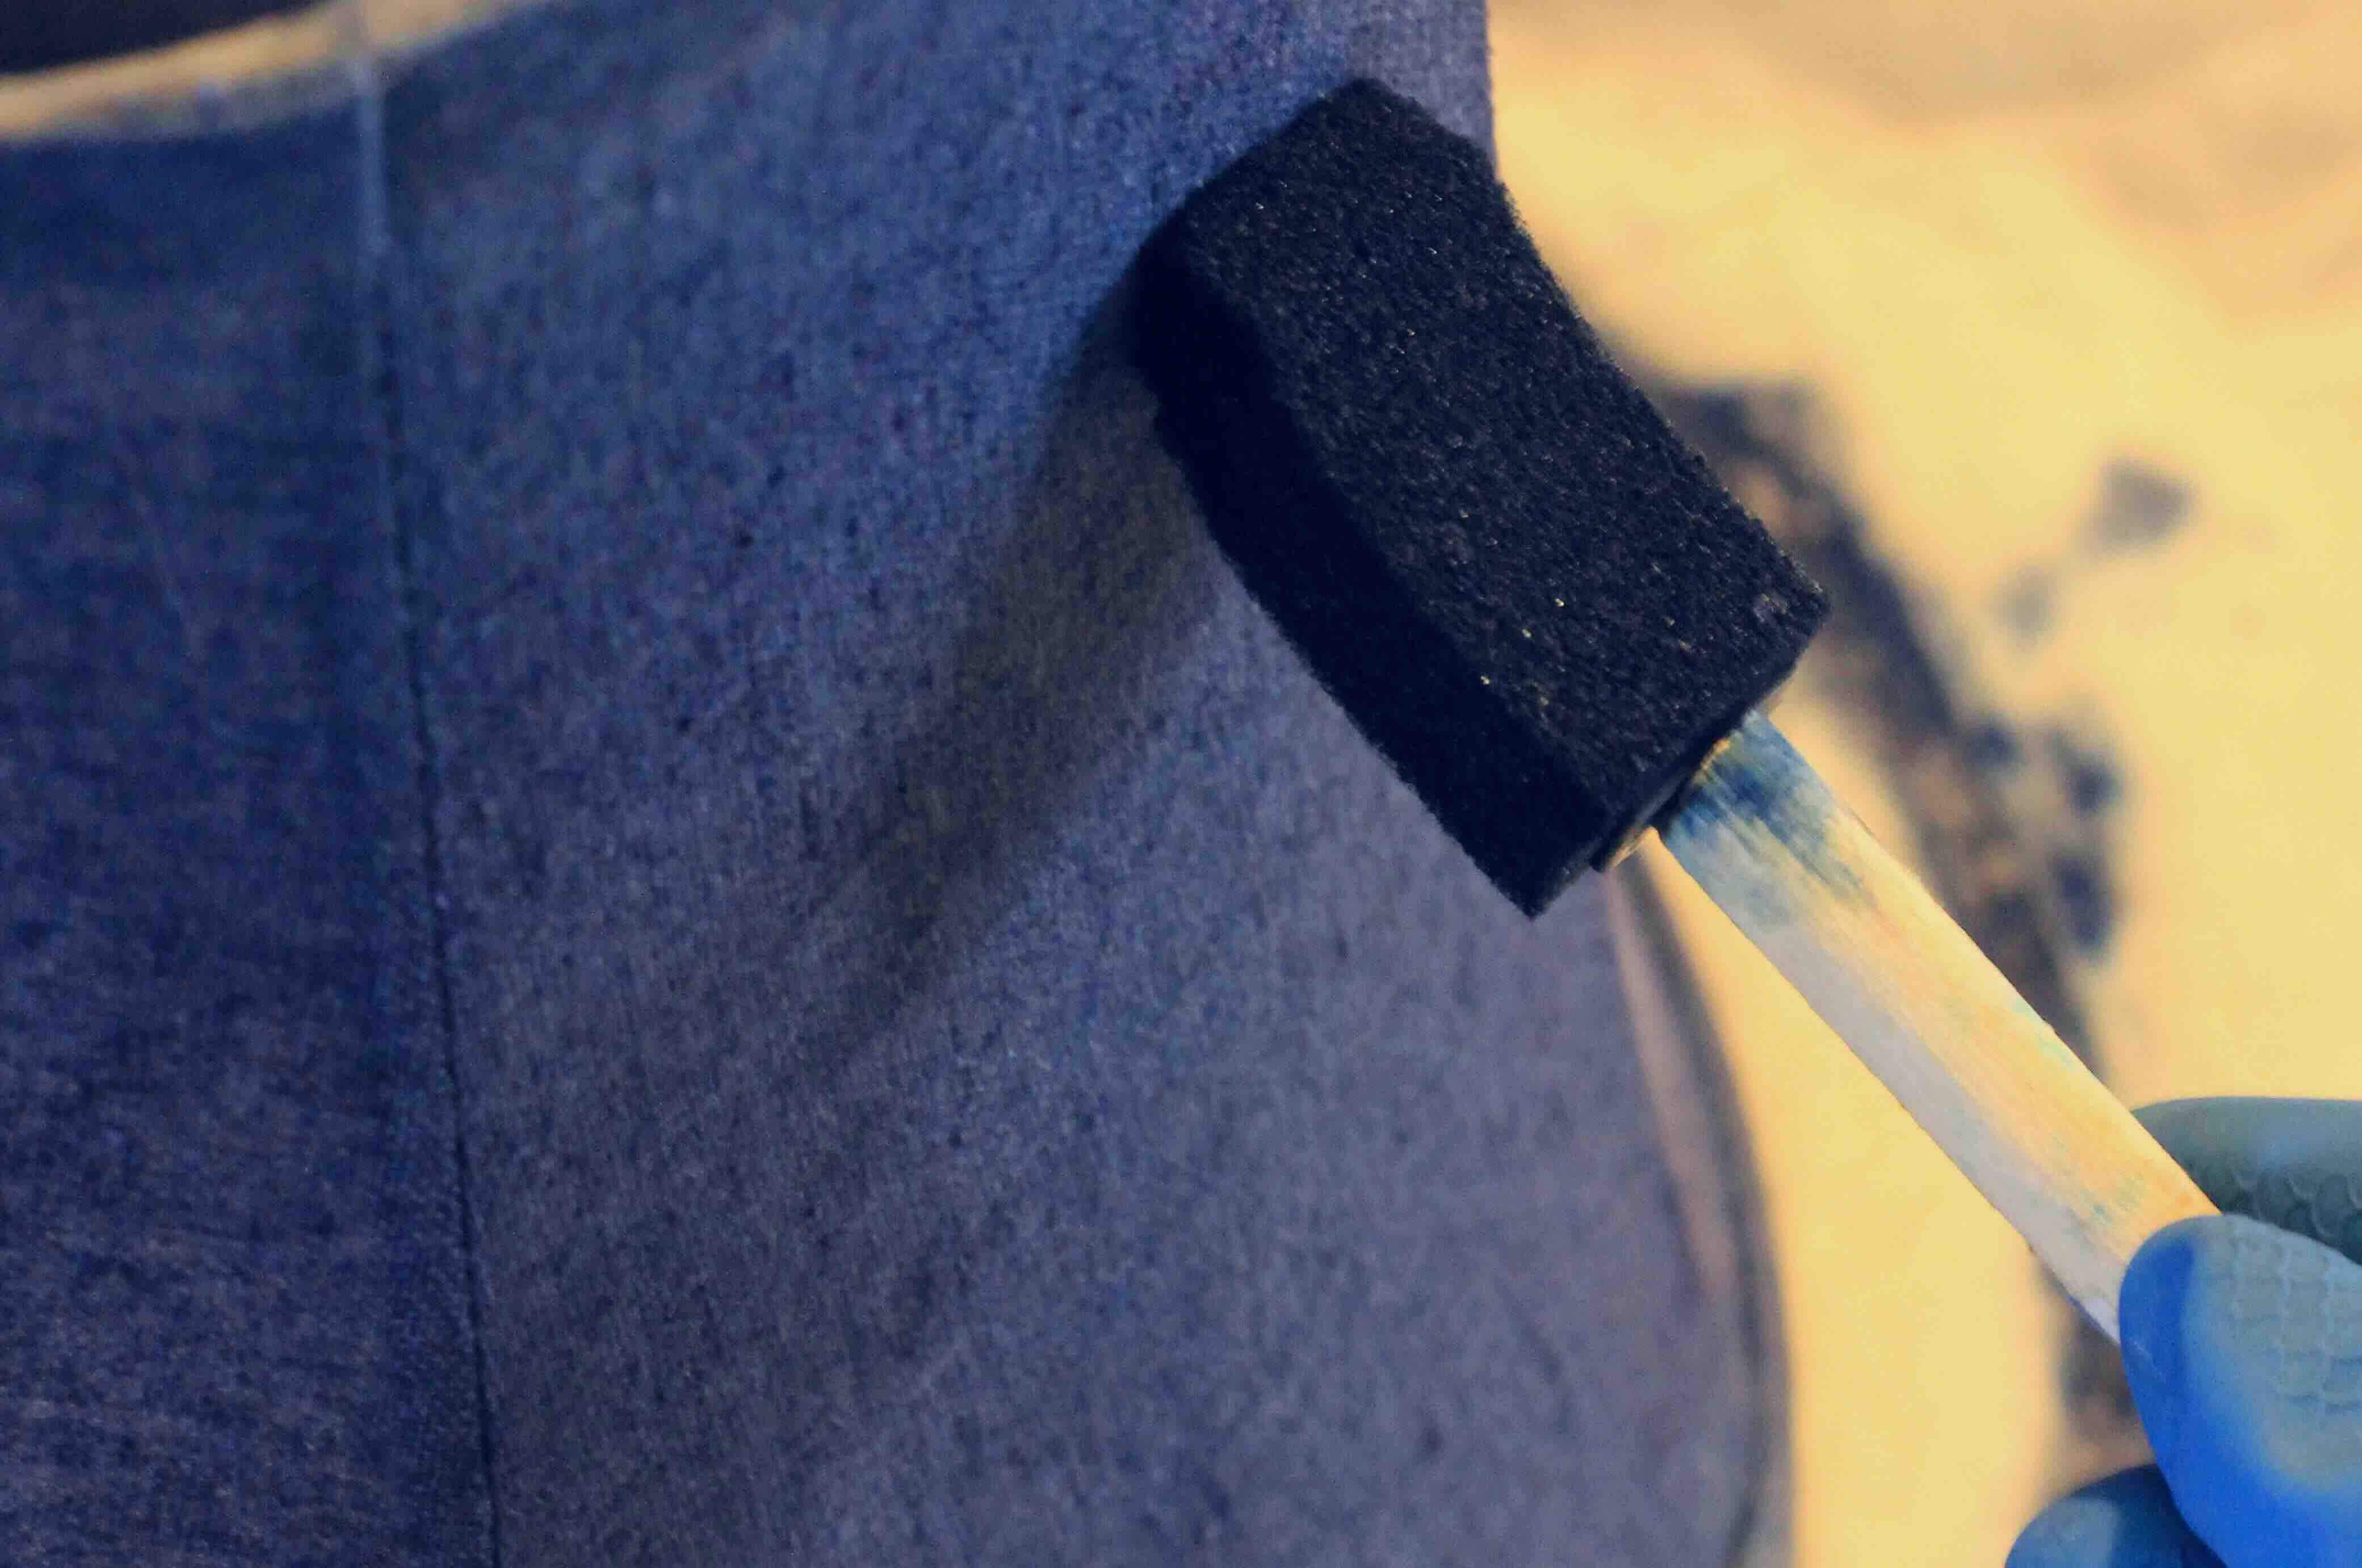
- Apply the dye: Using a clean cloth or sponge, apply the dye evenly onto the furniture’s surface, following the wood grain. Work in small sections to ensure thorough coverage. For intricate areas or details, use a paintbrush or foam brush for precise application.
- Wipe away excess dye: Immediately after applying the dye, use a clean cloth or sponge to wipe away any excess. Wiping in the direction of the wood grain will help achieve a smooth finish. Take care not to remove too much dye, as this can affect the final color.
- Allow drying time: Let the dyed furniture sit and dry for the recommended time specified by the manufacturer. This can vary depending on the type of dye and environmental conditions. Avoid touching or placing objects on the dyed surface until it is completely dry.
- Assess the color: Once the furniture is dry, assess the color to determine if you’re satisfied with the result. If you want a deeper or darker color, consider applying additional coats of dye, following the same steps. Be sure to allow sufficient drying time between coats.
- Optional: Apply a sealer or topcoat: Depending on the type of dye used, you may want to apply a sealer or topcoat to enhance the durability and longevity of the dye finish. Follow the manufacturer’s instructions for applying the sealer or topcoat and allow it to dry completely.
After completing these steps, you will have successfully dyed your furniture and transformed it with the color of your choice. It’s time to add the finishing touches to complete the look.
Read more: How To Dye Curtains
Adding Finishing Touches
Once you have completed the dyeing process, it’s time to add the finishing touches to your furniture. These final steps will help enhance the appearance and protect the newly dyed surface. Here’s what you need to do:
- Inspect for any touch-ups: Take a close look at the dyed furniture to check for any areas that may need touch-ups or additional dye application. Use a small brush or sponge to carefully blend in any uneven spots or missed areas.
- Buff the surface: If you want to achieve a sleek and polished finish, use a soft cloth or buffing pad to gently buff the dyed surface. This will help smooth out any imperfections and give the furniture a beautiful sheen.
- Reattach any hardware: If you removed any hardware, such as knobs or handles, during the dyeing process, now is the time to reattach them. Make sure they are secure and properly aligned.
- Arrange the furniture: Place the newly dyed furniture back in its intended spot and arrange it as desired. Take a step back and admire the transformation you’ve achieved.
Adding finishing touches not only enhances the overall aesthetic of the furniture, but it also ensures that it appears well-crafted and professional. With these steps completed, your dyed furniture is ready to be showcased in your living space.
Before we conclude, let’s go through some additional tips and precautions to keep in mind during the dyeing process.
Tips and Precautions
When dyeing furniture, it’s important to keep a few tips and precautions in mind to ensure a successful outcome. Here are some helpful tips to consider:
- Always wear protective gloves and a respirator mask when working with dyes or chemicals to protect your skin and respiratory system.
- Follow the manufacturer’s instructions on the dye label, including any recommended dilution ratios or application techniques.
- Test the dye on a small, inconspicuous area of the furniture or on a sample piece of wood to ensure you’re happy with the color result before applying it to the entire piece.
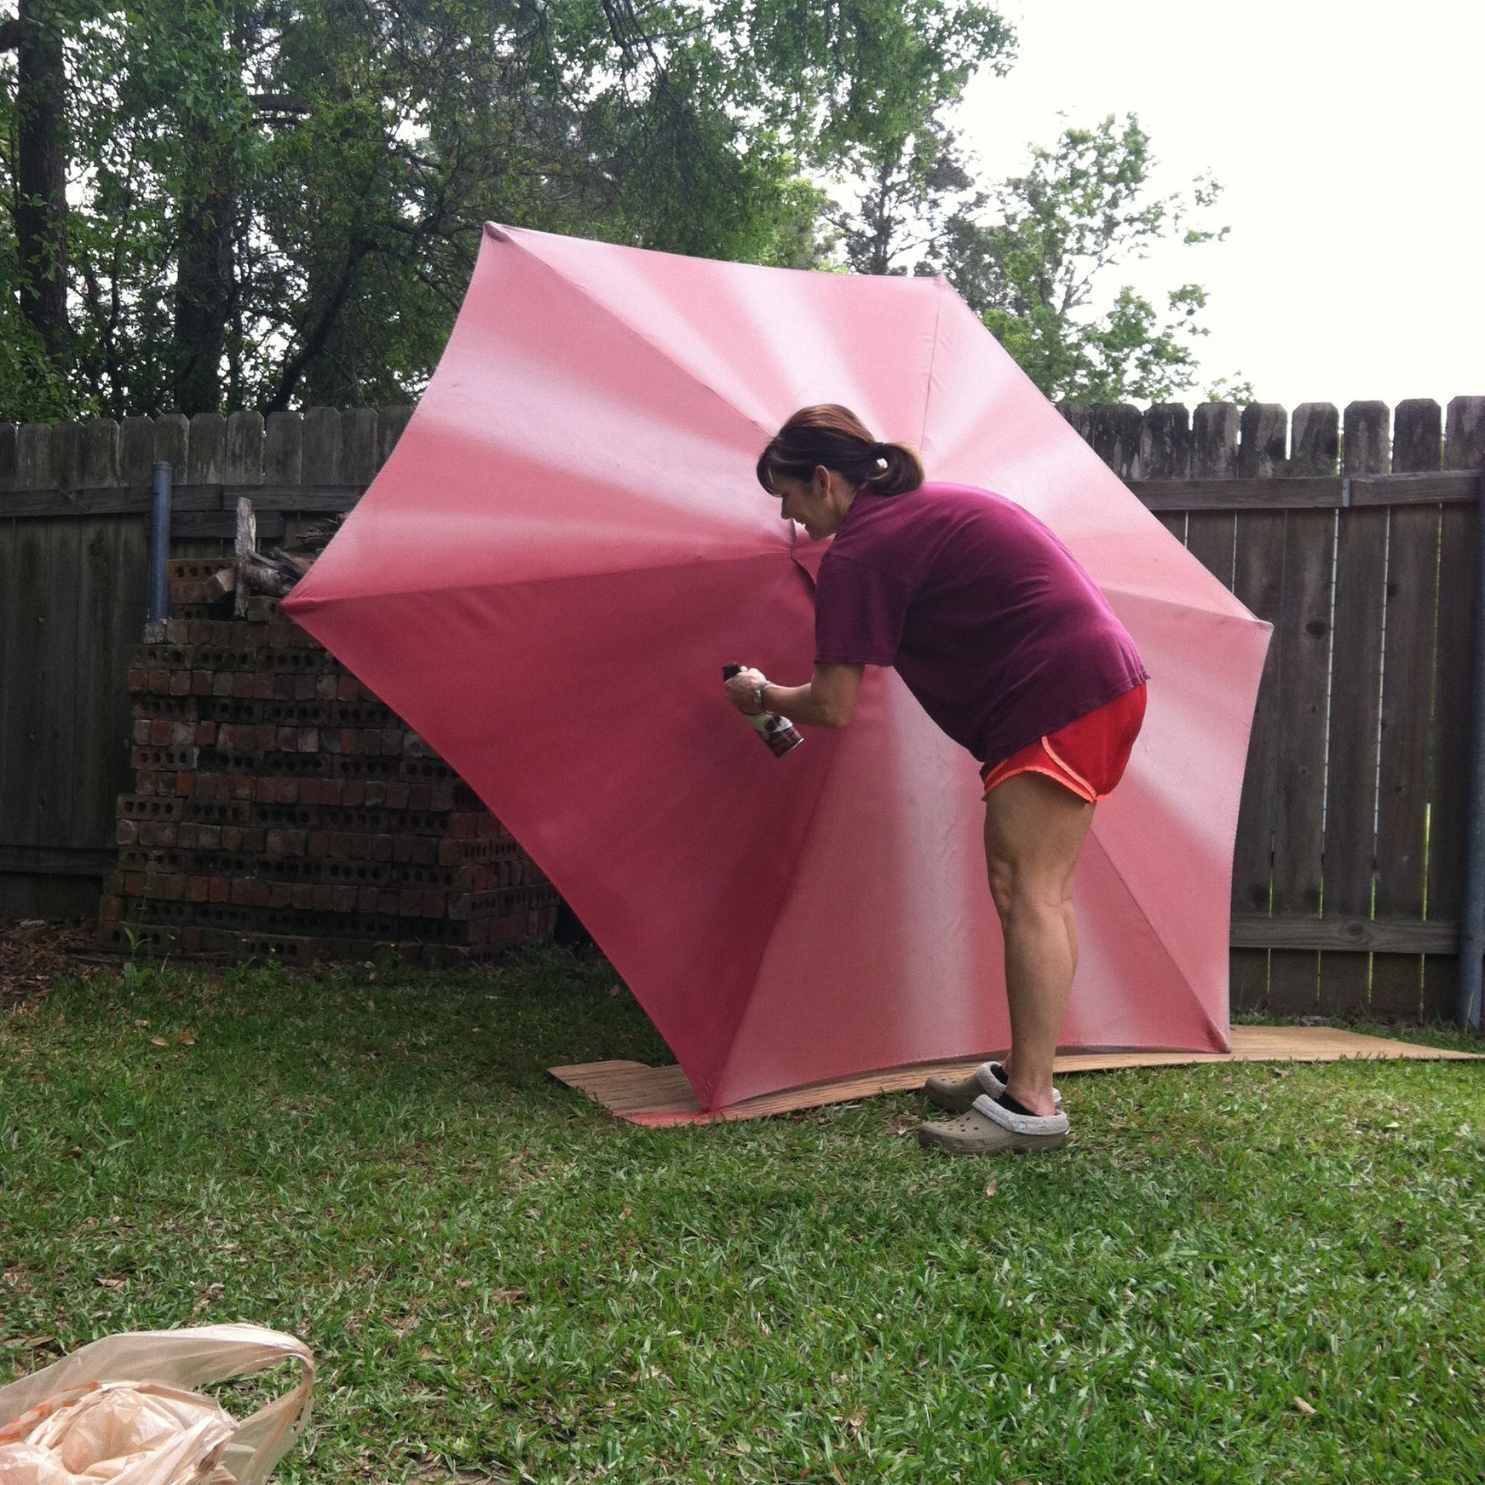
- Work in a well-ventilated area to minimize the inhalation of fumes.
- Apply the dye in thin and even coats to achieve a more uniform color. Multiple thin coats will often yield a better result than one thick coat.
- Allow ample drying time between dye coats to prevent smudging or bleeding of colors.
- Keep a clean cloth or sponge nearby to quickly wipe away any spills or drips to prevent them from leaving stains.
- Dispose of any used dyes and chemicals according to local regulations and guidelines.
Additionally, here are a few precautions to take into consideration:
- Avoid dyeing furniture in areas with high humidity, as it can affect the drying process and result in an uneven finish.
- Do not use excessive pressure when applying the dye, as it can cause the dye to seep into cracks or crevices and lead to uneven coloring.
- If you’re unsure about the dyeing process, consider consulting a professional or seeking guidance from experienced DIYers.
- Keep children and pets away from the dyeing area to prevent accidental exposure to dyes and chemicals.
By following these tips and precautions, you can navigate the furniture dyeing process with ease and achieve outstanding results. Now, let’s wrap up our article.
Conclusion
Congratulations! You’ve reached the end of our comprehensive guide on dyeing furniture. By following the steps outlined in this article, you can transform your furniture and give it a fresh new look that matches your style and preferences. Dyeing furniture is a cost-effective and creative way to revitalize your living space without having to invest in new pieces.
We began by discussing the essential tools and materials needed for the furniture dyeing process, ensuring that you are well-prepared. Next, we explored the importance of properly preparing the furniture surface before applying the dye, including cleaning, removing any existing finish, and addressing imperfections.
You learned the importance of choosing the right dye based on factors such as furniture material, desired color, opacity, and durability. Applying the dye was the next step, where you discovered how to work in small sections, wipe away excess dye, and allow for proper drying time.
Adding the finishing touches to your dyed furniture, including inspecting for touch-ups, buffing the surface, and reattaching hardware, helped achieve a polished and professional look.
We also provided you with various tips and precautions to ensure a successful dyeing experience. These tips covered everything from wearing protective gear to testing the dye, applying thin and even coats, working in a well-ventilated area, and practicing safe disposal of chemicals.
Now armed with the knowledge of furniture dyeing, you can confidently embark on your next project and enjoy the satisfaction of transforming your furniture into unique and personalized pieces.
Remember, creativity knows no bounds, so don’t be afraid to experiment with different colors and techniques to achieve the desired outcome. Happy furniture dyeing!
Frequently Asked Questions about How To Dye Furniture
Was this page helpful?
At Storables.com, we guarantee accurate and reliable information. Our content, validated by Expert Board Contributors, is crafted following stringent Editorial Policies. We're committed to providing you with well-researched, expert-backed insights for all your informational needs.


0 thoughts on “How To Dye Furniture”