Articles
How To Remove A Toilet From The Floor
Modified: October 19, 2024
Learn the step-by-step process for removing a toilet from the floor with this detailed article. Gain valuable insights and tips from experts in the field.
(Many of the links in this article redirect to a specific reviewed product. Your purchase of these products through affiliate links helps to generate commission for Storables.com, at no extra cost. Learn more)
Introduction
Removing a toilet from the floor may seem like a daunting task, but with the right tools and a step-by-step approach, it can be a relatively straightforward process. Whether you’re planning to replace an old toilet, make repairs, or renovate your bathroom, knowing how to remove a toilet is a valuable skill.
In this article, we will guide you through the process of removing a toilet from the floor. We will cover everything from shutting off the water supply to reinstalling the toilet. So, let’s gather our tools and get started!
Before we dive into the step-by-step instructions, it’s essential to mention that safety should be a priority. Make sure to wear protective gloves and goggles, as well as work in a well-ventilated area.
Ready? Let’s begin!
Key Takeaways:
- Master the art of removing a toilet from the floor by following these step-by-step instructions. From shutting off the water supply to reinstalling the toilet, you’ll be equipped with the skills to tackle this task confidently.
- Prioritize safety, gather the necessary tools, and take your time to ensure a smooth and efficient toilet removal process. With the right approach, you can successfully complete this valuable skill.
Read more: How To Remove Molding From Floor
Tools and Materials Needed
Before you begin the process of removing a toilet, you’ll need to gather a few tools and materials. Having everything prepared beforehand will make the job more efficient and ensure that you have what you need at hand. Here’s a list of the essential tools and materials:
- Adjustable wrench: This versatile tool will come in handy for loosening and tightening nuts and bolts.
- Flat-head screwdriver: Useful for disconnecting the water supply line and removing the tank.
- Pliers: Pliers can be used to grip and loosen tight bolts or nuts.
- Bucket or towels: You’ll need a bucket or towels to catch any water that may spill during the process.
- Putty knife or scraper: This tool will be used to scrape off the old wax seal and clean the floor.
- New wax seal: It’s a good idea to have a new wax seal on hand to replace the old one if necessary.
- Cleaning solution: You’ll need a cleaning solution or disinfectant to thoroughly clean the area around the toilet.
- Gloves and goggles: Protect your hands and eyes from any debris or cleaning chemicals by wearing gloves and goggles.
Having these tools and materials ready will help ensure a smooth and efficient toilet removal process. It’s always better to be prepared!
Step 1: Shut off the Water Supply
Before you can remove a toilet, you’ll need to shut off the water supply to prevent any water from flowing into the toilet tank and bowl. Here’s how to do it:
- Locate the water shut-off valve: The shut-off valve is typically located near the bottom of the toilet tank or wall behind the toilet. It’s usually a round or oval-shaped valve handle.
- Turn the valve handle clockwise: To shut off the water, turn the valve handle clockwise until it stops. This will cut off the water supply to the toilet.
- Flush the toilet: After shutting off the water supply, flush the toilet to drain as much water as possible from the tank and bowl. This will make the removal process cleaner and more manageable.
It’s important to know where the water shut-off valve is located before attempting to remove a toilet. If you’re unsure or can’t find the valve, refer to your home’s plumbing layout or consult a professional plumber.
Once the water supply is shut off, you’re ready to move on to the next step.
Step 2: Drain the Toilet Bowl
Before removing a toilet, it’s important to empty the water from the bowl. This will make the process cleaner and reduce the risk of water spills. Follow these steps to drain the toilet bowl:
- Prepare a bucket or towels: Place a bucket or towels near the toilet to catch any water that may come out during the draining process.
- Remove excess water: Using a small cup or container, scoop out as much water as possible from the toilet bowl. Pour the water into the bucket or soak it up with the towels.
- Soak up remaining water: Use towels or a sponge to soak up any remaining water in the bottom of the bowl. Take your time to ensure that the bowl is as dry as possible.
It’s essential to remove as much water as possible from the toilet bowl to prevent messy spills and make the toilet easier to handle during the removal process.
Once the toilet bowl is drained, you can move on to the next step of disconnecting the water supply line.
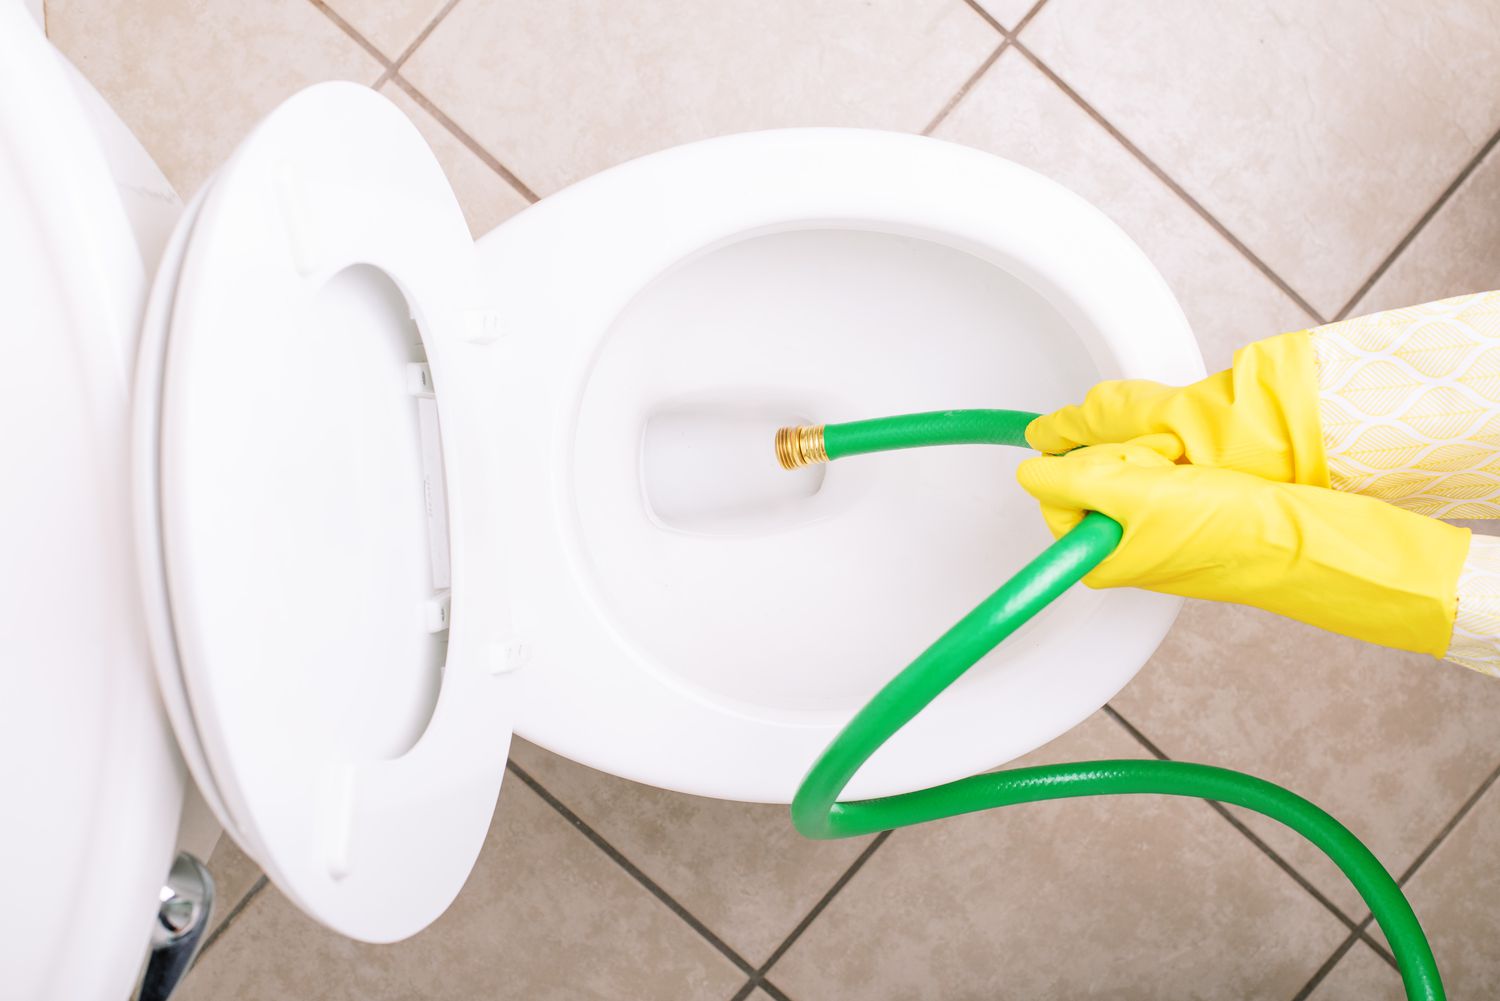
Step 3: Disconnect the Water Supply Line
Now that the toilet bowl is drained, it’s time to disconnect the water supply line. This will allow you to completely remove the toilet from the floor without any obstructions. Follow these steps to disconnect the water supply line:
- Locate the water supply line: The water supply line is connected to the bottom of the toilet tank. It’s a flexible hose or pipe that supplies water to the toilet.
- Turn off the water supply valve: Look for the valve where the water supply line connects to the wall or floor. Turn the valve clockwise to shut off the water.
- Disconnect the water supply line: Use an adjustable wrench or pliers to loosen the nut that connects the water supply line to the bottom of the toilet tank. Once loosened, carefully remove the hose or pipe from the tank.
- Prepare a bucket or towels: Place a bucket or towels beneath the disconnected water supply line to catch any residual water that may drain out.
Make sure to handle the disconnected water supply line with care to avoid any leaks or spills. If needed, you can place a cap or plug on the open end of the supply line to prevent water from flowing out.
With the water supply line disconnected, you’re now ready to move on to removing the toilet tank.
Read more: How To Remove Grout From Floor
Step 4: Remove the Tank
With the water supply line disconnected, it’s time to remove the toilet tank. The tank is typically secured to the bowl with bolts and nuts. Follow these steps to remove the tank:
- Empty the tank: If there is any water left in the tank, remove it by holding down the flush handle or using a sponge or towel to soak it up.
- Locate the tank bolts: The tank bolts are usually located on the bottom of the tank, near the back. They secure the tank to the bowl.
- Remove the tank bolts: Use a flat-head screwdriver or adjustable wrench to loosen and remove the nuts on the tank bolts. Hold the tank to prevent it from falling as you remove the nuts.
- Lift and remove the tank: Once the nuts are removed, carefully lift the tank straight up to detach it from the bowl. Place the tank on a soft surface or towel to avoid any damage.
Removing the tank allows for easier access to the toilet bowl and makes the overall removal process simpler. Keep in mind that the tank can be heavy, so use caution and get assistance if needed.
With the tank removed, you can now proceed to the next step of loosening the toilet bolts.
Step 5: Loosen the Toilet Bolts
Now that the toilet tank is removed, it’s time to loosen the toilet bolts that secure the toilet bowl to the floor. These bolts are typically located at the base of the toilet. Follow these steps to loosen the toilet bolts:
- Locate the toilet bolts: The toilet bolts can usually be found on either side of the toilet base. They are threaded into the floor flange.
- Use an adjustable wrench or pliers: Select an adjustable wrench or pliers that fit the size of the nuts on the toilet bolts. Place the tool on the nut, then turn it counterclockwise to loosen.
- Loosen both toilet bolts: Make sure to loosen both toilet bolts equally. This will prevent uneven stress on the toilet and make it easier to lift and remove.
It’s important to note that some toilets may have covers or decorative caps concealing the toilet bolts. If this is the case, gently pry off the caps with a flat-head screwdriver to access the bolts.
Once the toilet bolts are loosened, you’re ready to move on to the next step of lifting and removing the toilet from the floor.
Before removing a toilet from the floor, turn off the water supply and flush to empty the tank. Use a wrench to disconnect the water supply line and unscrew the bolts securing the toilet to the floor. Lift the toilet straight up and out.
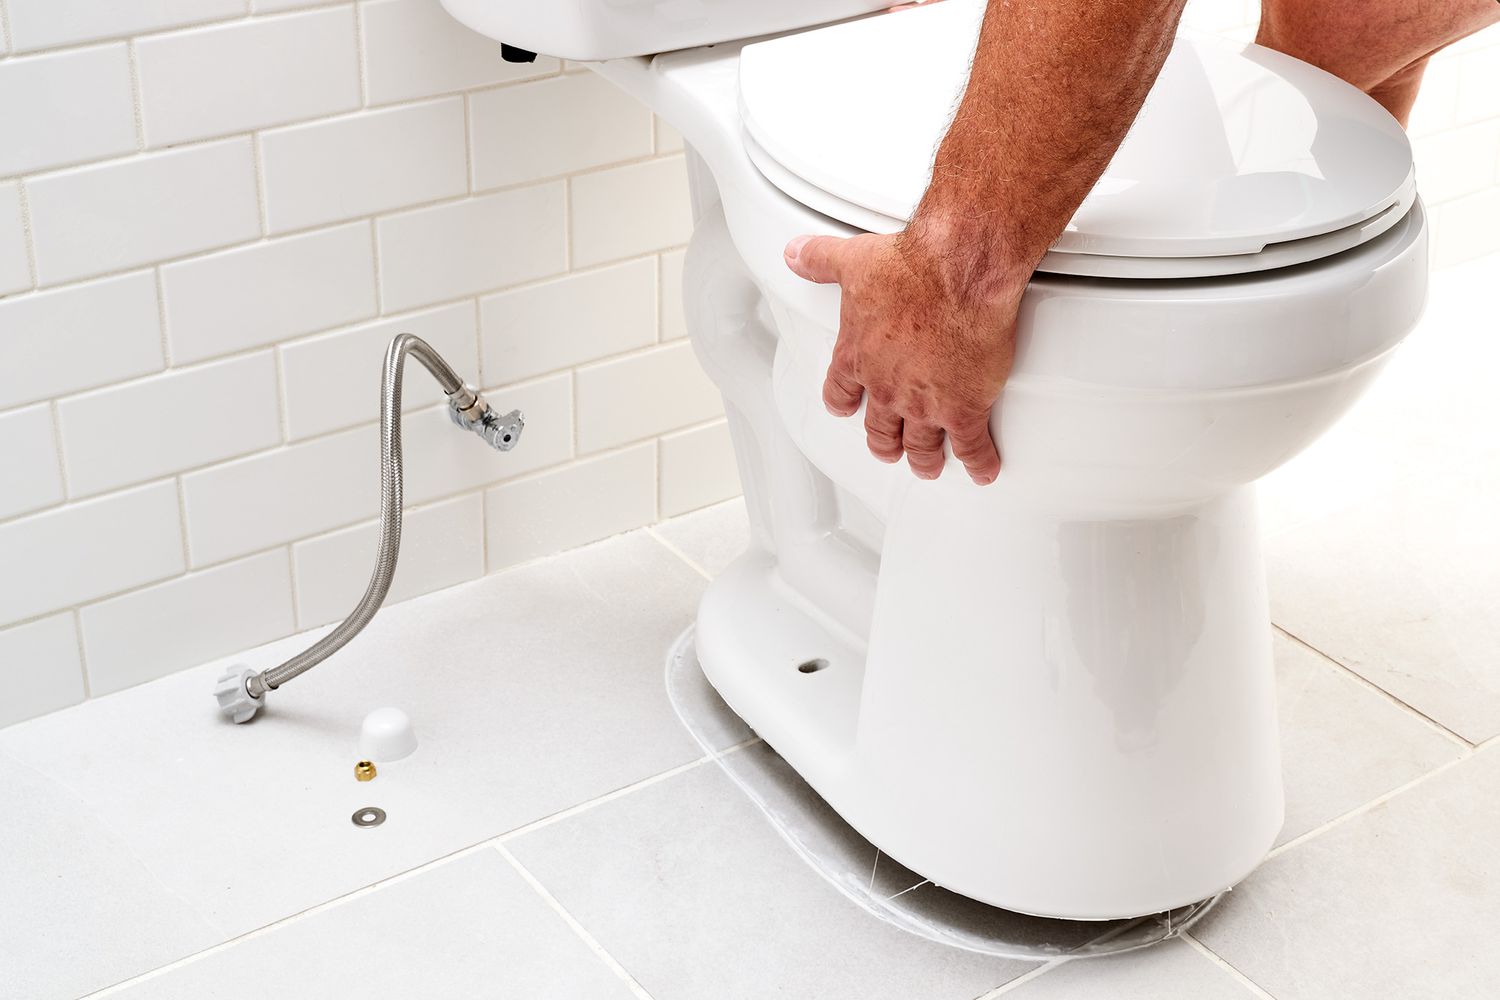
Step 6: Lift and Remove the Toilet from the Floor
With the toilet bolts loosened, it’s time to lift and remove the toilet from the floor. This step requires caution and care to avoid any damage or injury. Follow these steps to successfully lift and remove the toilet:
- Ensure proper lifting technique: To avoid straining your back, it’s important to use proper lifting technique. Bend at the knees, keep your back straight, and lift with your legs. If the toilet is heavy, consider asking for assistance.
- Position yourself: Stand facing the front of the toilet bowl, with your hands placed securely on either side of the bowl.
- Lift the toilet: Using your leg muscles, lift the toilet bowl straight up while keeping it level. Be careful not to tilt or tip the toilet to prevent any spills or damage.
- Place the toilet in a safe area: Once the toilet is lifted, carefully move it to a designated safe area, such as a soft surface or an old blanket. This will protect both the toilet and the floor from any potential scratches or damage.
As you lift and remove the toilet, keep in mind that there will still be some residual water in the toilet bowl and trap. Tilt the toilet slightly forward to allow any remaining water to drain into a bucket or down the sewer. Avoid pouring the water directly onto the floor.
With the toilet successfully removed, you can proceed to the next step of cleaning the floor and inspecting the wax seal.
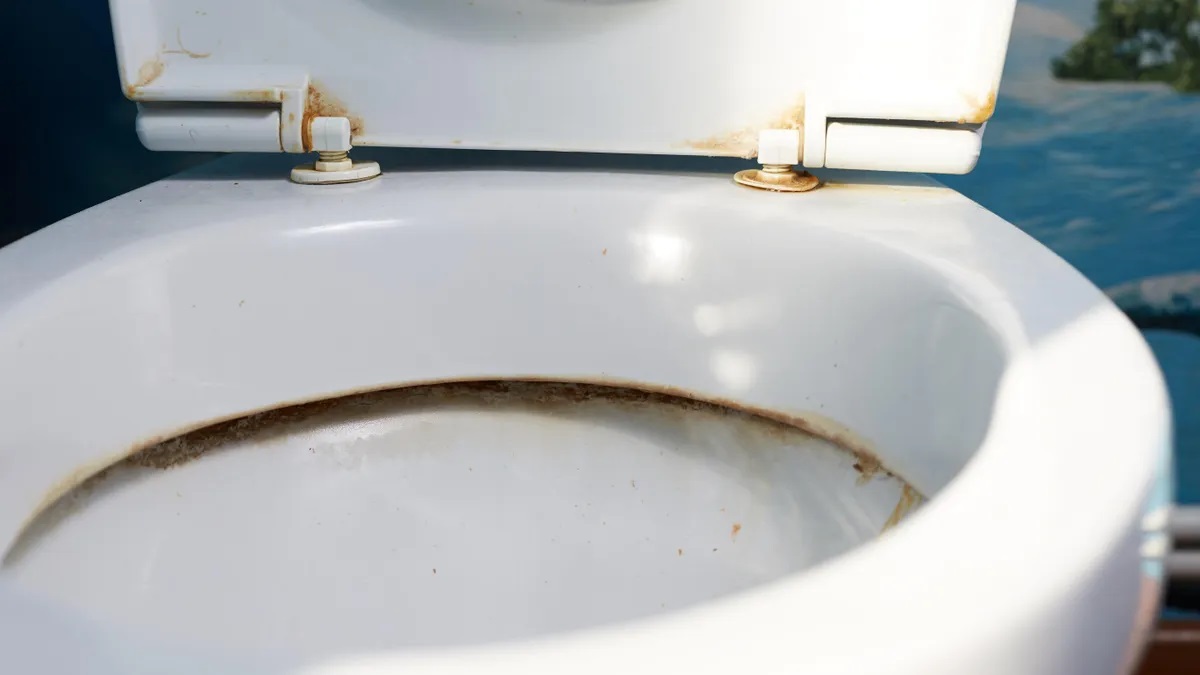
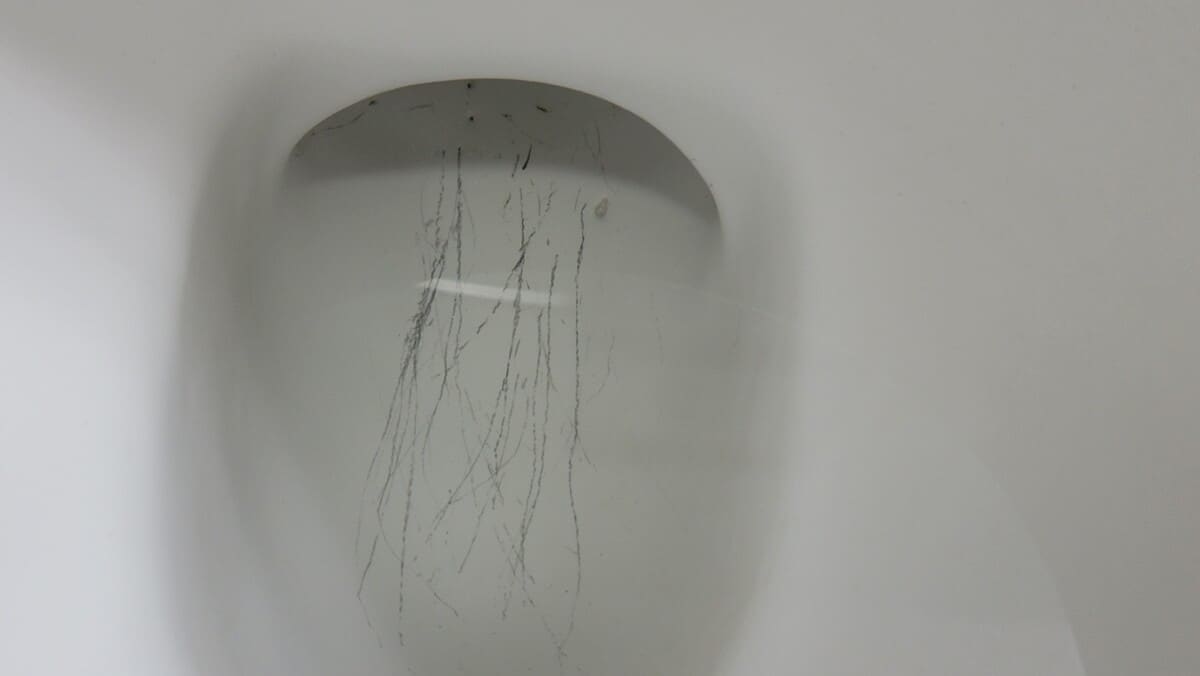
Step 7: Clean the Floor and Inspect the Wax Seal
Now that the toilet is removed, it’s time to clean the floor and inspect the wax seal. These steps are crucial to ensure a proper installation when you reinstall the toilet or to identify any potential issues that need to be addressed. Follow these steps to clean the floor and inspect the wax seal:
- Remove any debris: Use a broom or vacuum cleaner to remove any loose dirt, dust, or debris from the area where the toilet was installed.
- Inspect the floor flange: Take a close look at the floor flange, which is the metal or plastic fitting on the floor where the toilet sits. Ensure that it is securely attached and free from any damage or cracks.
- Check the wax seal: The wax seal creates a watertight seal between the toilet and the floor flange. Carefully inspect the wax seal for any signs of deterioration, cracks, or any other damage.
- Clean the wax seal area: Use a putty knife or scraper to remove the old wax seal residue from the floor flange. Ensure that the area is clean and free from any debris or leftover wax.
- Inspect the toilet flange bolts: Take a look at the toilet flange bolts to ensure they are in good condition. If they are damaged or corroded, consider replacing them before reinstalling the toilet.
Inspecting the wax seal is especially important because it plays a crucial role in preventing leaks and maintaining a proper seal between the toilet and the floor. If the wax seal is damaged or showing signs of wear, it’s essential to replace it before reinstalling the toilet.
After completing these steps, you’re ready to move on to the next step of installing a new wax seal (if necessary) and reinstalling the toilet on the floor.
Read more: How To Remove Floor Wax From Laminate Floors
Step 8: Install a New Wax Seal (If Necessary)
If you have inspected the wax seal during the previous step and found it to be damaged or in poor condition, it’s important to install a new wax seal before reinstalling the toilet. A proper wax seal ensures a watertight seal and prevents leaks. Here’s how to install a new wax seal:
- Purchase a new wax seal: Visit your local hardware store or home improvement center to purchase a new wax seal. Make sure to choose a wax seal that is compatible with your toilet model.
- Prepare the wax seal: Remove the new wax seal from its packaging and allow it to warm up to room temperature. This will make it more pliable and easier to work with.
- Position the wax ring: Place the wax seal on top of the floor flange, ensuring that the outlet hole aligns with the toilet’s waste pipe.
- Press down firmly: Gently press down on the wax seal to create a tight seal between the floor flange and the toilet waste pipe. Apply even pressure to ensure a proper fit.
It’s important to note that some wax seals come with a plastic flange or reinforcement ring. If your wax seal includes this, make sure it is positioned securely on top of the wax seal before pressing it down.
Installing a new wax seal will help ensure a proper seal and prevent any future leaks. With the new wax seal in place, you’re ready to move on to the next step of reinstalling the toilet on the floor.
Step 9: Reinstall the Toilet on the Floor
Now that you have inspected the floor and installed a new wax seal (if necessary), it’s time to reinstall the toilet on the floor. Follow these steps to properly reinstall the toilet:
- Position the toilet bowl: Carefully align the toilet bowl over the floor flange, ensuring that the toilet bolts pass through the holes in the base of the toilet.
- Lower the toilet bowl: Slowly lower the toilet bowl onto the wax seal, applying steady downward pressure. The wax seal should compress and create a tight seal between the toilet and the floor flange.
- Align the toilet bolts: As you lower the toilet, make sure the toilet bolts pass through the openings in the base of the toilet. The bolts should protrude through the base for securing later.
- Press down firmly: Once the toilet bowl is in position, press down firmly on the bowl to compress the wax seal and create a watertight seal.
- Secure the toilet bolts: Place the washers and nuts onto the toilet bolts and hand-tighten them. Use a wrench to further tighten the nuts, but be careful not to overtighten, as this can crack the toilet base.
- Ensure even pressure: Alternate tightening the nuts on each side of the toilet to evenly distribute the pressure. This will prevent the toilet from rocking or becoming unstable.
It’s important to note that different toilet models may have different installation methods. Consult the manufacturer’s instructions for any specific requirements or guidelines.
With the toilet securely in place, you’re almost ready to complete the installation. The next step is to reconnect the water supply line.
Step 10: Reconnect the Water Supply Line
Now that the toilet is back on the floor, it’s time to reconnect the water supply line. This will allow water to flow into the toilet tank and enable it to flush properly. Follow these steps to reconnect the water supply line:
- Locate the water supply valve: Locate the shut-off valve that you previously turned off to shut off the water supply.
- Turn on the water supply valve: Turn the water supply valve counterclockwise to open it and allow water to flow to the toilet.
- Connect the water supply line: Take the flexible hose or pipe that connects to the back of the toilet tank and attach it securely to the water supply valve.
- Tighten the connection: Use an adjustable wrench or pliers to tighten the nut that connects the water supply line to the water supply valve. Ensure it is securely tightened, but avoid overtightening.
Upon connecting the water supply line, check for any leaks at the connection points. If you notice any leaks, tighten the nuts slightly further to create a better seal. However, be cautious not to overtighten, as this can cause damage.
With the water supply line reconnected, you’re almost finished with the installation process. The next and final step is to turn on the water supply and check for any potential leaks.
Step 11: Turn on the Water Supply
With the toilet reinstalled and the water supply line connected, it’s time to turn on the water supply and check for any potential leaks. Follow these steps to turn on the water supply:
- Locate the shut-off valve: Identify the shut-off valve that you previously turned off to shut off the water supply.
- Turn on the water supply valve: Turn the water supply valve counterclockwise to fully open it. This will allow water to flow into the toilet tank.
- Monitor for leaks: Keep a close eye on the connection points, including the water supply line and toilet tank, as well as the floor around the toilet. Look for any signs of water leakage.
- Flush the toilet: Once the water supply is turned on, flush the toilet to ensure that water flows correctly into the tank and then drains properly from the bowl.
While flushing the toilet, check for any unusual sounds or slow drainage, as these may indicate an issue that requires further attention. If you notice any leaks or problems, tighten the connections or contact a professional plumber for assistance.
Once you have confirmed that there are no leaks and the toilet is functioning properly, congratulations! You have successfully turned on the water supply and completed the installation process.
Now you can enjoy a fully functional toilet that is securely attached to the floor.
Read more: How To Remove Mold From Toilet Seat
Conclusion
Congratulations! You have successfully learned how to remove a toilet from the floor. Whether you were replacing an old toilet, making repairs, or undergoing a bathroom renovation, knowing how to remove a toilet is a valuable skill that can save you time and money.
Throughout the step-by-step process, you learned essential tasks such as shutting off the water supply, draining the toilet bowl, disconnecting the water supply line, removing the tank, loosening the toilet bolts, lifting and removing the toilet from the floor, cleaning the floor and inspecting the wax seal, installing a new wax seal if necessary, reinstalling the toilet on the floor, reconnecting the water supply line, and finally turning on the water supply and checking for any leaks.
By following these steps and using the necessary tools and materials, you have successfully completed the process and have a toilet that is ready to use.
Remember, safety is crucial during the removal process, so always wear protective gloves and goggles, work in a well-ventilated area, and use proper lifting techniques to prevent any injuries.
Should you encounter any difficulties or feel unsure at any point, do not hesitate to consult a professional plumber who can provide guidance and assistance.
Now that you have the knowledge and confidence to remove a toilet from the floor, you can tackle future projects with ease. Whether you’re upgrading your bathroom or making repairs, you will be well-prepared to handle the task at hand.
Thank you for following along, and we wish you success in all your future plumbing endeavors!
Frequently Asked Questions about How To Remove A Toilet From The Floor
Was this page helpful?
At Storables.com, we guarantee accurate and reliable information. Our content, validated by Expert Board Contributors, is crafted following stringent Editorial Policies. We're committed to providing you with well-researched, expert-backed insights for all your informational needs.

0 thoughts on “How To Remove A Toilet From The Floor”