
Articles
How To Take Out A Toilet
Modified: October 19, 2024
Learn how to remove a toilet with step-by-step instructions in this comprehensive article. Find out the tools you'll need and the precautions to take.
(Many of the links in this article redirect to a specific reviewed product. Your purchase of these products through affiliate links helps to generate commission for Storables.com, at no extra cost. Learn more)
Introduction
Taking out a toilet may seem like a daunting task, but with the right tools and a little know-how, it can be a relatively straightforward process. Whether you’re replacing an old toilet or making repairs, removing a toilet is a necessary step. In this article, we will guide you through the process of taking out a toilet, step by step.
Before we get started, it’s important to note that while this guide can provide general instructions, it’s always a good idea to consult the manufacturer’s instructions for your specific toilet model. Additionally, if you’re not comfortable with DIY projects or if you’re unsure about any aspect of the process, it’s best to contact a professional plumber for assistance.
To successfully remove a toilet, you’ll need a few tools and materials. Here’s a list of what you’ll need:
- Adjustable wrench
- Sponge or cloth
- Bucket or container
- Putty knife
- A new wax ring
- Plumber’s tape
- New bolts and washers
- Latex gloves
Once you have gathered all of the necessary tools and materials, you’re ready to begin the process of removing the toilet. Remember to turn off the water supply to the toilet before starting any work. This can typically be done by turning the valve located behind or near the toilet clockwise.
In the following steps, we will guide you through each stage of removing a toilet, from shutting off the water supply to reinstalling a new wax ring. Let’s get started!
Key Takeaways:
- Removing a toilet is a manageable DIY project with the right tools and knowledge. Prioritize safety, follow step-by-step instructions, and take your time to ensure a secure and watertight installation.
- Regular inspections and upkeep of your toilet are essential for preventing future problems. By successfully removing and reinstalling a toilet, you can enjoy a fully functioning bathroom fixture and save time and money.
Read more: How To Take Out A Fireplace
Tools and Materials Needed
Before you begin the process of taking out a toilet, it’s important to have the necessary tools and materials on hand. Here’s a list of what you’ll need:
Tools:
- Adjustable wrench: This will be used to loosen and tighten nuts and bolts.
- Putty knife: You’ll need this to remove any caulking or adhesive around the base of the toilet.
- Sponge or cloth: To soak up any remaining water in the toilet bowl or tank.
Materials:
- A new wax ring: This will create a watertight seal between the toilet and the floor when reinstalling.
- Plumber’s tape: Used to secure the water supply line connections.
- New bolts and washers: To secure the toilet to the floor once it’s reinstalled.
- Latex gloves: These will protect your hands during the removal and installation process.
It’s important to have all the necessary tools and materials before starting the project to ensure a smooth and efficient process. Additionally, it’s a good idea to read the manufacturer’s instructions for your specific toilet model to determine if there are any additional tools or materials recommended.
Once you have gathered all the tools and materials, you’re ready to move on to the next step: shutting off the water supply.
Step 1: Shutting Off the Water Supply
Before you start working on removing the toilet, it’s essential to shut off the water supply to prevent any mishaps or flooding. Here’s how you can do it:
- Locate the water supply valve: The water supply valve is typically located on the wall near the base of the toilet. It is usually a small lever or a round knob.
- Turn off the water supply: Slowly turn the water supply valve clockwise until it is fully closed. This will stop the flow of water to the toilet.
- Flush the toilet: After shutting off the water supply, flush the toilet to drain any remaining water in the tank and bowl. This will help make the removal process easier and minimize spills.
- Check for any residual water: Use a sponge or cloth to soak up any water that may still be in the tank or bowl. It’s important to remove as much water as possible to avoid spills and leaks when removing the toilet.
Once you have successfully shut off the water supply and removed any residual water, you’re ready to move on to the next step: emptying the toilet bowl.
Read more: How To Take A Sink Out
Step 2: Emptying the Toilet Bowl
Before you proceed with removing the toilet, it’s crucial to empty the toilet bowl to prevent any spills or mess. Follow these steps to empty the toilet bowl:
- Put on latex gloves: It’s a good idea to wear latex gloves to protect your hands during this step.
- Use a bucket or container: Place a bucket or container next to the toilet to catch the water.
- Remove excess water: Use a sponge or cloth to soak up any remaining water in the toilet bowl. Squeeze out the excess water into the bucket or container.
- Dispose of the water: Empty the bucket or container into a drain or toilet to dispose of the water properly.
It’s important to ensure that the toilet bowl is completely empty before proceeding to the next steps. Any remaining water could cause leaks or spills during the removal process. Once the toilet bowl is emptied, you can move on to the next step: removing the toilet tank.
Step 3: Removing the Toilet Tank
With the water shut off and the toilet bowl emptied, it’s time to remove the toilet tank. Proceed with the following steps:
- Locate the tank bolts: The tank bolts connect the toilet tank to the toilet bowl. These are usually located on the bottom of the tank and go through the holes in the bowl.
- Use an adjustable wrench: Loosen and unscrew the nuts from the tank bolts using an adjustable wrench. Hold the bolt from underneath the tank with a screwdriver or pliers if necessary.
- Remove the tank from the bowl: Carefully lift the tank straight up to detach it from the toilet bowl. Set it aside on a towel or soft surface to avoid any damage.
Once you have removed the toilet tank, be careful not to put any strain on the water supply line or any other connected components. Set the tank aside so you can access the next step: disconnecting the water supply line.
Before you move on to the next step, it’s a good idea to inspect the tank for any signs of damage or wear. If you notice any cracks or leaks, it may be necessary to replace the entire toilet tank.
Now that the tank is removed, we can proceed to the next step: disconnecting the water supply line.
Step 4: Disconnecting the Water Supply Line
With the toilet tank removed, the next step is to disconnect the water supply line. Follow these steps:
- Locate the water supply line: The water supply line is a flexible tube or pipe that connects the water supply valve to the bottom of the toilet tank.
- Use an adjustable wrench: Hold the nut connecting the water supply line to the bottom of the toilet tank with an adjustable wrench. Use another adjustable wrench to loosen and unscrew the nut connecting the water supply line to the tank.
- Disconnect the water supply line: Once the nuts are loosened, carefully pull the water supply line away from the toilet tank. Be cautious as there may still be some residual water in the line.
After disconnecting the water supply line, it’s a good idea to inspect it for any signs of damage or wear. If you notice any cracks, leaks, or corrosion, it’s recommended to replace the water supply line with a new one.
Now that the water supply line is disconnected, we can move on to the next step: detaching the toilet from the floor.
Before you proceed, make sure to keep a bucket or container nearby to catch any water that may still be in the toilet bowl or tank during the next steps. This will help prevent any spills or mess.
Step 5: Detaching the Toilet from the Floor
Once the water supply line is disconnected, it’s time to detach the toilet from the floor. Follow these steps carefully:
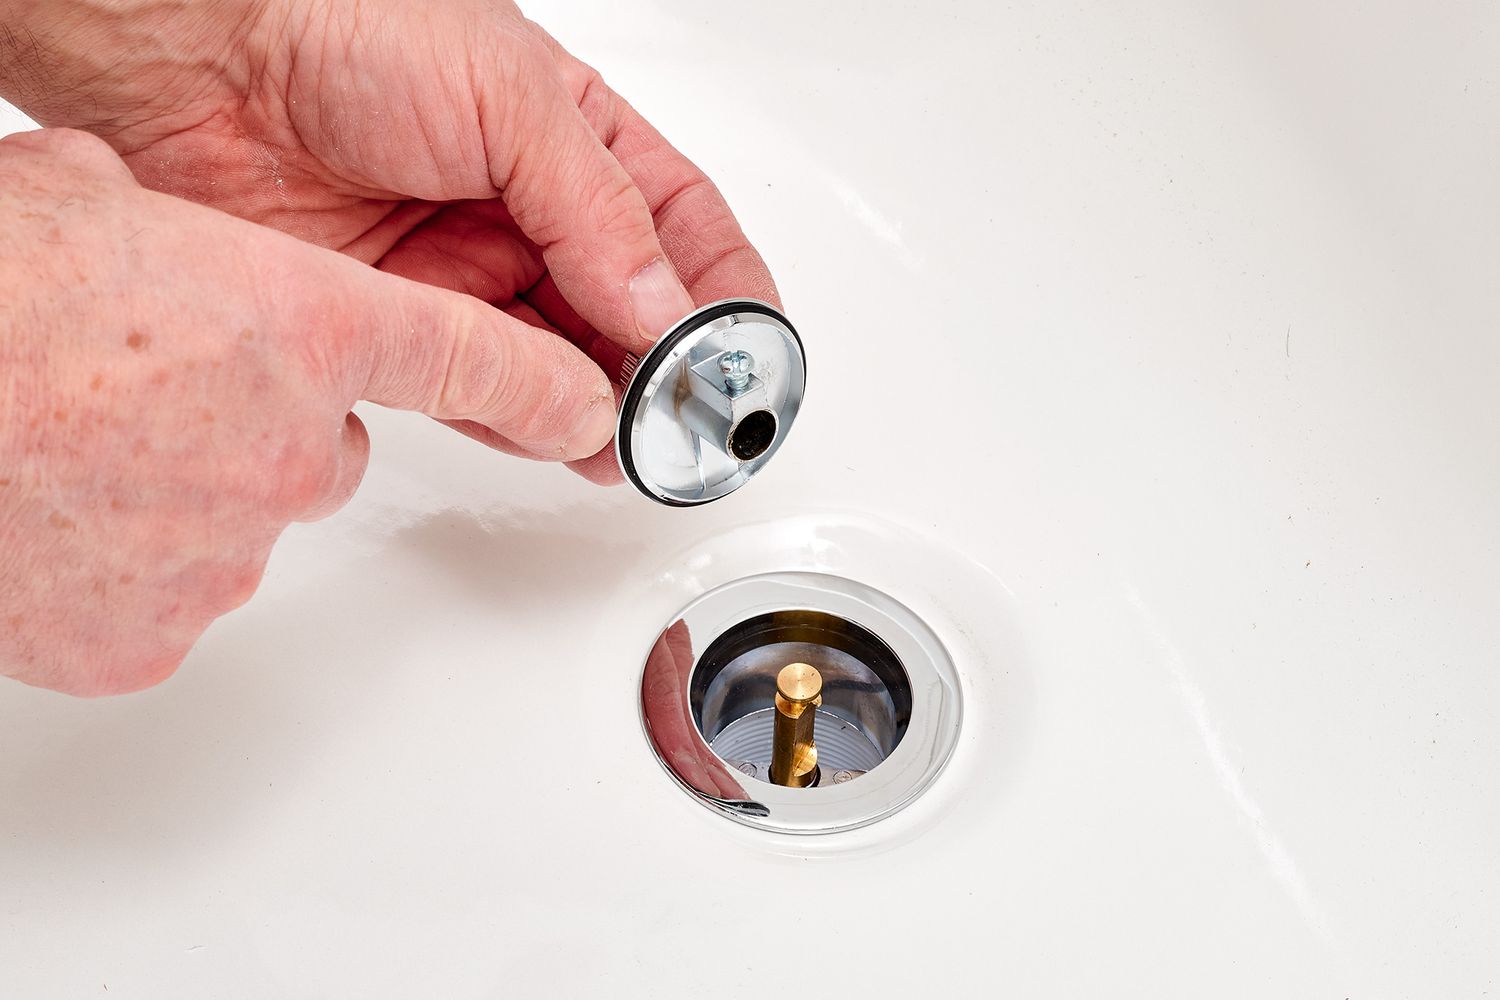
- Remove the toilet caps or covers: Look for plastic caps or covers at the base of the toilet. These usually cover the bolts that attach the toilet to the floor. Use a putty knife or a flathead screwdriver to gently pry off the caps.
- Loosen the nuts: With the caps removed, use an adjustable wrench to loosen and unscrew the nuts that secure the toilet bolts to the flange on the floor. Hold the bolts with a screwdriver or pliers if necessary to prevent them from turning.
- Remove the toilet bowl: Once the nuts are loosened, carefully lift the toilet bowl straight up to detach it from the floor. The toilet can be heavy, so it’s advisable to have someone assist you during this step to avoid any strain or accidents.
- Place the toilet on a towel or plastic sheet: Set the toilet aside on a towel or plastic sheet to protect the floor and prevent any damage to the toilet or surrounding area.
It’s important to note that when lifting the toilet bowl, be cautious as there may still be some residual water in the bowl or trap. Tilt the toilet bowl slightly to one side to help drain any remaining water into a bucket or container.
Now that the toilet bowl is detached, we can move on to the next step: removing the wax ring.
Before proceeding to the next step, it’s a good idea to inspect the toilet flange on the floor. If you notice any damage or deterioration, it may be necessary to repair or replace the flange before reinstalling the toilet.
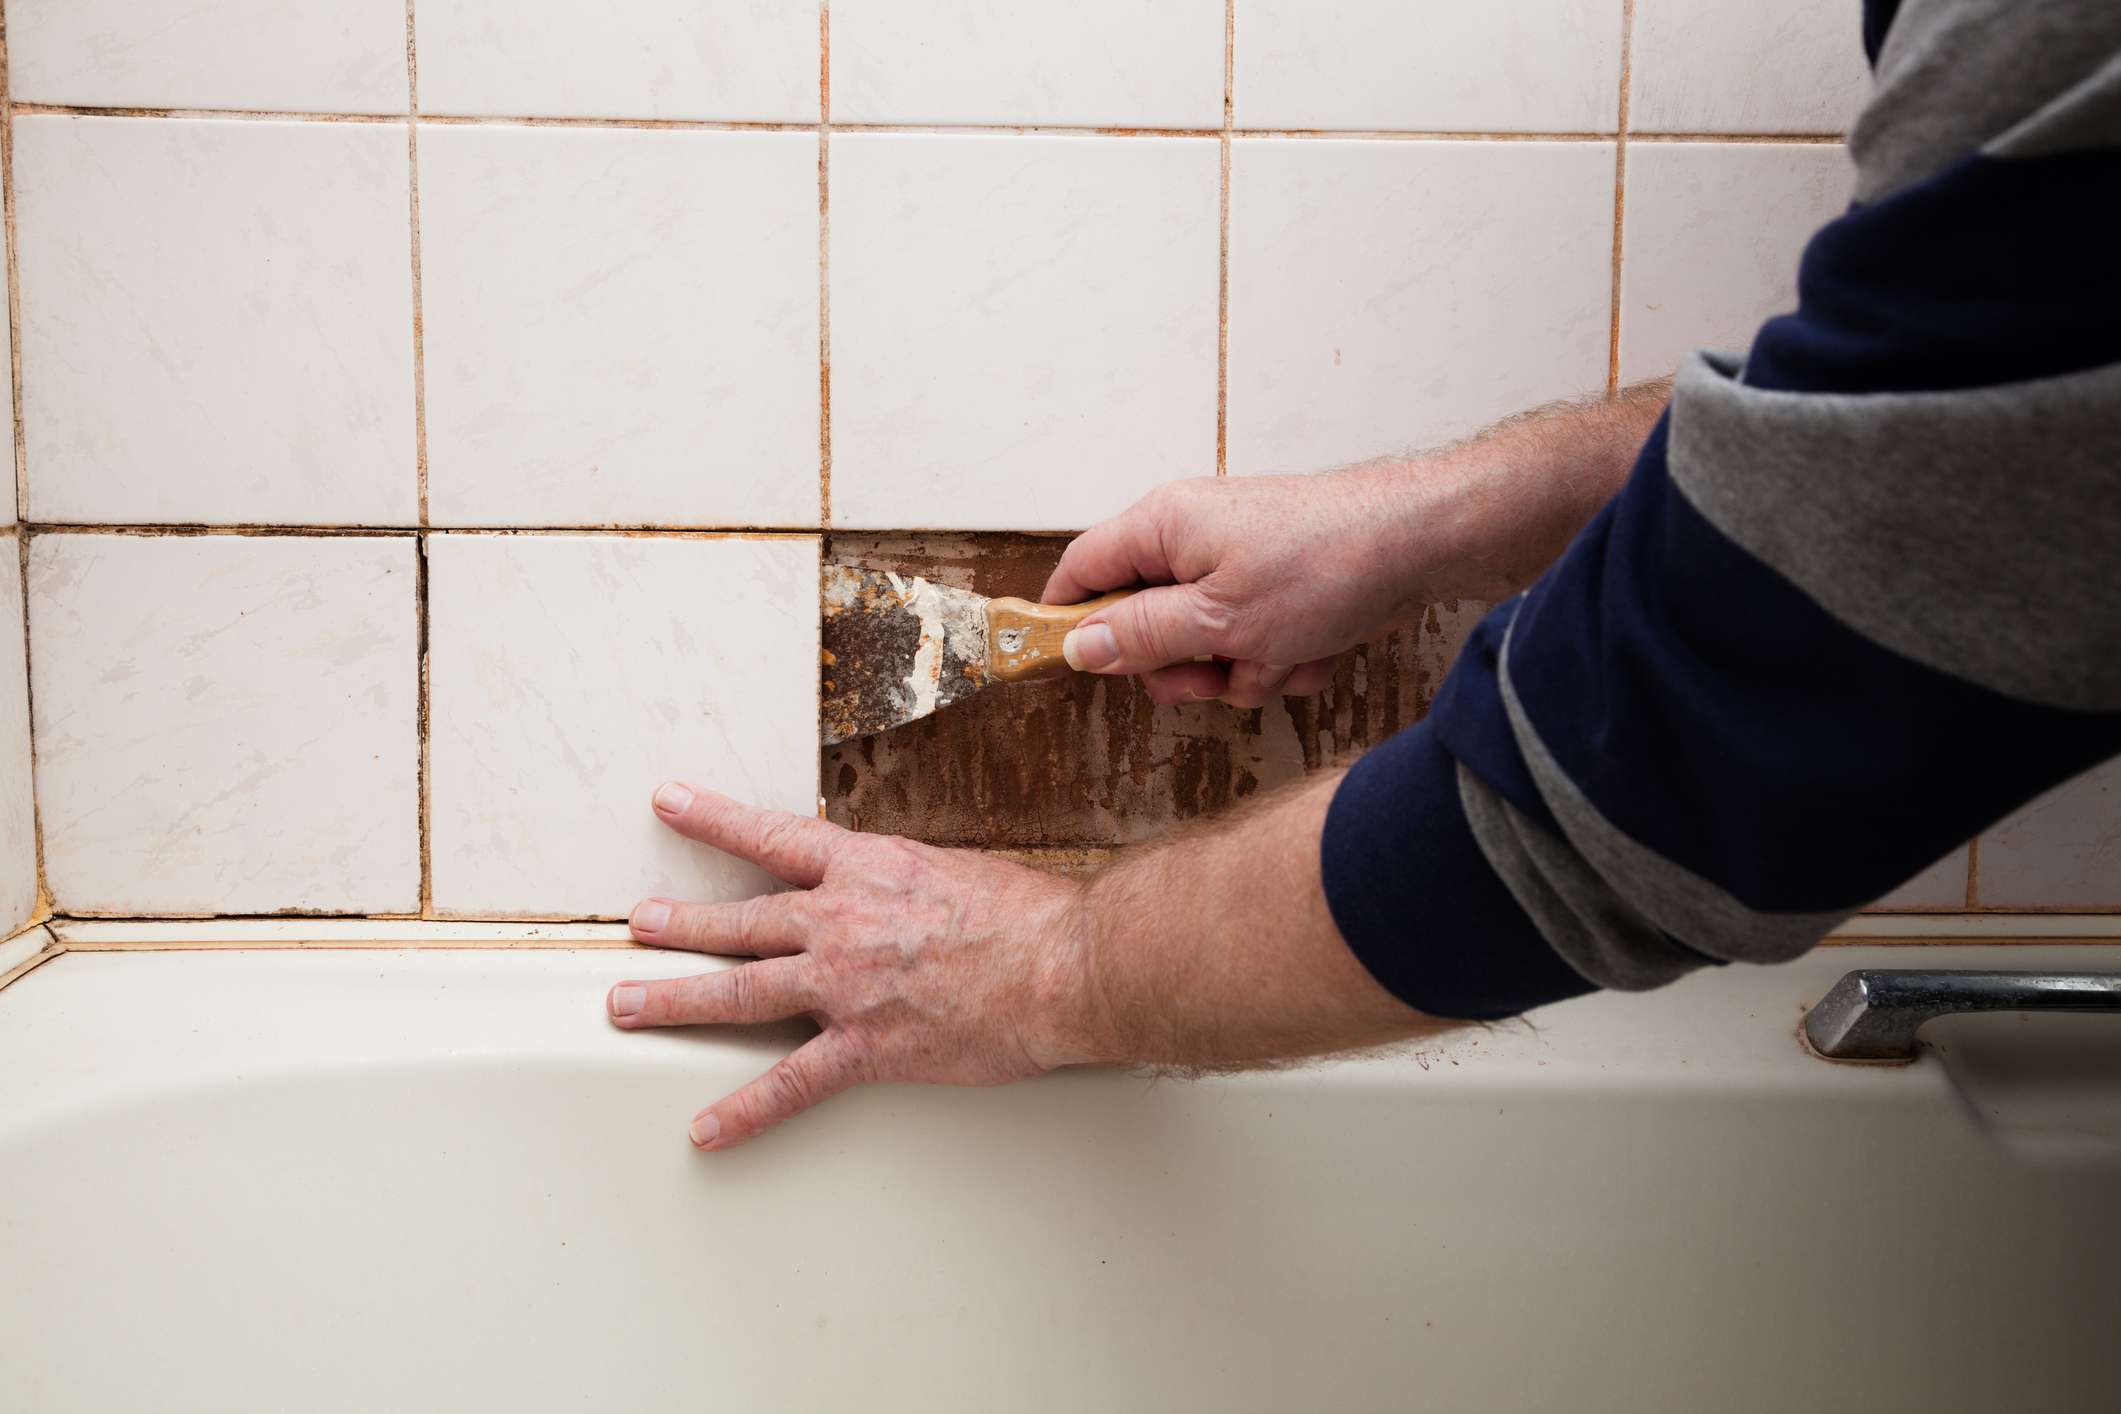
Step 6: Removing the Wax Ring
With the toilet bowl detached from the floor, the next step is to remove the wax ring. The wax ring creates a seal between the toilet and the waste pipe. Follow these steps to remove the wax ring:
- Inspect the wax ring: Take a look at the wax ring that was previously installed. Check for any signs of damage or wear. If the wax ring is flattened or cracked, it’s best to replace it with a new one.
- Scrape off the wax residue: Use a putty knife or a scraper to gently scrape off any wax residue that may be left on the toilet flange or the bottom of the toilet bowl. Take care not to damage the flange or the bowl during this process.
- Dispose of the old wax ring: Place the old wax ring in a plastic bag and dispose of it properly.
It’s important to note that the wax ring should not be reused when reinstalling the toilet. It’s always recommended to use a new wax ring to ensure a proper and secure seal.
After removing the old wax ring, it’s a good idea to clean and prepare the area before proceeding to the next steps. This will help create a clean and stable base for the new wax ring and the reinstallation of the toilet.
Now that the wax ring is removed and the area is prepared, we can move on to the next step: cleaning and preparing the area.
Step 7: Cleaning and Preparing the Area
After removing the old wax ring, it’s crucial to clean and prepare the area before reinstalling the toilet. Follow these steps to ensure a clean and sturdy base:
- Clean the toilet flange: Thoroughly clean the toilet flange on the floor using a rag or sponge. Remove any debris, dirt, or wax residue from the flange. A clean and smooth surface will help create a proper seal when reinstalling the toilet.
- Inspect the flange for damage: While cleaning the flange, inspect it for any signs of damage such as cracks or deterioration. If you notice any issues, it’s important to repair or replace the flange before continuing with the installation.
- Apply plumber’s tape: Wrap plumber’s tape around the threads of the toilet bolts. This helps create a watertight seal when securing the toilet to the floor.
Once the area is clean and prepared, it’s time to install a new wax ring. The wax ring ensures a proper seal between the toilet and the waste pipe, preventing leaks and odors. Installing a new wax ring will help ensure a secure and hygienic connection.
Now that the area is clean and ready, we can move on to the next step: installing a new wax ring.
Before removing a toilet, turn off the water supply and flush to empty the tank. Use a wrench to disconnect the water supply line, then unscrew the bolts at the base. Lift the toilet straight up and out.
Step 8: Installing a New Wax Ring
With the area cleaned and prepared, it’s time to install a new wax ring. The wax ring ensures a proper seal between the toilet and the waste pipe. Follow these steps to install a new wax ring:
- Place the new wax ring: Take the new wax ring and carefully place it on the flange, ensuring that it is centered over the waste pipe. The tapered side of the wax ring should be facing up, while the flat side should be facing down.
- Align the toilet bolts: Align the toilet bolts with the holes in the flange, making sure they fit securely through the wax ring.
- Press the toilet bowl onto the wax ring: Carefully lower the toilet bowl onto the wax ring, aligning it with the toilet bolts. Apply downward pressure to compress the wax ring and create a tight seal. Make sure the toilet bowl is centered and level.
It’s important to note that once the toilet bowl is placed on the wax ring, avoid shifting or rocking it too much as this may compromise the seal. The wax ring provides a watertight seal, so it’s crucial to ensure a proper installation.
Now that the new wax ring is installed, we can move on to the next step: placing the toilet back in position.
Before continuing, make sure to have the new bolts and washers ready for securing the toilet back to the floor.
Step 9: Placing the Toilet Back in Position
With the new wax ring in place, it’s time to put the toilet back in position. Follow these steps to ensure a proper installation:
- Align the toilet bowl with the bolts: Carefully lower the toilet bowl onto the wax ring, aligning it with the toilet bolts. Make sure that the toilet bowl is centered and level.
- Press down to compress the wax ring: Apply downward pressure evenly on the toilet bowl to compress the wax ring. This will create a tight seal between the toilet and the waste pipe.
- Ensure proper alignment: Check that the toilet bowl is aligned properly with the surrounding area. Adjust the position if needed to ensure that the toilet is straight and evenly aligned with the wall and other fixtures.
It’s important to note that once the toilet bowl is in place, avoid shifting or rocking it too much as this may compromise the seal. The wax ring provides a watertight seal, so it’s crucial to ensure a proper installation.
Now that the toilet is back in position, we can move on to the next step: reattaching the water supply line.
Before continuing, make sure to have the new bolts and washers ready for securing the toilet to the floor.
Read more: How To Take A Drawer Out Of A Dresser
Step 10: Reattaching the Water Supply Line
After placing the toilet back in position, the next step is to reattach the water supply line. Follow these steps carefully:
- Position the water supply line: Ensure that the water supply line is positioned correctly and ready to be connected to the toilet tank. The water supply line should be long enough to reach the connection point without any strain.
- Apply plumber’s tape: Wrap plumber’s tape around the threads of the water supply line connector. This helps create a secure and watertight seal.
- Attach the water supply line: Carefully screw the water supply line connector onto the bottom of the toilet tank. Use an adjustable wrench to tighten it securely, but be cautious not to overtighten and damage the fittings.
Ensure that the water supply line is properly connected and tightened to prevent any leaks. Take a moment to inspect the connection for any signs of damage or wear. If necessary, replace the water supply line with a new one to ensure a secure and reliable connection.
Now that the water supply line is reattached, we can move on to the next step: installing the toilet tank.
Before continuing, make sure to have the new bolts and washers ready for securing the toilet tank.
Step 11: Installing the Toilet Tank
With the water supply line reattached, we can move on to installing the toilet tank. Follow these steps carefully to ensure a proper installation:
- Position the toilet tank: Lift the toilet tank and carefully position it above the toilet bowl. Make sure that the tank aligns with the mounting holes on the back of the bowl.
- Insert the tank bolts: Insert the tank bolts through the mounting holes on the back of the toilet bowl, ensuring they are securely in place.
- Secure the tank bolts: Place a washer on each tank bolt, followed by a nut. Use an adjustable wrench to tighten the nuts, but be careful not to overtighten as it may crack the ceramic tank.
Ensure that the toilet tank is securely attached to the toilet bowl and that the tank bolts are tightened evenly. This will help prevent any leaks or wobbling once the toilet is in use.
With the toilet tank properly installed, we can move on to the final step: turning on the water supply.
Before continuing, double-check that all connections are tight and secure.
Step 12: Turning on the Water Supply
After successfully installing the toilet tank, the final step is to turn on the water supply and check for any leaks. Follow these steps to complete the process:
- Locate the water supply valve: The water supply valve is typically located on the wall behind or near the toilet. It is usually a small lever or a round knob.
- Turn on the water supply: Slowly turn the water supply valve counterclockwise to open it and allow water to flow into the toilet tank.
- Check for leaks: Once the water supply is turned on, closely inspect all the connections, including the water supply line, tank bolts, and base of the toilet. Look for any signs of leaks or drips.
- Flush the toilet: After ensuring that there are no leaks, flush the toilet to fill the tank and check for proper water flow and drainage.
If you notice any leaks or issues during this step, it’s important to address them immediately. Tighten any loose connections or replace faulty components as necessary. It’s always better to resolve any problems before regular use of the toilet.
Congratulations! You have successfully completed the process of taking out a toilet and are now ready to use the newly installed toilet or proceed with further repairs if needed.
Remember, if you’re unsure about any aspect of this process or encounter any difficulties, it’s recommended to seek the assistance of a professional plumber to ensure a safe and proper installation.
Now you can enjoy the benefits of a functional toilet and the satisfaction of completing a DIY project!
Conclusion
Removing a toilet may seem like a daunting task, but with the right tools and knowledge, it can be a manageable DIY project. By following the step-by-step instructions outlined in this article, you can successfully take out a toilet and prepare it for repairs or replacement.
Throughout the process, it’s important to prioritize safety and attention to detail. Always turn off the water supply before starting any work, and take precautions to prevent any spills or leaks. Use the recommended tools and materials, and follow the manufacturer’s instructions for your specific toilet model whenever possible.
Remember to take your time and be patient. Rushing through the process can lead to mistakes or damage to the toilet or surrounding area. It’s essential to ensure a secure and watertight installation to avoid any future issues.
If you’re unsure about any aspect of the project or encounter difficulties along the way, it’s always best to seek the assistance of a professional plumber. They have the expertise and experience to handle any challenges that may arise.
By successfully removing and reinstalling a toilet, you can enjoy the benefits of a fully functioning bathroom fixture. Whether you’re upgrading to a new toilet or making necessary repairs, this DIY project can save you time and money.
Remember, maintaining a well-functioning toilet is essential for your everyday comfort and convenience. Regular inspections and upkeep will help prevent future problems and ensure a reliable toilet for years to come.
We hope this guide has provided you with the knowledge and confidence to take out a toilet. With the right tools and a little effort, you can tackle this project and achieve a successful outcome. Good luck!
Frequently Asked Questions about How To Take Out A Toilet
Was this page helpful?
At Storables.com, we guarantee accurate and reliable information. Our content, validated by Expert Board Contributors, is crafted following stringent Editorial Policies. We're committed to providing you with well-researched, expert-backed insights for all your informational needs.


0 thoughts on “How To Take Out A Toilet”