Articles
How To Remove Grout From Floor
Modified: December 7, 2023
Learn how to remove grout from your floor with these helpful articles. Find step-by-step instructions and expert tips to make the process easier.
(Many of the links in this article redirect to a specific reviewed product. Your purchase of these products through affiliate links helps to generate commission for Storables.com, at no extra cost. Learn more)
Introduction
Grout is a common material used to fill the gaps between tiles and create a smooth, uniform surface. Over time, however, grout can become dirty, stained, or even cracked. In these cases, it may be necessary to remove the old grout and replace it with new grout to restore the appearance and functionality of the floor.
Removing grout from a floor can be a challenging task, but with the right tools and techniques, it can be done effectively and efficiently. In this article, we will guide you through the step-by-step process of removing grout from a floor, ensuring that you achieve the best possible results.
Before we dive into the details, let’s take a look at the tools and materials you’ll need for this project:
Tools:
- Grout saw or oscillating tool with a grout removal attachment
- Utility knife
- Chisel
- Hammer
- Vacuum cleaner
- Protective goggles and gloves
Materials:
- Grout softening solution
- Grout removal solution
- Clean water
- Scrub brush or toothbrush
- Rags or towels
Now that you have gathered all the necessary tools and materials, you are ready to start preparing the area for grout removal. Stay tuned for the next section, where we will cover the steps to prepare the area effectively.
Key Takeaways:
- Proper preparation, including gathering the right tools and materials, softening the grout, and using the correct removal techniques, is crucial for successful grout removal from a floor.
- Thoroughly cleaning the floor after grout removal and following the final steps and maintenance recommendations will result in a professionally finished grout surface that lasts for years to come.
Read more: How To Remove Grout From Bathtub
Tools and Materials Needed
Before you begin the process of removing grout from your floor, it’s important to gather all the necessary tools and materials. Having everything you need on hand will make the job more efficient and ensure that you can complete the task successfully. Here is a list of the tools and materials you’ll need:
Tools:
- Grout saw or oscillating tool with a grout removal attachment: This tool is essential for effectively removing the old grout. The grout saw has a sharp blade that can cut through the grout lines, while an oscillating tool with a grout removal attachment can also make the job easier.
- Utility knife: A utility knife is useful for cutting through any stubborn grout or caulk.
- Chisel: Use a chisel along with a hammer to carefully chip away at the grout and remove stubborn sections.
- Hammer: The hammer is used in conjunction with the chisel to break up and remove difficult grout sections.
- Vacuum cleaner: A vacuum cleaner with a brush attachment is necessary to clean up the debris and dust as you remove the grout.
- Protective goggles and gloves: Ensure your safety by wearing protective goggles to shield your eyes from flying debris and gloves to protect your hands.
Materials:
- Grout softening solution: This solution helps in softening the grout, making it easier to remove. It is normally available at hardware stores, and you can choose from different brands.
- Grout removal solution: A specialized grout removal solution can aid in loosening the grout and making it easier to remove. It is important to follow the manufacturer’s instructions carefully.
- Clean water: You will need clean water for rinsing the area after the grout removal process.
- Scrub brush or toothbrush: Use a scrub brush or toothbrush to scrub away any remaining grout particles or debris.
- Rags or towels: These will be useful for wiping down the floor and cleaning up any excess water.
Having these tools and materials at your disposal will make the grout removal process smoother and more efficient. Now that you’re equipped with everything you need, let’s move on to the next section, which covers how to prepare the area before removing the grout.
Preparing the Area
Before you begin the process of removing grout from your floor, it’s important to properly prepare the area. Taking the time to prepare will ensure that you have a clean and safe workspace and protect the surrounding surfaces from any potential damage. Follow these steps to effectively prepare the area:
Step 1: Clear the area: Remove any furniture, rugs, or other objects from the area where you will be working. This will give you ample space to work and prevent any obstruction or damage to the items.
Step 2: Protect adjacent surfaces: Use painter’s tape to cover any adjacent surfaces, such as baseboards or walls, to protect them from accidental damage during the grout removal process. This will prevent scratches or chips on these surfaces.
Step 3: Ventilate the area: Open windows or use fans to ensure good ventilation in the work area. This will help in preventing the accumulation of dust or fumes and create a comfortable working environment.
Step 4: Wear protective gear: Put on protective goggles and gloves to safeguard your eyes and hands from any debris or chemicals that may be released during the grout removal process. Safety should always be a priority.
Step 5: Clean the floor: Sweep or vacuum the floor to remove any loose dirt, dust, or debris. This will ensure that the grout removal process is more effective and minimize the risk of scratching the floor during the process.
Step 6: Protect the floor: Use drop cloths or plastic sheets to cover the floor in the surrounding area. This will protect the floor from any accidental damage caused by the grout removal tools or chemicals. It will also make the cleanup process easier.
By taking the time to prepare the area properly, you’ll create an ideal environment for removing the grout. You’ll also minimize the risk of damaging any surrounding surfaces and make the cleanup process more efficient. Once the area is prepared, you’re ready to move on to the next step: softening the grout. Stay tuned for the next section where we will cover this step in detail.
Softening the Grout
Before you can start removing the grout from your floor, it’s important to soften it first. Softening the grout makes it easier to remove and reduces the risk of damaging the tiles. Follow these steps to effectively soften the grout:
Step 1: Read and follow the instructions: Different grout softening solutions may have different instructions for use. Read the instructions provided by the manufacturer carefully and follow them accordingly.
Step 2: Apply the grout softening solution: Using a brush or sponge, apply the grout softening solution to the grout lines. Make sure to completely saturate the grout and let it sit for the recommended amount of time. This time can vary based on the specific product you are using.
Step 3: Test the softening: After the recommended time has passed, test the softness of the grout by gently scraping it with a utility knife or grout saw. If it feels soft and crumbly, it means the grout has been properly softened. If it still feels hard, you may need to reapply the grout softening solution and wait a bit longer.
Step 4: Be patient: Depending on the condition of the grout and the specific product you are using, it may take some time for the grout to fully soften. Be patient and allow the solution to work its magic. Rushing the process may lead to ineffective grout removal or even damage to the tiles.
Step 5: Rinse the area: Once the grout has softened, rinse the area with clean water to remove any residual grout softening solution. This will prevent any unwanted chemical interactions with the grout removal solution in the next step.
Softening the grout is a crucial step in the grout removal process. It ensures that the grout is pliable and easier to remove without causing damage to the tiles. Once the grout has softened, you can then move on to the next step: removing the grout. Stay tuned for the next section where we will guide you through the grout removal process.
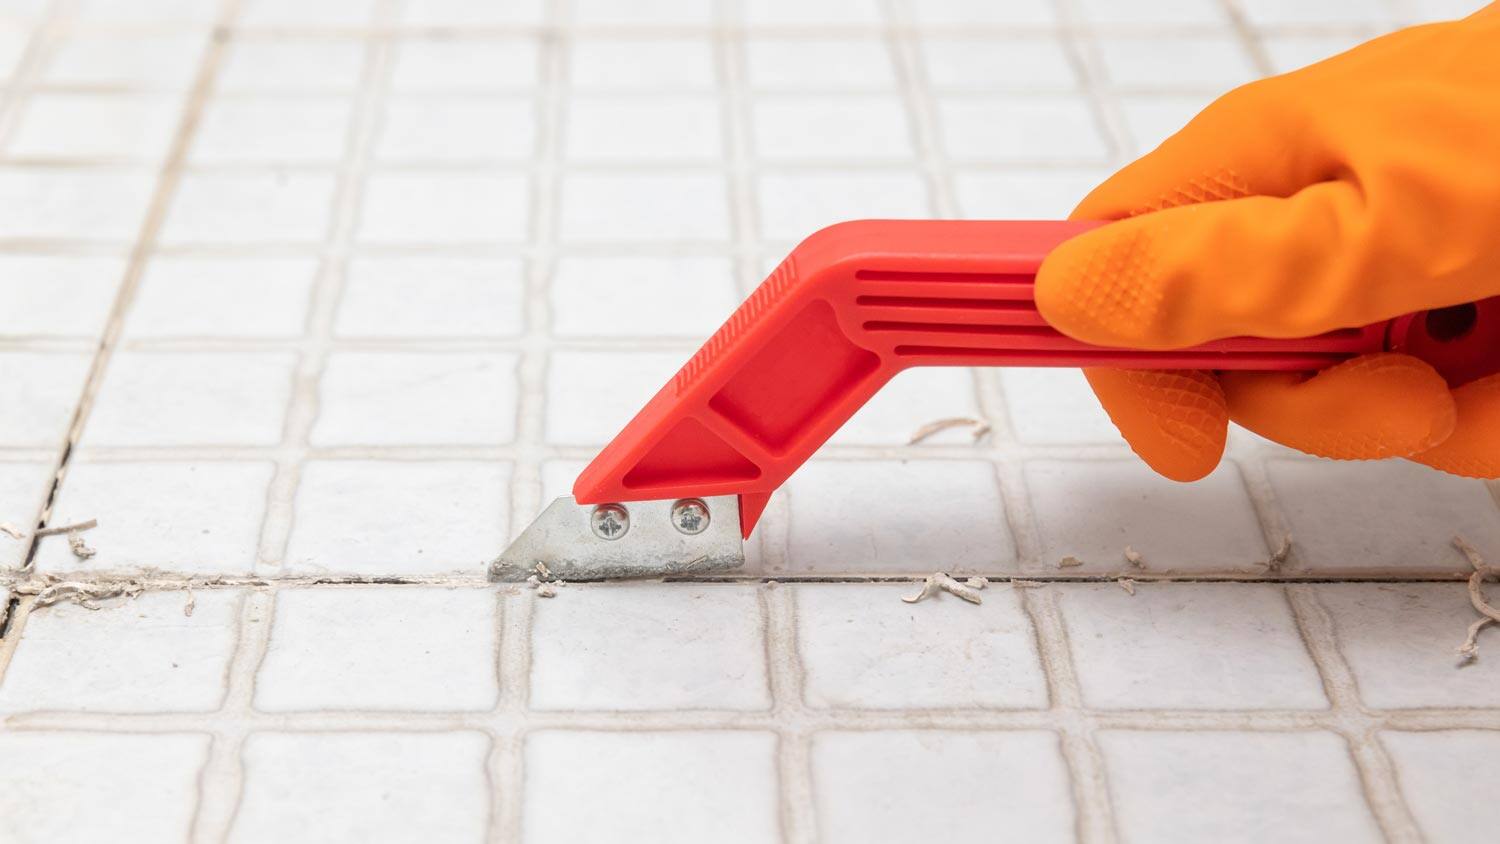
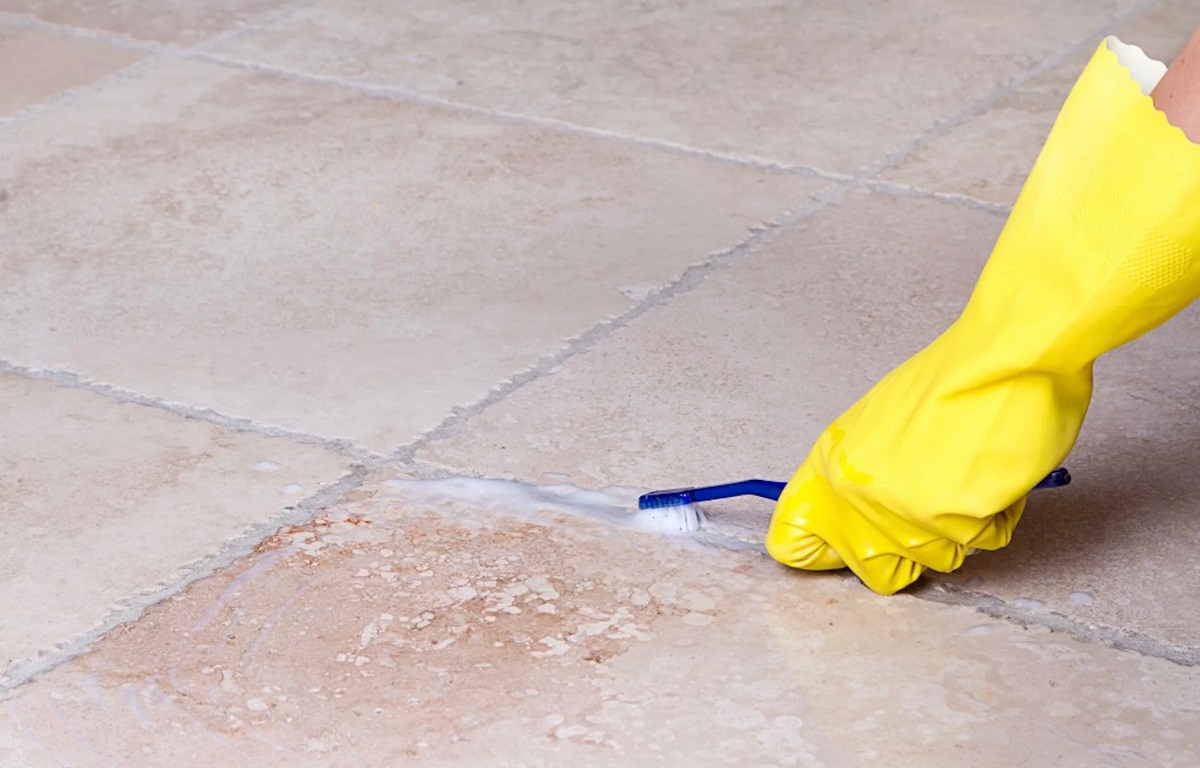
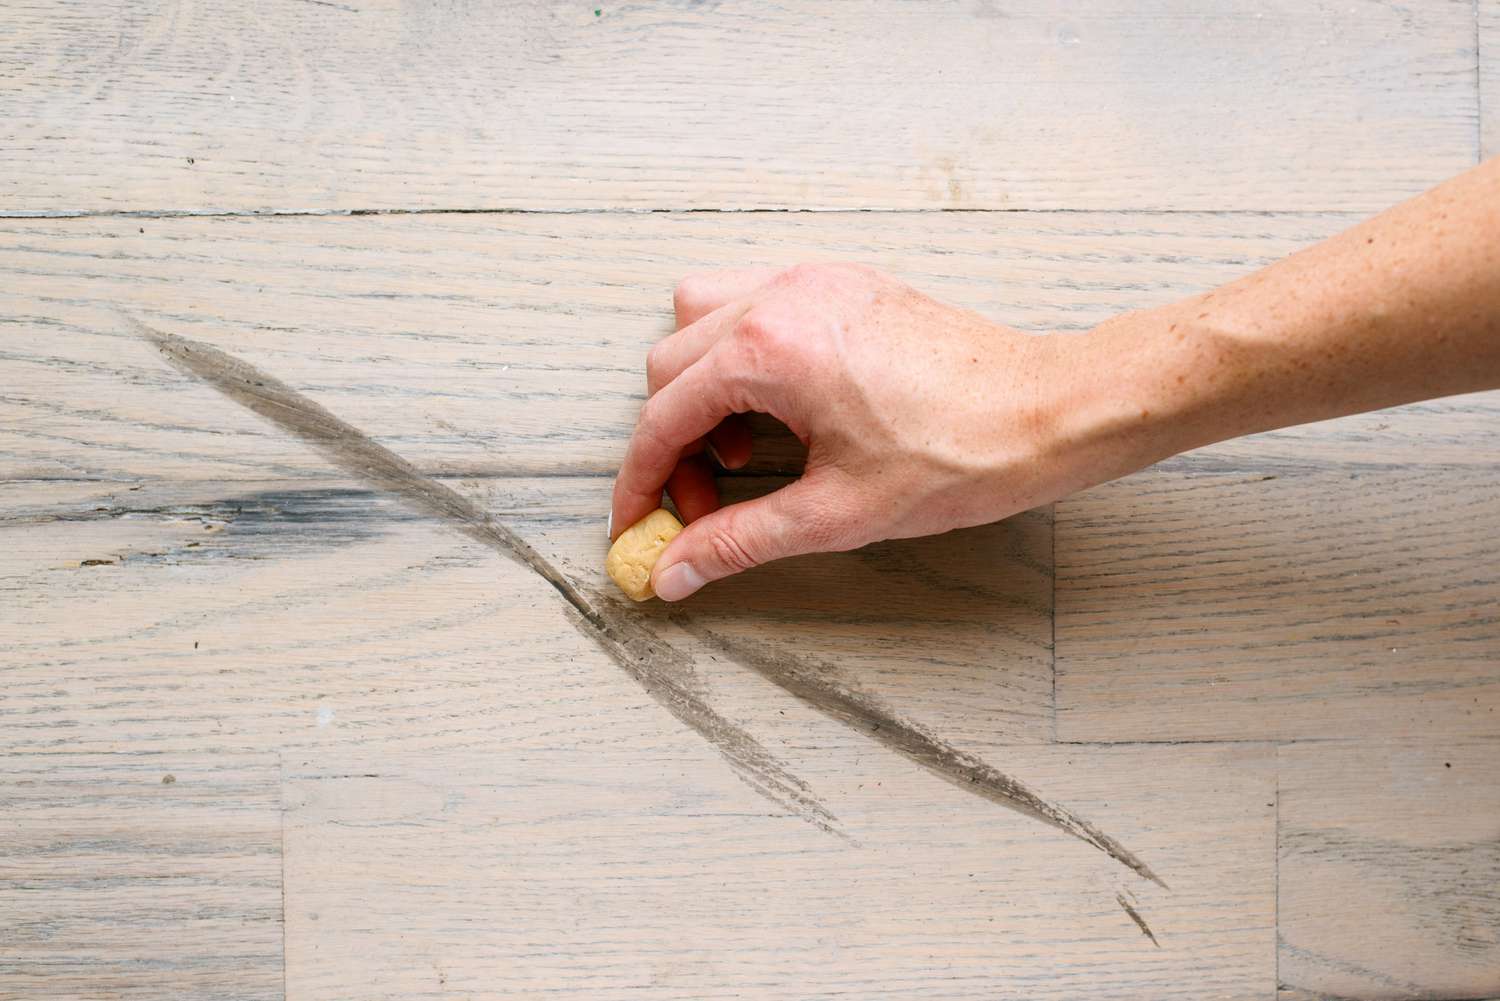
Use a grout saw or rotary tool with a grout removal attachment to carefully scrape out the old grout from the floor. Be sure to wear eye protection and work in a well-ventilated area.
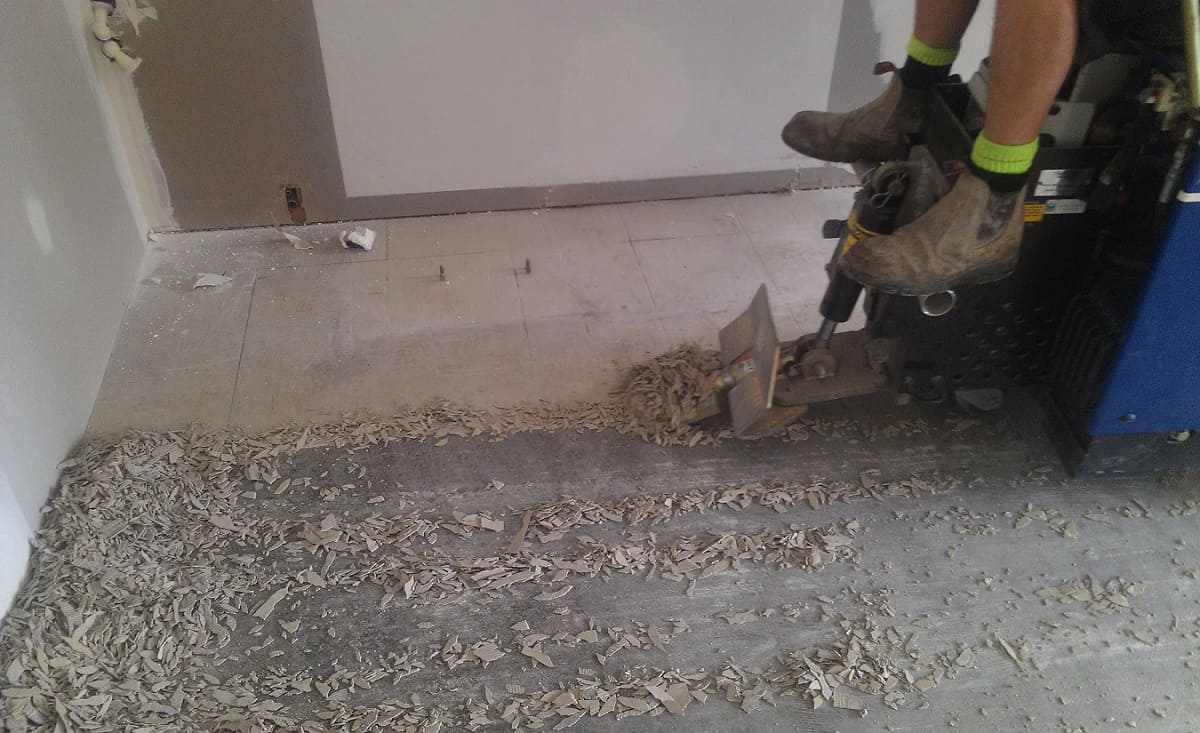
Removing the Grout
Now that you have successfully softened the grout, it’s time to start removing it from your floor. This step requires precision and patience to ensure that the grout is removed without causing any damage to the tiles. Follow these steps to effectively remove the grout:
Step 1: Choose the right tool: Depending on the size and depth of the grout lines, you can use either a grout saw or an oscillating tool with a grout removal attachment. The grout saw is a handheld tool with a sharp blade that allows you to carefully cut through the grout. The oscillating tool, on the other hand, provides a more efficient and precise way to remove the grout with its oscillating blade.
Step 2: Start removing the grout: Hold the grout saw or oscillating tool at a slight angle and begin removing the softened grout from the grout lines. Move the tool back and forth, applying gentle pressure, to remove the grout. Work in sections, focusing on one small area at a time, to avoid unnecessary strain or slippage.
Step 3: Be careful of tile edges: Pay close attention to the edges of the tiles while removing the grout. Ensure that the tool does not come in direct contact with the tile edges to prevent any chips or damage. Take your time and work patiently to maintain the integrity of the tiles.
Step 4: Remove stubborn grout sections: Use a chisel and hammer, if necessary, to carefully chip away at any remaining stubborn grout sections. Tap the chisel gently with the hammer to break up the grout and then remove it with the grout saw or oscillating tool.
Step 5: Clean as you go: As you remove the grout, use a vacuum cleaner with a brush attachment to clean up the debris and dust. Keeping the work area clean will help you see the progress you’re making and prevent any potential damage caused by grout particles.
Step 6: Repeat the process if needed: Depending on the condition of the grout and the thoroughness of your initial removal, you may need to repeat the grout removal process to ensure all the grout is completely removed. Pay close attention to any missed spots or areas that still have remnants of grout.
Removing grout from your floor can be a tedious process, especially if you have a large area to work on. Take breaks as needed to prevent fatigue and maintain your focus. Once you are satisfied that all the grout has been removed, you can move on to the next step: cleaning the floor. Stay tuned for the next section where we will guide you through the cleaning process.
Read more: How To Grout Shower Floor
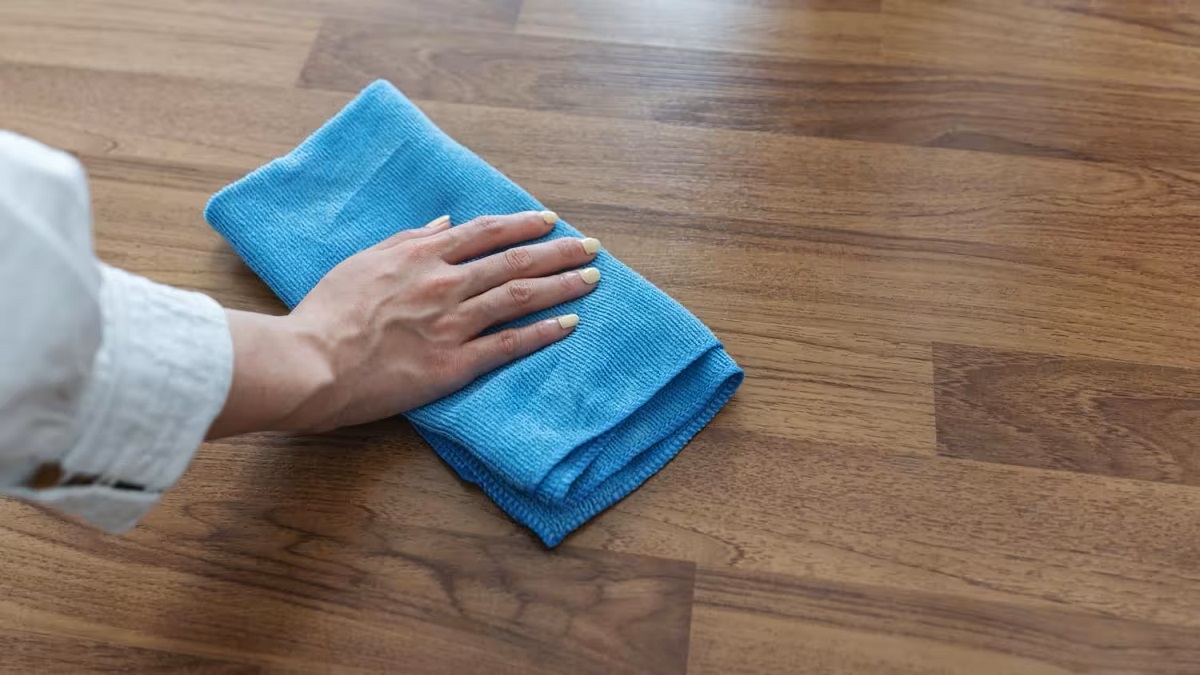
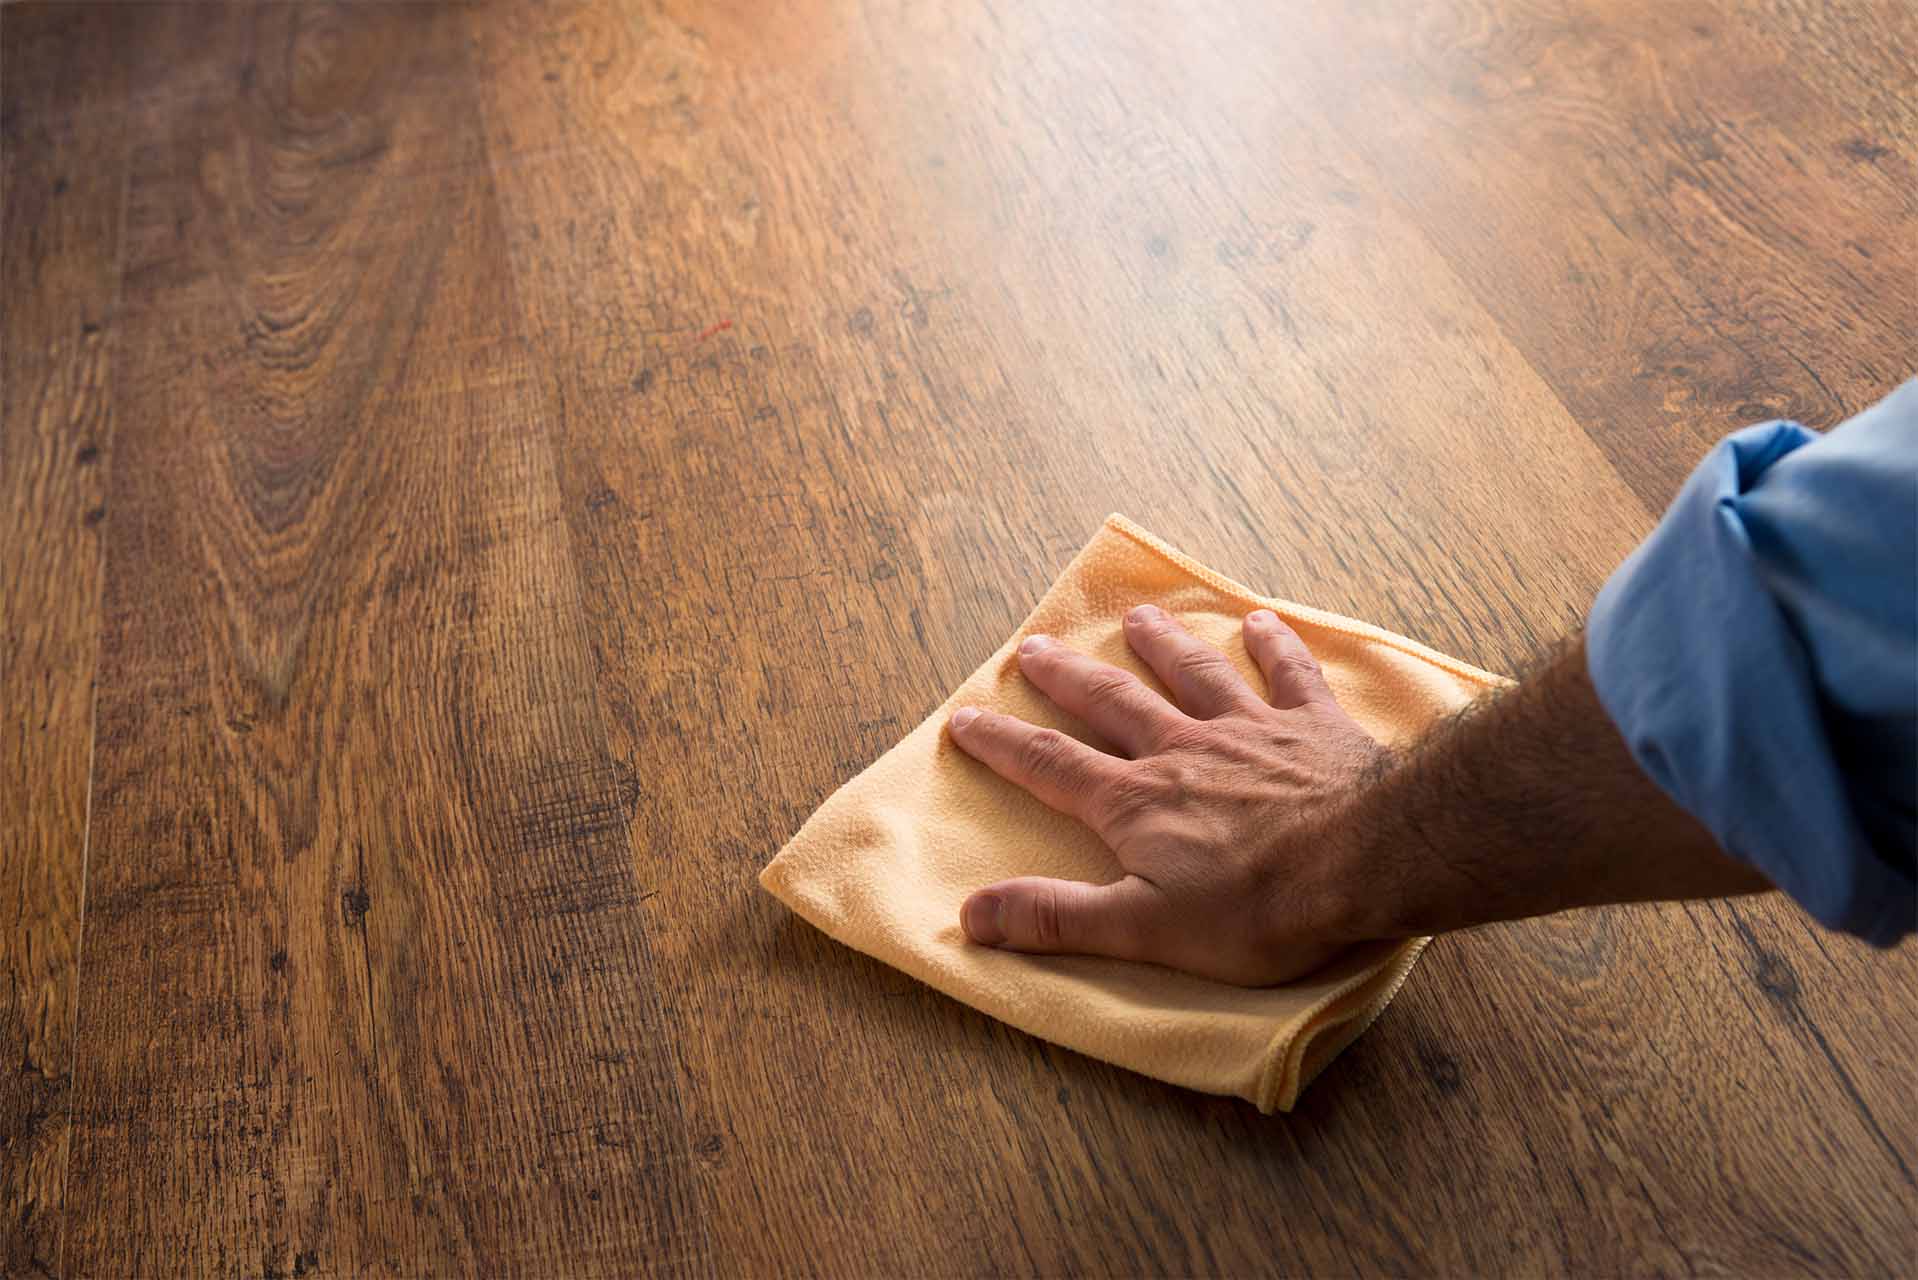
Cleaning the Floor
After successfully removing the grout from your floor, it’s essential to thoroughly clean the area to ensure a clean and fresh surface for applying new grout. Cleaning the floor will remove any residual grout particles, dust, or debris, and prepare it for the next steps in the grout replacement process. Follow these steps to effectively clean the floor:
Step 1: Vacuum the area: Start by using a vacuum cleaner with a brush attachment to remove any loose grout particles, dust, or debris from the floor. Pay attention to the grout lines and corners to ensure a thorough cleaning.
Step 2: Damp mop the floor: Fill a bucket with clean water and dampen a mop or sponge. Wring out excess water so that the mop or sponge is slightly damp. Then, carefully mop the entire floor surface, ensuring that you reach into all the corners and grout lines. This will help remove any remaining grime or residue.
Step 3: Use a grout cleaner (optional): If there are any stubborn stains or discoloration on the tiles or in the grout lines, you may consider using a grout cleaner. Follow the instructions provided by the manufacturer and apply the grout cleaner to the affected areas. Use a brush or sponge to scrub gently and remove the stains. Rinse the area thoroughly with clean water afterward.
Step 4: Let the floor dry: Allow the floor to air dry completely before proceeding with the next steps. This will ensure that the surface is free from moisture and ready for the application of new grout.
Step 5: Inspect the floor: Take a close look at the floor and grout lines to ensure that they are clean and free from any remaining grout residue or debris. If necessary, repeat steps 1-4 to achieve the desired level of cleanliness.
By taking the time to clean the floor properly, you will create a clean and pristine surface for applying new grout. This will help ensure that the grout adheres well and lasts longer. Once the floor is clean and dry, you can proceed to the next steps: applying new grout and completing the final steps of the grout replacement process. Stay tuned for the next section where we will cover these final steps and provide some recommendations for a successful grout replacement.
Final Steps and Recommendations
After removing the grout and cleaning the floor, you are now ready to complete the final steps of the grout replacement process. These steps will help ensure a successful and long-lasting grout application. Additionally, we have some recommendations to further enhance your grout replacement project. Follow these final steps and recommendations:
Step 1: Prepare the new grout: Follow the manufacturer’s instructions to prepare the grout mixture. Make sure to mix it to the proper consistency and let it sit for the recommended time before applying it to the floor. Consistency is key for the grout to properly adhere to the tiles and fill the gaps.
Step 2: Apply the new grout: Use a grout float or a rubber grout applicator to apply the new grout mixture into the grout lines. Hold the float at a 45-degree angle and push the grout into the lines, ensuring they are completely filled. Scrape off any excess grout using the edge of the float.
Step 3: Clean off excess grout: Use a damp sponge to wipe away the excess grout from the tiles before it dries. Rinse the sponge frequently and continue to wipe until the tiles are clean and the grout lines are smooth and even. Be gentle to avoid removing too much grout from the lines.
Step 4: Allow the grout to cure: Follow the recommended curing time provided by the manufacturer. Avoid walking on the newly grouted surface until it has fully cured to prevent any damage or shifting of the grout. This will ensure a durable and long-lasting grout installation.
Recommendations:
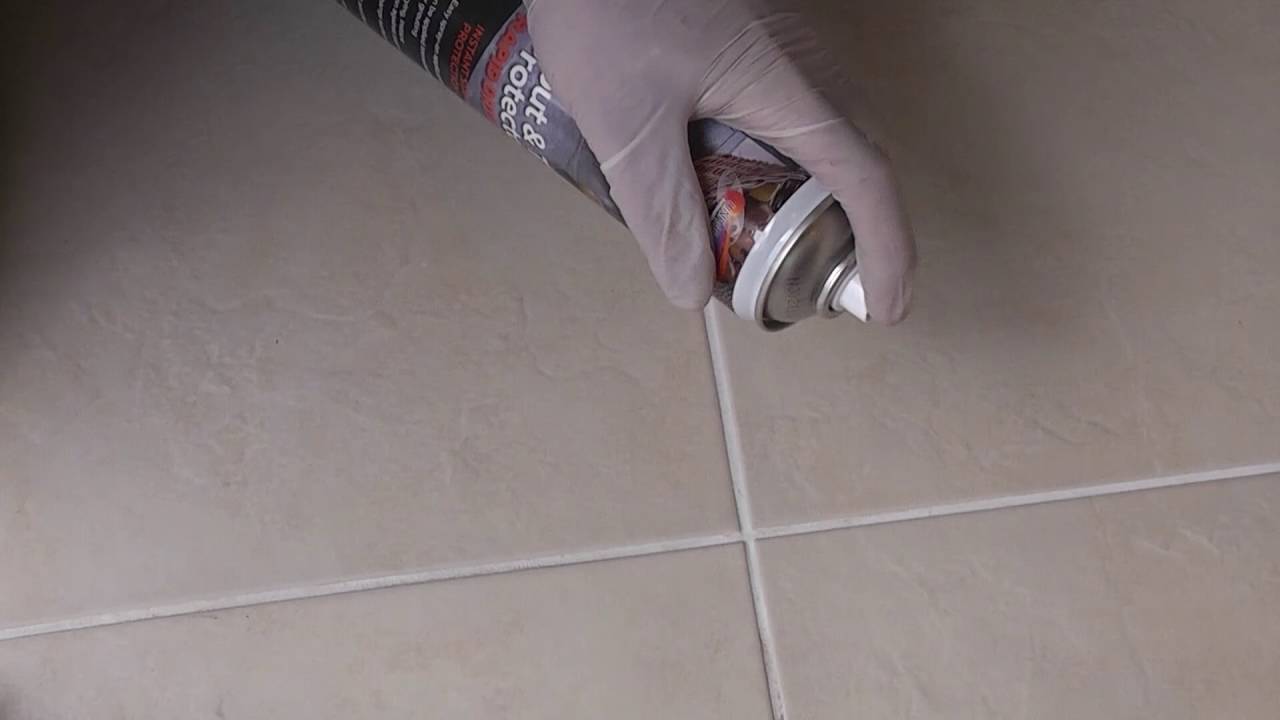
- Seal the grout: Consider applying a grout sealer once the grout has fully cured. This will help protect the grout from stains and make it easier to clean in the future. Follow the instructions on the grout sealer product for the best results.
- Maintain regular cleaning: Keep your newly grouted floor clean by regularly sweeping and mopping it. Avoid using harsh chemicals or abrasives that may damage the grout surface.
- Address grout issues promptly: If you notice any cracks or damage to the grout over time, address it promptly to prevent further issues. Repair or replace the damaged grout to maintain the appearance and functionality of your floor.
- Consider professional help: If you are unsure about any aspect of the grout replacement process or have a large area to work on, it may be beneficial to seek the assistance of a professional. They have the expertise and tools to ensure a smooth and successful grout replacement.
By following these final steps and recommendations, you will achieve a beautifully restored and functional grout surface. Your floor will have a fresh and clean appearance, and your newly replaced grout will last for years to come. We hope that this guide has been helpful in assisting you with the grout removal and replacement process. Remember to always prioritize safety and take your time to achieve the best results.
Conclusion
Removing grout from a floor can seem like a daunting task, but with the right tools, materials, and techniques, it can be accomplished successfully. By following the step-by-step process outlined in this article, you can effectively remove old grout and prepare the surface for new grout installation.
Starting with the proper preparation of the area, ensuring you have all the necessary tools and materials, and softening the grout, you set the stage for a smooth grout removal process. Taking your time and using the right tools, such as a grout saw or an oscillating tool, will help you remove the grout efficiently and without causing damage to the tiles.
Cleaning the floor after grout removal is an important step to ensure a fresh and clean surface. Vacuuming the area to remove loose grout particles and debris, mopping the floor to remove any remaining residue, and drying the floor thoroughly are crucial for a successful grout replacement project.
Completing the final steps, such as mixing and applying the new grout, cleaning off excess grout, and allowing the grout to cure, will result in a professionally finished grout surface. Following the recommended maintenance and care tips, such as regular cleaning and addressing grout issues promptly, will help prolong the life and appearance of your newly replaced grout.
Whether you’re tackling a small grout removal project or a larger one, it’s important to approach the task with patience, attention to detail, and safety precautions. And remember, if you ever feel overwhelmed or unsure about any aspect of the grout removal process, it’s always a good idea to seek professional assistance.
By following the guidance provided in this article, you can confidently remove grout from your floor and achieve a fresh, clean, and aesthetically pleasing result. So roll up your sleeves, gather your tools, and begin your grout removal journey. Enjoy the satisfaction of revitalizing your floor and creating a beautiful space for years to come!
Frequently Asked Questions about How To Remove Grout From Floor
Was this page helpful?
At Storables.com, we guarantee accurate and reliable information. Our content, validated by Expert Board Contributors, is crafted following stringent Editorial Policies. We're committed to providing you with well-researched, expert-backed insights for all your informational needs.


0 thoughts on “How To Remove Grout From Floor”