
Articles
How To Remove An Attic Fan
Modified: October 20, 2024
Learn how to remove an attic fan with our detailed step-by-step articles. Expert tips and guidance to safely uninstall your attic fan.
(Many of the links in this article redirect to a specific reviewed product. Your purchase of these products through affiliate links helps to generate commission for Storables.com, at no extra cost. Learn more)
Introduction
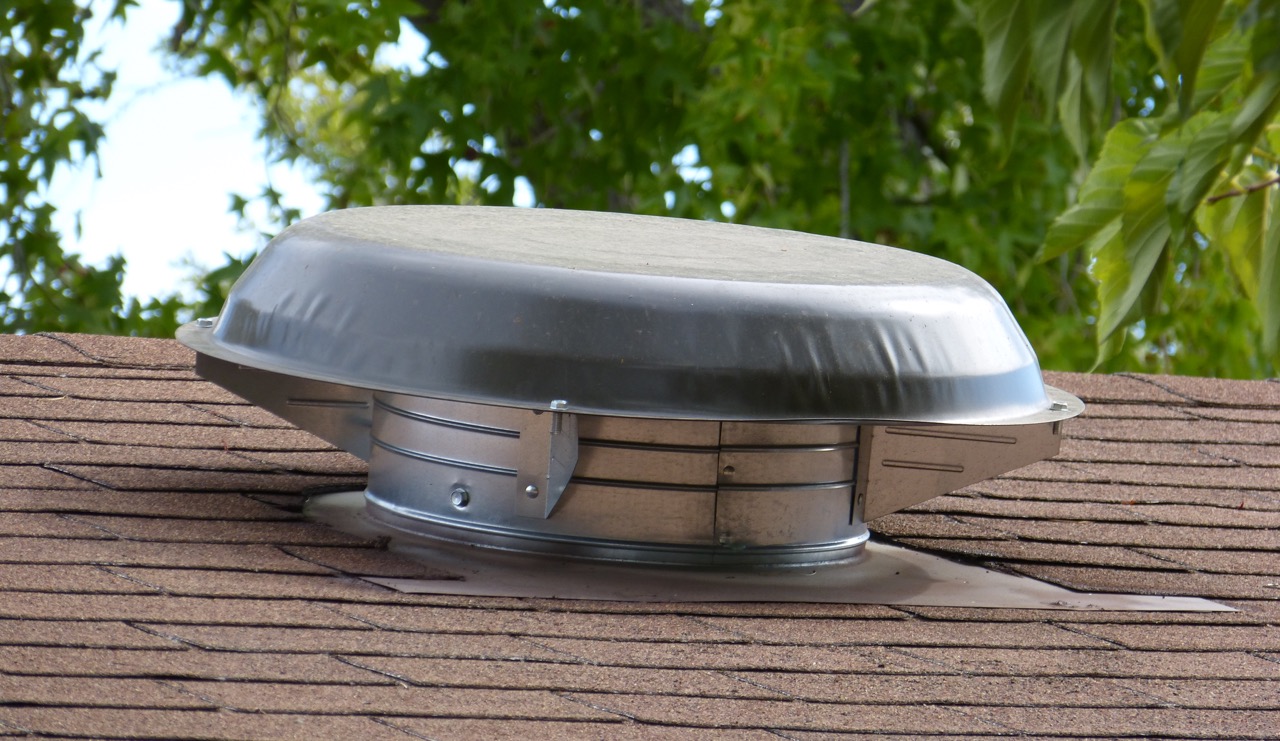
Attic fans are commonly installed in homes to help regulate the temperature and ventilation in the attic space. However, there may come a time when you need to remove an attic fan, whether it’s due to a malfunction, an upgrade, or a change in the attic’s use. Removing an attic fan may seem like a daunting task, but with the right tools and knowledge, it can be a relatively straightforward process.
In this article, we will guide you through the step-by-step process of removing an attic fan. We will cover the necessary preparations, safety precautions, and the specific tasks involved in successfully removing and cleaning up after the removal. By following these instructions, you can safely and effectively remove an attic fan and restore your attic space to its original condition.
Before we get started, it’s important to note that electrical work can be dangerous. If you’re not comfortable working with electricity or unsure about any part of the process, it’s best to hire a professional electrician to assist you. Safety should always be the top priority when working with any electrical components.
Now, let’s dive into the step-by-step process of removing an attic fan.
Key Takeaways:
- Removing an attic fan involves careful preparation, turning off the power supply, disconnecting wiring, and safely removing the fan from the ceiling joists. Following safety precautions and seeking professional help when needed is crucial.
- After removing the attic fan, patching the hole in the ceiling and cleaning up the attic space are essential steps to restore the area. Prioritize safety, seek professional assistance if unsure, and take pride in completing the project.
Read more: How To Fix An Attic Fan
Step 1: Prepare for the Removal
Before you start removing an attic fan, there are a few key preparations you need to make to ensure a smooth and safe process. These preparations include gathering the necessary tools, assessing the attic space, and taking safety precautions.
The first step is to gather the tools you’ll need for the removal. Here are some essential tools to have on hand:
- Screwdriver or drill
- Wire cutters/strippers
- Pliers
- Ladder or scaffolding
- Flashlight
- Drop cloth or tarp
- Dust mask and protective eyewear
Once you have gathered your tools, it’s time to assess the attic space. Take a moment to familiarize yourself with the fan’s location and its surrounding area. Ensure there is enough space to maneuver and access the fan safely. Clear away any obstructions or debris that may hinder the removal process.
Next, you’ll want to turn off the power supply to the attic fan. Locate the circuit breaker that controls the fan and switch it off. To be extra cautious, you can also double-check by using a non-contact voltage tester to ensure the power is truly off.
Now that you’ve prepared the tools and assessed the attic space, it’s important to take safety precautions before starting the removal. Wear a dust mask and protective eyewear to protect yourself from dust and debris. If the attic space is cramped, consider using knee pads for added comfort. Additionally, ensure that the ladder or scaffolding is stable and secure before climbing up. Safety should always be a top priority during any home improvement project.
With the necessary preparations in place, you’re now ready to move on to the next step: turning off the power supply to the attic fan.
Step 2: Turn off the Power
Before you begin removing the attic fan, it’s crucial to turn off the power to prevent any electrical accidents. Follow these steps to safely turn off the power supply:
- Locate the circuit breaker panel in your home. This is usually found in the basement, garage, or utility room.
- Open the circuit breaker panel and identify the breaker that controls the attic fan. It should be labeled accordingly, but if not, you may need to do some trial and error by flipping different breakers until the fan shuts off.
- Once you have located the correct breaker, switch it to the “off” position.
- For an extra level of safety, use a non-contact voltage tester to verify that there is no electricity flowing to the fan. Hold the tester near the fan or any exposed wires and check for any signs of voltage.
It’s essential to ensure that the power is completely turned off before proceeding with the removal process. Accidentally working on live wires can lead to serious injury or even death.
Once you have confirmed that the power is off, it’s time to move on to the next step: removing the fan cover.
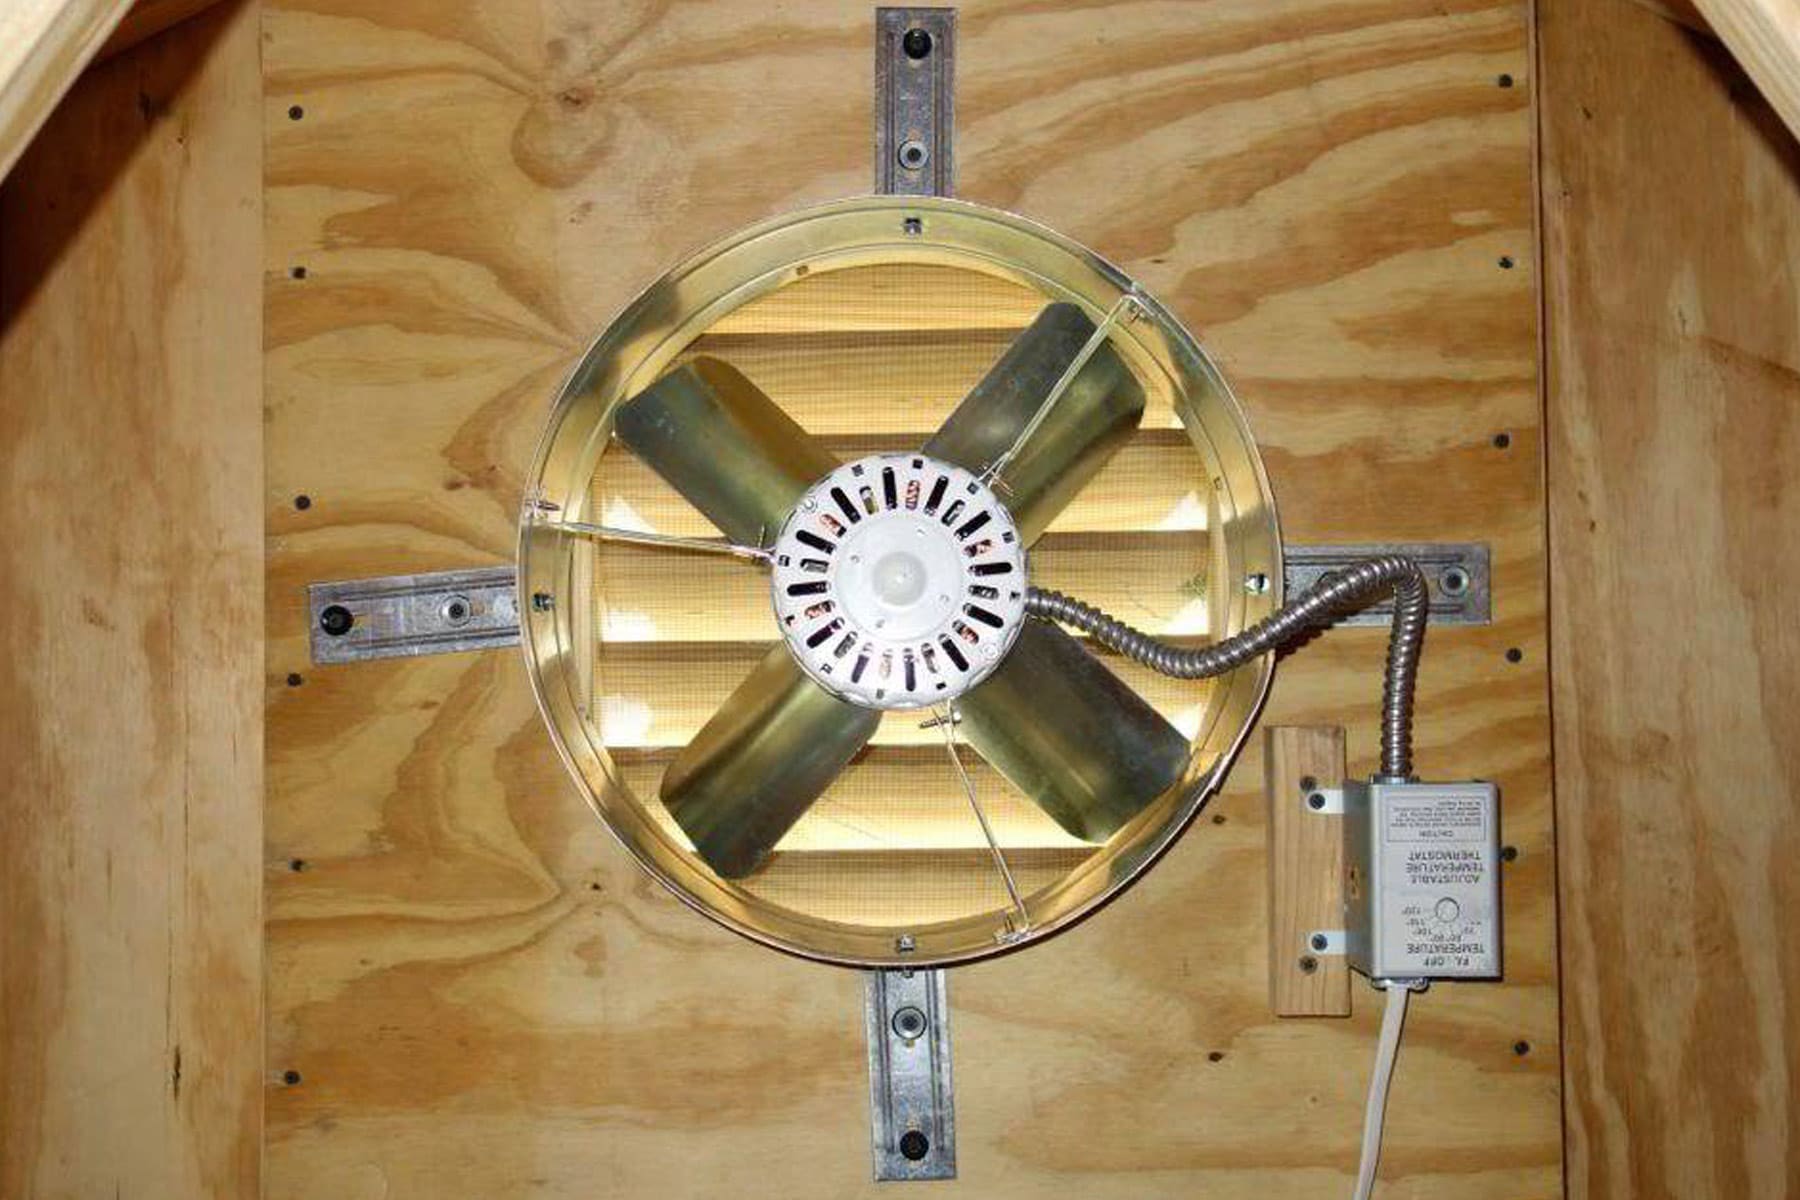
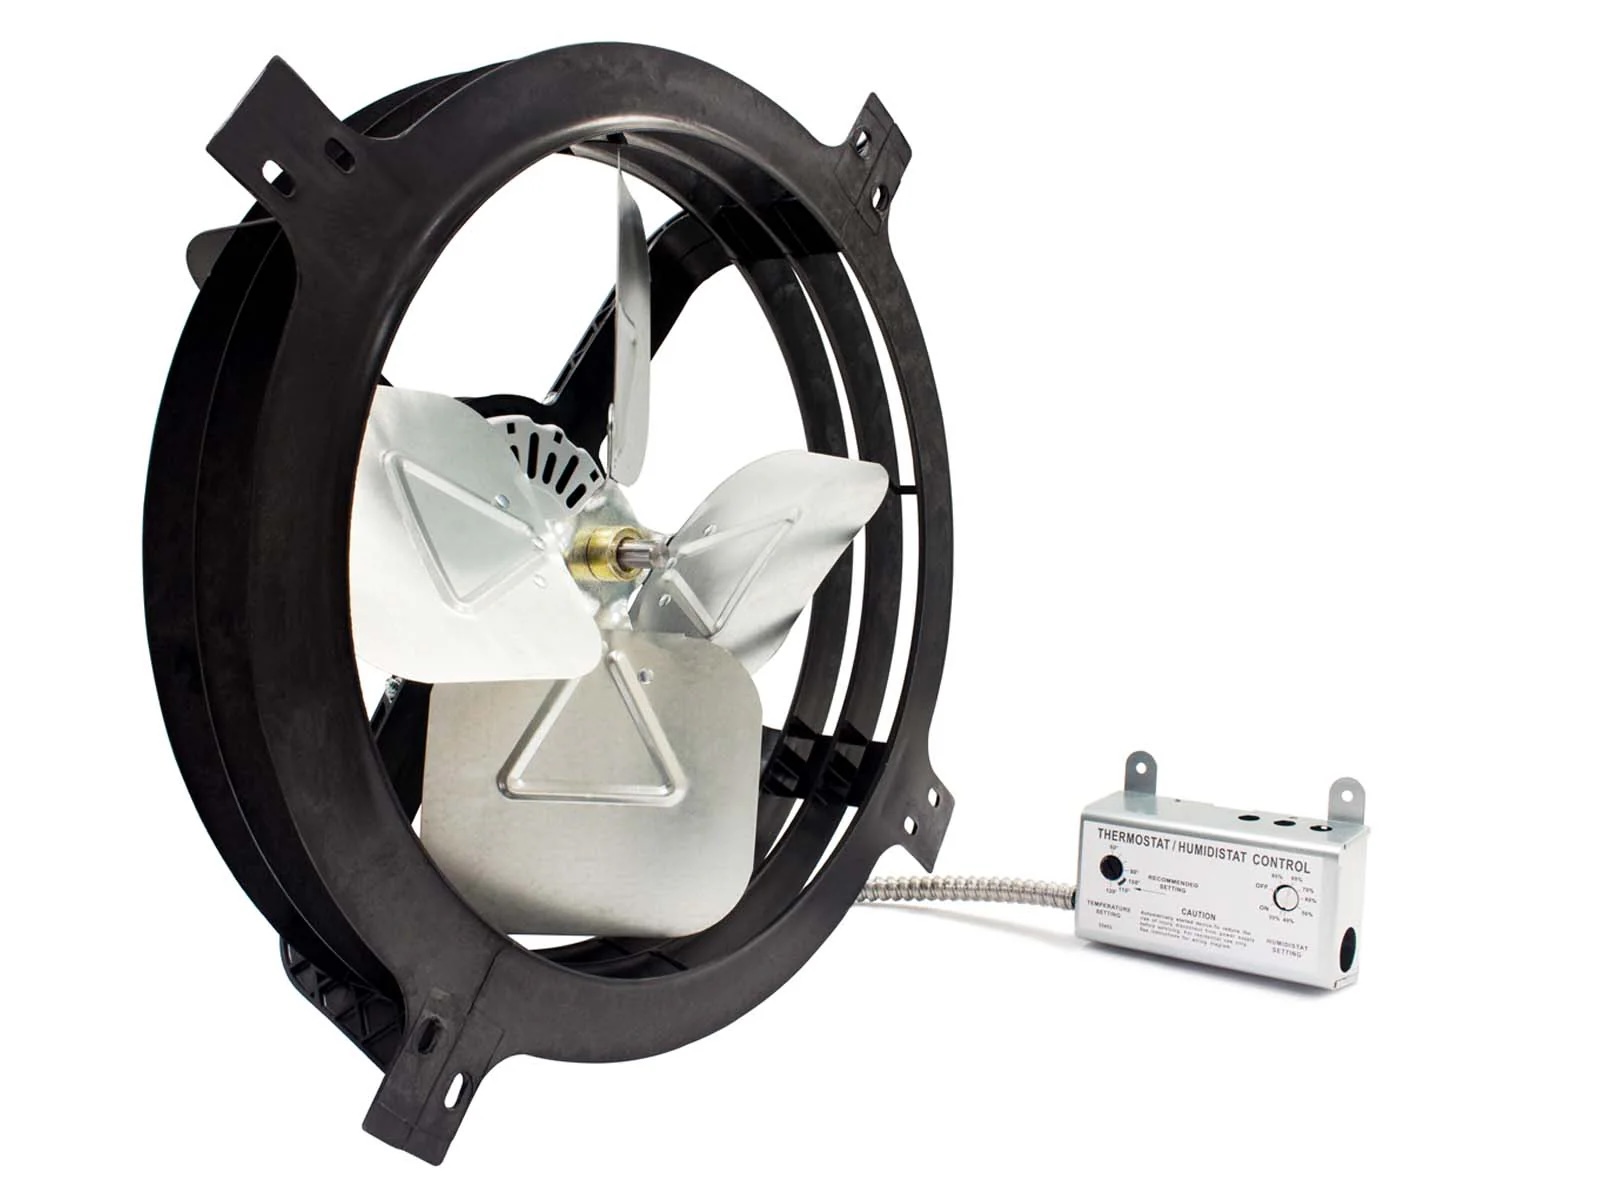
Step 3: Remove the Fan Cover
With the power turned off, it’s time to remove the fan cover. The fan cover is typically held in place by screws or clips. Follow these steps to safely remove the cover:
- Using a screwdriver or drill, carefully remove the screws that hold the fan cover in place. Place the screws in a safe location to avoid misplacing them.
- If the fan cover is secured with clips, squeeze the clips together to release them from the fan housing. Be gentle to avoid damaging the cover or the clips.
- Once all the screws or clips have been removed, gently lift the fan cover off the housing. Set it aside in a safe place.
As you remove the fan cover, be cautious of any wiring that may be connected to it. Some attic fans may have wires that are attached to the cover or run through it. Take note of how the wires are connected so you can properly disconnect them in the next step.
Inspect the fan cover for any signs of damage or wear. If the cover is in good condition, you can set it aside to be reused later. However, if the cover is damaged beyond repair, you may need to consider purchasing a replacement before reinstalling the fan.
By removing the fan cover, you have gained access to the internal components of the attic fan. In the next step, we will guide you through the process of safely disconnecting the wiring.
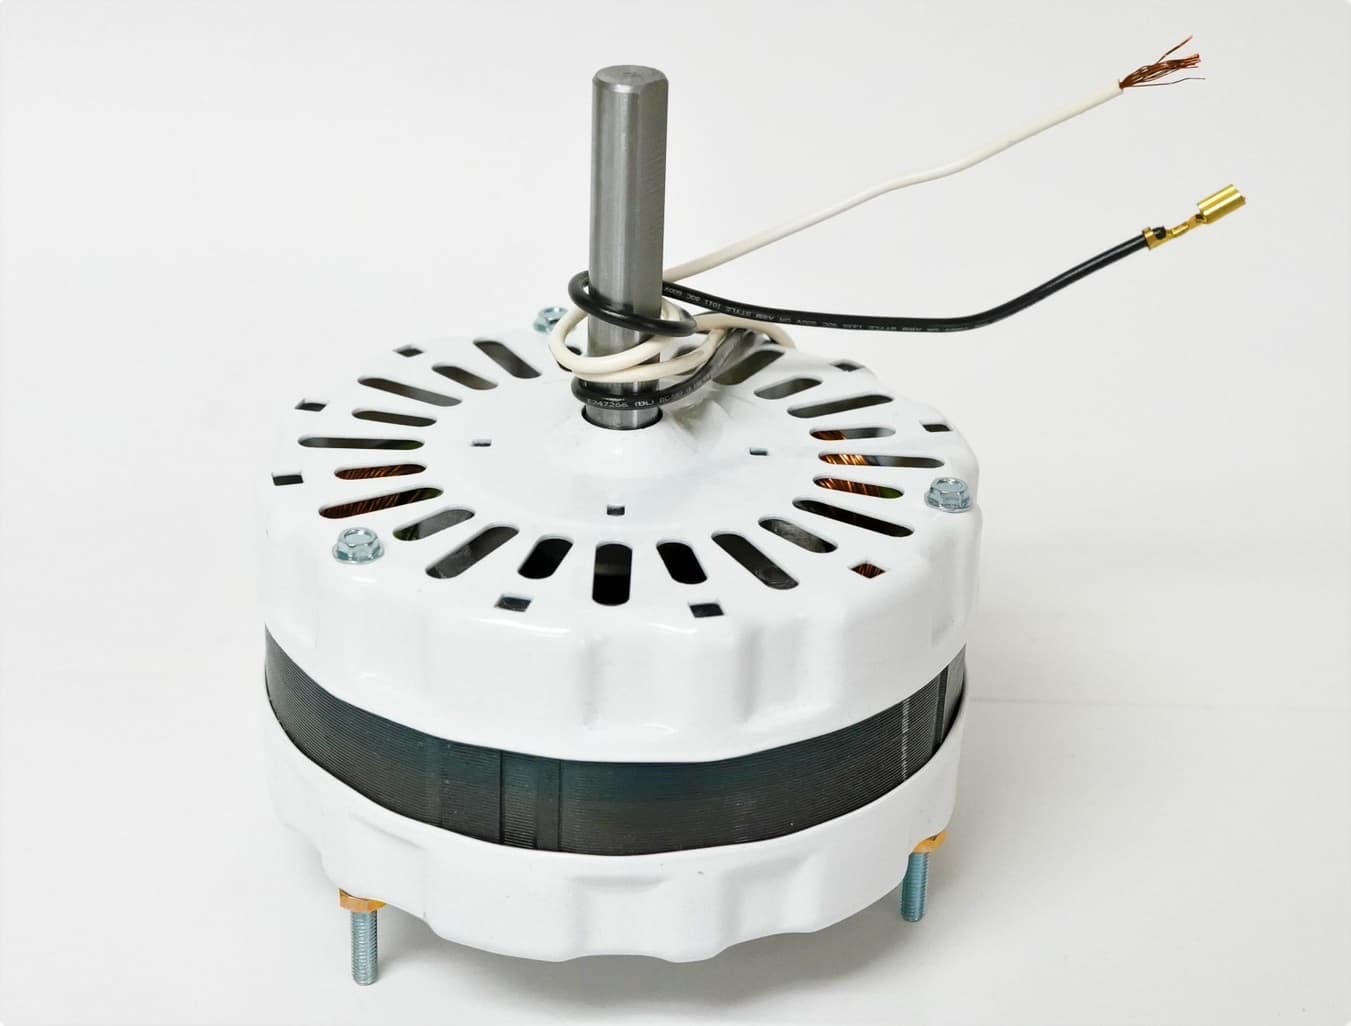
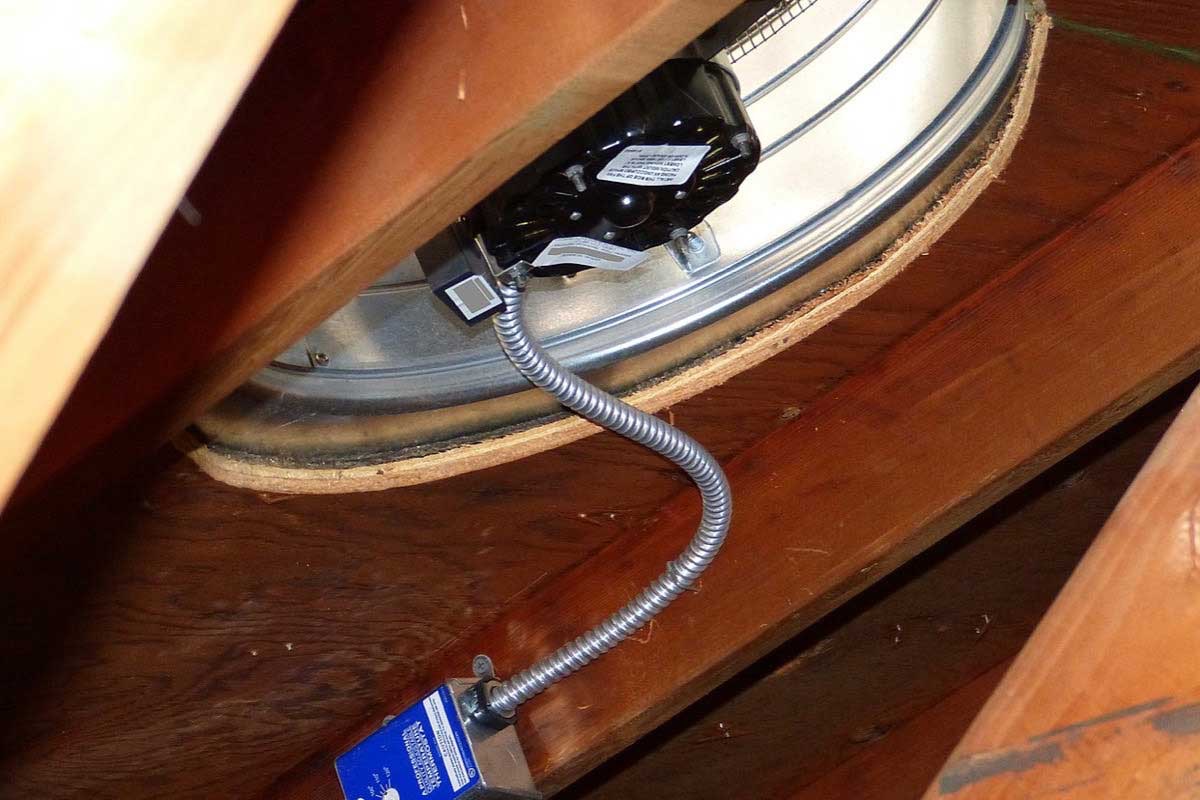
Step 4: Disconnect the Wiring
Now that you have removed the fan cover, it’s time to disconnect the wiring. Before proceeding, it’s important to remember that dealing with electrical connections should be done with caution. If you are not confident in your abilities or have limited experience working with electricity, it’s best to seek assistance from a professional electrician.
Follow these steps to safely disconnect the wiring:
- Locate the electrical junction box that houses the wiring for the attic fan. This box is typically located near the fan or in close proximity to it.
- Open the junction box cover by removing the screws that secure it in place. Be careful not to touch any exposed wires inside the box.
- Once the junction box cover is removed, you will see the wiring connections for the attic fan. Take note of how the wires are connected or take a picture for reference before proceeding.
- Using wire cutters or strippers, carefully disconnect the wires by cutting them one at a time. Be sure to leave enough length on each wire for later reconnection.
- Once all the wires are disconnected, secure them individually by using wire nuts or electrical tape. This will prevent them from accidentally touching each other or coming into contact with other live wires.
It’s crucial to exercise caution while disconnecting the wiring to avoid electrical shock. Always double-check that the power is turned off and use insulated tools when working on electrical connections.
After disconnecting the wiring, the attic fan is now ready to be physically removed from the ceiling. In the next step, we will guide you through the process of removing the fan from the ceiling joists.
Before removing an attic fan, make sure to turn off the power to the fan at the circuit breaker. Use a screwdriver to remove the screws holding the fan in place, then carefully disconnect the wiring before lifting the fan out of the opening.
Read more: How to Install an Attic Fan
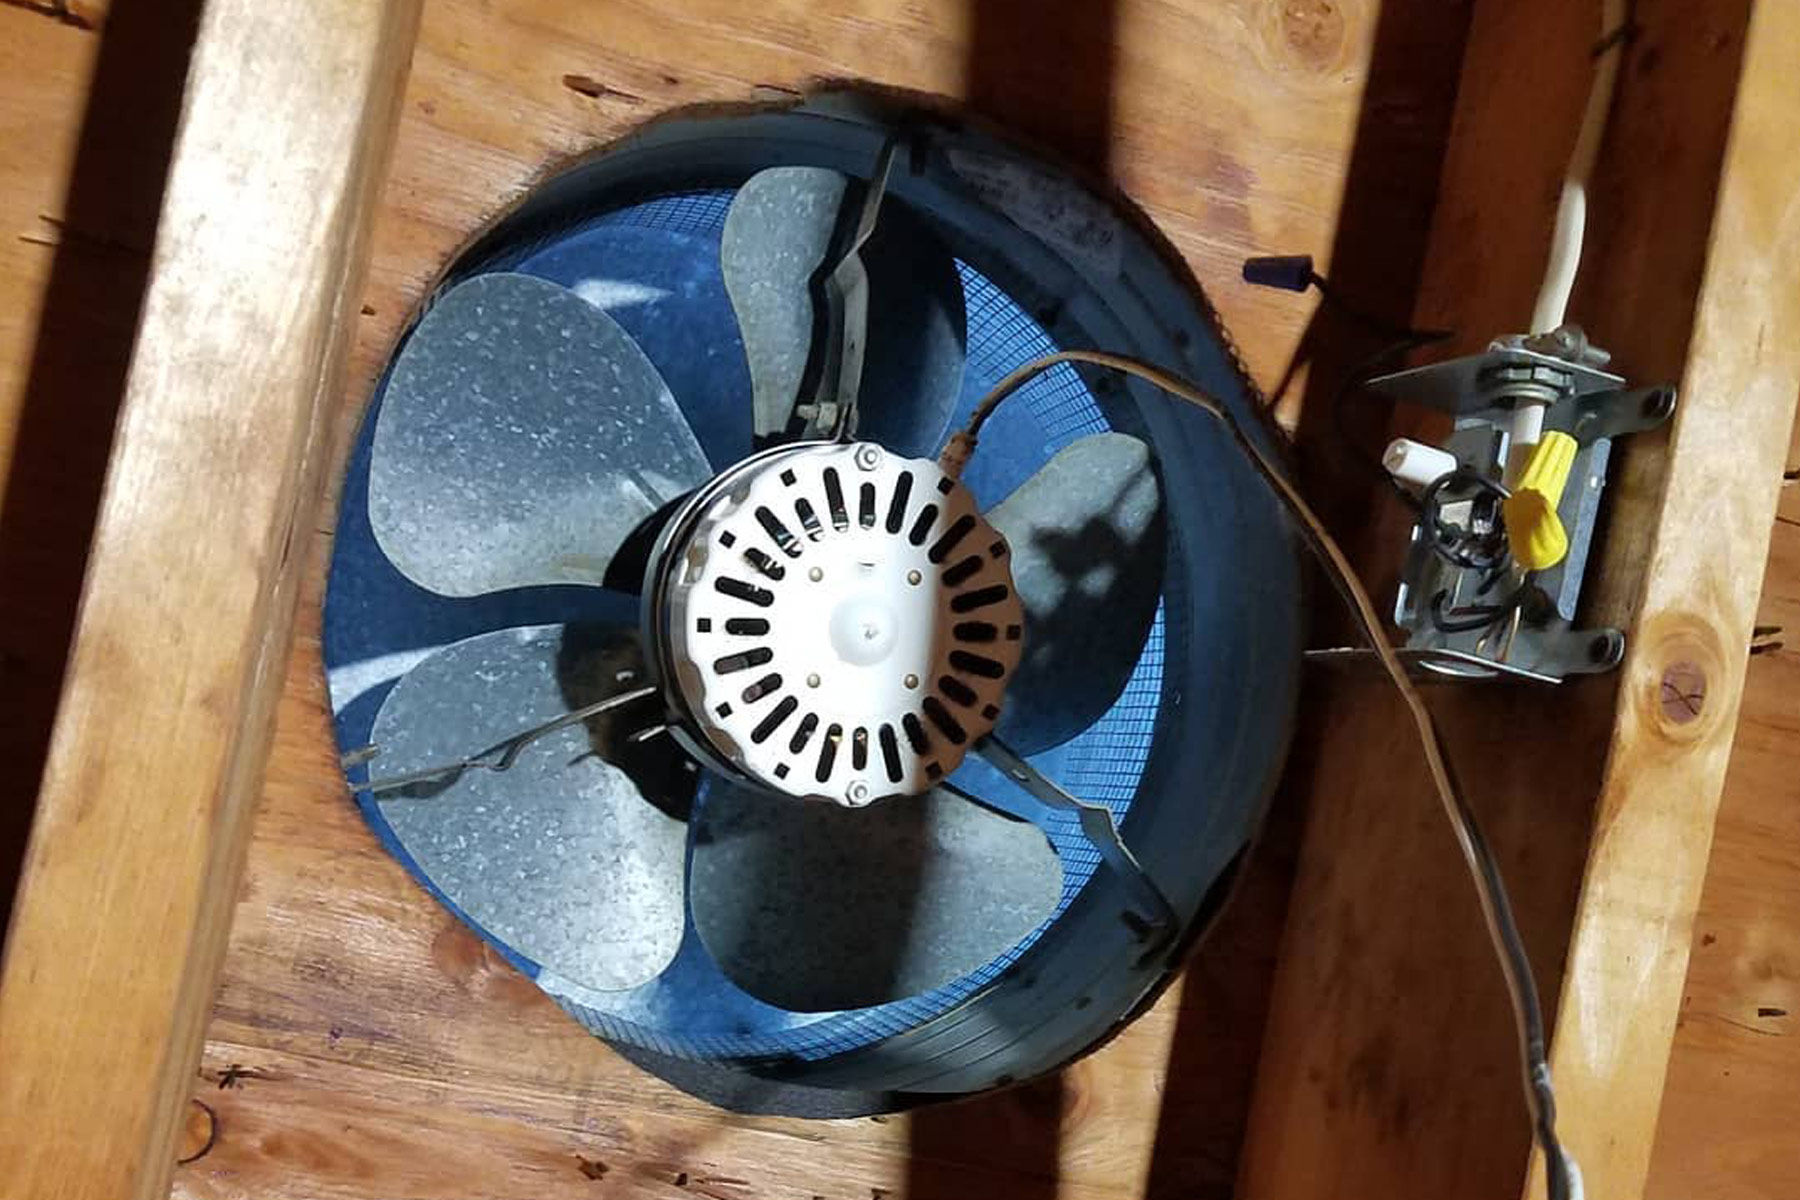
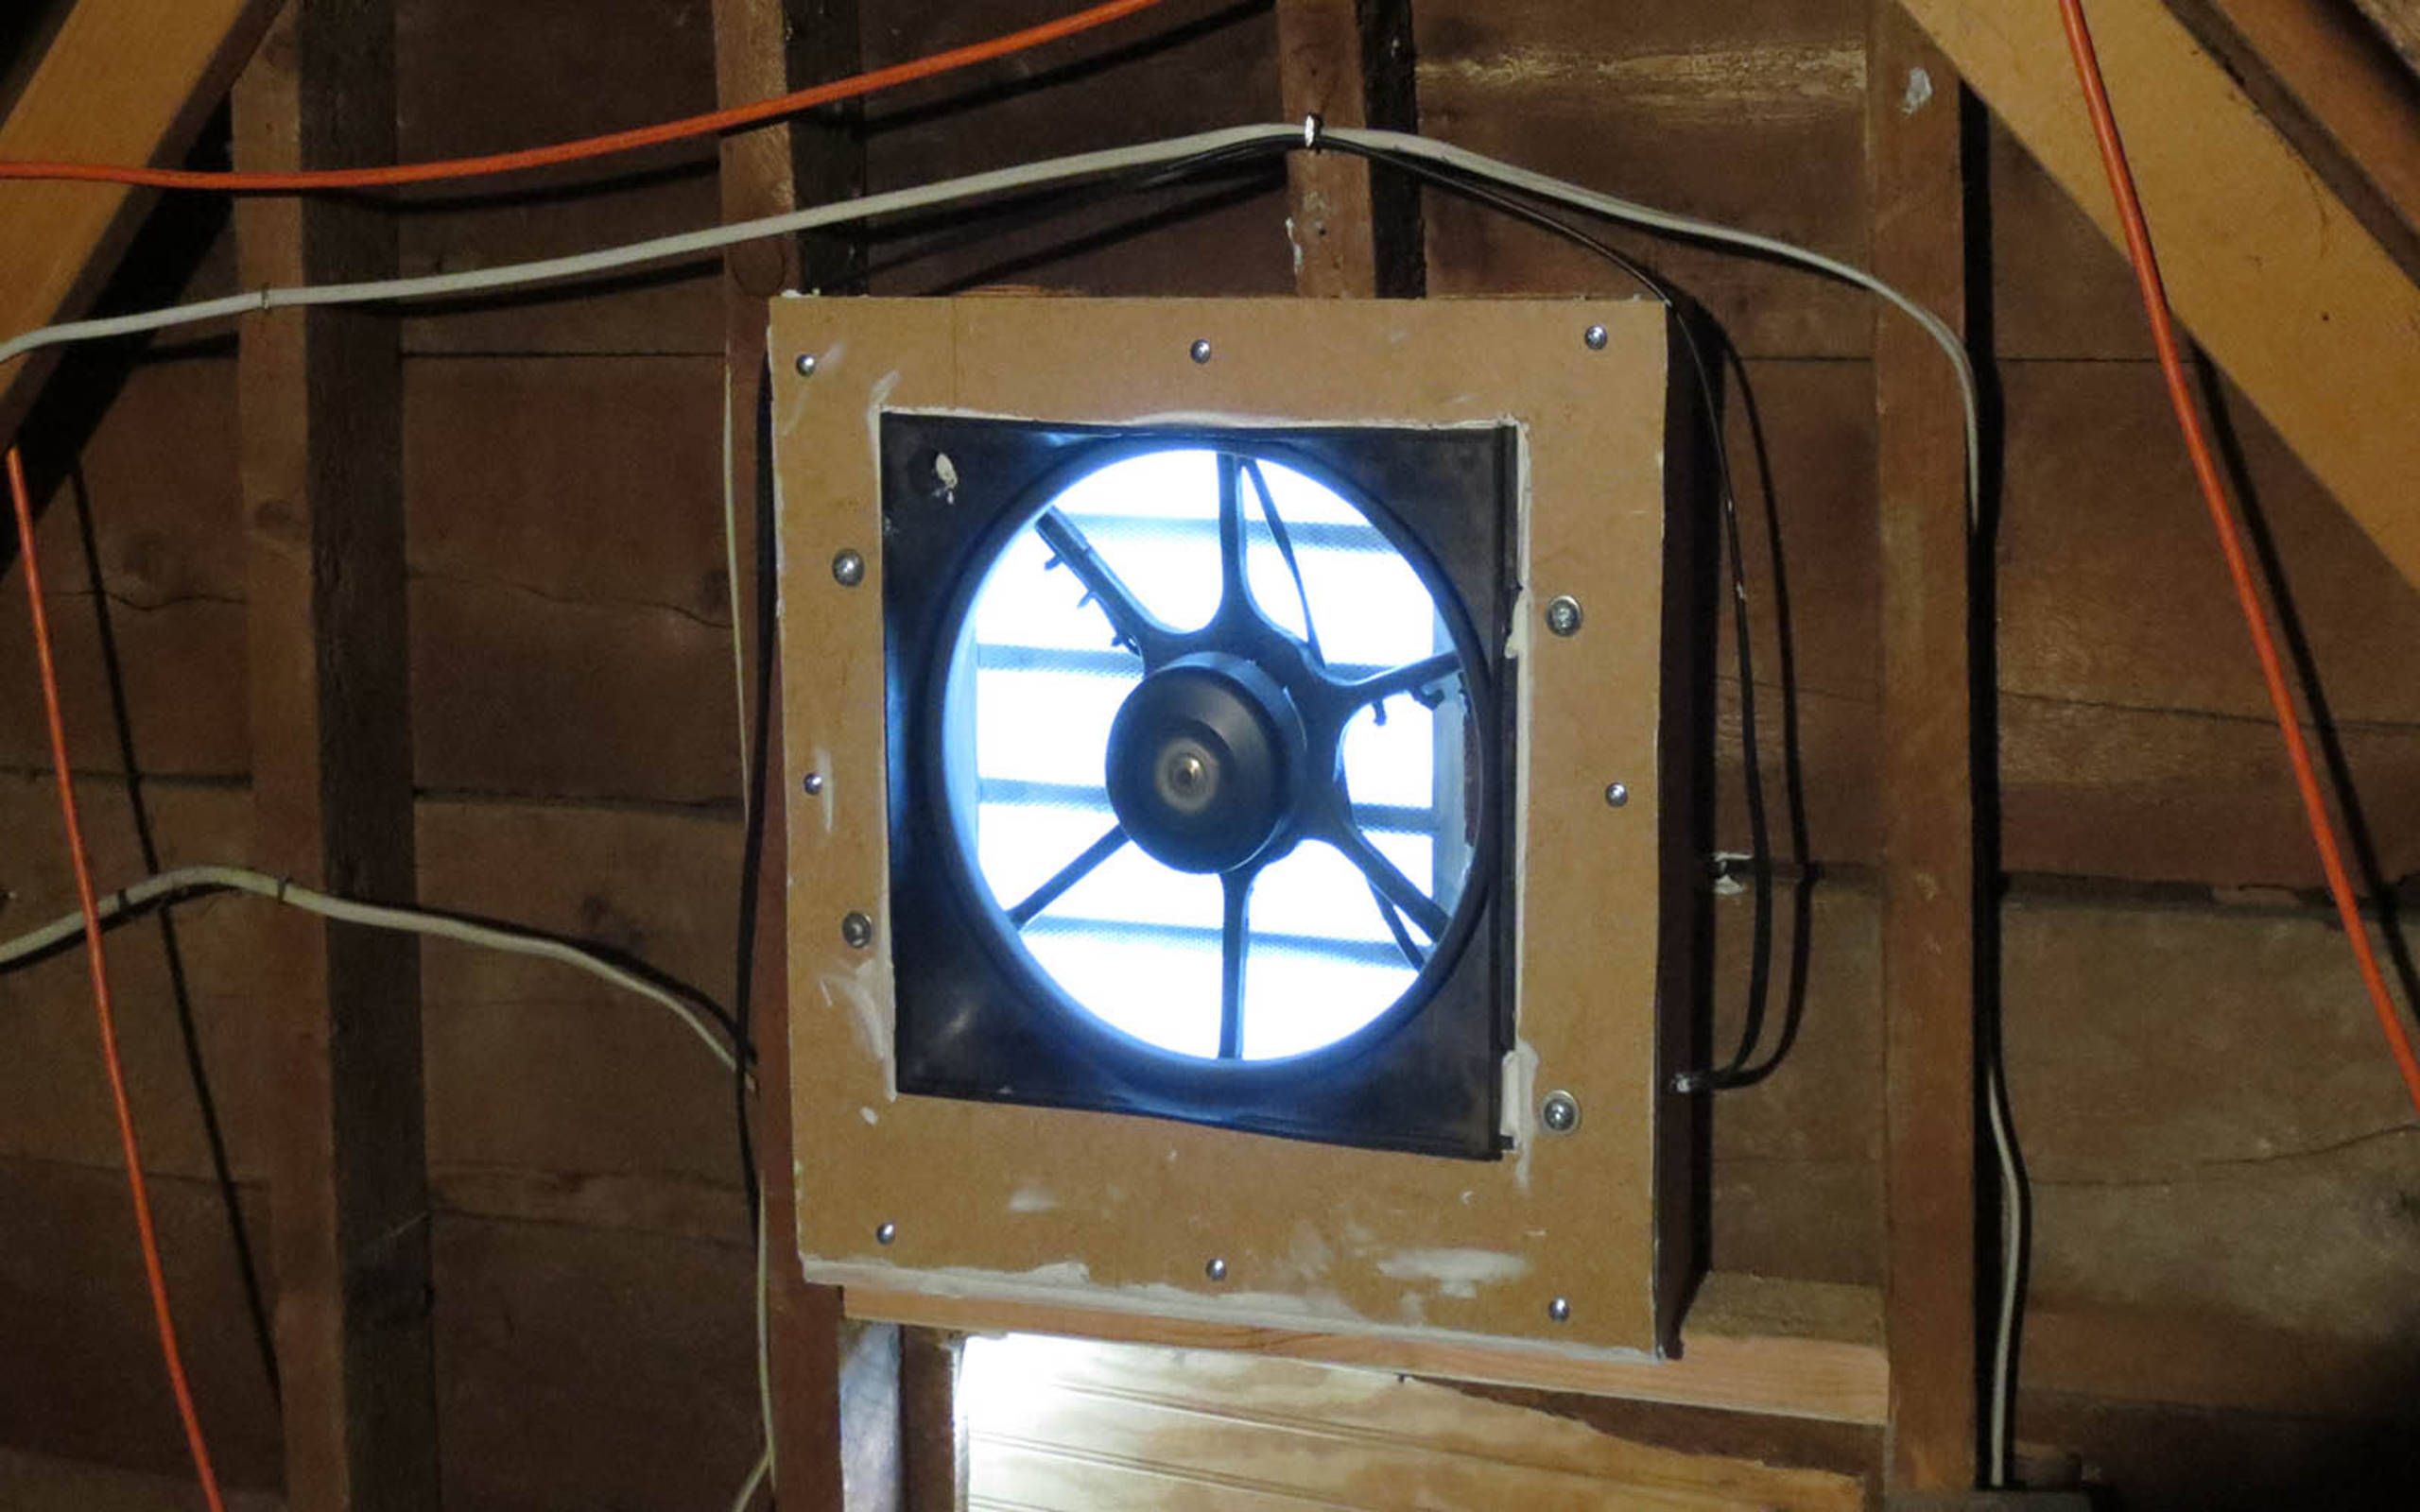
Step 5: Remove the Fan from the Ceiling Joists
With the wiring safely disconnected, it’s time to remove the attic fan from the ceiling joists. This step requires some physical strength and careful maneuvering. Follow these steps to safely remove the fan:
- Ensure you have a sturdy ladder or scaffolding positioned securely beneath the attic fan.
- Locate the screws or brackets that secure the fan to the ceiling joists. These are usually located on the sides or bottom of the fan housing.
- Using a screwdriver or drill, loosen and remove the screws or brackets that hold the fan in place. Keep a hand on the fan to prevent it from falling as you remove the last screws.
- Gently lower the fan from the ceiling and carefully guide it out of the attic space. Be mindful of any obstacles or obstructions, and ensure a clear path for safe removal.
- Set the removed fan aside in a safe location, as you may need it for reference or for future use. If you no longer need the fan, consider donating or recycling it responsibly.
Removing the fan from the ceiling joists may require some assistance, especially if the fan is heavy or bulky. Never attempt to lift or remove the fan on your own if you’re unsure whether you can do so safely. Enlist the help of a friend or family member to ensure a smooth and accident-free process.
Now that you have successfully removed the attic fan from the ceiling joists, it’s time to move on to the next step: patching the hole in the ceiling.
Step 6: Patch the Hole in the Ceiling
After removing the attic fan, you will be left with a hole in the ceiling that needs to be patched. Patching the hole will not only restore the aesthetics of your ceiling but also help maintain proper insulation and prevent any unwanted drafts. Follow these steps to successfully patch the hole:
- Clean the area around the hole by removing any debris or loose materials. Use a vacuum or a damp cloth to ensure a clean surface for the patching process.
- Measure the size of the hole and cut a piece of drywall or a patching material to fit the dimensions. Ensure the patch is slightly larger than the hole to overlap and create a strong bond.
- If necessary, secure the patching material in place using screws or adhesive, following the manufacturer’s instructions. Be sure to anchor the patch securely to the ceiling joists for added stability.
- Apply joint compound or spackle to the edges of the patch, using a putty knife or a drywall trowel. Feather the edges of the compound to blend it with the surrounding ceiling, creating a smooth surface.
- Allow the joint compound to dry completely. This may take several hours or as directed by the manufacturer. Once dry, lightly sand any rough areas and wipe away the dust with a damp cloth or sponge.
- Repeat the process of applying joint compound and sanding as necessary until the patched area is smooth and indistinguishable from the surrounding ceiling.
It’s important to note that the patching process may vary depending on the materials used and the size of the hole. Follow the instructions provided by the manufacturer for the specific patching materials you are using. If you are unsure about any step of the patching process, consult a professional or seek guidance from experts.
After the patch has been properly applied and dried, you can move on to the final step: cleaning up the attic space.
Step 7: Clean up the Attic Space
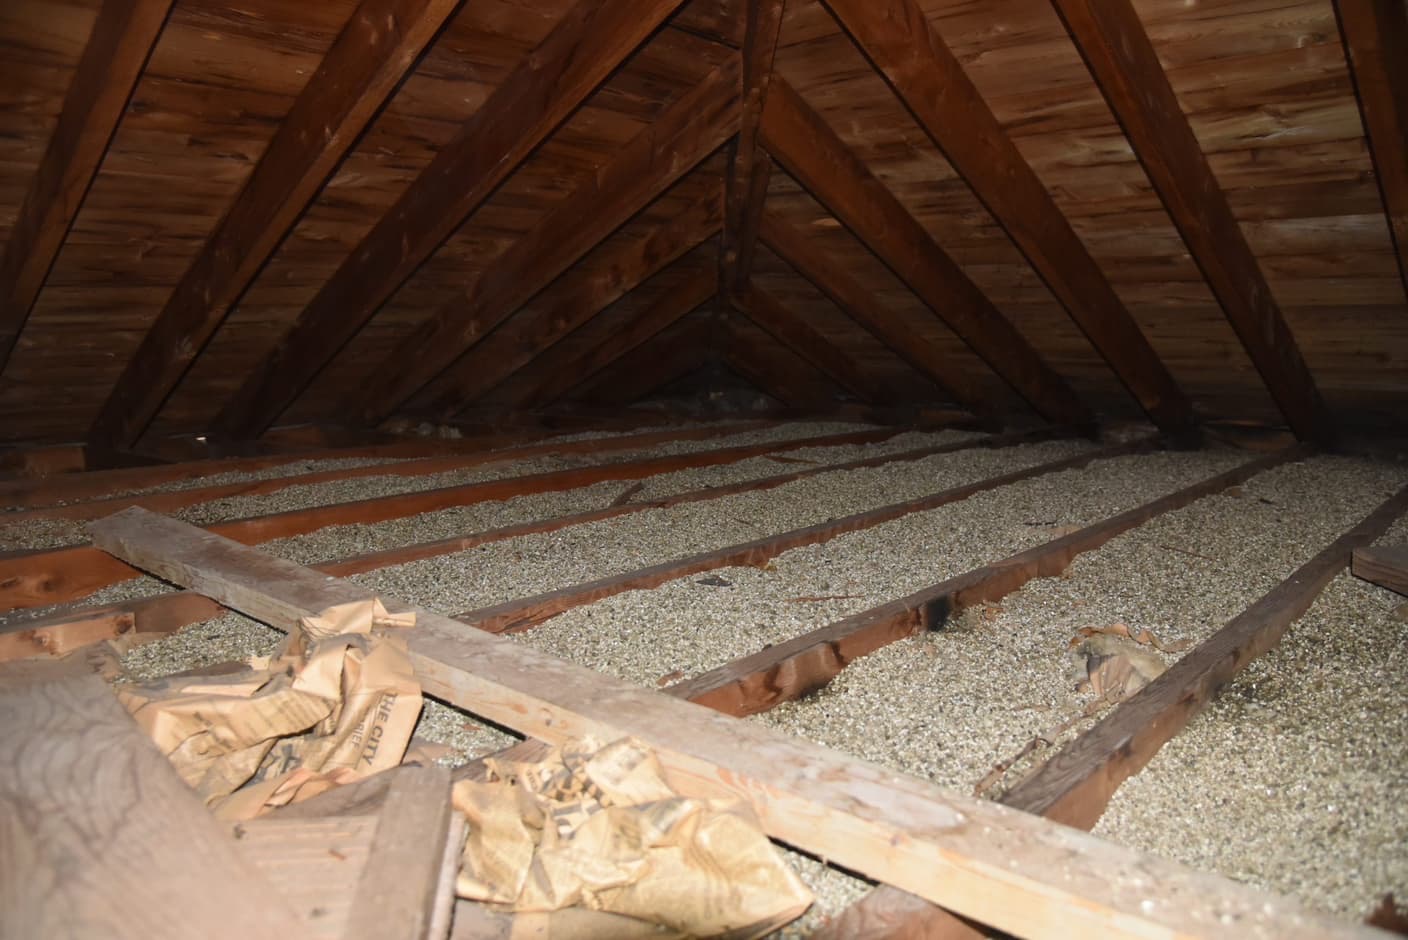
Once you have completed the removal of the attic fan and patched the hole in the ceiling, it’s time to clean up the attic space. Cleaning the attic is an important step to ensure it is safe, organized, and ready for its new purpose. Follow these steps to effectively clean up the attic space:
- Start by removing any debris, dust, or insulation that may have accumulated during the removal process. Use a broom, vacuum, or brush to sweep the floor and remove any loose particles.
- If the attic fan left behind any wires, brackets, or other components, remove them and dispose of them properly. You can also save them for future use if they are still in good condition.
- Inspect the attic for any signs of damage, such as water leaks or pests. Address any issues promptly to prevent further damage to your home. If necessary, consult a professional for assistance with repairs or pest control.
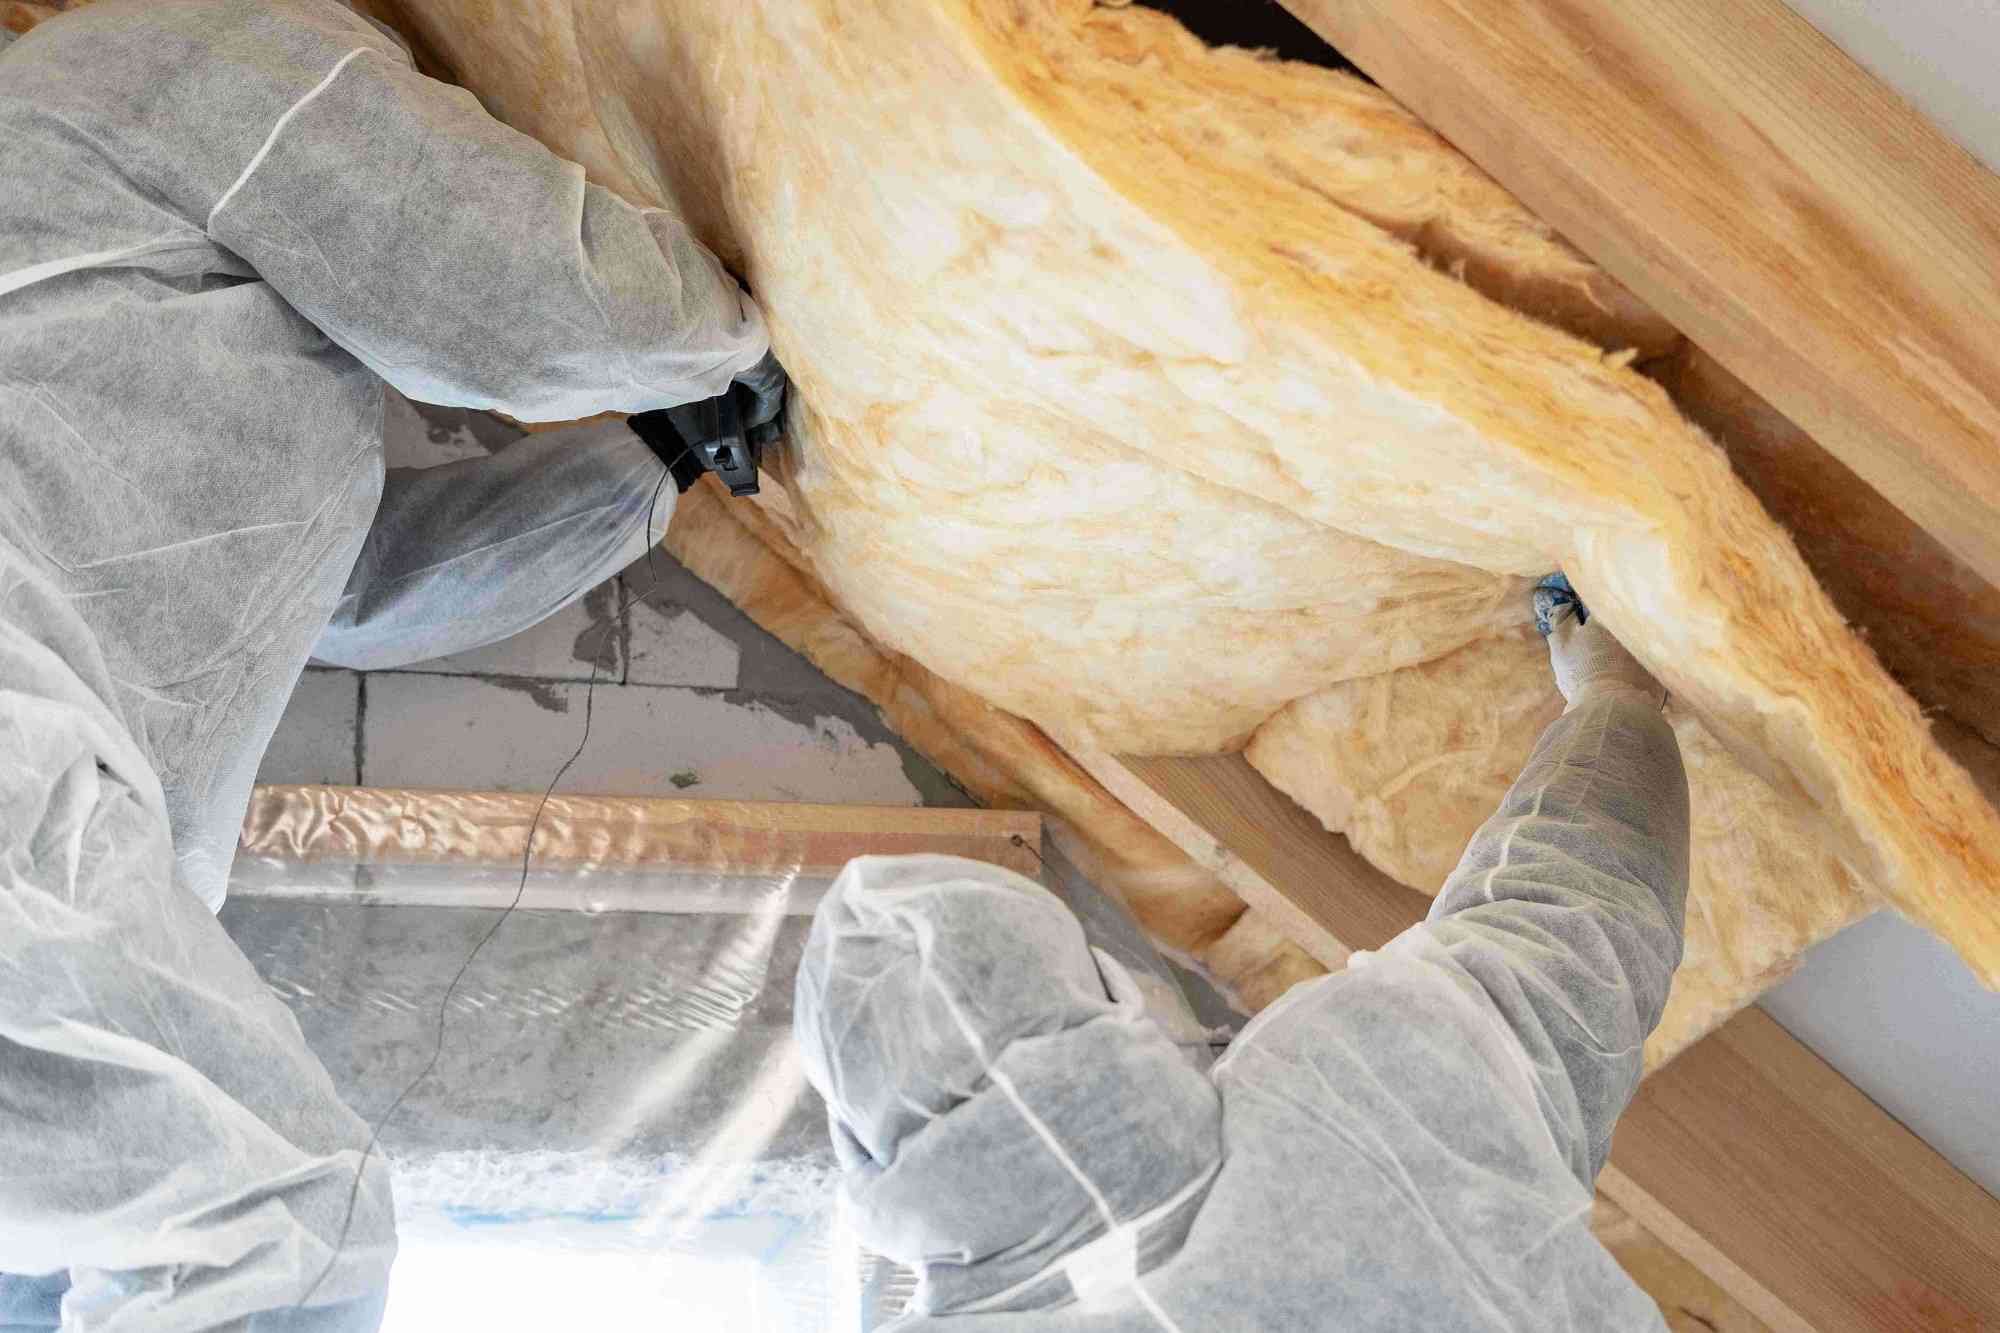
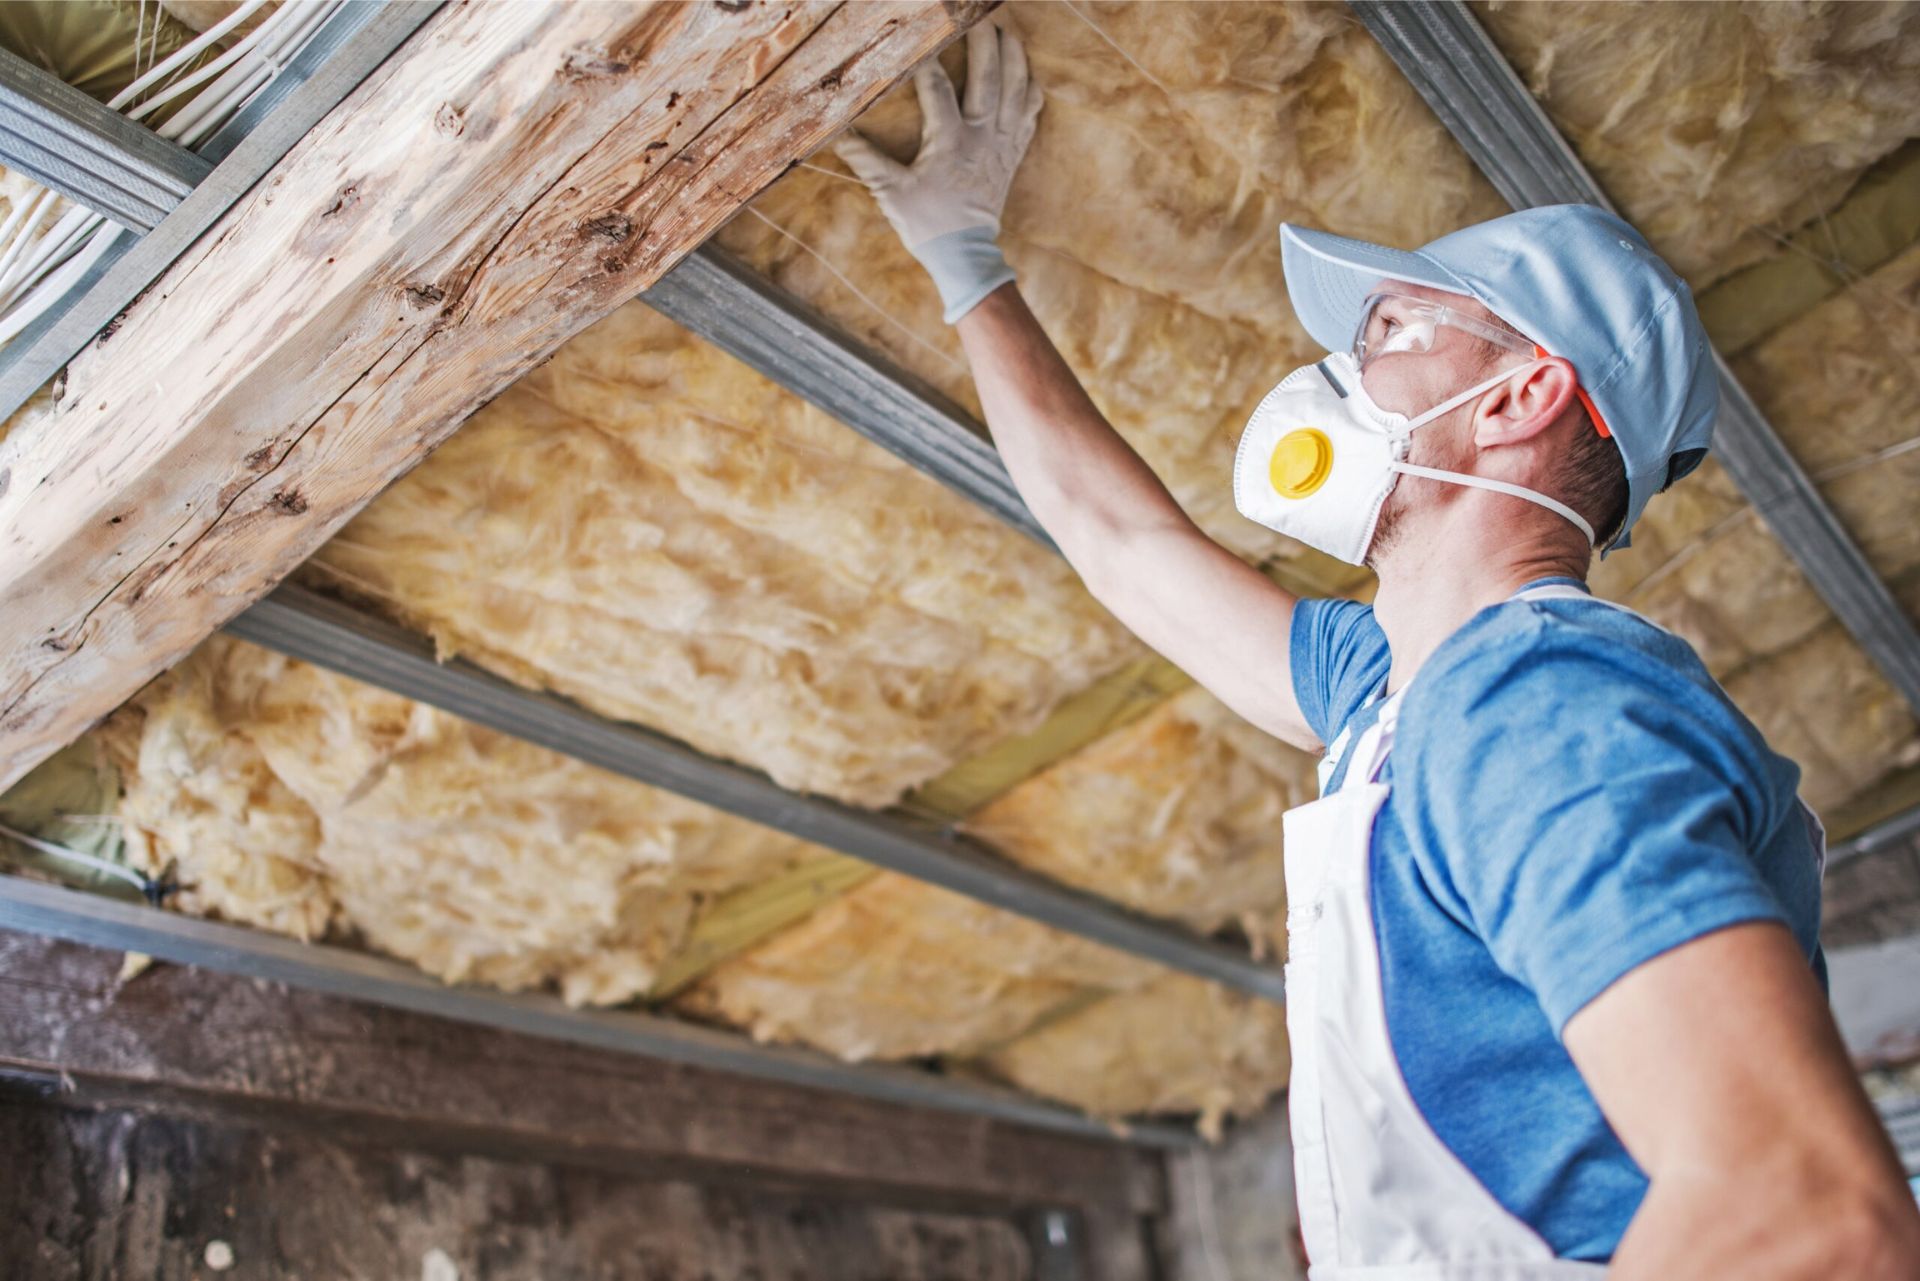
- Consider improving the insulation in the attic to optimize energy efficiency and maintain a comfortable indoor environment. Consult an insulation specialist to assess and make recommendations specific to your attic space.
- Organize any remaining items or belongings stored in the attic. Sort through them and determine what can be kept, donated, or discarded. Utilize storage containers, shelves, or labeled boxes to keep everything organized.
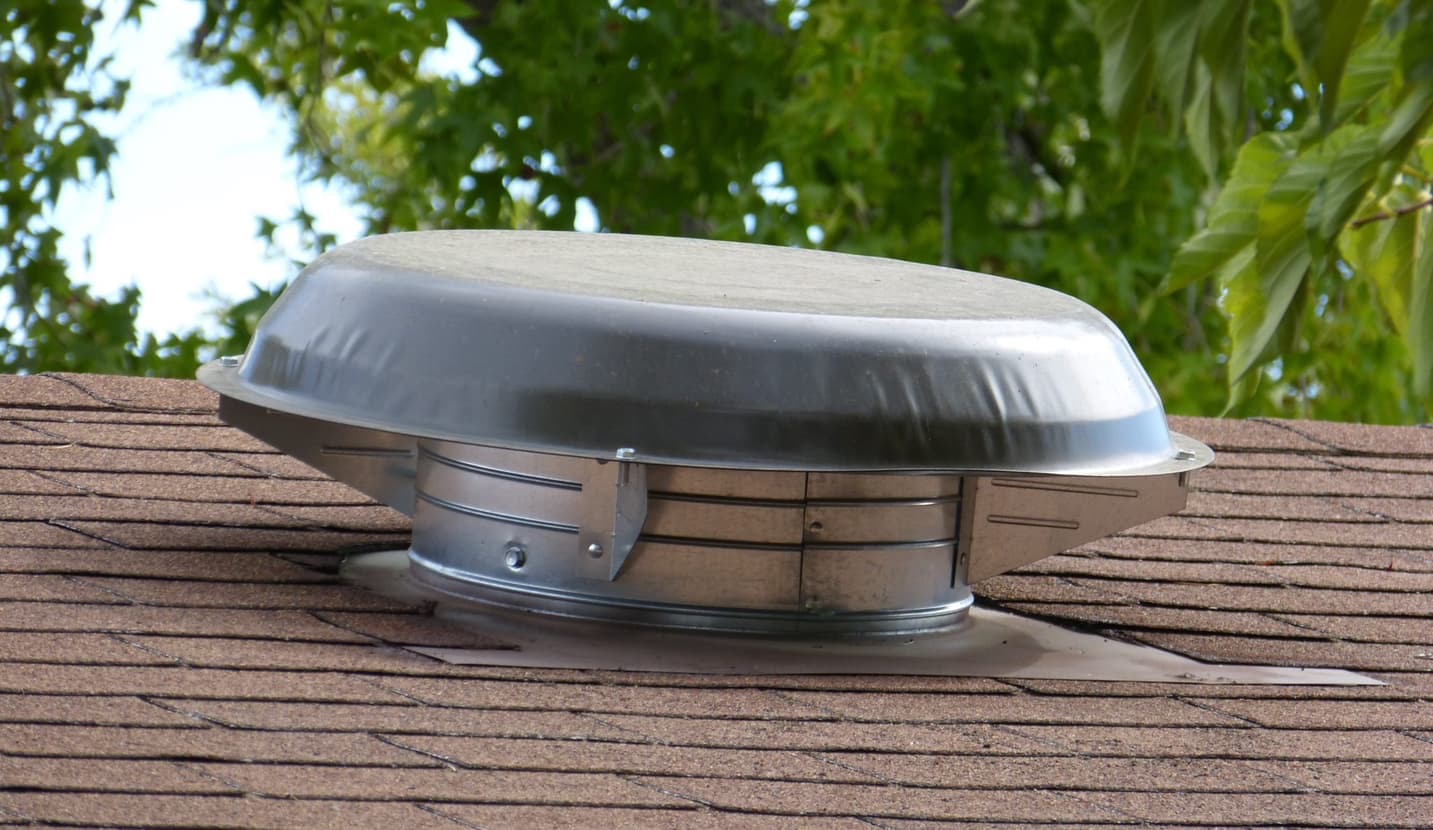
- Lastly, ensure adequate ventilation in the attic to prevent moisture buildup and maintain optimal air circulation. Install vents, fans, or ridge vents if necessary, or consult a professional for ventilation solutions.
By thoroughly cleaning and organizing the attic space, you can maximize its functionality and create a more usable area within your home.
With the removal, patching, and cleanup complete, you have successfully removed the attic fan and restored the attic space. Congratulations on completing this home improvement project!
Remember, safety should always be a priority when working with electrical components or performing any home improvement tasks. If you don’t feel confident in your abilities or encounter any challenges during the process, it’s best to seek assistance from a professional.
Now, take a step back and admire your accomplishment. Whether you plan to repurpose the attic or leave it as a newly cleaned storage space, you can enjoy the satisfaction of a job well done.
Conclusion
Removing an attic fan may seem like a daunting task, but with the right tools, knowledge, and precautions, it can be a manageable and rewarding project. In this article, we have provided you with a step-by-step guide to successfully remove an attic fan, from preparing for the removal to cleaning up the attic space.
Remember to always prioritize safety and, if needed, seek assistance from a professional electrician or handyman. Electrical work can be dangerous, and it’s important to take the necessary precautions to avoid accidents or injuries.
By following the steps outlined in this guide, you can confidently remove an attic fan and restore your attic space to its original condition. Whether you are replacing the fan, upgrading your attic, or repurposing the space for storage or living, this guide has equipped you with the knowledge to complete the removal process with ease.
Take pride in your accomplishment and enjoy the transformed attic space. You’ve successfully tackled a home improvement project that will enhance the functionality and aesthetics of your home.
Remember, if you ever need to reinstall an attic fan or perform any other home improvement tasks, it’s always a good idea to refer back to this guide or consult professionals in the field to ensure a safe and successful outcome.
Thank you for reading, and best of luck with your attic fan removal project!
Now that you've tackled removing your attic fan, you might wonder why attics need proper airflow in the first place. Our next guide delves into the benefits of attic ventilation, ensuring your home remains safe, efficient, and comfortable year-round. Understanding this can help prevent common issues like moisture buildup and overheating, which could save you from costly repairs down the road. Don't miss out on this essential read to keep your attic and by extension, your entire home, in top shape!
Frequently Asked Questions about How To Remove An Attic Fan
Was this page helpful?
At Storables.com, we guarantee accurate and reliable information. Our content, validated by Expert Board Contributors, is crafted following stringent Editorial Policies. We're committed to providing you with well-researched, expert-backed insights for all your informational needs.


0 thoughts on “How To Remove An Attic Fan”