
Articles
How To Install A Bathroom Fan In The Attic
Modified: December 7, 2023
Looking for articles on how to vent a bathroom fan in the attic? Find expert tips and step-by-step guides to ensure proper ventilation for your bathroom.
(Many of the links in this article redirect to a specific reviewed product. Your purchase of these products through affiliate links helps to generate commission for Storables.com, at no extra cost. Learn more)
Introduction
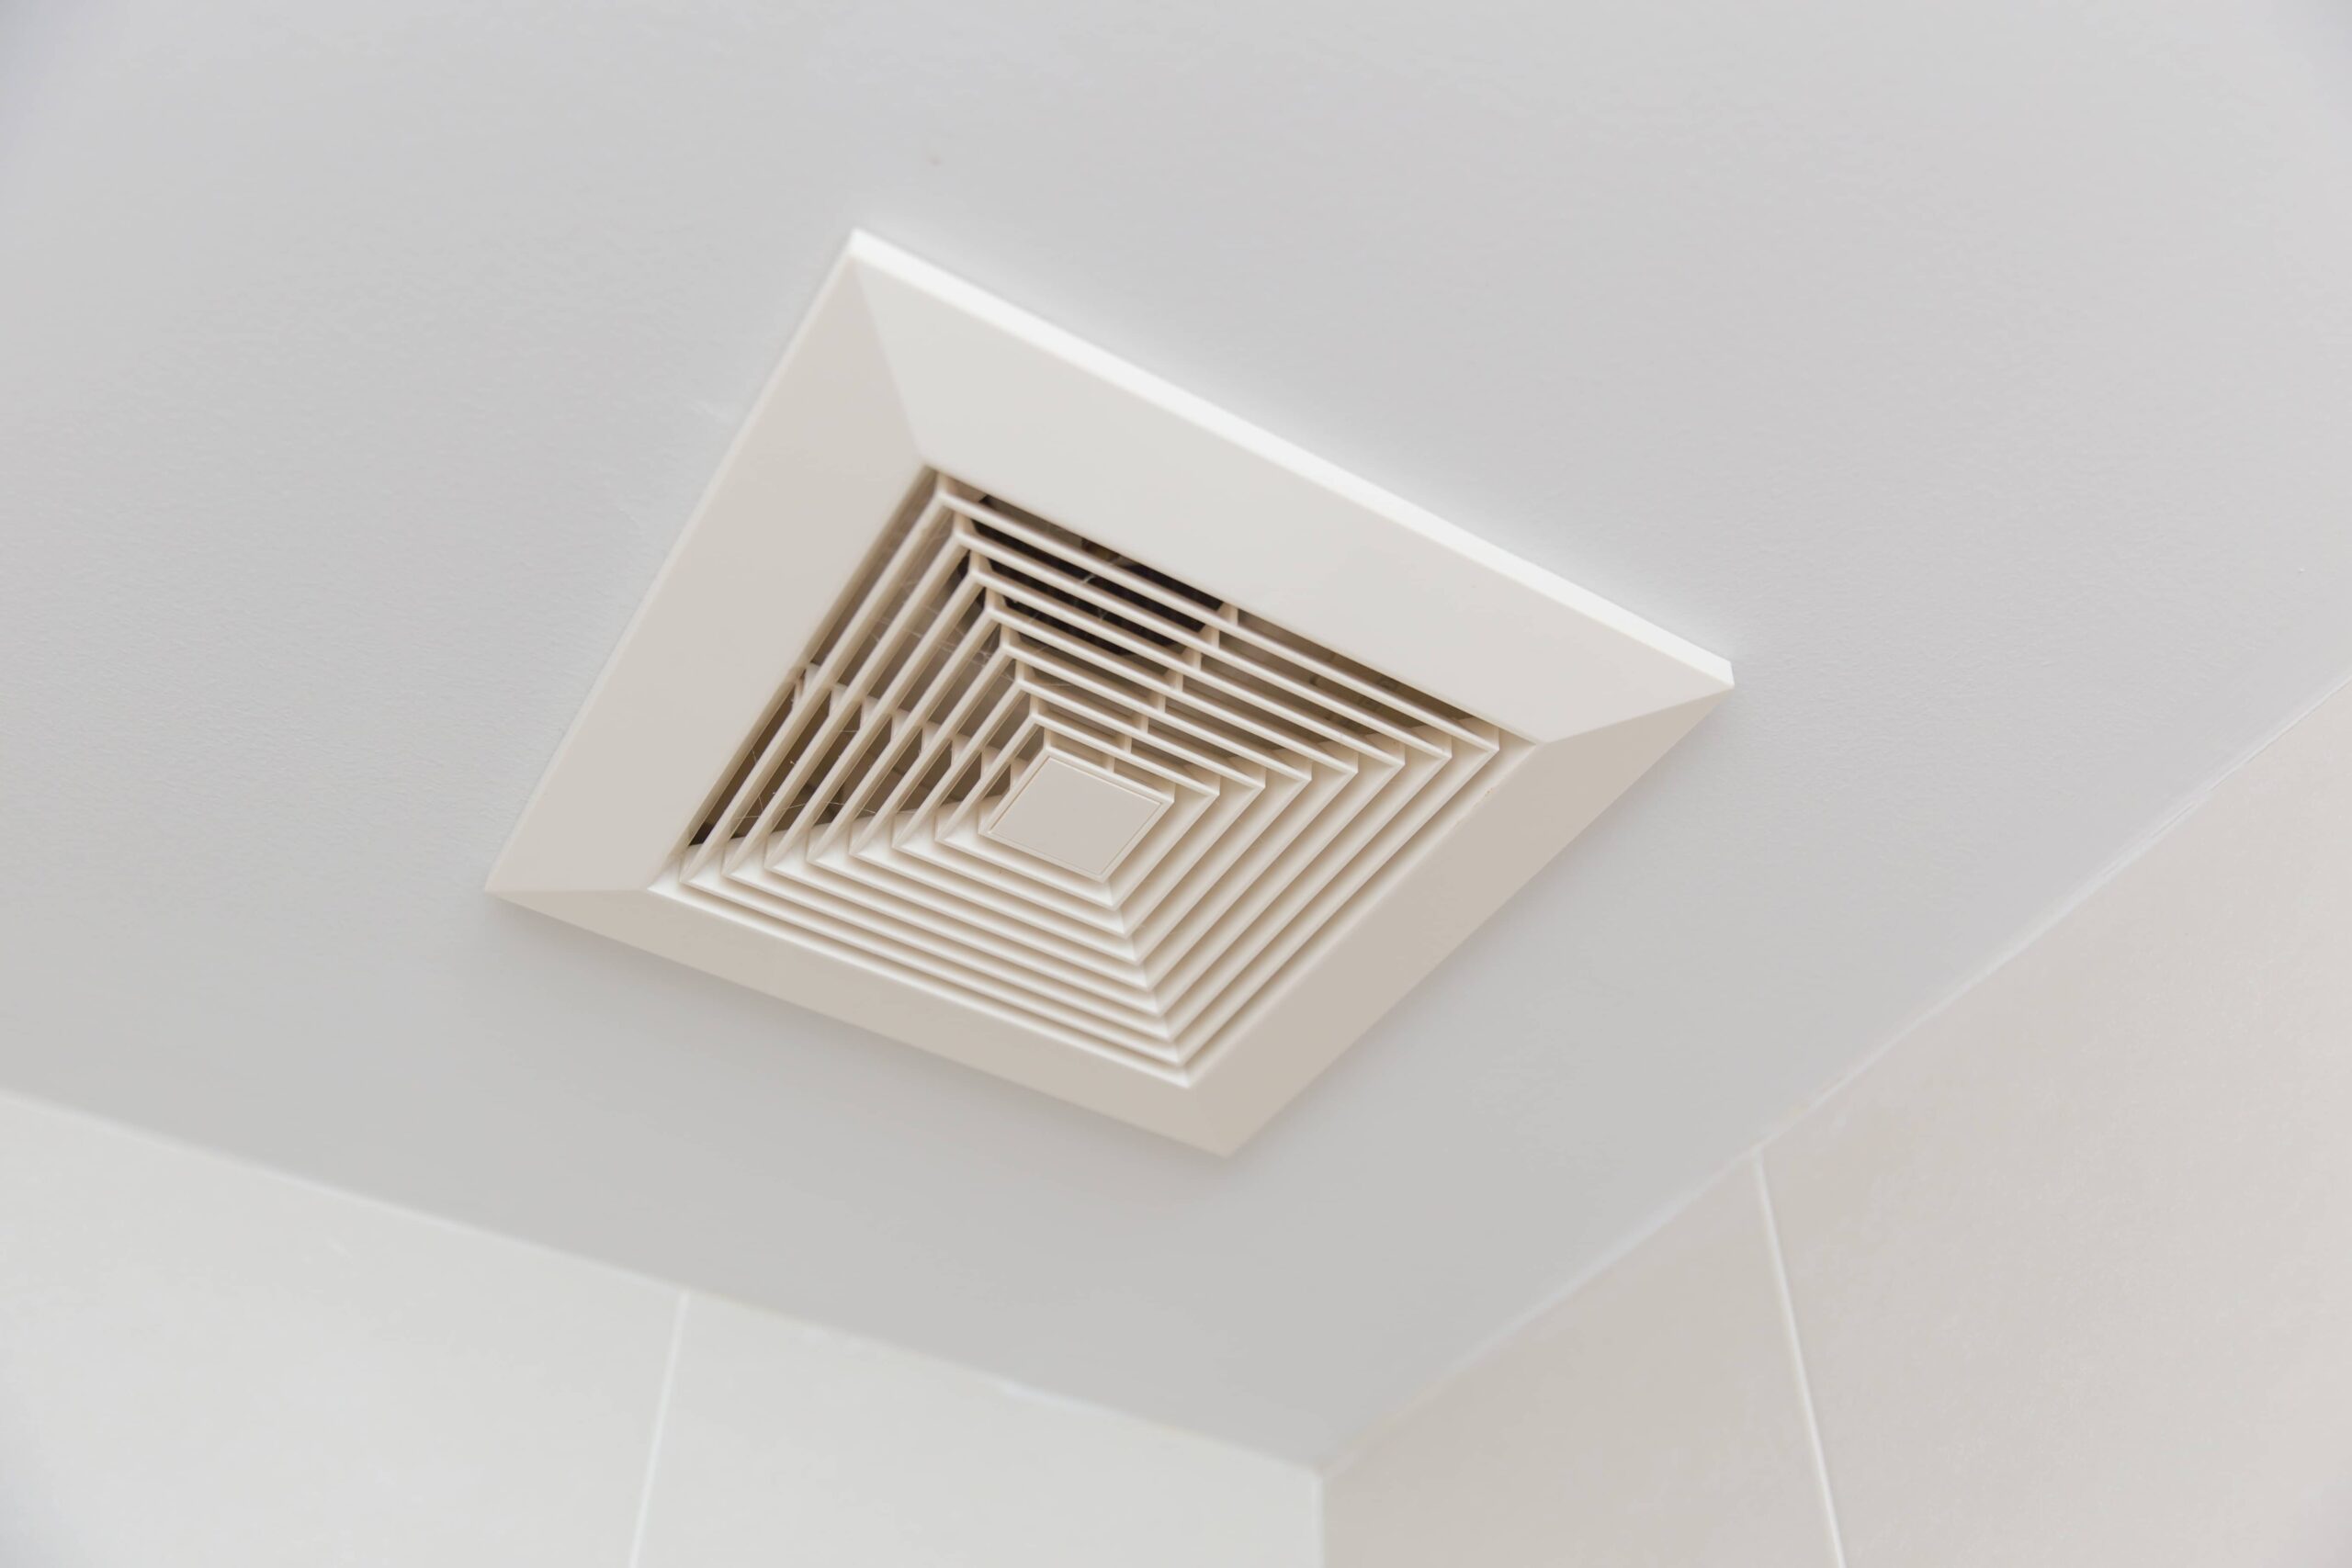
Proper ventilation is crucial in any bathroom to remove excess moisture and odors, and one of the best ways to achieve this is by installing a bathroom fan. While there are various ways to vent a bathroom fan, venting it in the attic can be an efficient and cost-effective solution. Venting the bathroom fan in the attic allows the moist air to be vented out of the house through the roof, keeping the bathroom dry and free from mold and mildew.
In this comprehensive guide, we will walk you through the steps to vent a bathroom fan in the attic. By following these steps, you can ensure proper and effective ventilation in your bathroom, providing a healthier and more comfortable environment for you and your family.
Key Takeaways:
- Properly venting your bathroom fan in the attic is crucial for maintaining a healthy and comfortable environment, free from excess moisture and odors. Follow the comprehensive guide to ensure optimal airflow and moisture control.
- By taking the time to properly vent your bathroom fan in the attic, you are investing in the well-being of your home and creating a more comfortable environment for you and your family. Enjoy the benefits of a well-ventilated bathroom!
Steps to Vent Bathroom Fan in Attic
Venting a bathroom fan in the attic requires careful planning and execution to ensure proper airflow and ventilation. Follow these step-by-step instructions to successfully vent your bathroom fan in the attic:
- Gather the necessary tools and materials: Before you begin, make sure you have all the tools and materials you will need, including a ladder, drill, ductwork, vent cover, screws, and insulated duct tape.
- Locate the best spot for venting in the attic: Find a suitable location in the attic where you can vent the bathroom fan. Choose a spot that is close to the fan and has a clear path to the roof.
- Measure and mark the venting location: Measure the size of the vent cover and mark the corresponding spot on the roof. Ensure that the area is clear of any obstacles or obstructions.
- Prepare the area for installation: Use a drill to create a pilot hole on the marked spot. Then, use a reciprocating saw to cut a hole in the roof that matches the size of the vent cover.
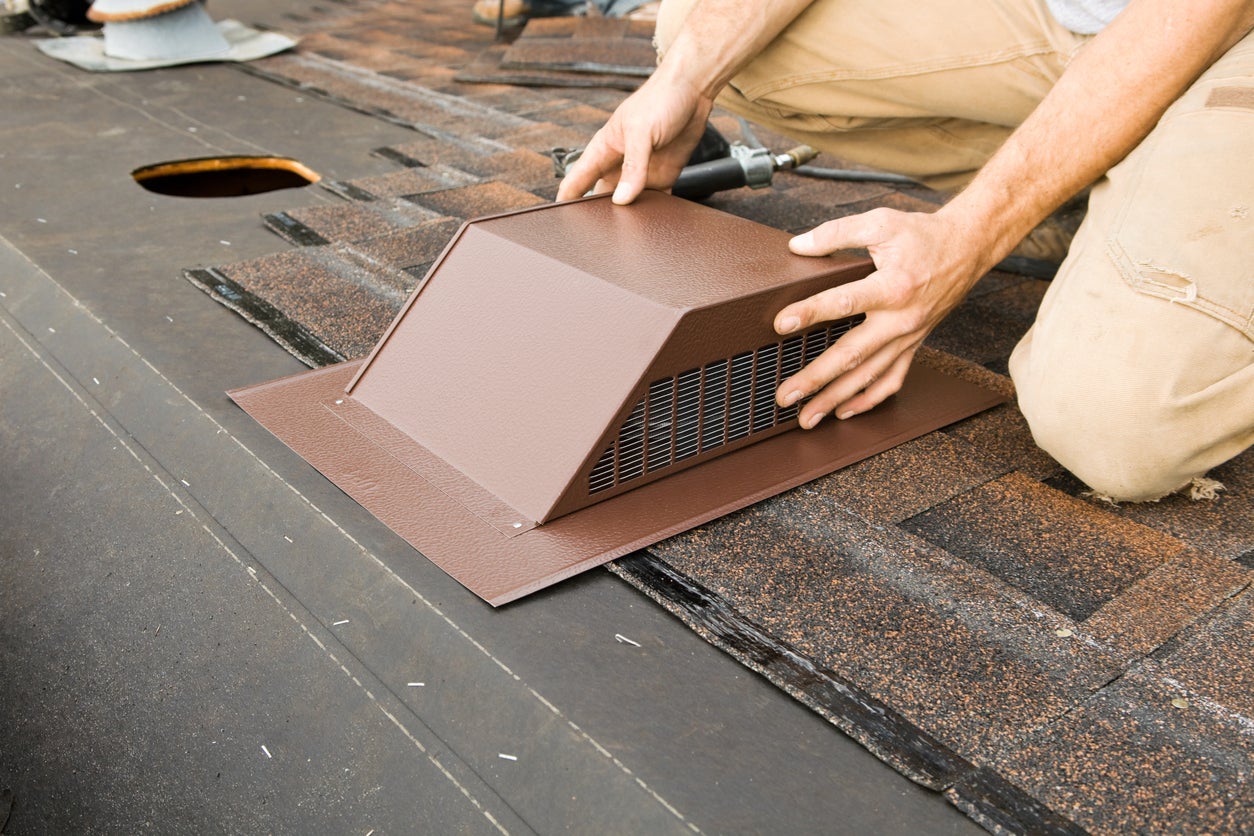
- Install the vent cover on the roof: Fit the vent cover into the hole you created and secure it in place using screws. Ensure that it is tightly sealed to prevent any water leaks.
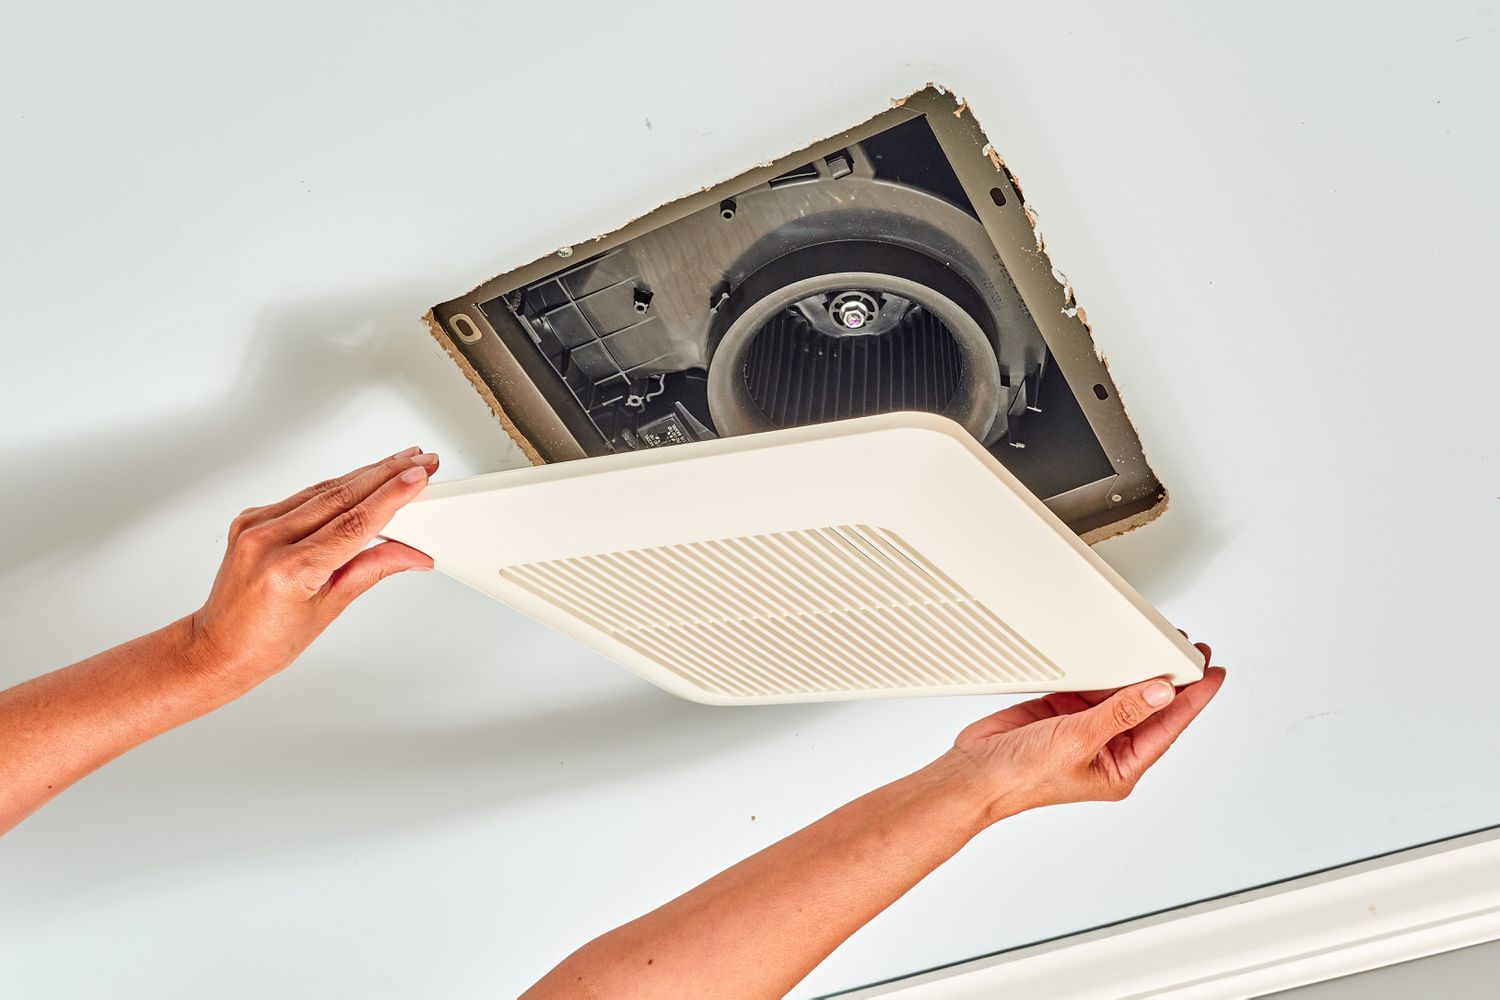
- Connect the flexible duct to the bathroom fan: Attach the flexible duct to the exhaust port of the bathroom fan. Use duct clamps to secure the connection and ensure a tight fit.
- Extend the duct through the attic space: Carefully thread the flexible duct from the bathroom fan through the attic, ensuring that it follows the most direct and unobstructed path towards the vent cover on the roof.
- Secure the duct and insulate if necessary: Use duct straps or hangers to secure the duct in place, ensuring that it is properly supported and does not sag or kink. Additionally, if you live in a cold climate, consider insulating the duct to prevent condensation.
- Seal any gaps or openings in the ductwork: Inspect the entire length of the duct and seal any gaps or openings using insulated duct tape. This will prevent air leakage and improve the efficiency of the ventilation system.
- Test the bathroom fan ventilation: Once the installation is complete, turn on the bathroom fan and check if it is properly venting the air out through the roof. Listen for any unusual noises or vibrations and make any necessary adjustments.
By following these steps, you can effectively vent your bathroom fan in the attic, promoting better airflow and reducing the risk of mold and moisture-related issues in your bathroom. Remember to adhere to safety precautions while working in the attic, such as wearing protective gear and using a stable ladder.
Step 1: Gather the necessary tools and materials
Before you begin venting your bathroom fan in the attic, it’s essential to gather all the tools and materials you will need. Having everything ready beforehand will save you time and ensure a smooth installation process. Here are the tools and materials you will need:
- Ladder: A sturdy ladder is necessary to access the attic safely and reach the venting location on the roof. Make sure the ladder is in good condition and placed on a stable surface.
- Drill: You will need a power drill to create a pilot hole for the vent cover installation.
- Ductwork: Purchase the appropriate size of flexible duct to connect the bathroom fan to the vent cover. The duct should be long enough to span the distance between the two points.
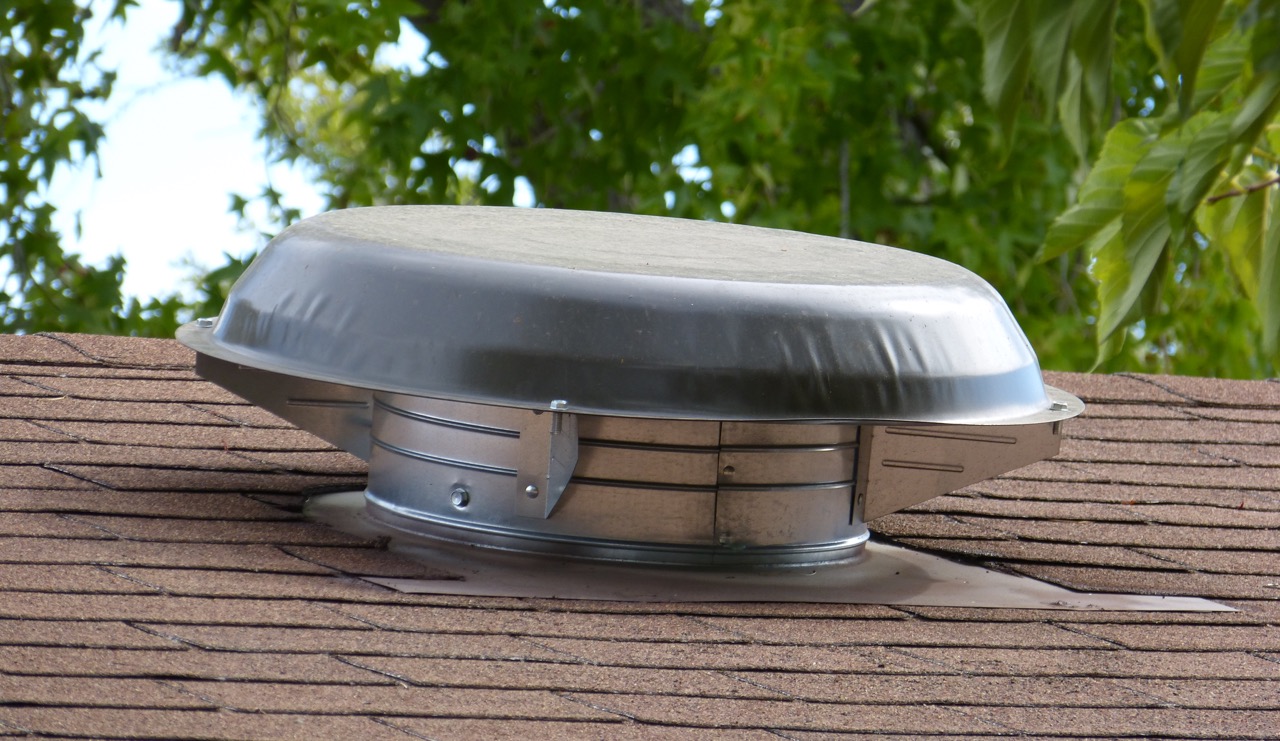
- Vent cover: Choose a suitable vent cover that allows air to flow out of the bathroom and prevents the entry of debris or pests. Ensure that it is the correct size and made of durable material that can withstand weather elements.
- Screws: Depending on the type of vent cover you choose, you will need screws to secure it in place on the roof. Make sure the screws are rust-resistant and appropriate for outdoor use.
- Insulated duct tape: Insulated duct tape is used to seal and secure the connections between the flexible duct and the bathroom fan, as well as any gaps or openings in the ductwork.
Having these tools and materials ready will help streamline the installation process and ensure a successful venting of your bathroom fan in the attic. It’s also a good idea to check if you need any additional materials specific to your bathroom fan model or the configuration of your attic space.
Before starting the installation, ensure your safety by wearing appropriate protective gear, such as goggles and gloves. Additionally, familiarize yourself with the manufacturer’s instructions for the specific tools and materials you are using. This will help ensure that you use them correctly and achieve the desired results.
Step 2: Locate the best spot for venting in the attic
Locating the best spot for venting your bathroom fan in the attic is crucial for efficient airflow and ventilation. The ideal location will allow the moist air to be vented out of the house through the roof while minimizing obstructions and ensuring a secure installation. Here’s how you can find the best spot for venting in the attic:
- Examine the bathroom fan: Start by examining the location of the bathroom fan and determining the direction in which it blows air. This information will help you determine the most direct and unobstructed path to the roof.
- Consider the roof structure: Take into account the structure of your roof when choosing the venting location. Avoid important structural elements, such as trusses or load-bearing walls, to prevent any damage to the roof’s integrity.
- Check for obstructions: Look for any obstructions in the attic that may hinder the airflow. These can include electrical wiring, plumbing pipes, or insulation. Try to find a clear path from the bathroom fan to the chosen venting location.
- Avoid insulation: Ensure that the chosen spot for venting is not obstructed by insulation. If necessary, move the insulation aside to create a clear pathway for the ductwork.
- Consider proximity to the bathroom: Opt for a location that is as close to the bathroom as possible. This will minimize the length of ductwork needed and help maintain the airflow velocity, enhancing the effectiveness of the ventilation system.
- Look for an exterior wall: If you have a gable or exterior wall in close proximity to the bathroom, consider venting the fan through it. This can be a more straightforward and efficient option compared to going through the roof.
- Think about aesthetics: While functionality is crucial, it’s also important to consider the aesthetic impact of the venting location. Choose a spot that is inconspicuous and does not detract from the overall appearance of your home.
By taking these factors into account, you can determine the best spot for venting your bathroom fan in the attic. Remember that proper airflow and ventilation are essential for maintaining a healthy and comfortable bathroom environment. Taking the time to locate the optimal spot will contribute to the long-term effectiveness of your ventilation system.
Step 3: Measure and mark the venting location
Once you have identified the best spot for venting your bathroom fan in the attic, it’s time to measure and mark the exact location. Precise measurements and markings will ensure a proper and accurate installation. Follow these steps to measure and mark the venting location:
- Get your tools ready: Before you begin, make sure you have a measuring tape, pencil, and a straight edge or level.
- Access the attic: Use a ladder or attic stairs to safely access the attic. Take caution and be mindful of your surroundings as you move around in the attic.
- Locate the chosen venting spot: Find the spot in the attic that you previously identified as the best location for venting the bathroom fan. Ensure that it aligns with the direction of the bathroom fan airflow.
- Measure the vent cover size: Measure the size of the vent cover that you will be using. Use a measuring tape to determine the width and length of the vent cover. Write down the measurements for reference.
- Mark the venting location: Using the measurements, mark the venting location on the roof surface with a pencil. Use a straight edge or level to ensure that the markings are straight and aligned.
- Double-check the location: Take a moment to step back and double-check the marked location. Ensure that it aligns with the chosen spot in the attic and that there are no obstructions or potential issues.
Accurate measurements and markings are essential for a successful installation. They will help ensure that the vent cover fits properly and that the ductwork can be properly aligned with the venting location.
Remember to take safety precautions while working in the attic, such as wearing appropriate protective gear and using proper ladder safety techniques. If you have any uncertainties or concerns, it’s always a good idea to consult a professional or seek advice from experienced individuals.
Read more: How to Install an Attic Fan
Step 4: Prepare the area for installation
Before you install the vent cover and connect the ductwork in your attic, it’s crucial to prepare the area to ensure a smooth and successful installation. Proper preparation will help ensure a secure and watertight seal for your venting system. Follow these steps to prepare the area for installation:
- Gather the necessary tools and materials: Before you begin, make sure you have all the tools and materials you will need, including a drill with the appropriate drill bit, a reciprocating saw, caulk, and a caulk gun.
- Clean the installation area: Clear away any debris or loose materials from the area where the vent cover will be installed. Use a broom or vacuum to remove dust, dirt, and any other obstructions that may hinder the installation process.
- Protect the area: Place a drop cloth or tarp over any surfaces or items in close proximity to the installation area to protect them from dust, debris, and potential damage during the installation process.
- Drill a pilot hole: Use a drill with the appropriate drill bit to create a pilot hole on the marked location. Ensure that the drill bit size matches the screw size for the vent cover installation.
- Cut the hole: Use a reciprocating saw to carefully cut a hole in the roof along the marked location. Follow the measured outline and take your time to ensure a clean and precise cut. Be cautious of any potential electrical or plumbing lines in the area.
- Inspect the area: After cutting the hole, inspect the area to ensure that it is clean and free from any debris or sharp edges that could interfere with the installation or damage the ductwork.
- Caulk the edges: Apply a generous bead of caulk around the edges of the hole to create a watertight seal and prevent any potential leaks. Use a caulk gun for precise application, and smooth out the caulk with a caulk smoothing tool or your finger.
Properly preparing the area for installation will help ensure a secure and durable venting system in your attic. Take care to follow these steps diligently, as they will contribute to the long-term functionality and effectiveness of your bathroom fan ventilation.
Remember to adhere to safety precautions throughout the installation process and consult a professional for guidance if needed. This will help ensure a successful and efficient venting of your bathroom fan in the attic.
Step 5: Install the vent cover on the roof
Now that you have prepared the area in your attic, it’s time to install the vent cover on the roof. Proper installation of the vent cover will ensure a secure and watertight seal, preventing any potential leaks or damage. Follow these steps to install the vent cover:
- Gather the necessary tools and materials: Before you begin, make sure you have the vent cover, screws, a screwdriver, and a caulking gun with appropriate caulk.
- Position the vent cover: Place the vent cover over the cutout hole in the roof, aligning it with the pilot hole you drilled earlier. Ensure that the vent cover is centered and level.
- Secure the vent cover: Using the screws provided, attach the vent cover to the roof. Insert the screws through the screw holes in the vent cover and into the roof, tightening them securely. Be careful not to overtighten and strip the screws or damage the roof.
- Apply caulking: Once the vent cover is securely attached, use a caulking gun to apply a bead of caulk around the edges of the vent cover. This will create a watertight seal and prevent any potential leaks. Smooth out the caulk with a caulk smoothing tool or your finger.
- Inspect the installation: Take a step back and inspect the installed vent cover to ensure that it is securely attached and sealed. Check for any gaps or areas that may require additional caulking.
Properly installing the vent cover is crucial for the effectiveness and longevity of your bathroom fan ventilation system. It will ensure that air is effectively pulled out of the bathroom and expelled through the roof, reducing moisture and odors.
Always follow safety guidelines when working on the roof, such as using proper ladder safety techniques and wearing appropriate safety gear. If you are unsure about the installation process, it is recommended to consult a professional for assistance.
By carefully installing the vent cover on the roof, you are one step closer to achieving proper ventilation for your bathroom and ensuring a healthier and more comfortable environment in your home.
Make sure to vent the bathroom fan to the exterior of the attic to prevent moisture buildup. Use insulated ducting to prevent condensation and mold growth.
Step 6: Connect the flexible duct to the bathroom fan
Now that the vent cover is installed on the roof, it’s time to connect the flexible duct to the bathroom fan. Properly connecting the duct will ensure a secure and efficient airflow from the bathroom to the vent. Follow these steps to connect the flexible duct to the bathroom fan:
- Gather the necessary tools and materials: Before you begin, make sure you have the flexible duct, duct clamps, a screwdriver, and insulated duct tape.
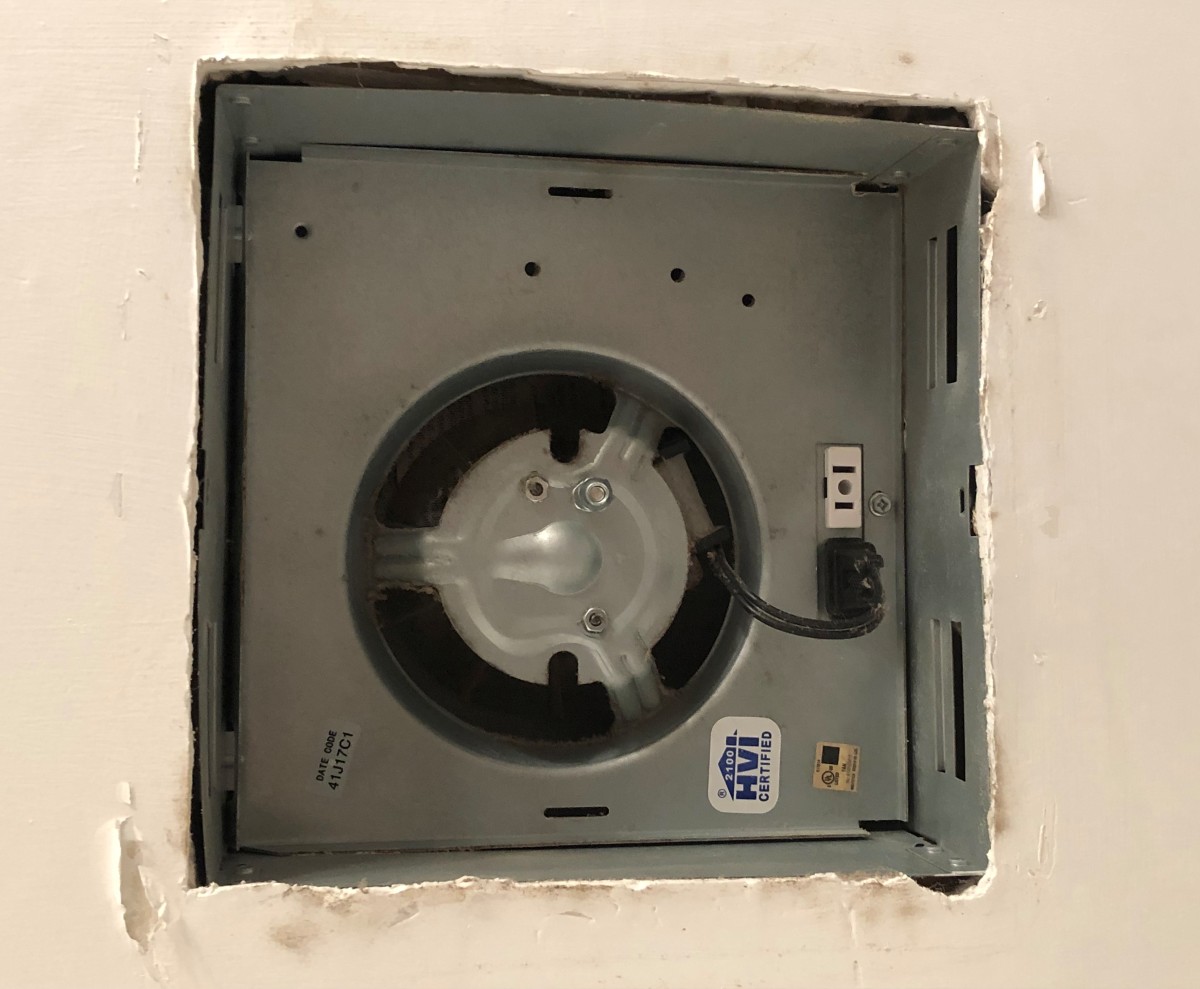
- Locate the exhaust port on the bathroom fan: Identify the exhaust port on your bathroom fan. It is usually located at the back or top of the fan unit. Clear any obstructions near the port.
- Measure and cut the flexible duct: Measure the distance between the bathroom fan’s exhaust port and the vent cover in the attic. Cut a piece of flexible duct with a length that allows for a direct and unobstructed pathway.
- Attach the duct clamp: Slide a duct clamp over one end of the flexible duct. This end will be connected to the bathroom fan’s exhaust port.
- Connect the duct to the exhaust port: Slide the end of the flexible duct with the attached clamp onto the exhaust port of the bathroom fan. Tighten the clamp using a screwdriver to secure the connection.
- Inspect the connection: Check the connection between the flexible duct and the exhaust port to ensure it is secure. Make sure there are no gaps or air leaks that could compromise the efficiency of the ventilation system.
- Secure the connection with insulated duct tape: Wrap insulated duct tape around the joint where the duct and the exhaust port are connected. This will provide additional security and help prevent any air leaks.
Properly connecting the flexible duct to the bathroom fan is essential for efficiently channeling the moist air from the bathroom to the vent. It’s crucial to ensure a tight and secure connection to maximize the effectiveness of the ventilation system.
During the installation process, take care not to bend or kink the flexible duct, as this could restrict airflow. If necessary, use duct straps or hangers to support the duct and keep it in place.
Remember to follow safety guidelines when working with the bathroom fan, such as disconnecting the power supply before making any connections and wearing appropriate protective gear.
By carefully connecting the flexible duct to the bathroom fan, you are one step closer to completing the venting process and achieving proper ventilation in your bathroom.
Step 7: Extend the duct through the attic space
After connecting the flexible duct to the bathroom fan, the next step is to extend the duct through the attic space. This will create a pathway for the moist air from the bathroom to flow towards the vent cover on the roof. Follow these steps to extend the duct through the attic space:
- Gather the necessary tools and materials: Before you begin, ensure you have the flexible duct, duct straps or hangers, a utility knife, insulation (if necessary), and a tape measure.
- Plan the route: Determine the most direct and unobstructed path from the bathroom fan to the vent cover on the roof. Avoid any obstacles such as electrical wiring, plumbing pipes, or insulation that may impede the airflow.
- Thread the flexible duct through the attic: Starting from the bathroom fan, carefully extend the flexible duct through the attic, following the planned route. Be cautious not to kink or crush the duct, as this can restrict airflow.
- Secure the duct with straps or hangers: Use duct straps or hangers to secure the flexible duct along its path through the attic. This will prevent the duct from sagging or becoming loose, ensuring a stable and efficient ventilation system.
- Cut and adjust the duct length: If necessary, use a utility knife to trim the length of the flexible duct to fit the desired route. Measure and cut the duct carefully, allowing for a proper fit without any excessive lengths that can cause airflow restrictions.
- Insulate the duct (if needed): Depending on the climate and attic conditions, you may need to insulate the flexible duct to prevent condensation and energy loss. Wrap insulation around the duct, ensuring a snug and secure fit. This will help maintain the temperature and efficiency of the airflow.
During the process, take care to avoid sharp objects or any potential hazards in the attic that could damage the flexible duct. Ensure that the duct is secure and properly supported along its entire length to avoid any potential airflow restrictions or damage.
Remember to follow safety guidelines while working in the attic, such as wearing appropriate protective gear and using caution on ladders or unstable surfaces.
By extending the flexible duct through the attic space, you are ensuring a clear pathway for the moist air from the bathroom to be effectively vented out of your home, promoting a healthier and more comfortable environment.
Read more: How To Install Solar Attic Fan
Step 8: Secure the duct and insulate if necessary
After extending the flexible duct through the attic space, it’s important to ensure that the duct is properly secured and insulated if required. This will help maintain the efficiency and effectiveness of the ventilation system. Follow these steps to secure the duct and insulate if necessary:
- Gather the necessary tools and materials: Before you begin, make sure you have duct straps or hangers, insulated duct tape, and insulation material (if needed).
- Secure the duct with duct straps or hangers: Use duct straps or hangers to secure the flexible duct along its pathway through the attic. Place the straps or hangers at regular intervals, ensuring that the duct is properly supported and does not sag or kink. This will maintain a smooth and unobstructed airflow.
- Check for any gaps or openings: Inspect the entire length of the duct for any gaps or openings. These can occur at the joints or where the duct connects to the bathroom fan or the vent cover. If you find any gaps, seal them tightly with insulated duct tape. This will prevent air leaks and maintain the efficiency of the ventilation system.
- Insulate the duct (if necessary): If you live in a region with extreme temperatures, it is advisable to insulate the flexible duct to prevent condensation and energy loss. Wrap insulation material around the duct, ensuring that it fits snugly. Pay close attention to any bends or curves where insulation may need to be adjusted.
- Secure the insulation: Use insulated duct tape or other appropriate fasteners to secure the insulation in place. Make sure the insulation is not compressing or blocking the airflow within the duct.
- Double-check the securement: Once you have secured the duct and insulated if necessary, double-check all the connections, straps, and insulation to ensure they are secure and properly in place. This will help guarantee a well-functioning and efficient ventilation system.
Properly securing the flexible duct and insulating it if necessary are crucial steps to ensure optimal airflow and energy efficiency in your ventilation system. By providing proper support and insulation, you can minimize any potential air leaks, maintain a consistent temperature, and reduce energy loss.
Remember to exercise caution while working in the attic, ensuring your safety by using proper ladder techniques and wearing appropriate protective gear.
By securing the duct and insulating if necessary, you are one step closer to completing the installation process and achieving effective ventilation for your bathroom.
Step 9: Seal any gaps or openings in the ductwork
After securing the flexible duct and insulating it if necessary, it’s important to inspect the entire ductwork for any gaps or openings. Sealing these gaps and openings will ensure that the air flows efficiently through the ducts, preventing any air leaks or energy loss. Follow these steps to seal any gaps or openings in the ductwork:
- Gather the necessary tools and materials: Before you begin, make sure you have insulated duct tape, a utility knife, and a ladder or stable footing.
- Inspect the ductwork: Carefully examine the entire length of the flexible duct, paying close attention to the joints, connections, and any areas where the duct passes through walls or ceilings. Look for any gaps, loose connections, or openings where the duct may not be properly sealed.
- Trim the insulation (if necessary): If you have insulated the duct, use a utility knife to neatly trim any excess insulation material around the duct joints or to ensure a proper fit in tight spaces. This will allow for easier access when sealing the gaps or openings.
- Seal the gaps with insulated duct tape: Use insulated duct tape to seal any gaps or openings in the ductwork. Wrap the tape tightly around the affected area, ensuring a secure and airtight seal. Apply pressure to ensure proper adhesion.
- Apply tape at joints and connections: Pay particular attention to the joints and connections between the flexible duct sections, as these are common areas where air leaks may occur. Securely wrap insulated duct tape around these areas to create a tight seal.
- Check for proper alignment: Verify that the duct sections are aligned properly and make any necessary adjustments to ensure a tight fit. Additionally, ensure that the duct is not twisted or kinked, as this can restrict airflow.
- Inspect the sealed areas: After sealing the gaps and openings, conduct a thorough inspection of the ductwork to ensure that all the sealed areas are secure and airtight. This will help prevent any air leakage and optimize the efficiency of the ventilation system.
Properly sealing any gaps or openings in the ductwork is crucial to ensure that the ventilation system operates efficiently and effectively. By sealing these areas, you can prevent air leaks, maintain the desired airflow, and minimize energy loss.
Remember to exercise caution while working with ladder, ensuring your safety by using proper ladder techniques and wearing appropriate protective gear.
By sealing any gaps or openings in the ductwork, you are nearing the completion of the installation process, and you can expect a properly functioning and efficient bathroom fan ventilation system.
Step 10: Test the bathroom fan ventilation
After completing the installation process, it’s crucial to test the bathroom fan ventilation system to ensure its proper functioning and effectiveness. Testing the system will help verify that the fan is expelling moist air out of the bathroom and that the airflow is directed towards the vent cover on the roof. Follow these steps to test the bathroom fan ventilation:
- Turn on the bathroom fan: Flip the switch or turn on the bathroom fan from the control panel to start the ventilation process. You should feel the fan operating and hear the sound of the airflow.
- Check for proper airflow: Hold a piece of tissue or a thin strip of paper near the vent cover on the roof. You should feel the airflow pulling the paper towards the vent cover, indicating that the fan is effectively expelling the moist air out of the bathroom.
- Listen for unusual noises or vibrations: While the fan is running, pay attention to any unusual noises or vibrations. A properly installed and functioning fan should operate silently. If you notice any unusual sounds or vibrations, investigate and make any necessary adjustments.
- Monitor humidity levels: Keep an eye on the humidity levels in the bathroom. A properly working ventilation system should effectively reduce humidity and moisture, preventing mold and mildew growth. Monitor these levels to ensure the fan is effectively doing its job.
- Make adjustments if necessary: If you notice any issues during the testing phase, such as weak airflow or inadequate ventilation, take the time to identify and address the problem. This may involve re-checking the connections, cleaning the fan, or consulting a professional for further assistance.
Properly testing the bathroom fan ventilation system is essential to ensure that it is effectively removing moisture and odors from the bathroom, creating a healthier and more comfortable environment. Regular testing also allows you to identify any potential issues and address them promptly.
Remember to follow safety guidelines during the testing process, including avoiding contact with electrical components or reaching into the fan while it is in operation.
By testing the bathroom fan ventilation, you can have confidence in the functionality and efficiency of your installation. Enjoy the benefits of a well-ventilated bathroom that is free from excess moisture and odors.
Conclusion
Venting a bathroom fan in the attic is a valuable solution for achieving proper ventilation and maintaining a healthy and comfortable bathroom environment. This comprehensive guide has walked you through the step-by-step process of venting your bathroom fan in the attic, ensuring optimal airflow and moisture control. By following these steps, you have taken important measures to prevent mold and mildew growth, eliminate excess moisture, and keep your bathroom fresh and odor-free.
Throughout the process, it was vital to gather the necessary tools and materials, locate the best spot for venting in the attic, measure and mark the venting location accurately, prepare the area for installation, install the vent cover on the roof securely, connect the flexible duct to the bathroom fan correctly, extend the duct through the attic space, secure the duct and insulate if necessary, seal any gaps or openings in the ductwork, and finally, test the bathroom fan ventilation.
With these steps completed, you can enjoy the benefits of an efficiently ventilated bathroom, free from moisture-related issues and lingering odors. Properly venting your bathroom fan in the attic not only improves air quality but also helps protect your home from potential structural damage caused by excessive moisture buildup.
Remember to regularly inspect and maintain your bathroom fan and clean any dust or debris that may accumulate over time. This will ensure the continued performance and longevity of your ventilation system.
If you feel uncertain or encounter any difficulties during the installation process, do not hesitate to consult a professional. They can provide you with expert advice and guidance to ensure a successful and effective bathroom fan venting system.
By taking the time to properly vent your bathroom fan in the attic, you are investing in the well-being of your home and creating a more comfortable environment for you and your family. So, breathe easy and enjoy the benefits of a well-ventilated bathroom!
Frequently Asked Questions about How To Install A Bathroom Fan In The Attic
Was this page helpful?
At Storables.com, we guarantee accurate and reliable information. Our content, validated by Expert Board Contributors, is crafted following stringent Editorial Policies. We're committed to providing you with well-researched, expert-backed insights for all your informational needs.

0 thoughts on “How To Install A Bathroom Fan In The Attic”