Home>Articles>How To Remove An Older Hotpoint Stove Burners?
Articles
How To Remove An Older Hotpoint Stove Burners?
Modified: May 6, 2024
Learn how to safely remove the burners from your older Hotpoint stove with our detailed step-by-step articles. Ensure a smooth process with our expert tips and guidance.
(Many of the links in this article redirect to a specific reviewed product. Your purchase of these products through affiliate links helps to generate commission for Storables.com, at no extra cost. Learn more)
Introduction
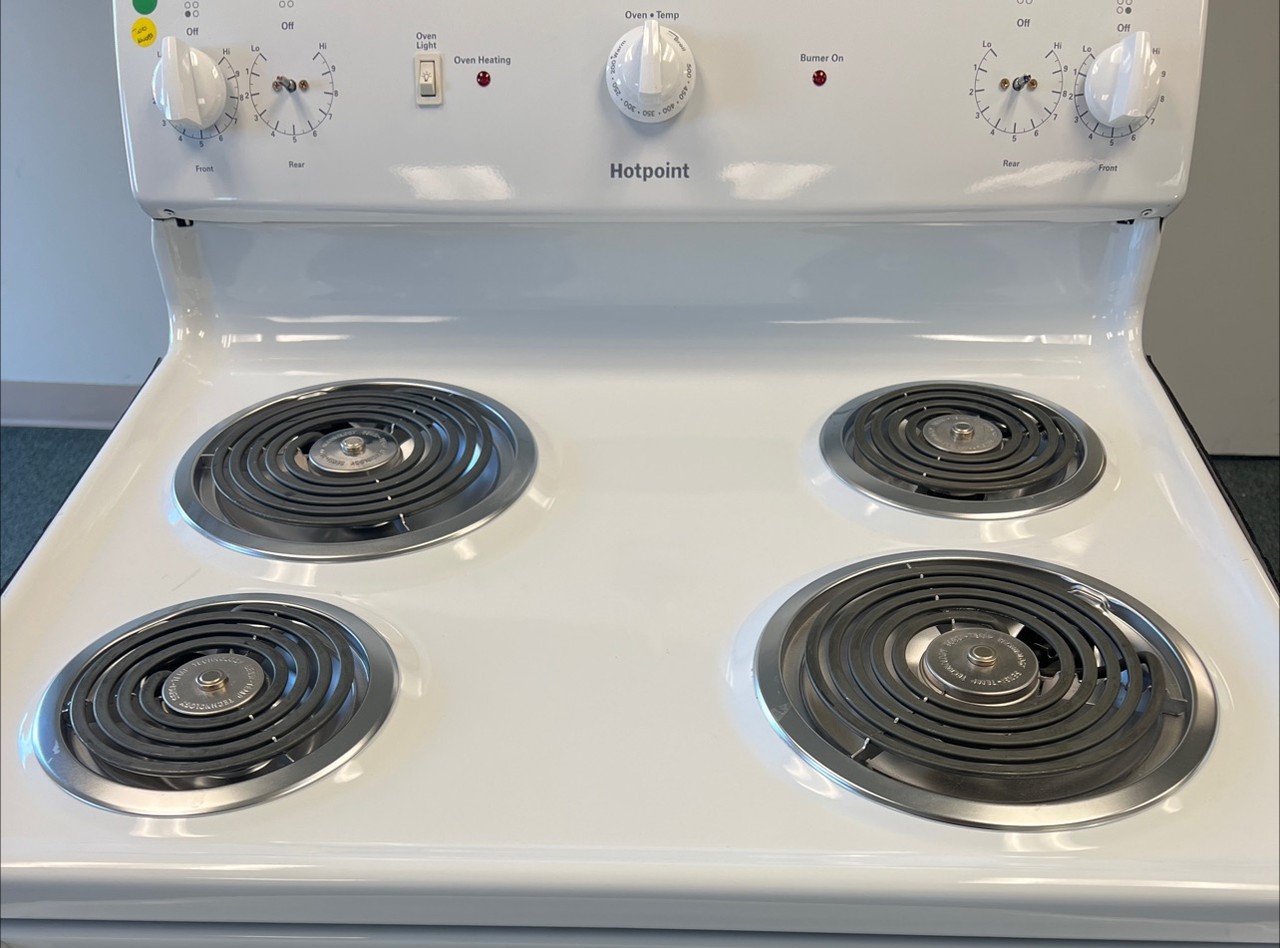
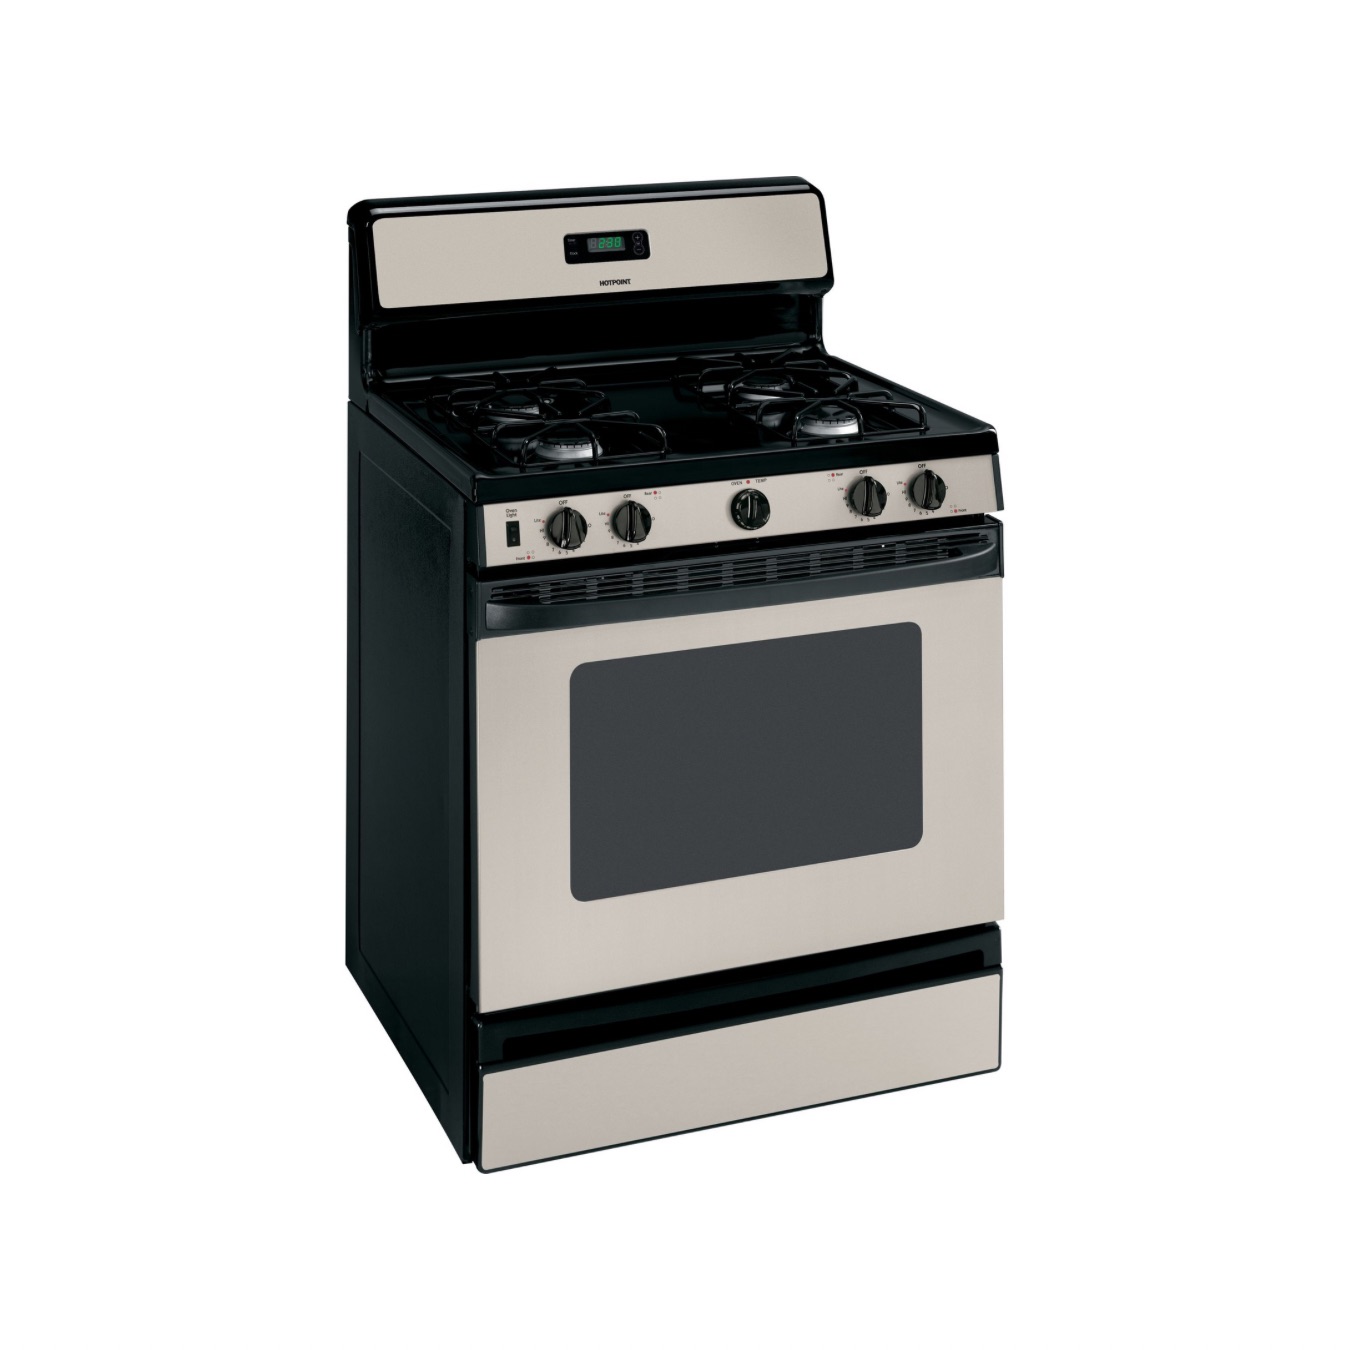
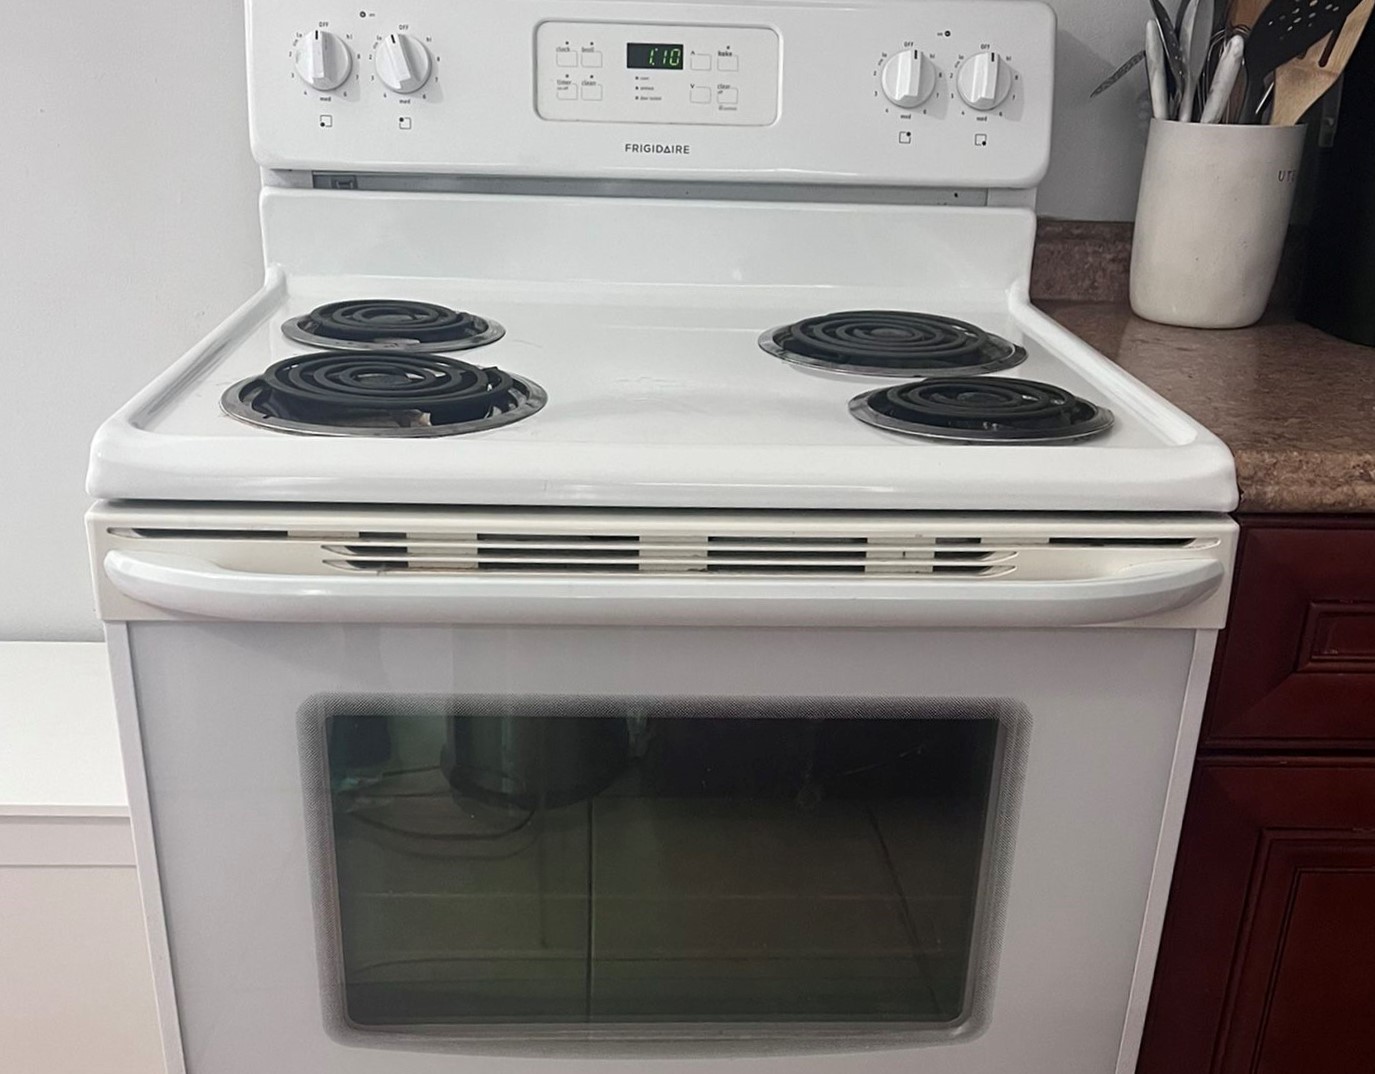
When it comes to kitchen appliances, the stove is one of the most important and frequently used. Over time, however, wear and tear can take its toll on your stove burners, resulting in decreased performance or even a complete malfunction. If you own an older Hotpoint stove, removing the burners may seem like a daunting task, but fear not! In this article, we will guide you through the step-by-step process of removing the burners from your older Hotpoint stove.
Before we dive into the details, it’s important to note that safety should be your top priority. Always make sure to follow safety precautions and take necessary steps to protect yourself and your appliance from any potential harm. It’s also a good idea to consult the manufacturer’s manual for specific instructions regarding your particular Hotpoint stove model.
Now that we have covered the basics, let’s move on to the first step of removing the burners from your older Hotpoint stove.
Key Takeaways:
- Safely remove and clean older Hotpoint stove burners by following step-by-step instructions, ensuring optimal performance and prolonging the appliance’s lifespan.
- Prioritize safety, turn off power, remove burners, clean, and reassemble to maintain your Hotpoint stove’s efficiency and functionality. Regular maintenance is key to a well-functioning appliance.
Read also: 13 Best Hotpoint Stove Burners For 2024
Step 1: Safety Precautions
Before starting any task that involves working on your stove, it is essential to take proper safety precautions to minimize the risk of accidents or injuries. Here are some important safety measures to keep in mind:
- Make sure the stove is turned off and cool to the touch before you begin. This will prevent any potential burns or electric shocks.
- Wear protective gloves to avoid any injuries and to protect your hands from sharp edges or hot surfaces.
- Ensure that the area around the stove is clean and free from any obstacles to provide a safe working environment.
- If you’re working with gas burners, ensure that the gas supply is turned off before proceeding. If you’re unsure about how to do this, consult the manufacturer’s manual or contact a professional.
- Keep a fire extinguisher nearby, just in case of any unexpected emergencies.
By following these safety precautions, you can minimize the risks associated with working on your stove burners.
Once you’ve taken all necessary safety measures, it’s time to move on to the next step: turning off the power to your Hotpoint stove.
Step 2: Turning off the Power
Before you can safely remove the burners from your older Hotpoint stove, you need to ensure that the power is completely turned off. This will prevent any electrical accidents and ensure your safety during the process. Here’s how you can turn off the power:
- Locate the main electrical panel in your home.
- Open the panel door and find the circuit breaker associated with your kitchen.
- Flip the switch for the stove or oven to the “off” position. This will shut off the power supply to your Hotpoint stove.
- Double-check that the power is off by trying to turn on any burner or the oven. If there is no response, it means the power is successfully turned off.
It’s important to note that simply turning off the stove controls is not enough. By shutting off the power completely, you can ensure that there is no electricity running through the stove, reducing the risk of electric shocks or other accidents.
Now that you have turned off the power, you are ready to proceed with removing the burners from your Hotpoint stove.
Step 3: Removing the Drip Pans
Before you can access the burners, you’ll need to remove the drip pans or bowls that are located beneath them. The drip pans are designed to catch any spills or drips, helping to keep your stove clean. Here’s how you can remove the drip pans from your older Hotpoint stove:
- Start by opening the oven door and locating the burners.
- Gently lift each burner grate and set it aside.
- Underneath each burner, you’ll find the corresponding drip pan.
- Using a firm grip, carefully lift the drip pan upwards.
- If the drip pan is stuck or difficult to remove, you can use a gentle twisting motion to loosen it.
- Once the drip pan is free, set it aside and repeat the process for the remaining burners.
It’s important to note that the drip pans can accumulate grease and food residue over time. Take this opportunity to clean them thoroughly using warm soapy water or a mild cleaning solution. This will help maintain the hygiene and functionality of your Hotpoint stove.
Now that you’ve successfully removed the drip pans, you can proceed to the next step of disconnecting the burners from your older Hotpoint stove.
Step 4: Disconnecting the Burners
Now that the drip pans have been removed, it’s time to disconnect the burners from your older Hotpoint stove. Here’s a step-by-step guide on how to do it:
- Locate the burner assembly underneath each burner on your stove.
- Depending on the model of your Hotpoint stove, you may need to unscrew or unlatch the burner assembly to disconnect it.
- Carefully remove any retaining clips or screws holding the burner assembly in place.
- Gently lift the burner assembly upwards to disconnect it from the stove.
- Be cautious of any electrical connections that may be present. If necessary, carefully detach the electrical connectors to fully disconnect the burner assembly from the stove.
- Repeat this process for each burner on your Hotpoint stove.
It’s worth noting that some burner assemblies may have additional components, such as igniters or gas supply lines, that need to be disconnected. Refer to your Hotpoint stove’s manual or consult a professional if you’re uncertain about the specific steps for your model.
Once the burners are disconnected, you can move on to the next step of removing the burner grates from your older Hotpoint stove.
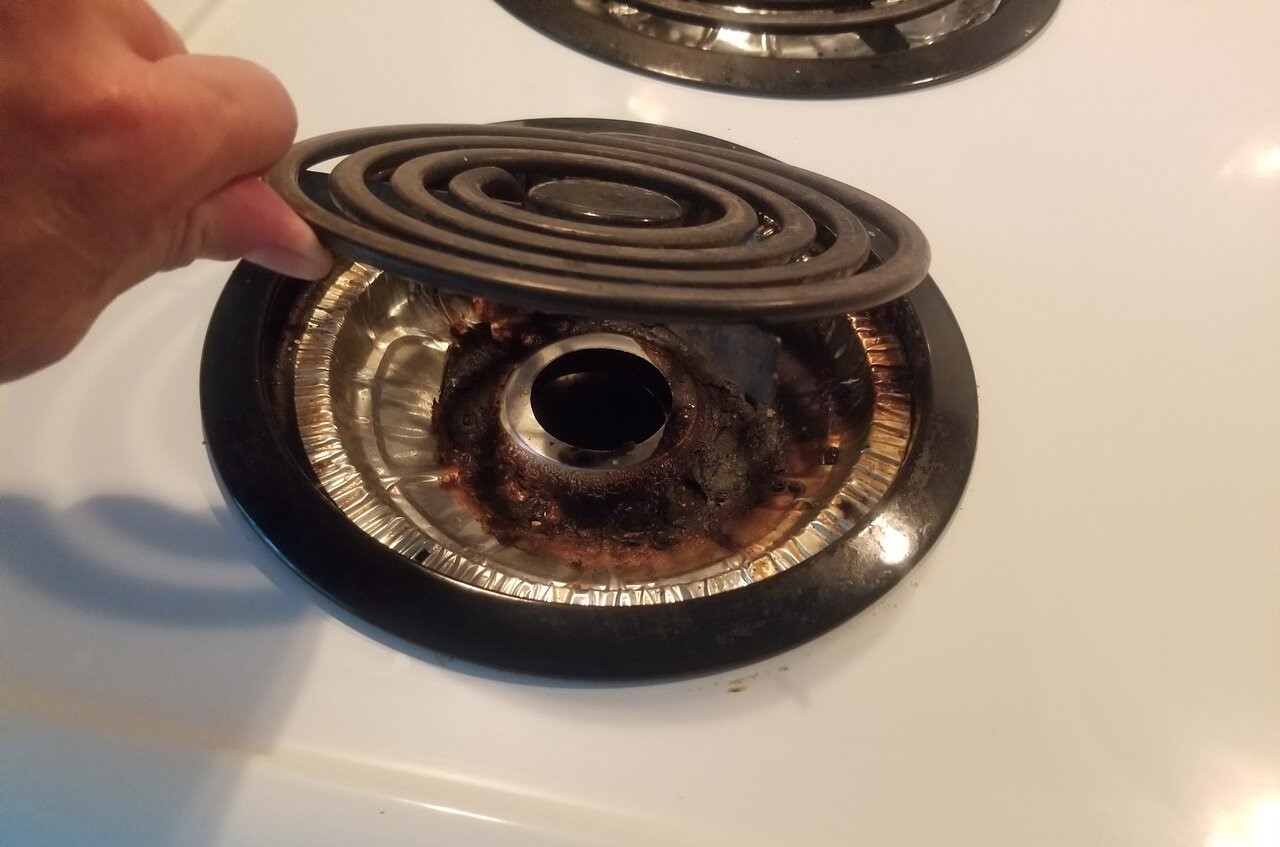
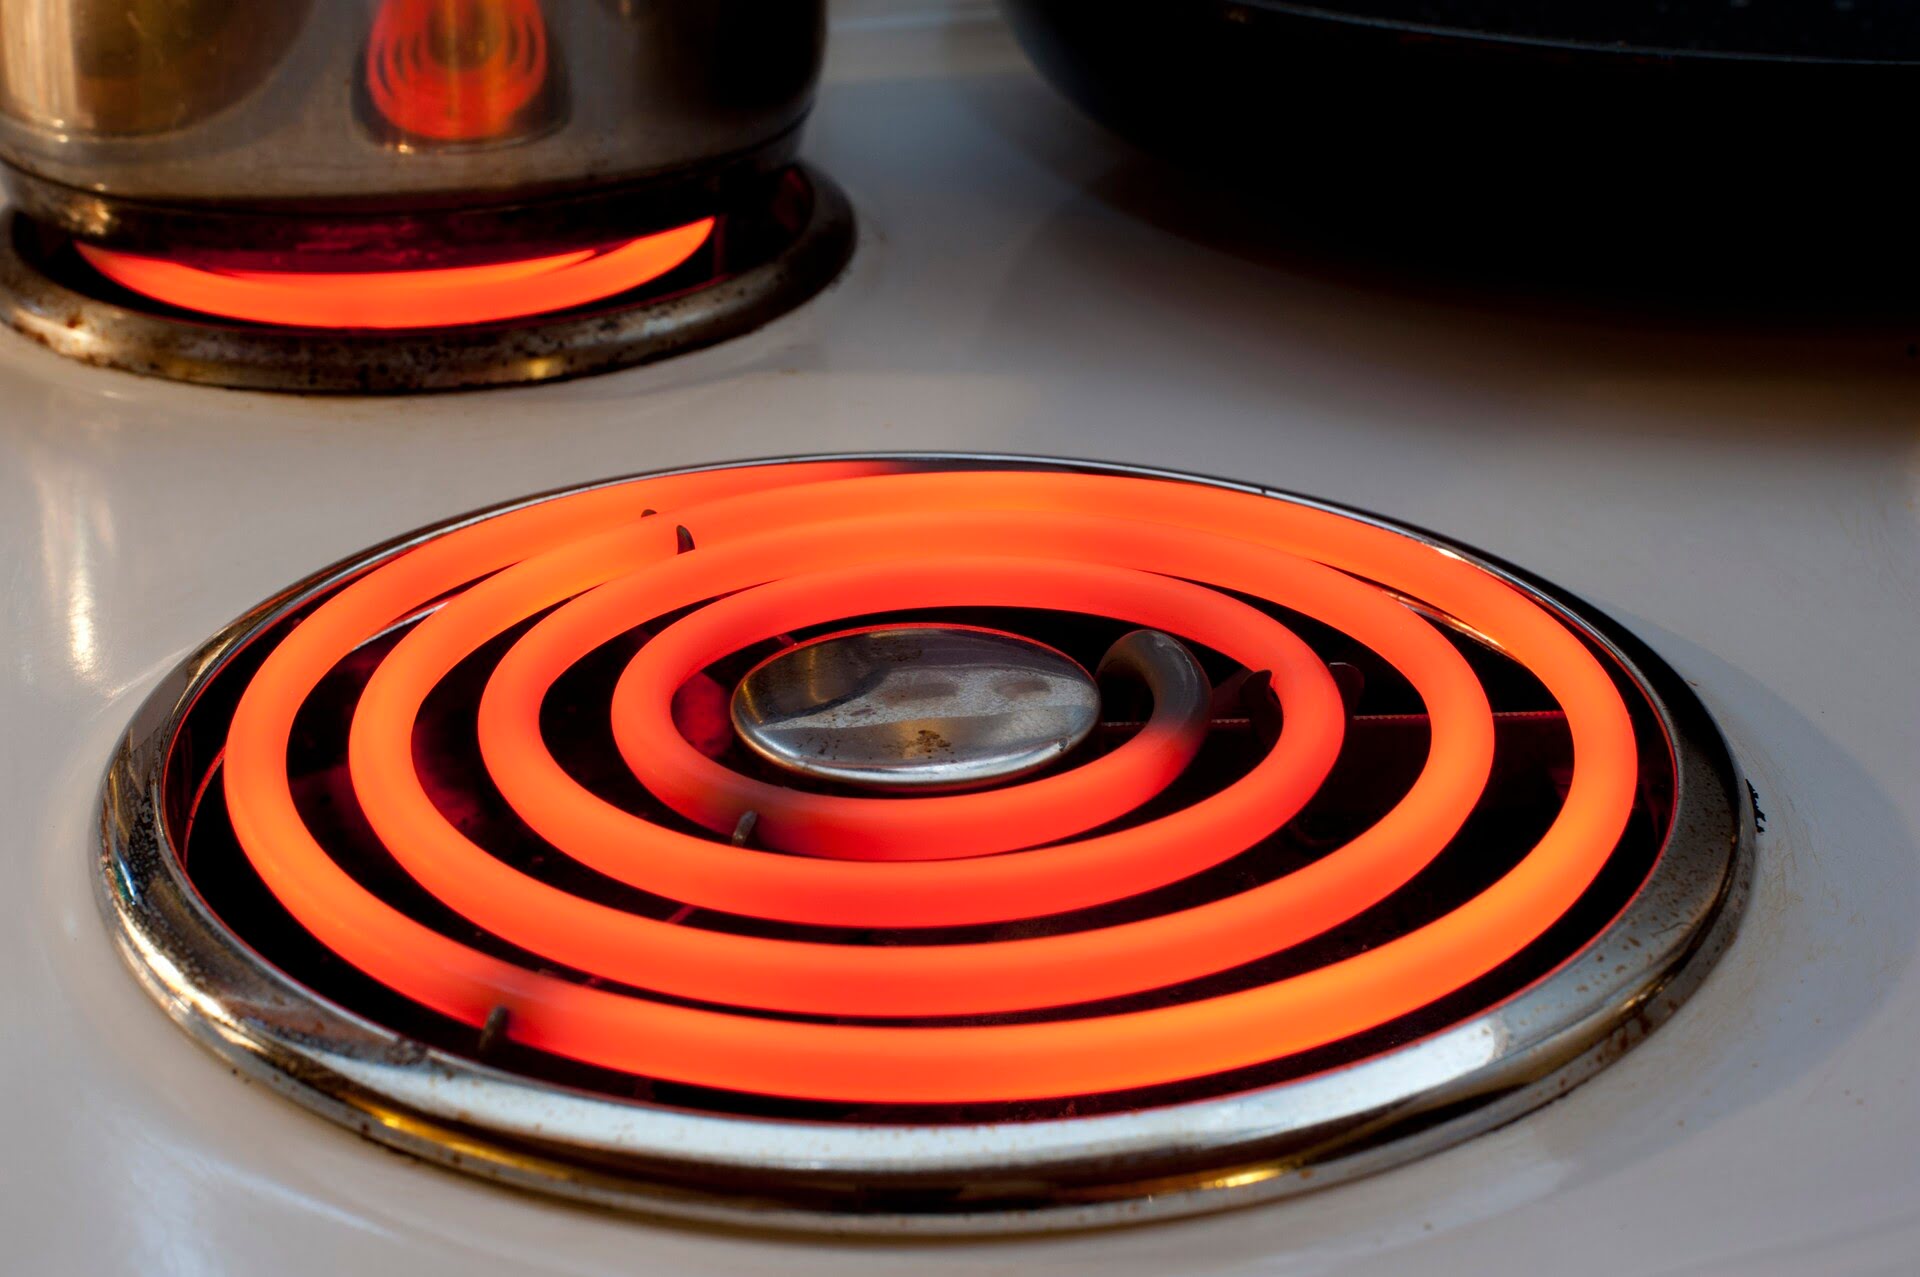
When removing older Hotpoint stove burners, make sure the stove is turned off and cool. Carefully lift the burner coil and gently pull it out from the socket. Clean the socket and replace the burner if necessary.
Read more: How To Remove Stove Burners
Step 5: Removing the Burner Grates
With the burners disconnected, it’s time to remove the burner grates from your older Hotpoint stove. The burner grates sit on top of the burners and provide a stable surface for your pots and pans. Here’s the process for removing the burner grates:
- Start by identifying the burner grates on your stove.
- Gently lift each burner grate straight upwards to remove it from the stove.
- If there are multiple burner grates, remove them one by one.
- Set the burner grates aside in a safe place.
It’s important to handle the burner grates with care, as they can be heavy and may have sharp edges. Using protective gloves or a kitchen towel can help provide a better grip and prevent any injuries.
Once the burner grates are removed, you will have clear access to the burners themselves. This will allow you to inspect and clean them properly, which we will cover in the next step.
Now that you’ve successfully removed the burner grates, let’s move on to step 6, which is inspecting and cleaning the burners.
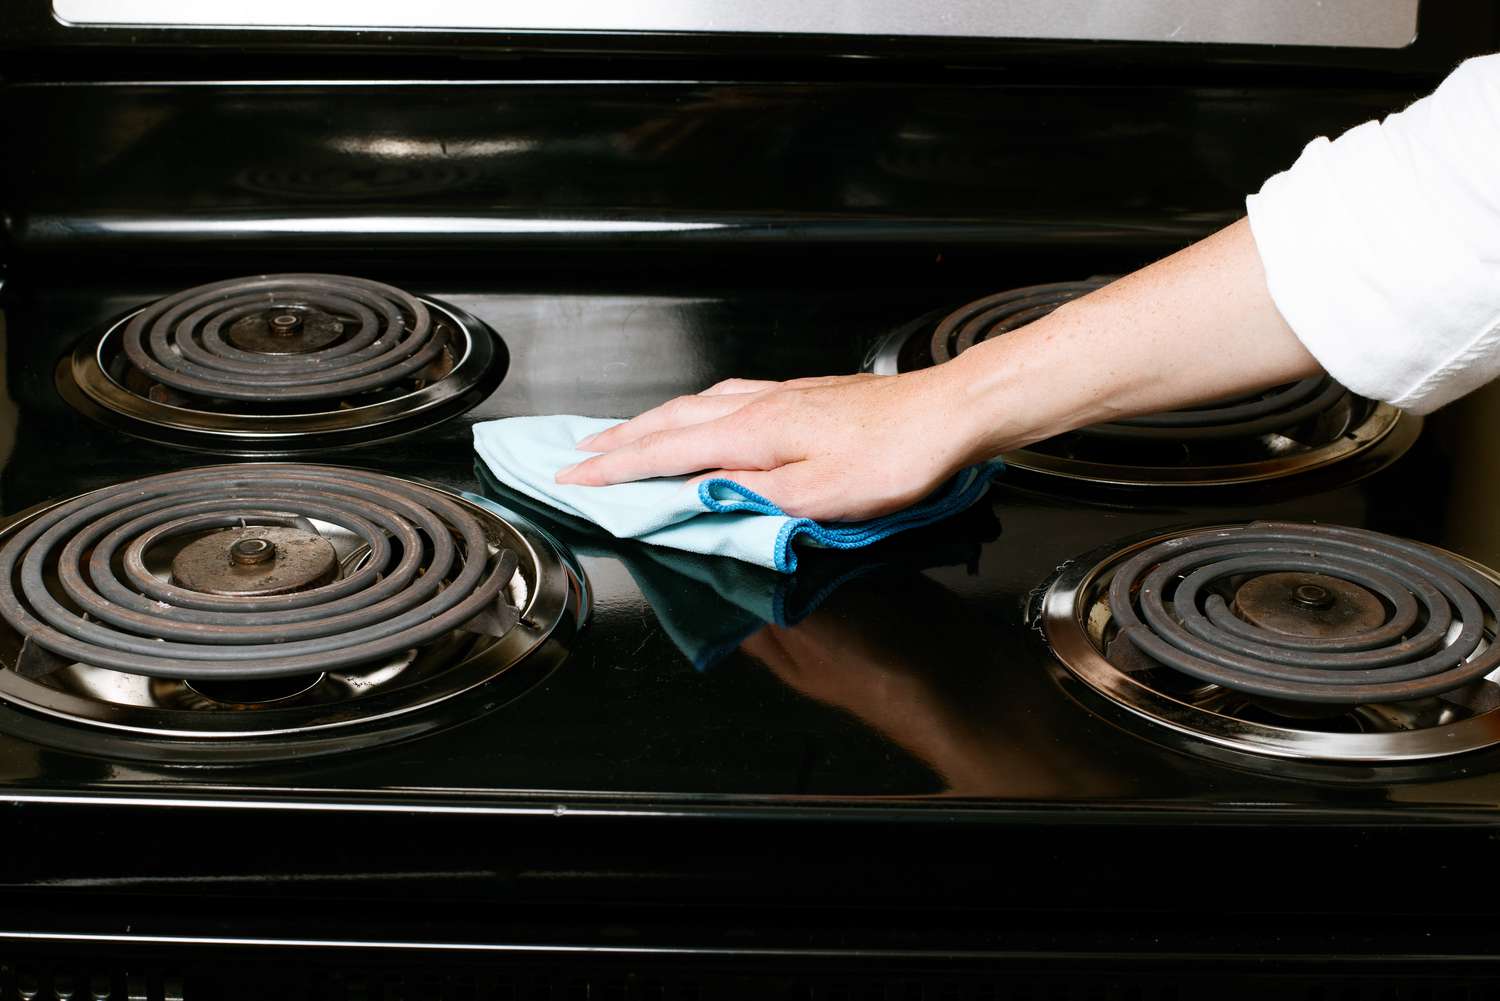
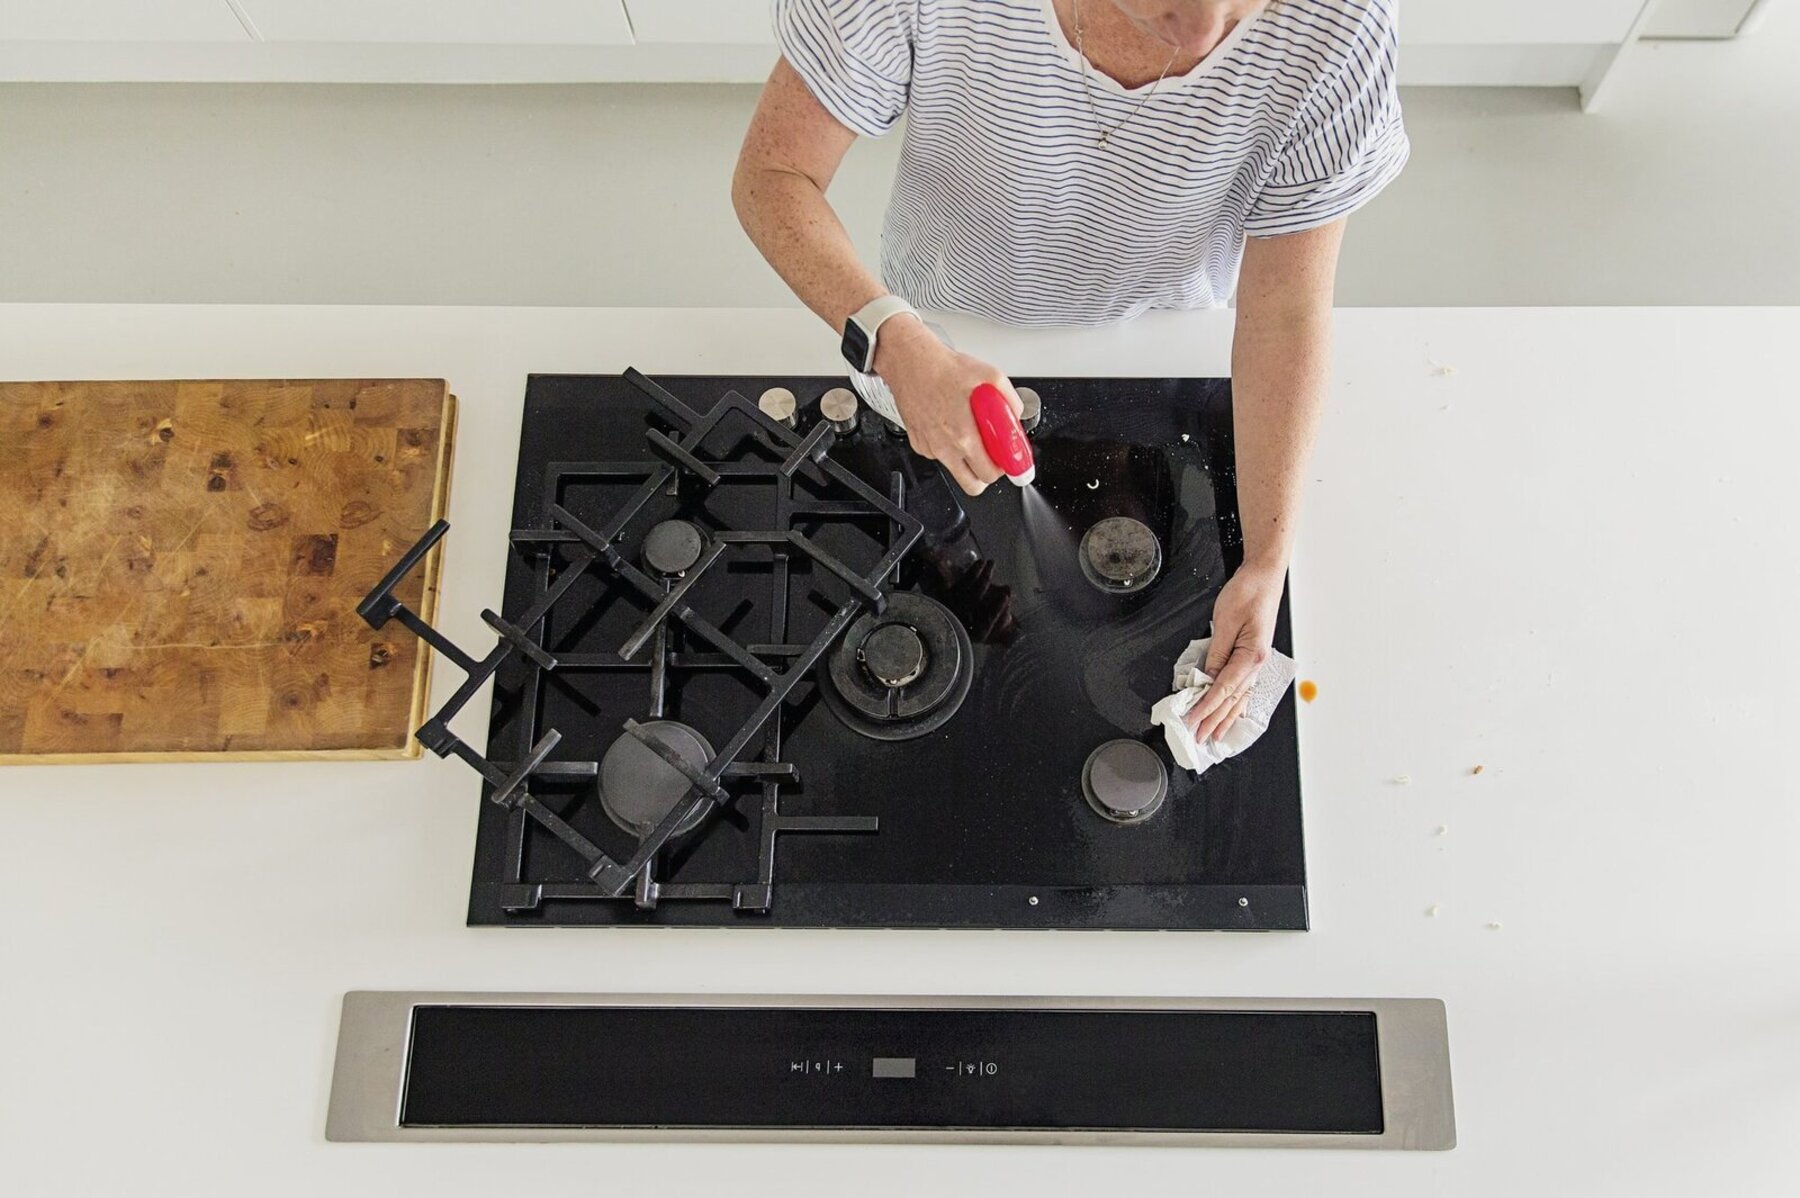
Step 6: Inspecting and Cleaning the Burners
With the burner grates removed, it’s time to inspect and clean the burners of your older Hotpoint stove. Over time, burners can become clogged with food residue, grease, or debris, which can affect their performance. Here’s how you can effectively inspect and clean the burners:
- Start by visually inspecting each burner for any signs of damage, such as cracks or corrosion. If you notice any issues, it may be necessary to replace the burner.
- Next, remove any visible debris or food particles from the burners using a soft brush or cloth. Be gentle to avoid damaging the burner surface.
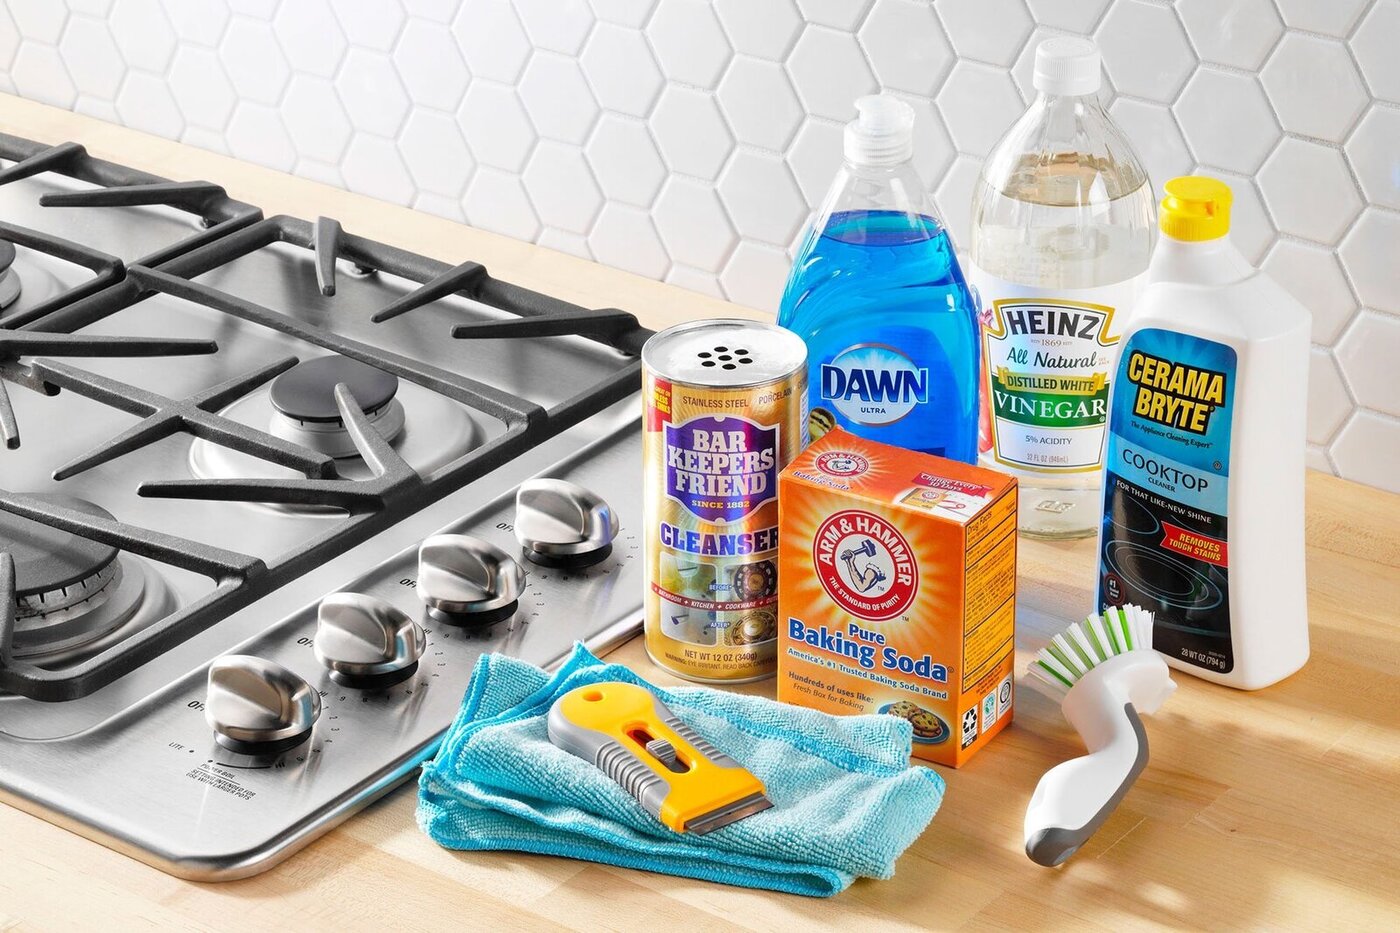
- If there is stubborn residue or grease buildup on the burners, you can create a cleaning solution by mixing warm water with a mild dish soap.
- Soak a sponge or cloth in the cleaning solution and gently scrub the burners to remove the built-up grime.
- Rinse the burners thoroughly with clean water to remove any soap residue.
- Allow the burners to dry completely before reassembling them back onto the stove.
It’s important to mention that not all burners are the same, and some may require specific cleaning instructions. Consult your Hotpoint stove’s manual for any additional guidance or specific cleaning recommendations for your model.
Once the burners are inspected and cleaned, you can move on to the next step of reassembling them back onto the stove.
Step 7: Reassembling the Burners
After inspecting and cleaning the burners of your older Hotpoint stove, it’s time to reassemble them and restore your stove to its full functionality. Here’s how you can effectively reassemble the burners:
- Start by ensuring that the burners are completely dry from the cleaning process.
- Take each burner and carefully align it with its respective socket on the stove.
- Gently lower the burner into place, making sure it fits securely and snugly.
- If your burners have electrical connectors, reattach them by carefully aligning and connecting the terminals.
- Once all the burners are in place, it’s time to reattach the burner grates. Take each grate and position it over the burners, ensuring a proper fit.
- If your Hotpoint stove has drip pans, reinsert them under each burner, making sure they are properly aligned.
Ensure that all components are securely in place before moving on to the next step. This will help prevent any issues or malfunctions when using your stove.
With the burners and grates reassembled, you can now move on to the final step: restoring power to your Hotpoint stove and testing the burners for proper functionality.
Conclusion
Removing and maintaining the burners of your older Hotpoint stove is a straightforward process that can help restore its performance and prolong its lifespan. By following the steps outlined in this guide, you can safely and effectively remove the burners, inspect and clean them, and reassemble them back onto your stove.
Remember to prioritize safety by following the necessary precautions, such as turning off the power and wearing protective gloves. Taking the time to inspect and clean the burners can improve their efficiency and ensure that your stove functions optimally.
Regular maintenance of your stove’s burners is essential to prevent issues like uneven heating or burner malfunctions. By inspecting and cleaning them regularly, you can preserve the performance and extend the lifespan of your Hotpoint stove.
If you encounter any difficulties during the process or if you are unsure about any specific steps, it is always recommended to consult your Hotpoint stove’s manual or seek assistance from a professional.
With a well-maintained stove, you can continue to enjoy cooking delicious meals with ease and confidence. So go ahead, follow the steps, and give your older Hotpoint stove the care it deserves!
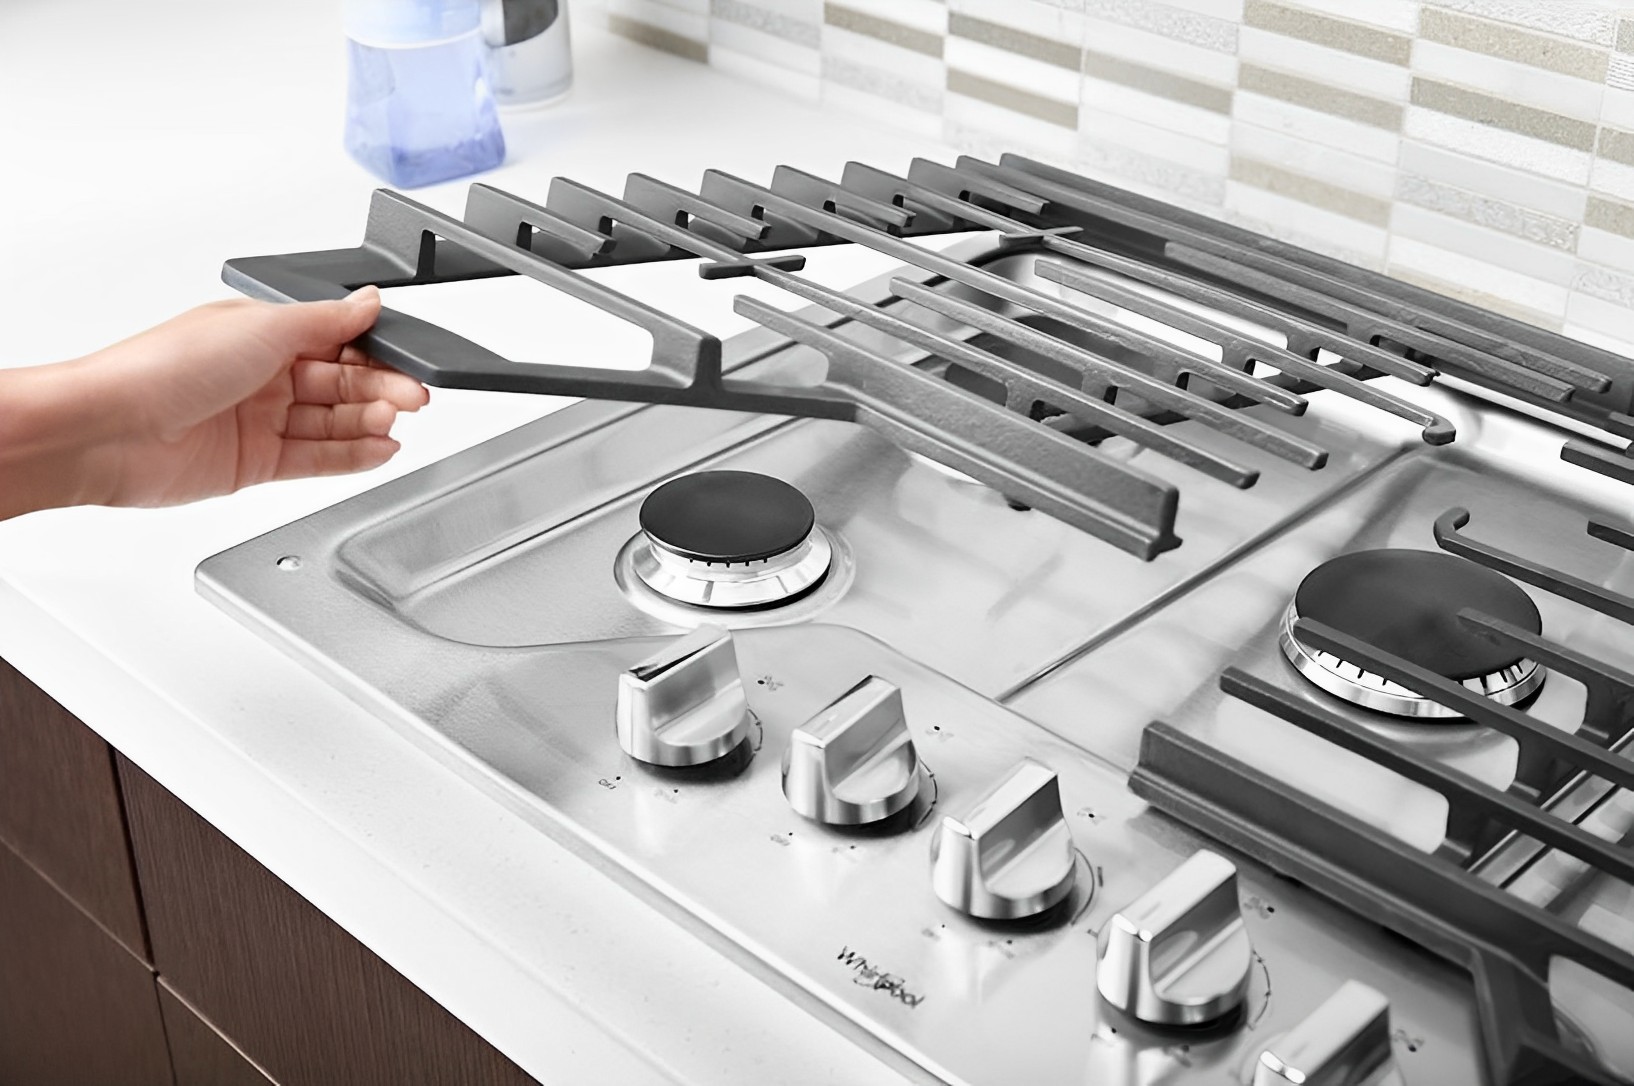
Mastered removing burners from your older Hotpoint stove? Why stop there? Dive into our detailed guide on how to handle a similar task with a different model. For folks keen on maintaining kitchen appliances, understanding burner removal across various brands is handy. Next up, we're tackling Whirlpool models. Whether you're a DIY enthusiast or just looking to keep your stove in top shape, this next article is sure to provide useful insights and practical advice for managing your home appliances with ease.
Frequently Asked Questions about How To Remove An Older Hotpoint Stove Burners?
Was this page helpful?
At Storables.com, we guarantee accurate and reliable information. Our content, validated by Expert Board Contributors, is crafted following stringent Editorial Policies. We're committed to providing you with well-researched, expert-backed insights for all your informational needs.


0 thoughts on “How To Remove An Older Hotpoint Stove Burners?”