Articles
How To Make Stove Burners Level
Modified: August 26, 2024
Learn how to make stove burners level with these helpful articles. Gain practical tips and step-by-step instructions for a more efficient cooking experience.
(Many of the links in this article redirect to a specific reviewed product. Your purchase of these products through affiliate links helps to generate commission for Storables.com, at no extra cost. Learn more)
Introduction
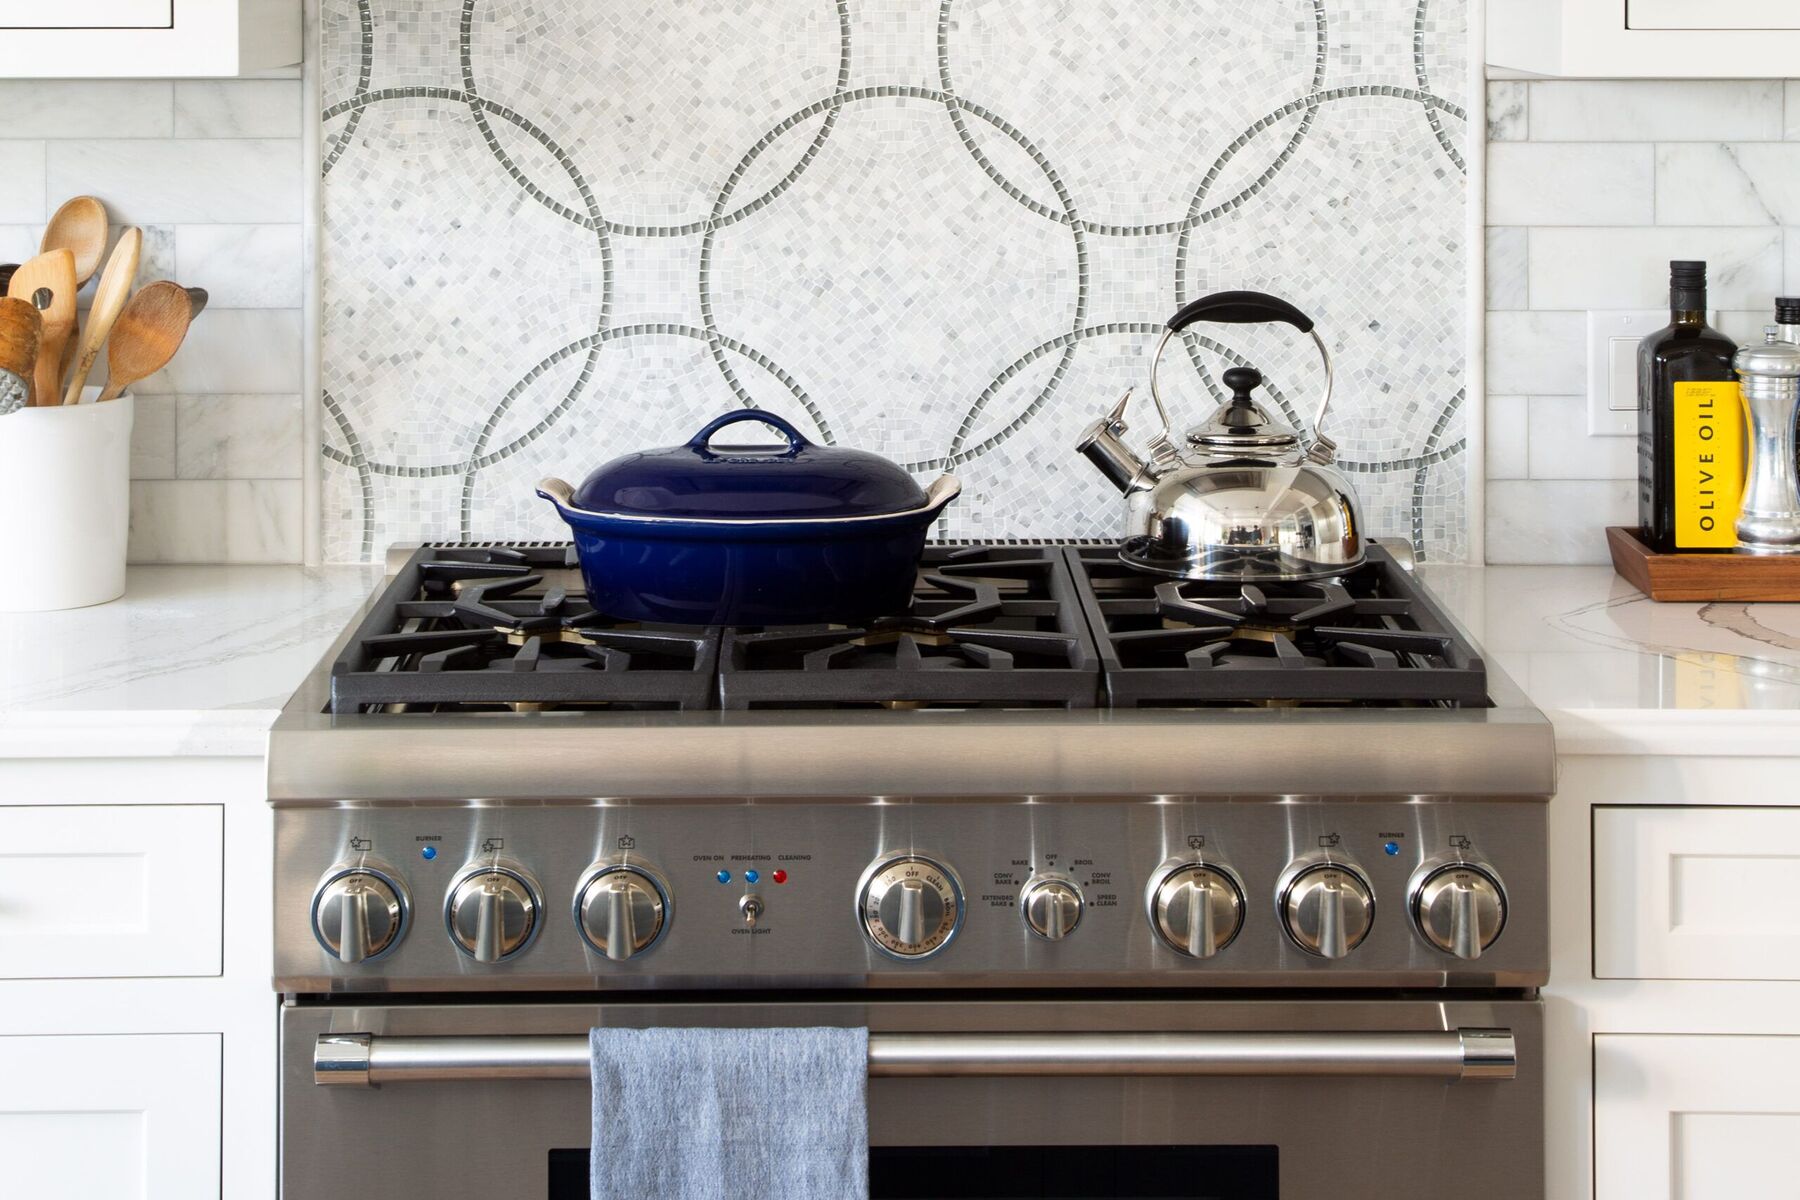
Having level stove burners is crucial for optimal cooking performance. When your stove burners are not level, it can lead to uneven heat distribution, which can result in uneven cooking or burning of your food. Additionally, an unlevel stove can pose safety risks, such as pots and pans sliding off the burners or tipping over.
In this article, we will guide you on how to make your stove burners level. By following these simple steps, you can ensure that your stove is safe, efficient, and produces evenly cooked meals.
Key Takeaways:
- Ensure safety, efficiency, and even cooking by leveling stove burners. Follow steps to adjust feet, level burners, and reattach grates for optimal performance.
- Level stove burners for even heat distribution, efficient cooking, and extended cooktop lifespan. Prioritize safety, gather tools, and follow step-by-step process for best results.
Importance of Level Stove Burners
Having level stove burners is not just a matter of aesthetics; it has several important benefits:
- Even Heat Distribution: When your stove burners are level, heat is evenly distributed across the cooking surface. This ensures that your food cooks uniformly and prevents hot spots or cold spots, which can result in undercooked or overcooked meals.
- Efficient Cooking: Level stove burners allow your cookware to sit securely, which translates to better heat transfer and energy efficiency. When the burners are level, there is maximum contact between the cookware and the heat source, allowing for faster and more efficient cooking.
- Safety: An unlevel stove can pose safety risks. Pots and pans may shift or slide off the burner, leading to accidents and potential injuries. By ensuring that your stove burners are level, you create a safe cooking environment for yourself and your family.
- Preventing Uneven Cooking: When your stove burners are not level, one side of the pot or pan may receive more heat than the other. This can result in uneven cooking, with one part of your dish being undercooked while another part is overcooked. By leveling the burners, you can avoid this issue and achieve consistent cooking results.
- Extended Lifespan of Cooktop: When your stove burners are not level, it can lead to excessive wear and tear on the burners and cooktop. Uneven pressure on the burners can cause them to wear out faster, resulting in costly repairs or replacements. By maintaining level burners, you can extend the lifespan of your stove and save money in the long run.
Now that you understand the importance of having level stove burners, let’s proceed to the steps to make them level.
Tools and Materials Needed
Before you begin the process of making your stove burners level, it’s essential to gather the necessary tools and materials. Here are the items you will need:
- Screwdriver: A flat-head or Phillips screwdriver will be needed to detach and adjust the burner grates.
- Leveling Tool: This can be a carpenter’s level or a smartphone app with a built-in level. The leveling tool will help you ensure that the burners are perfectly level.
- Adjustable Wrench (optional): If your stove has adjustable feet, you may need an adjustable wrench to loosen or tighten them.
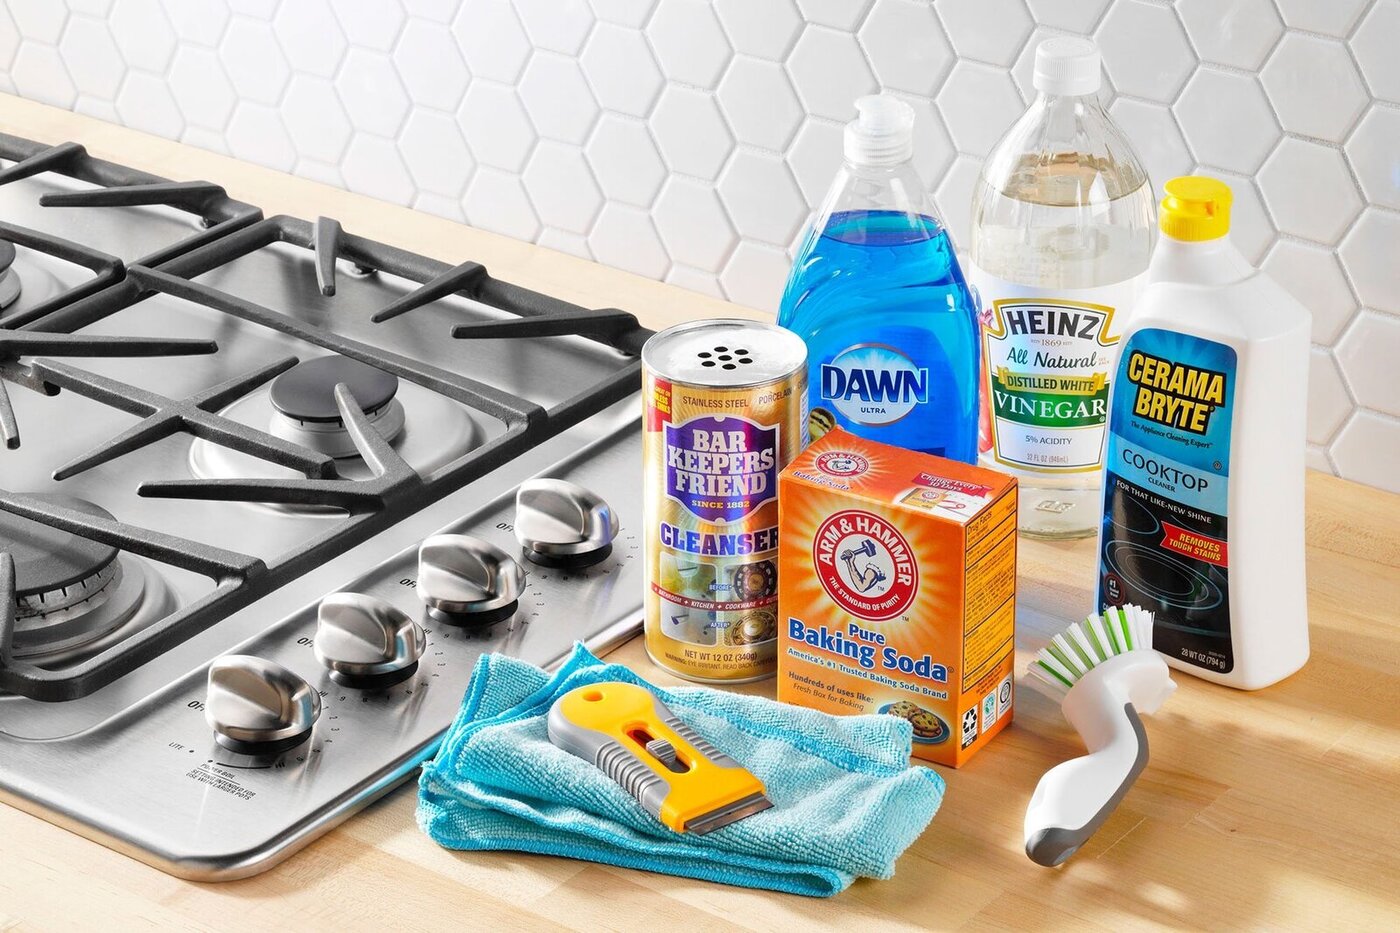
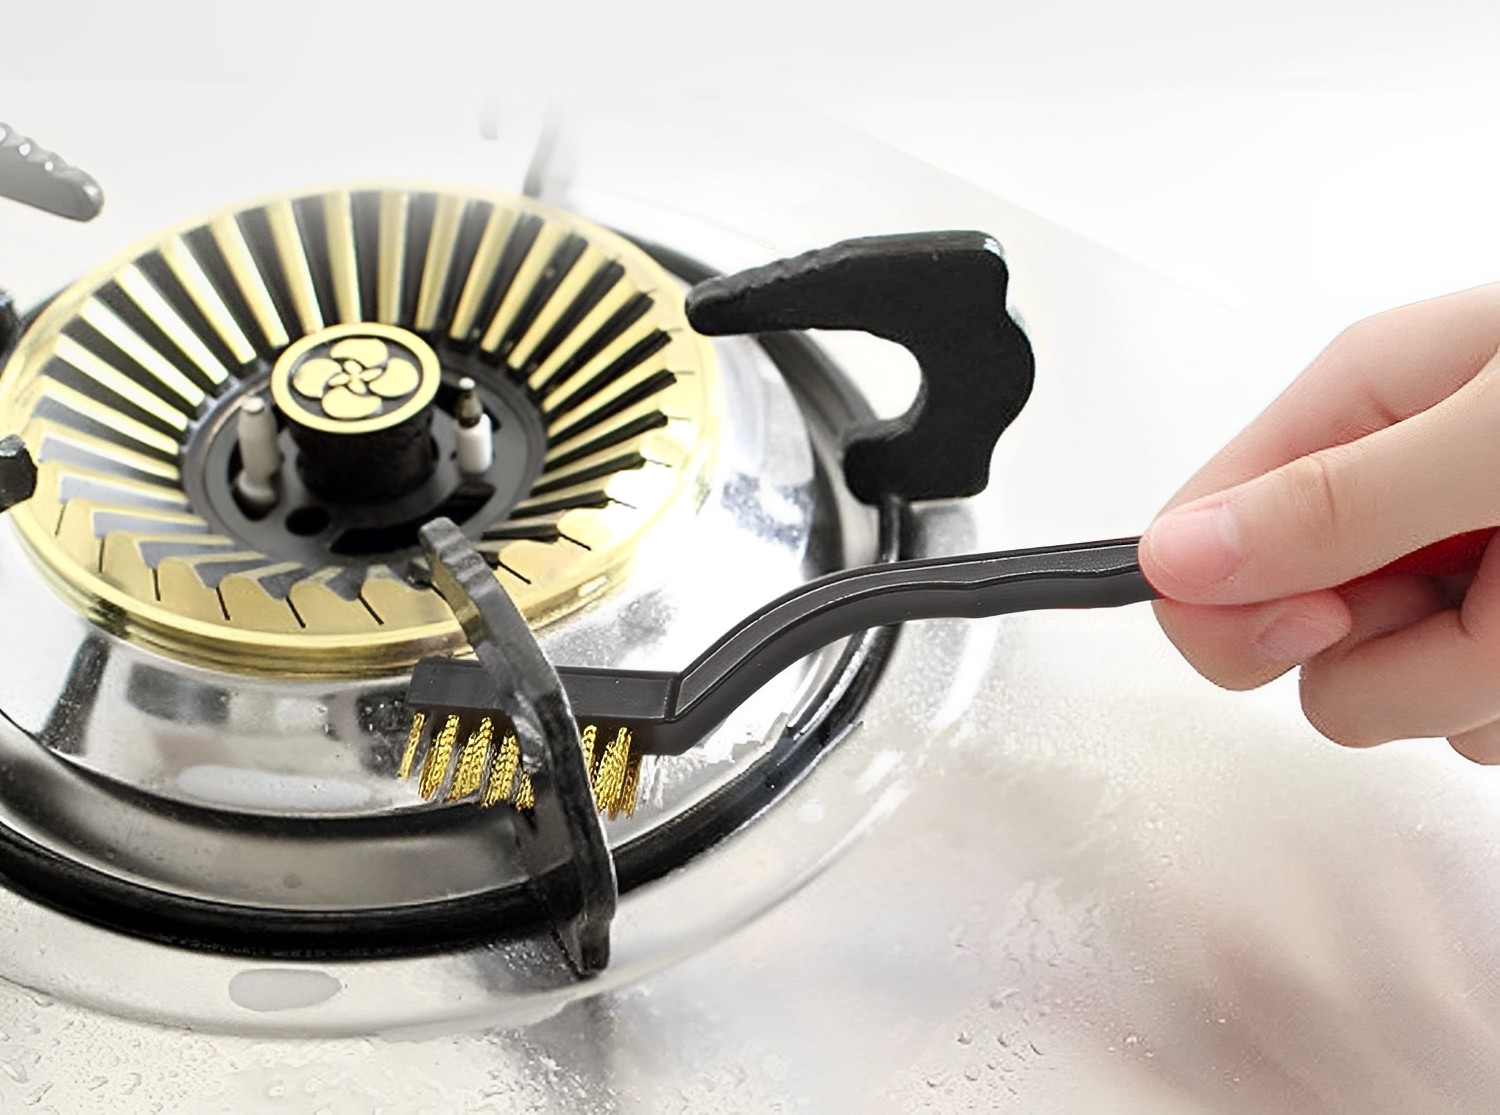
- Cleaning supplies: It’s always a good idea to have cleaning supplies, such as mild soap, warm water, and a sponge or cloth, to clean any grease or dirt from the burner grates.
- Protective gear: Wear protective gloves to protect your hands from any sharp edges or hot surfaces while working on your stove.
Make sure to gather all these tools and materials before you start the process. Having everything ready will make the process smoother and more efficient.
Now that you have the necessary tools and materials, let’s move on to the step-by-step process of making your stove burners level.
Step 1: Safety Precautions
Prior to adjusting the level of your stove burners, it’s important to take some safety precautions to avoid any accidents or injuries. Follow these safety guidelines:
- Turn off the stove: Before starting any work, make sure that the stove is completely turned off and cooled down. This will prevent any accidental burns or fires.
- Disconnect the power: To ensure your safety, unplug the stove from the power source. This will prevent any electrical mishaps while you’re working on the burner grates.
- Wear protective gloves: As you’ll be handling the burner grates, it’s recommended to wear protective gloves to protect your hands from any sharp edges or hot surfaces.
- Ensure good ventilation: Open windows or turn on the kitchen exhaust fan to provide proper ventilation while working. This will help dissipate any fumes or odors that may arise during the process.
- Clear the workspace: Remove any objects or utensils from the stove and surrounding area to create a clear and safe workspace. This will minimize the risk of accidents and provide you with ample room to work.
By following these safety precautions, you can ensure a safe working environment while making adjustments to the stove burners.
Now that you’ve taken the necessary safety measures, you’re ready to move on to the next step: Detaching the burner grates.
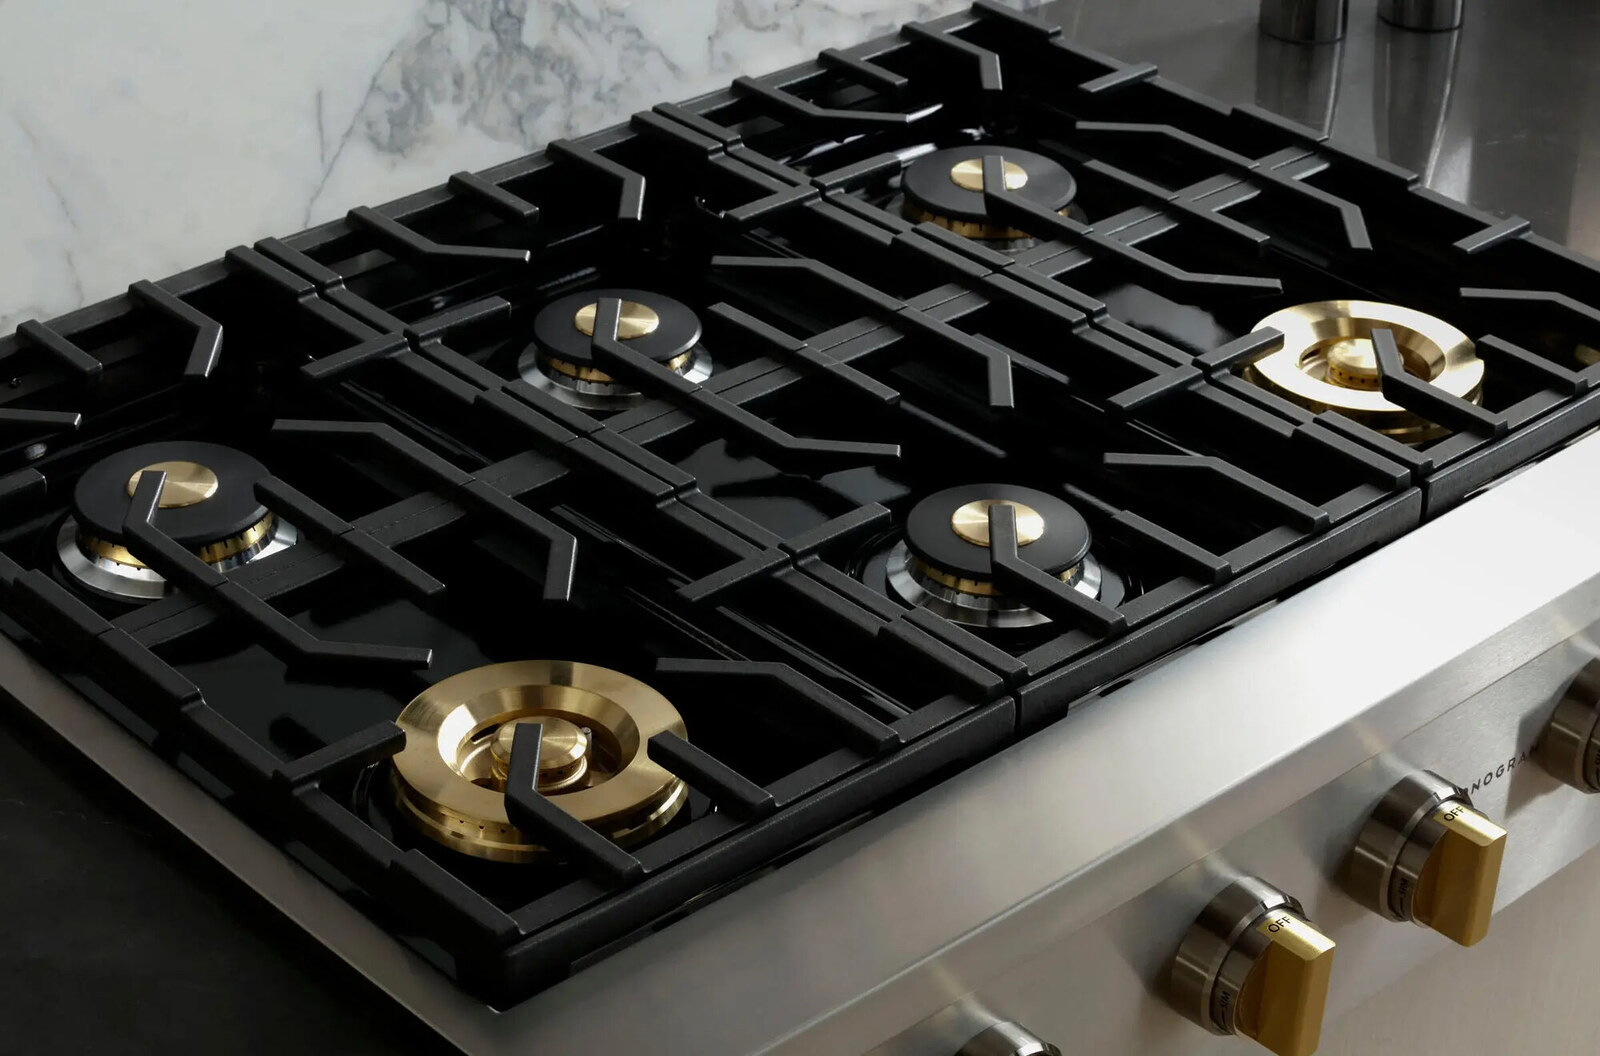
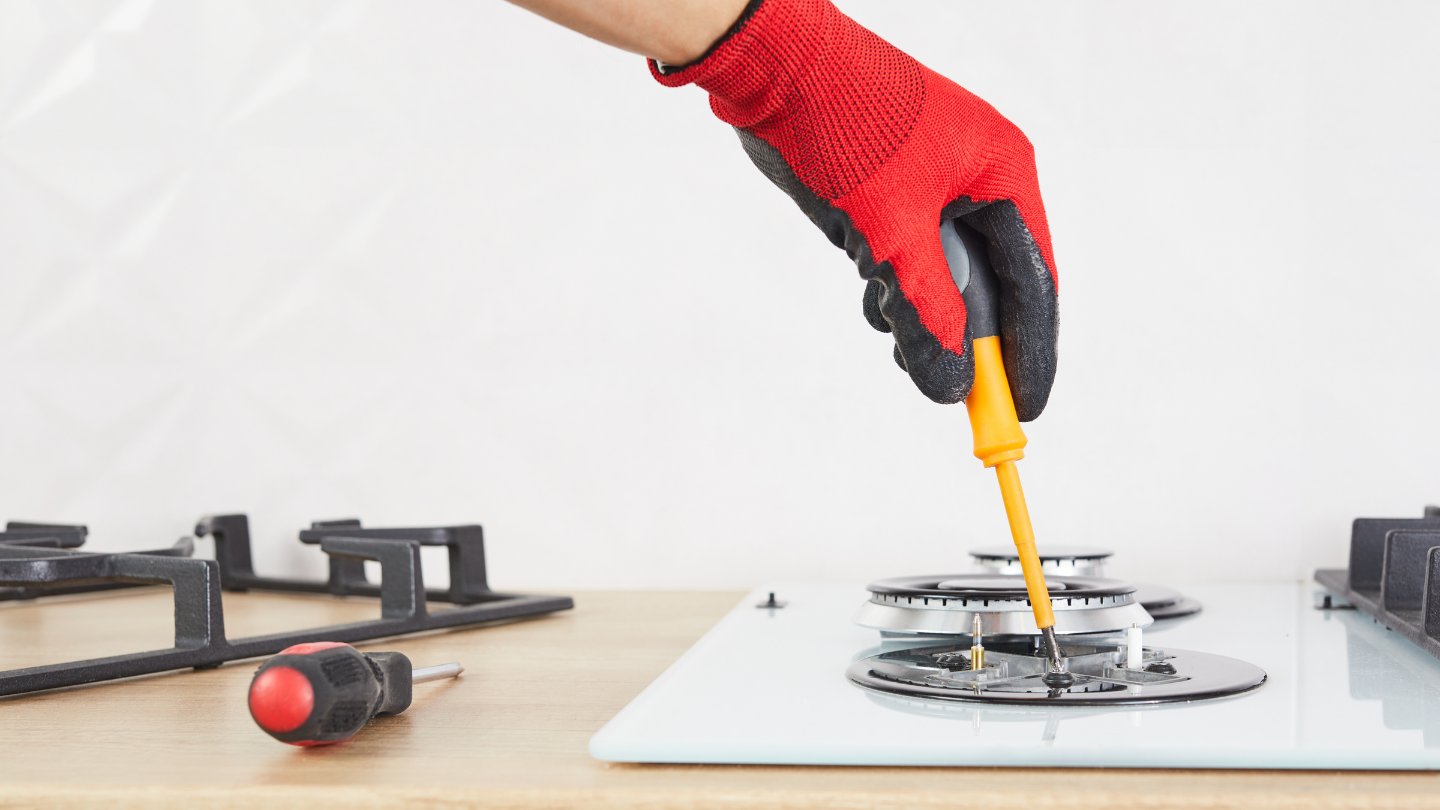
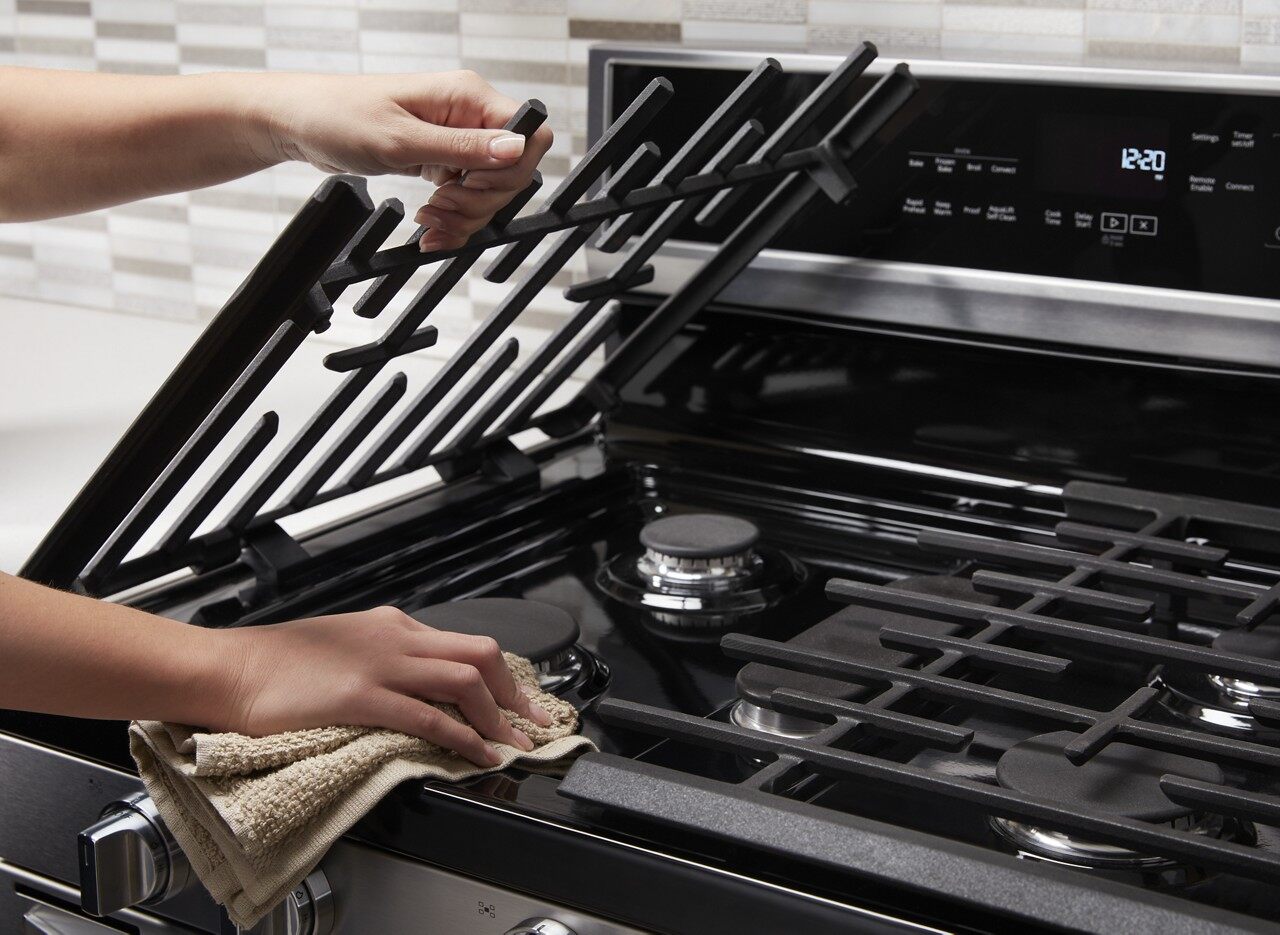
Step 2: Detaching the Burner Grates
Now that you’ve ensured your safety, it’s time to detach the burner grates from the stove. This will allow you to access the burner feet and make the necessary adjustments for leveling. Follow these steps:
- Remove any cookware: Make sure that the burner grates are free of any cookware or debris. This will make it easier to lift and detach them.
- Lift the burner grates: Gently lift the burner grates one by one. Depending on your stove model, they may simply lift off, or you may need to unscrew them using a screwdriver.
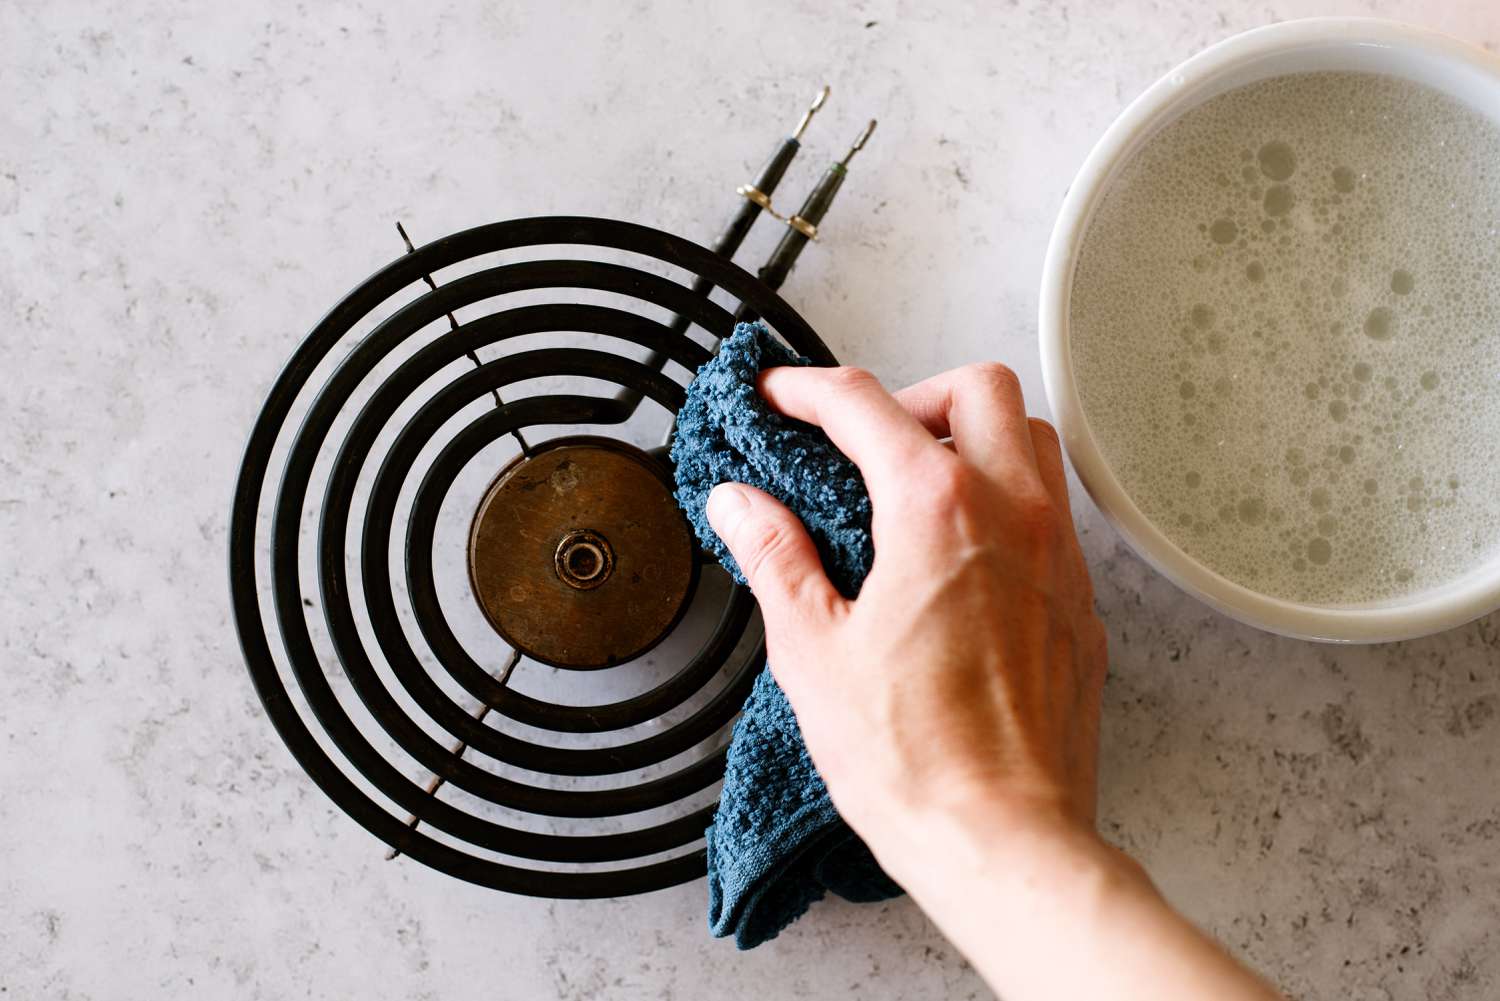
- Set the burner grates aside: Place the detached burner grates on a clean and safe surface, such as a kitchen table or countertop. Take care to not scratch or damage them during this process. You may want to clean them with mild soap and warm water if they are dirty.
With the burner grates detached, you now have access to the burner feet, which can be adjusted to level the stove burners. In the next step, we will guide you through the process of adjusting the feet to achieve a level surface.
Let’s move on to Step 3: Adjusting the Feet.
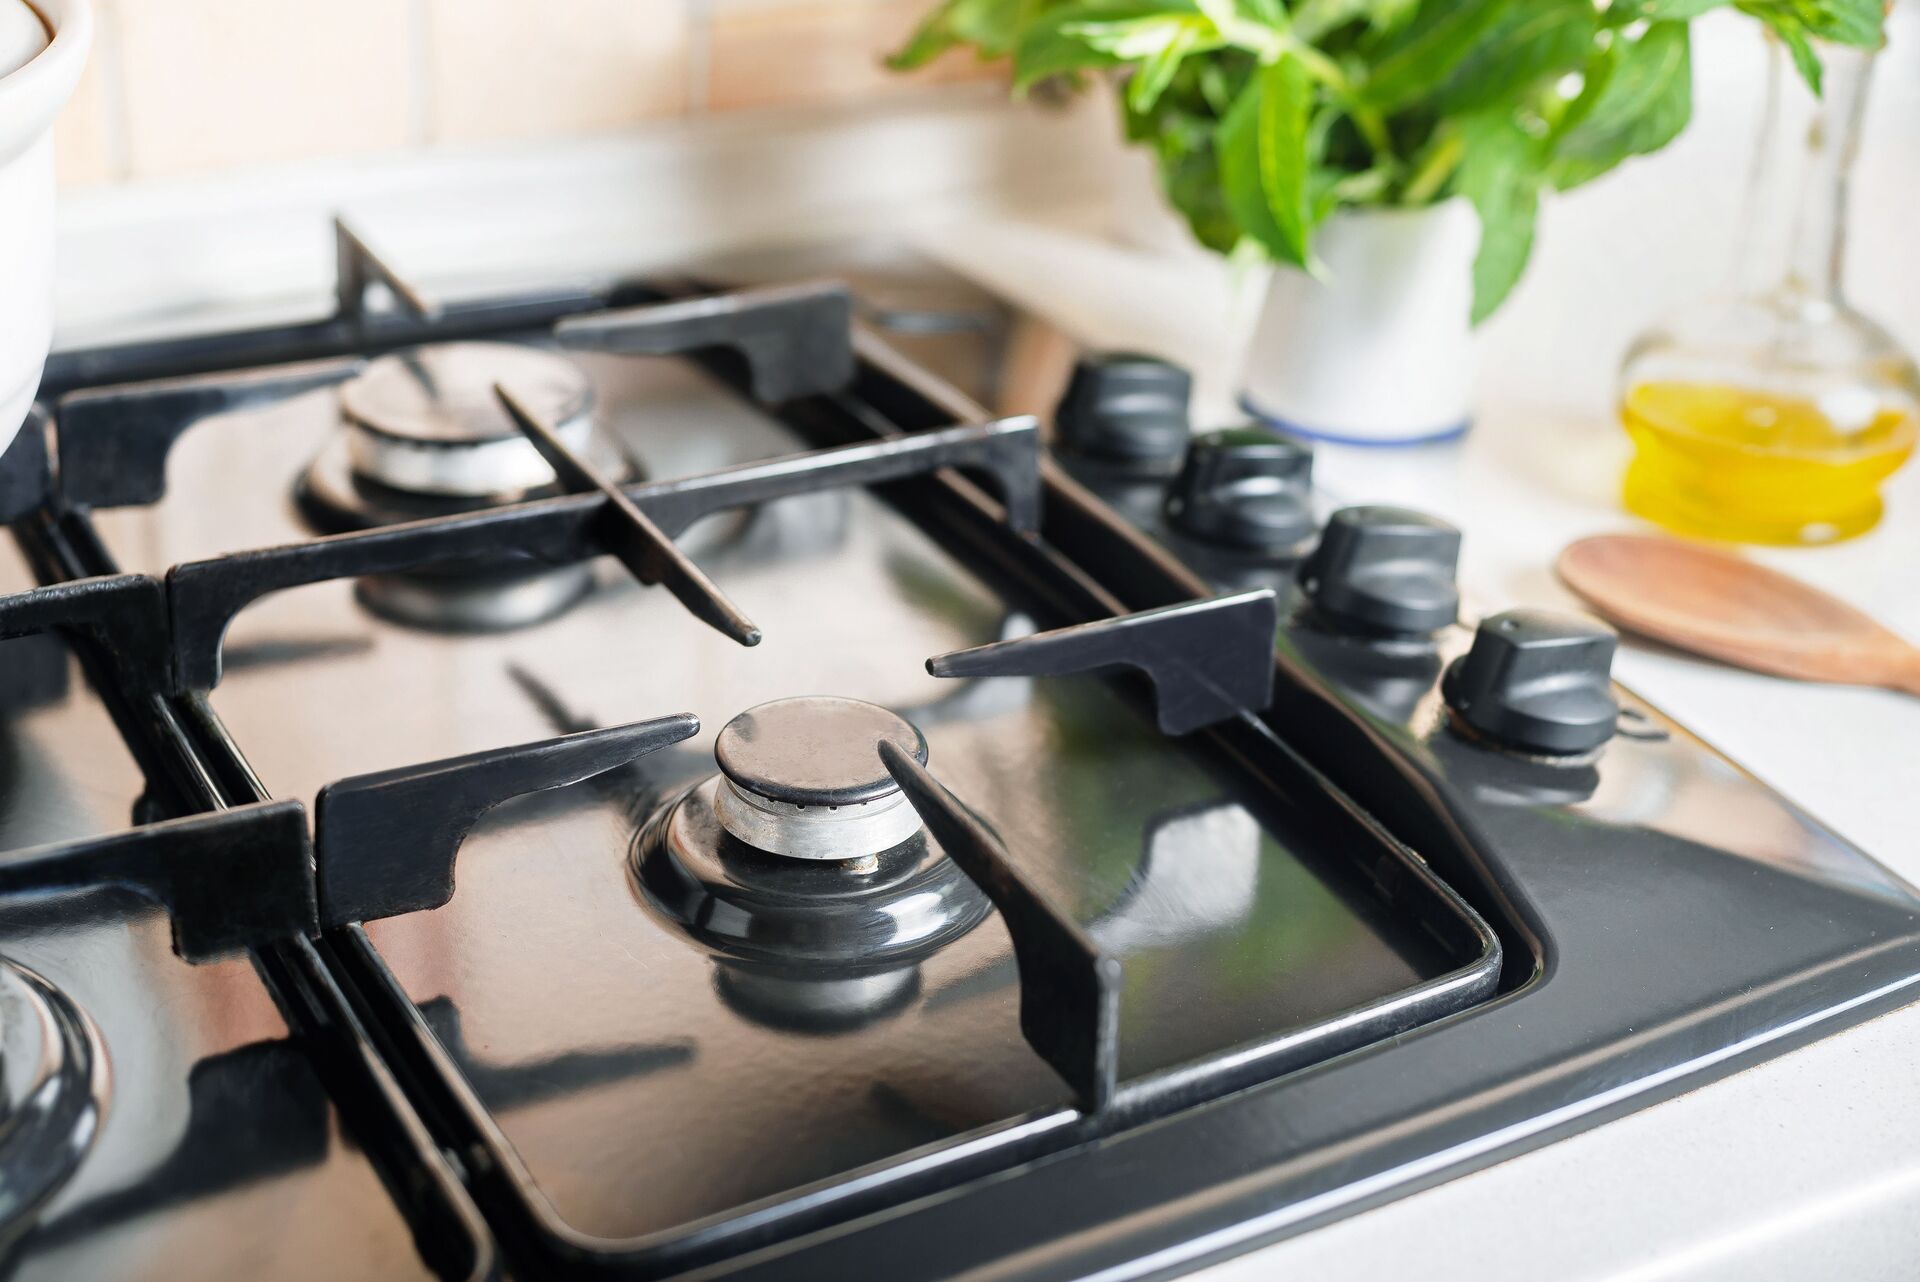
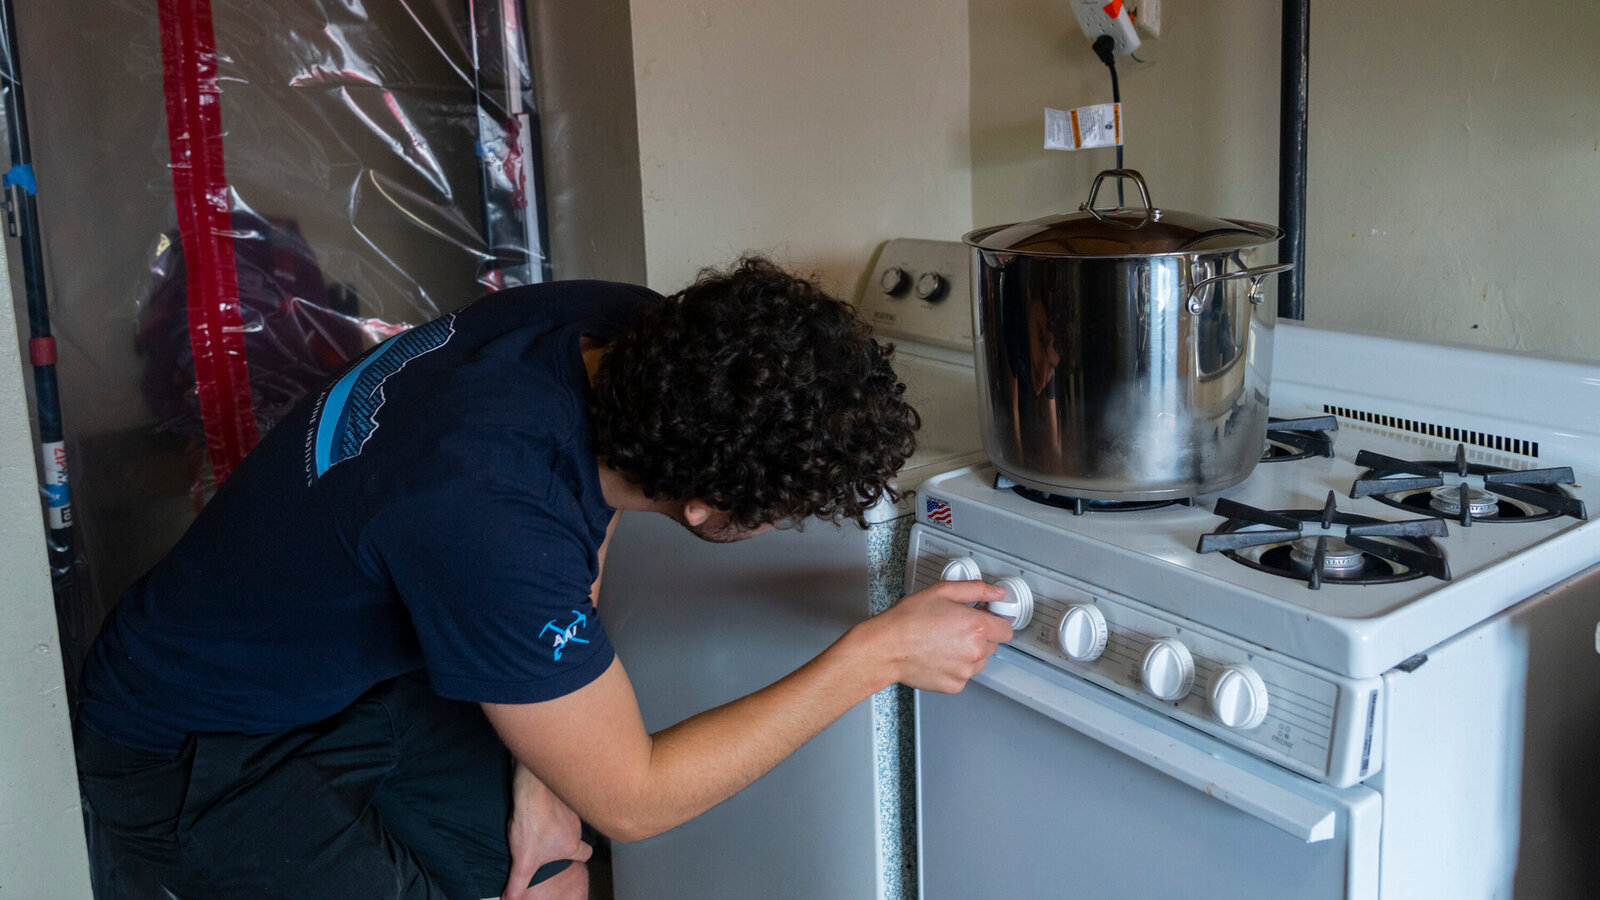
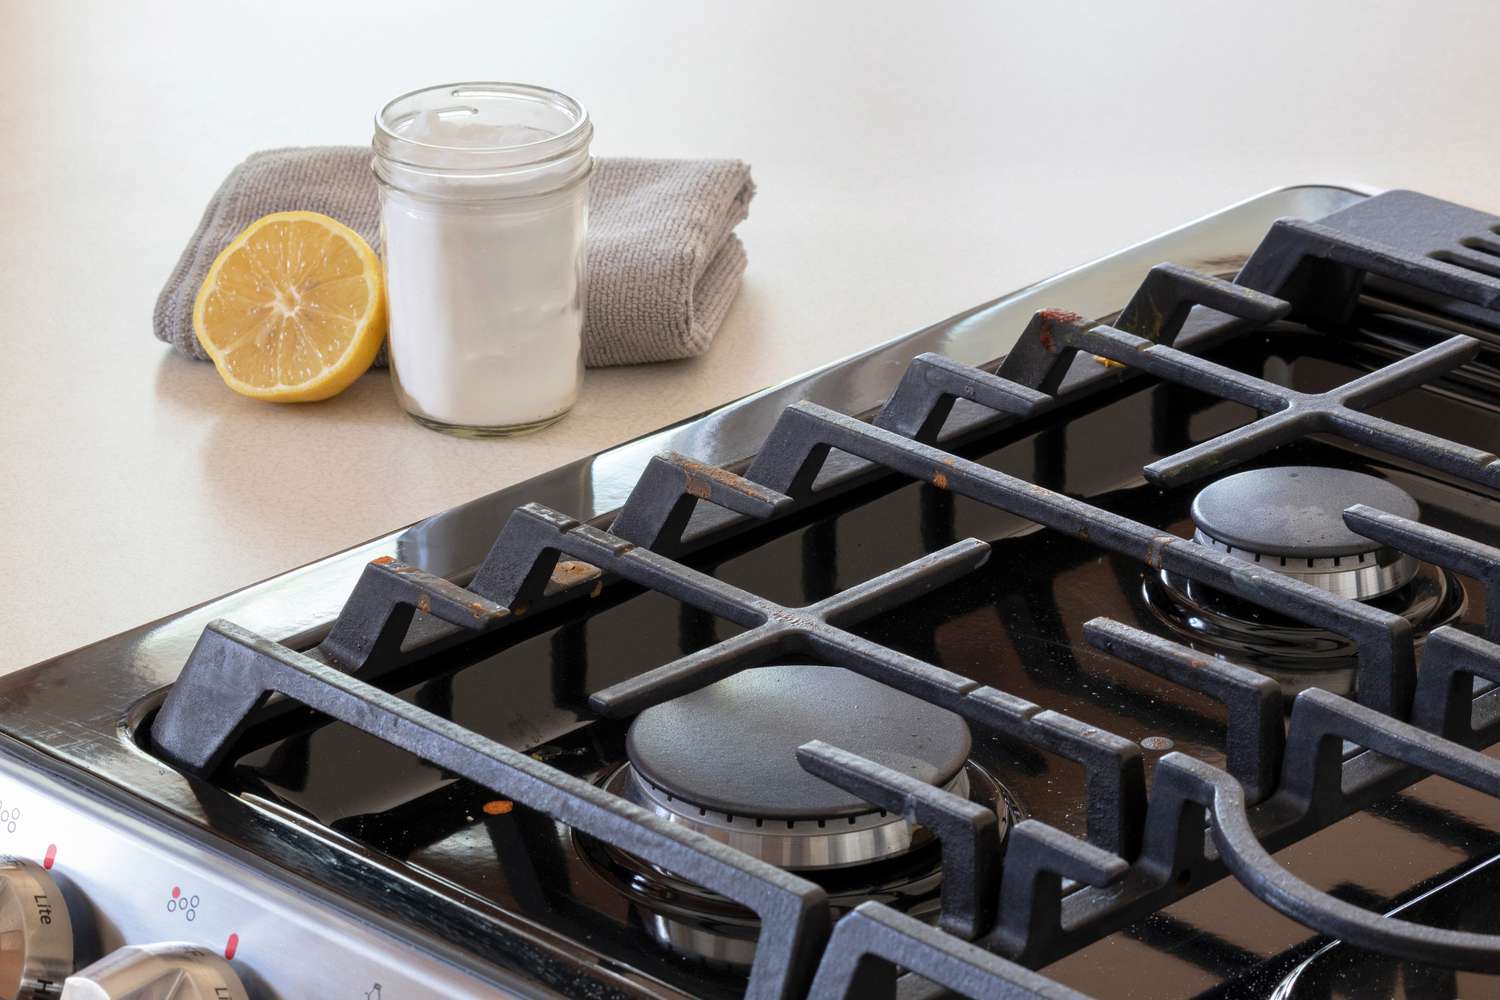
Use a bubble level to check the stove’s levelness. If it’s not level, adjust the feet or use shims to make it even.
Read more: How To Remove Stove Burners
Step 3: Adjusting the Feet
Now that you have the burner grates detached, it’s time to adjust the feet of the stove burners. The feet are located at the bottom of each burner and can be extended or retracted to level the stove. Follow these steps:
- Inspect the feet: Take a close look at the feet of each burner. Some stoves have adjustable feet, while others may have fixed feet. If your stove has adjustable feet, you can proceed with the leveling process. If not, you may need to explore other methods to level your stove.
- Loosen or tighten the adjustable feet: If your stove has burners with adjustable feet, use an adjustable wrench to loosen or tighten the feet. Turning the feet clockwise will lower or extend them, while turning counterclockwise will raise or retract them.
- Check with a leveling tool: Use a leveling tool, such as a carpenter’s level or a smartphone app with a built-in level, to determine if the burners are level. Place the tool across the surface of the stove and adjust the feet as needed to achieve a level position.
- Make small adjustments: Make small adjustments to the feet and check the levelness with the tool frequently. This will ensure that you achieve an accurate and level surface.
- Repeat for each burner: Adjust the feet of each burner individually until all burners are level. Take your time to make precise adjustments to ensure an even cooking surface.
By adjusting the feet of the stove burners, you can achieve a level cooking surface, which will result in better heat distribution and cooking performance. Once you have leveled the burners, it’s time to move on to the next step: Leveling the Burners.
Let’s proceed to Step 4: Leveling the Burners.
Step 4: Leveling the Burners
Now that you have adjusted the feet of the stove burners, it’s time to ensure that the burners themselves are level. This will guarantee that your pots and pans sit evenly on the burners and that heat distribution is consistent. Follow these steps to level the burners:
- Place a level on each burner: Take a carpenter’s level or a smartphone app with a built-in level and place it on each burner. Ensure that the level is positioned in the center of the burner for accurate readings.
- Adjust the burner mounting brackets: If the level indicates that a burner is not level, you may need to adjust the mounting brackets. These brackets are typically located underneath the burner. Use a screwdriver to loosen the screws holding the brackets and then adjust them up or down as needed to achieve a level position.
- Check the levelness again: Once you have made adjustments to the burner mounting brackets, place the level back on the burner to check if it is now level. Repeat this step for each burner until all of them are level.
- Make minor adjustments: If the burners are still slightly off level, you can make minor adjustments by gently bending the burner brackets. Be cautious not to apply too much pressure and risk damaging the brackets.
- Recheck with the level: After making any adjustments, recheck the levelness of each burner to ensure that they are perfectly level.
By leveling the burners, you can ensure even heat distribution and a stable cooking surface. Once you have completed this step, it’s time to move on to Step 5: Reattaching the Burner Grates.
Let’s proceed to the next step and reattach the burner grates.
Step 5: Reattaching the Burner Grates
Now that you have leveled the burners, it’s time to reattach the burner grates. Follow these steps to securely place the grates back onto the stove:
- Align the burner grates: Position the burner grates above their respective burners, ensuring they are properly aligned with the burner openings.
- Lower the grates: Gently lower the grates onto the stove, making sure that they fit snugly over the burners. If necessary, adjust the position of the grates to ensure they are evenly placed.
- Secure the grates: Depending on the type of stove you have, you may need to use a screwdriver to fasten the grates in place. Alternatively, some grates may have built-in brackets or hooks that securely hold them in position.
- Double-check the placement: Once all the grates are reattached, visually inspect them to ensure they are properly positioned and securely in place.
With the burner grates securely reattached, your stove burners should now be level and ready for use. However, before you start cooking, it’s important to test the levelness of the burners to verify that they are functioning correctly.
Let’s move on to Step 6: Testing the Levelness.
Step 6: Testing the Levelness
After reattaching the burner grates, it’s essential to test the levelness of the stove burners to ensure they are functioning correctly. Follow these steps to perform a test and verify the levelness:
- Prepare a flat surface: Find a flat and stable object, such as a cutting board or a level countertop, and place it on top of the stove.
- Turn on the burner: Select one burner and turn it on to a low heat setting.
- Place a level on the flat surface: Carefully place a level on the flat surface that you prepared, ensuring that it is positioned horizontally.
- Position the pot or pan: Place a pot or pan with a flat bottom onto the level surface. Make sure it is centered and sits evenly.
- Observe the level: Watch the level and check if it remains centered and balanced. If the level tilts to one side, it indicates that the burners are still not completely level.
- Repeat the test for other burners: Perform the same test with each burner to determine if they are all level. If any burner does not pass the test, you may need to revisit the leveling and adjustment steps.
By testing the levelness of the burners, you can ensure that your stove is ready for precise and consistent cooking. If you find that any burners are still not level, repeat the necessary steps to adjust and level them until the desired levelness is achieved.
With your stove burners now level, you can enjoy the benefits of even heat distribution, efficient cooking, and improved safety. Remember to periodically check the levelness of your burners and make adjustments as needed to maintain optimal performance.
Congratulations on successfully making your stove burners level!
Do you need any further assistance?
Read more: How Hot Are Stove Burners
Conclusion
Making sure your stove burners are level is important for both the performance and safety of your cooking experience. By following the steps outlined in this article, you can ensure that your burners are evenly balanced, resulting in even heat distribution and more precise cooking.
We discussed the importance of level stove burners, including benefits such as even heat distribution, efficient cooking, safety, preventing uneven cooking, and extending the lifespan of your cooktop.
Before starting the process, gather the necessary tools and materials, including a screwdriver, leveling tool, adjustable wrench (if needed), cleaning supplies, and protective gear.
Ensure safety by turning off the stove, disconnecting the power, wearing protective gloves, providing good ventilation, and clearing the workspace.
The step-by-step process includes detaching the burner grates, adjusting the feet of the burners, leveling the burners, reattaching the burner grates, and testing the levelness using a level. Each step requires attention to detail and precision to achieve the desired level surface.
Remember to periodically check the levelness of your burners and make necessary adjustments as needed to maintain optimal performance. This way, you can ensure even cooking, energy efficiency, and a safer cooking environment.
By following these instructions, you can enjoy a well-leveled stove that enhances your cooking experience and provides consistent and delicious meals for you and your family. Happy cooking!
If you have any further questions or need additional assistance, feel free to ask.
Frequently Asked Questions about How To Make Stove Burners Level
Was this page helpful?
At Storables.com, we guarantee accurate and reliable information. Our content, validated by Expert Board Contributors, is crafted following stringent Editorial Policies. We're committed to providing you with well-researched, expert-backed insights for all your informational needs.
0 thoughts on “How To Make Stove Burners Level”