Articles
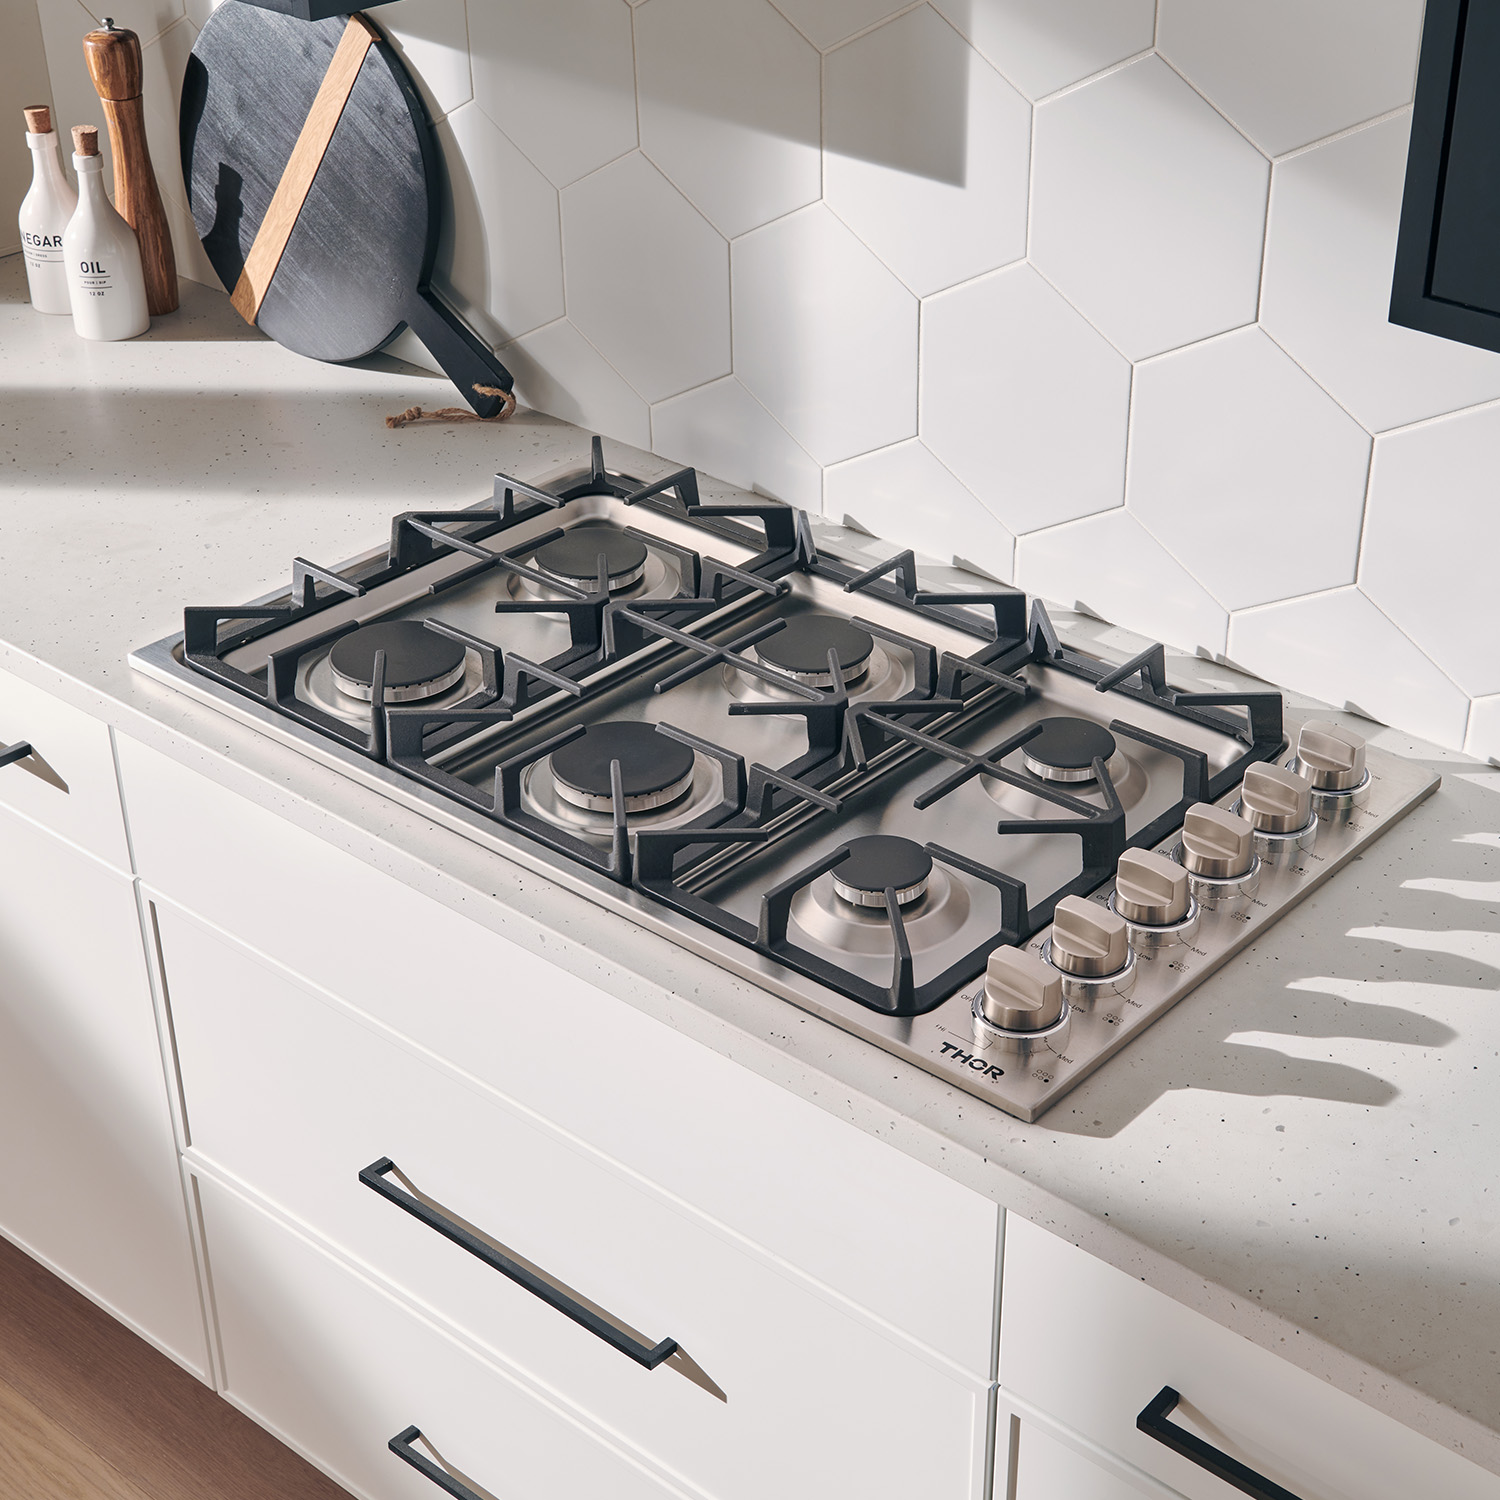
How To Remove Cooktop?
Modified: October 18, 2024
Learn the step-by-step process of removing a cooktop with our comprehensive articles. Discover expert tips and tricks for a hassle-free cooktop removal.
(Many of the links in this article redirect to a specific reviewed product. Your purchase of these products through affiliate links helps to generate commission for Storables.com, at no extra cost. Learn more)
Introduction
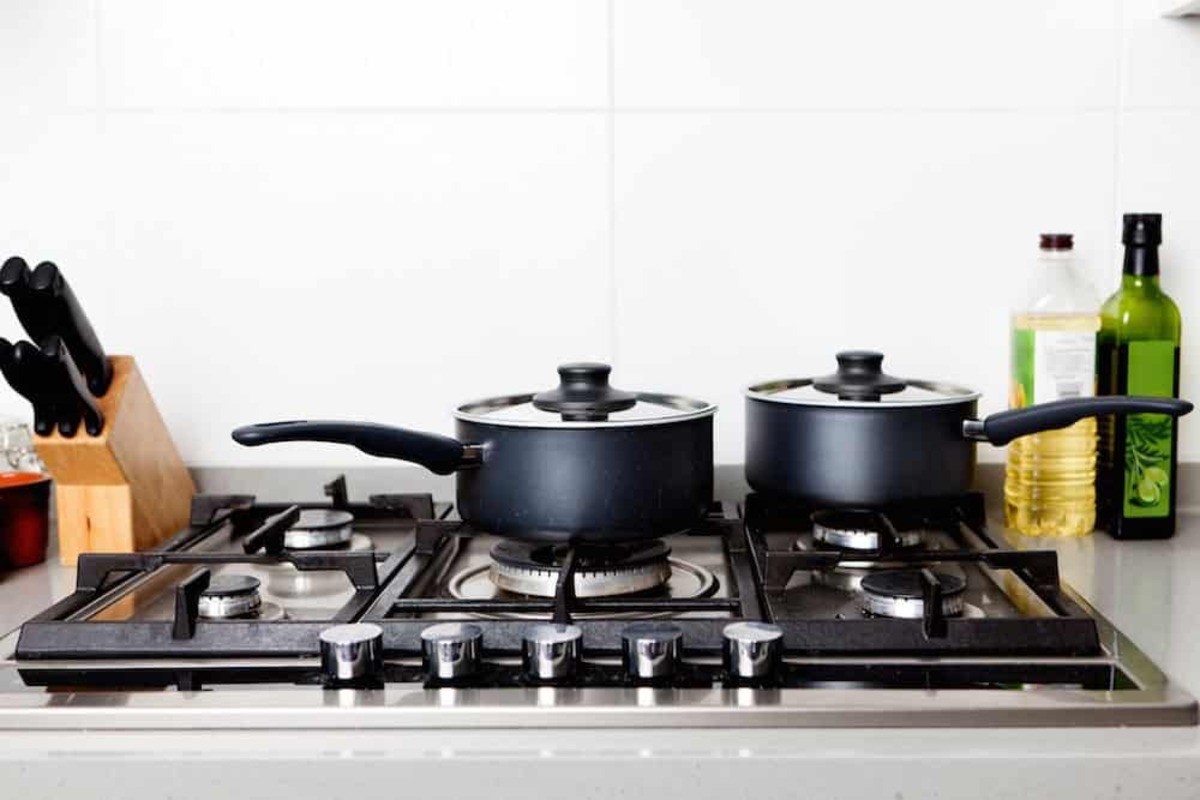
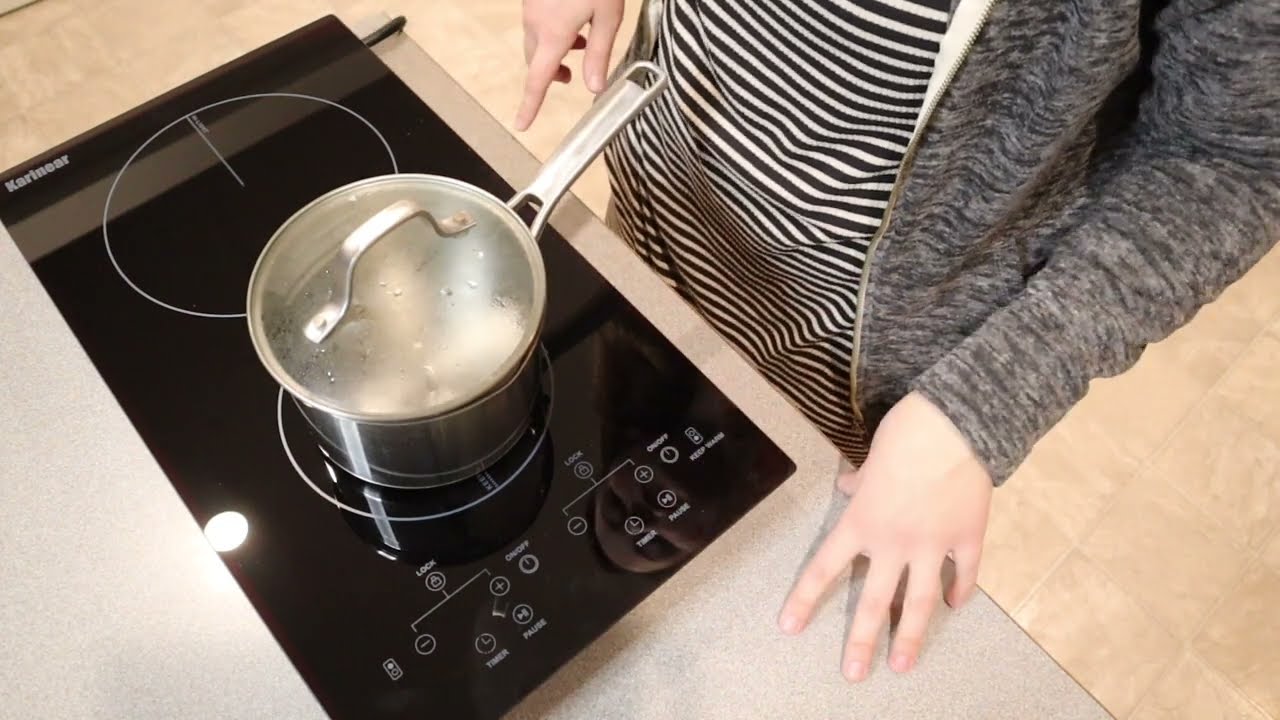
Removing a cooktop may seem like a daunting task, but with the right tools and knowledge, it can be done safely and efficiently. Whether you’re replacing your outdated cooktop or need to remove it for maintenance or cleaning purposes, this step-by-step guide will walk you through the process.
Gathering the necessary tools and taking the appropriate safety precautions are crucial before you begin. By following these steps, you’ll be able to disconnect and remove your cooktop from the countertop without any hassle.
So, let’s dive into the details and learn how to remove a cooktop from your kitchen!
Key Takeaways:
- Safely and efficiently remove a cooktop by gathering tools, taking safety precautions, disconnecting from the electrical supply, and deciding on storage or disposal options.
- Ensure a clean and safe removal process by following step-by-step instructions, inspecting the cooktop, and making eco-friendly disposal decisions.
Read more: How To Remove Jenn Air Glass Cooktop
Step 1: Gathering the necessary tools
Before you start the process of removing a cooktop, it’s important to gather all the necessary tools. Having these tools at hand will make the task easier and more efficient:
- Screwdriver: Depending on the type of cooktop, you may need a flathead or a Phillips screwdriver to loosen any screws holding the cooktop in place.
- Putty knife: A putty knife will come in handy when removing any adhesive or sealant that is securing the cooktop to the countertop.
- Work gloves: Protect your hands with a pair of work gloves to prevent any injuries during the removal process.
- Electrical tester: To ensure your safety, use an electrical tester to check and confirm that the power supply to the cooktop has been properly shut off.
- Drop cloth or tarp: Lay a drop cloth or tarp over the surrounding countertop area to protect it from any debris or potential scratches during the removal process.
- Cleaning supplies: Have some cleaning supplies ready to clean the countertop surface once the cooktop has been removed.
By gathering these tools in advance, you’ll be well-prepared to tackle the task of removing your cooktop without any delays or frustrations.
Step 2: Safety precautions
Before you begin removing your cooktop, it’s essential to take necessary safety precautions to minimize any risks or accidents. Follow these safety guidelines to ensure a safe working environment:
- Turn off the power: Before starting any work, make sure to turn off the power supply to the cooktop. Locate the circuit breaker or fuse box and turn off the corresponding breaker or remove the fuse for the cooktop. To be extra cautious, use an electrical tester to ensure that there is no power running to the appliance.
- Wear protective gear: Put on a pair of work gloves to protect your hands from any sharp edges or potential accidents during the removal process.
- Clear the workspace: Remove any objects or clutter from the area surrounding the cooktop to create a clear and safe working space. This will reduce the risk of tripping or knocking anything over during the removal process.
- Use proper lifting techniques: Cooktops can be heavy, so it’s crucial to lift and handle them with care. Avoid straining your back by using your legs to lift and carrying them with assistance if needed.
- Be cautious of gas connections: If you have a gas cooktop, take extra precautions. Make sure the gas supply has been turned off and consult a professional if you need assistance with disconnecting the gas line.
By following these safety precautions, you can ensure a safe and secure environment as you proceed with removing your cooktop.
Step 3: Shut off the power supply
Before you can safely remove your cooktop, you need to shut off the power supply to avoid any electrical hazards. Follow these steps to ensure the power is properly turned off:
- Locate the circuit breaker: Identify the circuit breaker that controls the power supply to your cooktop. Consult your electrical panel’s diagram if you’re unsure which breaker to switch off.
- Switch off the breaker: Flip the corresponding breaker switch to the “off” position. This will cut off the electrical power to the cooktop. It’s wise to label the breaker to easily identify it in the future.
- Confirm power outage: Use an electrical tester to verify that there is no power flowing to the cooktop. This simple yet important step ensures your safety during the removal process.
Make sure to exercise caution when working around electrical components. If you are uncertain about dealing with the electrical aspects, it is always recommended to consult a professional electrician.
By shutting off the power supply, you can eliminate the risk of electric shock and work on removing the cooktop without any worries.
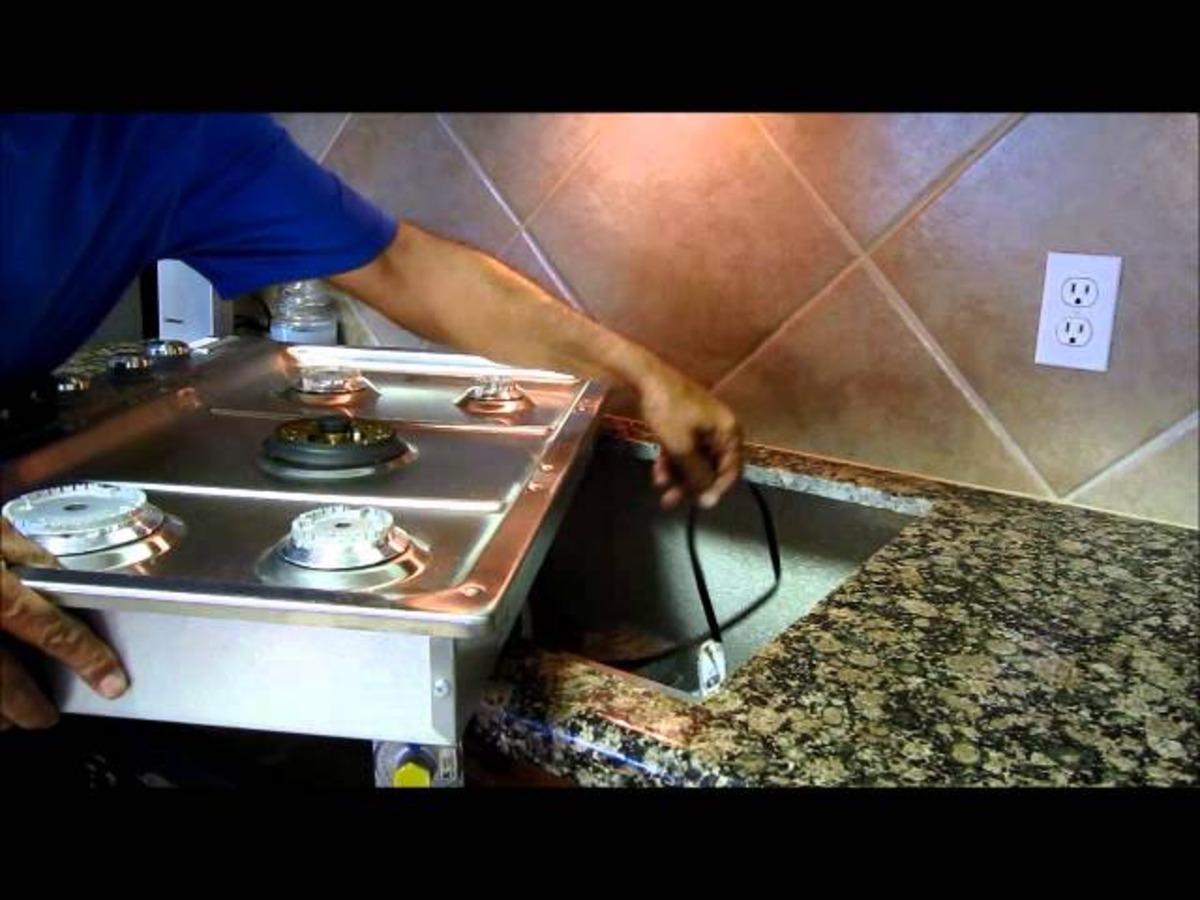
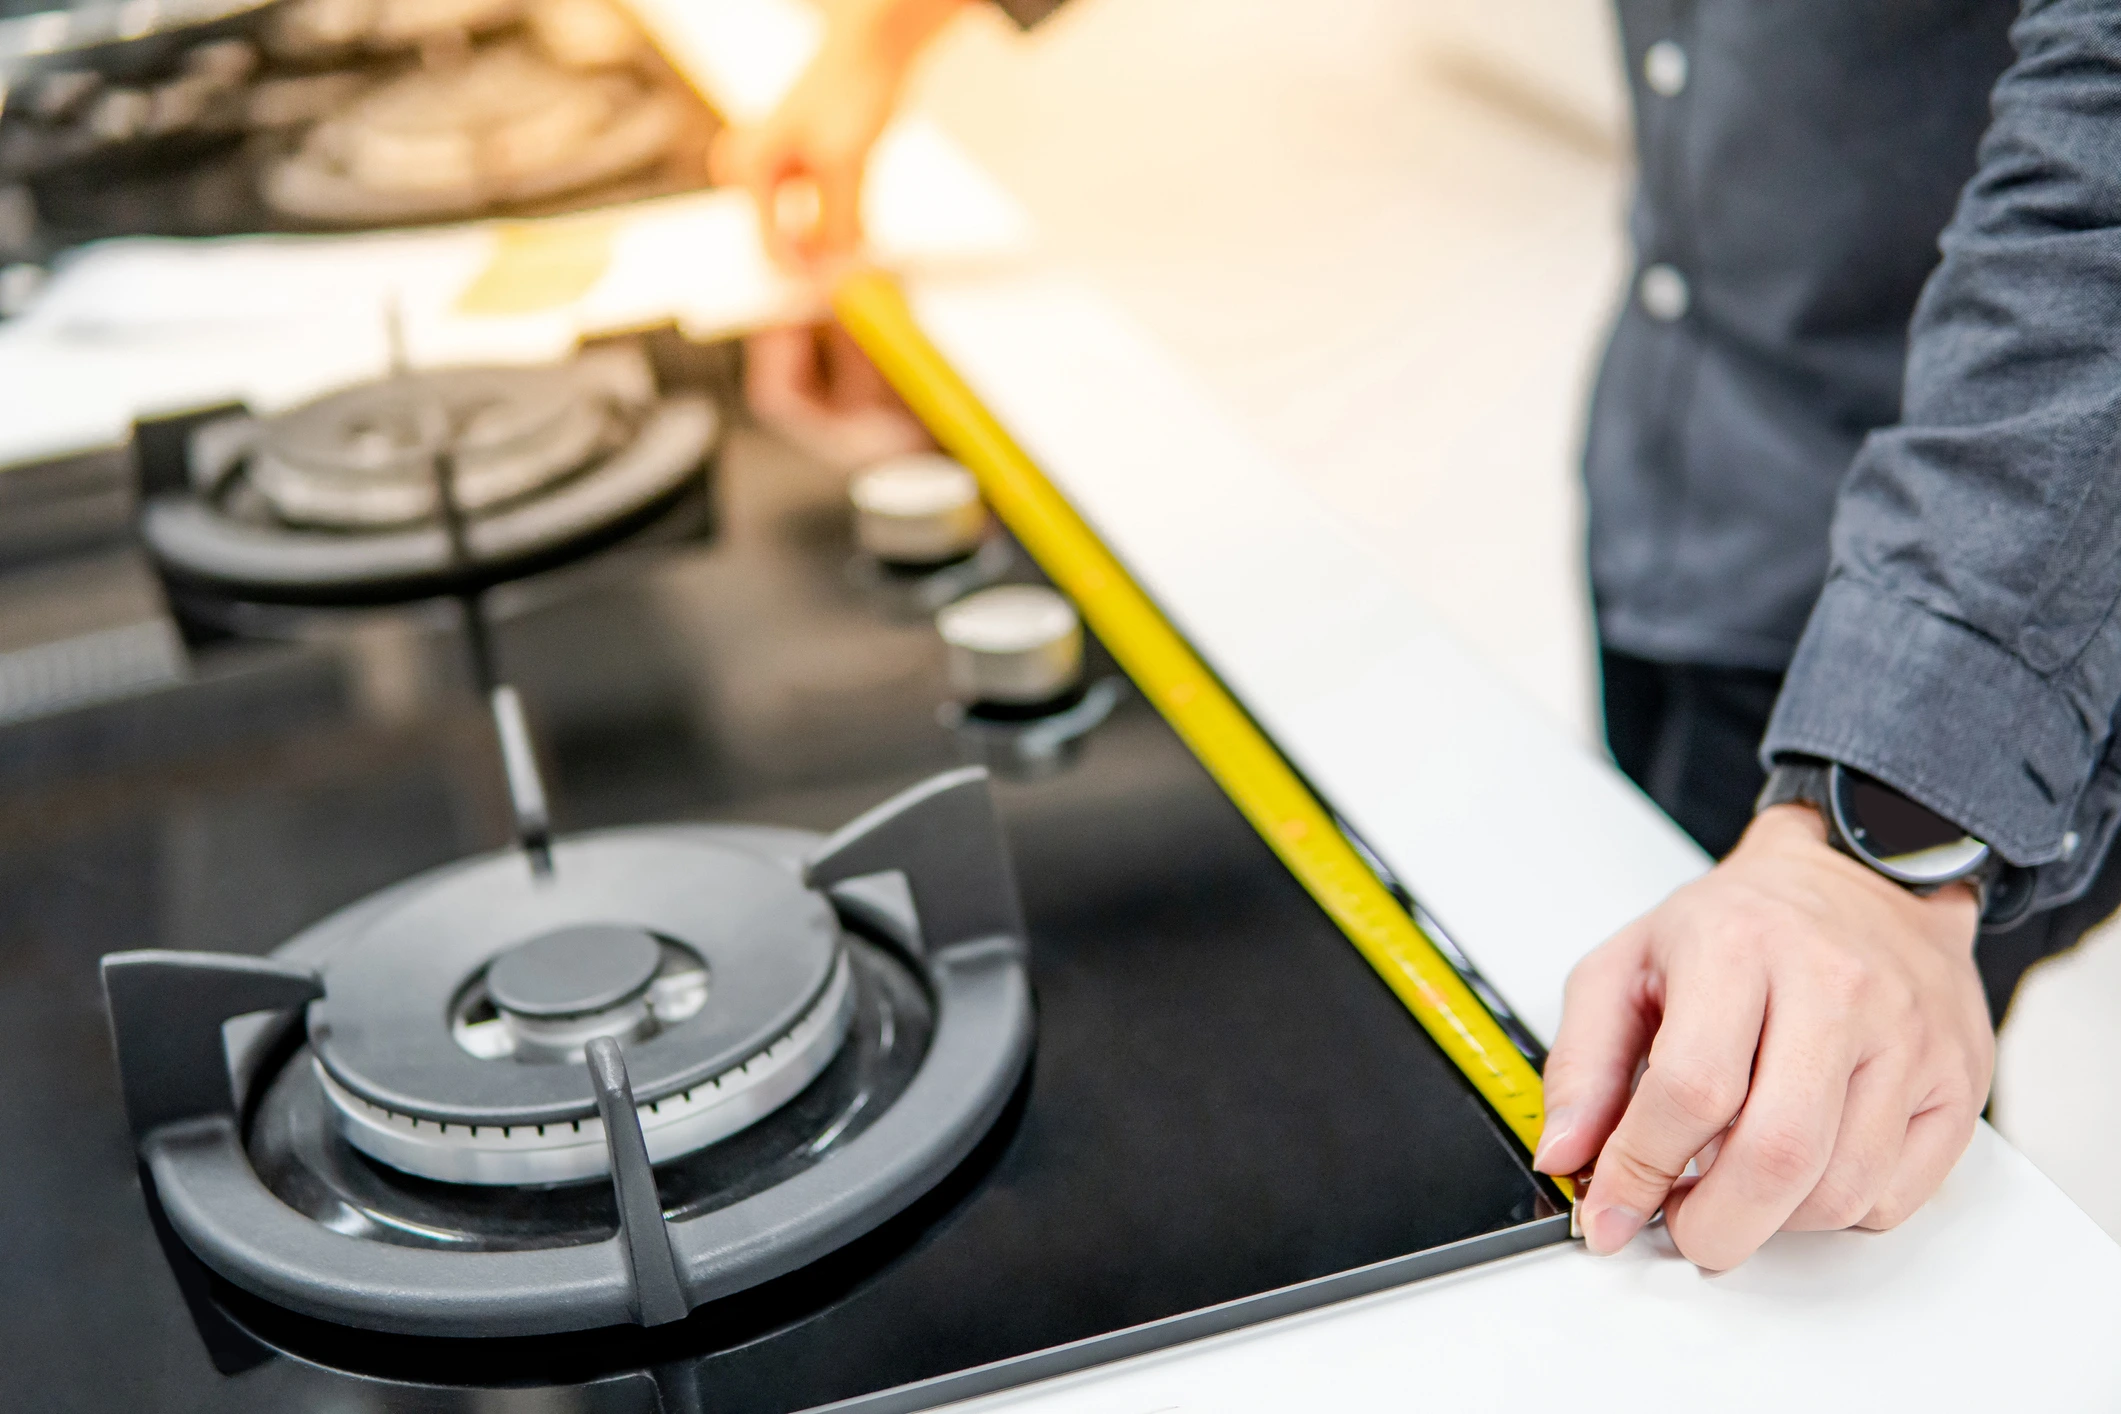
Step 4: Disconnecting the cooktop from the countertop
Once you have taken the necessary safety precautions and shut off the power supply, it’s time to disconnect the cooktop from the countertop. Follow these steps to do it correctly:
- Remove any screws or clips: Check underneath the front lip of the cooktop to see if there are any screws or clips securing it to the countertop. Use a screwdriver to loosen and remove them.
- Loosen the adhesive or sealant: Depending on how the cooktop is installed, there may be adhesive or sealant holding it in place. Carefully slide a putty knife or a similar tool underneath the cooktop’s edges to loosen the adhesive. Gently pry upwards to detach the cooktop from the countertop.
- Disconnect the mounting brackets: Some cooktops may have mounting brackets that hold it securely in place. Disconnect any brackets or clamps that are securing the cooktop to the countertop. Be mindful not to force or damage any parts during this process.
- Lift the cooktop: With the screws, adhesive, and mounting brackets removed, carefully lift the cooktop upwards. Depending on the type and weight of the cooktop, you may require assistance to lift it safely. Set it aside on a soft surface, such as a table covered with a cloth, to prevent any scratches or damage.
It’s important to be gentle and cautious when disconnecting the cooktop from the countertop to prevent any accidents or damage. Take your time and ensure all attachments are properly removed before lifting the cooktop.
Now that the cooktop is successfully disconnected, you’re ready to proceed with removing it from the electrical supply.
Read more: How To Remove Electric Cooktop From Counter
Step 5: Detaching the cooktop from the electrical supply
Now that the cooktop is disconnected from the countertop, it’s time to detach it from the electrical supply. Follow these steps to do it safely:
- Locate the power cord or wiring: Identify the power cord or wiring that connects the cooktop to the electrical supply. Trace the cord or wires from the cooktop to their point of connection.
- Turn off the power supply: Double-check that the power supply to the cooktop is turned off by verifying that the corresponding breaker is in the “off” position. You can also use an electrical tester to confirm that there is no power running to the cooktop.
- Disconnect the power cord: For cooktops with a power cord, unplug it from the outlet. Gently pull the cord from the outlet, ensuring not to yank or damage it. If the power cord is directly wired into the electrical system, consult a professional electrician to disconnect it safely.
- Secure the wires: If the cooktop is wired directly into the electrical system, carefully disconnect the wires using wire cutters or pliers. Be cautious not to damage the wires or pull them forcefully. Once the wires are disconnected, use wire caps to secure the exposed ends.
When working with electrical components, it’s crucial to exercise caution and seek professional help if needed. If you are unsure about handling electrical connections, it’s always best to consult with a licensed electrician.
By following these steps, you can safely detach the cooktop from the electrical supply, ensuring a smooth removal process.
Before removing a cooktop, make sure to turn off the power supply and gas line. Disconnect any electrical connections and gas lines carefully to avoid any damage. Use caution and follow the manufacturer’s instructions.
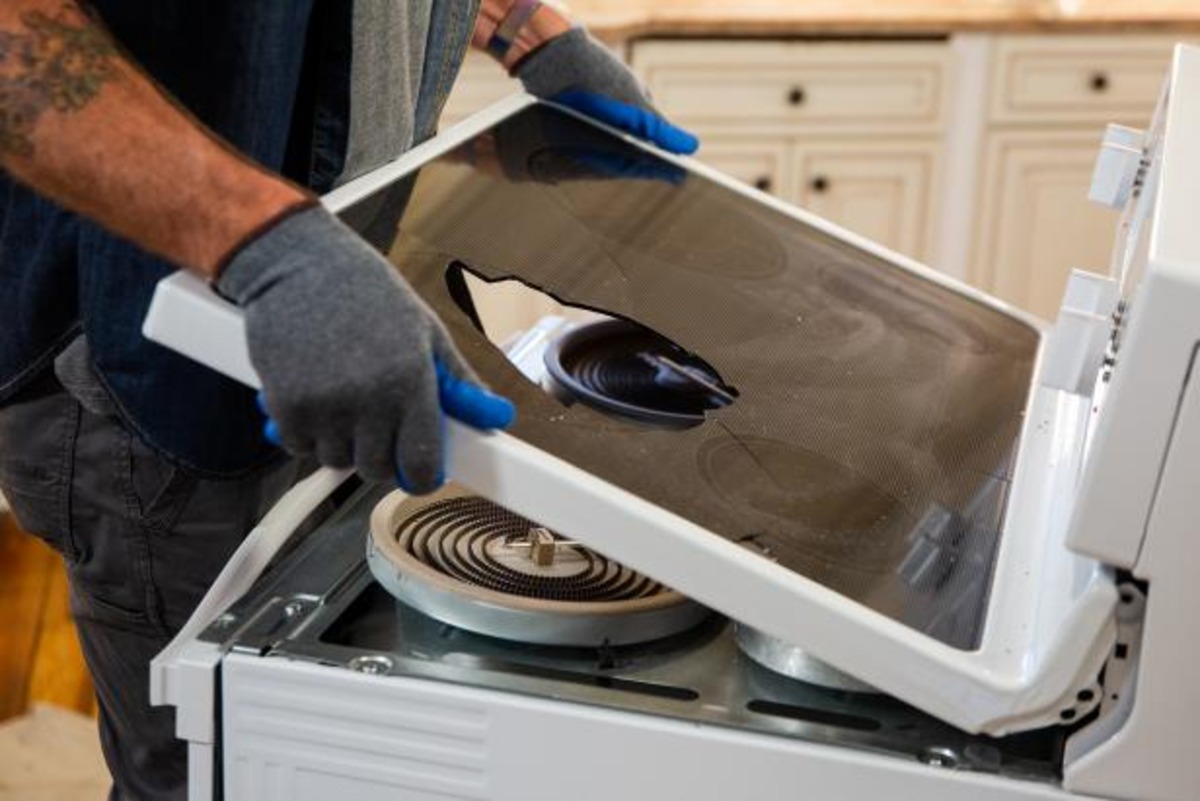
Step 6: Removing the cooktop from the countertop
Now that the cooktop is disconnected from the electrical supply, it’s time to remove it from the countertop. Follow these steps to safely and efficiently remove the cooktop:
- Clear the surrounding area: Remove any items or obstacles from the countertop to create a clear workspace. This will prevent any accidental damage or obstructions during the removal process.
- Enlist a helping hand: Cooktops can be heavy and cumbersome, so it’s advisable to have someone assist you in lifting it off the countertop. This will ensure the safety of both yourself and the cooktop.
- Lift the cooktop: With the help of your partner, position yourselves at either end of the cooktop. Carefully lift the cooktop straight up, using proper lifting techniques by bending your knees and engaging your leg muscles rather than straining your back.
- Place the cooktop on a sturdy surface: Set the cooktop down onto a secure and stable surface, such as a table covered with a soft cloth or a designated area where it can be safely stored or disposed of.
Remember, it’s crucial to handle the cooktop with care to prevent any damage or injuries. By following these steps, you can remove the cooktop from the countertop successfully.
Once the cooktop is removed, you can now proceed to clean the countertop surface before inspecting the cooktop itself.
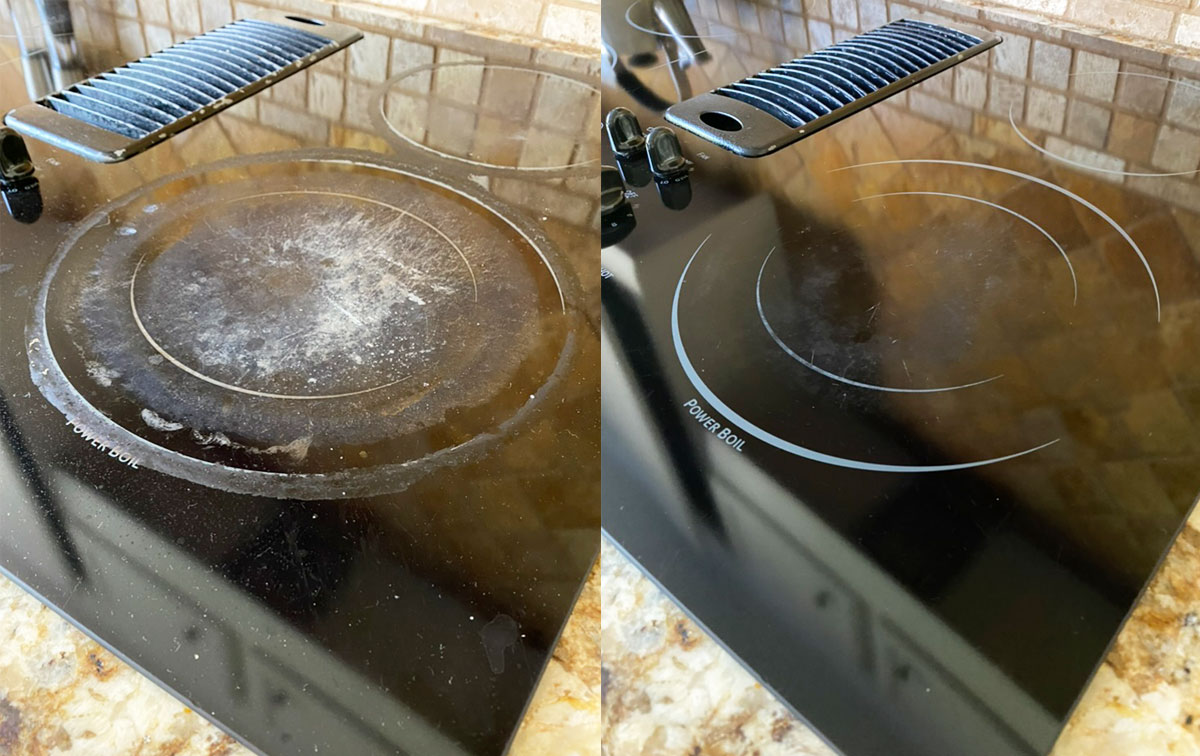
Step 7: Cleaning the countertop surface
After removing the cooktop from the countertop, it’s important to clean the surface to ensure a fresh and tidy workspace. Follow these steps to clean the countertop surface:
- Clear the area: Remove any debris, crumbs, or loose particles from the countertop. Use a soft brush or a damp cloth to sweep away any dirt or dust.
- Utilize appropriate cleaning solution: Depending on the type of countertop material, choose the appropriate cleaning solution. For granite or marble countertops, use a mild dish soap mixed with warm water. For laminate or solid surface countertops, an all-purpose cleaner will suffice. Refer to the manufacturer’s recommendations for specific cleaning instructions.
- Apply the cleaning solution: Dilute the cleaning solution in a bucket of water according to the instructions on the product label. Dip a soft cloth or sponge into the solution and gently wipe the countertop surface. Pay attention to any stains or spills and give them extra attention.
- Rinse and dry: After wiping down the surface, rinse the cloth or sponge thoroughly and wipe away any residue or soap. Then, use a separate dry cloth to dry the countertop surface completely. This step is crucial to prevent any water or moisture damage.
- Inspect and touch up: Once the countertop is clean and dry, inspect the surface for any stubborn stains or marks. Use appropriate stain removal techniques or touch-up products recommended by the manufacturer to restore the countertop’s original appearance if needed.
By following these steps, you can ensure a clean and pristine countertop surface after removing the cooktop. A clean countertop provides a fresh canvas for your next kitchen endeavors!
With the countertop surface cleaned, you can now proceed to inspect the cooktop itself for any maintenance or repair needs.
Step 8: Inspecting the cooktop
After removing the cooktop and cleaning the countertop, it’s important to take some time to inspect the cooktop for any maintenance or repair needs. Follow these steps to properly inspect the cooktop:
- Check for physical damage: Carefully examine the cooktop for any visible signs of damage, such as cracked glass, chipped surfaces, or broken knobs. Take note of any issues that require repair or replacement.
- Inspect the burners: Remove the grates and inspect the burners. Look for any signs of wear and tear, such as rust, clogged ports, or damaged igniters. Clean the burners or replace them if necessary.
- Examine the controls: Test the knobs or touch controls to ensure they are functioning properly. Check for any loose knobs or buttons that may need tightening. If the controls are not working correctly, consider seeking professional assistance for repair or replacement.
- Review the electrical connections: Look at the electrical connections on the cooktop for any signs of damage or loose wiring. If you notice any issues with the wiring or connections, it’s advisable to consult a professional electrician for help.
- Assess the overall performance: If you’ve had any previous issues with the cooktop, or if you notice any new performance-related problems, take note of them. This information will be helpful when troubleshooting or seeking professional assistance.
By thoroughly inspecting the cooktop, you can identify any maintenance or repair needs and address them accordingly. Regular inspections will help ensure the longevity and proper functioning of your cooktop.
If you encounter any significant issues during the inspection or are unsure about the proper course of action, it’s always recommended to consult a qualified technician or the manufacturer for expert guidance.
Now that you have completed the inspection, you can proceed to the final step of storing or disposing of the cooktop, depending on your needs.
Read more: How To Remove Scratches From Glass Cooktop
Step 9: Storing or disposing of the cooktop
Once you have inspected the cooktop and assessed its condition, it’s time to determine whether you will store it for future use or dispose of it responsibly. Follow these steps to make the appropriate decision:
- Consider storage options: If the cooktop is still in good working condition and you have a need for it in the future, you may choose to store it. Find a safe and dry location where it can be stored without the risk of damage or deterioration. Wrap it in a protective cover or cloth to prevent any dust or scratches.
- Find recycling or disposal options: If the cooktop is no longer functional or has extensive damage, it may be necessary to dispose of it. Check with your local waste management facility or recycling center to determine the proper disposal methods for your specific type of cooktop.
- Hire professional removal services: If you’re unable to transport or dispose of the cooktop on your own, consider hiring professional removal services. They can handle the task safely and efficiently, ensuring the cooktop is disposed of or recycled in an environmentally friendly manner.
- Sell or donate: If the cooktop is still in good working condition and you no longer have a use for it, consider selling or donating it to someone who may benefit from it. Online marketplaces or local charities are great options for finding interested buyers or organizations.
It’s important to be mindful of the environmental impact when disposing of appliances. If possible, choose recycling options to ensure that the components are properly recycled and materials are reused.
By making the decision to store or dispose of the cooktop responsibly, you can ensure that it is handled in a way that is both practical and eco-friendly.
Congratulations! You have successfully completed the process of removing, inspecting, and deciding the fate of your cooktop. With this knowledge, you can now confidently tackle future cooktop removals or installations.
Remember, if you ever find yourself unsure or uncomfortable with any step of the process, it’s always best to seek professional assistance to ensure both your safety and the proper handling of the cooktop.
Happy cooking!
Conclusion
Removing a cooktop from your countertop may seem like a complex task, but by following this step-by-step guide, you can successfully complete the process with confidence. From gathering the necessary tools to safely disconnecting the cooktop, to inspecting and deciding whether to store or dispose of it, each step plays a crucial role in completing the task effectively.
By taking the time to gather the appropriate tools and following safety precautions, you create a secure environment for yourself and minimize any potential risks. Shutting off the power supply ensures your safety while working around electrical components, and disconnecting the cooktop from the countertop requires careful attention to prevent any damage during the process.
Removing the cooktop from the electrical supply and lifting it off the countertop should be done with caution to avoid any injuries or accidents. Once removed, you can then focus on cleaning the countertop surface to maintain its cleanliness and integrity.
Inspecting the cooktop is a crucial step to address any maintenance or repair needs. Identifying any issues allows for appropriate action to be taken, ultimately prolonging the lifespan and performance of the cooktop.
Finally, deciding whether to store or dispose of the cooktop is an important consideration. Proper disposal methods or finding a new home for the cooktop ensures responsible handling and reduces environmental impact.
By following these steps and implementing the necessary precautions, you can confidently remove a cooktop from your countertop. Whether you’re replacing it with a new model or simply performing maintenance, this process will enable you to efficiently complete the task at hand.
Remember, if you ever feel unsure or uncomfortable with any step of the process, it’s always a good idea to seek professional assistance. They can provide guidance and expertise to ensure a smooth and safe cooktop removal experience.
Good luck, and enjoy your newly acquired knowledge in cooktop removal!
Frequently Asked Questions about How To Remove Cooktop?
Was this page helpful?
At Storables.com, we guarantee accurate and reliable information. Our content, validated by Expert Board Contributors, is crafted following stringent Editorial Policies. We're committed to providing you with well-researched, expert-backed insights for all your informational needs.


0 thoughts on “How To Remove Cooktop?”