Articles
How To Remove A Keg From A Kegerator
Modified: October 24, 2024
Learn how to remove a keg from a kegerator with these helpful articles. Gain valuable tips and tricks for a smooth keg removal process.
(Many of the links in this article redirect to a specific reviewed product. Your purchase of these products through affiliate links helps to generate commission for Storables.com, at no extra cost. Learn more)
Introduction
Welcome to our guide on how to remove a keg from a kegerator. Whether you’re hosting a party, cleaning your kegerator, or simply replacing an empty keg, knowing how to properly remove a keg is essential. In this article, we will take you through the step-by-step process of safely and efficiently removing a keg from your kegerator.
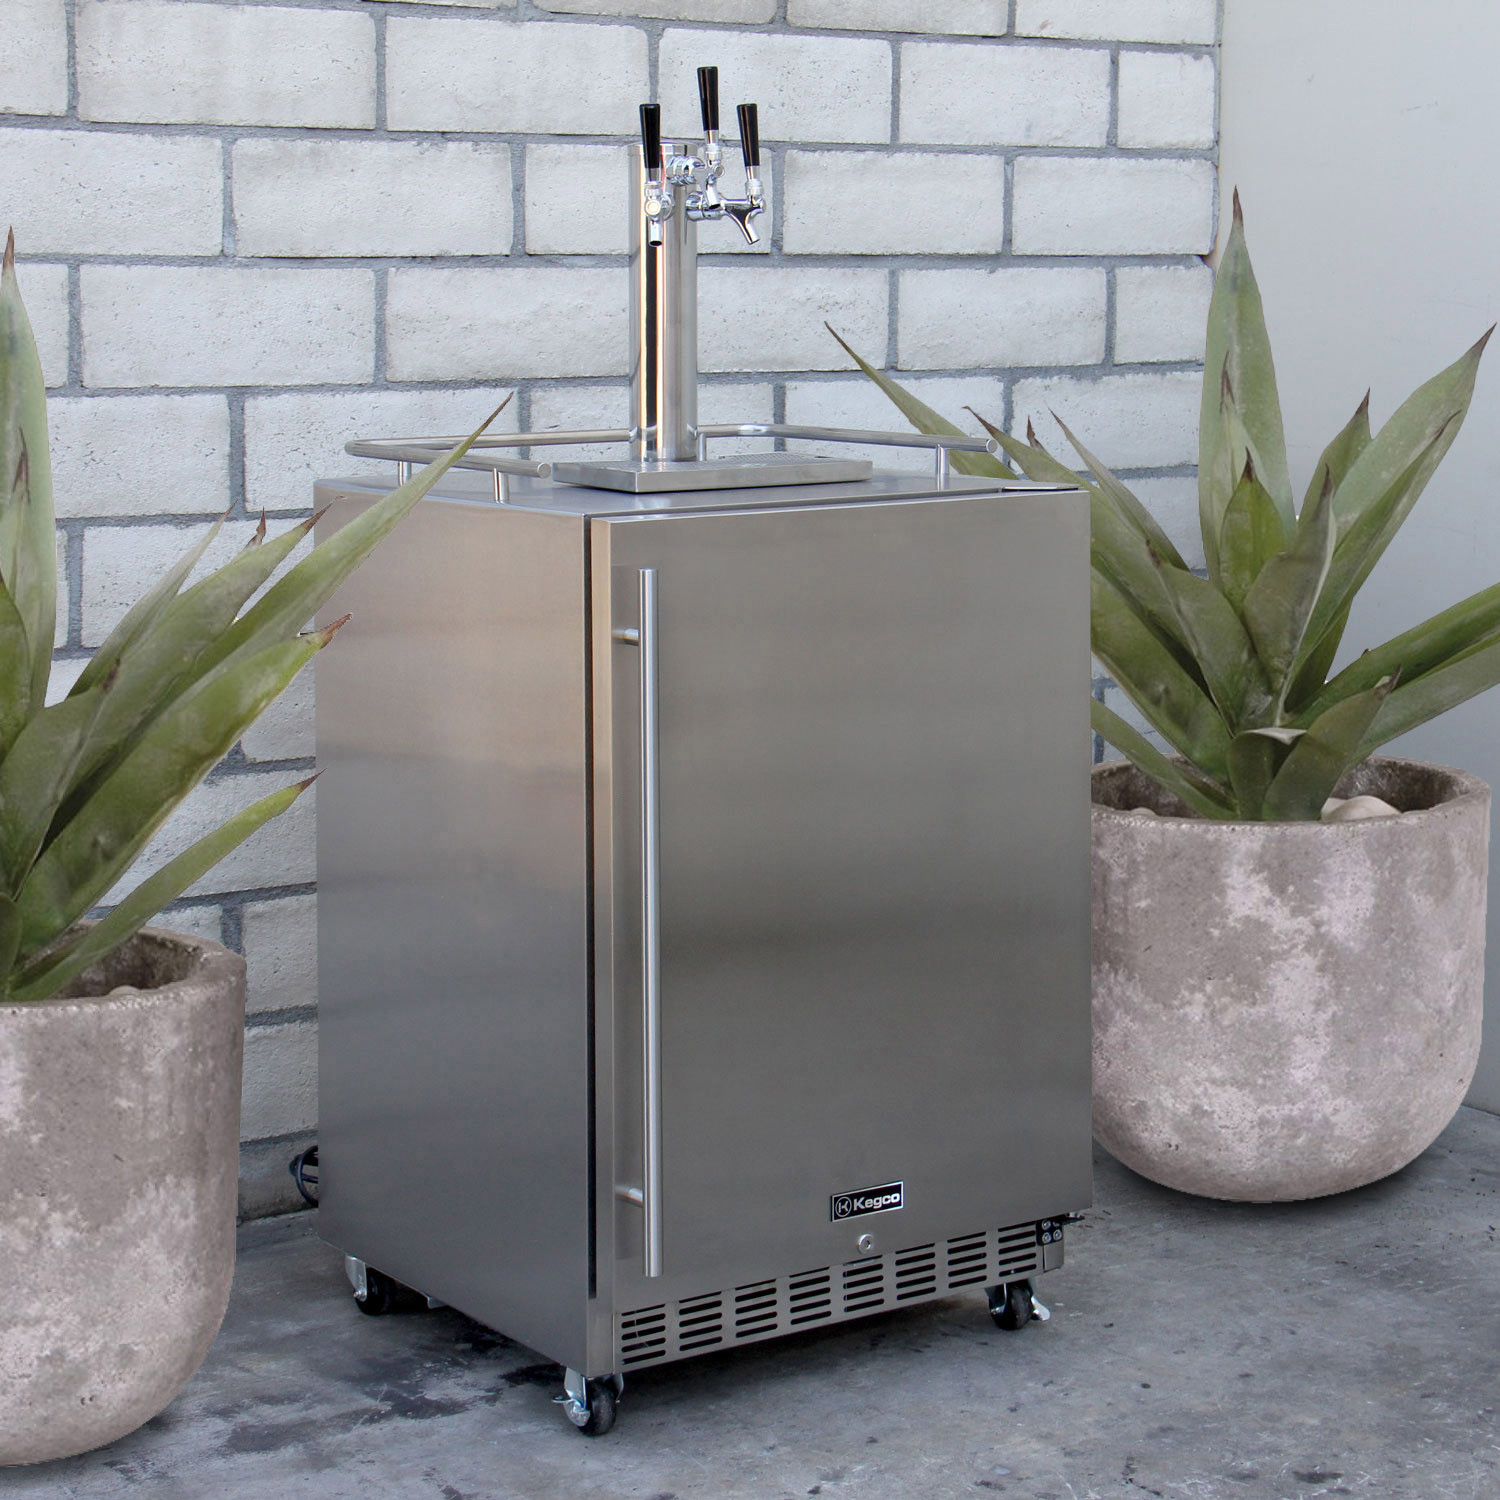
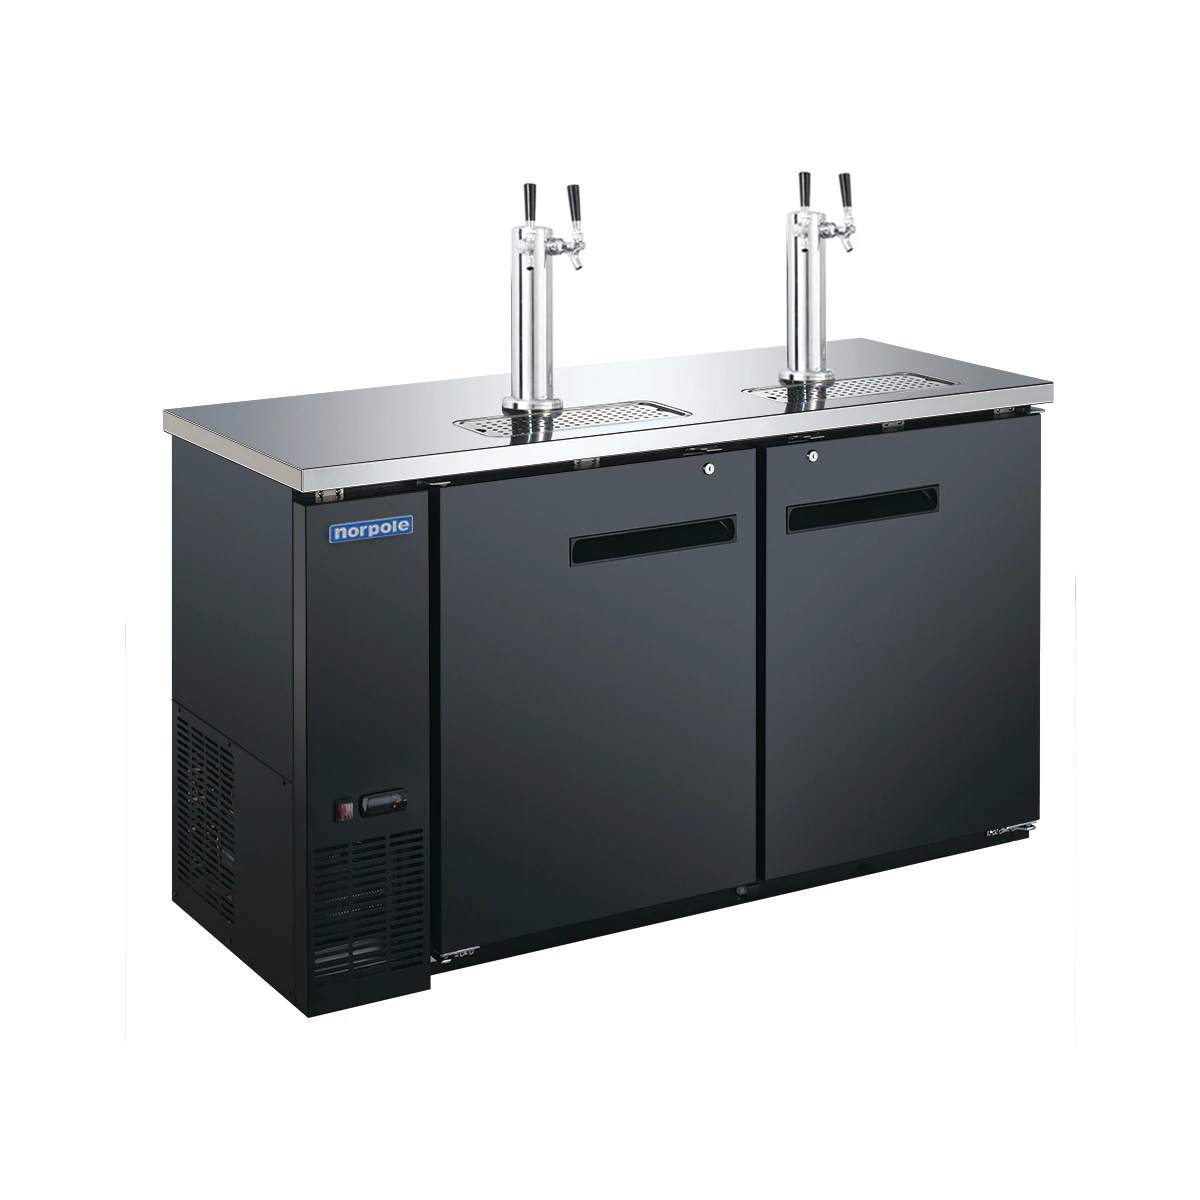
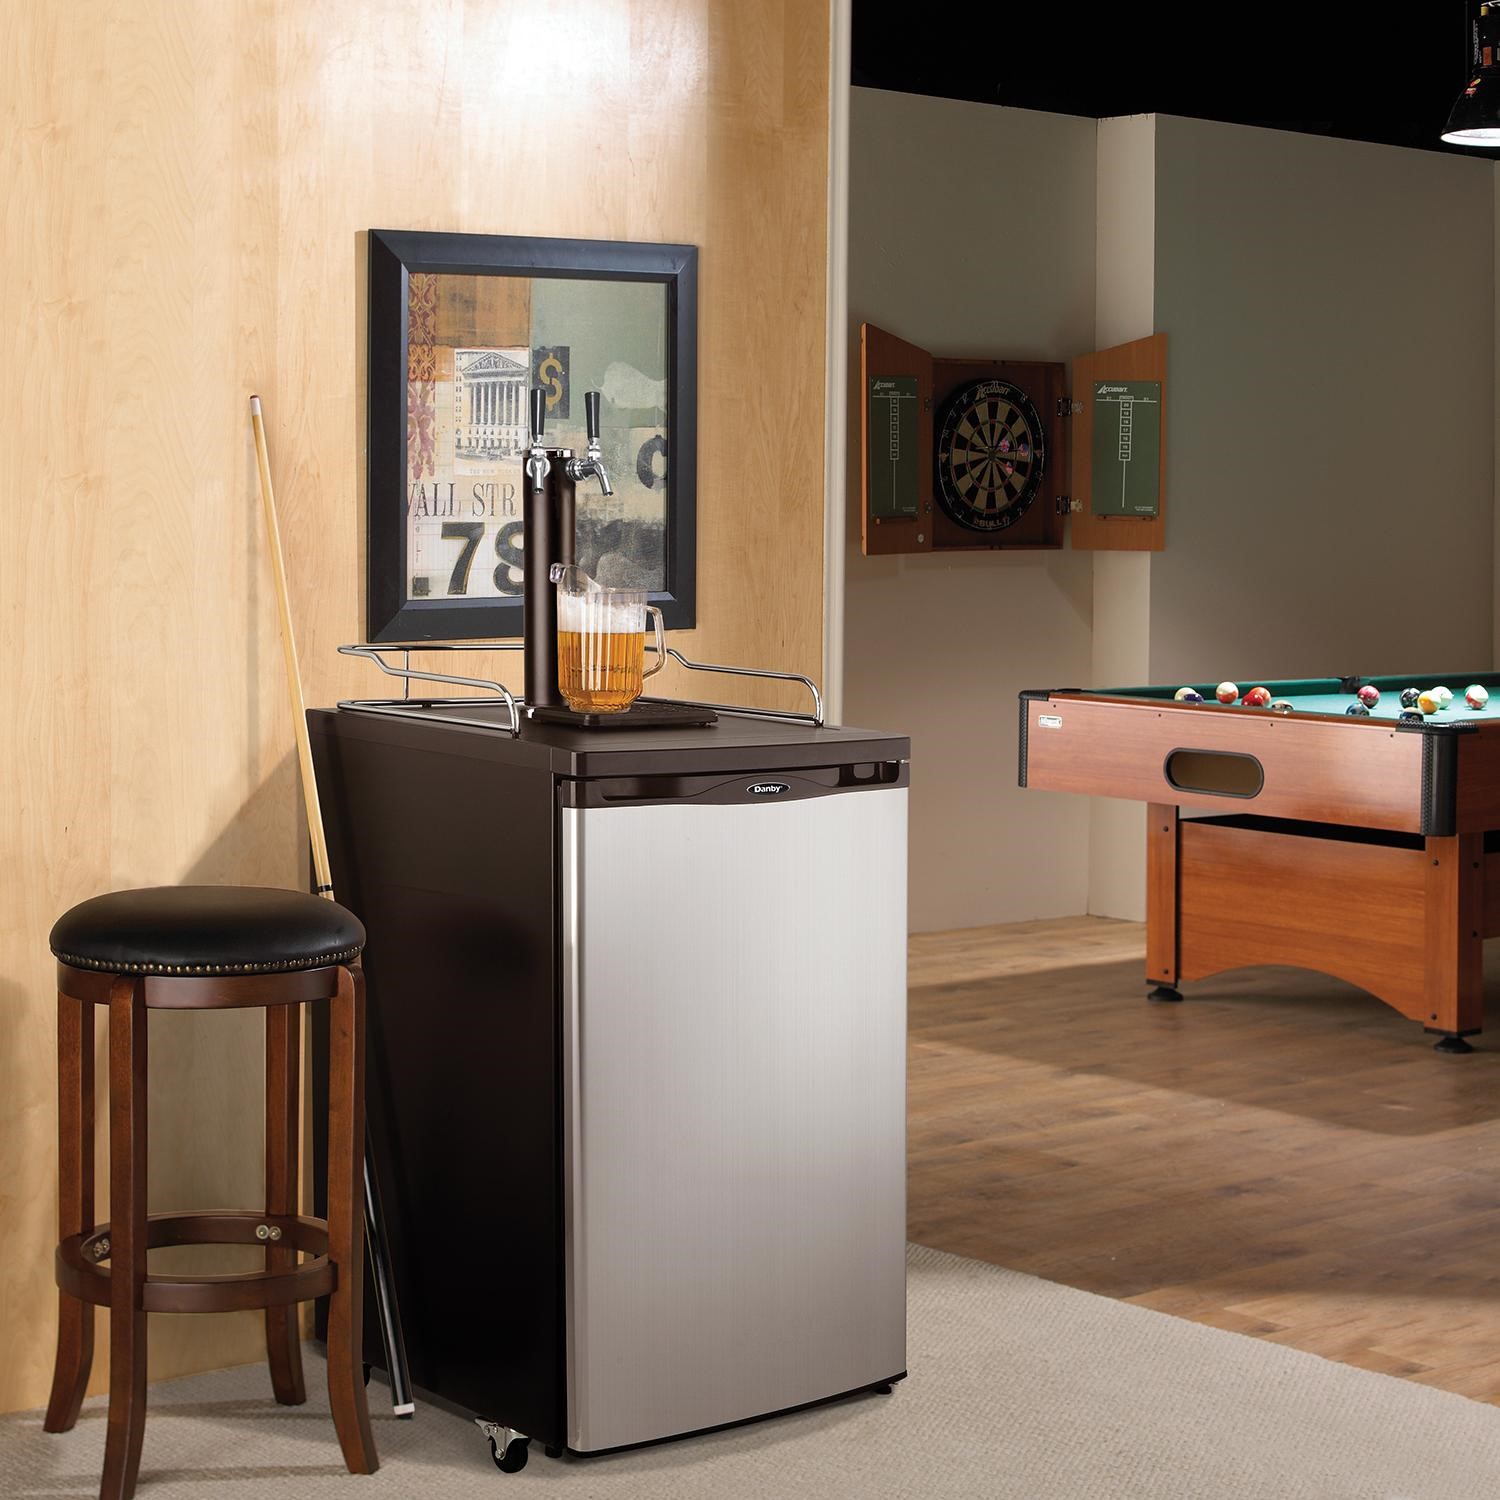
A kegerator is a fantastic appliance that allows you to enjoy fresh draft beer right in the comfort of your own home. These refrigerated units are designed to store and dispense kegs of beer, providing a convenient way to enjoy your favorite brews. However, at some point, you will need to remove the keg to either replace it or perform maintenance on the kegerator.
Before we dive into the steps, it’s important to note that kegerators can vary in design and configuration. Therefore, the specific steps outlined in this article may need to be adapted slightly based on your kegerator model. It’s always best to consult your kegerator’s instruction manual for any manufacturer-specific guidelines and recommendations.
Now, let’s get started with the first step: emptying the keg.
Key Takeaways:
- Safely and efficiently remove a keg from your kegerator by following the step-by-step process outlined in this guide, ensuring a smooth and mess-free keg removal experience.
- Properly maintaining and caring for your kegerator and kegs will extend their lifespan and guarantee continued enjoyment of fresh and delicious draught beer at home.
Read more: How To Remove Spout From Homestead Kegerator
Step 1: Emptying the keg
The first step in removing a keg from a kegerator is to ensure that it is empty. This is important to prevent any beer from spilling or causing a mess during the removal process.
To empty the keg, you have a couple of options. The most common method is to dispense the remaining beer through the tap. Start by placing a clean, empty glass or container under the tap to catch the beer. Then, carefully open the tap handle or lever and allow the beer to flow out. Be sure to tilt the glass at a slight angle to prevent excessive foaming.
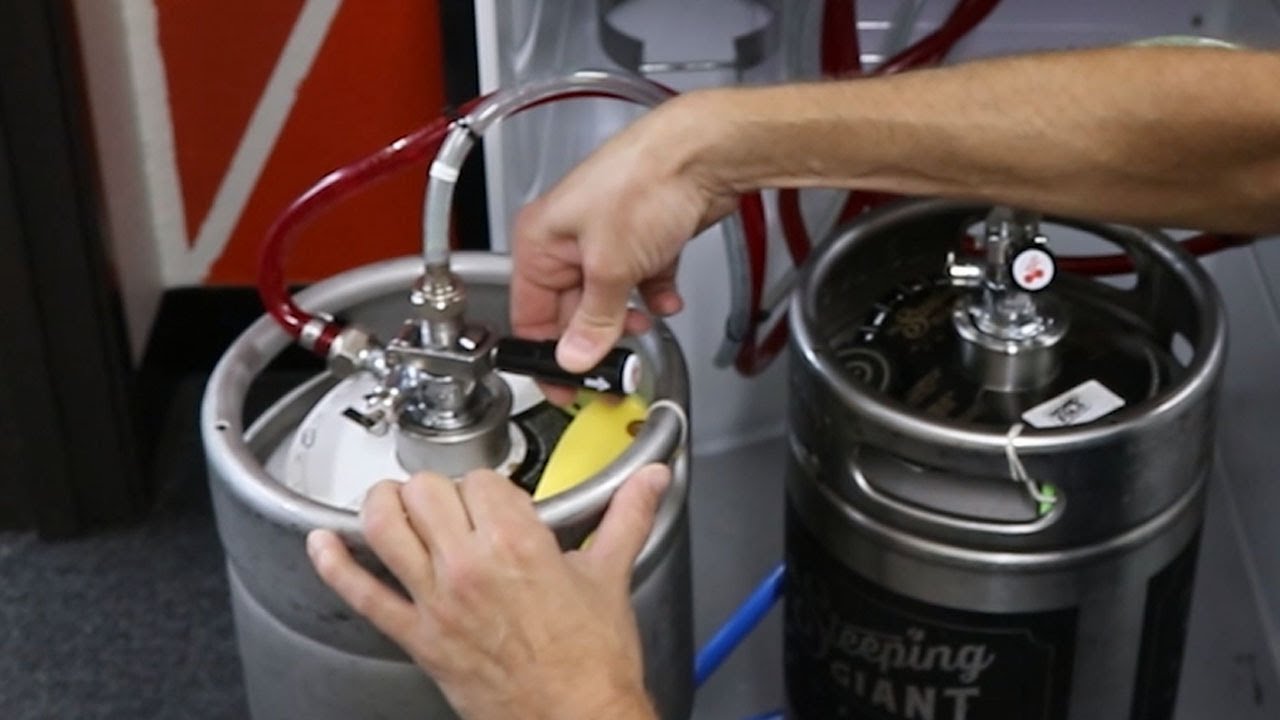
If the keg is almost empty or you don’t want to go through the hassle of dispensing each remaining drop, you can also opt to vent the keg. To do this, locate the pressure relief valve on the top of the keg. Using a flathead screwdriver or a specialized keg relief valve tool, gently press down on the valve to release the pressure. You may hear a hissing sound as the excess pressure is released from the keg.
Once you have emptied the keg or released the pressure, it’s time to move on to the next step: disconnecting the CO2 lines.
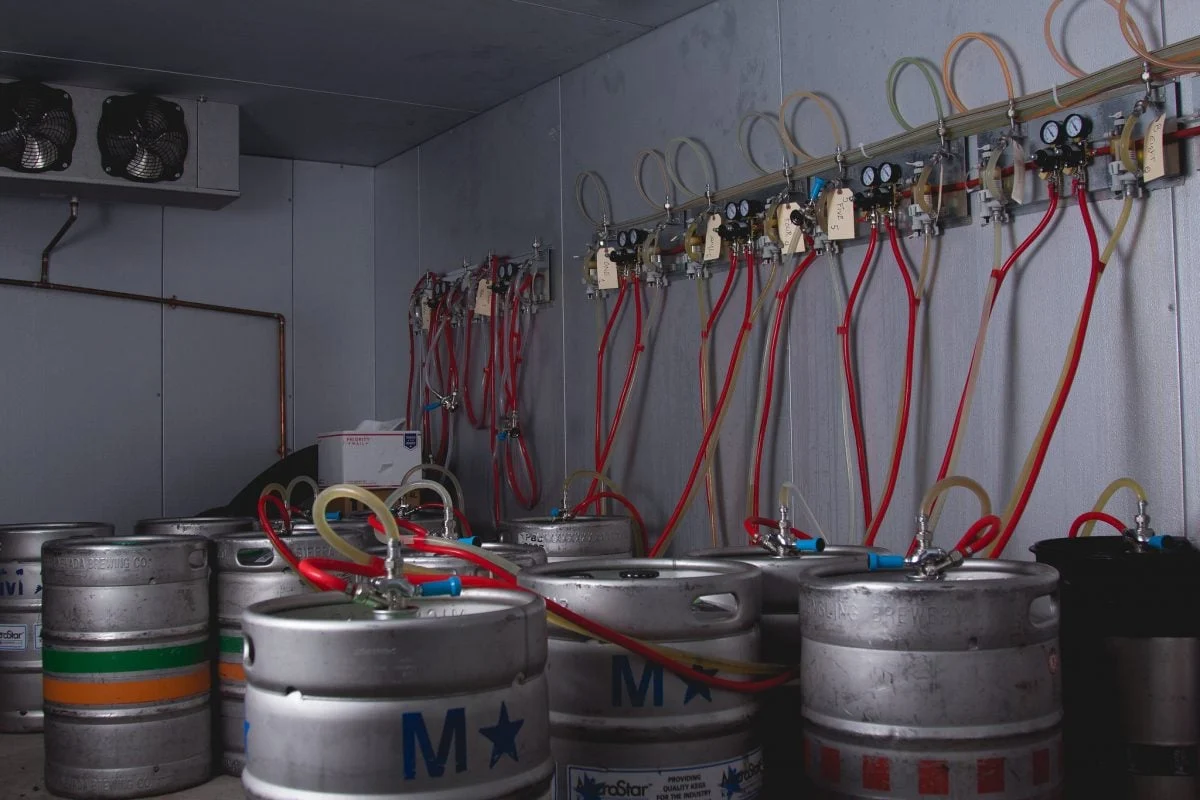
Step 2: Disconnecting the CO2 lines
Now that the keg is empty, it’s important to disconnect the CO2 lines that supply the pressure for dispensing the beer. This step ensures a safe and clean removal process.
Start by locating the CO2 tank or cylinder that is connected to your kegerator. Most kegerators have a compartment or panel where the CO2 tank is housed. Open the compartment or remove the panel to access the tank.
Before disconnecting the CO2 lines, make sure to turn off the CO2 supply valve. This valve is usually located on the regulator attached to the CO2 tank. Turning off the valve will prevent any accidental spills or leaks during the disconnection process.
Next, locate the CO2 line that is connected to the keg. Depending on your kegerator model, there may be one or multiple CO2 lines. The lines are typically connected to the keg through quick-disconnect fittings.
To disconnect the CO2 line, simply pull back on the collar of the quick-disconnect fitting and slide it off the keg’s valve. Take care not to pull too hard or apply excessive force, as this can damage the fittings or cause the keg to become unstable.
Once the CO2 line is disconnected, you can set it aside or place it in a clean container to prevent any unwanted leaks or spills.
With the CO2 lines safely disconnected, it’s time to move on to the next step: removing the taps.
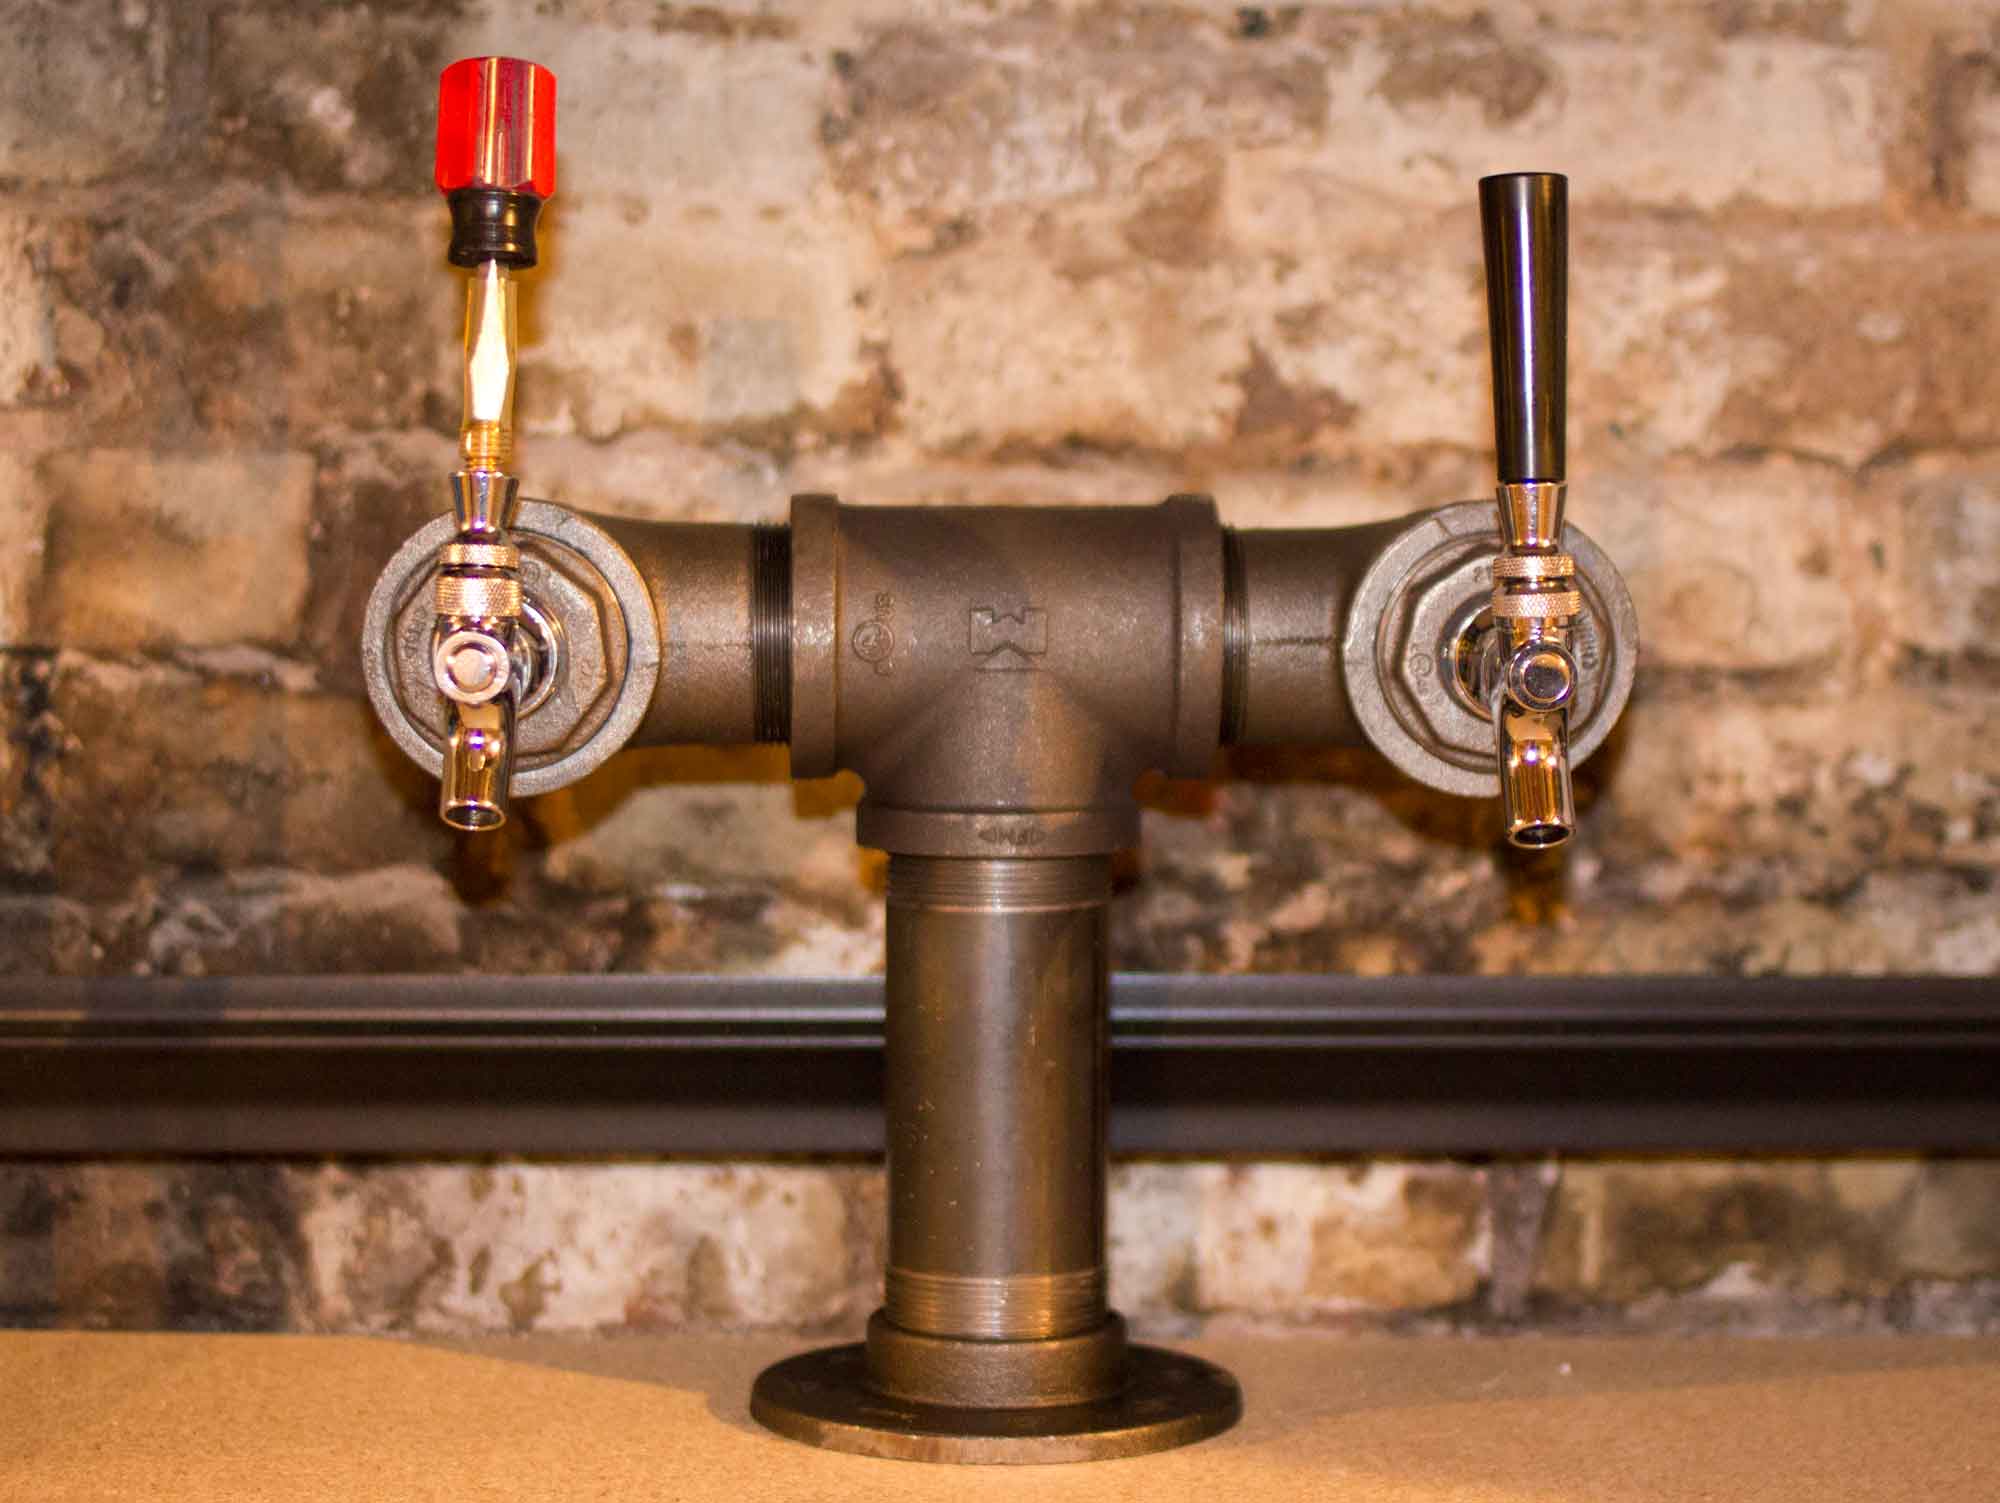
Step 3: Removing the taps
Now that the CO2 lines are disconnected, it’s time to remove the taps from the kegerator. Removing the taps will make it easier to access and remove the keg.
Start by locating the tap handles on the front of the kegerator. In most cases, the tap handles are attached to the faucets that dispense the beer. Before removing the taps, it’s a good idea to close the tap handles to prevent any accidental spills or drips.
To remove the taps, gently twist or unscrew them in a counterclockwise direction. Be careful not to apply too much force, as the taps should come off easily. If you encounter any resistance, check to ensure that the tap handles are fully closed and that there aren’t any obstructions preventing their removal.
Once the taps are removed, set them aside in a safe place or keep them attached to the kegerator, depending on your preference. Removing the taps will give you clearer access to the keg and make the removal process smoother.
With the taps removed, it’s time to move on to the next step: detaching the keg from the kegerator.
Before removing the keg from the kegerator, make sure to release the pressure in the keg by turning off the CO2 and releasing the pressure valve. This will prevent any beer from spraying out when you disconnect the keg.
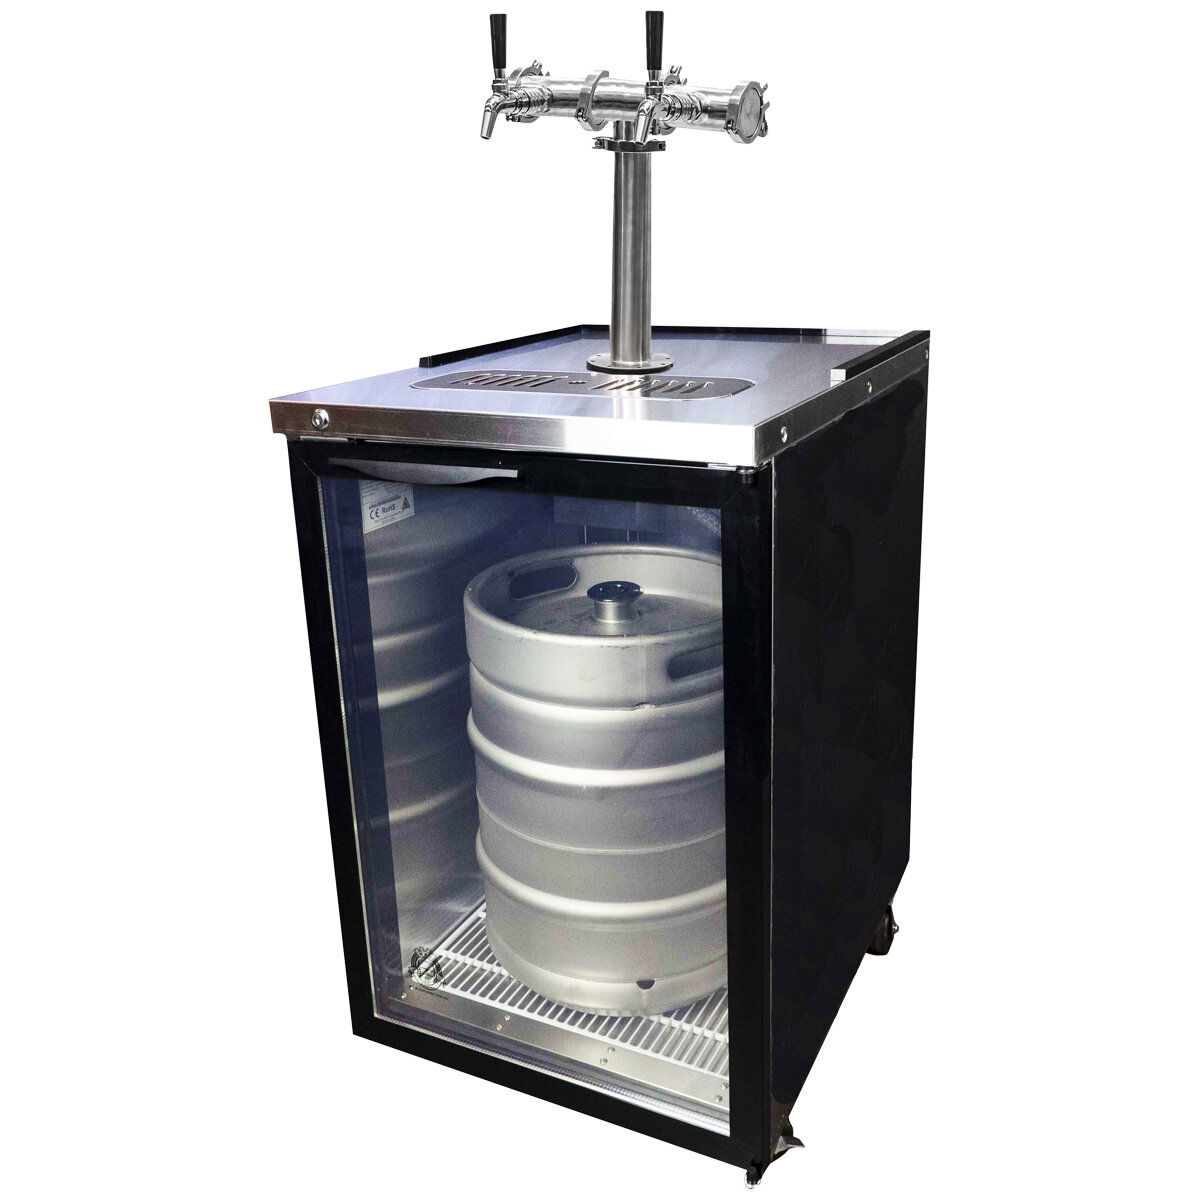
Step 4: Detaching the keg from the kegerator
Now that the taps are removed, it’s time to detach the keg from the kegerator. This step involves safely disconnecting the keg from any additional fittings or attachments.
Start by locating any securing devices or straps that may be holding the keg in place. These devices are typically located near the top or sides of the keg within the kegerator. Depending on your kegerator model, they may be in the form of clips, bands, or hooks.
Carefully release or remove these securing devices to loosen the keg. Be cautious as you do this, as the keg may be heavy and unstable when not properly supported. If needed, have someone assist you in safely handling the keg.
Once the securing devices are removed, gently lift the keg out of the kegerator. Take care not to shake or tip the keg too much, as this can cause the remaining beer to foam up or spill.
If the keg is still partially full, you can use a bung plug or a keg cap to seal the opening and prevent any leakage. Simply insert the plug or cap into the keg’s valve and secure it tightly.
Now that the keg is detached from the kegerator, it’s time to move on to the final step: cleaning and storing the keg.
Read more: What Is a Kegerator and What Is It Used For?
Step 5: Cleaning and storing the keg
After successfully removing the keg from the kegerator, it’s important to clean it thoroughly before storing it. Proper cleaning ensures that the keg remains in good condition and is ready for its next use.
Start by rinsing the keg with clean water to remove any leftover beer residue. Use a hose or sink with running water to thoroughly rinse both the inside and outside of the keg. This will help remove any remaining beer and prevent any buildup or odors.
Next, prepare a cleaning solution by mixing a mild detergent or cleanser with warm water. Use a soft sponge or cloth to scrub the interior and exterior of the keg, paying close attention to any stubborn stains or residue. Rinse the keg again with clean water to remove any traces of the cleaning solution.
Once the keg is clean and rinsed, sanitize it to ensure it is free from any bacteria or contaminants. You can use a commercial keg sanitizer or prepare a sanitizing solution using a food-grade sanitizer or a mixture of water and bleach. Follow the instructions provided with the sanitizer and thoroughly coat the keg’s interior with the solution. After a designated contact time, rinse the keg with clean water to remove any remaining sanitizer.
After cleaning and sanitizing the keg, allow it to air dry completely before storing it. Make sure to store the keg in a cool, dry place away from direct sunlight and extreme temperatures. It’s also a good idea to store the keg upright, as this helps prevent any possible leaks or damage.
When you’re ready to use the keg again, make sure to sanitize it before filling it with fresh beer to ensure the best taste and quality.
Congratulations! You have successfully learned how to remove a keg from a kegerator and properly clean and store it. By following these steps, you can keep your kegerator in top condition and continue to enjoy your favorite draught beers whenever you desire.
Remember to consult your kegerator’s instruction manual and manufacturer guidelines for any specific recommendations or additional steps based on your kegerator model.
Happy keg removal and cheers to your next keg party!
Conclusion
In conclusion, knowing how to properly remove a keg from a kegerator is an essential skill for any beer enthusiast. By following the step-by-step process outlined in this guide, you can safely and efficiently remove a keg without any hassle or mess.
Emptying the keg, disconnecting the CO2 lines, removing the taps, detaching the keg from the kegerator, and cleaning and storing the keg are the key steps involved in the process. Each step plays a crucial role in ensuring a smooth and successful keg removal.
Remember to always consult your kegerator’s instruction manual and manufacturer guidelines for any specific recommendations or additional steps. It’s also important to exercise caution and have assistance when dealing with heavy kegs to prevent any injuries.
Properly maintaining and caring for your kegerator and kegs will not only extend their lifespan but also guarantee that you can continue enjoying fresh and delicious draught beer at home.
So the next time you need to remove a keg from your kegerator, just follow the steps outlined in this guide, and you’ll be able to do it with ease and confidence. Cheers to your successful keg removal and the enjoyment of your favorite beers!
Frequently Asked Questions about How To Remove A Keg From A Kegerator
Was this page helpful?
At Storables.com, we guarantee accurate and reliable information. Our content, validated by Expert Board Contributors, is crafted following stringent Editorial Policies. We're committed to providing you with well-researched, expert-backed insights for all your informational needs.


0 thoughts on “How To Remove A Keg From A Kegerator”