Articles
How To Remove A Kegerator Faucet
Modified: March 25, 2024
Learn how to easily remove a kegerator faucet with these step-by-step articles. Get expert advice and tips to maintain your kegerator efficiently.
(Many of the links in this article redirect to a specific reviewed product. Your purchase of these products through affiliate links helps to generate commission for Storables.com, at no extra cost. Learn more)
Introduction
A kegerator faucet is an essential component of a kegerator system that allows you to pour your favorite draft beer with ease. Over time, faucets can become dirty or clogged with sediment, affecting the taste and flow of your beer. In such cases, it becomes necessary to remove and clean the kegerator faucet to restore its functionality.
In this article, we will guide you on how to remove a kegerator faucet step by step. By following these instructions, you can ensure that your kegerator is clean and ready to pour perfectly chilled beers whenever you desire.
Before we begin, it’s important to note that the process of removing a kegerator faucet may vary slightly depending on the specific model you own. However, the general steps provided here will give you a good starting point for any kegerator faucet removal process.
Key Takeaways:
- Regularly removing and cleaning your kegerator faucet is essential for maintaining the quality and taste of your draft beer. Gather the necessary tools and follow the step-by-step process to ensure a smooth and refreshing pouring experience every time.
- By disconnecting the kegerator, removing the tap handle, unscrewing the faucet, and thoroughly cleaning it, you can keep your kegerator faucet in optimal condition. Reassemble the kegerator carefully and enjoy perfectly chilled, delicious draft beer.
Read more: How To Replace The Faucet On My Kegerator
Tools and Materials Needed
Before you embark on removing a kegerator faucet, it’s important to gather the necessary tools and materials. Having these items on hand will make the process much smoother and more efficient. Here’s a list of what you’ll need:
- Adjustable wrench
- Phillips screwdriver
- Kegerator cleaning kit (including cleaning solution and brushes)
- Bucket or container for collecting excess liquid
- Lint-free cloth or paper towels
These tools and materials are readily available at most hardware stores or online retailers. It’s always a good idea to have them in your possession before you start working on your kegerator faucet removal.
An adjustable wrench will be used to disengage any connections, while a Phillips screwdriver will come in handy for removing screws during the process. The kegerator cleaning kit is essential for cleaning the faucet, removing any buildup or debris that may affect the taste of your beer. A bucket or container will be used to collect any excess liquid that may be present during the removal process. Finally, a lint-free cloth or paper towels will help you keep everything clean and dry.
With these tools and materials in hand, you’ll be fully prepared to remove and clean your kegerator faucet efficiently and effectively.
Step 1: Gather Supplies
Before you begin the process of removing a kegerator faucet, it’s important to gather all the necessary supplies. This ensures that you have everything you need within reach and saves you from having to search for items halfway through the process.
First, make sure you have the right tools. You will need an adjustable wrench and a Phillips screwdriver. The adjustable wrench allows you to disengage any connections, while the Phillips screwdriver is used to remove screws. Have these tools handy before you start.
Next, gather your kegerator cleaning kit. This kit typically includes a cleaning solution and various brushes designed specifically for cleaning the faucet and beer lines. These components are crucial for maintaining the cleanliness and taste of your beer. If you don’t have a kegerator cleaning kit, you can purchase one from a homebrew supply store or online retailer.
In addition to the cleaning kit, you will also need a bucket or container to collect any excess liquid that may come out during the removal process. This prevents any mess and allows for easy cleanup afterward. Ensure that the bucket or container is large enough to hold a substantial amount of liquid.
Finally, have a lint-free cloth or paper towels on hand to wipe down and dry the faucet and surrounding areas. This ensures a clean and dry surface for reassembly.
By gathering all the necessary supplies beforehand, you streamline the removal process and minimize the chances of interruptions or delays. It’s always better to be prepared than to have to pause mid-task to search for missing items.
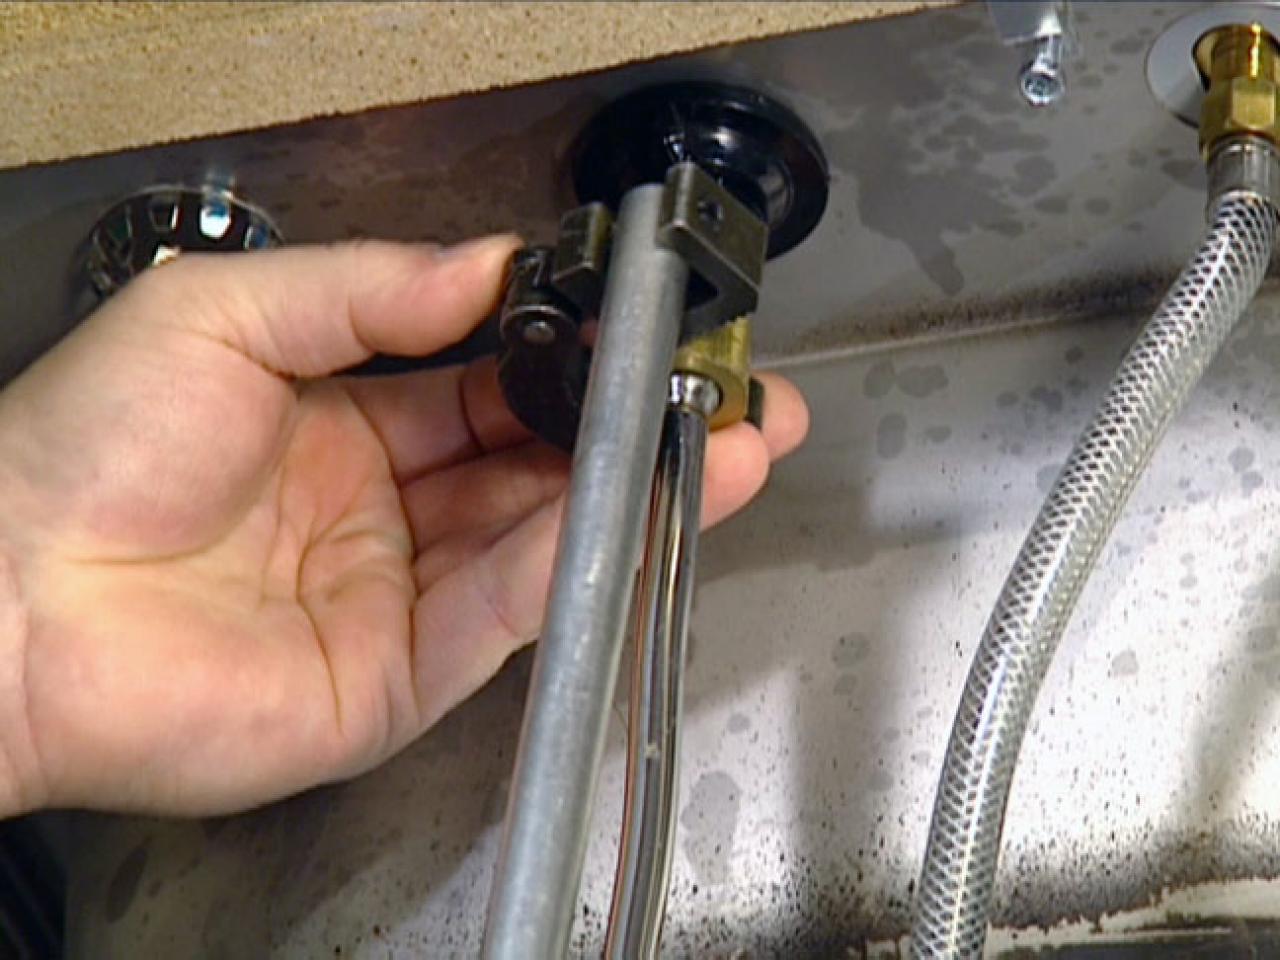
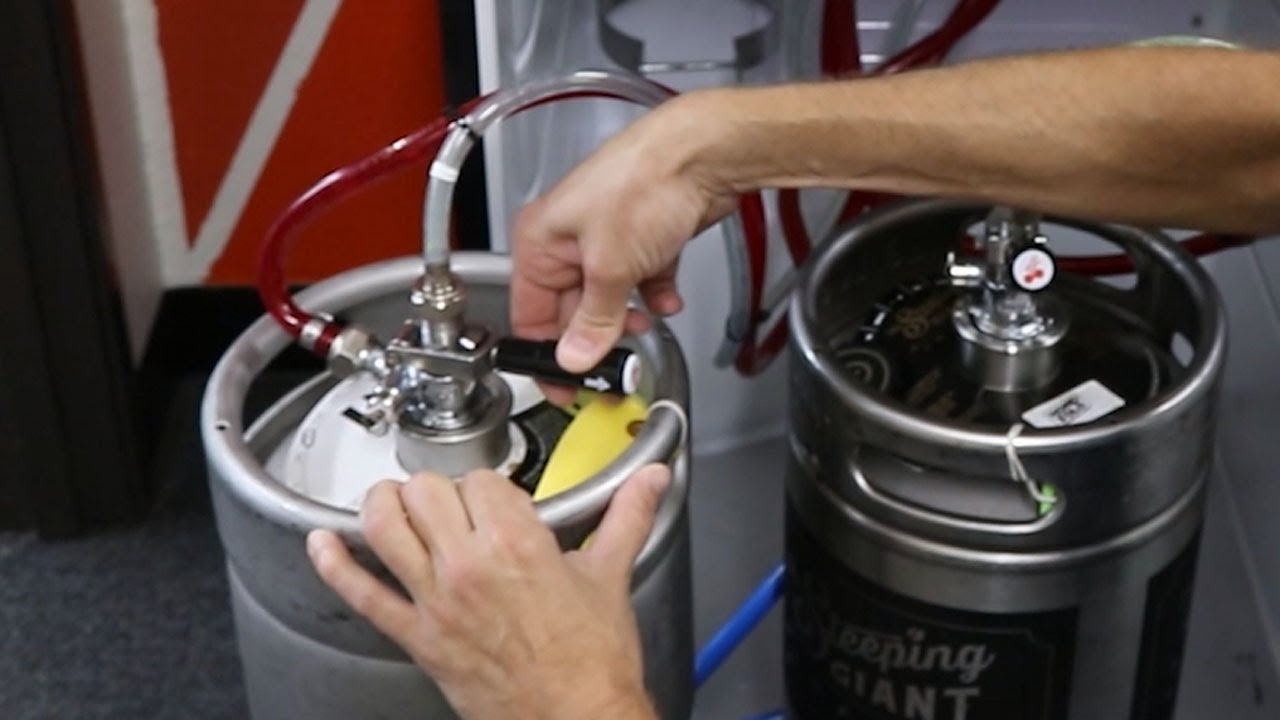
Step 2: Disconnect the Kegerator
Once you have gathered all the necessary supplies, it’s time to disconnect the kegerator from the power source and any other connections. This step ensures your safety and allows for easier access to the kegerator faucet.
Start by unplugging the kegerator from the electrical outlet. This ensures that there is no power running to the unit and reduces the risk of electric shock during the removal process.
Next, disconnect any hoses or lines that are connected to the kegerator. This includes the beer line, gas line, and any other lines that may be present. Use an adjustable wrench to loosen and disconnect any connectors or fittings securely. Carefully remove the hoses from their connections and place them aside.
It’s important to be gentle when disconnecting the hoses to avoid any damage to the fittings or connectors. Make sure to place the disconnected hoses in a safe location to prevent tripping hazards or accidental damage.
If there are any additional accessories or attachments connected to the kegerator, such as a drip tray or cleaning lines, disconnect them as well. Refer to the manufacturer’s instructions to ensure you disconnect these items correctly and safely.
By disconnecting the kegerator from power and other connections, you create a safer work environment and allow for easier access to the kegerator faucet. This sets the stage for the next steps in removing and cleaning the faucet effectively.
Step 3: Remove the Tap Handle
With the kegerator now disconnected, it’s time to remove the tap handle. The tap handle is the lever or knob that you turn to dispense beer from the kegerator faucet. Removing the tap handle allows for easier access to the faucet itself.
Start by locating the screw or set screw that secures the tap handle to the faucet. This screw is usually located on the underside or back of the handle. Use a Phillips screwdriver to loosen and remove the screw.
Once the screw is removed, gently pull the tap handle straight up to detach it from the faucet. Be careful not to twist or bend the handle, as this may damage it.
If the tap handle is tight or difficult to remove, you can try applying gentle, even pressure while lifting it to loosen it from the faucet. However, be cautious not to use excessive force, as this can result in damaging the faucet or handle.
Once the tap handle is removed, set it aside in a safe place. Take note of how it was positioned on the faucet, as you will need to reattach it later.
Removing the tap handle allows for unimpeded access to the kegerator faucet, making it easier to remove and clean. Now that the tap handle is out of the way, you can proceed to the next step of removing the faucet itself.
When removing a kegerator faucet, be sure to disconnect the beer line and CO2 line first. Use a wrench to loosen the faucet and then carefully remove it from the shank. Clean the shank and faucet thoroughly before reassembling.
Read more: How To Remove Tap Nostalgia Kegerator
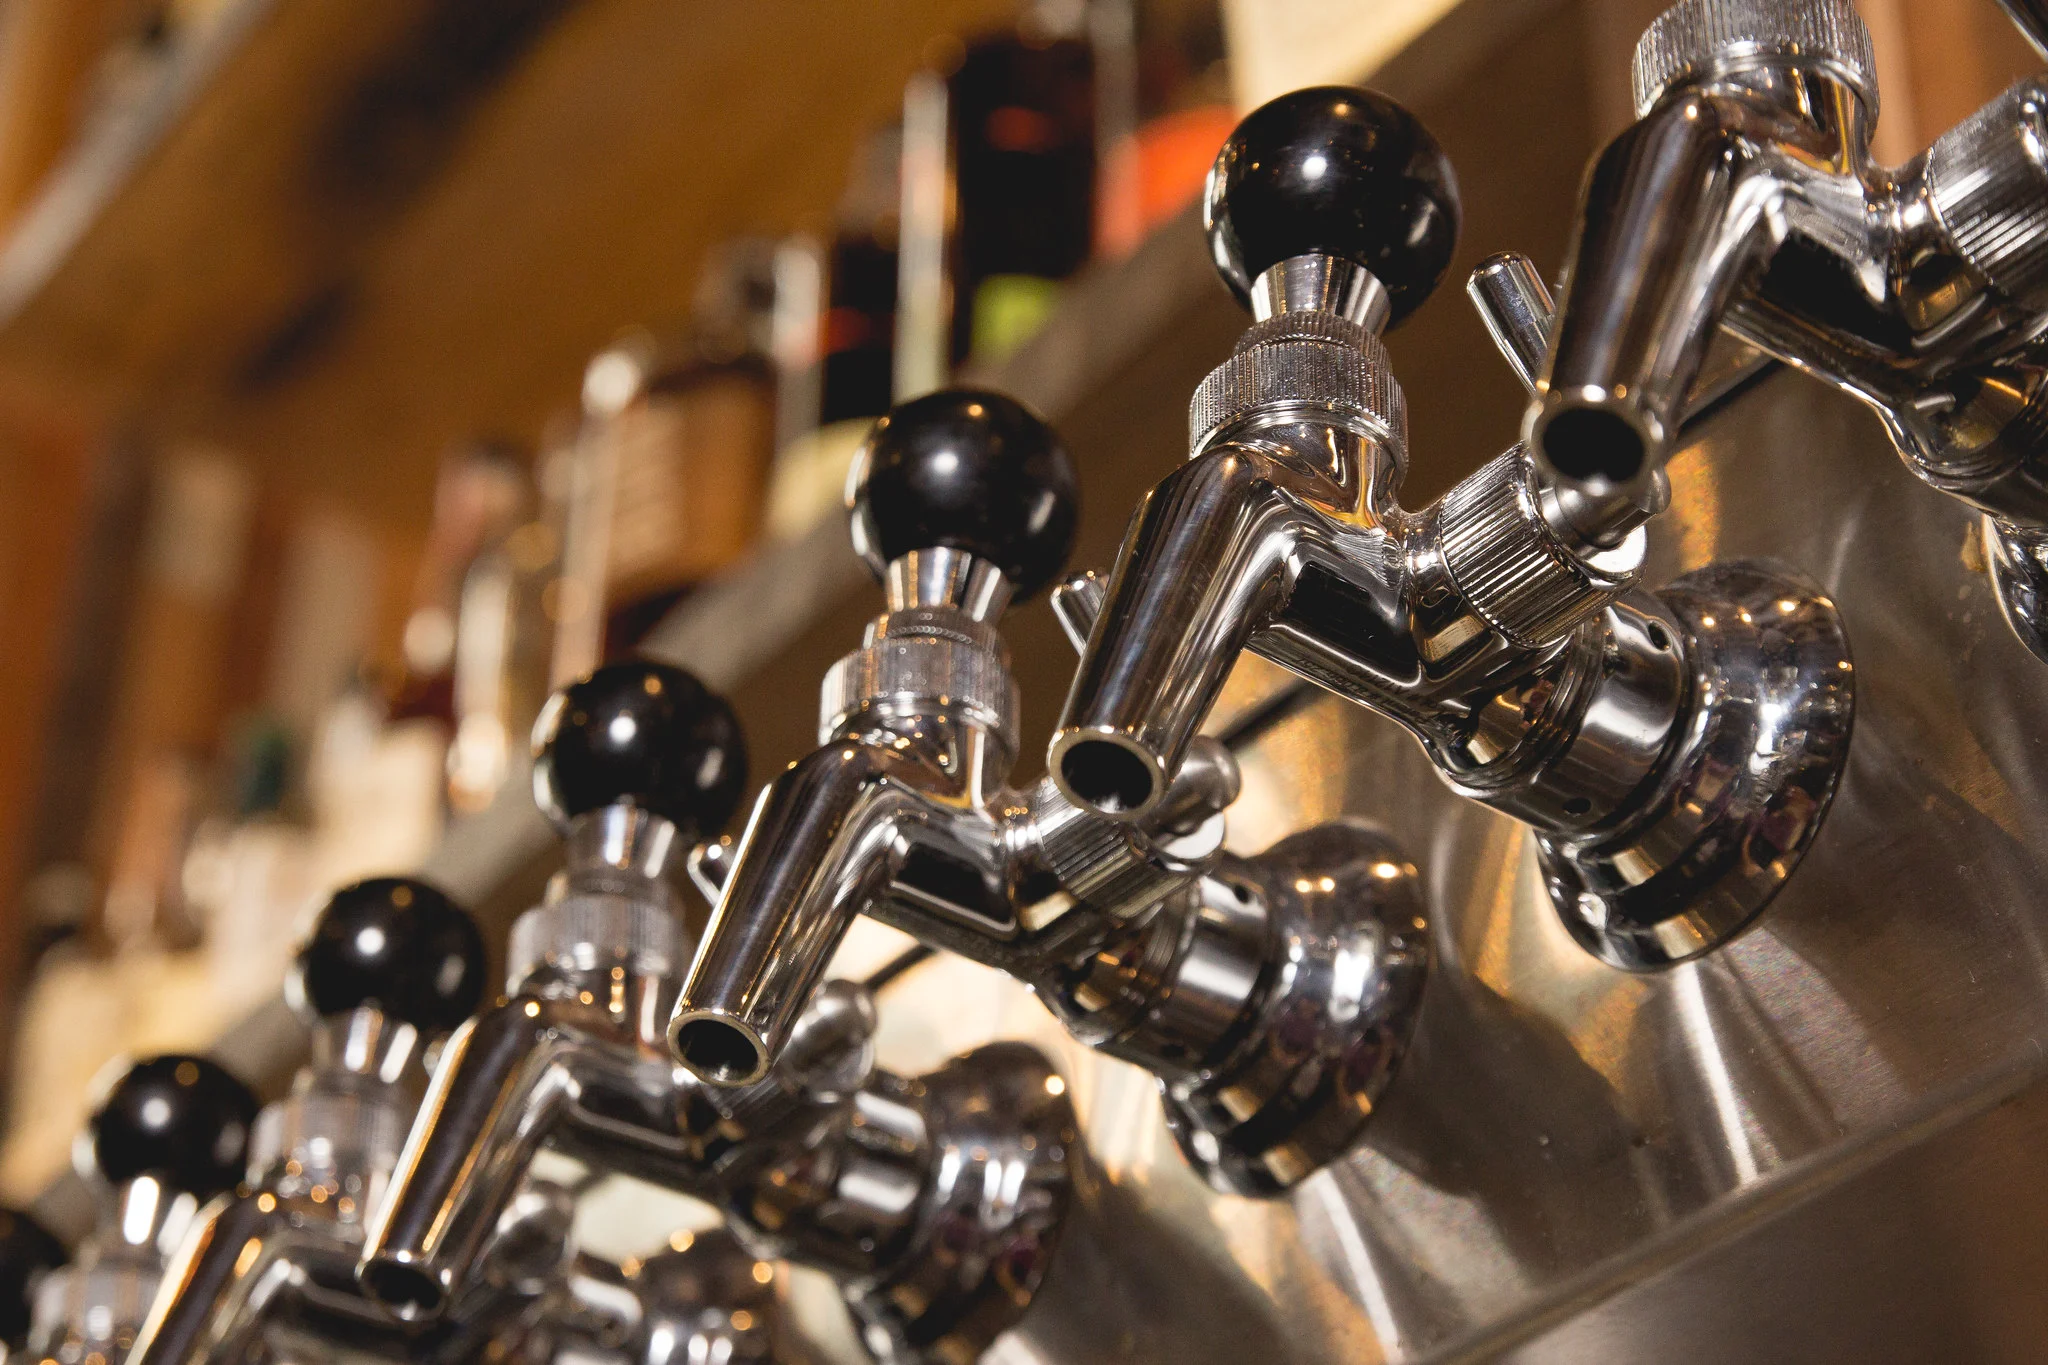
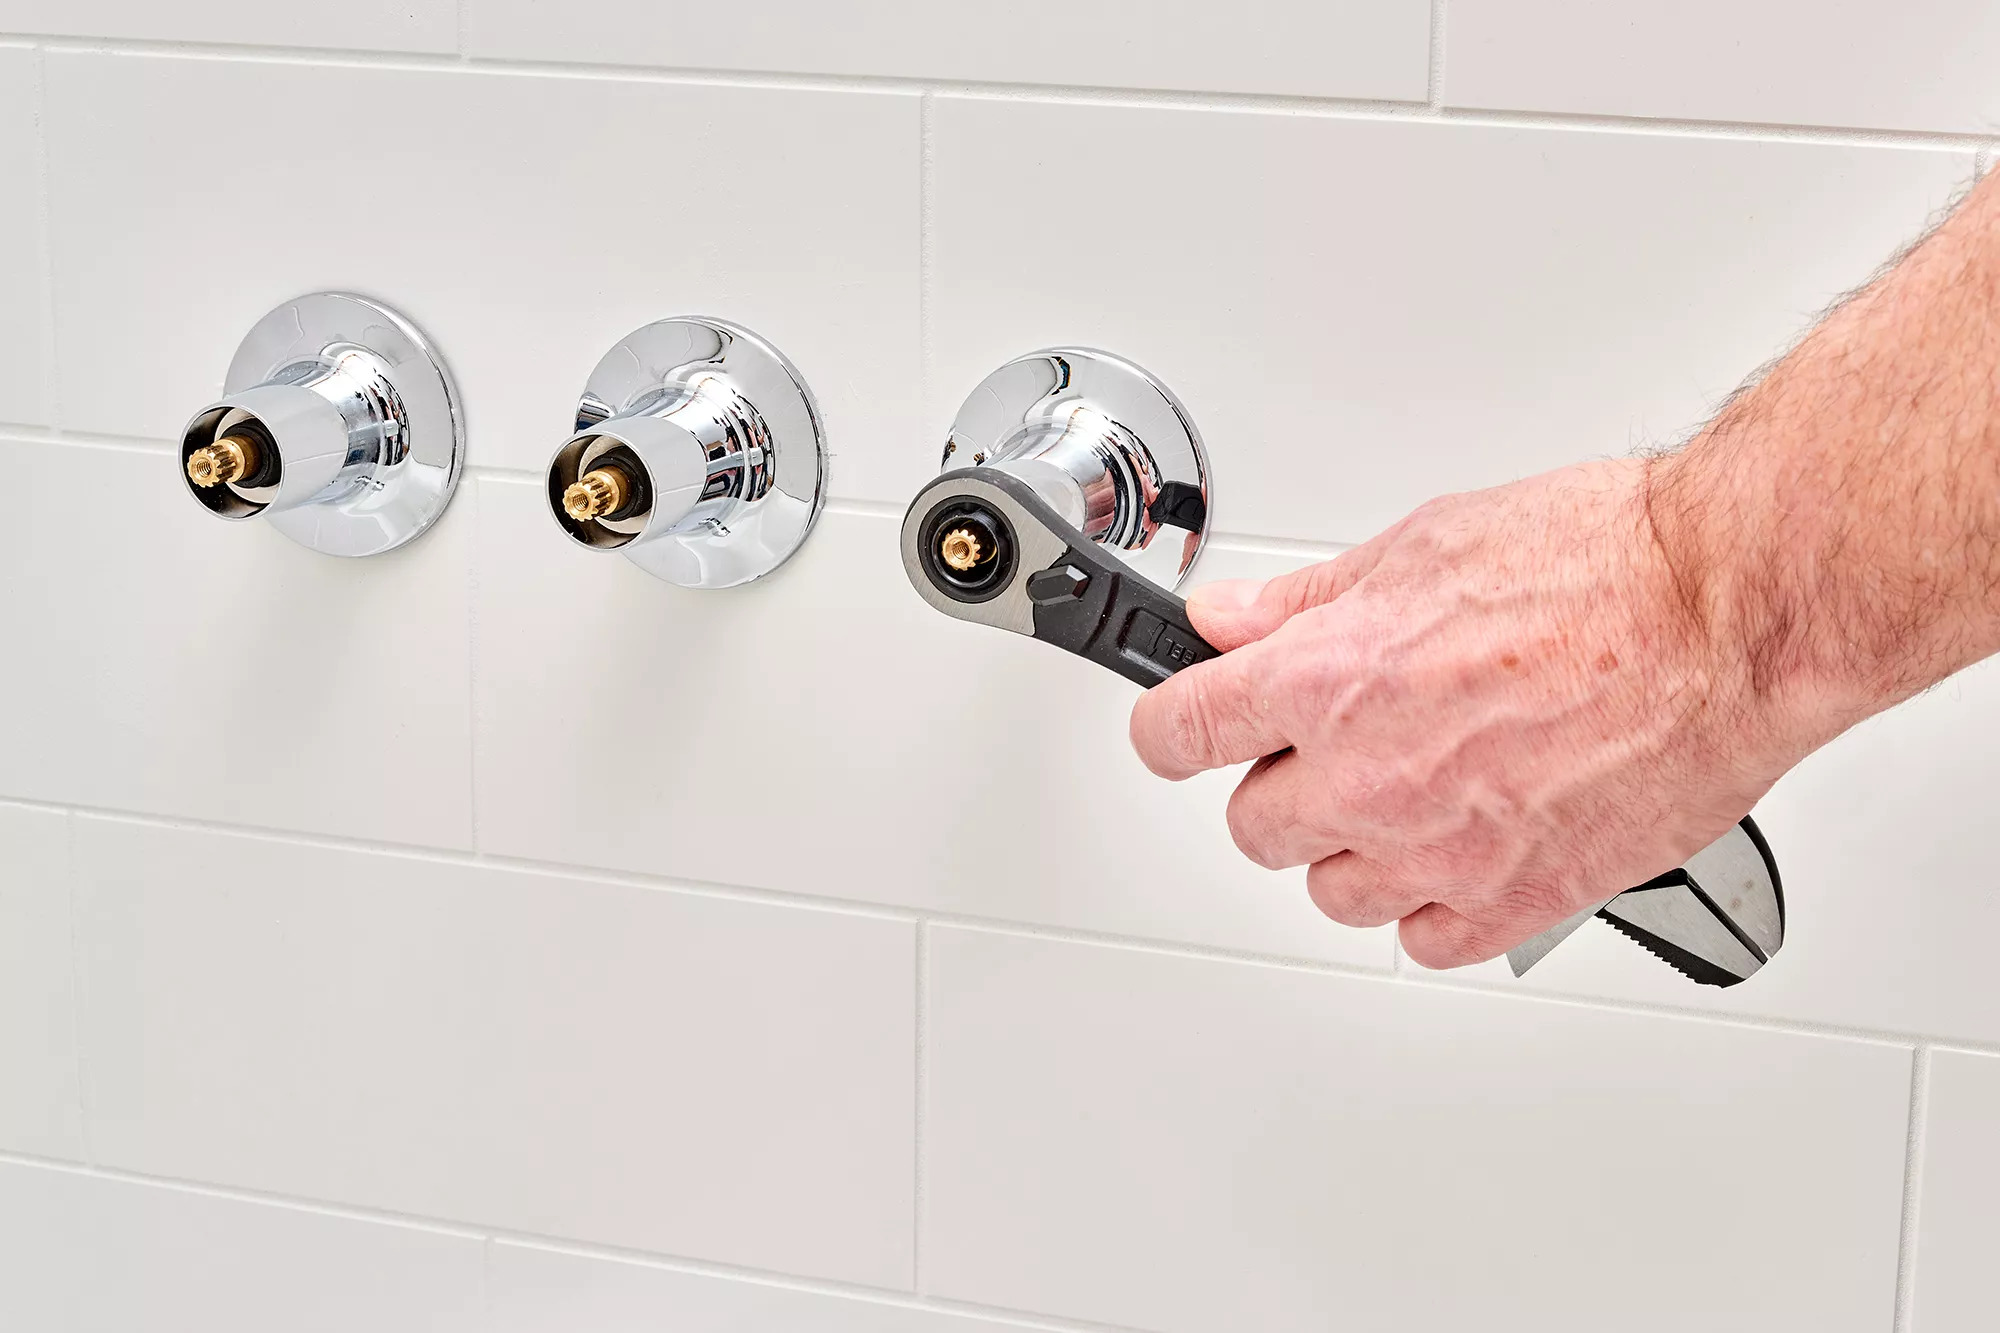
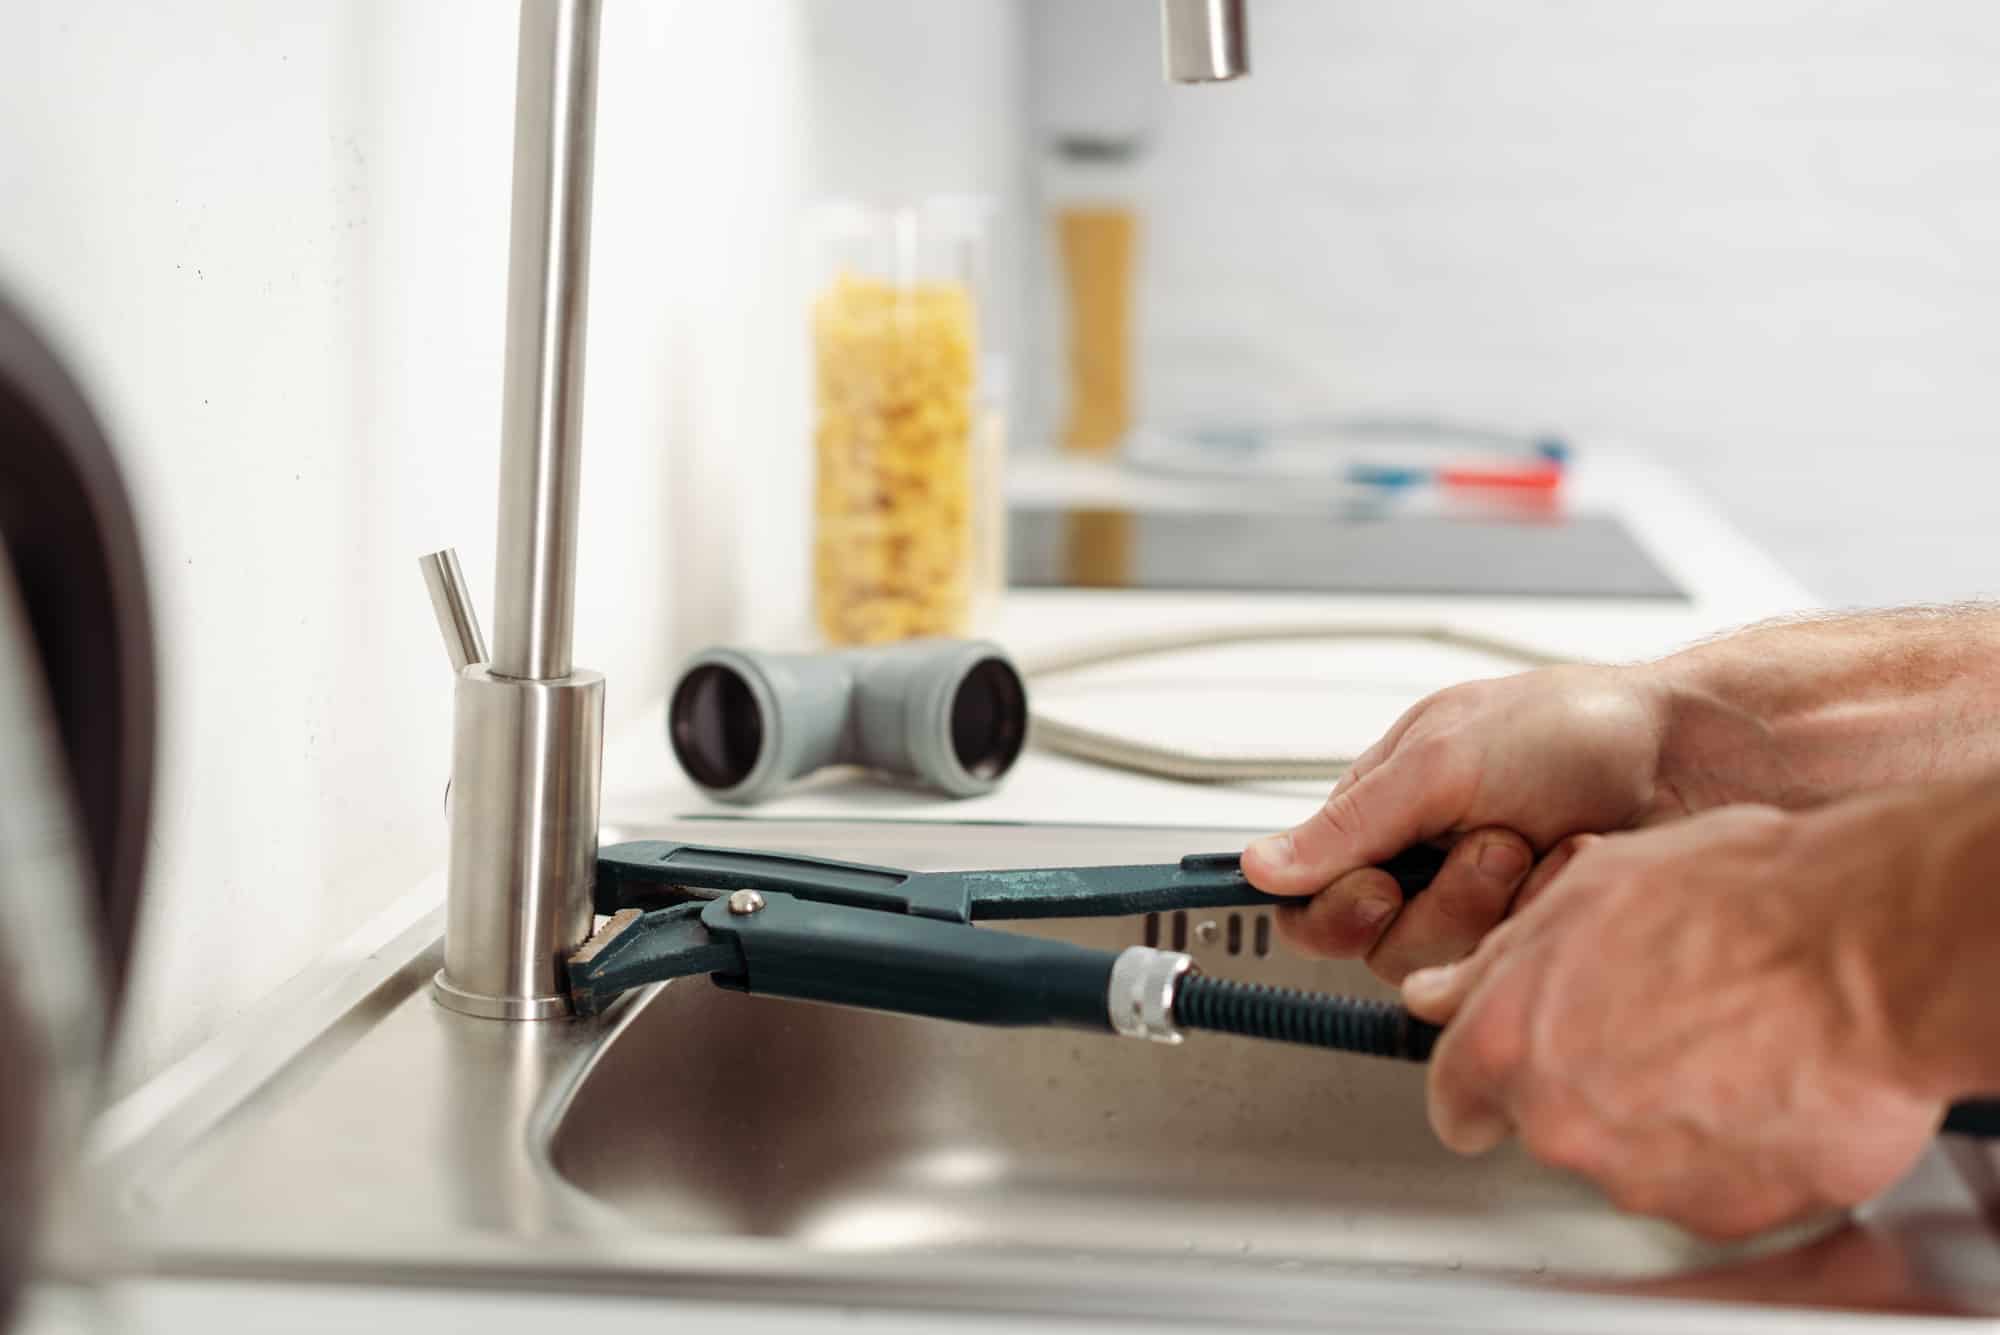
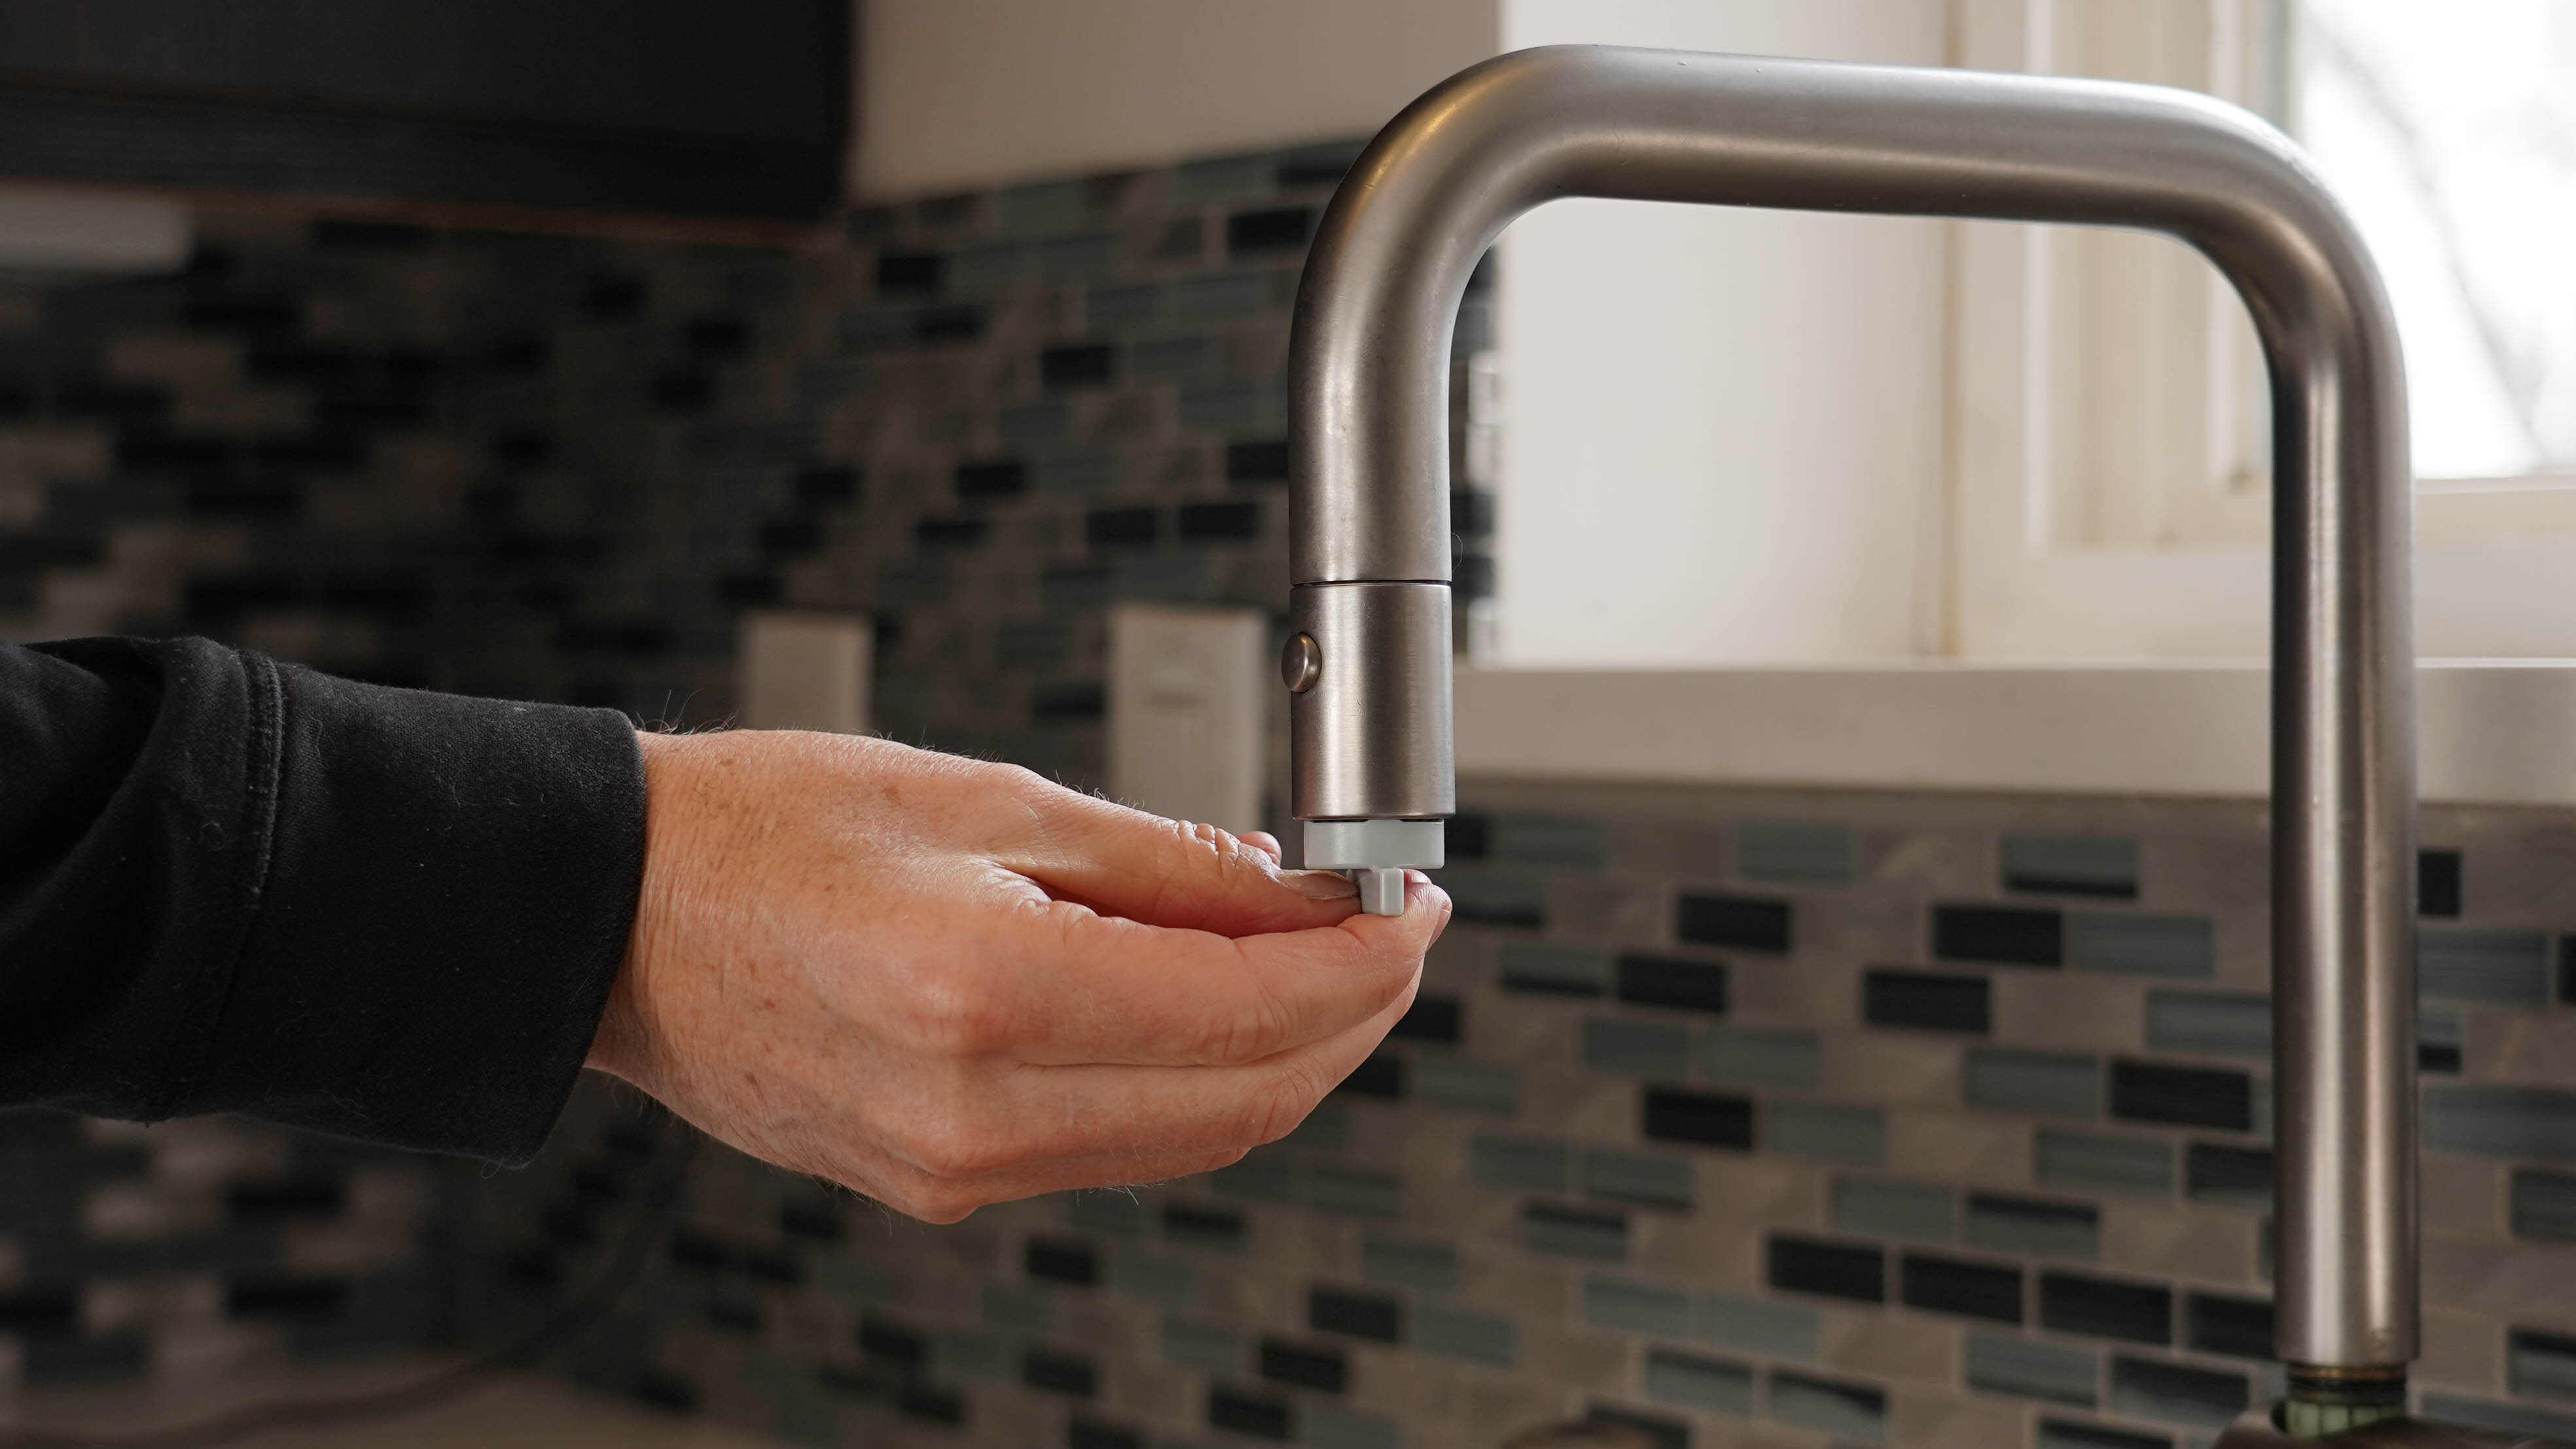
Step 4: Unscrew the Faucet
With the tap handle removed, it’s time to unscrew the kegerator faucet itself. This step requires caution and a steady hand to ensure the faucet is properly removed without causing any damage.
Start by carefully inspecting the base of the faucet where it connects to the kegerator. You should see a large nut or collar securing the faucet in place. This nut is typically made of metal and may require an adjustable wrench to loosen and remove.
Position the adjustable wrench around the nut and turn it counterclockwise to loosen it. Depending on how tight the nut is, you may need to exert some force, but be careful not to apply too much pressure to avoid damaging the kegerator or faucet.
Once the nut is loose, continue turning it counterclockwise until you can remove it completely by hand. Remember to keep a firm grip on the faucet while removing the nut to prevent it from falling or becoming damaged.
After removing the nut, gently pull the faucet straight out from the kegerator. It may be snug or require a slight twist to release it, but avoid using excessive force that could damage the faucet or kegerator.
As you remove the faucet, be cautious and take note of any hoses, lines, or attachments that may be connected to it. Ensuring that these components are free from obstruction will make it easier to remove the faucet without causing any unnecessary damage.
Set the removed faucet aside in a safe place. Inspect it for any signs of dirt or debris that may be affecting its performance. Cleaning the faucet thoroughly will be covered in the next step.
By unscrewing the kegerator faucet, you have successfully completed an important step in the removal process. Now, it’s time to move on to cleaning the faucet before reassembling the kegerator.
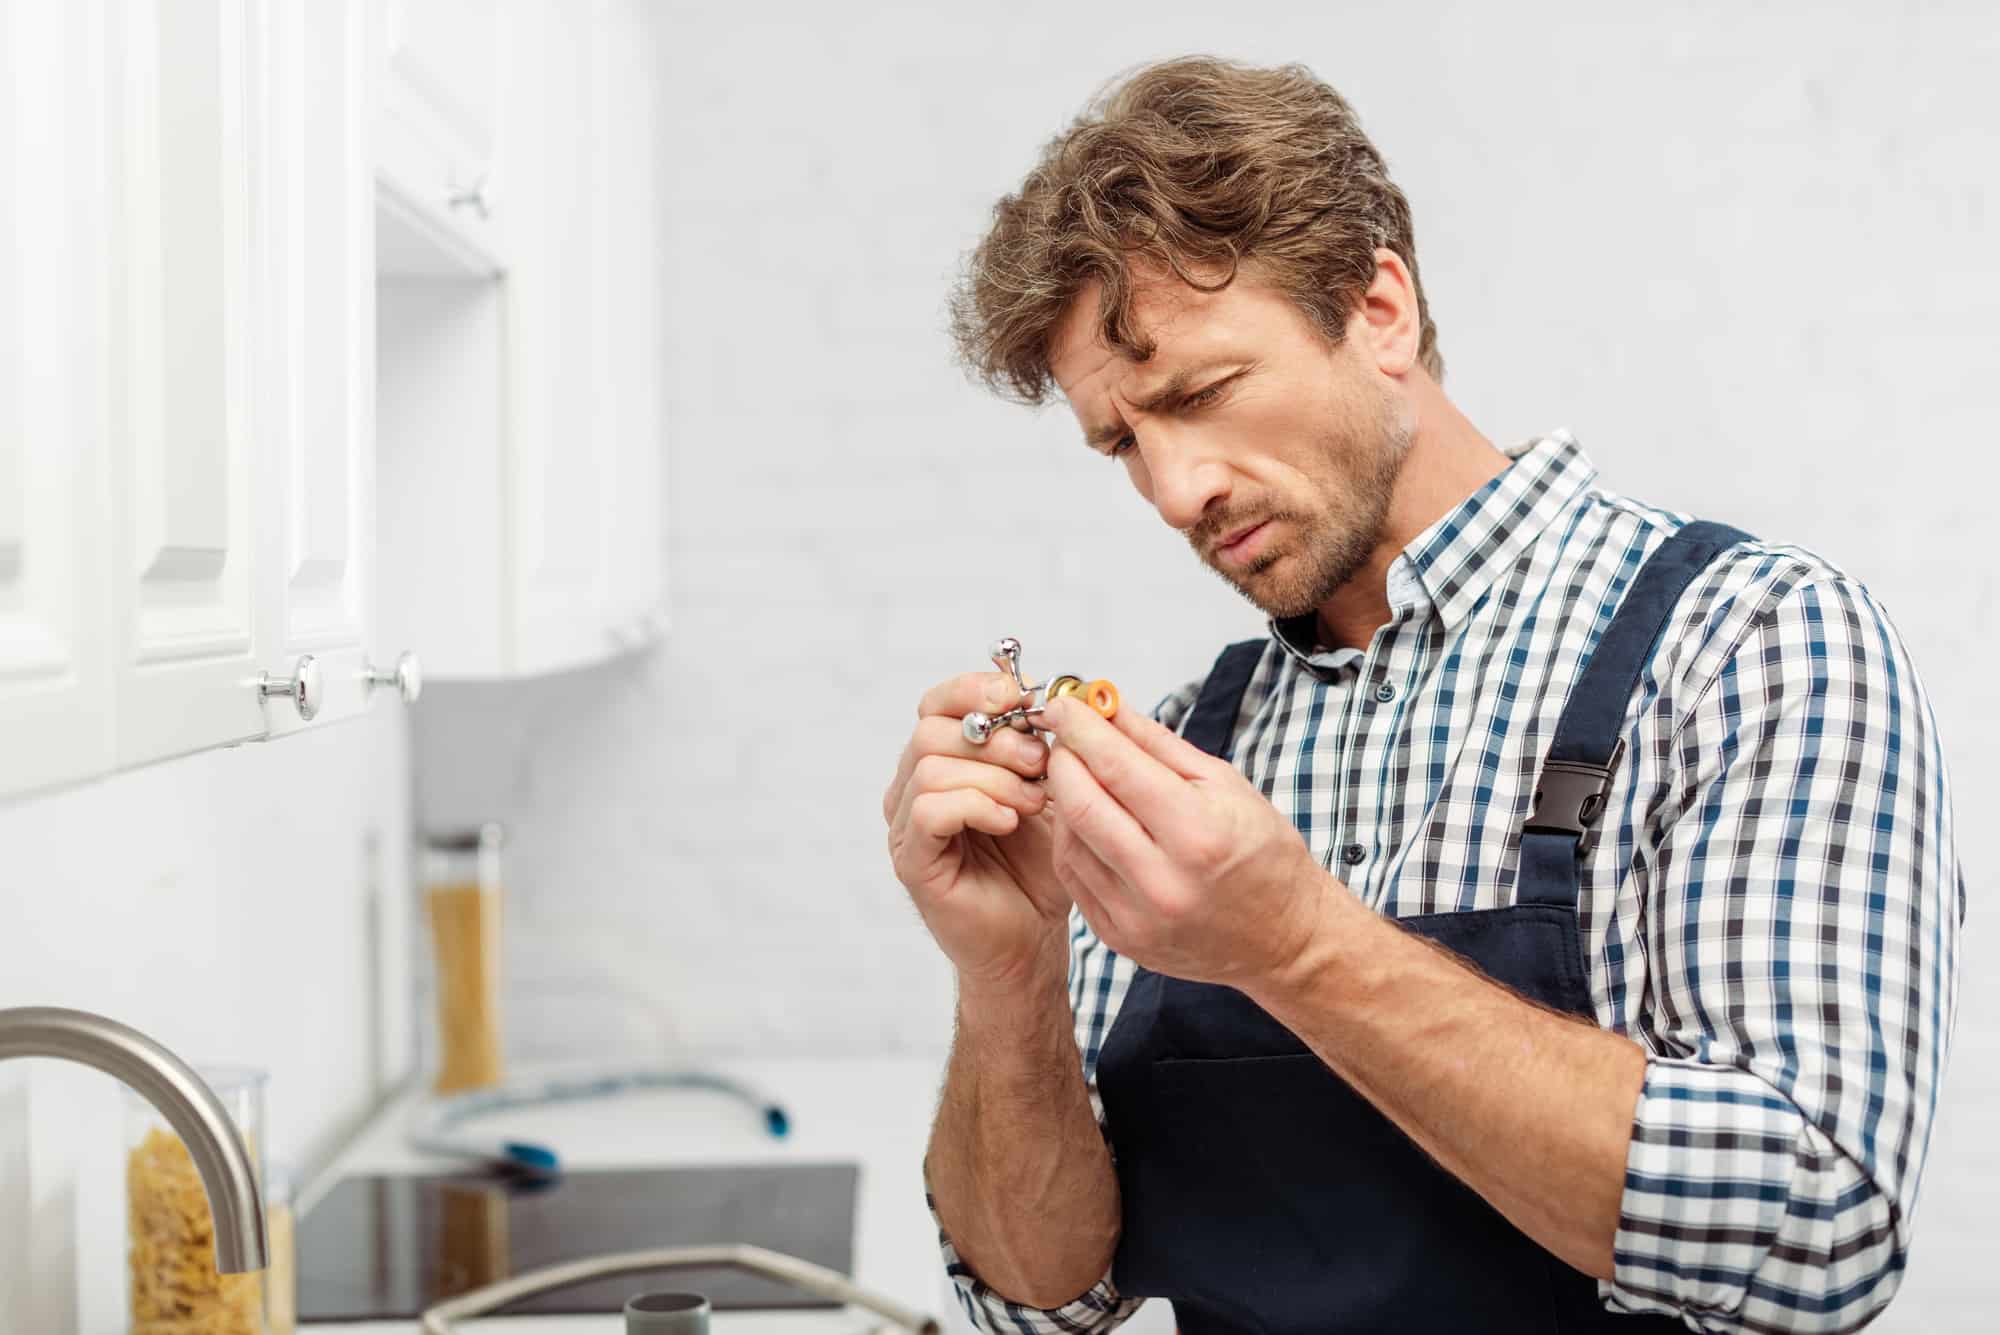
Step 5: Clean the Faucet
Now that you have successfully removed the kegerator faucet, it’s time to give it a thorough cleaning. Over time, beer residue, sediment, and bacteria can accumulate inside the faucet, affecting the taste and quality of your beer. Cleaning the faucet will restore its functionality and ensure that your beer pours smoothly with excellent flavor.
First, fill a container with warm water and add a small amount of cleaning solution from your kegerator cleaning kit. Stir the solution gently to ensure it is well-mixed.
Next, immerse the faucet in the cleaning solution, making sure it is fully submerged. Allow it to soak for the recommended time specified in the cleaning kit’s instructions. This usually ranges from 15 to 30 minutes, but be sure to follow the guidelines provided to achieve optimal cleaning results.
While the faucet is soaking, use a brush from your cleaning kit to clean the exterior and interior of the faucet. Pay close attention to areas where beer may have accumulated, such as the spout and around the threading. Scrub gently to remove any sediment or residue.
After the soaking period, remove the faucet from the cleaning solution and rinse it thoroughly with clean water. Ensure that all traces of the cleaning solution are removed to prevent any leftover residue from affecting the taste of your beer.
Once rinsed, use a lint-free cloth or paper towels to dry the faucet thoroughly. Remove any excess water and ensure that both the exterior and interior of the faucet are completely dry.
Inspect the cleaned faucet for any remaining debris or buildup. If necessary, repeat the cleaning process to ensure it is spotless and ready for use.
With the kegerator faucet now cleaned and dried, you have completed a crucial step in maintaining its performance and the quality of your beer. You are now ready to move on to the final step of reassembling the kegerator.
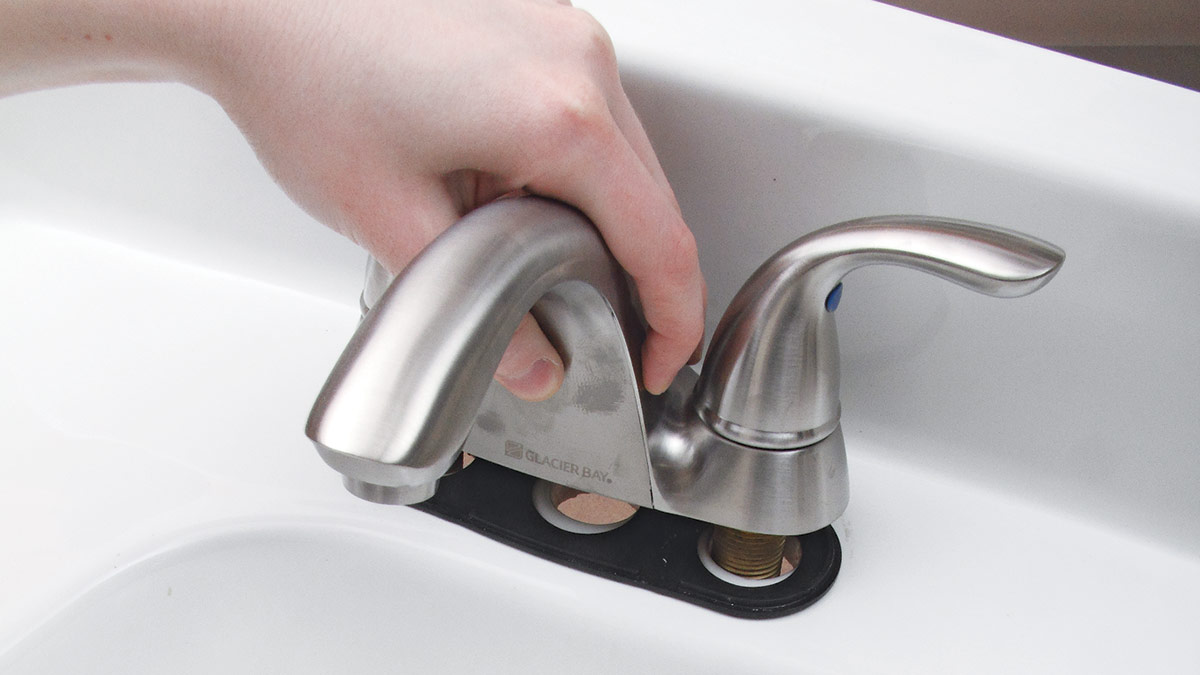
Step 6: Reassemble the Kegerator
After cleaning the kegerator faucet, it’s time to reassemble the kegerator and get it ready for pouring your favorite draft beer. Follow these steps to ensure a proper reassembly:
Start by carefully aligning the cleaned kegerator faucet with the opening in the kegerator. Gently insert the faucet into the opening, ensuring that it fits securely and is positioned correctly.
If there are any fittings or attachments that need to be reconnected, such as hoses or lines, carefully reattach them to the appropriate connections. Ensure that they are securely fastened using an adjustable wrench or by tightening any retaining collars or fittings.
Next, locate the large nut or collar that was removed prior to cleaning the faucet. Place it back onto the faucet and hand-tighten it until secure. Use an adjustable wrench to give it a final tightening, being careful not to overtighten and damage the faucet or kegerator.
Once the faucet and connections are in place, it’s time to reattach the tap handle. Remember the position from which you removed it earlier. Align the tap handle with the faucet and insert the screw or set screw through the handle and into the faucet. Use a Phillips screwdriver to tighten the screw securely.
After reassembling the kegerator, check for any loose connections or leaks. Turn on the kegerator and observe the faucet for any signs of dripping or excessive foam. Tighten any connections as necessary to ensure a secure and leak-free setup.
Finally, plug in the kegerator to the electrical outlet and allow it to cool to the desired serving temperature. Once cooled, your kegerator is now ready to pour perfectly chilled, delicious draft beer.
By successfully reassembling the kegerator, you have completed the final step in the process of removing and cleaning the kegerator faucet. Your kegerator is now clean, functional, and ready to satisfy your thirst for fresh draft beer.
Conclusion
Cleaning and maintaining your kegerator faucet is crucial for ensuring the best tasting beer and a smooth pouring experience. By following the step-by-step guide outlined in this article, you can easily remove, clean, and reassemble your kegerator faucet, keeping it in optimal condition for years to come.
Remember to gather all the necessary tools and materials before starting the process. An adjustable wrench, Phillips screwdriver, kegerator cleaning kit, bucket, and lint-free cloth are essential for a successful faucet removal and cleaning.
Disconnecting the kegerator from the power source and other connections provides a safe working environment and allows for easy access to the faucet. Removing the tap handle and unscrewing the faucet allows for thorough cleaning and inspection.
Cleaning the kegerator faucet involves soaking it in a cleaning solution, using a brush to remove debris, rinsing it thoroughly, and ensuring it is completely dry before reassembling. Careful reassembly and checking for any leaks or loose connections are important to maintain the integrity of your kegerator system.
By following these steps, you can keep your kegerator faucet clean and functioning optimally, guaranteeing a refreshing, high-quality beer every time you pour.
Remember to consult your kegerator’s user manual for any specific instructions related to your model. Additionally, regularly cleaning and maintaining other components of your kegerator system, such as beer lines and CO2 tanks, will further improve the quality of your draft beer.
Enjoy the satisfaction of a well-poured beer from a clean kegerator faucet, and cheers to many delightful moments of indulging in your favorite brews!
Frequently Asked Questions about How To Remove A Kegerator Faucet
Was this page helpful?
At Storables.com, we guarantee accurate and reliable information. Our content, validated by Expert Board Contributors, is crafted following stringent Editorial Policies. We're committed to providing you with well-researched, expert-backed insights for all your informational needs.


0 thoughts on “How To Remove A Kegerator Faucet”