Articles
How To Paint Tile Fireplace
Modified: January 19, 2024
Learn how to transform your tile fireplace with our informative articles on painting techniques and tips. Revitalize your space with a fresh coat of paint and enhance the overall aesthetic appeal.
(Many of the links in this article redirect to a specific reviewed product. Your purchase of these products through affiliate links helps to generate commission for Storables.com, at no extra cost. Learn more)
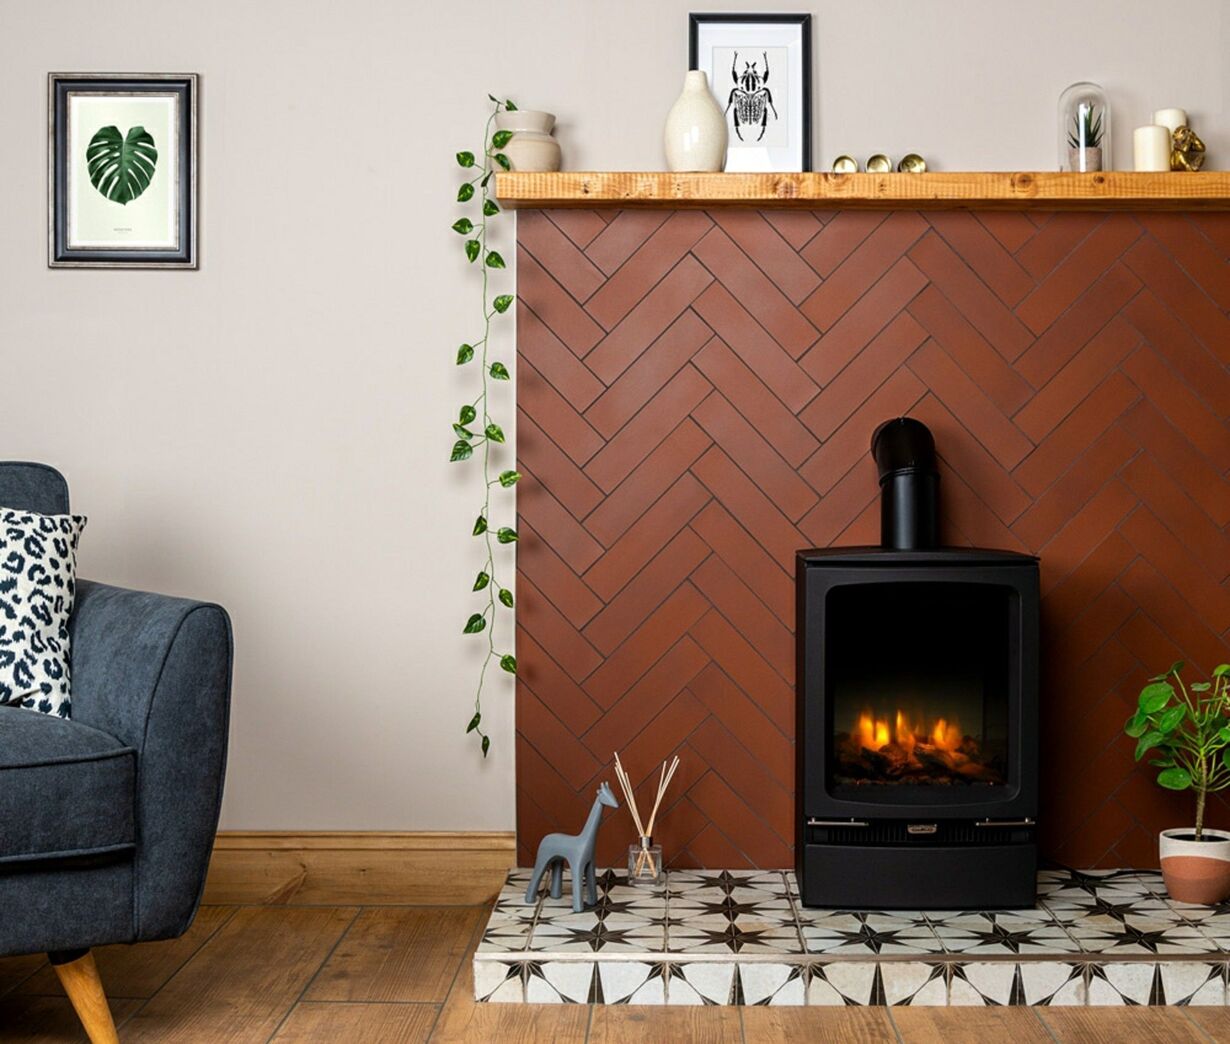
Introduction
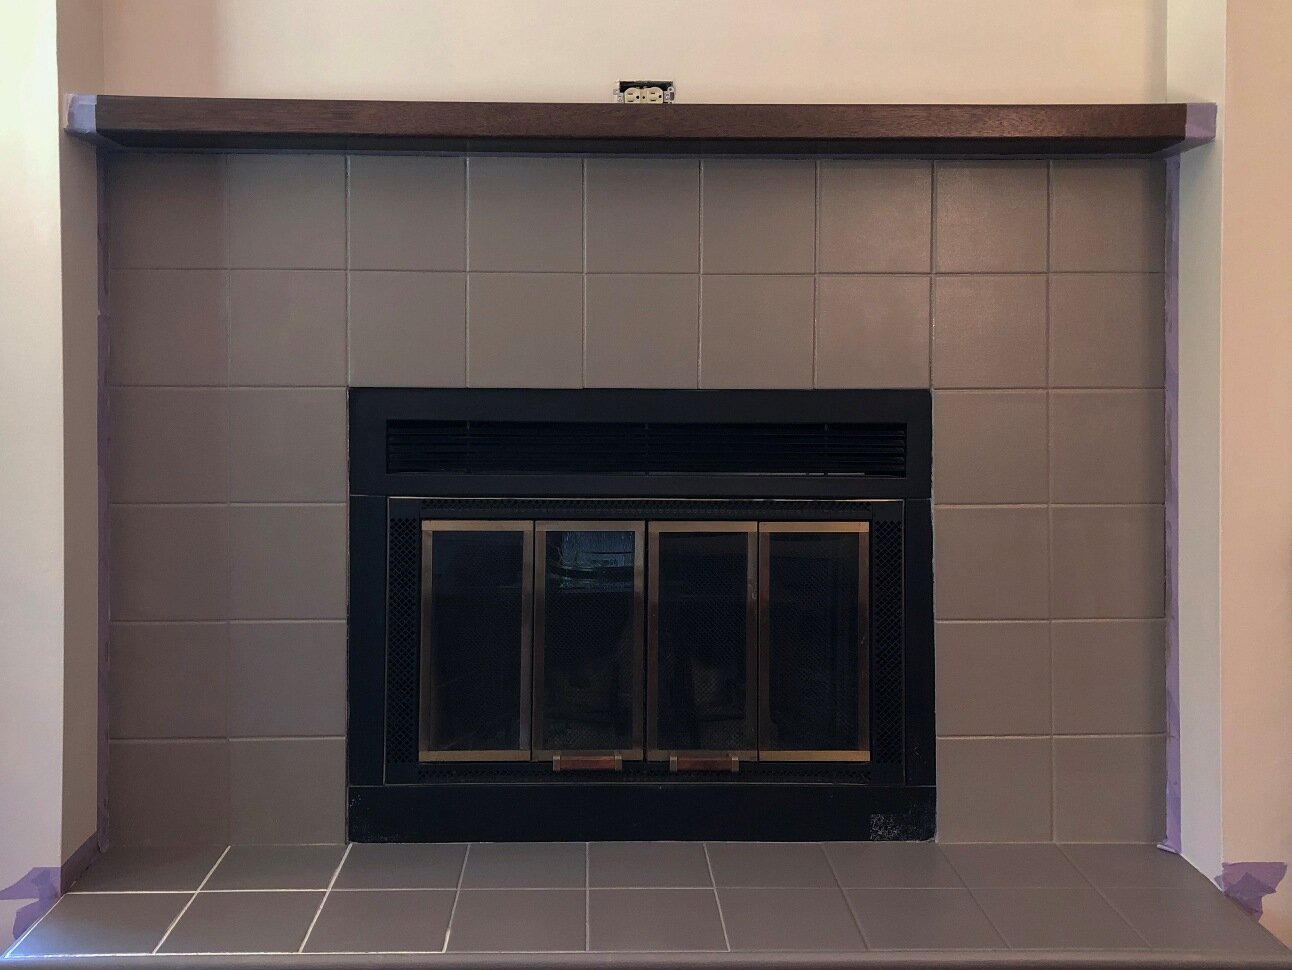
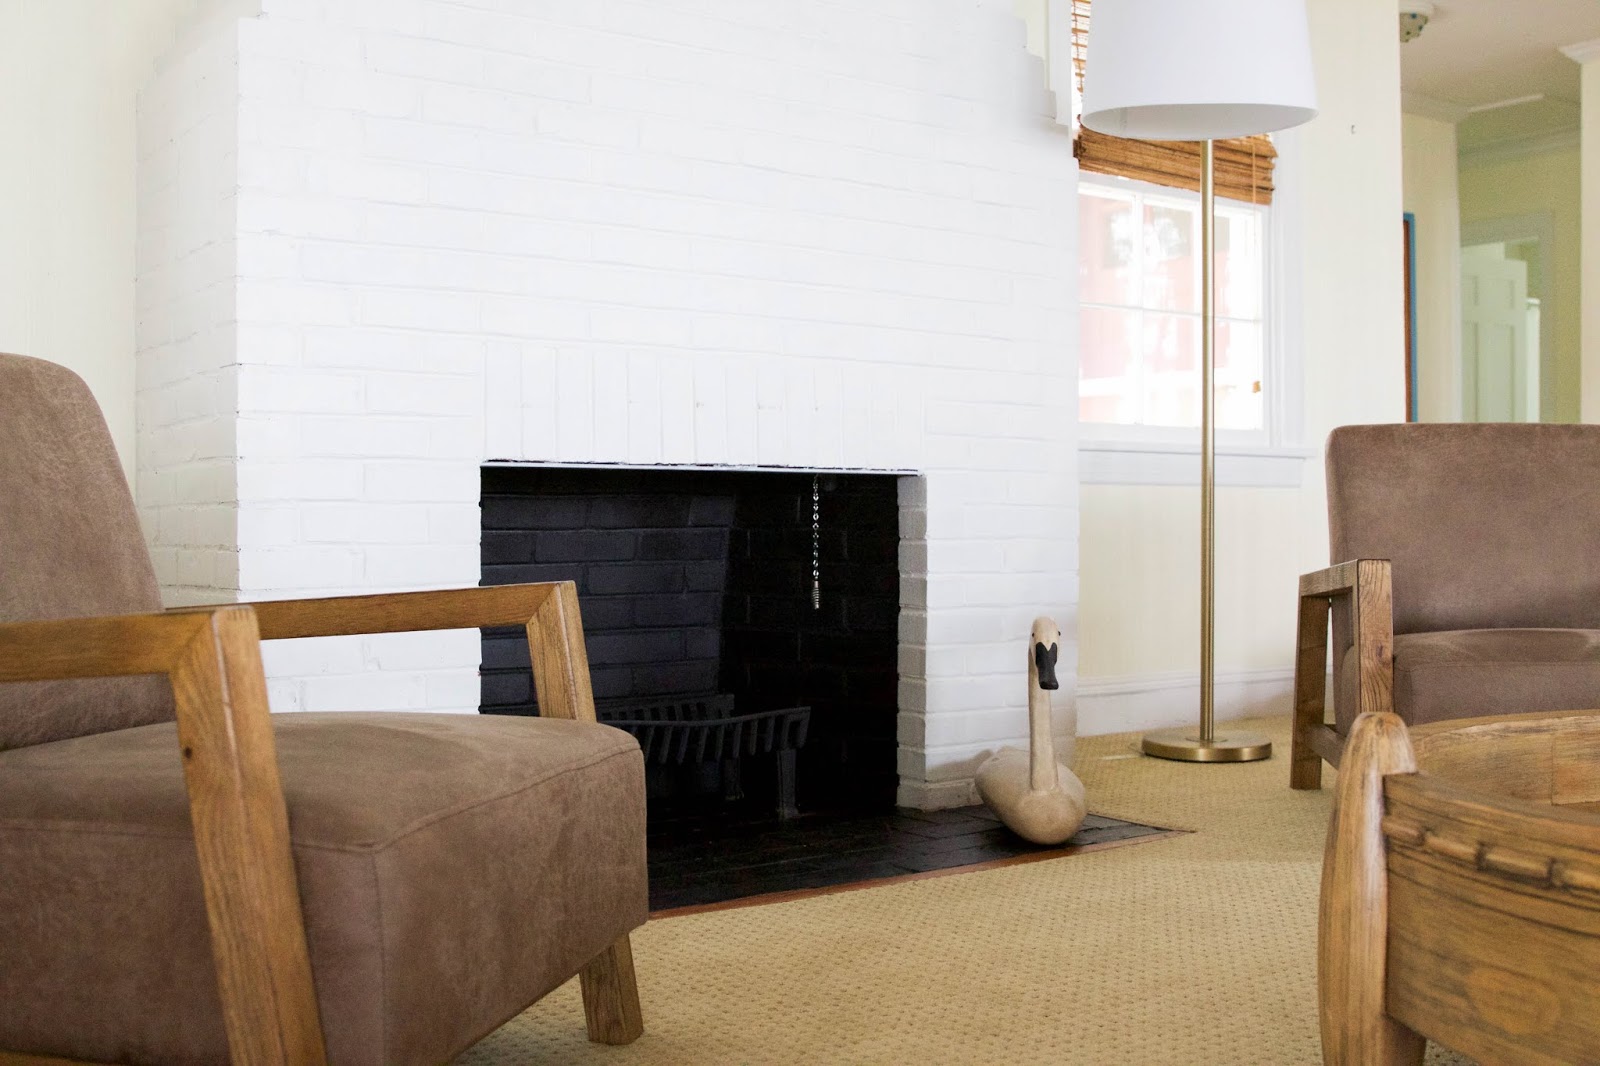
A tile fireplace can greatly enhance the aesthetics of any space, creating a focal point that adds warmth and character to the room. However, if the existing tile color or style no longer suits your taste or decor, you may be considering painting the tile to give it a fresh new look. Painting tile can be a cost-effective and relatively simple way to update the appearance of your fireplace and transform the entire room.
In this article, we will guide you through the step-by-step process of painting a tile fireplace, from preparation to sealing the painted surface. Whether you’re a seasoned DIY enthusiast or a beginner, with the right tools and techniques, you can achieve professional-looking results.
Before diving into the painting process, it’s important to understand that painting tile is not a permanent solution. Over time, the paint may chip or wear off, especially in high-traffic areas. However, with proper preparation and maintenance, you can expect the painted tile to last for several years before requiring touch-ups or repainting.
Now, let’s get started on painting your tile fireplace and giving it a fresh, new look that will breathe life into your space!
Key Takeaways:
- Transform your space with a fresh, cost-effective look by painting your tile fireplace. Follow the step-by-step process for professional results and create a stunning focal point in your room.
- Attention to detail is key in painting your tile fireplace. Proper preparation, high-quality products, and careful application will ensure a long-lasting, beautiful finish that enhances your home’s ambiance.
Read more: How To Tile A Fireplace
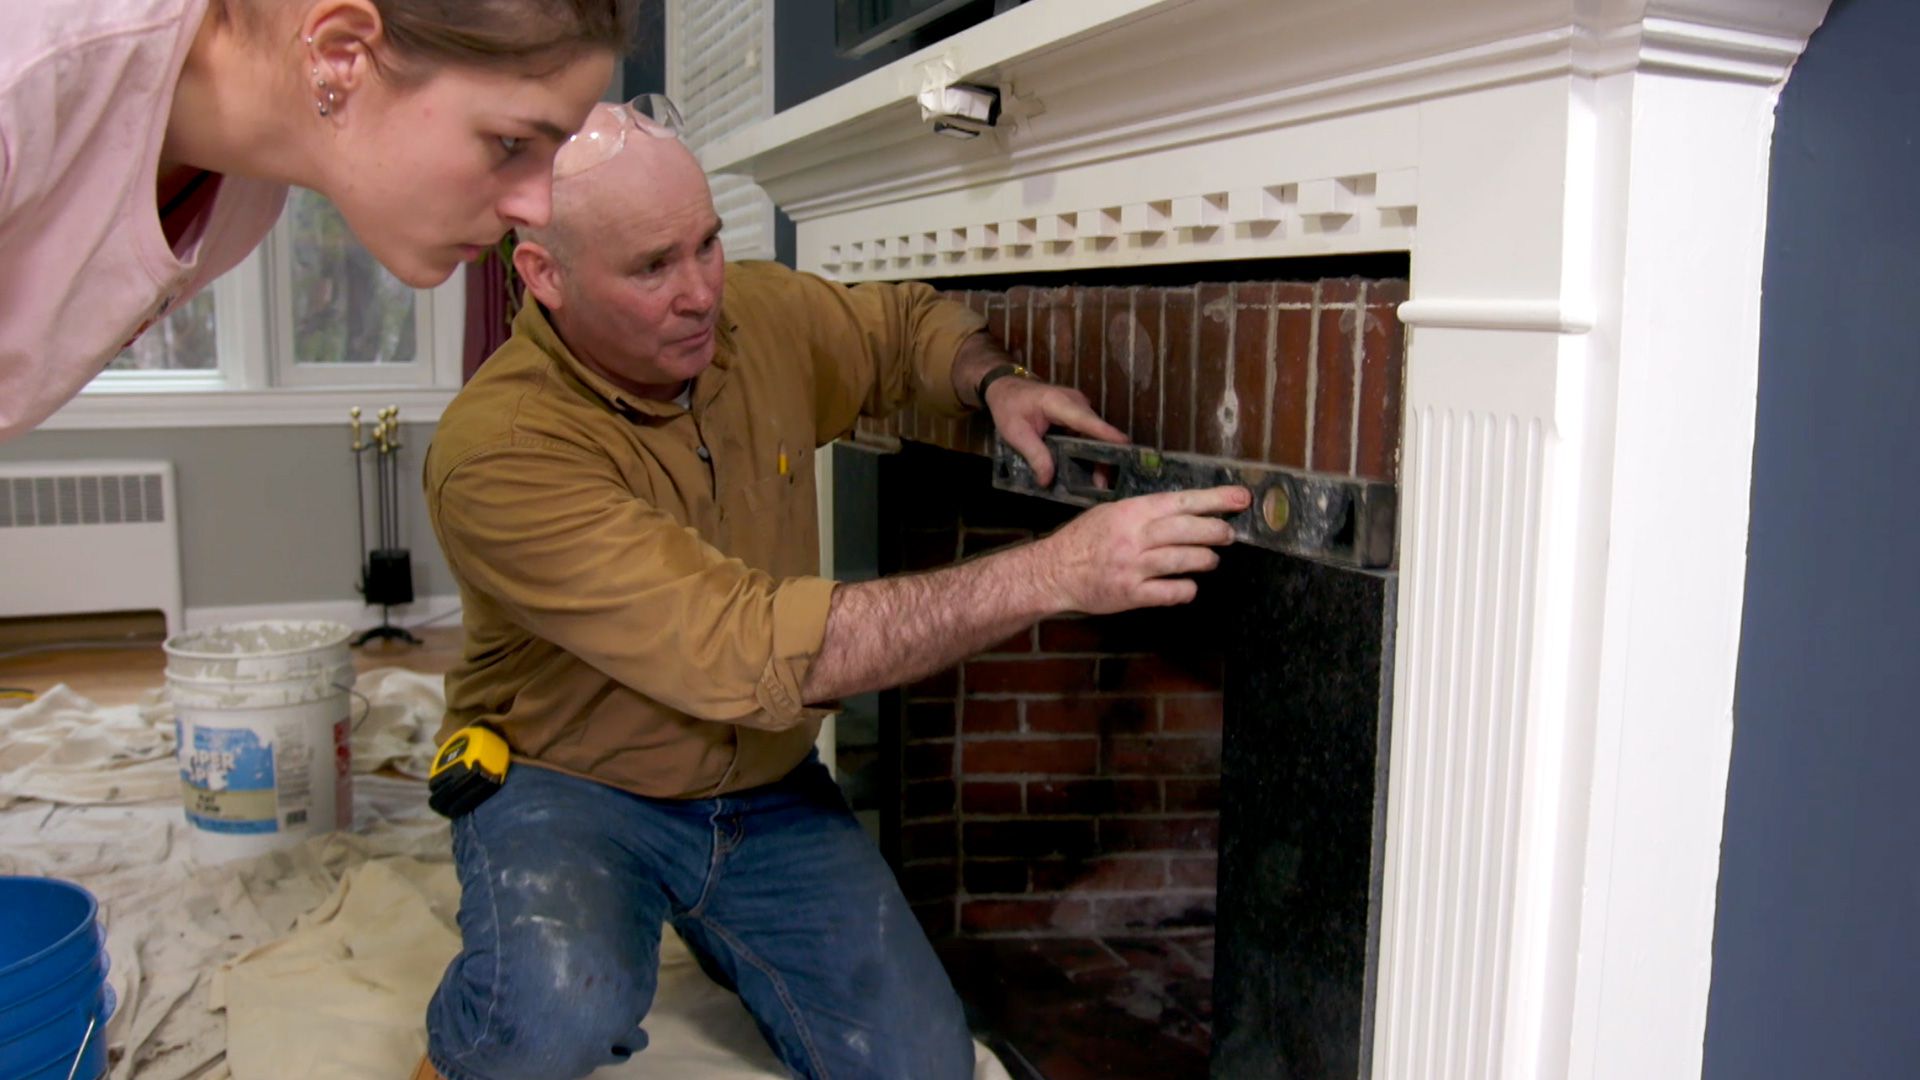
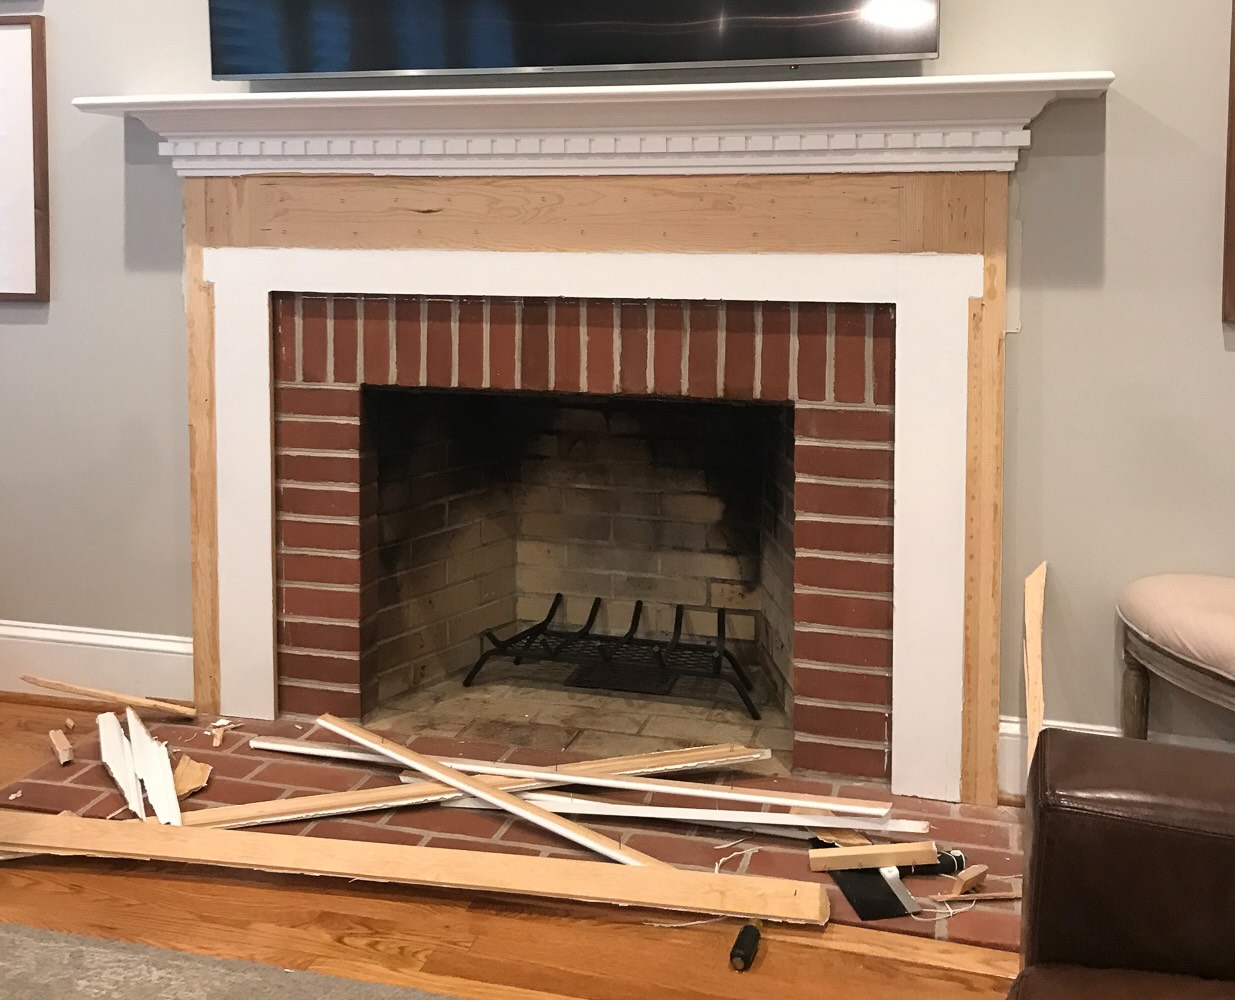
Step 1: Prepare the Fireplace
Before beginning the painting process, it is crucial to properly prepare the fireplace surface to ensure that the paint adheres well and provides a smooth and long-lasting finish. Here are the steps to prepare the fireplace:
- Clean the surface: Start by thoroughly cleaning the tile to remove any dirt, grime, or grease. You can use a mild detergent mixed with warm water and a soft brush or sponge to scrub the tile gently. Rinse with clean water and allow the tile to dry completely.
- Sand the tile: Next, lightly sand the tile surface to create a rough texture that will help the paint adhere better. Use a fine-grit sandpaper and gently sand the entire surface, ensuring that you remove any glossy finish or smooth areas. Sanding will also help to smooth out any imperfections or blemishes on the tile surface.
- Mask off surrounding areas: Use painter’s tape to mask off any areas adjacent to the tile that you want to protect from paint splatter or accidental brush strokes. This includes the surrounding walls, mantel, and hearth. Take your time to ensure that the tape is securely applied and covers the desired areas.
- Protect the surrounding floor: Lay down drop cloths or plastic sheets to protect the surrounding floor area from paint spills or drips. This will make the cleanup process much easier and prevent any damage to the flooring.
- Remove hardware or fixtures: If there are any hardware or fixtures on or around the fireplace, such as knobs, handles, or grates, remove them before painting. This will make it easier to paint the tile surface evenly and avoid any accidental paint splatters on the fixtures.
By properly preparing the fireplace surface, you will create an ideal foundation for the paint and ensure a smooth and professional-looking finish. Taking your time to clean, sand, mask off, and protect the surrounding areas will save you any unnecessary frustration and make the painting process more enjoyable.
Step 2: Clean the Tile
After preparing the fireplace surface, the next step is to clean the tile thoroughly. Cleaning the tile will remove any remaining debris, dust, or residue that could affect the adhesion and appearance of the paint. Here’s how to clean the tile:
- Choose a suitable cleaning solution: Depending on the type of tile and the dirt or stains present, select a cleaning solution that is safe for the tile material. Avoid using abrasive or harsh cleaners that could damage the tile surface. For most tile types, a mild detergent mixed with warm water should suffice.
- Apply the cleaning solution: Dip a sponge or soft brush into the cleaning solution, wring out any excess moisture, and gently scrub the tile surface. Pay special attention to any areas with visible dirt or stains. Work in small sections to ensure thorough cleaning.
- Rinse and dry the tile: After scrubbing, rinse the tile with clean water to remove any residue from the cleaning solution. Use a clean sponge or cloth to wipe away the water and dry the tile surface completely.
- Inspect for any remaining dirt or stains: Once the tile is dry, inspect the surface to ensure that it is clean and free of any lingering dirt or stains. If necessary, repeat the cleaning process in areas that still require attention.
It is important to note that if the tile surface has any grease or oil stains, you may need to use a degreaser or a vinegar and water solution to effectively remove them. Follow the manufacturer’s instructions or recommended cleaning methods for the specific type of stain you are dealing with.
Properly cleaning the tile will ensure that the paint adheres well and provides a vibrant and even finish. Remove any dirt, grime, or stains before moving on to the next step in the painting process. Taking the time to thoroughly clean the tile will contribute to the overall success and longevity of your painted fireplace.
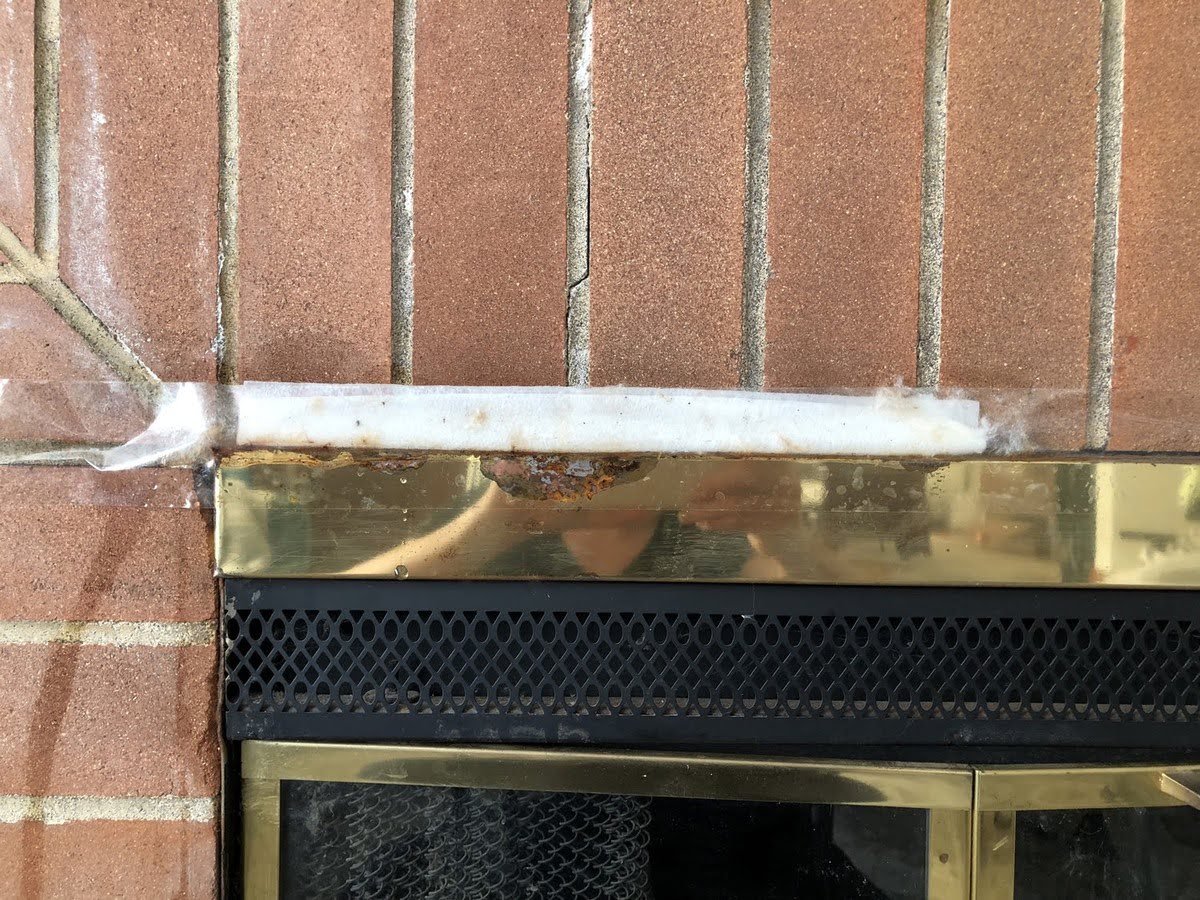
Step 3: Repair Any Damage
Before proceeding with painting the tile, it’s important to assess the condition of the tile and repair any damage that may be present. By addressing any cracks, chips, or other imperfections, you will ensure a smooth and visually pleasing end result. Here’s how to repair any damage:
- Fill in cracks and chips: For small cracks or chips in the tile, you can use a tile filler or epoxy putty to fill in the damaged areas. Follow the manufacturer’s instructions for the specific product you are using, and carefully apply the filler using a putty knife. Smooth out the surface and allow it to dry completely before proceeding.
- Sand down uneven surfaces: If there are any uneven or rough areas on the tile surface, use fine-grit sandpaper to gently smooth them out. Sand in a circular motion to create a seamless and even surface. Be cautious not to sand too aggressively, as this can damage the tile.
- Repair grout lines: If the grout lines between the tiles are cracked or deteriorated, it’s important to repair them before painting. Use a grout removal tool to carefully remove the old grout. Then, mix a new batch of grout according to the manufacturer’s instructions and apply it to the grout lines using a grout float. Wipe away any excess grout and allow it to dry before proceeding.
- Inspect for loose tiles: Check for any tiles that are loose or not securely attached to the fireplace surface. If you encounter loose tiles, you may need to remove them and reapply adhesive to ensure a sturdy bond. Consult a professional for guidance if you are unsure about how to properly secure the tiles.
Repairing any damage to the tile before painting is essential to achieve a seamless and professional finish. Take the time to fill in cracks, smooth out uneven surfaces, and address any issues with grout lines and loose tiles. By doing so, you will ensure that your painted tile fireplace looks flawless and stands the test of time.
Step 4: Prime the Tile
Priming the tile is a crucial step in the painting process, as it creates a smooth and durable surface for the paint to adhere to. The primer helps to seal the tile, improve paint adhesion, and prevent any discoloration or bleed-through. Here’s how to prime the tile:
- Select a suitable primer: Choose a primer that is specifically designed for use on tile surfaces. Look for a high-quality bonding primer that is compatible with the type of paint you will be using. It’s best to opt for a primer that is suitable for both indoor and high-moisture areas.
- Prepare the primer: Follow the manufacturer’s instructions to prepare the primer for application. In most cases, you will need to stir the primer well to ensure proper consistency and smooth application.
- Apply the primer: Use a paintbrush or a roller to apply the primer evenly onto the tile surface. Start from the top and work your way downwards, ensuring full coverage. Pay attention to the grout lines as well, making sure they are coated with primer.
- Allow the primer to dry: Check the drying time specified on the primer label, as it may vary depending on the product. Typically, you will need to wait for at least 24 hours for the primer to completely dry and cure. Make sure the area is well-ventilated during the drying process.
- Sand the primed surface (optional): If the primer has left behind any rough areas or uneven texture, lightly sand the surface with fine-grit sandpaper to create a smooth finish. Wipe away any dust after sanding.
Priming the tile prepares it for the paint and ensures better adhesion and durability of the final coat. The primer seals the tile, prevents moisture penetration, and helps the paint to adhere evenly. Don’t skip this step, as it significantly contributes to the overall quality and longevity of the painted tile fireplace.
When painting a tile fireplace, be sure to clean the tiles thoroughly and use a high-quality, heat-resistant paint to ensure durability and a professional finish.
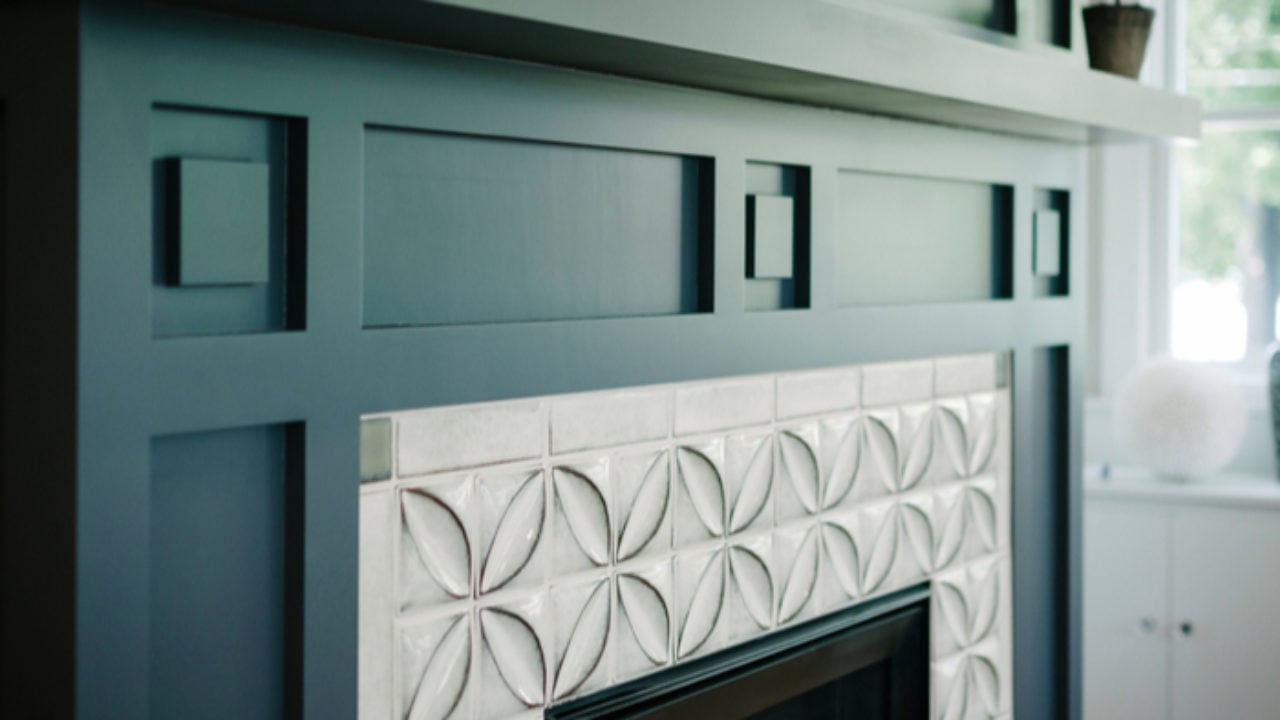
Step 5: Paint the Tile
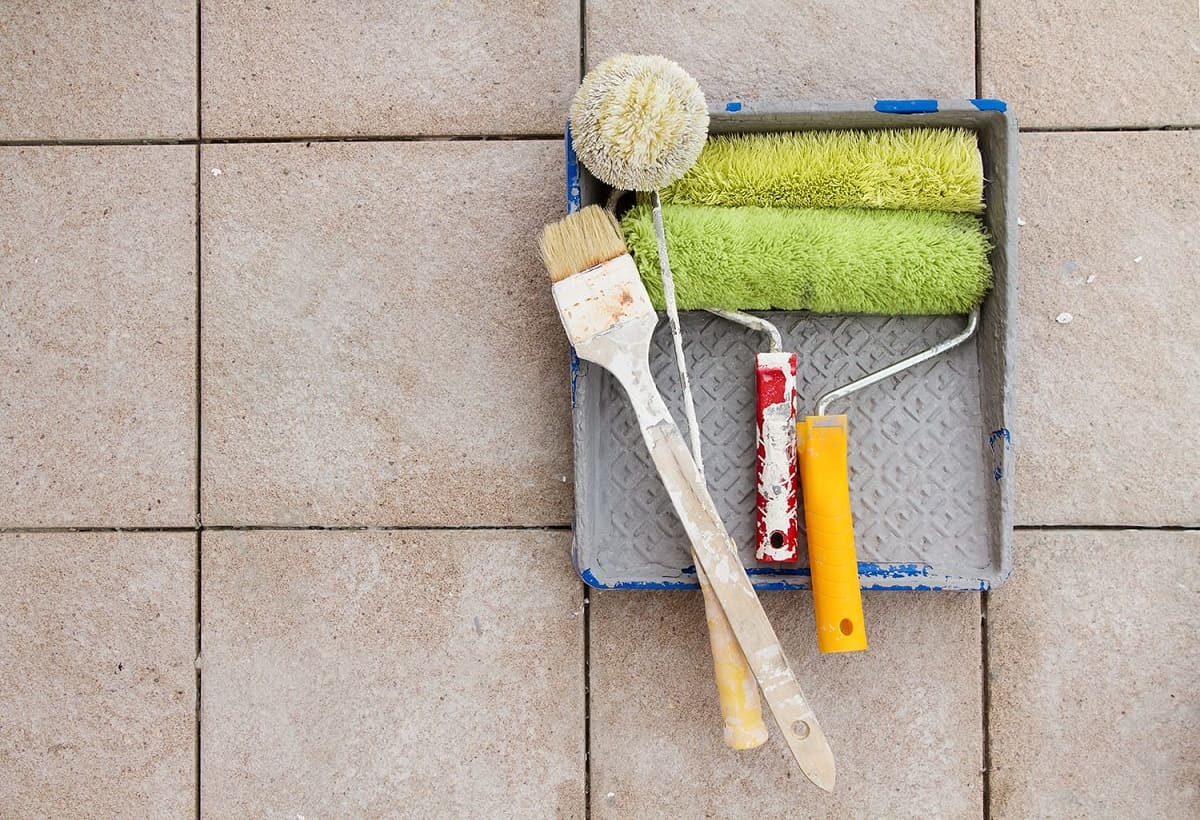
With the tile properly prepared and primed, it’s time to move on to the exciting step of painting! Choosing the right paint and applying it correctly will determine the final appearance and durability of your painted tile fireplace. Follow these steps to paint the tile:
- Choose the right paint: Select a high-quality paint that is specifically designed for tile surfaces. Opt for a paint that is suitable for high-moisture areas and provides a durable finish. Semi-gloss or satin finishes are often preferred for their easy maintenance and moisture resistance.
- Prepare the paint: Stir the paint thoroughly to ensure an even consistency. If necessary, thin the paint according to the manufacturer’s instructions. This step is important to achieve smooth and flawless application.
- Start painting: Use a paintbrush or a roller to apply the paint onto the tile surface. Begin with the edges and corners, ensuring that you reach all the tight spaces. Work in small sections, applying thin and even coats of paint. Avoid overloading the brush or roller with paint to prevent drips or uneven application.
- Paint the grout lines: Pay attention to the grout lines and make sure they are coated with paint as well. Use a small brush to carefully paint the grout lines, ensuring full coverage.
- Allow the first coat to dry: Follow the drying time specified on the paint label before applying a second coat. Generally, it is recommended to wait for at least 24 hours for the first coat to dry. Ensure proper ventilation during the drying process.
- Apply additional coats (if needed): Depending on the color and finish you desire, you may need to apply additional coats of paint. Follow the same process of thin and even application, allowing each coat to dry before applying the next.
When painting the tile, it’s important to maintain a consistent application and avoid visible brush strokes or roller marks. Take your time, work in a systematic manner, and ensure that each coat is applied evenly. Allow the paint to dry completely between coats to achieve a beautiful and professional-looking finish.
Remember, the number of coats required may vary depending on the tile color, the paint brand, and your desired result. Be patient and follow the paint manufacturer’s recommendations for best results.
Step 6: Apply a Second Coat (Optional)
Applying a second coat of paint is an optional step but can enhance the durability and vibrancy of the painted tile fireplace. Depending on the color and coverage achieved with the first coat, you may choose to apply a second coat for a more even and professional finish. Here’s how to apply a second coat:
- Assess the coverage: Once the first coat is completely dry, carefully examine the tile surface to determine if the color and coverage are to your satisfaction. If you notice any areas that appear uneven or require additional color intensity, applying a second coat may be beneficial.
- Repeat the painting process: Repeat the same painting process as outlined in Step 5, applying the second coat of paint using a brush or roller. Work in the same methodical manner, focusing on thin and even application to avoid drips or streaks.
- Allow the second coat to dry: Follow the drying time specified on the paint label before handling or using the fireplace. It is important to allow the second coat to dry thoroughly to avoid any smudging or damage to the fresh paint.
Applying a second coat of paint can provide a more uniform and vibrant appearance by eliminating any patchiness or subtle color variations that may be present after the first coat. It can also increase the durability and longevity of the painted tile, making it better resistant to wear and tear.
However, it’s important to note that not all situations require a second coat. If you are satisfied with the coverage and color achieved with the first coat, there is no obligation to apply a second one. Trust your judgment and evaluate the appearance of the painted tile before deciding whether or not to proceed with the additional coat.
Once the second coat is dry, you can move on to the final step of sealing the painted tile to protect it from moisture and stains.
Step 7: Seal the Painted Tile
Sealing the painted tile is a crucial step to protect the surface and extend the lifespan of your newly painted fireplace. A sealant creates a protective barrier over the paint, helping to prevent moisture penetration, stains, and wear. Here’s how to seal the painted tile:
- Select an appropriate sealant: Choose a sealant specifically designed for tile surfaces, preferably one that is moisture-resistant and provides long-lasting protection. Look for a sealant that is compatible with the type of paint used on the tile.
- Prepare the sealant: Follow the manufacturer’s instructions to prepare the sealant for application. Some sealants may require dilution or stirring before use, so be sure to read and follow the instructions carefully.
- Apply the sealant: Using a clean paintbrush or roller, apply a thin, even coat of sealant over the entire surface of the painted tile, including the grout lines. Work in small sections and be mindful of any drips or excess sealant. Ensure full coverage while avoiding a heavy application that could lead to uneven drying or a glossy appearance.
- Allow the sealant to dry: Follow the drying time specified on the sealant label, as it may vary depending on the product. Generally, it is recommended to wait at least 24 hours for the initial coat of sealant to dry and cure before applying any additional coats.
- Apply additional coats (if necessary): Depending on the level of protection required and the recommendation of the sealant manufacturer, you may need to apply multiple coats of sealant. Follow the same application process, allowing each coat to dry completely before applying the next.
Sealing the painted tile adds an extra layer of protection and helps to maintain the appearance and integrity of the paint job. It is especially crucial for areas exposed to moisture, such as a fireplace where there may be exposure to heat, humidity, or potential spills.
Remember to follow the manufacturer’s recommendations for drying and curing times for the sealant. This will ensure the best results and maximize the durability of your painted tile fireplace.
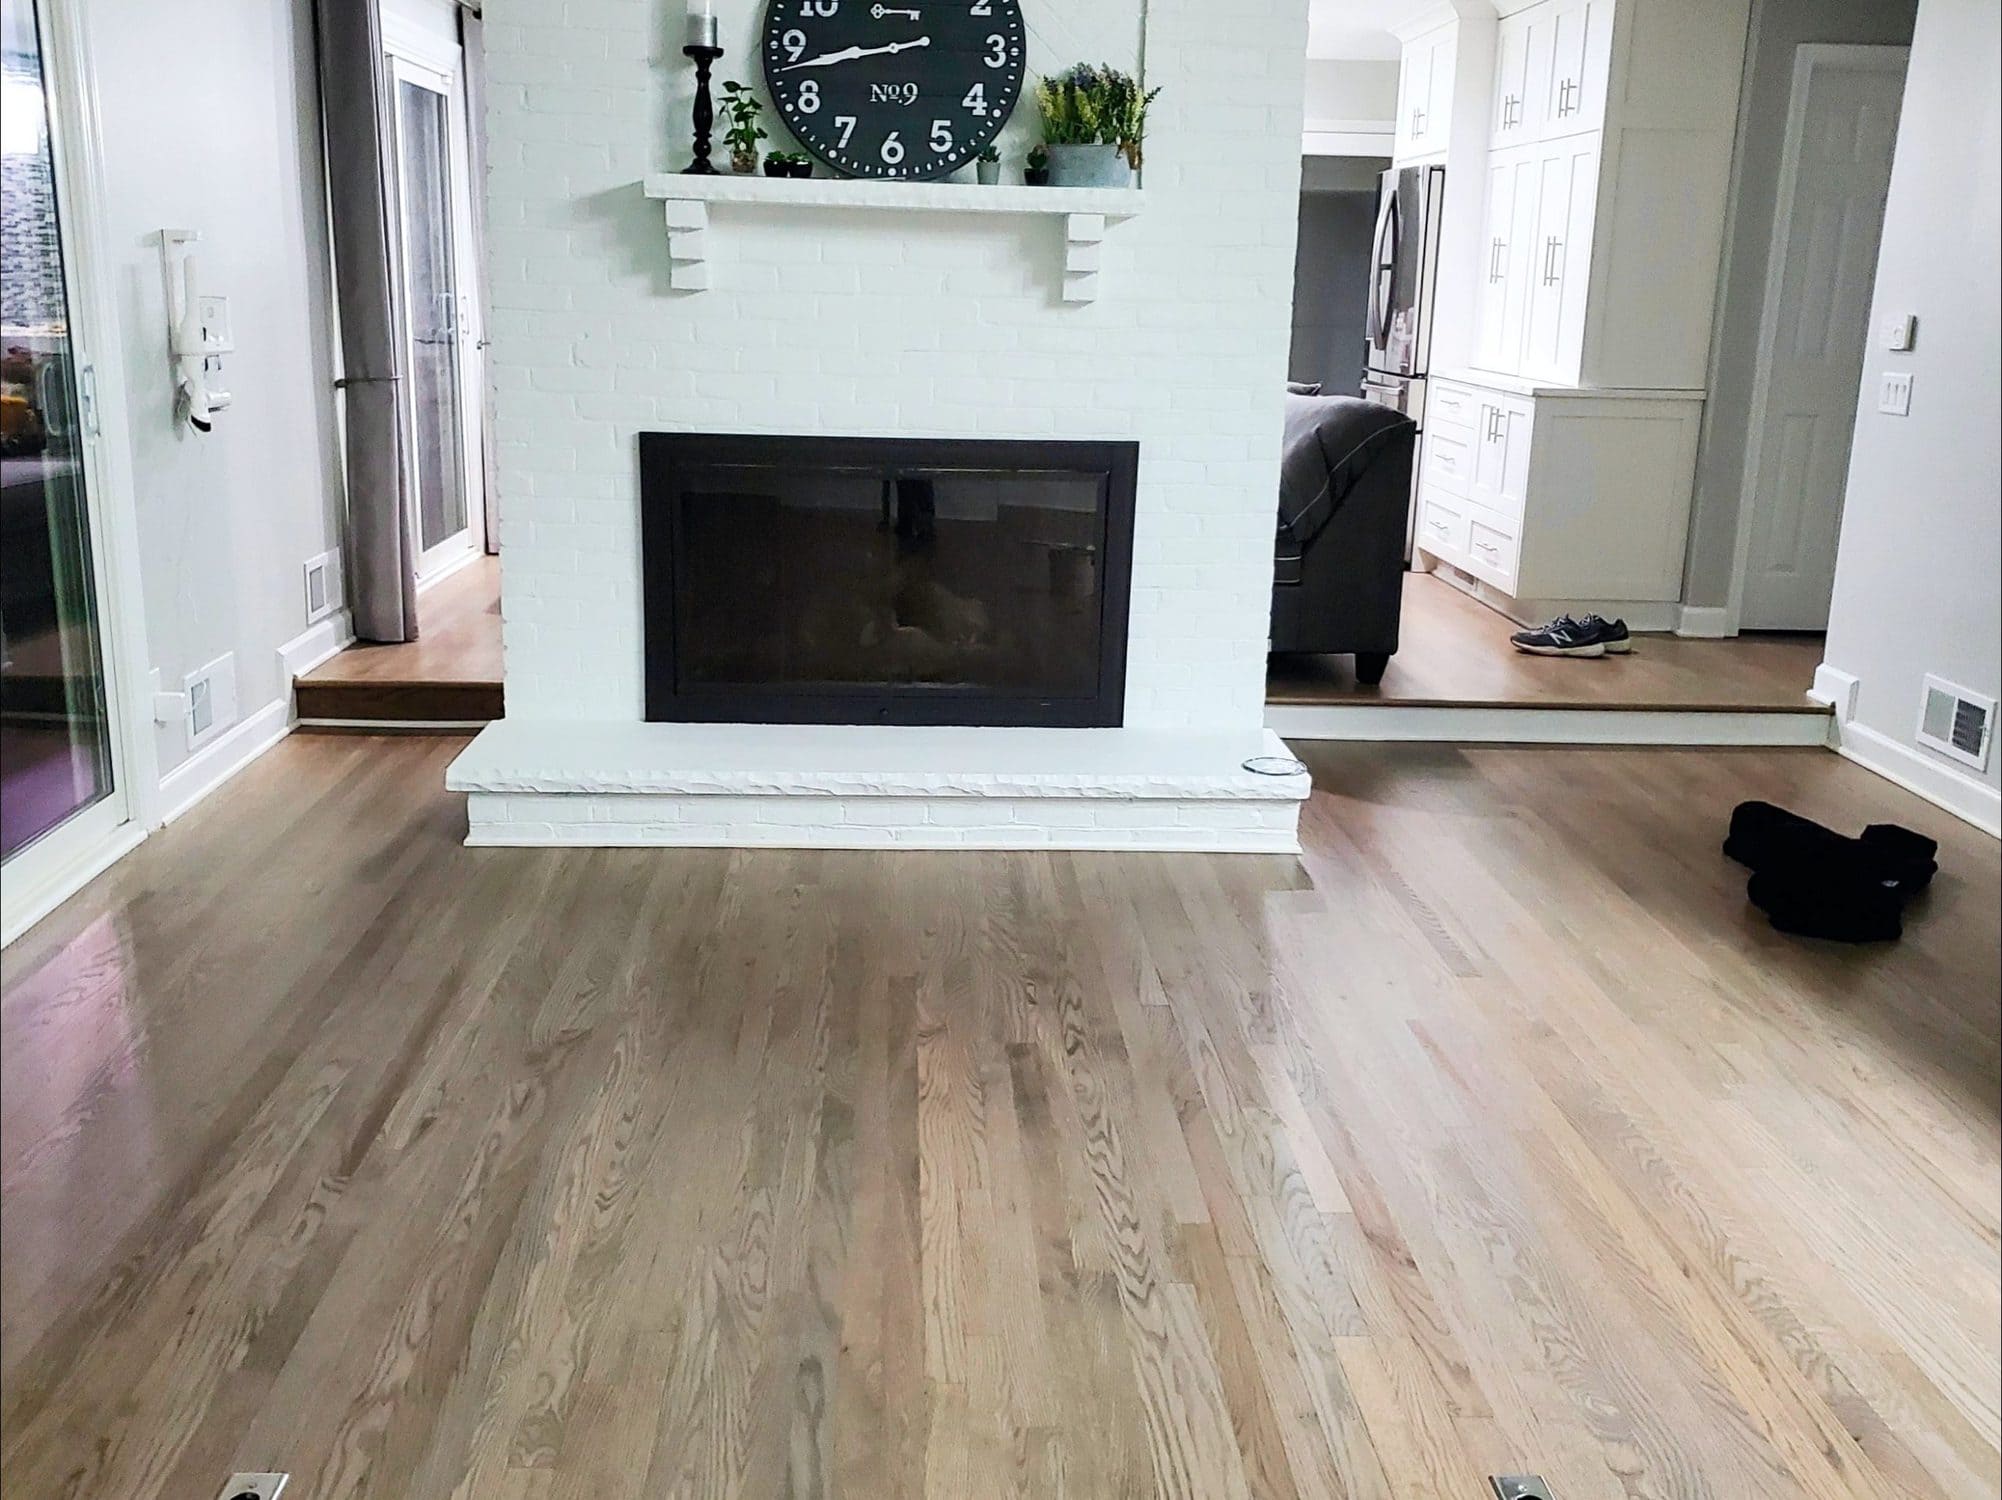
Congratulations! You have successfully painted and sealed your tile fireplace, transforming it into a stunning focal point of your space. With proper care and maintenance, your new painted tiles will bring beauty and character to your home for years to come.
Conclusion
Painting a tile fireplace can be a rewarding and cost-effective way to update the look of your space and breathe new life into a tired or outdated design. By following the step-by-step process outlined in this article, you can achieve professional-looking results and create a beautiful focal point in your room.
From preparing the fireplace surface and cleaning the tile to repairing any damage and applying primer and paint, each step plays a crucial role in ensuring a smooth and long-lasting finish. Taking your time to properly prepare the tile, choose the right products, and apply them with care will contribute to the overall success of your project.
Remember that the key to a successful tile painting project lies in the details. Clean the tile thoroughly and address any damage before priming and painting. Choose high-quality paint that is suitable for tile surfaces and consider applying a second coat for even better coverage. Finally, seal the painted tile to protect it from moisture, stains, and wear.
While painting tile is a relatively easy process, it’s important to note that it is not a permanent solution. Over time, the paint may chip or wear off, especially in high-traffic areas. Regular maintenance and touch-ups may be necessary to keep your painted tile fireplace looking its best.
Now that you have the knowledge and confidence to paint a tile fireplace, it’s time to unleash your creativity and transform your space. Enjoy the process and embrace the possibilities of creating a personalized and stunning fireplace that reflects your style and enhances the ambiance of your home.
Frequently Asked Questions about How To Paint Tile Fireplace
Was this page helpful?
At Storables.com, we guarantee accurate and reliable information. Our content, validated by Expert Board Contributors, is crafted following stringent Editorial Policies. We're committed to providing you with well-researched, expert-backed insights for all your informational needs.


0 thoughts on “How To Paint Tile Fireplace”