Articles
How To Remove Push On Plumbing Fittings
Modified: December 7, 2023
Learn how to remove push-on plumbing fittings with step-by-step articles. Easily update your plumbing system with our helpful guides.
(Many of the links in this article redirect to a specific reviewed product. Your purchase of these products through affiliate links helps to generate commission for Storables.com, at no extra cost. Learn more)
Introduction
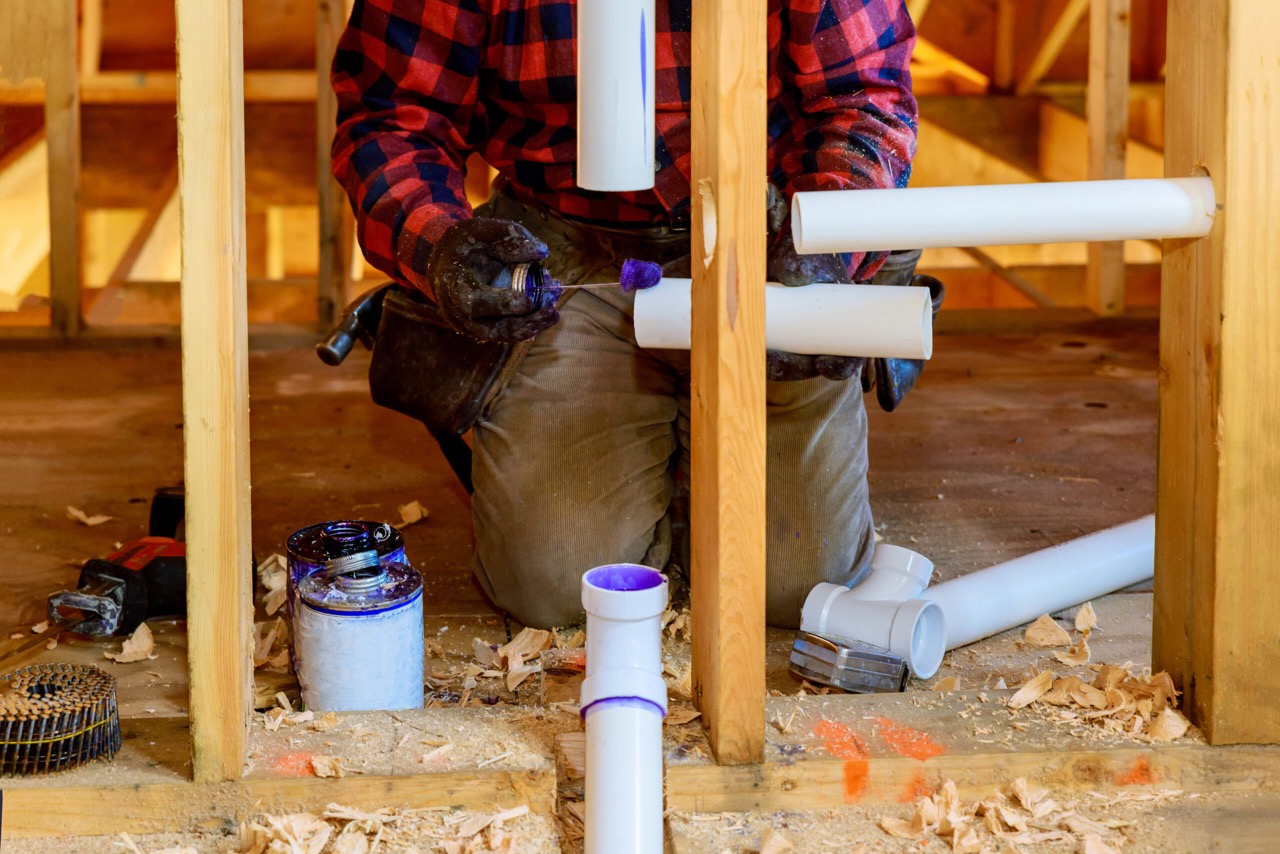
Push-on plumbing fittings have become increasingly popular in recent years due to their convenience and ease of installation. These fittings offer a quick and simple way to connect pipes, without the need for tools or soldering. However, there may come a time when you need to remove a push-on fitting, whether it is because you want to replace it with a new one, fix a leak, or make changes to your plumbing system.
In this article, we will guide you through the step-by-step process of how to remove push-on plumbing fittings. We will discuss the tools and materials you will need, the necessary precautions to take, and the proper technique to safely and effectively remove the fittings. By following these instructions, you will be able to successfully remove push-on plumbing fittings and carry out any necessary repairs or modifications to your plumbing system.
Before we begin, it is important to note that if you are unsure about your plumbing skills or feel uncomfortable working with plumbing fittings, it is always recommended to seek professional help. Removing push-on fittings incorrectly can cause damage to your plumbing system and result in costly repairs.
Now, let’s dive into the process of removing push-on plumbing fittings and get started on your plumbing project!
Key Takeaways:
- Removing push-on plumbing fittings requires turning off the water supply, draining the pipes, and pressing the collar to release the grip. Proper reinstallation and leak checks are crucial for a successful plumbing project.
- Identifying the fitting, safely removing the tubing, and assessing whether to repair or replace the fitting are essential steps in the removal process. Attention to detail and cautious reinstallation ensure a reliable and leak-free plumbing system.
Read more: How To Remove A SharkBite Plumbing Fitting
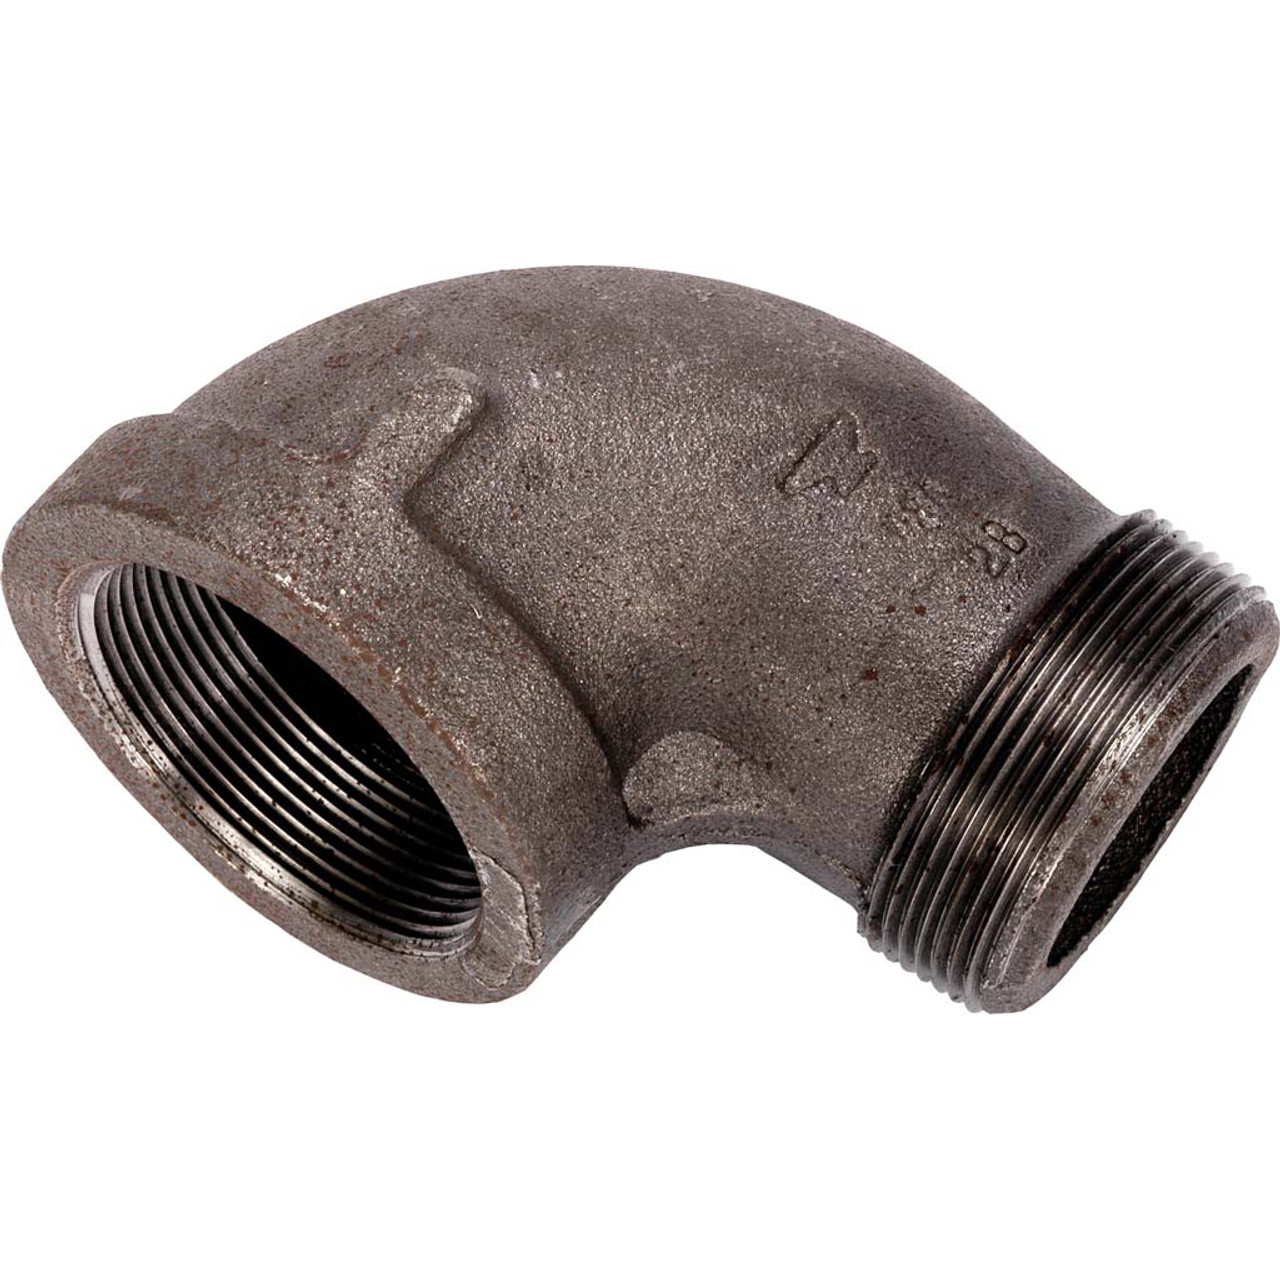
What are push-on plumbing fittings?
Push-on plumbing fittings, also known as push-to-connect or push-fit fittings, are a type of connection mechanism used in plumbing systems. These fittings are designed to provide a fast and secure connection between pipes or tubing without the need for traditional soldering, threading, or glue.
Push-on fittings have gained popularity in the plumbing industry due to their ease of use and time-saving installation process. They consist of two main components: a fitting with a specially designed mechanism and an insert or adapter that is inserted into the pipe or tubing.
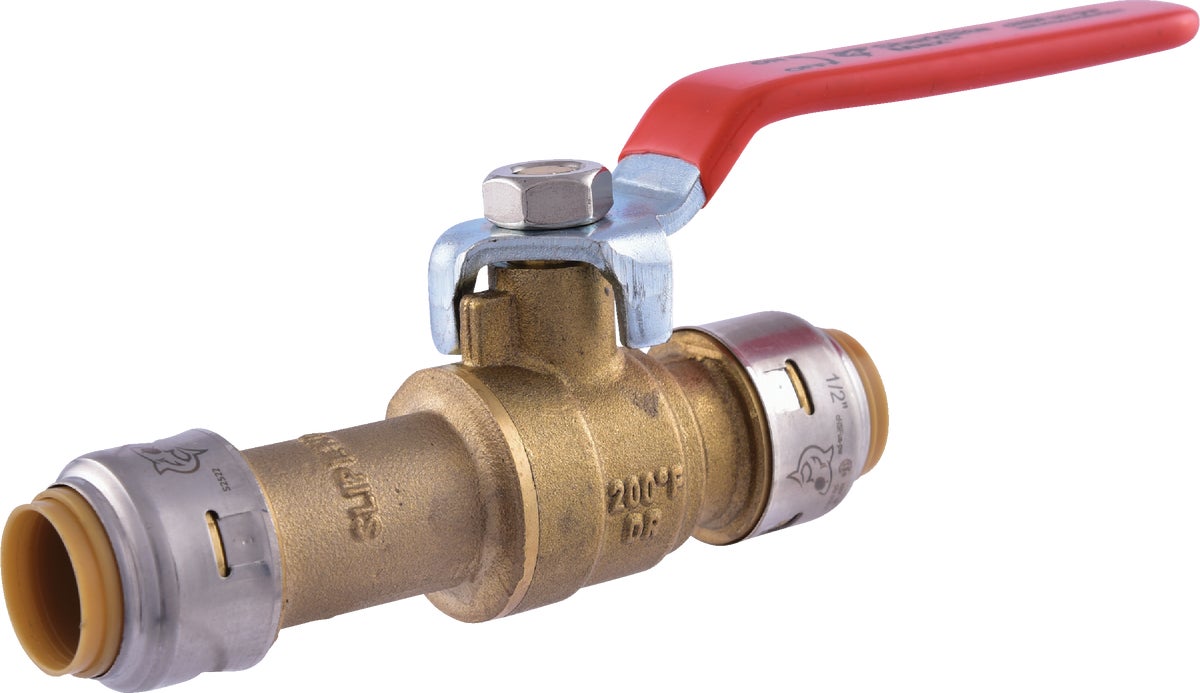
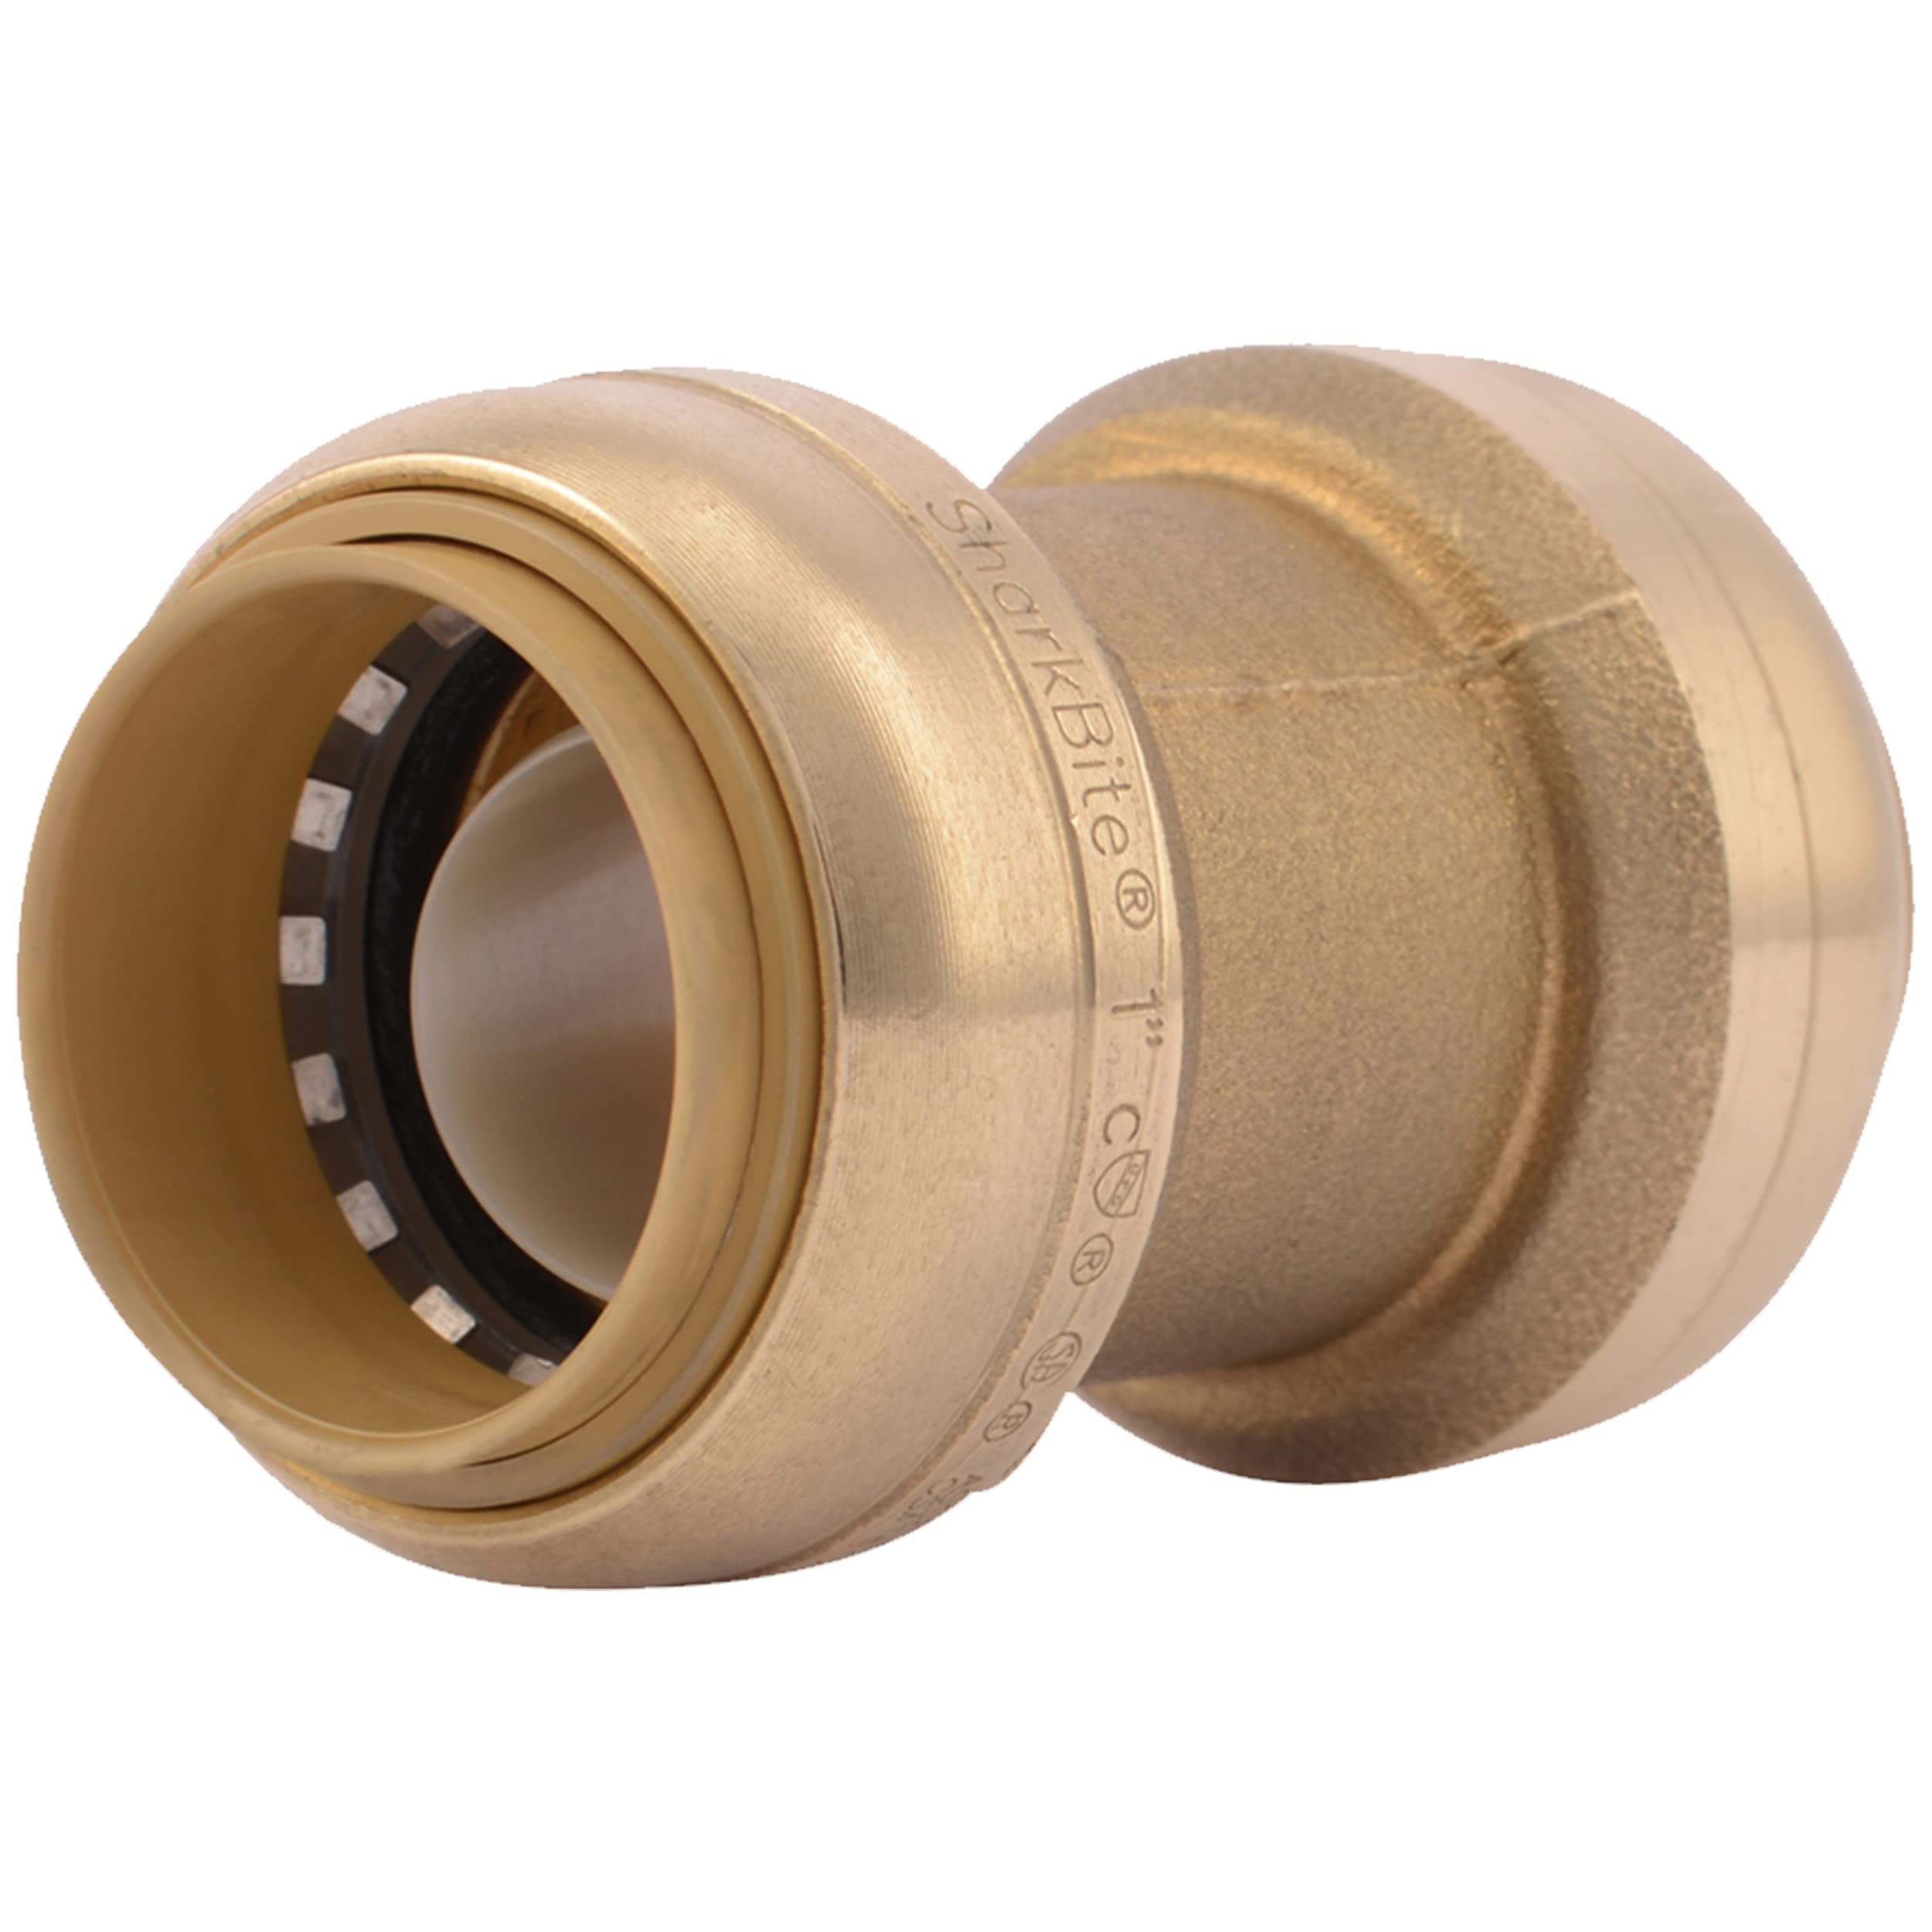
The fitting itself typically features a rubber or silicone O-ring or gasket and a collar or collet. The O-ring provides a watertight seal, while the collar is responsible for securing the connection. When the pipe or tubing is pushed into the fitting, the collar is compressed, creating a tight and reliable seal.
Push-on fittings are available for various types of pipes and tubing, including copper, PEX (cross-linked polyethylene), CPVC (chlorinated polyvinyl chloride), and PVC (polyvinyl chloride). They come in a range of sizes, allowing for compatibility with different pipe diameters.
The main advantages of push-on plumbing fittings are their simplicity and quick installation. They can be easily connected by simply pushing the pipe or tubing into the fitting until it reaches the stop point. The connection is secure and ready to use immediately, without the need for additional steps or drying time.
Additionally, push-on fittings are reusable, meaning they can be disconnected and reconnected multiple times without compromising the integrity of the connection. This makes them ideal for situations where modifications or repairs may be necessary in the future.
Overall, push-on plumbing fittings provide a reliable and efficient solution for joining pipes and tubing in plumbing systems. Their ease of use and versatility make them a popular choice for both DIY enthusiasts and professional plumbers.
Tools and materials needed
Before you start removing push-on plumbing fittings, it is important to gather the necessary tools and materials to ensure a smooth and successful process. Here is a list of what you will need:
- Adjustable wrench or pliers: These tools are essential for loosening and removing the fittings.
- Tubing cutter or hacksaw: You may need to cut the tubing to remove the fitting, so having a tubing cutter or hacksaw on hand will be helpful.
- Bucket or container: Having a bucket or container nearby will allow you to catch any water that may come out when you remove the fitting.
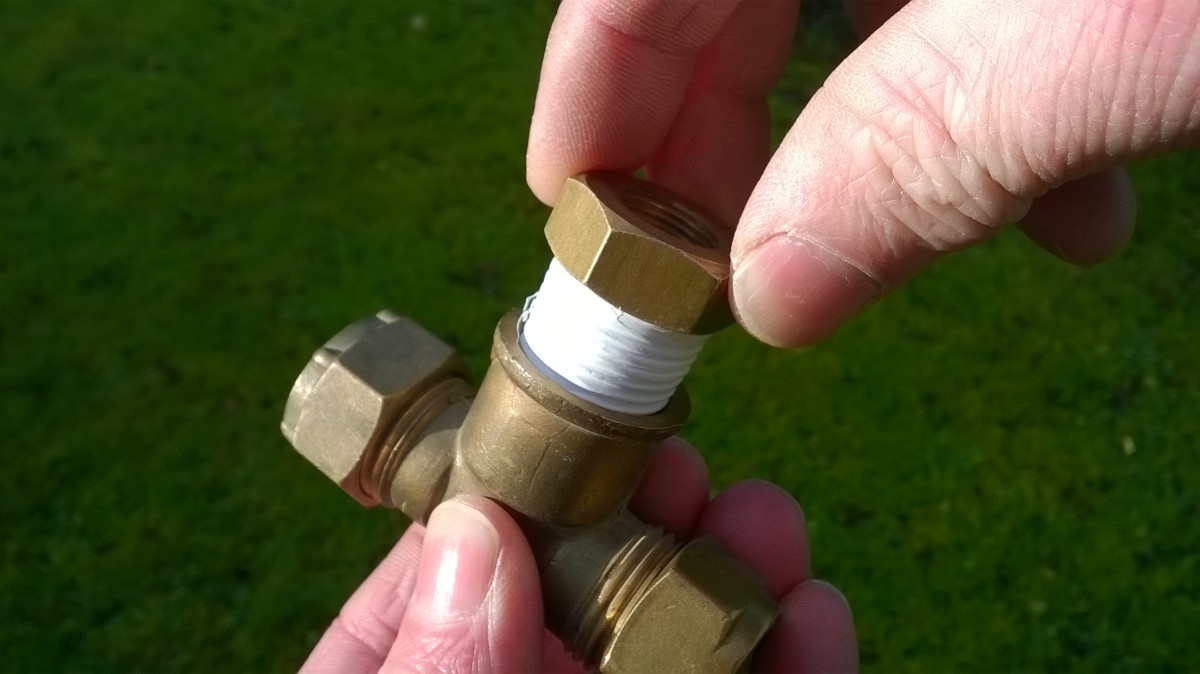
- Teflon tape or pipe dope: Depending on the type of fitting you are removing, you may need Teflon tape or pipe dope to reseal the connection later.
- Rags or towels: Keep some rags or towels handy to clean up any water or spills that may occur during the process.
- Gloves and safety glasses: It’s always a good idea to protect your hands and eyes with gloves and safety glasses, especially when working with plumbing fittings.
These tools and materials are commonly available at hardware stores or online. Make sure to gather everything you need before you start the removal process to avoid any interruptions or delays.
It’s worth noting that the specific tools and materials required may vary depending on the type of push-on fitting and the plumbing system you are working with. For example, if you are dealing with PEX tubing, you may need specialized tools such as a PEX cutter or crimping tool. Be sure to check the manufacturer’s instructions or consult with a professional if you are unsure about the specific requirements for your project.
Now that you have gathered all the necessary tools and materials, you are ready to proceed with removing the push-on plumbing fittings. Remember to work carefully and follow the steps outlined in the next sections to ensure a successful removal process.
Step 1: Turn off the water supply
Before you begin removing push-on plumbing fittings, it’s essential to turn off the water supply to prevent any water damage or flooding. This step is crucial for your safety and the success of the removal process. Here’s how to do it:
- Locate the main water shut-off valve: The main shut-off valve is usually located near the water meter or where the main water line enters your property. It may be inside the house, in a basement, or outside near the foundation.
- Turn off the water supply: Use a wrench or pliers to turn the valve clockwise (right) until it is fully closed. This will shut off the water supply to your entire plumbing system.
- Open faucets to release pressure: To relieve any remaining pressure in the system, open a few faucets or valves in your home. This will allow any water trapped in the pipes to drain out.
By turning off the water supply, you ensure that there is no water flow or pressure in the plumbing system, minimizing the risk of leaks or accidents during the removal process. It is also important to note that if you are working on a specific area or fixture, such as a sink or toilet, you may need to turn off the water supply to that specific fixture using the shut-off valves located nearby.
Take caution and double-check that the water supply is fully shut off before proceeding to the next steps. It’s always better to be safe than sorry when it comes to plumbing work.
Now that the water supply is turned off, you’re ready to move on to the next step: draining the water from the pipes.
Step 2: Drain the water
After turning off the water supply, it’s important to drain any remaining water from the plumbing system to minimize the risk of water leakage during the removal process. Here’s how you can effectively drain the water:
- Open faucets and valves: Start by opening all faucets and valves in your home, including sinks, showers, and even outdoor faucets. This will allow the water to flow out and relieve the pressure in the pipes.
- Flush toilets: Flush all toilets in your home to empty the tanks and bowl. This will help drain any water that may be trapped in the toilet pipes.
- Open drain valves: If you have drain valves in your plumbing system, such as for a water heater or boiler, open them to let the water drain out.
Keep in mind that it may take some time for the water to completely drain from the pipes, depending on the size of your plumbing system and the water pressure. It’s a good idea to wait a few minutes to ensure that most of the water has emptied out.
If you notice that the water is not draining properly or is slow to do so, it could indicate a blockage or a separate issue in your plumbing system. In such cases, it’s best to consult a professional plumber to address the problem before proceeding with the removal of the push-on fittings.
Once you have drained the water, make sure to close all the faucets and valves that you had opened earlier. This will prevent any water from flowing back into the system while you are working on removing the push-on plumbing fittings.
With the water drained and the system ready, you are now prepared to move on to the next step: identifying the push-on fitting that needs to be removed.
Read more: What Are Fittings In Plumbing
Step 3: Identify the fitting
Before you can remove a push-on plumbing fitting, it’s essential to identify the specific fitting that needs to be removed. This will ensure that you are working on the correct area and prevent accidental removal or damage to other fittings. Here’s how you can identify the fitting:
- Inspect the plumbing system: Take a close look at the area where the push-on fitting is located. Look for any visible connectors or fittings that are connected to the pipe or tubing.
- Check for labels or markings: Look for any labels or markings on the pipes or fittings that indicate the type of fitting. Manufacturers often label their fittings with the specific type and size to make identification easier.
- Refer to plumbing diagrams: If you have access to plumbing diagrams or blueprints of your home’s plumbing system, use them to locate and identify the fittings. These diagrams can provide a clear overview of the system and help identify the specific fitting you need to remove.
- Consult a professional or reference material: If you’re still unsure about the specific fitting or need additional guidance, consider consulting a professional plumber or referring to plumbing reference books or online resources. These resources can offer valuable information and illustrations to help you identify the fitting accurately.
It’s worth noting that push-on fittings can vary in shape, size, and design depending on the manufacturer and the type of plumbing system you have. They may have different colors or unique features that can aid in identification. Take your time and ensure that you correctly identify the fitting before proceeding with its removal.
If you are unsure or have any doubts about identifying the push-on fitting, it’s always best to seek help from a professional plumber. They have the expertise and experience to accurately identify plumbing fittings and provide the necessary guidance.
Once you have successfully identified the fitting that needs to be removed, you are ready to move on to the next step: pressing the collar of the fitting.
When removing push-on plumbing fittings, use a disconnect clip to release the fitting from the pipe. Simply push the clip into the fitting while pulling the pipe to release it.
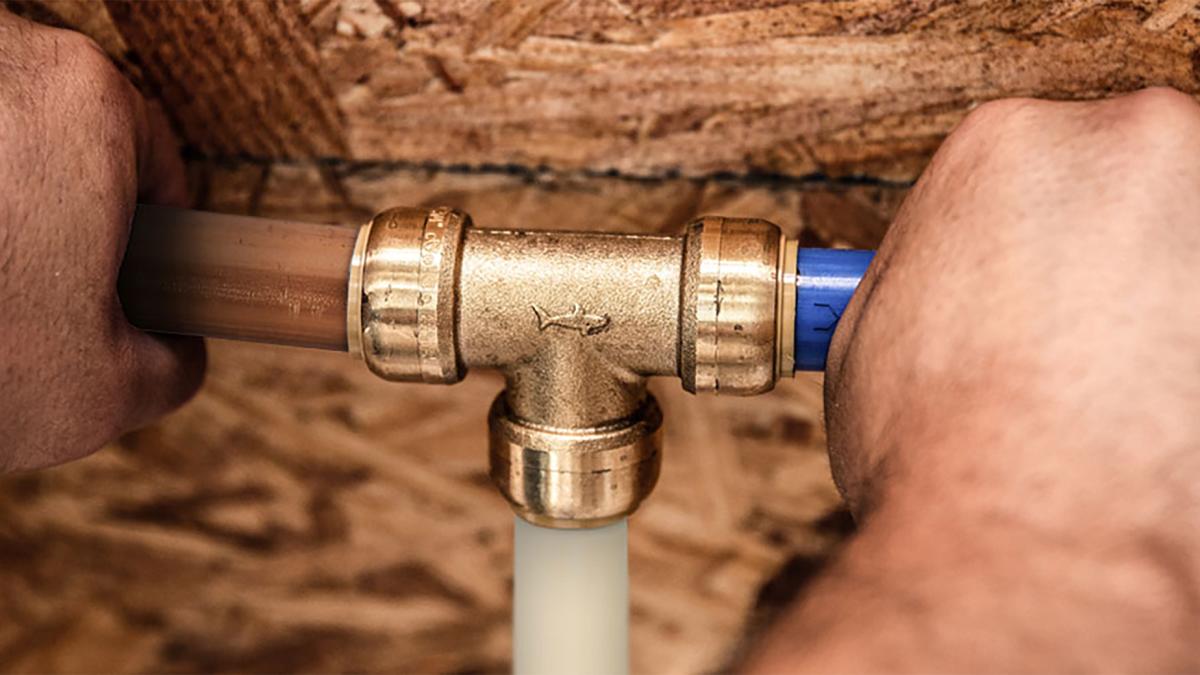
Step 4: Press the collar
Pressing the collar is a crucial step in removing a push-on plumbing fitting. It releases the grip and allows you to disconnect the fitting from the pipe or tubing. Follow these steps to properly press the collar:
- Inspect the fitting: Take a close look at the push-on fitting and locate the collar. The collar is a ring or sleeve usually located near the end of the fitting.
- Prepare your tools: Depending on the type of fitting, you may need to use an adjustable wrench, pliers, or a specific tool provided by the manufacturer.
- Position the tool: Place your wrench or pliers around the collar of the fitting. Make sure you have a firm grip without applying excessive force.
- Press the collar: Apply pressure to the collar by squeezing or turning the tool counterclockwise. This action compresses the collar and releases its grip on the pipe or tubing.
- Continue pressing: Keep pressing the collar until you feel it fully compress and release its grip. You may hear a click or feel a slight movement when this happens.
It’s important to note that different push-on fittings may have variations in the collar design or require specific tools provided by the manufacturer. Refer to the manufacturer’s instructions or consult a professional if you are unsure about the proper technique for pressing the collar on a specific fitting.
Take your time and be patient while pressing the collar. Do not rush or use excessive force, as this may cause damage to the fitting or the pipe/tubing. The goal is to release the collar’s grip smoothly and safely.
Once you have successfully pressed the collar and released its grip, you can proceed to the next step: removing the tubing from the fitting.
Step 5: Remove the tubing
After successfully pressing the collar and releasing its grip, you can now proceed to remove the tubing from the push-on fitting. Follow these steps to safely and effectively remove the tubing:
- Gently pull the tubing: With the collar pressed and released, grasp the tubing near the fitting.
- Rock the tubing back and forth: While holding the tubing, gently rock it back and forth to loosen it from the fitting. This helps break any remaining seal.
- Apply even pressure: Continue pulling the tubing while applying even pressure. Avoid jerking or yanking the tubing, as this can cause damage or breakage.
- Rotate the tubing: If the tubing is difficult to remove, try rotating it while pulling. This can help loosen the connection and make it easier to separate.
- Continue until fully removed: Keep pulling and rocking the tubing until it is completely detached from the push-on fitting. It should slide out smoothly without resistance.
It’s important to note that the tubing may have some resistance when removing it from the fitting, especially if it has been in place for a long time or if there is residual water inside. Take care not to damage the tubing while applying pressure and be patient throughout the process.
If you’re having trouble removing the tubing, you can try using a little bit of lubrication such as water or a mild soap solution to help ease the removal process. Apply the lubrication to the fitting and try pulling the tubing again.
Once the tubing is successfully removed from the push-on fitting, you can proceed to the next step: replacing or fixing the fitting as needed.
Step 6: Replace or fix the fitting
After removing the tubing from the push-on fitting, you can now assess the condition of the fitting and determine whether it needs to be replaced or repaired. Here are the options you can consider:
If the fitting is in good condition and you plan to reuse it:
- Inspect the fitting: Examine the fitting for any signs of damage or wear, such as cracks, leaks, or deformation.
- Clean the fitting: If the fitting is dirty or has debris on it, clean it using a soft cloth or brush. Ensure that it is free from any obstructions or foreign particles.
- Check the seal: Inspect the O-ring or gasket inside the fitting for any damage or deterioration. Replace it if necessary to ensure a proper seal.
- Apply thread sealant (if required): Depending on the type of fitting, you may need to apply thread sealant, such as Teflon tape or pipe dope, to ensure a secure and leak-free connection.
- Reinstall the fitting (see Step 7): After preparing the fitting, follow the steps in Step 7 to reinstall the tubing into the fitting.
If the fitting is damaged or needs to be replaced:
- Source a replacement fitting: Identify the appropriate type and size of the push-on fitting needed and obtain a new one from a hardware store or plumbing supplier.
- Prepare the new fitting: Inspect the new fitting for any manufacturing defects or damage. Follow the manufacturer’s instructions for preparing the fitting for installation.
- Install the new fitting: Reinstall the tubing into the new fitting by following the steps outlined in Step 7.
Whether you choose to reuse or replace the fitting, ensure that all connections are secure and watertight. Proper installation and sealing are essential to prevent leaks and maintain the integrity of your plumbing system.
If you are unsure about the condition of the fitting or the appropriate course of action, it’s recommended to consult a professional plumber for guidance and assistance.
After replacing or fixing the fitting, you can proceed to the next step: reinstalling the tubing.
Read more: How To Loosen Plumbing Fittings
Step 7: Reinstall the tubing
Once you have replaced or fixed the fitting, it’s time to reinstall the tubing into the push-on fitting. Follow these steps to ensure a proper and secure connection:
- Inspect the tubing: Check the tubing for any damage, such as cuts, cracks, or deformations. Replace the tubing if necessary to ensure a reliable connection.
- Cut the tubing (if needed): Measure and cut the tubing to the desired length using a tubing cutter or hacksaw. Make sure to create a clean and straight cut.
- Prepare the tubing: Remove any burrs or rough edges from the cut end of the tubing using a file or deburring tool. This will ensure a smooth insertion into the push-on fitting.
- Insert the tubing: Align the cut end of the tubing with the opening of the push-on fitting. Use firm and even pressure to push the tubing into the fitting until it reaches the stop point.
- Verify the connection: Give the tubing a gentle tug to ensure it is securely seated in the fitting. It should not easily come out or feel loose.
It’s important to note that different push-on fittings may have specific insertion requirements or mechanisms. Some fittings may require twisting or locking after inserting the tubing. Refer to the manufacturer’s instructions for the specific fitting to ensure proper installation.
If you are working with PEX tubing, you may need to use an expansion tool or a crimping tool to create a secure connection. Follow the manufacturer’s guidelines for the particular PEX fitting system you are using.
Once you have successfully reinstalled the tubing into the push-on fitting, perform a visual inspection to check for any visible gaps or leaks. Run a test by turning on the water supply (see Step 8) and monitor the connection for any signs of leakage.
If you notice any leaks or suspect an improper connection, turn off the water supply immediately and reassess the fitting and tubing. Seek professional assistance if needed to ensure a proper and watertight connection.
With the tubing securely reinstalled in the push-on fitting, you can proceed to the final step: turning on the water supply.
Step 8: Turn on the water supply
After completing the necessary steps to remove, replace, or fix the push-on plumbing fitting and reinstalling the tubing, it’s time to turn on the water supply and check for any leaks. Here’s how you can safely and effectively turn on the water supply:
- Close all faucets and valves: Ensure that all faucets and valves in your home are closed to prevent any water from flowing while you turn on the water supply.
- Locate the main water shut-off valve: Refer back to Step 1 to find the main water shut-off valve. It should be in the same position where you turned it off.
- Turn on the water supply: Use a wrench or pliers to turn the main shut-off valve counterclockwise (left) until it is fully open. This will allow water to flow back into the plumbing system.
- Slowly check for leaks: After turning on the water supply, carefully inspect the area around the push-on fitting and along the tubing for any signs of leaks.
- Monitor for a few minutes: Let the water run through the system for a few minutes and keep a close eye on the fitting and tubing. Look for any drips, puddles, or moisture that may indicate a leak.
If you notice any leaks, immediately turn off the water supply to prevent further damage and address the issue. Check the connection, ensure it is properly seated, and consider reapplying thread sealant or making any necessary adjustments.
Remember, it’s normal to have a few drips or minor leaks initially as air is pushed out of the system. However, if the leaks persist or worsen, it may indicate a faulty connection that needs further attention.
Once you have verified that there are no leaks and the connections are secure, you can gradually open the faucets in your home to release any trapped air and restore full water flow throughout your plumbing system.
Congratulations! You have successfully completed the process of removing push-on plumbing fittings and ensuring proper reinstallation of the tubing. By following these steps, you have effectively made repairs or modifications to your plumbing system, bringing it back to optimal functioning.
Remember to always exercise caution when working with plumbing fittings and, if in doubt, consult a professional plumber to ensure proper installation and prevent any potential issues down the line.
Thank you for reading this guide, and we hope it has been helpful in your plumbing endeavors!
Conclusion
Removing push-on plumbing fittings may seem like a daunting task, but with the right tools and knowledge, it can be accomplished successfully. By following the step-by-step guide outlined in this article, you can confidently remove push-on fittings, make necessary repairs or modifications, and ensure the integrity of your plumbing system.
We started by introducing push-on plumbing fittings and their benefits, such as their ease of use and quick installation. We then discussed the tools and materials you’ll need, emphasizing the importance of proper preparation before starting the removal process.
The step-by-step instructions provided a clear and concise understanding of each stage, beginning with turning off the water supply and draining the water from the pipes. We learned how to identify the push-on fitting, press the collar to release its grip, remove the tubing, and then decide whether to replace or fix the fitting.
Reinstalling the tubing into the push-on fitting was covered in detail, ensuring a proper connection. Finally, we wrapped up the guide by discussing the significance of turning on the water supply and checking for leaks, emphasizing the importance of monitoring and addressing any issues promptly.
While this guide aims to provide comprehensive instructions for removing push-on plumbing fittings, it’s essential to remember that plumbing systems can be complex, and every situation might have unique considerations. If you’re uncertain or uncomfortable performing any of the tasks, it’s always advisable to consult a professional plumber.
By adhering to the techniques and precautions outlined in this guide, you can confidently tackle push-on plumbing fitting removal and make necessary repairs or modifications to your plumbing system. Keep in mind that proper installation and regular maintenance are essential in ensuring the longevity and efficient functioning of your plumbing system.
We hope this guide has provided you with the knowledge and confidence to successfully remove push-on plumbing fittings and take control of your plumbing projects. Remember to prioritize safety, take your time, and enjoy the satisfaction of successfully completing your plumbing tasks.
Thank you for reading, and happy plumbing!
Frequently Asked Questions about How To Remove Push On Plumbing Fittings
Was this page helpful?
At Storables.com, we guarantee accurate and reliable information. Our content, validated by Expert Board Contributors, is crafted following stringent Editorial Policies. We're committed to providing you with well-researched, expert-backed insights for all your informational needs.


0 thoughts on “How To Remove Push On Plumbing Fittings”