Articles
How To Remove A SharkBite Plumbing Fitting
Modified: August 31, 2024
Learn how to remove a shark bite plumbing fitting with this step-by-step guide. Our informative articles provide expert advice for tackling various home improvement projects.
(Many of the links in this article redirect to a specific reviewed product. Your purchase of these products through affiliate links helps to generate commission for Storables.com, at no extra cost. Learn more)
Introduction
Welcome to this guide on how to remove a shark bite plumbing fitting. Shark bite fittings have become increasingly popular due to their ease of use and quick installation. However, there may come a time when you need to remove a fitting, whether it’s due to a leak or the need for replacement. While it may seem daunting at first, removing a shark bite plumbing fitting is a relatively straightforward process that can be accomplished with a few basic tools. In this article, we will walk you through the steps involved in safely and effectively removing a shark bite plumbing fitting.
Before we get started, it’s important to note that working with plumbing can be a bit messy, so be sure to have a bucket or towels on hand to catch any excess water. Additionally, always exercise caution when working with tools and be mindful of the potential for sharp edges.
Now, let’s gather the tools and materials you’ll need for this project.
Key Takeaways:
- Removing a shark bite plumbing fitting is a straightforward process that involves shutting off the water supply, loosening and removing the fitting, cleaning the pipe, installing a replacement fitting, and checking for leaks.
- It’s essential to exercise caution, assess the condition of the fitting, and ensure a secure connection with the replacement fitting to prevent leaks and maintain the integrity of the plumbing system.
Read more: What Are Fittings In Plumbing
Tools and Materials Needed
If you’re ready to remove a shark bite plumbing fitting, here are the essential tools and materials you’ll need:
- Pipe wrench: This tool will be used to loosen and remove the fitting from the pipe.
- Adjustable wrench: An adjustable wrench is necessary for manipulating and tightening the connections.
- Teflon tape: Teflon tape, also known as plumber’s tape, is used to create a watertight seal between pipe threads.
- Replacement fitting: Make sure you have the correct size and type of fitting to replace the one you are removing.
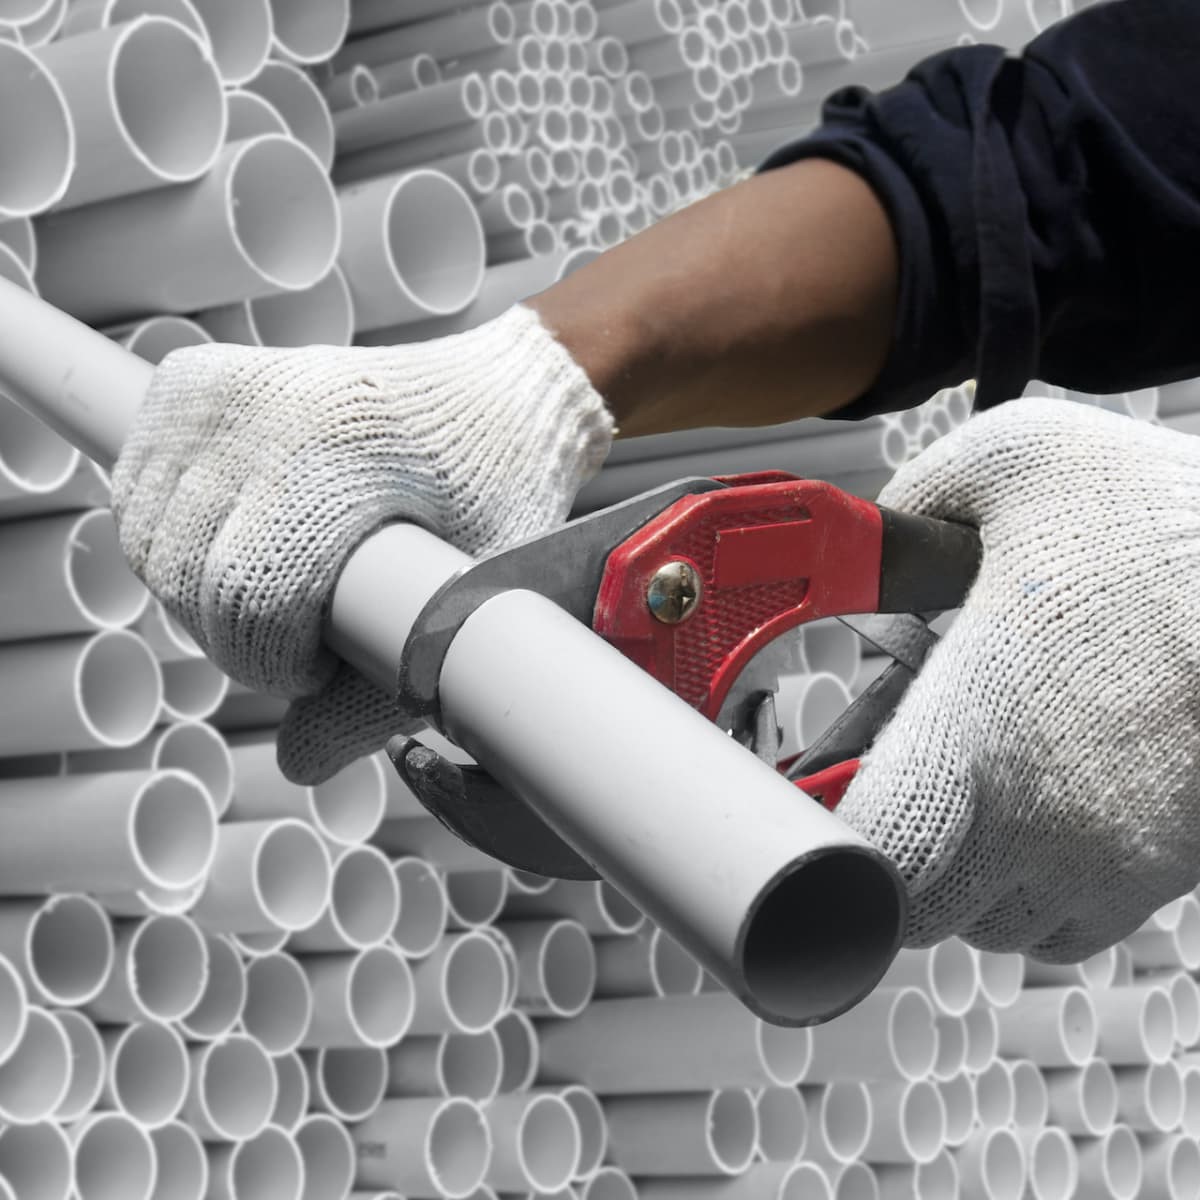
- Pipe cutter (if necessary): If the pipe needs to be shortened, a pipe cutter will be necessary to make a clean, precise cut.
- Sandpaper or file: You may need to smooth the end of the pipe after cutting it or remove any burrs, so having sandpaper or a file on hand is useful.
Having these tools readily available will ensure a smooth and efficient removal process. Now that you have everything you need, let’s move on to the step-by-step instructions.
Step 1: Shut Off the Water Supply
Before you begin removing the shark bite plumbing fitting, it’s essential to shut off the water supply to prevent any leaks or water damage. Locate the main water shut-off valve in your home and turn it off. This valve is typically located near the water meter or where the main water line enters your house.
If you can’t locate the main shut-off valve or if there isn’t one, you may need to shut off the water supply to the specific area where the fitting is located. In this case, look for isolation valves near the affected area and turn them off.
Once you’ve turned off the water supply, open a faucet or valve downstream of the fitting to relieve any remaining water pressure in the pipes. This step is crucial for your safety and to prevent water from spraying out when you remove the fitting.
With the water supply shut off and pressure relieved, you’re ready to move on to the next step.
Step 2: Assess the Fitting
Before proceeding with the removal process, take a moment to assess the shark bite plumbing fitting. Look for any signs of damage or wear, such as cracks, leaks, or corrosion. Evaluating the condition of the fitting will help you determine if it can be salvaged or if it needs to be replaced.
If the fitting appears to be in good condition and you only need to remove it temporarily, such as for repairs or adjustments, you can loosen the fitting without fully disconnecting it from the pipe. In this case, move on to the next step.
However, if the fitting is damaged beyond repair or you need to replace it entirely, continue with the removal process outlined in the following steps.
It’s important to note that shark bite fittings are designed for temporary installation and are not intended for long-term use. If you encounter any issues or suspect that the fitting may be compromised, it’s best to replace it to ensure a secure and leak-free connection.
Once you’ve assessed the condition of the fitting, you’re ready to proceed to the next step: loosening the fitting.
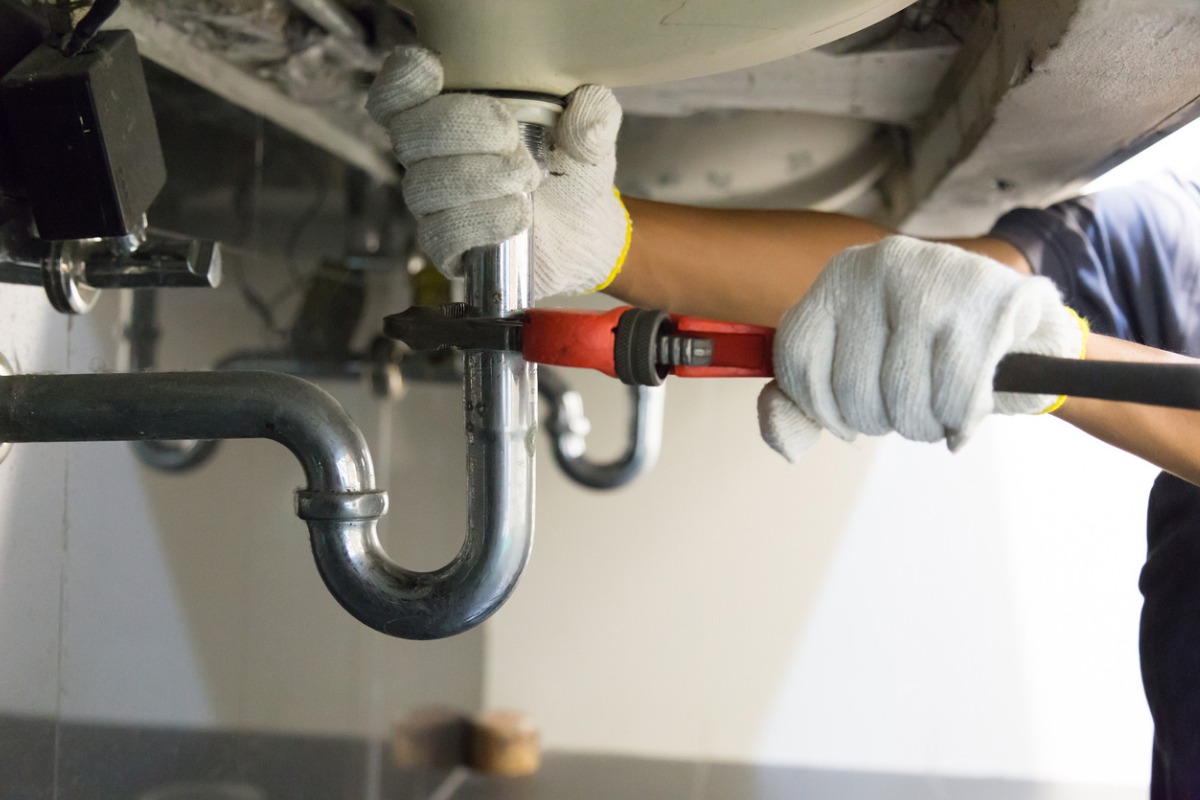
Step 3: Loosen the Fitting
Now that you’ve assessed the shark bite plumbing fitting and determined that it needs to be fully removed, it’s time to loosen the fitting from the pipe. Follow these steps:
- Using a pipe wrench, grip the body of the shark bite fitting firmly, making sure to hold it steady.
- With another pipe wrench or an adjustable wrench, grip the pipe connected to the fitting.
- Rotate the pipe wrench counterclockwise while holding the shark bite fitting in place. Apply steady, even pressure to break the seal and loosen the fitting from the pipe.
- If the fitting is stubborn and doesn’t easily come loose, you can use a small amount of heat to expand the pipe slightly. This can be done with a heat gun or a hairdryer. Be cautious not to overheat or damage the pipe.
- Continue twisting the pipe wrench counterclockwise until the shark bite fitting is fully detached from the pipe.
If you’re unable to loosen the fitting using the above method, you can also try gently tapping the fitting with a hammer to loosen it. However, exercise caution to avoid causing any damage to the surrounding pipes or fittings.
Once the fitting is loose, you can move on to the next step: removing the fitting from the pipe.
Read more: What Is A Compression Fitting In Plumbing
Step 4: Remove the Fitting
With the shark bite plumbing fitting loosened from the pipe, it’s time to remove it completely. Follow these steps:
- If the fitting is still attached to the pipe, gently twist and pull it away from the pipe using your hands. The fitting should slide off easily, but if it is stuck, you can use a pair of pliers to grip and remove it.
- If there is any residual water or debris inside the fitting or on the pipe, use a rag or towel to wipe it clean. This will make the installation of the replacement fitting easier.
- Inspect the removed fitting for any signs of damage or wear. If it is in good condition, it can be reused for future projects. However, if it shows signs of wear or damage, it’s best to dispose of it and use a new fitting.
Removing a shark bite plumbing fitting is typically a straightforward process. However, if you encounter any difficulties or are unable to remove the fitting, it may be necessary to cut the pipe and install a new section. In this case, continue with the following steps, otherwise proceed to the next step.
Now that the shark bite fitting has been successfully removed, let’s move on to preparing the pipe for the installation of the replacement fitting.
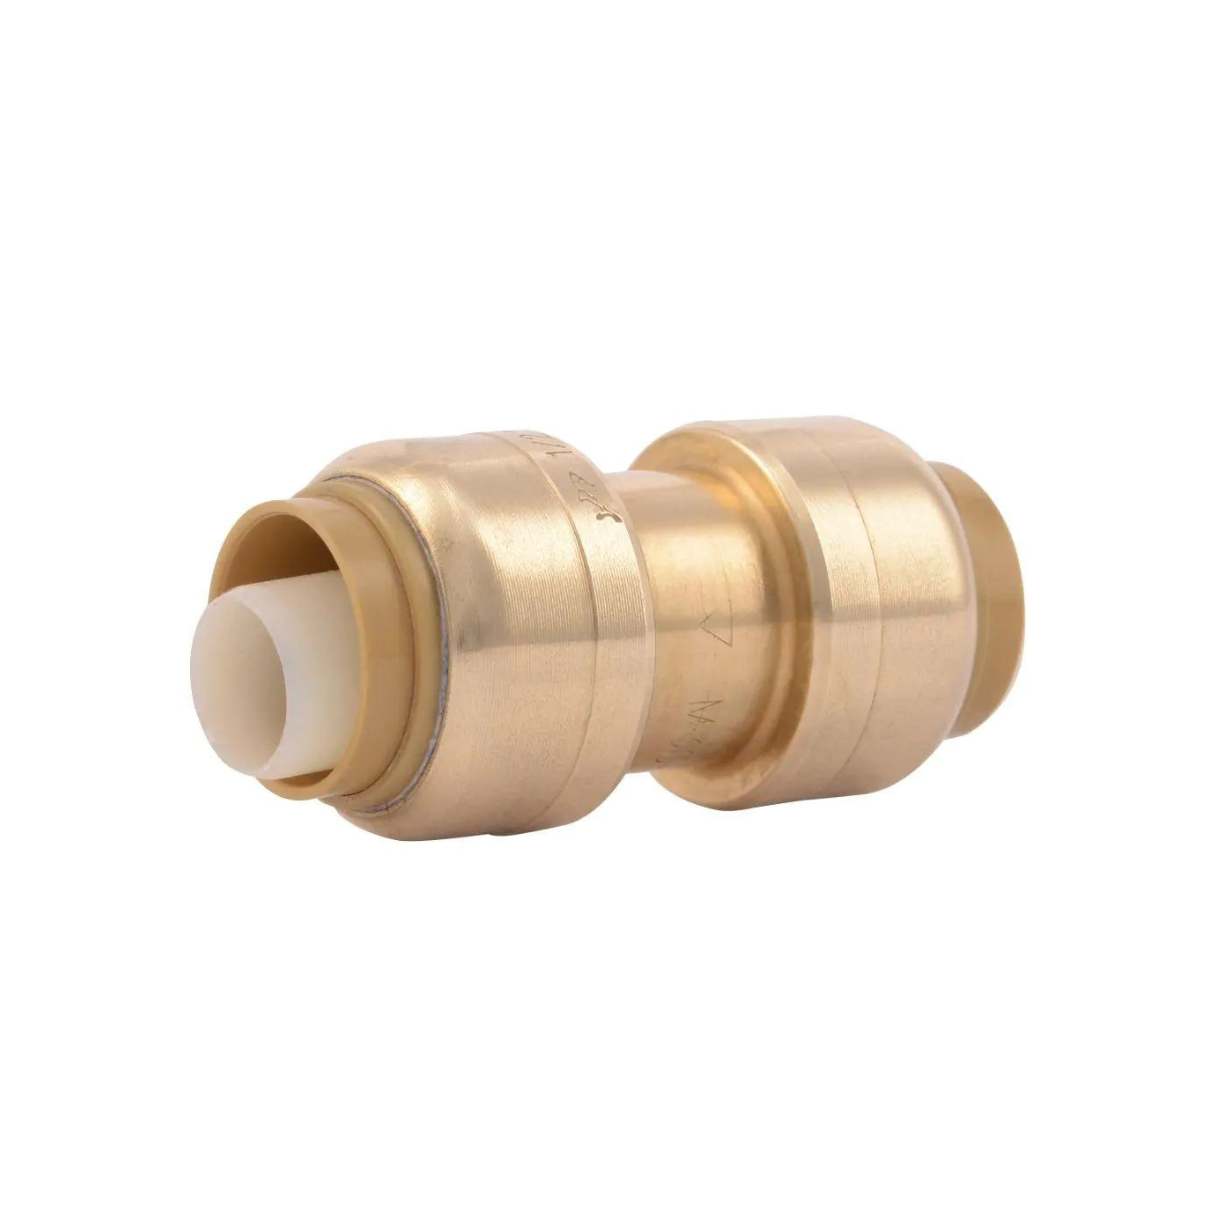
When removing a shark bite plumbing fitting, use a disconnect clip to release the fitting from the pipe. Simply slide the clip over the pipe and push it into the fitting to release the connection.
Step 5: Clean the Pipe
After removing the shark bite plumbing fitting, it’s important to clean the pipe to ensure a proper and secure connection with the replacement fitting. Follow these steps to clean the pipe:
- Inspect the end of the pipe for any debris, burrs, or rough edges. If you notice any, use a file or sandpaper to smooth them out.
- Wipe the end of the pipe with a clean rag to remove any dirt or moisture. Ensure the pipe is dry before proceeding to the next step.
- If the pipe end is square and smooth, it’s ready for the installation of the replacement fitting. However, if the pipe was cut, check that the cut is clean and even. If necessary, use a pipe cutter or hacksaw to make a clean, straight cut.
Make sure to take your time and ensure that the pipe end is clean and smooth. A well-prepared pipe will provide a secure connection and help prevent any leaks or issues with the replacement fitting.
Once the pipe is clean and prepared, you’re ready to install the replacement fitting. Continue to the next step for detailed instructions.
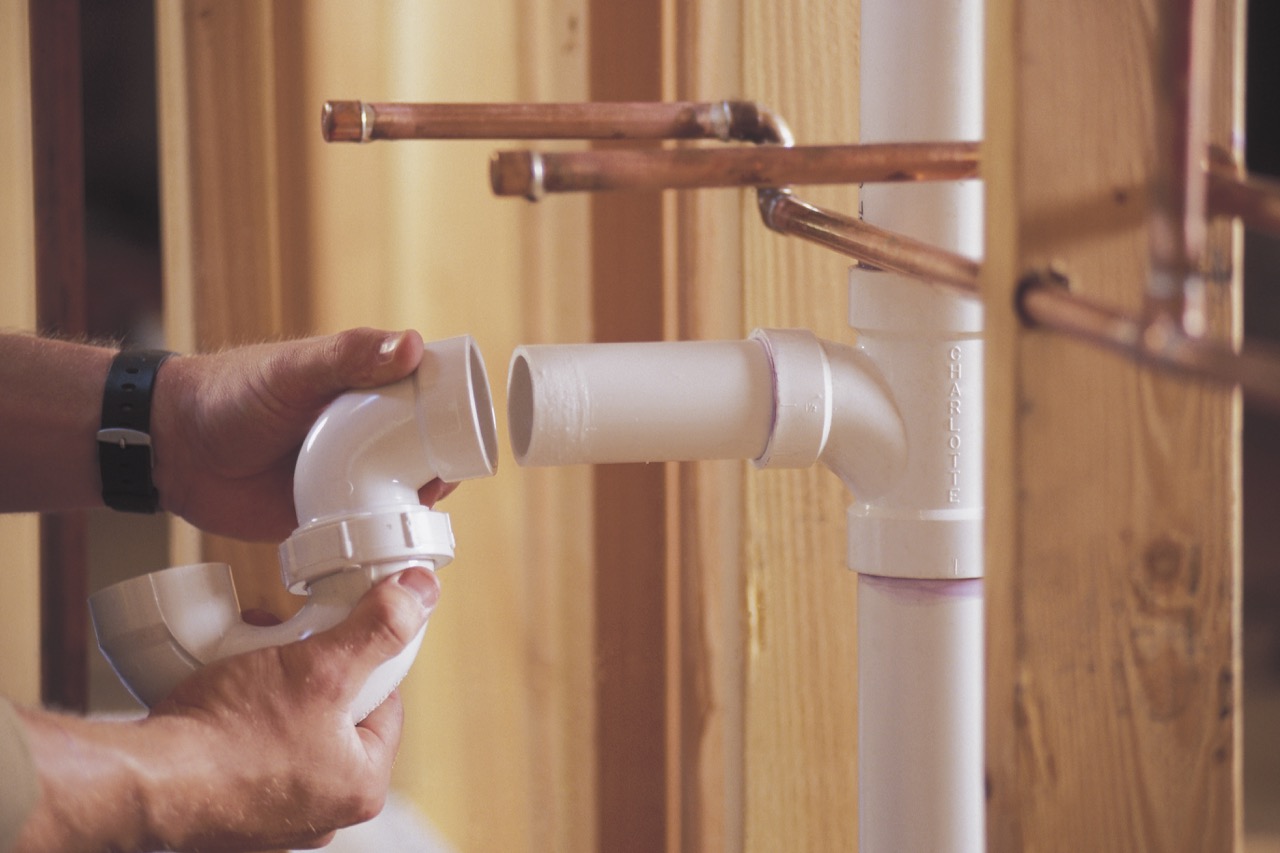
Step 6: Install the Replacement Fitting
With the pipe cleaned and prepared, it’s time to install the replacement fitting. Follow these steps for a successful installation:
- Wrap the male threads of the replacement fitting with Teflon tape. Apply the tape in a clockwise direction to ensure a proper seal when the fitting is tightened.
- Insert the replacement fitting onto the end of the pipe, ensuring that it is aligned properly.
- Hold the fitting firmly in place and use a pipe wrench or adjustable wrench to tighten it clockwise. Apply steady, even pressure until the fitting is securely tightened.
- Avoid over-tightening the fitting, as it can damage the threads or cause leaks. Use caution and tighten it just enough to ensure a snug and secure connection.
If you’re using a shark bite replacement fitting, it will easily slide onto the pipe and form a tight seal without the need for additional tools or adhesive.
Ensure that the replacement fitting is properly aligned and tightened before moving on to the next step.
Now that the replacement fitting is installed, it’s time to reconnect the water supply. Continue to the next step for instructions on how to do so.
Step 7: Reconnect the Water Supply
Now that the replacement fitting is securely installed, it’s time to reconnect the water supply. Follow these steps to ensure a proper reconnection:
- If you previously shut off the main water supply, turn it back on by locating the shut-off valve and opening it fully. If you only isolated the water supply to the specific area, open the isolation valves to restore the water flow.
- Once the water supply is back on, check for any leaks around the replacement fitting. Pay close attention to the connection points and inspect them carefully. If you notice any leaks, tighten the fitting slightly using a wrench until the leaks stop.
- Allow the water to run for a few minutes to flush out any air or debris from the pipes. This will help ensure proper water flow and remove any trapped air pockets.
If you have a pressure gauge, you can also check the water pressure at this point to ensure it is within the normal range. If not, you may need to adjust the pressure regulator.
Once you’ve confirmed that there are no leaks and the water is flowing without any issues, you can move on to the final step: checking for leaks.
Remember to take your time during this step and thoroughly inspect the area for any signs of leaks. Addressing any leaks promptly will help prevent water damage and ensure a properly functioning plumbing system.
Read also: 12 Superior Plumbing Fittings For 2025
Step 8: Check for Leaks
The final step in the process of removing a shark bite plumbing fitting is to check for any leaks. Follow these steps to ensure a leak-free and properly functioning connection:
- Visually inspect the area around the replacement fitting. Look for any signs of water dripping or pooling.
- Run your hand along the fittings, feeling for any moisture or dampness. Pay close attention to the connection points.
- If you notice any leaks or dampness, use a wrench to gently tighten the fitting. Be careful not to overtighten, as it can damage the fitting or the pipe.
- Monitor the area for a few minutes to see if any leaks reappear after tightening. If the leaks persist or worsen, you may need to seek professional assistance.
- It’s also a good idea to check for leaks periodically in the days following the replacement. Sometimes, leaks can develop over time due to changes in water pressure or temperature.
If you’re confident that there are no leaks and the replacement fitting is working properly, congratulations! You’ve successfully removed a shark bite plumbing fitting and ensured a secure connection.
As a final note, it’s important to follow manufacturer’s instructions when working with shark bite fittings or any plumbing components. These instructions will provide specific guidelines and recommendations for installation and maintenance.
With careful attention to detail and proper installation, your plumbing system should function smoothly and effectively for years to come.
Thank you for following this guide on how to remove a shark bite plumbing fitting. We hope you found this information helpful and that your project was a success!
Conclusion
Congratulations on successfully removing a shark bite plumbing fitting! This guide has provided you with step-by-step instructions to safely and effectively remove a fitting from your plumbing system.
By following the outlined steps, you’ve learned how to shut off the water supply, assess the fitting, loosen and remove it, clean the pipe, install a replacement fitting, reconnect the water supply, and check for any leaks. These skills will not only help you in removing a shark bite fitting but also in making necessary repairs or adjustments to your plumbing system in the future.
Remember to always exercise caution when working with plumbing tools and materials. Taking the time to properly assess the condition of the fitting, clean the pipe, and ensure a secure connection with the replacement fitting will help prevent leaks and maintain the integrity of your plumbing system.
If at any point you encounter difficulties or are unsure about the process, it’s recommended to seek professional assistance. Plumbing can be complex, and it’s important to prioritize safety and the integrity of your plumbing system.
Thank you for following this guide. We hope you found it informative and helpful in your DIY plumbing journey. With these newfound skills and knowledge, you’ll be able to tackle future plumbing projects with confidence.
Happy plumbing!
Frequently Asked Questions about How To Remove A SharkBite Plumbing Fitting
Was this page helpful?
At Storables.com, we guarantee accurate and reliable information. Our content, validated by Expert Board Contributors, is crafted following stringent Editorial Policies. We're committed to providing you with well-researched, expert-backed insights for all your informational needs.


0 thoughts on “How To Remove A SharkBite Plumbing Fitting”