Articles
How To Remove A Plumbing Test Ball
Modified: December 7, 2023
Learn how to remove a plumbing test ball with our informative articles. Discover step-by-step instructions and expert tips to make the process easy and efficient.
(Many of the links in this article redirect to a specific reviewed product. Your purchase of these products through affiliate links helps to generate commission for Storables.com, at no extra cost. Learn more)
Introduction
Welcome to our comprehensive guide on how to remove a plumbing test ball. If you’re a homeowner or a DIY enthusiast, you may come across situations where you need to remove a plumbing test ball, whether for maintenance or repairs. A plumbing test ball is a device used to block off water or pressure in a pipe to perform tests or inspections.
While it may seem like a daunting task, with the right tools and knowledge, removing a plumbing test ball can be a straightforward process. In this article, we will walk you through the step-by-step instructions to safely and effectively remove a plumbing test ball.
Before we dive into the steps, it’s essential to emphasize the importance of safety. Always exercise caution when working with plumbing systems and follow any safety guidelines provided by the manufacturer or relevant authorities. Additionally, if you’re unsure about any step or feel uncomfortable performing the task, it’s best to consult a professional plumber.
Now, let’s get started with gathering the necessary tools and materials for the job.
Key Takeaways:
- Safely remove a plumbing test ball by gathering tools, shutting off water supply, locating the test ball, releasing pressure, and unscrewing it. Inspect, clean, and replace if necessary, then turn the water supply back on.
- Prioritize safety, gather tools, and follow step-by-step instructions to remove a plumbing test ball. Inspect, clean, and replace if needed, then turn the water supply back on for a successful DIY project.
Read more: What Is A Smoke Test For Plumbing
Step 1: Gather the necessary tools and materials
Before you begin removing the plumbing test ball, it’s crucial to have all the required tools and materials on hand. This will ensure a smooth and efficient process. Here’s a list of what you’ll need:
- Adjustable wrench
- Pipe wrench (if needed)
- Plumber’s tape
- Rags or towels
- Bucket or container (for any water drainage)
- Safety goggles
An adjustable wrench will be your go-to tool for most of the removal process. It allows you to grip and turn pipes or fittings with different sizes. If the test ball is tightly secured, you may also need a pipe wrench to provide additional leverage.
Plumber’s tape, also known as Teflon tape, is essential for creating a watertight seal when reassembling the plumbing system. It helps prevent leaks and ensures a proper connection.
Rags or towels are handy for cleaning up any spillages or excess water that may occur during the removal process. Additionally, having a bucket or container nearby will be useful for collecting any drainage.
Lastly, don’t forget to prioritize safety by wearing protective gear such as safety goggles. This will safeguard your eyes from any debris or water splashes.
Now that you have all the necessary tools and materials, you’re ready to move on to the next step: shutting off the water supply.
Step 2: Shut off the water supply
Before you begin working on removing the plumbing test ball, it’s important to shut off the water supply to prevent any water leaks or accidents. Here’s how you can do it:
- Locate the main water shut-off valve: The main shut-off valve is usually located near the water meter, in the basement, or on an outside wall of your home. It’s typically a round wheel or lever.
- Turn off the main water supply: Depending on the type of valve, either turn the valve clockwise until it stops or pull the lever down to shut off the water flow. This will cut off the water supply throughout your entire home.
By shutting off the main water supply, you ensure that no water is flowing through the plumbing system while you work on removing the test ball. This prevents any potential leaks or water damage.
It’s also a good practice to open a faucet or valve on the lower level of your home to release any remaining water pressure in the pipes. This will help minimize spills and make the removal process easier.
Once you’ve successfully shut off the water supply and released any excess pressure, you’re ready to move on to the next step: locating the plumbing test ball.
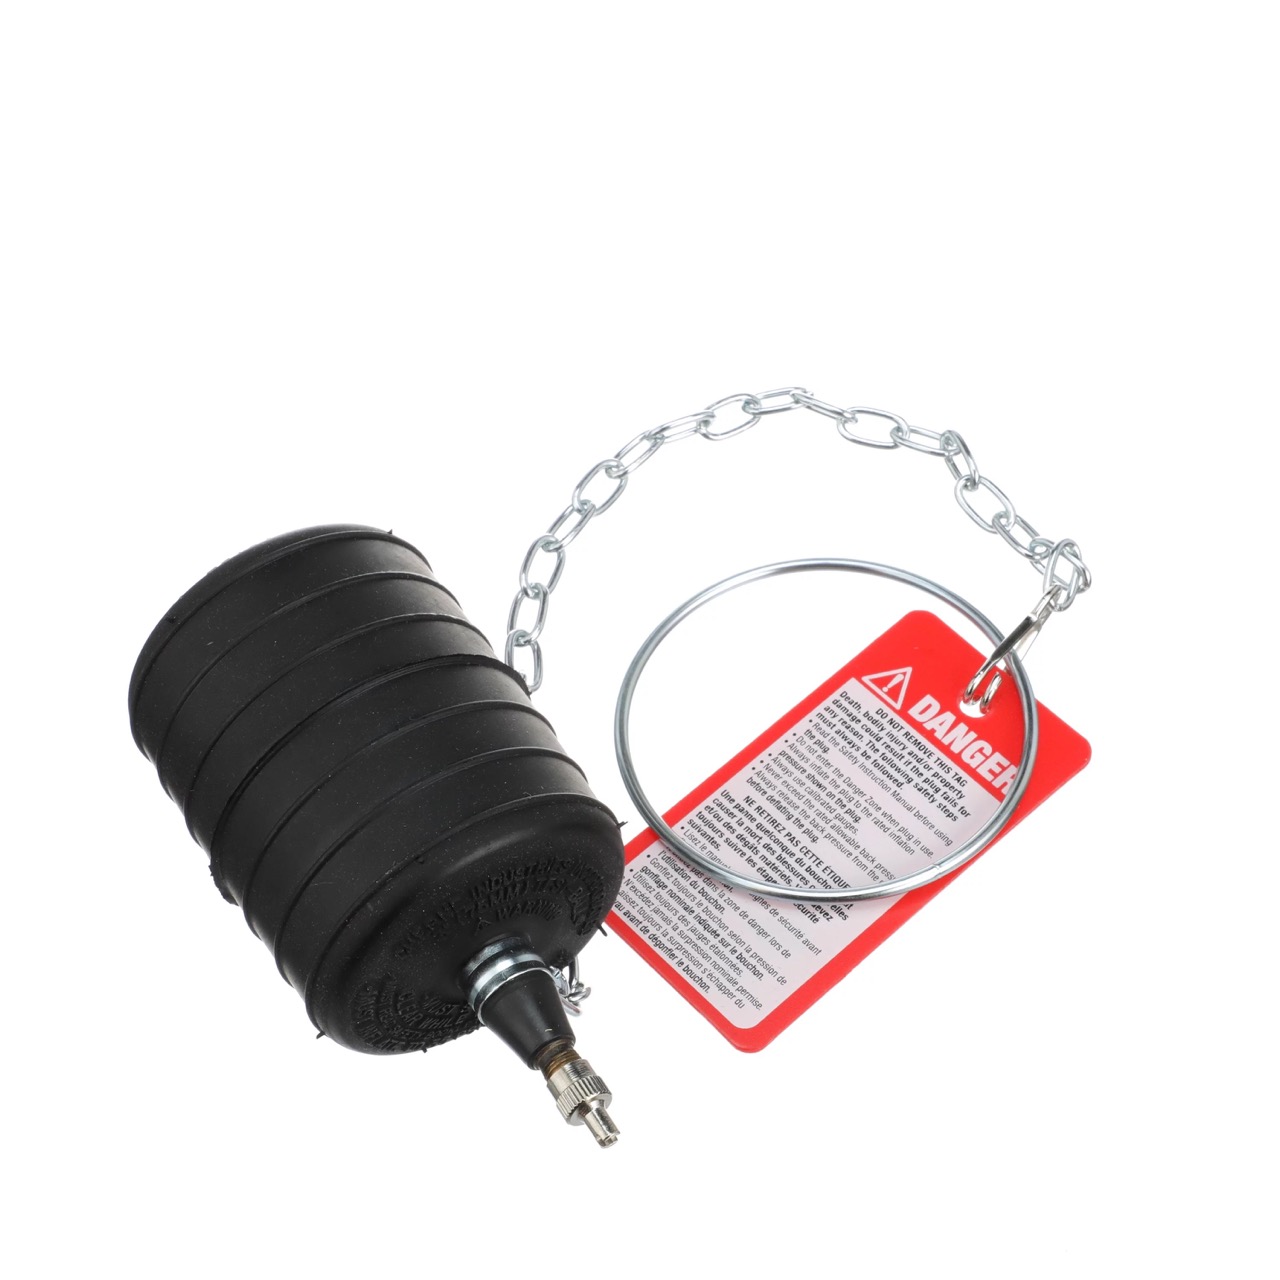
Step 3: Locate the plumbing test ball
Now that you have shut off the water supply, it’s time to locate the plumbing test ball within your plumbing system. The test ball is typically used to block off a specific section of pipe to conduct tests or inspections. Here’s how you can locate it:
- Inspect visible pipes: Start by visually examining the visible pipes in the area where the test ball is likely to be installed. This may include pipes in the basement, utility room, or crawl space.
- Follow the pipes: Trace the path of the pipes from the water supply line or the area where the test is being performed. Look for any valves, fittings, or sections where a test ball might be inserted.
- Consult plumbing plans or documentation: If you have access to plumbing plans or documentation, refer to them to determine the location of the test ball more accurately. These documents may provide valuable information on the layout of your plumbing system.
Keep in mind that the location of the test ball may vary depending on the specific purpose or test being conducted. It could be found in a vertical or horizontal pipe section, depending on the configuration of your plumbing system.
If you’re still having trouble locating the test ball, it’s recommended to consult a professional plumber who can provide guidance and assistance in identifying its exact position.
Once you’ve successfully located the test ball, you’re ready to move on to the next step: releasing the pressure in the plumbing system.
Step 4: Release the pressure
Before removing the plumbing test ball, it’s important to release the pressure in the plumbing system. This step ensures that there is no high-pressure water or air trapped behind the test ball, which can potentially cause unexpected bursts or splashing. Here’s how you can release the pressure:
- Open faucets and valves: Start by opening faucets and valves connected to the plumbing system on the downstream side of the test ball. This will allow any trapped water or air to escape.
- Drain excess water: If there is any excess water in the pipes, use a bucket or container to catch it as it drains out. This helps prevent water spillage and makes the removal process cleaner.
By releasing the pressure and draining any excess water, you create a safer working environment for removing the test ball. It minimizes the risk of accidental water spray or damage.
Keep in mind that the process of releasing pressure may vary depending on the specific configuration of your plumbing system. If you’re unsure or encounter any difficulties, it’s best to consult a professional plumber.
Once you’ve successfully released the pressure, you’re ready to move on to the next step: unscrewing the test ball.
Read more: What Is A Ball Valve In Plumbing
Step 5: Unscrew the test ball
Now that the pressure has been released, it’s time to unscrew the plumbing test ball from its fitting. The test ball is typically secured in place using a threaded connection or other fastening mechanisms. Here’s how you can unscrew the test ball:
- Use an adjustable wrench: Begin by gripping the test ball fitting with an adjustable wrench. Make sure to position the wrench securely on the fitting to avoid slipping or damaging the pipe.
- Turn counterclockwise: Apply gentle force and turn the wrench counterclockwise to loosen the test ball. If the test ball is tightly secured, you may need to use a pipe wrench for additional leverage.
It’s important to note that some test balls may have additional components, such as a retaining nut or locking mechanism. In such cases, you may need to loosen or remove these components before unscrewing the test ball itself.
As you unscrew the test ball, be prepared for some water or residual pressure to escape. Have rags or towels nearby to catch any water that may spill out during the removal process.
Once you have successfully unscrewed the test ball, you can proceed to the next step: removing the test ball from the plumbing system.
Before removing a plumbing test ball, make sure to depressurize the system and drain any remaining water to avoid potential hazards. Always wear appropriate safety gear and use the correct tools for the job.
Step 6: Remove the test ball
With the test ball loosened and unscrewed from its fitting, it’s time to remove it from the plumbing system. Depending on the type of test ball used, this step may vary slightly. Here’s how you can remove the test ball:
- Gently pull or slide the test ball out: In most cases, the test ball can simply be pulled or slid out of the fitting. Apply steady and even pressure to remove the test ball from the pipe.
- Inspect the test ball: Once the test ball is removed, take a moment to inspect its condition. Look for any signs of damage, wear, or corrosion. If the test ball is damaged, it may need to be replaced before reassembly.
During the removal process, it’s essential to avoid using excessive force or twisting motions, as this can cause damage to the pipes or fittings. Take your time and be gentle when removing the test ball.
After removing the test ball, it’s a good practice to place it in a safe and clean area. If you plan to reuse the test ball, make sure to clean it thoroughly before reassembly.
Once the test ball is successfully removed, you can proceed to the next step: inspecting and cleaning the area.
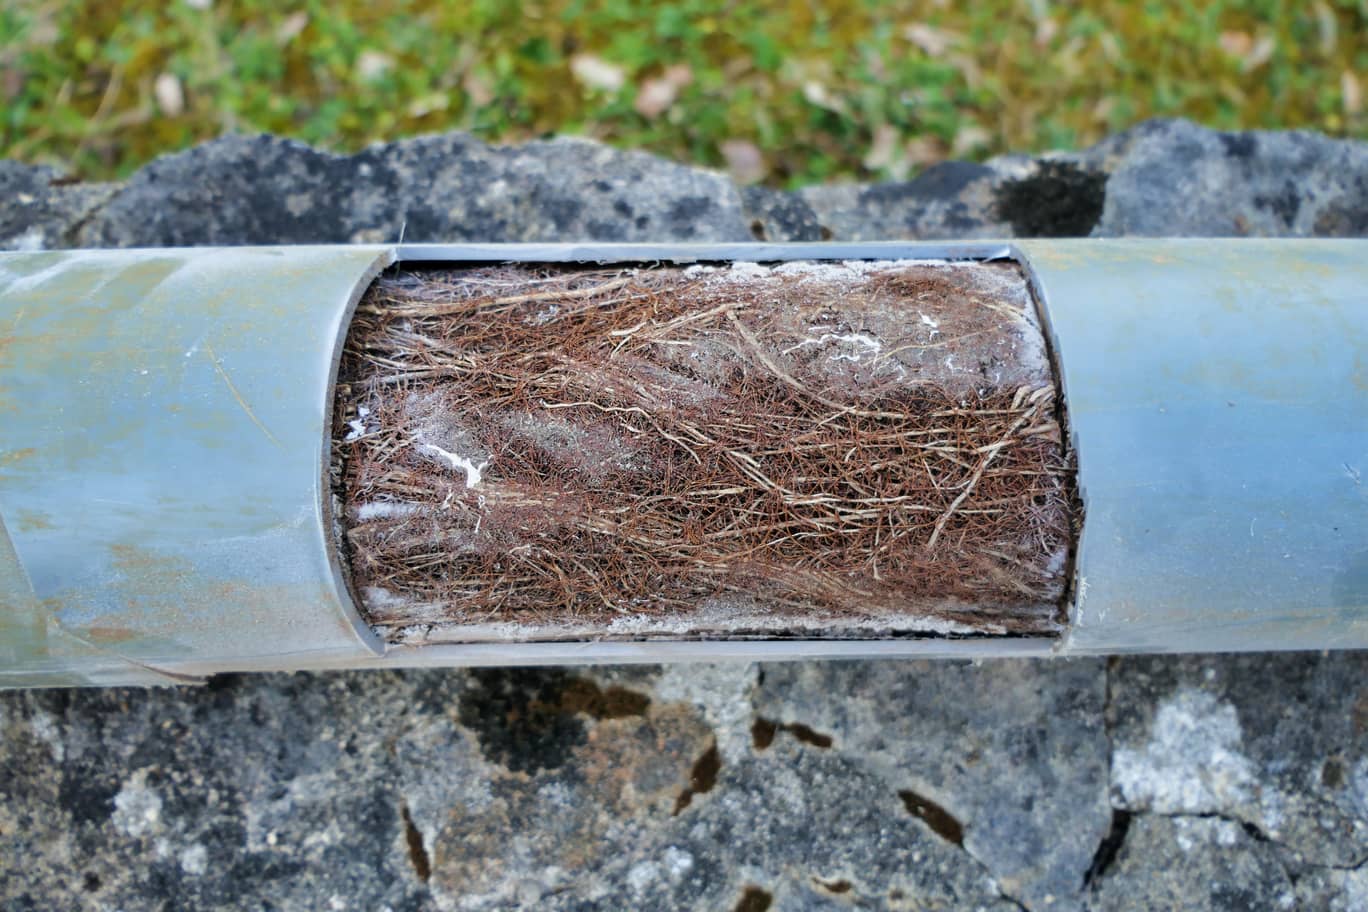
Step 7: Inspect and clean the area
After removing the test ball from the plumbing system, it’s important to inspect and clean the area before proceeding with any further steps. This will ensure that the area is free from debris, residue, or any potential issues that may affect the reassembly process. Here’s what you should do:
- Inspect the fittings and pipes: Take a close look at the fittings, pipes, and surrounding area where the test ball was located. Look for any signs of damage, such as cracks, corrosion, or loose connections. If you notice any issues, it’s best to address them before reassembling the system.
- Clean the area: Use a clean cloth or rag to wipe the fittings and pipes in the vicinity of where the test ball was installed. Remove any dirt, debris, or residue that may have accumulated. If necessary, use a mild cleaning solution or pipe cleaning brush to ensure a thorough cleaning.
By inspecting the area and cleaning it properly, you can ensure that the reassembly process goes smoothly. It also helps maintain the integrity of your plumbing system and prevents potential issues down the line.
If you encounter any major damage or require professional assistance during the inspection process, it’s advisable to consult a licensed plumber for guidance.
Once you have inspected and cleaned the area, you’re ready to move on to the next step: replacing the test ball, if necessary.
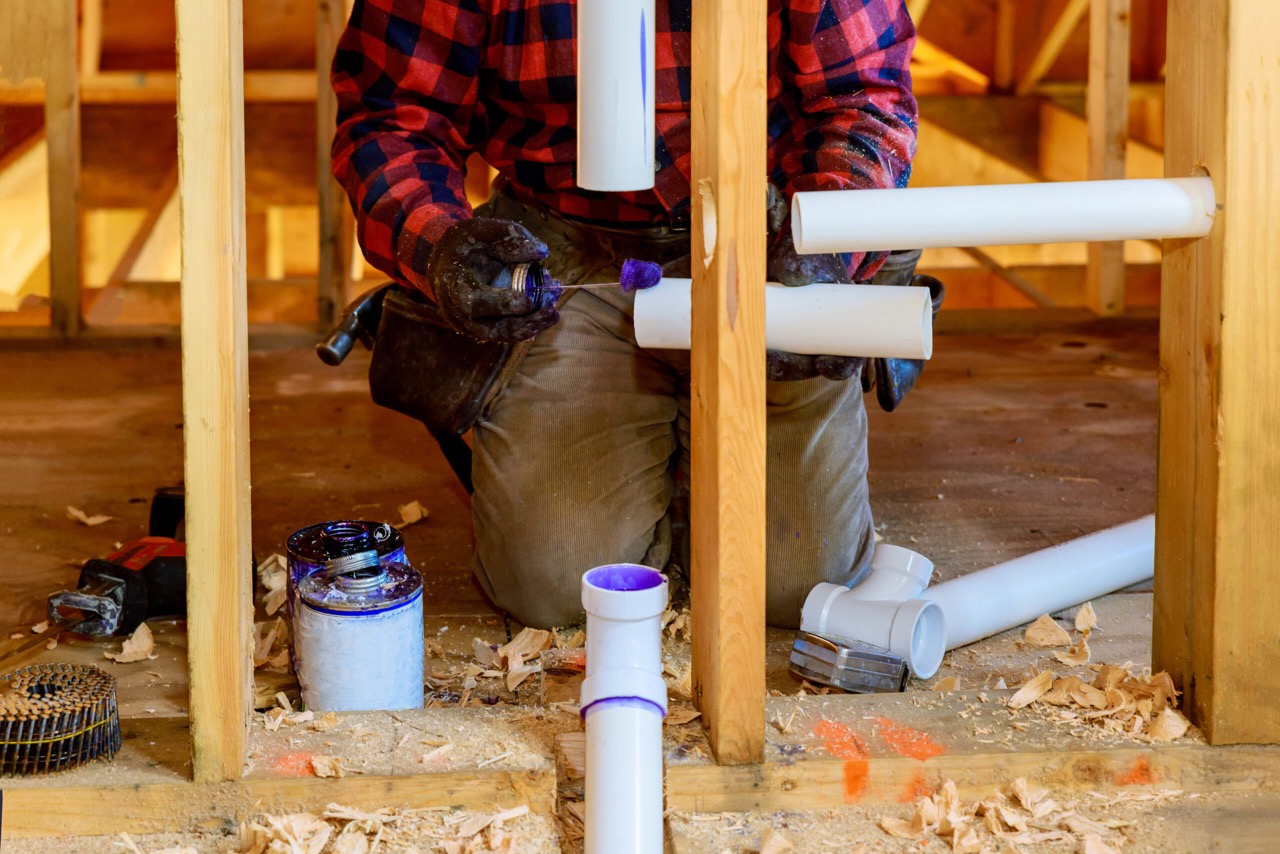
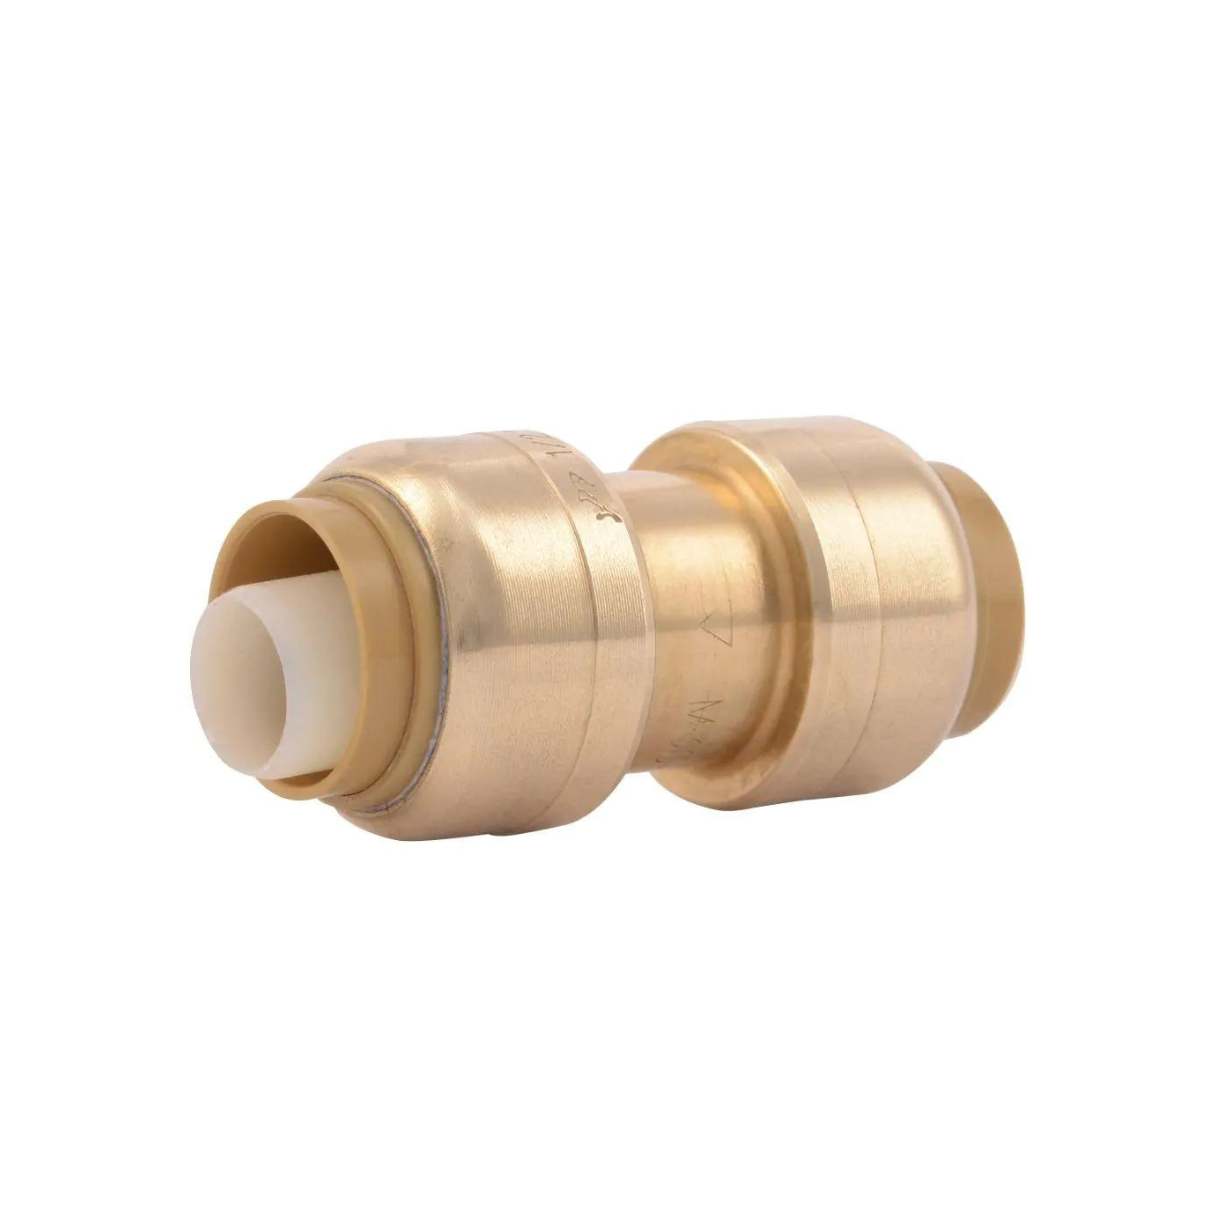
Step 8: Replace the test ball (if necessary)
After inspecting the area and ensuring it is clean and in good condition, you can proceed to replace the test ball if necessary. Depending on the specific circumstances, you may need to install a new test ball or reinsert the original one. Here’s how you can replace the test ball:
- Prepare the new test ball (if applicable): If you need to install a new test ball, ensure that it is of the correct size and type for your plumbing system. Follow the manufacturer’s instructions for any specific preparation steps.
- Apply plumber’s tape: Wrap a few layers of plumber’s tape around the threads of the test ball or fitting. This will help create a tight and secure seal when reassembling.
- Insert the test ball: Carefully slide or screw the test ball back into the fitting, ensuring that it is properly aligned and seated securely. Use a wrench to tighten it, but be careful not to overtighten, as this can cause damage.
If you are reinserting the original test ball, make sure it is clean and in good condition before reinstalling it. Inspect the test ball and the fitting to ensure there are no visible signs of damage or wear that could affect its functionality.
Once you have replaced the test ball, double-check that it is securely in place and properly tightened. This will prevent any potential leaks or issues when repressurizing the plumbing system.
Now that the test ball is replaced (if necessary), you can proceed to the next step: turning on the water supply.
Read more: What Is A Hydrostatic Plumbing Test
Step 9: Turn on the water supply
With the test ball replaced and properly secured, it’s time to turn on the water supply and restore the flow of water in your plumbing system. Here’s how you can do it:
- Locate the main water shut-off valve: Refer back to the location of the main water shut-off valve that you identified in Step 2.
- Turn on the main water supply: Depending on the type of valve, either turn the valve counterclockwise or push the lever up to restore the water flow.
As you turn on the water supply, be prepared for some initial sputtering or air pockets as the pipes fill with water. This is normal and should subside after a few minutes. Monitor the system for any signs of leaks or unusual water flow.
Once you have confirmed that the water supply is restored and the system is functioning properly, check the area around the test ball for any signs of leaks. If you detect any leaks, immediately shut off the water supply and consult a professional plumber for assistance.
With the water supply turned on and the plumbing system functioning correctly, you have successfully completed the process of removing and replacing a plumbing test ball. Take a moment to clean up your tools and materials, and congratulate yourself on a job well done!
Remember, proper maintenance and regular inspections of your plumbing system are essential for its longevity and functionality. If you have any concerns or questions about your plumbing system, it’s always a good idea to consult a professional plumber for guidance.
We hope this guide has been helpful in guiding you through the process of removing and replacing a plumbing test ball. Thank you for reading, and best of luck with your plumbing projects!
Conclusion
Removing a plumbing test ball may seem like a daunting task, but with the right tools, knowledge, and precautions, it can be a manageable DIY project. By following the step-by-step guide outlined in this article, you can safely and effectively remove a plumbing test ball for maintenance or repairs.
Throughout the process, it’s crucial to prioritize safety. Always shut off the water supply before starting any work, wear protective gear, and exercise caution when handling tools and equipment. If you’re unsure or uncomfortable with any step, it’s best to consult a professional plumber to ensure the task is done correctly.
By gathering the necessary tools and materials, shutting off the water supply, locating the test ball, and releasing the pressure, you are well on your way to removing the test ball. Unscrewing and removing the test ball should be done with care, paying attention to any additional components or mechanisms that may be in place.
Inspecting and cleaning the area after removing the test ball is essential to ensure a proper reassembly. If needed, replace the test ball with a new one or reinsert the original after applying plumber’s tape for a secure seal. Finally, turn on the water supply, checking for any leaks or abnormalities.
Remember, regular maintenance and inspections are key to keeping your plumbing system in optimal condition. If you have any concerns or questions, it’s always a good idea to seek professional advice.
We hope this comprehensive guide has provided you with the knowledge and confidence to successfully remove a plumbing test ball. Enjoy your newly acquired plumbing skills, and may your future DIY projects be a success!
Frequently Asked Questions about How To Remove A Plumbing Test Ball
Was this page helpful?
At Storables.com, we guarantee accurate and reliable information. Our content, validated by Expert Board Contributors, is crafted following stringent Editorial Policies. We're committed to providing you with well-researched, expert-backed insights for all your informational needs.


0 thoughts on “How To Remove A Plumbing Test Ball”