Home>Articles>How To Remove Moen Towel Ring With Locking Tab On Base
Articles
How To Remove Moen Towel Ring With Locking Tab On Base
Modified: August 27, 2024
Learn how to remove a Moen towel ring with a locking tab on the base easily. Read our step-by-step articles for a hassle-free experience.
(Many of the links in this article redirect to a specific reviewed product. Your purchase of these products through affiliate links helps to generate commission for Storables.com, at no extra cost. Learn more)
Introduction
Welcome to our guide on how to remove a Moen towel ring with a locking tab on the base. Whether you’re looking to replace an old towel ring, rearrange your bathroom fixtures, or simply want to clean and maintain your towel ring, the process of removal can seem daunting at first. However, with the right tools and a step-by-step approach, you can easily remove your Moen towel ring and complete your desired task.
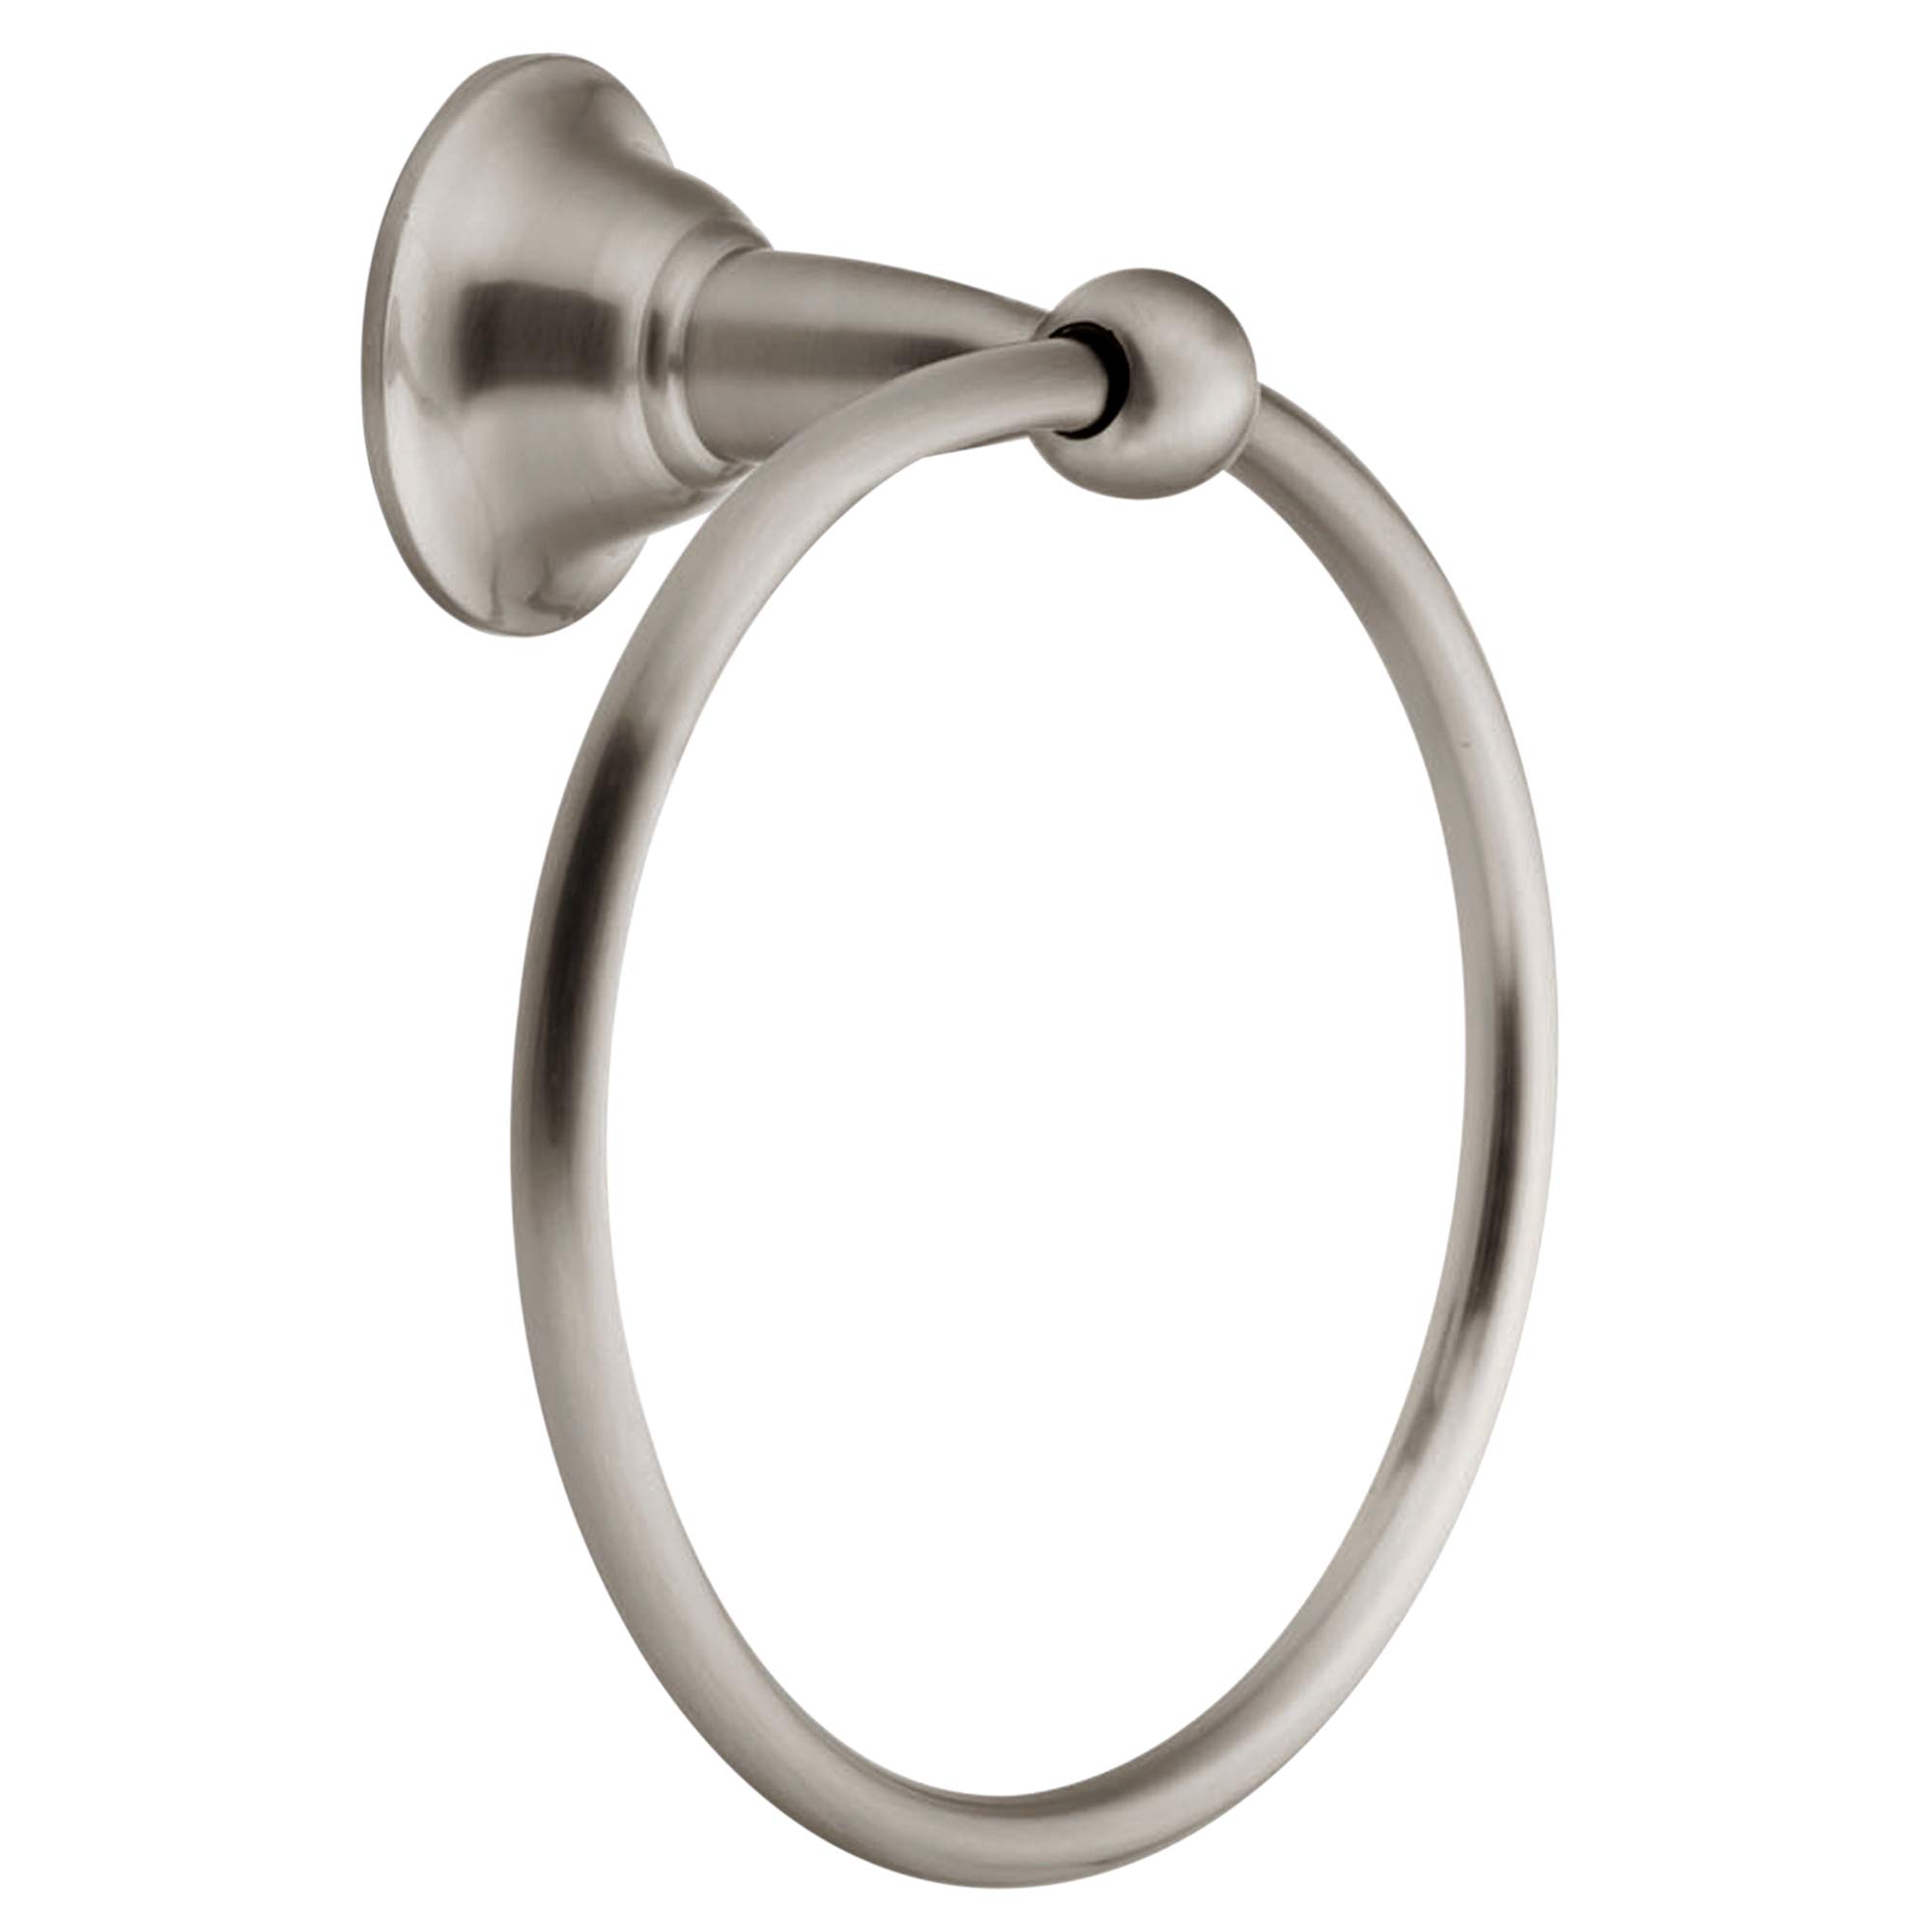
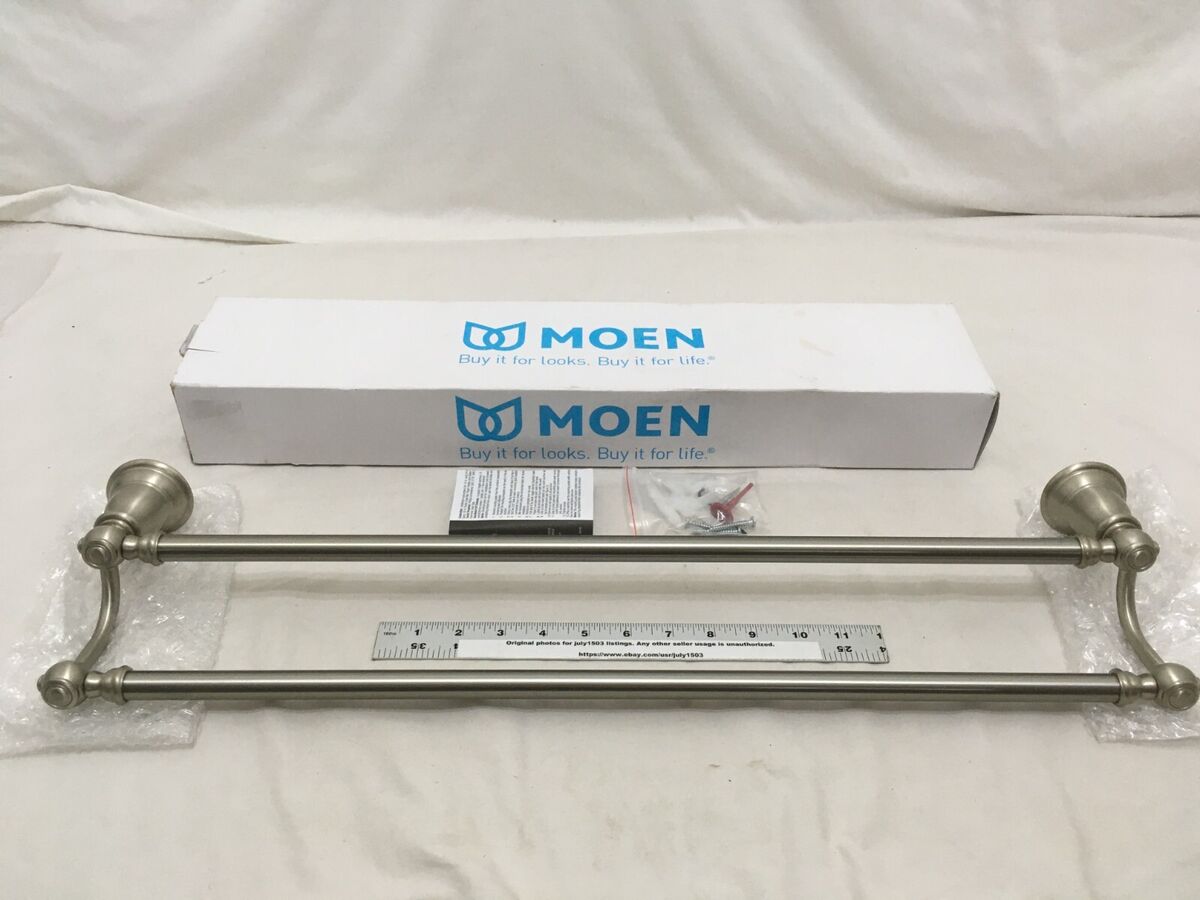
Moen is a well-known and trusted brand in the plumbing industry, renowned for its high-quality bathroom and kitchen fixtures. Their towel rings are designed for durability and easy installation, but they also provide a locking tab mechanism that ensures a secure fit on the wall bracket. This locking tab can make removal slightly more complicated, but by following our instructions, you’ll be able to remove your Moen towel ring without any hassle.
Before we begin, please note that different models of Moen towel rings may have slightly different mechanisms for removal. It’s important to consult the manufacturer’s instructions specific to your towel ring for the most accurate guidance. With that said, our general guide will provide you with the basic steps to remove most Moen towel rings with a locking tab on the base.
Now that we’ve covered the basics, let’s move on to the first step of removing a Moen towel ring with a locking tab on the base: gathering the necessary tools.
Key Takeaways:
- Easily remove your Moen towel ring with a locking tab by gathering the right tools, locating and depressing the tab, and gently removing the ring from the wall bracket. Optional cleaning and reinstallation steps ensure a fresh, functional bathroom.
- Follow our step-by-step guide to confidently remove and, if desired, reinstall your Moen towel ring. With the right tools and careful execution, the process can be straightforward and hassle-free, leaving you with a clean and aesthetically pleasing bathroom.
Read more: Moen Preston Towel Ring – How Wide Is Ring?
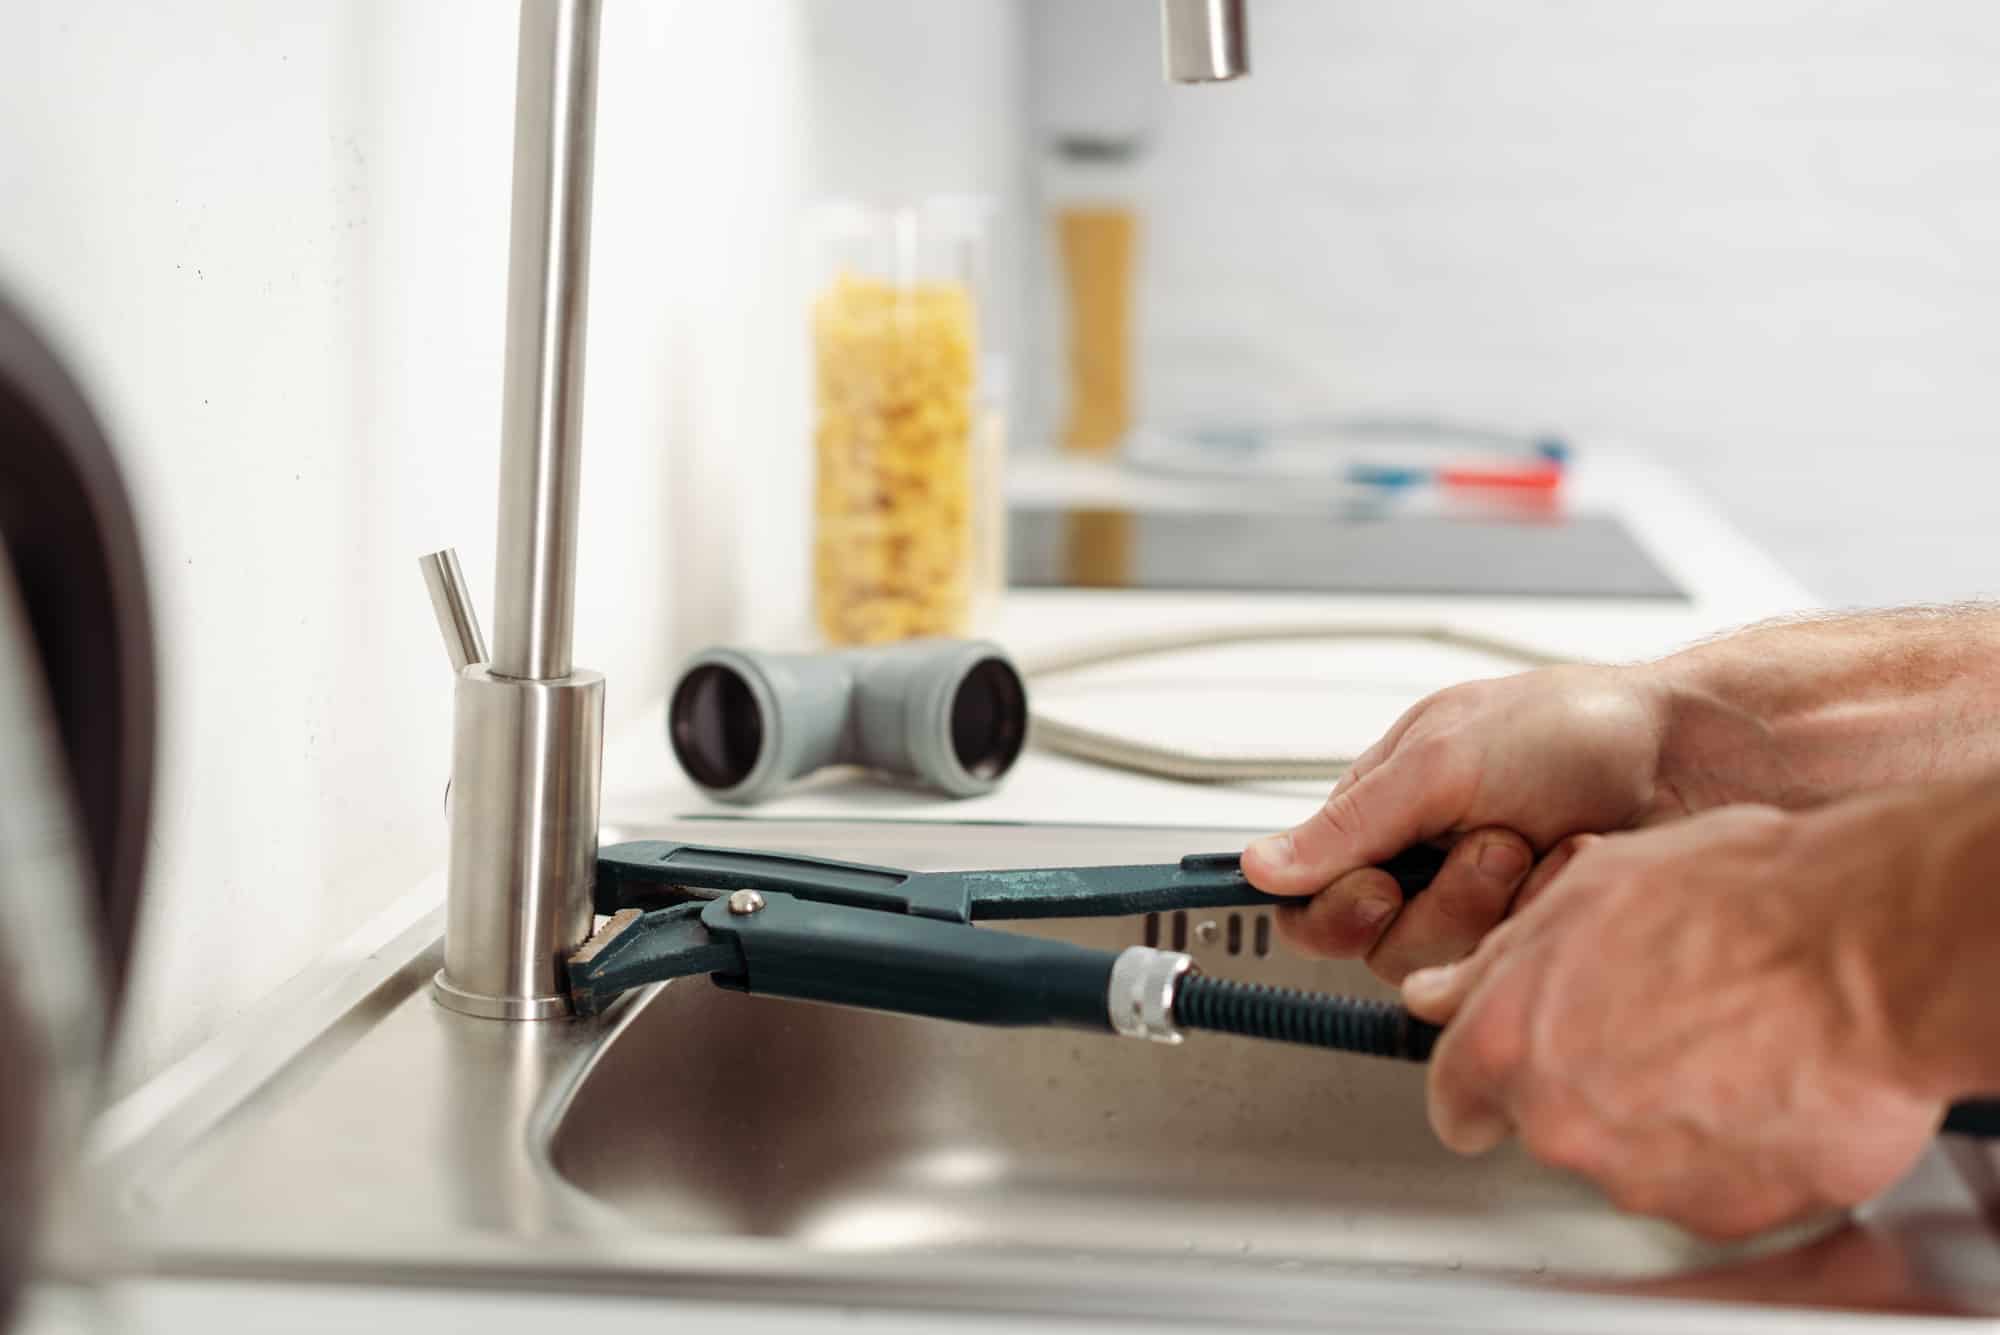
Step 1: Gather the necessary tools
Before you begin the process of removing your Moen towel ring, it’s important to gather the necessary tools to make the job easier and more efficient. Here are the tools you will need:
- Flathead screwdriver: This will be used to depress the locking tab and release the towel ring from the base.
- Adjustable wrench: You may need this tool to loosen any screws or nuts that secure the towel ring to the wall bracket.
- Plastic bag or container: This will be used to collect any small screws or parts to ensure they don’t get lost during the removal process.
- Clean cloth or sponge: Optional, but recommended if you plan to clean the towel ring or the wall area before reinstalling or replacing the towel ring.
Once you have gathered these tools, you’ll be well-prepared to successfully remove your Moen towel ring. Now, let’s move on to the next step: locating the locking tab on the base.
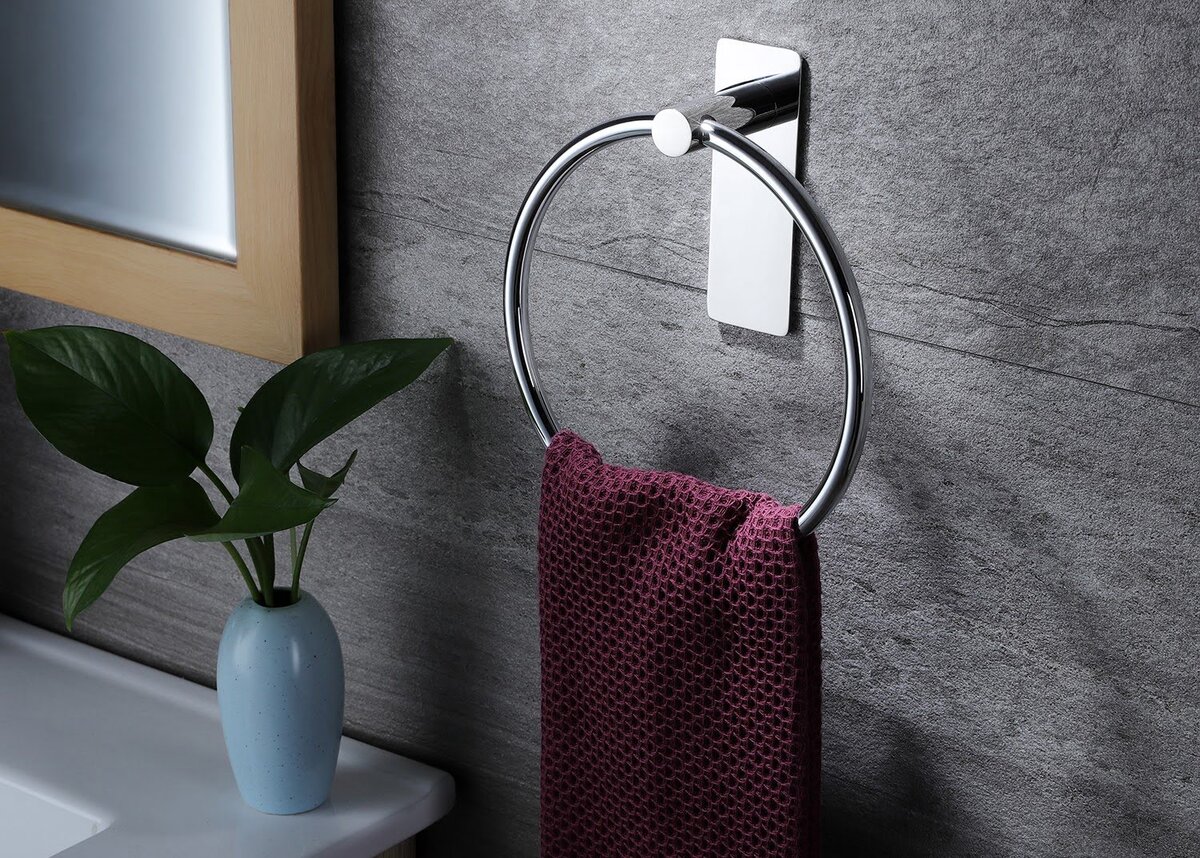
Step 2: Locate the locking tab on the base
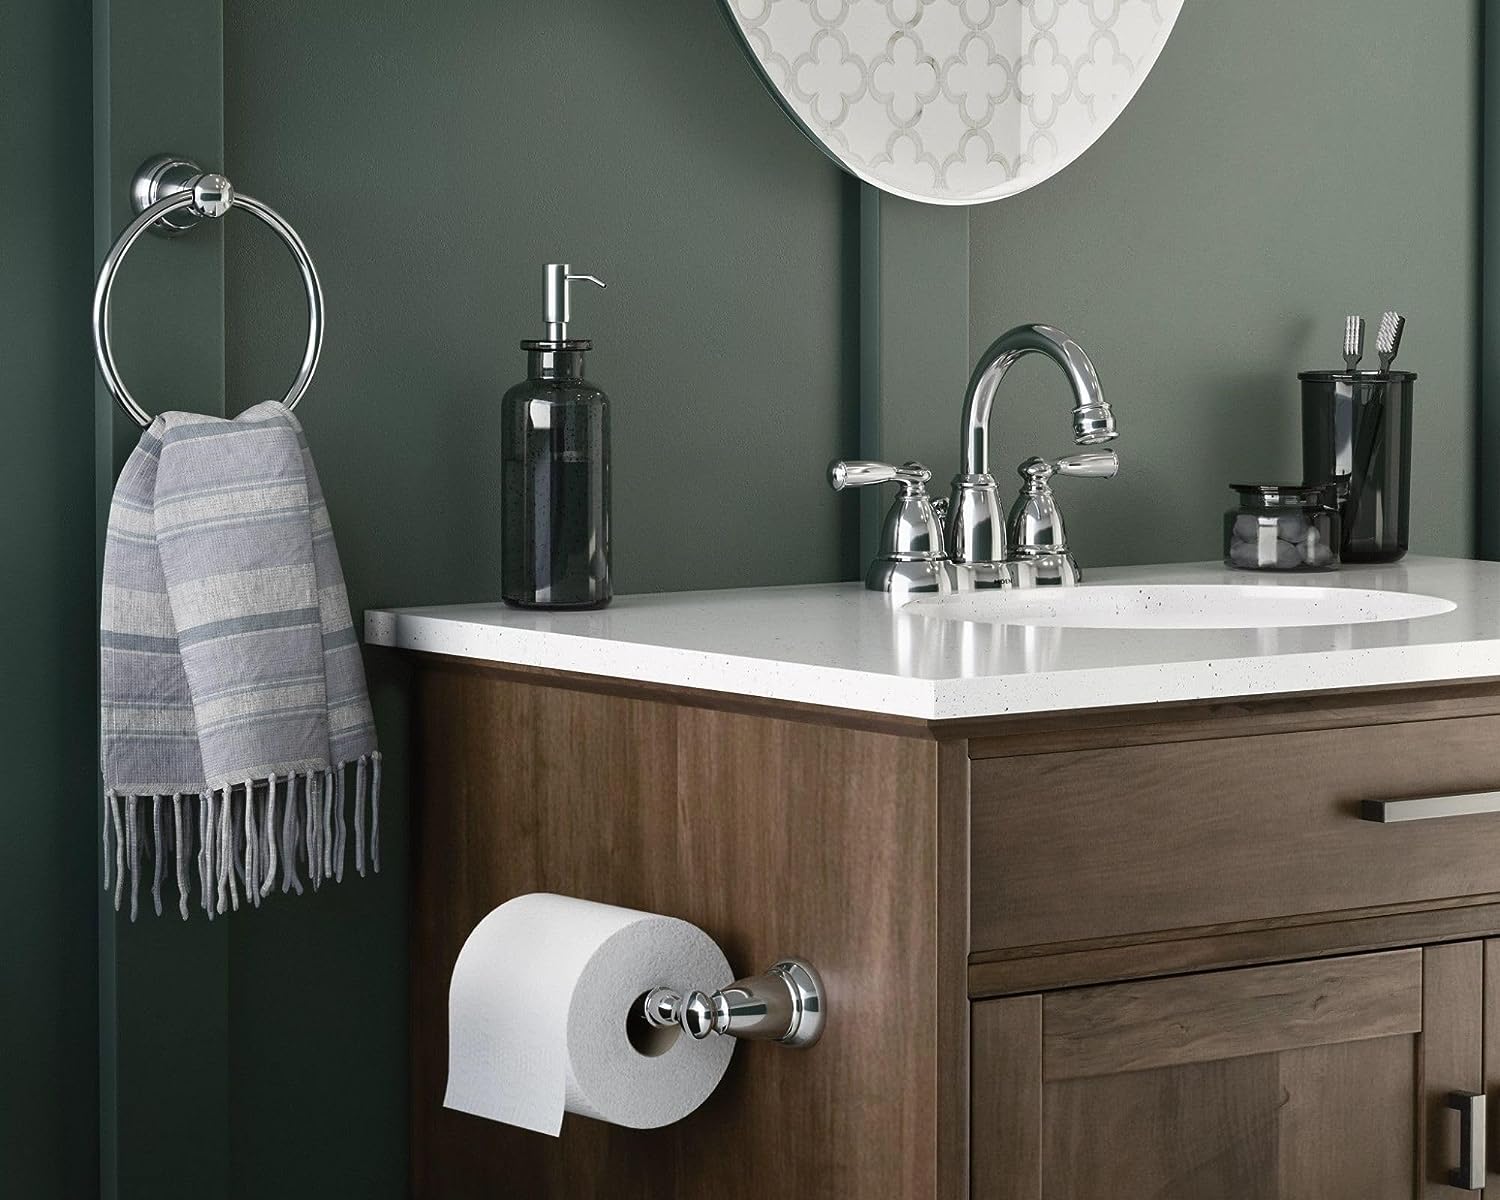
Before you can remove the Moen towel ring, it’s essential to locate the locking tab on the base. The locking tab is usually found on the underside of the towel ring, near the attachment area to the wall bracket. This tab is designed to secure the towel ring in place and prevent it from sliding or rotating on the bracket.
Take a close look at the base of the towel ring and try to identify the locking tab. It’s typically a small protruding piece of plastic or metal with a notch or indentation. Depending on the model of your Moen towel ring, the locking tab may be rectangular, circular, or have a unique shape.
Once you have located the locking tab, you’re ready to move on to the next step: depressing the locking tab.
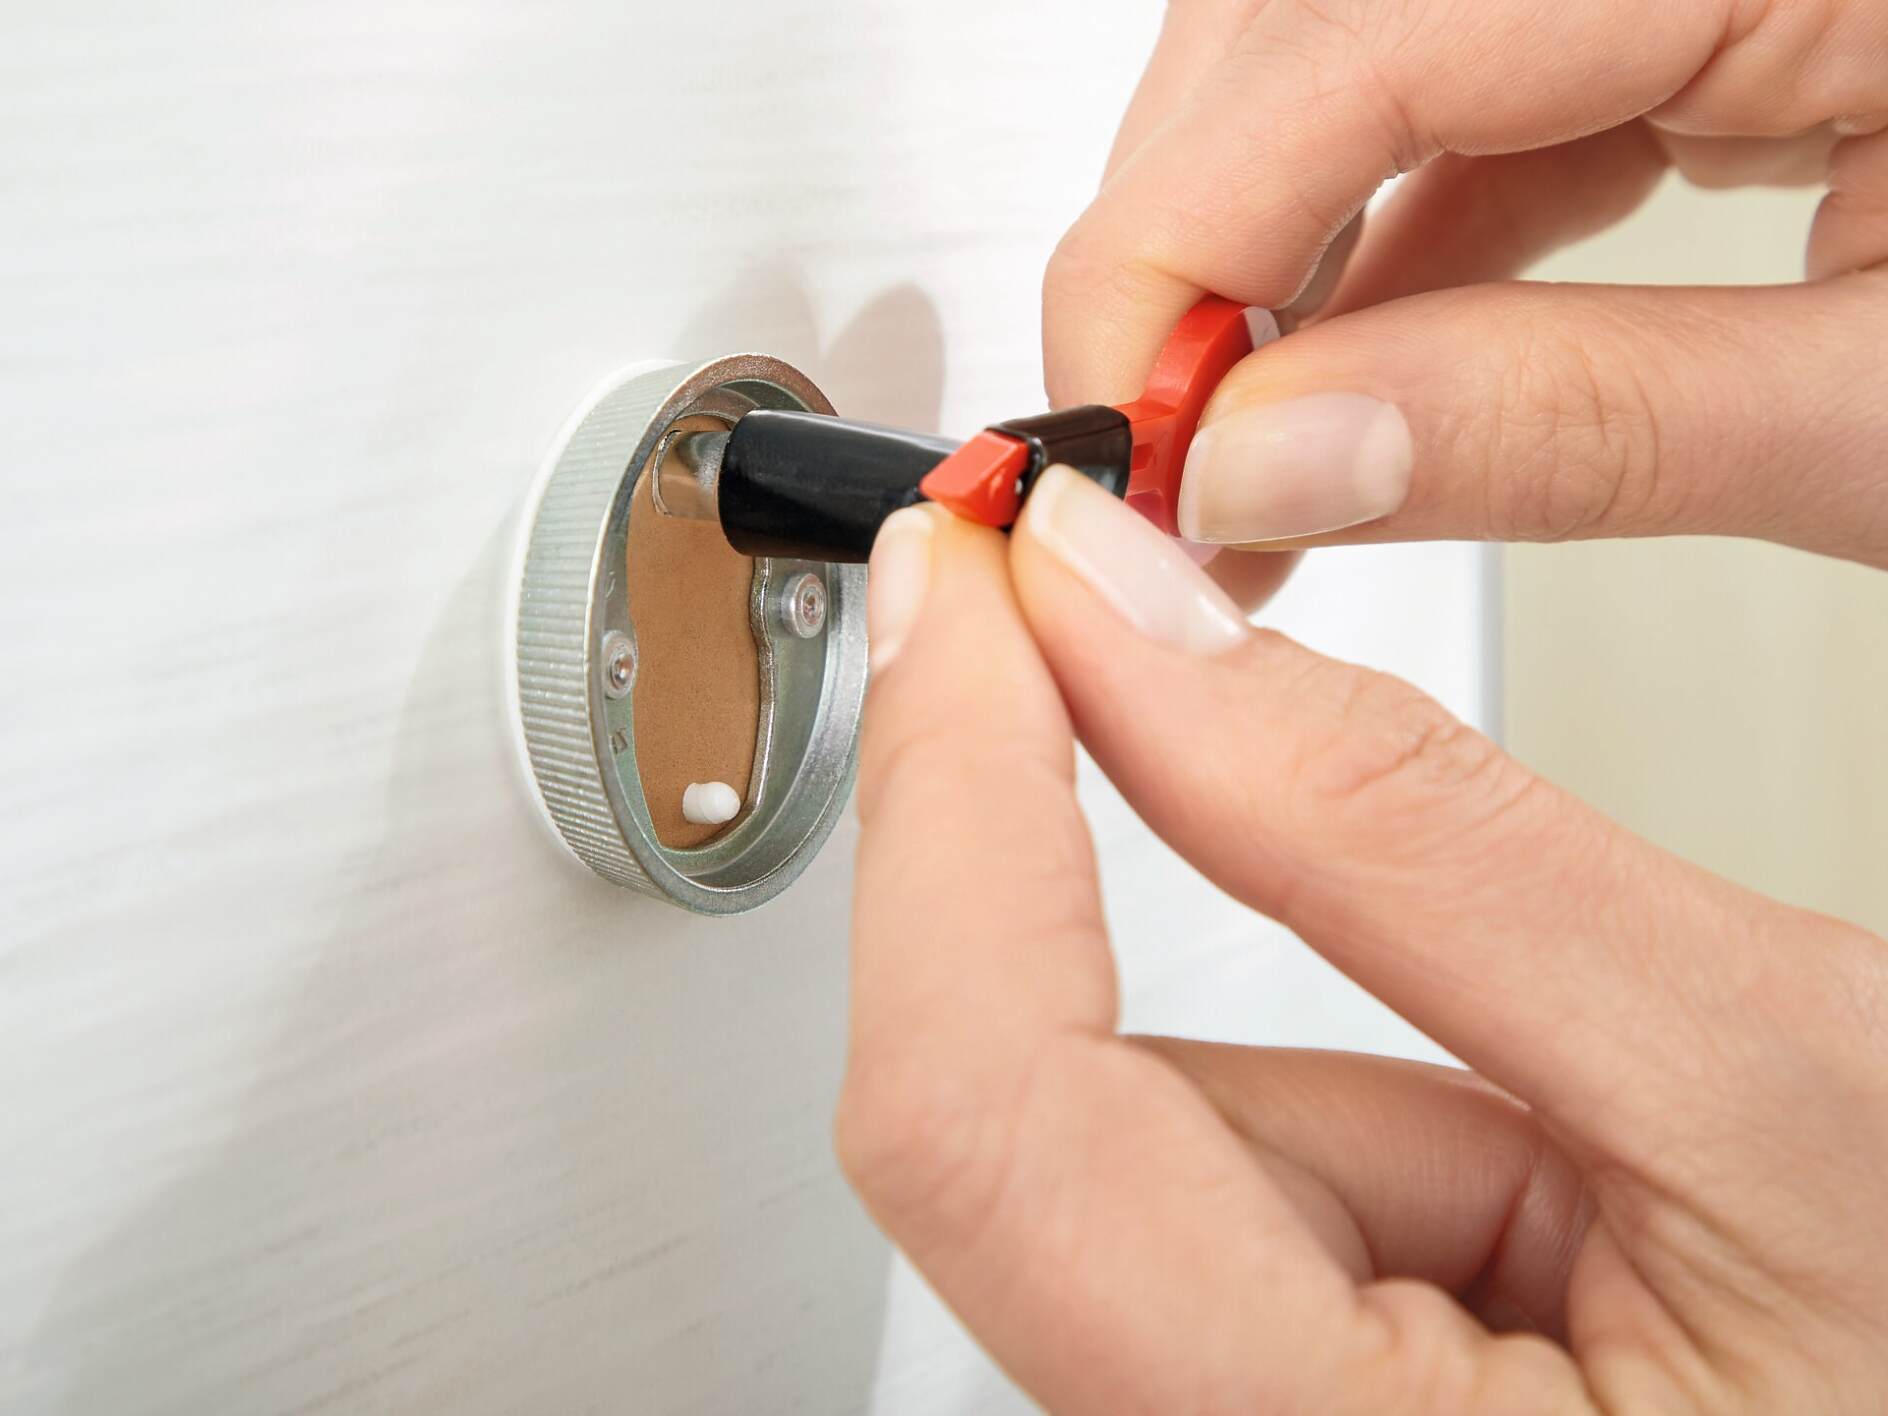
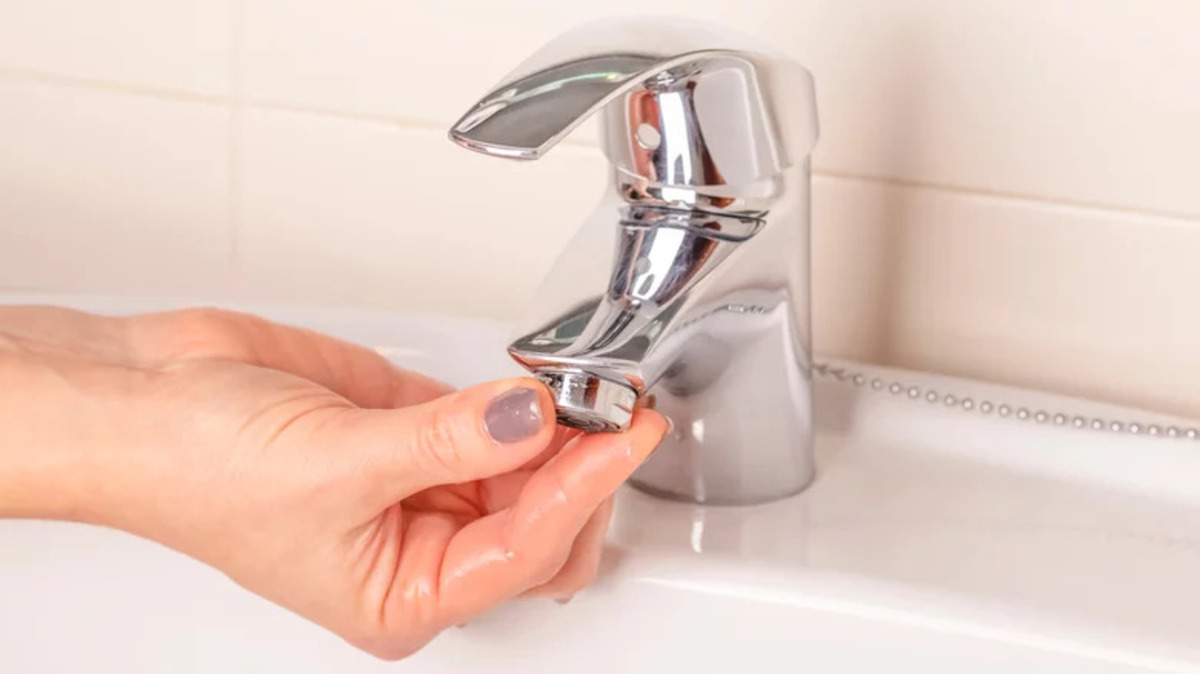
Step 3: Depress the locking tab
With the locking tab located, it’s time to depress it in order to release the Moen towel ring from the wall bracket. Here’s how to do it:
- Insert the flathead screwdriver into the notch or indentation on the locking tab.
- Apply gentle pressure and push down on the screwdriver to depress the tab. You may need to use some force, but be careful not to apply too much pressure or you risk damaging the tab or other components.
- While holding down the tab, carefully pull the towel ring away from the wall bracket. The locking tab should disengage and allow the towel ring to slide off the bracket.
If the towel ring doesn’t easily come off, double-check that the locking tab is fully depressed. Sometimes the tab can get partially stuck or jammed. Try pushing down on the screwdriver again to ensure it’s fully engaged with the tab.
Once you have successfully depressed the locking tab and removed the towel ring from the wall bracket, you’re ready to move on to the next step: removing the towel ring from the wall bracket.
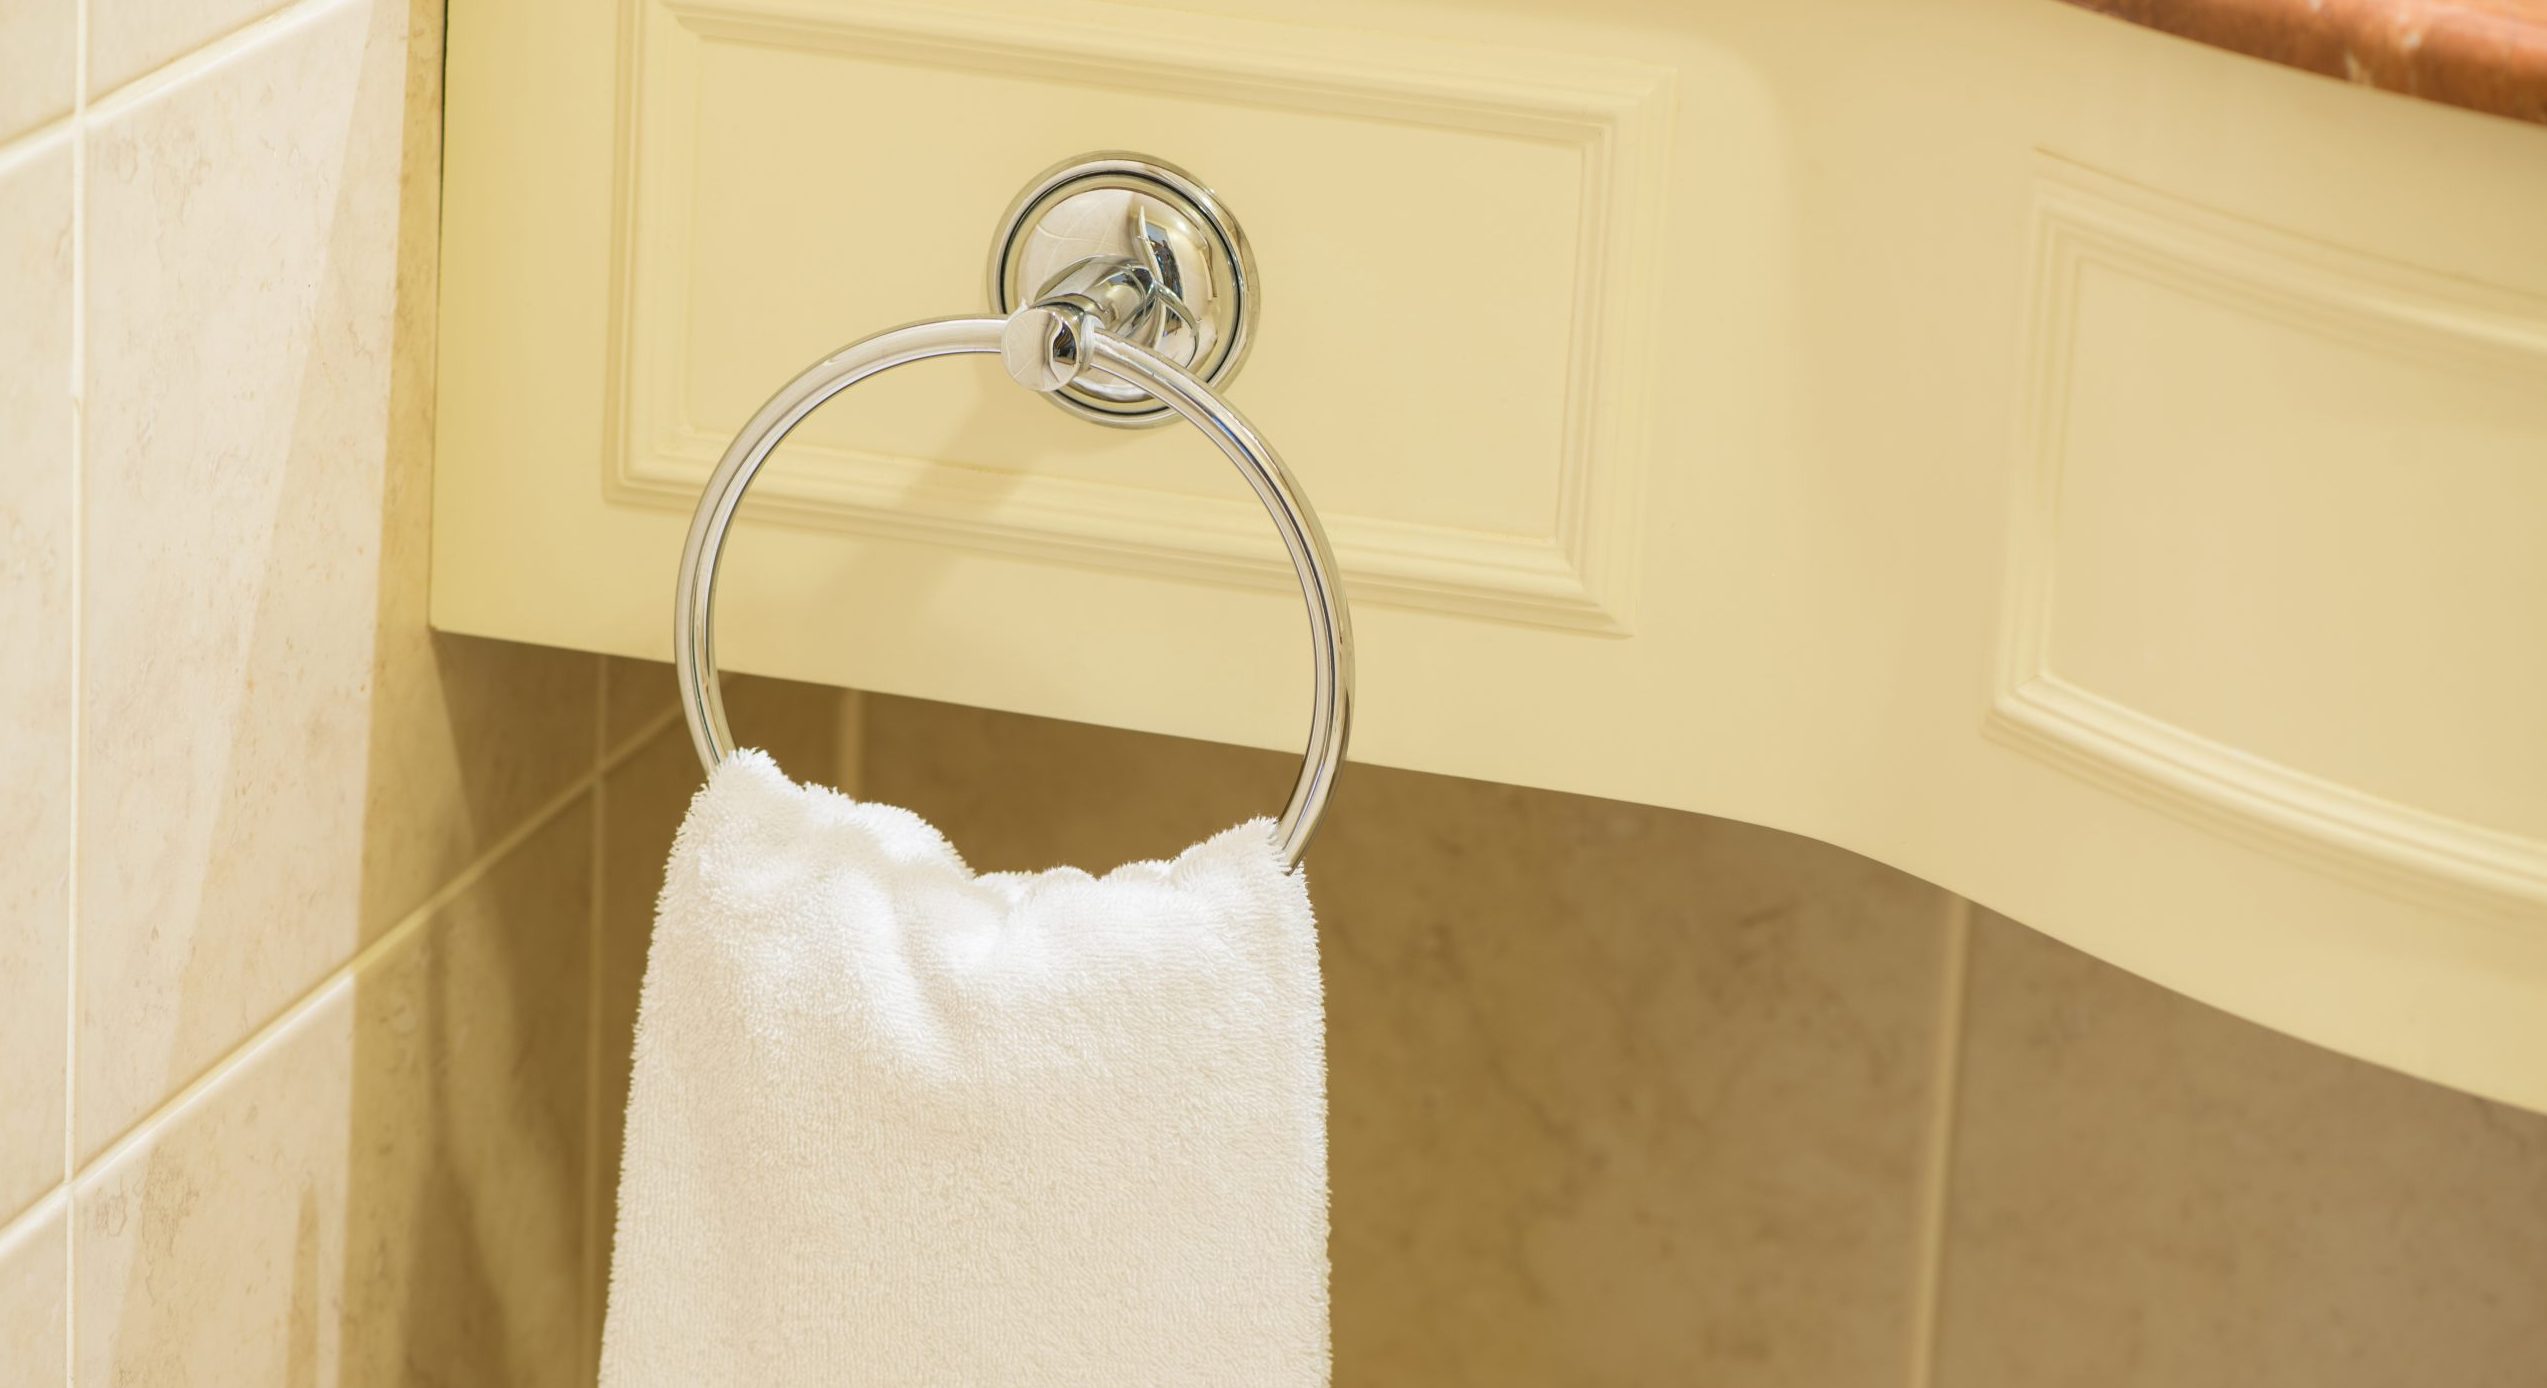
Use a flathead screwdriver to gently pry the locking tab away from the wall. Once the tab is released, twist the base counterclockwise to remove the towel ring from the wall.
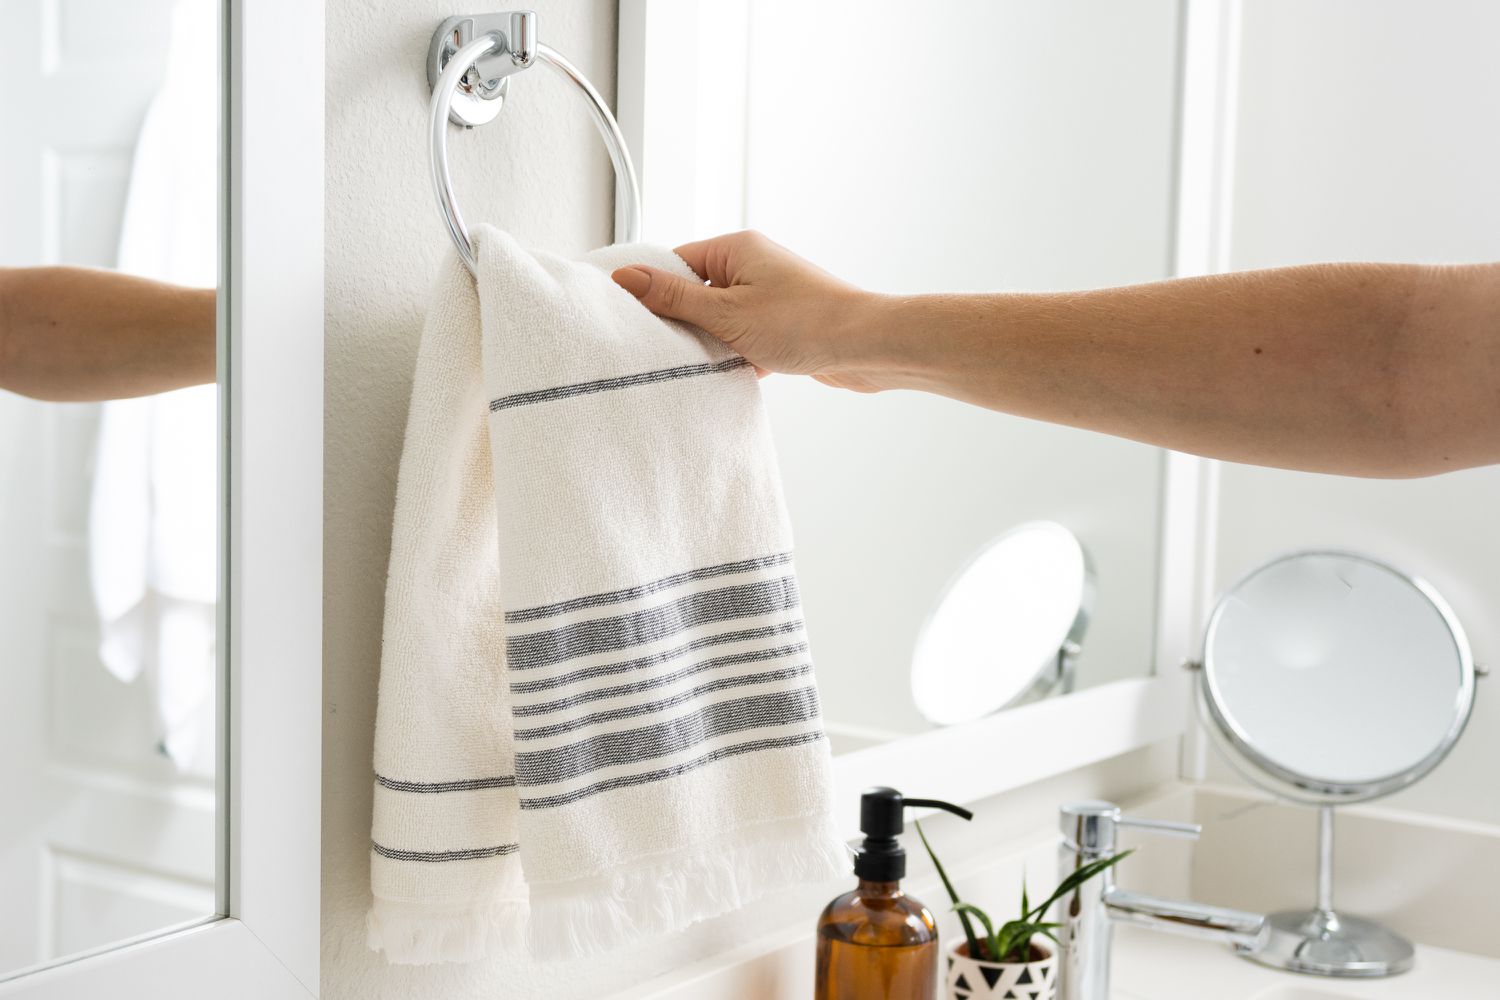
Step 4: Remove the towel ring from the wall bracket
Now that you have successfully depressed the locking tab, it’s time to remove the Moen towel ring from the wall bracket. Follow these steps:
- Hold the towel ring firmly with one hand.
- With your other hand, gently rotate and wiggle the towel ring back and forth to loosen it from the wall bracket.
- Once the towel ring feels loose, continue pulling it away from the wall bracket until it is completely detached.
Be cautious when removing the towel ring to avoid any damage to the surrounding wall or the towel ring itself. Take your time and exert gentle force until it comes off. If the towel ring seems stuck, check if there are any hidden screws or additional attachments that may be securing it to the wall bracket.
Once the towel ring is removed from the wall bracket, you have successfully completed the removal process. If you wish to clean the towel ring or prepare for reinstallation, continue reading for optional steps.
Read more: How To Mount A Moen Towel Ring
Step 5: Clean and prepare for reinstallation (optional)
After removing the Moen towel ring, you may decide to clean it or the surrounding area before reinstallation. This step is optional but can help maintain the towel ring’s appearance and ensure a fresh look in your bathroom. Here’s what you can do:
- Inspect the towel ring for any dirt, grime, or soap residue.
- If necessary, clean the towel ring using a mild soap or bathroom cleaner. Avoid using abrasive cleaners or tools that may scratch the surface of the towel ring. Use a clean cloth or sponge to wipe down the entire surface.
- Next, examine the wall bracket for any debris or dust. Use the clean cloth or sponge to wipe down the bracket and remove any dirt.
- If desired, you can also clean the wall area surrounding the bracket. Use a gentle cleanser appropriate for your wall material and a clean cloth to wipe away any dirt or marks.
- Allow the towel ring, bracket, and wall area to dry completely before reinstallation.
Cleaning the towel ring and the surrounding area can refresh the look of your bathroom and ensure that the towel ring functions properly. Once everything is dry, you can proceed to the next step: reinstallation.
Step 6: Reinstall the towel ring (optional)
If you wish to reattach the Moen towel ring to the wall bracket, follow these steps:
- Hold the removed towel ring in one hand.
- Align the attachment points on the towel ring with the wall bracket.
- Slide the towel ring onto the bracket, ensuring that the locking tab is facing upward.
- Push the towel ring firmly against the wall, making sure it is securely attached to the wall bracket.
- Check that the locking tab has engaged with the bracket and is holding the towel ring in place.
Once you have reinstalled the towel ring, give it a gentle tug to ensure that it is securely fastened to the wall bracket. If the towel ring feels loose or wobbly, remove it and double-check that the locking tab is correctly engaged.
Remember, the reinstallation step is optional. If you don’t need to use the towel ring or you plan to replace it, there’s no need to proceed with this step.
Congratulations! You have successfully removed your Moen towel ring and, if applicable, reinstalled it as well. Now you can enjoy a clean, functional, and aesthetically pleasing bathroom. Before we conclude, let’s summarize what we’ve covered in this guide.
Conclusion
Removing a Moen towel ring with a locking tab on the base may initially seem challenging, but by following our step-by-step guide, you can easily accomplish the task. Whether you’re replacing the towel ring, rearranging your bathroom fixtures, or simply cleaning and maintaining it, the process can be straightforward and hassle-free.
Throughout this guide, we discussed gathering the necessary tools, locating and depressing the locking tab, removing the towel ring from the wall bracket, and optional steps for cleaning and reinstalling the towel ring. Remember, it’s essential to consult the manufacturer’s instructions specific to your towel ring for the most accurate guidance.
By taking your time, using the right tools, and following our instructions, you can successfully remove your Moen towel ring without any difficulty. And if you choose to reattach the towel ring, ensure that the locking tab is engaged and that the towel ring is securely fastened to the wall bracket.
We hope this guide has provided you with the knowledge and confidence you need to remove your Moen towel ring with a locking tab on the base. Enjoy the process and the satisfaction of completing your desired task in your bathroom. If you have any further questions or need additional assistance, don’t hesitate to consult a professional plumber or refer to the manufacturer’s support.
Thank you for reading, and best of luck with your Moen towel ring removal!
Now that you've mastered removing your Moen towel ring, why not tackle a bigger project? If you're pondering how much time you might need to refresh your bathroom, our detailed guide on bathroom renovations will lay out all the steps and timeframes involved. This handy resource ensures your next big home improvement won't come with any surprises.
Frequently Asked Questions about How To Remove Moen Towel Ring With Locking Tab On Base
Was this page helpful?
At Storables.com, we guarantee accurate and reliable information. Our content, validated by Expert Board Contributors, is crafted following stringent Editorial Policies. We're committed to providing you with well-researched, expert-backed insights for all your informational needs.
0 thoughts on “How To Remove Moen Towel Ring With Locking Tab On Base”