Home>Articles>How To Remove Water Restrictor Of A Kingston Brass K136A2CK Victorian 8-Inch Diameter Brass Showerhead
Articles
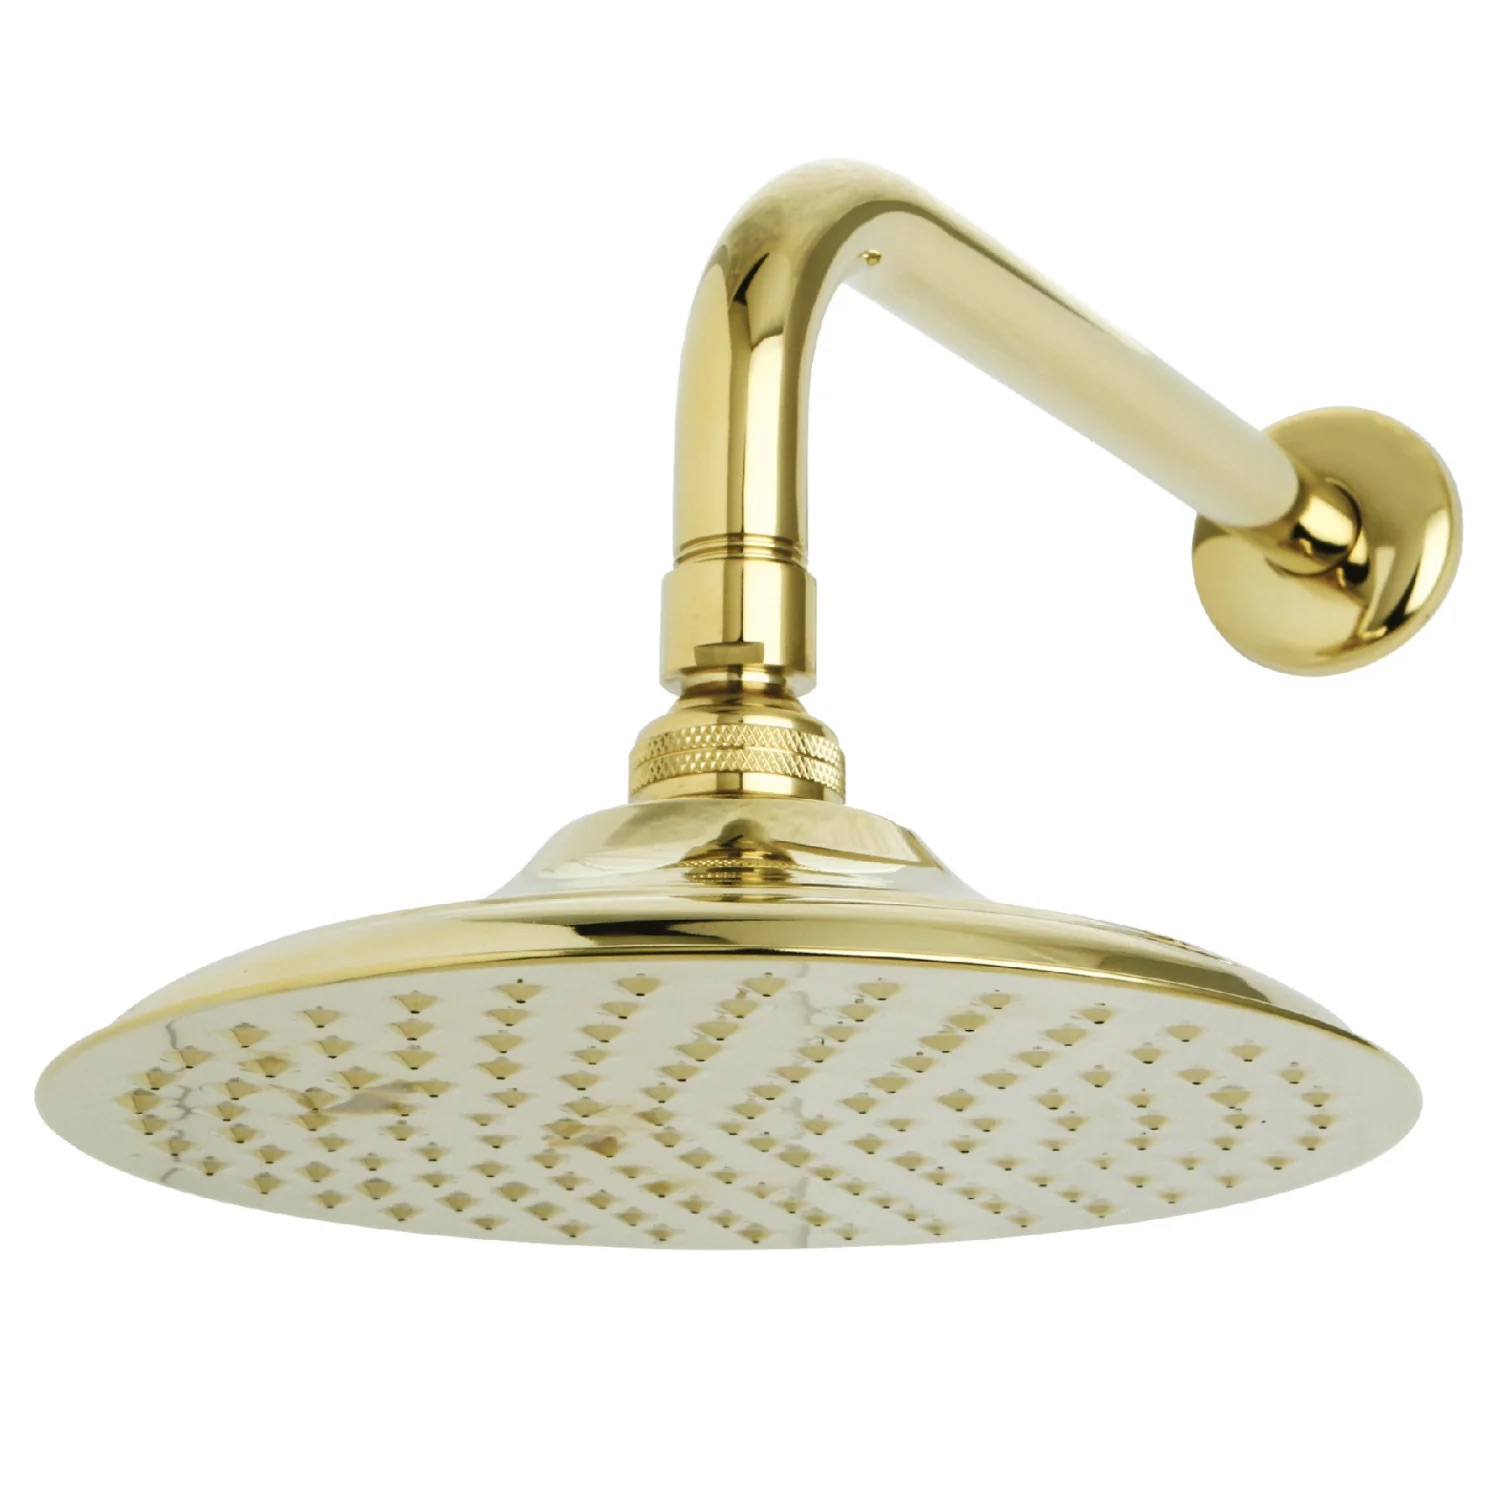
How To Remove Water Restrictor Of A Kingston Brass K136A2CK Victorian 8-Inch Diameter Brass Showerhead
Modified: October 19, 2024
Discover how to remove the water restrictor from the Kingston Brass K136A2Ck Victorian 8-Inch Diameter Brass Showerhead with our helpful articles.
(Many of the links in this article redirect to a specific reviewed product. Your purchase of these products through affiliate links helps to generate commission for Storables.com, at no extra cost. Learn more)
Introduction
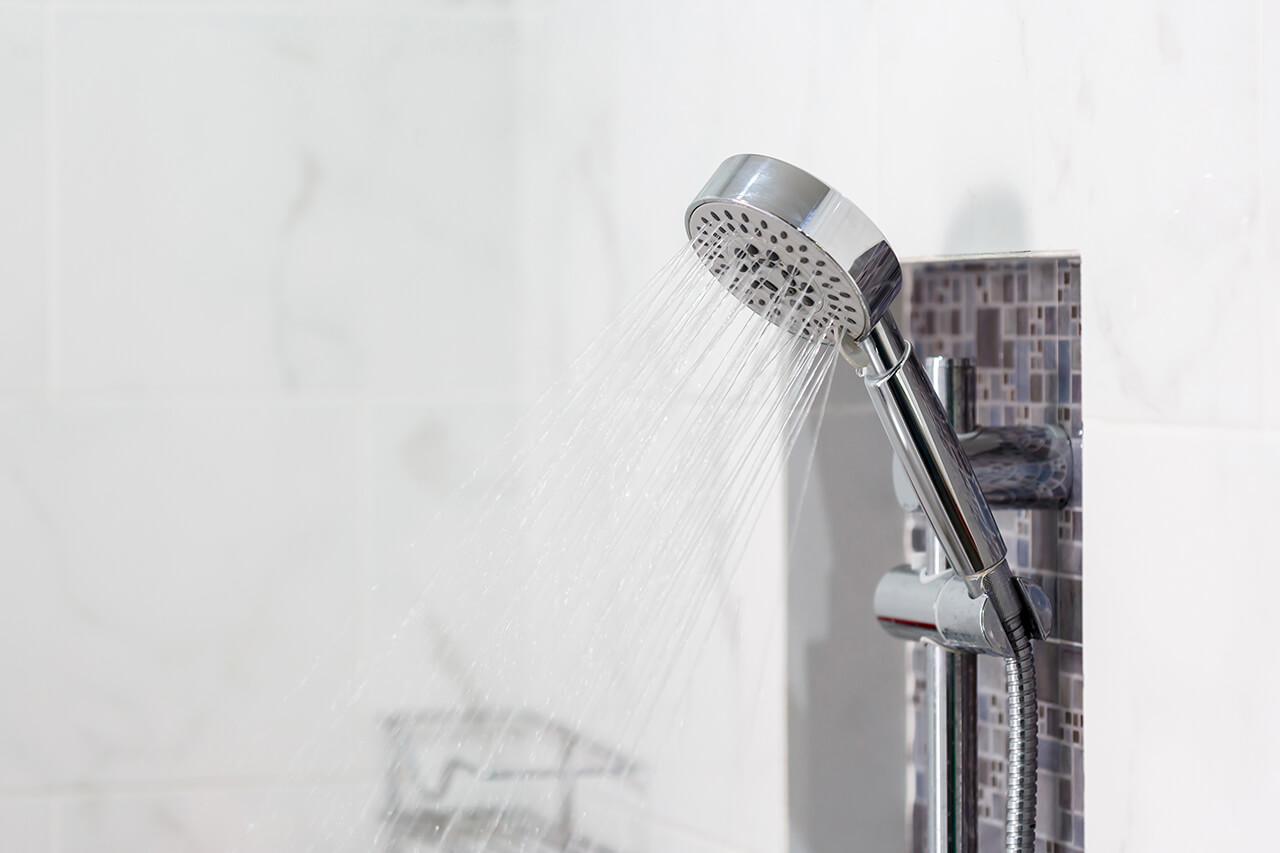
Welcome to our comprehensive guide on how to remove the water restrictor from a Kingston Brass K136A2Ck Victorian 8-Inch Diameter Brass Showerhead. If you’re tired of low water pressure during your showers and want to enhance the flow for a more satisfying bathing experience, removing the water restrictor might be the solution. The Kingston Brass K136A2Ck Victorian showerhead is known for its elegant design and superior craftsmanship, but it also comes with a water restrictor installed to conserve water. While water conservation is important, sometimes it’s necessary to remove the restrictor to achieve the desired pressure.
In this guide, we will take you through a step-by-step process of removing the water restrictor from your Kingston Brass showerhead. Before we begin, it’s important to note that modifying the showerhead may void the warranty, so proceed at your own discretion. Additionally, removing the water restrictor may increase water usage, so keep that in mind if you are conscious of your water consumption.
Now that we have set the expectations, let’s dive into the process of removing the water restrictor and boosting your shower experience. But before we get started, let’s gather the necessary tools.
Key Takeaways:
- Enjoy a rejuvenating shower experience by removing the water restrictor from your Kingston Brass showerhead, increasing water flow and pressure for a more satisfying bathing experience.
- Carefully follow the step-by-step process to remove the water restrictor, ensuring a successful showerhead reinstallation and a rejuvenated shower experience with improved water pressure.
Step 1: Gather the necessary tools
Before we begin the process of removing the water restrictor from your Kingston Brass showerhead, it’s important to gather a few essential tools. Having the right tools at hand will make the process smoother and more efficient. Here are the tools you will need:
- Adjustable wrench or pliers: This tool will help you loosen and tighten various connections during the process. Choose a wrench or pliers that can grip different sizes.
- Tape or cloth: It’s always a good idea to have some tape or cloth on hand to protect the showerhead finish from scratching or getting damaged during the removal process.
- Screwdriver: Depending on the type of showerhead you have, you may need a screwdriver to remove certain parts or access the water restrictor.
- Pen or marker: You may want to mark the original position of the showerhead before removing it. This will help you reinstall it correctly later on.
Make sure you have gathered all the necessary tools before proceeding to the next step. Having everything prepared will save you time and frustration.
Step 2: Locate the water restrictor
Now that you have gathered the necessary tools, the next step is to locate the water restrictor in your Kingston Brass showerhead. The water restrictor is a small device that is usually installed inside the showerhead to limit the flow of water, conserving water usage.
Start by examining your showerhead for any visible markings or indications of a water restrictor. Some showerheads may have a label or symbol that clearly indicates the presence of a restrictor. If you can’t find any clear indications, don’t worry. Most showerheads have a removable faceplate or aerator that can be unscrewed to access the water restrictor.
Grab your adjustable wrench or pliers and carefully unscrew the faceplate or aerator from the showerhead. Use caution while unscrewing to avoid damaging any components. If you encounter resistance, stop and ensure you are using the correct tool and applying enough pressure to loosen the faceplate or aerator.
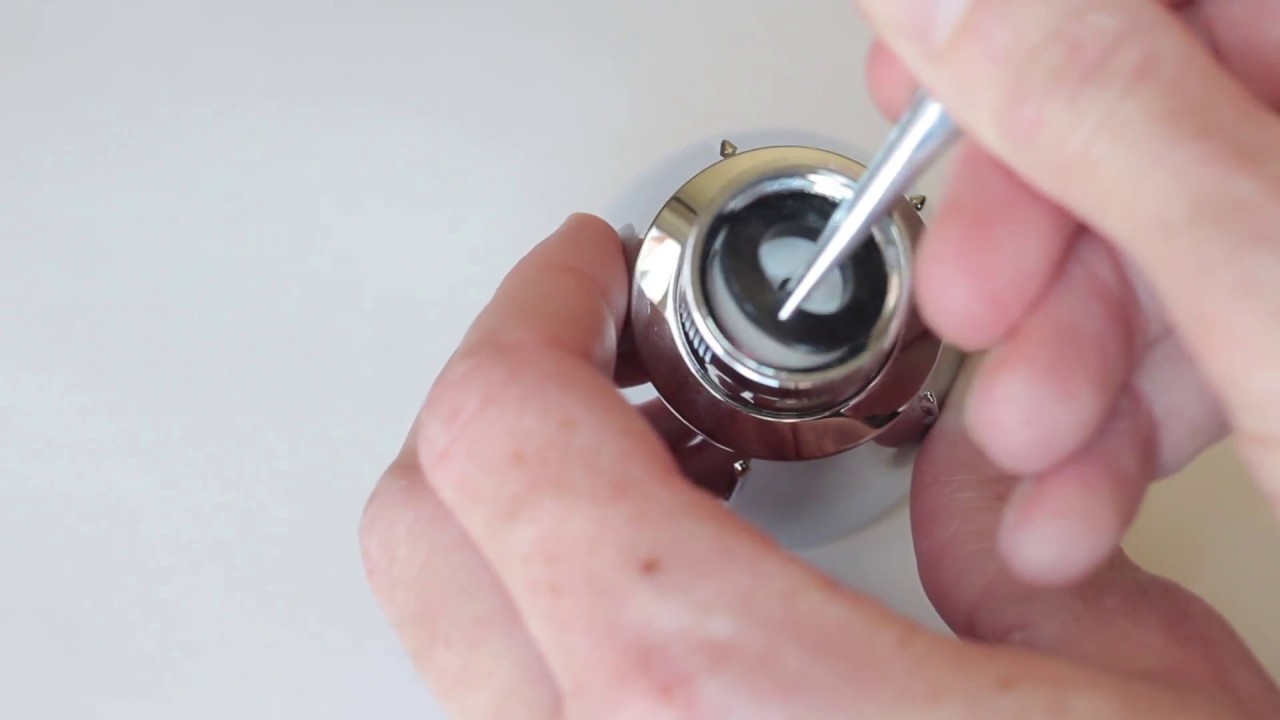
Once you have removed the faceplate or aerator, take a close look inside. You should see a small plastic or rubber piece that is the water restrictor. It is usually a round disc or a small cone-shaped piece. Take note of its location and position for reference later on.
It’s important to handle the water restrictor with care. If you find it difficult to remove or if it’s stuck, use pliers or a screwdriver to gently pry it loose. Be careful not to damage any surrounding components or the showerhead itself.
Once you have located and identified the water restrictor, you’re ready to move on to the next step: preparing to remove it. Make sure to keep track of the pieces you have removed and their original positions to ensure a smooth reinstallation process.
Step 3: Prepare to remove the water restrictor
Now that you have located the water restrictor in your Kingston Brass showerhead, it’s time to prepare for its removal. Before you begin, it’s essential to follow a few steps to ensure a smooth and successful process.
Firstly, ensure that the water supply to the showerhead is turned off. This will prevent any water from spurting out while you are working on removing the restrictor. You can do this by shutting off the main water valve or by closing the shower’s individual shut-off valve, if available.
Next, take a moment to clean the area around the water restrictor. Use a cloth or sponge to remove any dirt, mineral deposits, or debris that may have accumulated. This will help you get a better grip on the water restrictor and prevent any contaminants from entering the showerhead’s internal components.
If you notice any limescale or mineral buildup on the water restrictor itself, you can soak it in a mixture of vinegar and water to dissolve the deposits. Simply submerge the restrictor in the mixture for a few hours or overnight, then rinse it off before attempting to remove it.
Now that the area is clean, take your adjustable wrench or pliers and get a firm grip on the water restrictor. Gently but firmly, start to loosen and unscrew it in a counterclockwise direction. Apply steady pressure and be cautious not to force it, as this may damage the showerhead or other components.
It’s not uncommon for the water restrictor to be tightly secured. If you encounter resistance, you can try using a little bit of WD-40 or a similar lubricant to loosen it. Let the lubricant sit for a few minutes before attempting to unscrew the restrictor again.
Once the water restrictor is sufficiently loosened, continue unscrewing it until it is completely removed from the showerhead. Set it aside in a safe place, as you may need to reinstall it in the future if you decide to restore the water-saving functionality.
With the water restrictor removed, you are one step closer to enjoying a higher water flow from your Kingston Brass showerhead. In the next step, we will guide you through the process of removing the showerhead itself.
To remove the water restrictor from the Kingston Brass K136A2Ck Victorian 8-Inch Diameter Brass Showerhead, unscrew the showerhead from the arm and locate the restrictor inside the showerhead. Use a flathead screwdriver to gently pry out the restrictor, being careful not to damage the showerhead. Once removed, reattach the showerhead to the arm and test the water flow.
Step 4: Remove the showerhead
Now that you have successfully removed the water restrictor, it’s time to move on to removing the showerhead itself. This step will allow you to access the internal components of the showerhead if needed, such as cleaning or replacing any damaged parts.
To remove the showerhead, start by wrapping a cloth or tape around the showerhead’s connector to protect it from scratches or damage. This will help ensure that the showerhead remains in good condition throughout the removal process.
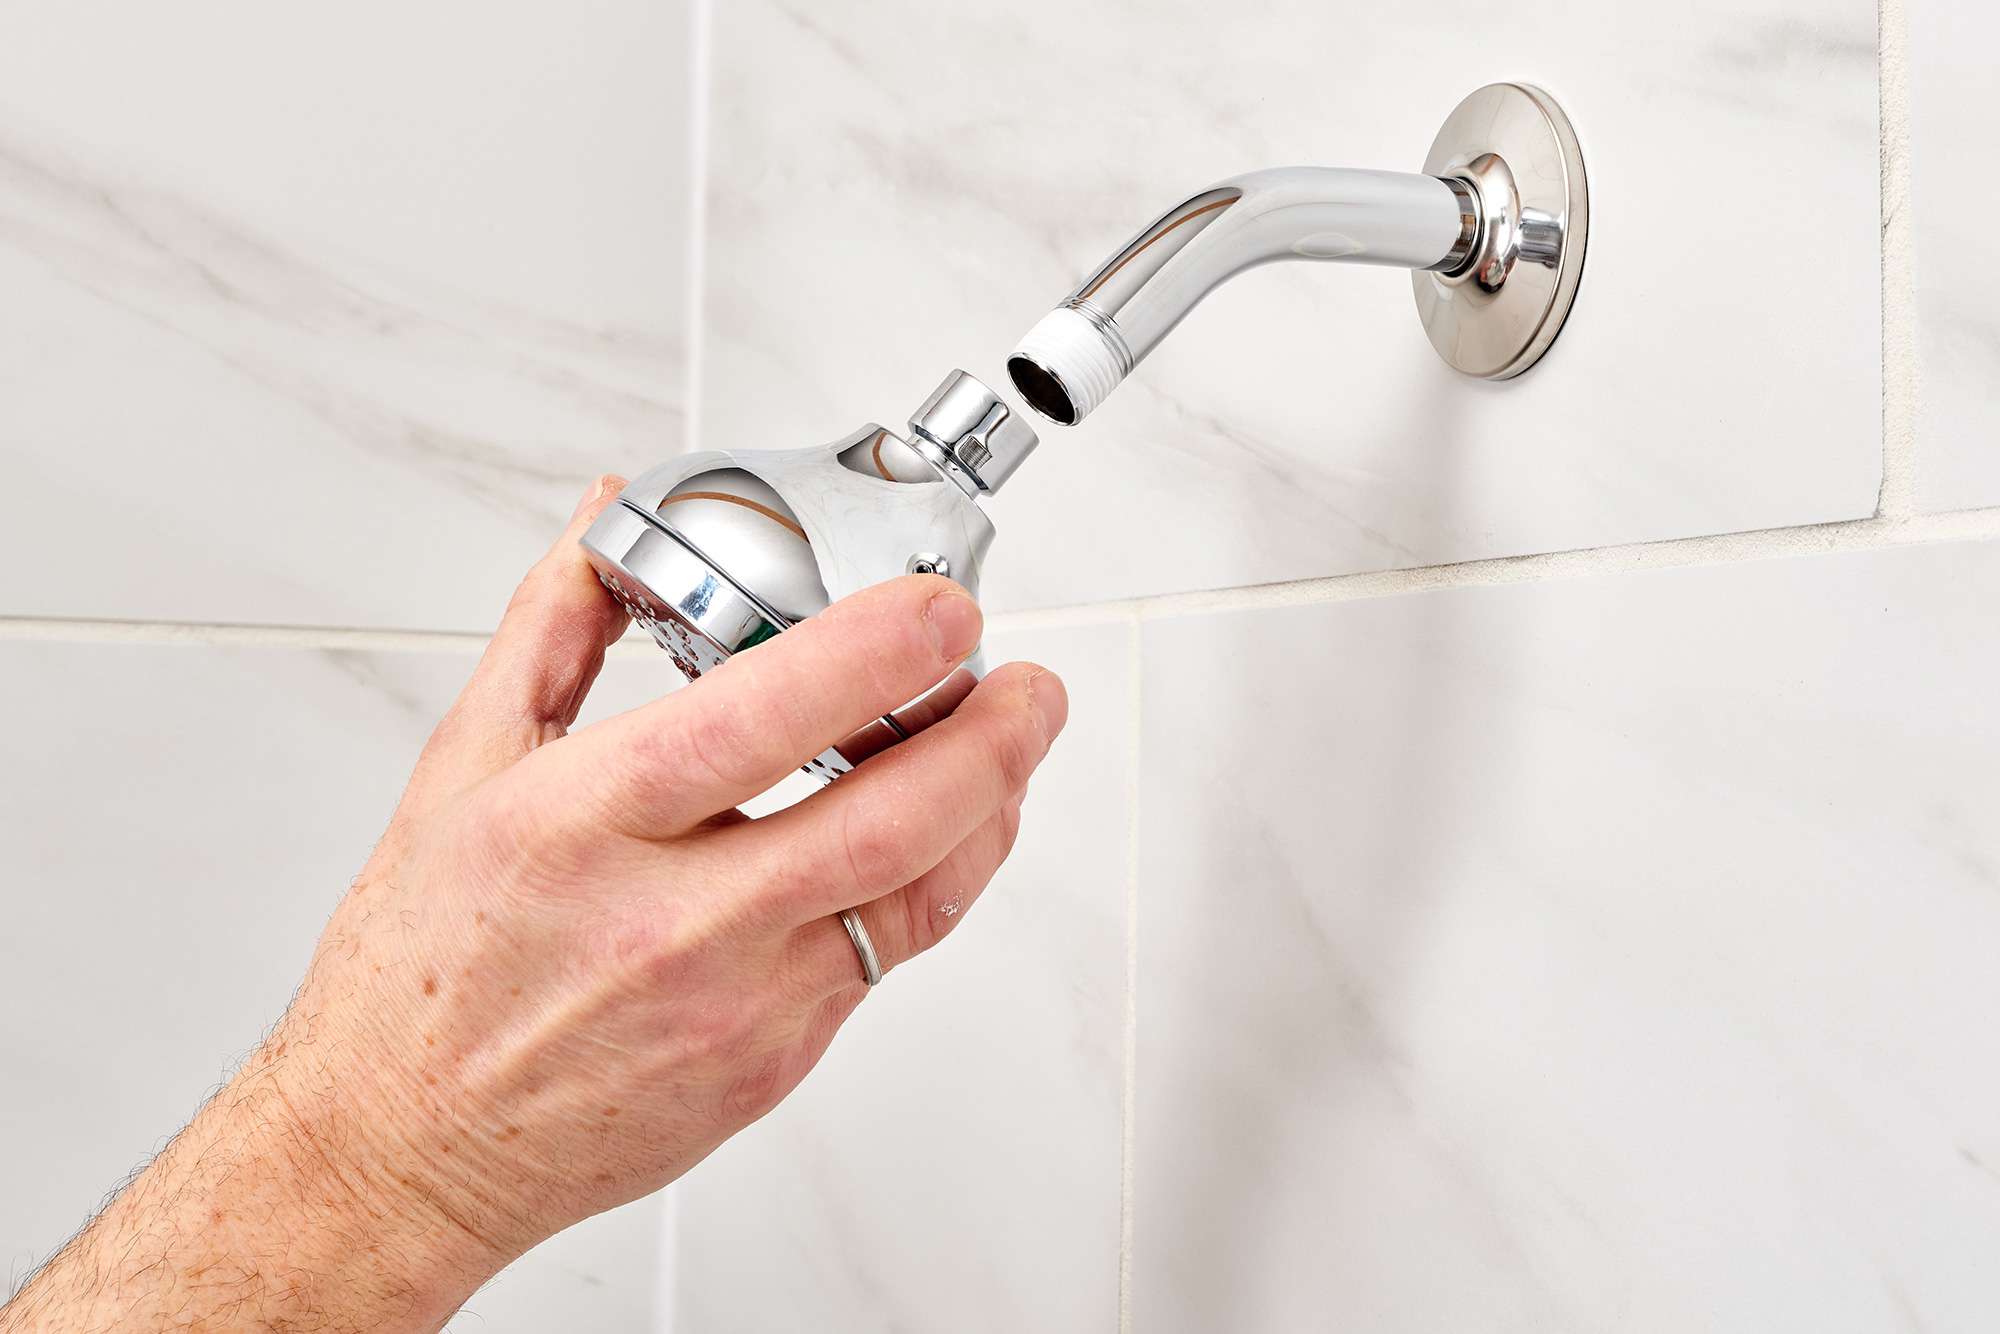
Next, locate the connection point between the showerhead and the shower arm. The shower arm is the pipe that extends from the wall and connects to the showerhead. Use your adjustable wrench or pliers to grip the showerhead’s connector tightly.
With a firm grip, rotate the showerhead counterclockwise to loosen it from the shower arm. Apply steady pressure, but be careful not to overtighten or force it, as this can cause damage to the showerhead or the plumbing connections.
If the showerhead is difficult to unscrew, you can use a small amount of lubricant, like WD-40, to help loosen it. Apply the lubricant to the showerhead’s connector and let it sit for a few minutes before attempting to unscrew it again. This should make the removal process easier.
Continue unscrewing the showerhead until it is completely detached from the shower arm. Once removed, set the showerhead aside in a safe place where it will not get damaged.
If you plan on cleaning or replacing any internal components of the showerhead, such as the filter or rubber gaskets, now is the perfect time to do so. Inspect the showerhead for any signs of wear or damage, and address them accordingly.
By removing the showerhead, you have gained access to the interior and can now move on to the next step: removing the water restrictor. Let’s continue with the process to enjoy a higher water flow from your Kingston Brass showerhead.
Step 5: Remove the water restrictor
Now that you have successfully removed the showerhead, it’s time to focus on removing the water restrictor that is located inside. Removing the water restrictor will allow for a higher water flow and enhance your shower experience. Here’s how to proceed:
Take a close look at the interior of the showerhead where the water flows through. You should see a small opening or chamber where the water restrictor is situated. Identify the water restrictor, which is typically a plastic or rubber piece that limits the water flow.
Using your adjustable wrench or pliers, gently grip the water restrictor and rotate it counterclockwise to loosen it. Apply steady pressure while being careful not to damage any surrounding components or the showerhead itself. If the water restrictor is difficult to loosen, you can use a small amount of lubricant like WD-40 to help ease its removal.
Continue unscrewing the water restrictor until it is completely detached from the showerhead. Set it aside in a safe place, as you may need to reinstall it in the future if you wish to restore the water-saving functionality.
With the water restrictor successfully removed, take a moment to inspect the showerhead for any debris, mineral deposits, or other obstructions that may have accumulated. You can use a toothbrush or a small brush to gently scrub away any buildup and ensure proper water flow.
It’s worth noting that removing the water restrictor may increase your water usage, so consider your water conservation goals before proceeding. However, if you are seeking a more powerful water flow during your showers, removing the water restrictor can provide the desired effect.
Now that the water restrictor has been removed, it’s time to move on to the next step: reassembling and reinstalling the showerhead for a rejuvenated shower experience. Let’s proceed to the final step of this process.
Step 6: Reinstall the showerhead
Now that you have removed the water restrictor and cleaned the showerhead, it’s time to reassemble and reinstall it to complete the process. Follow these steps to ensure a successful reinstallation:
Start by inspecting the shower arm, where the showerhead will be attached. Make sure the threads on the shower arm are clean and free from any debris or old sealant. If necessary, use a cloth or brush to remove any residue.
If your showerhead came with a rubber gasket or washer, make sure it’s in place. This gasket helps provide a tight seal and prevent leaks. If the old gasket is worn or damaged, it’s a good idea to replace it with a new one.
Take your showerhead and align it with the shower arm. The threads on the showerhead should match those on the shower arm. Rotate the showerhead clockwise to screw it onto the shower arm, ensuring a snug but not overly tight connection.
Use an adjustable wrench or pliers to gently tighten the showerhead, making sure not to over-tighten it. Be mindful of the showerhead’s finish and use a cloth or tape to protect it from scratches or damage while using the tool.
Once the showerhead is securely in place, turn on the water supply to check for any leaks. Inspect the connections between the showerhead and shower arm, as well as any other points where water could escape. If you notice any leaks, use a wrench or pliers to make slight adjustments until the leaks are resolved.
With the showerhead successfully reinstalled, it’s time to test your newly modified shower experience. Turn on the water and observe the water flow. You should notice a difference in the force and volume of water due to the removal of the water restrictor.
Enjoy the invigorating shower experience with the increased water flow. Keep in mind that without the water restrictor, your water usage may be higher, so it’s important to consider your individual water conservation goals.
Remember to periodically clean your showerhead to prevent mineral buildup and maintain optimal performance. Regular cleaning will help ensure a strong water flow and enhance the longevity of your Kingston Brass showerhead.
Congratulations on successfully removing the water restrictor and reinstalling your Kingston Brass showerhead. Now you can indulge in a rejuvenating shower experience with improved water pressure. Happy showering!
Conclusion
Removing the water restrictor from your Kingston Brass K136A2Ck Victorian 8-Inch Diameter Brass Showerhead can significantly enhance your shower experience by increasing the water flow and pressure. While water conservation is important, sometimes it’s necessary to remove the restrictor to achieve the desired level of comfort and satisfaction during your showers.
In this comprehensive guide, we walked you through the step-by-step process of removing the water restrictor from your Kingston Brass showerhead. We started by gathering the necessary tools, including an adjustable wrench or pliers, tape or cloth, a screwdriver, and a pen or marker.
Next, we located the water restrictor by examining the showerhead and removing the faceplate or aerator. We then prepared to remove the restrictor by turning off the water supply and cleaning the surrounding area. We loosened and unscrewed the restrictor before completely removing it from the showerhead.
After removing the water restrictor, we proceeded to remove the showerhead itself by protecting the connector, locating the connection point, and unscrewing the showerhead from the shower arm. This step allowed for easier access to the internal components for cleaning or replacement if necessary.
With the showerhead and water restrictor successfully removed, we discussed the importance of cleaning the showerhead, inspecting for debris or mineral buildup, and taking steps to ensure a proper water flow.
Finally, we guided you through the process of reassembling and reinstalling the showerhead. We emphasized the importance of checking for leaks, using the proper tools, and not overtightening the connections.
By following this guide, you are now equipped with the knowledge and skills to remove the water restrictor from your Kingston Brass showerhead and enjoy an enhanced shower experience with increased water flow and pressure.
Remember, removing the water restrictor may increase your water usage, so it’s essential to consider your water conservation goals and use water responsibly. Regular maintenance and cleaning of your showerhead will help maximize its performance and longevity.
Thank you for choosing our comprehensive guide. We hope that the information provided has been helpful, and we wish you many enjoyable showers with your Kingston Brass showerhead.
Frequently Asked Questions about How To Remove Water Restrictor Of A Kingston Brass K136A2CK Victorian 8-Inch Diameter Brass Showerhead
Was this page helpful?
At Storables.com, we guarantee accurate and reliable information. Our content, validated by Expert Board Contributors, is crafted following stringent Editorial Policies. We're committed to providing you with well-researched, expert-backed insights for all your informational needs.

0 thoughts on “How To Remove Water Restrictor Of A Kingston Brass K136A2CK Victorian 8-Inch Diameter Brass Showerhead”