Articles
How To Remove The Faceplate On Ring Doorbell
Modified: August 21, 2024
Learn how to remove the faceplate on your Ring Doorbell with this helpful article. Discover step-by-step instructions and expert tips to safely remove and replace the faceplate.
(Many of the links in this article redirect to a specific reviewed product. Your purchase of these products through affiliate links helps to generate commission for Storables.com, at no extra cost. Learn more)
Introduction
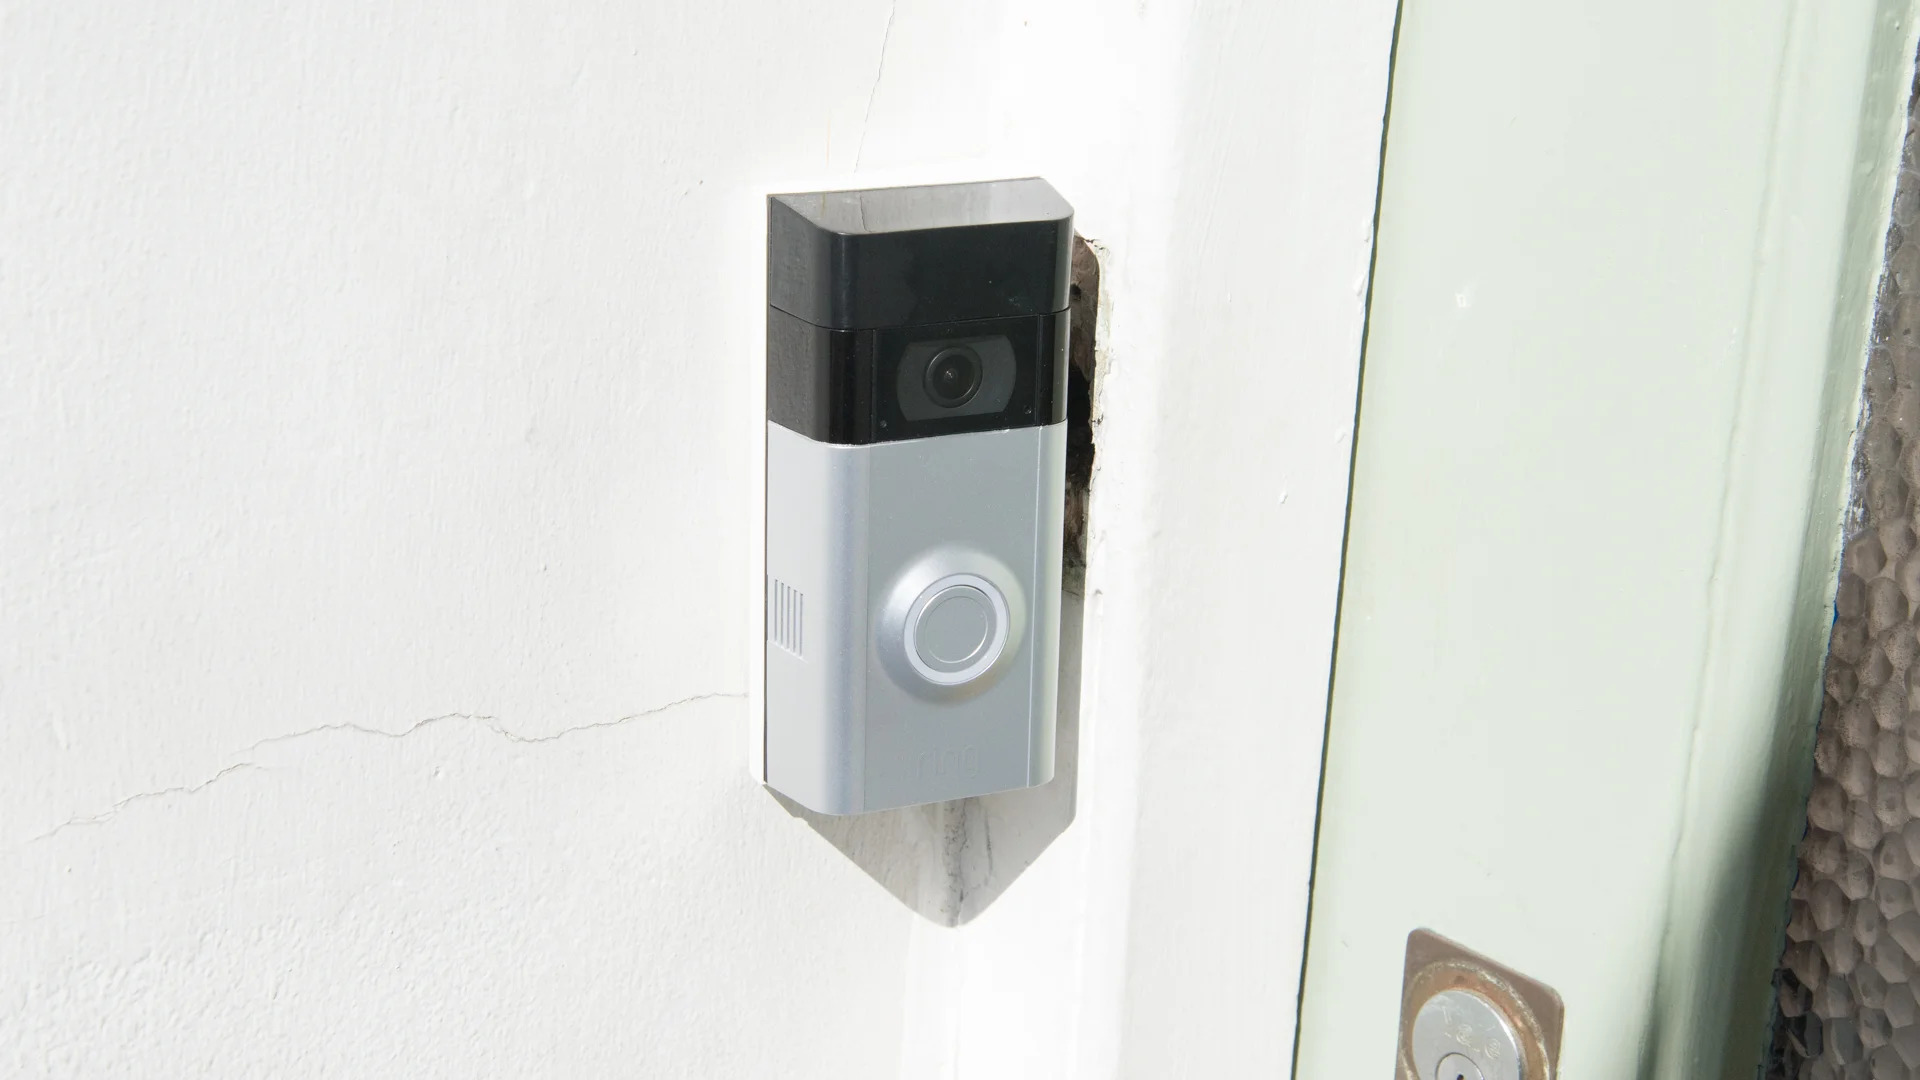
Welcome to our guide on how to remove the faceplate on your Ring Doorbell. The faceplate of the Ring Doorbell is the front cover that surrounds and protects the camera and other internal components. Whether you need to remove the faceplate to clean it, troubleshoot an issue, or replace it with a different color or design, we’ve got you covered.
With a few simple steps, you will be able to easily remove the faceplate from your Ring Doorbell without causing any damage. Before we get started, let’s gather the necessary tools and ensure the safety of the device.
Key Takeaways:
- Easily remove and clean or replace the faceplate on your Ring Doorbell by following simple steps and ensuring safety. Enjoy a hassle-free process with the right tools and careful handling.
- Power off, locate the release button, and gently remove the faceplate to maintain and enhance the aesthetics and functionality of your Ring Doorbell. Take care to align and secure the new faceplate for a seamless experience.
Read more: How To Remove Cover From Ring Doorbell
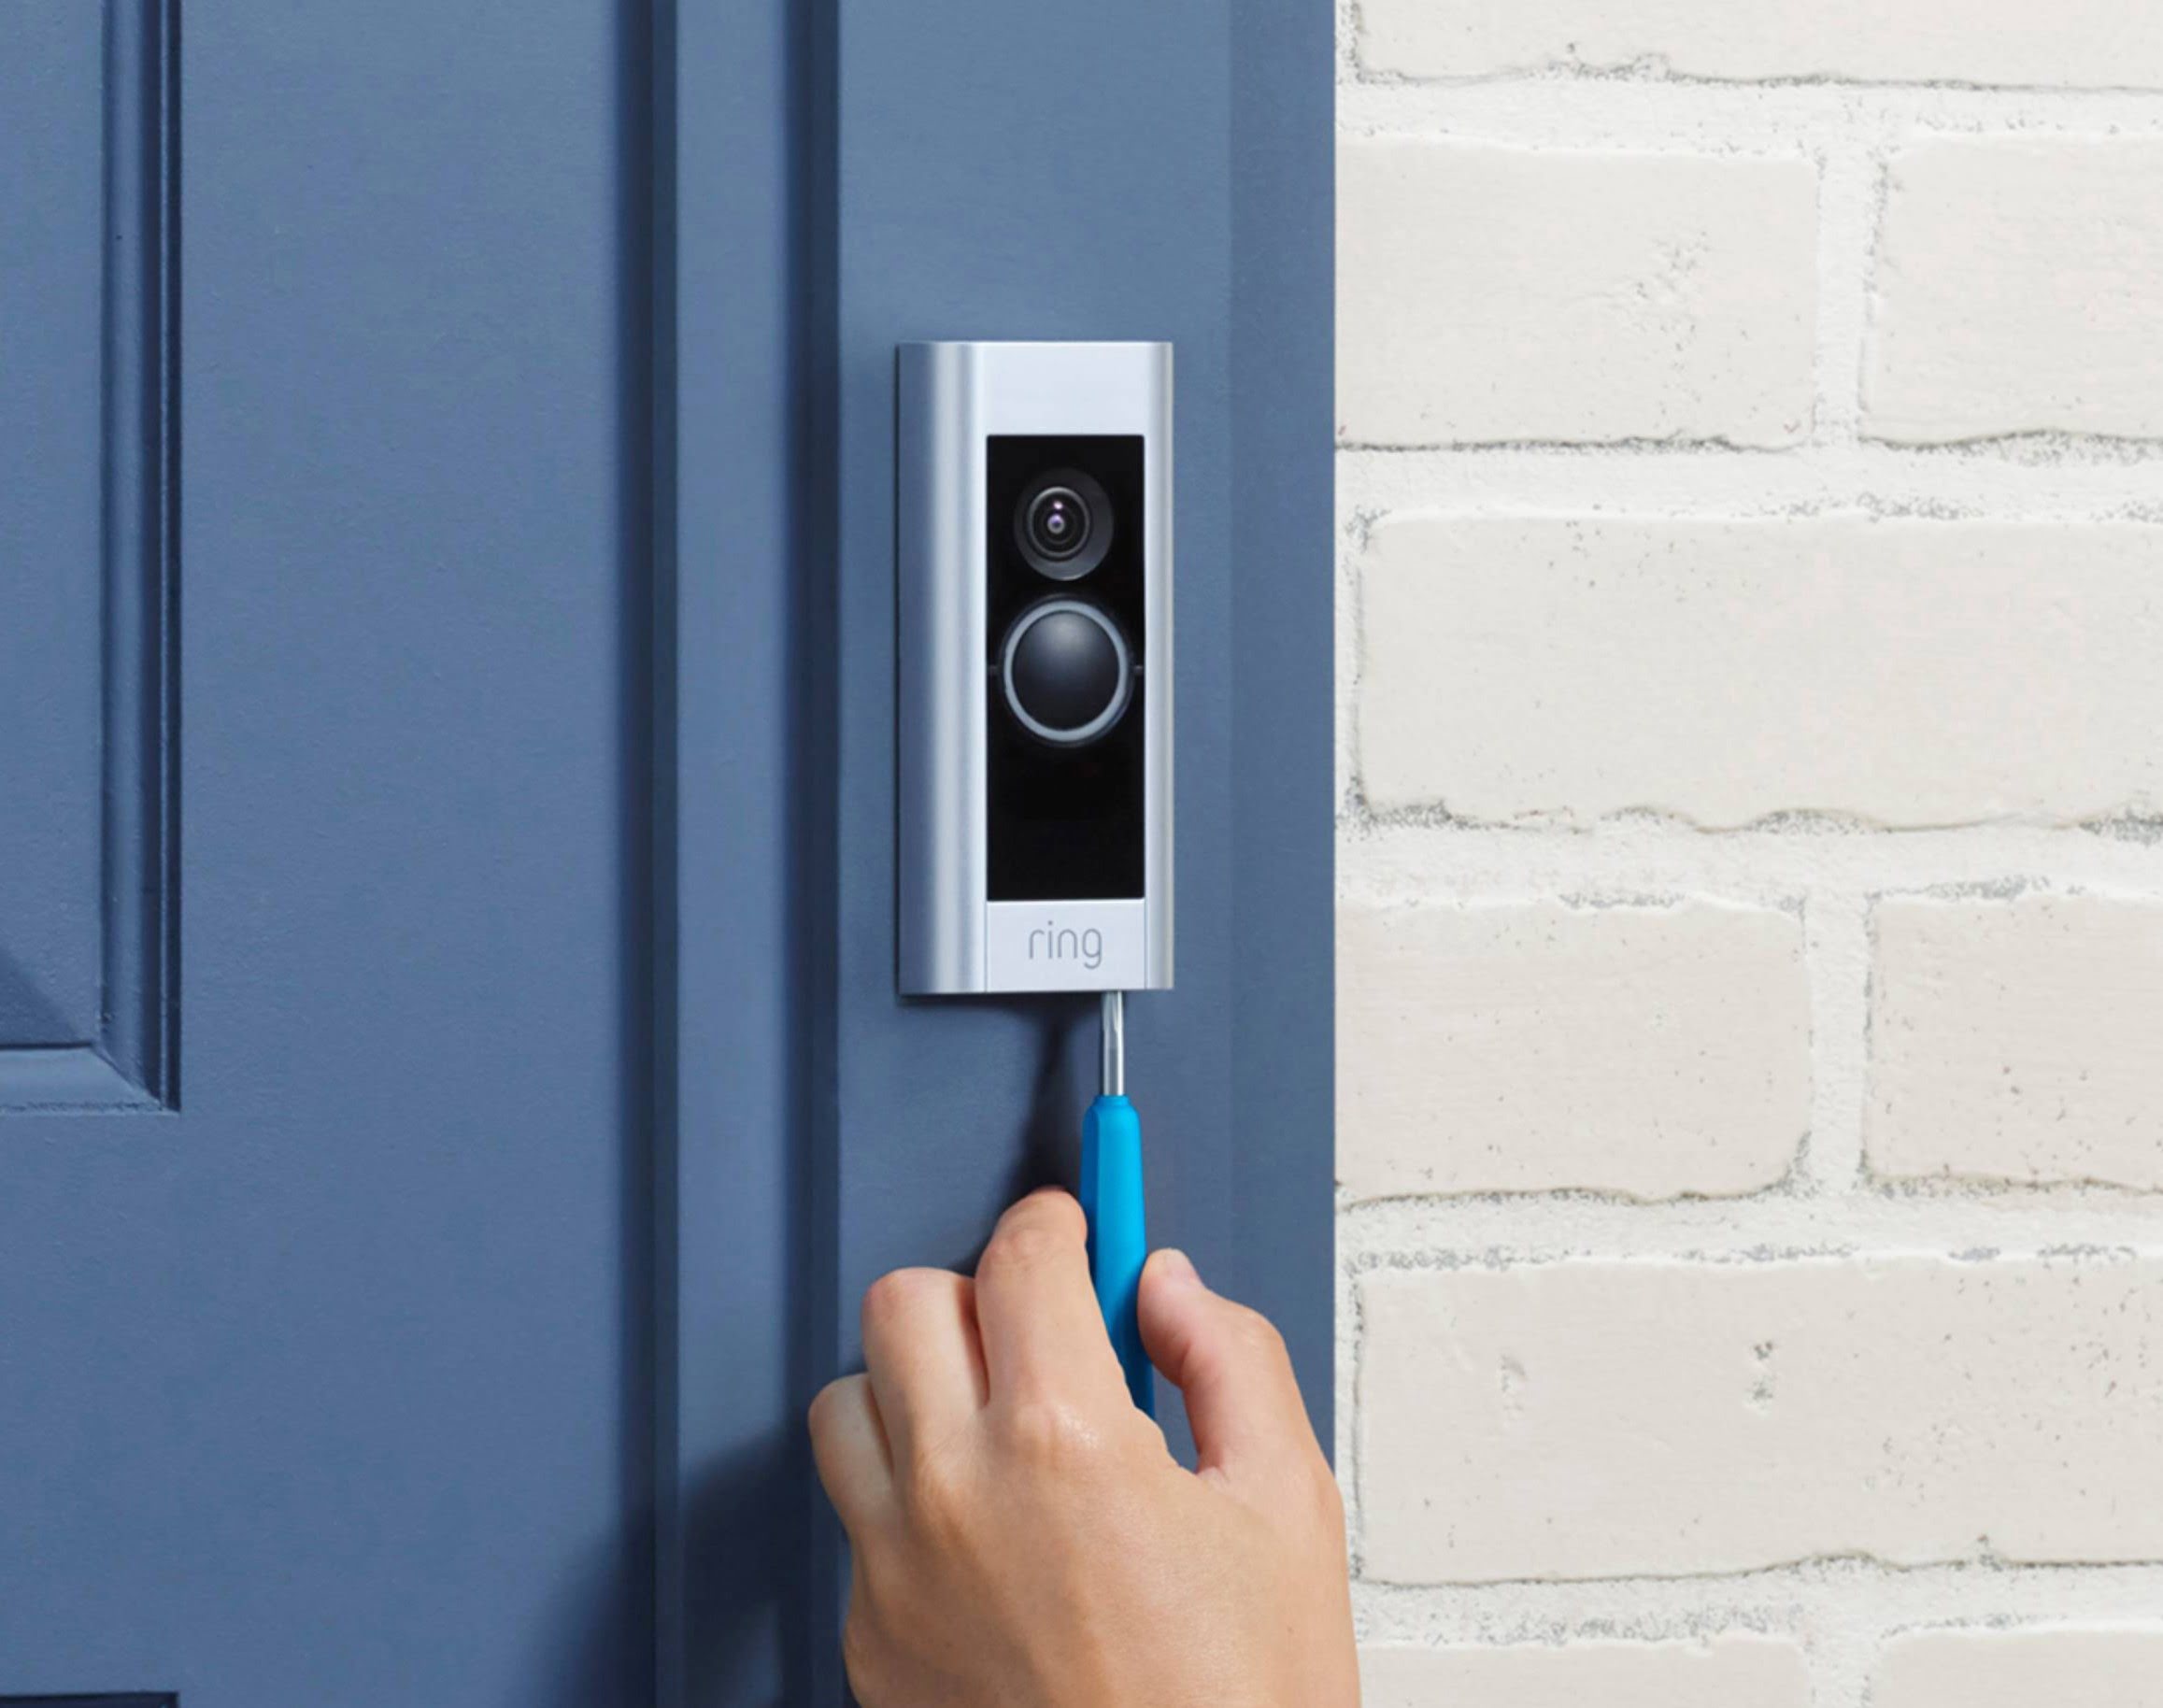
Step 1: Gather necessary tools
Before attempting to remove the faceplate on your Ring Doorbell, it is important to gather the necessary tools to ensure a smooth and hassle-free process. Here’s what you’ll need:
- Small Phillips head screwdriver
- Soft cloth or microfiber cloth
- Optional: Replacement faceplate (if you plan on replacing the existing one)
Make sure to have these tools readily available before proceeding to the next steps.
Step 2: Power off the Ring Doorbell
Before removing the faceplate on your Ring Doorbell, it is essential to power off the device to avoid any electrical mishaps or damage. Here’s how you can power off your Ring Doorbell:
- Locate the power source of your Ring Doorbell. This is usually a small black button located on the side or bottom of the device.
- Press and hold the power button for a few seconds until the LED lights on the front of the Ring Doorbell turn off.
- Ensure that the device is completely powered off by checking that the LED lights are no longer illuminated.
By powering off your Ring Doorbell, you will ensure your safety during the faceplate removal process. Now that the device is powered off, let’s move on to the next step.
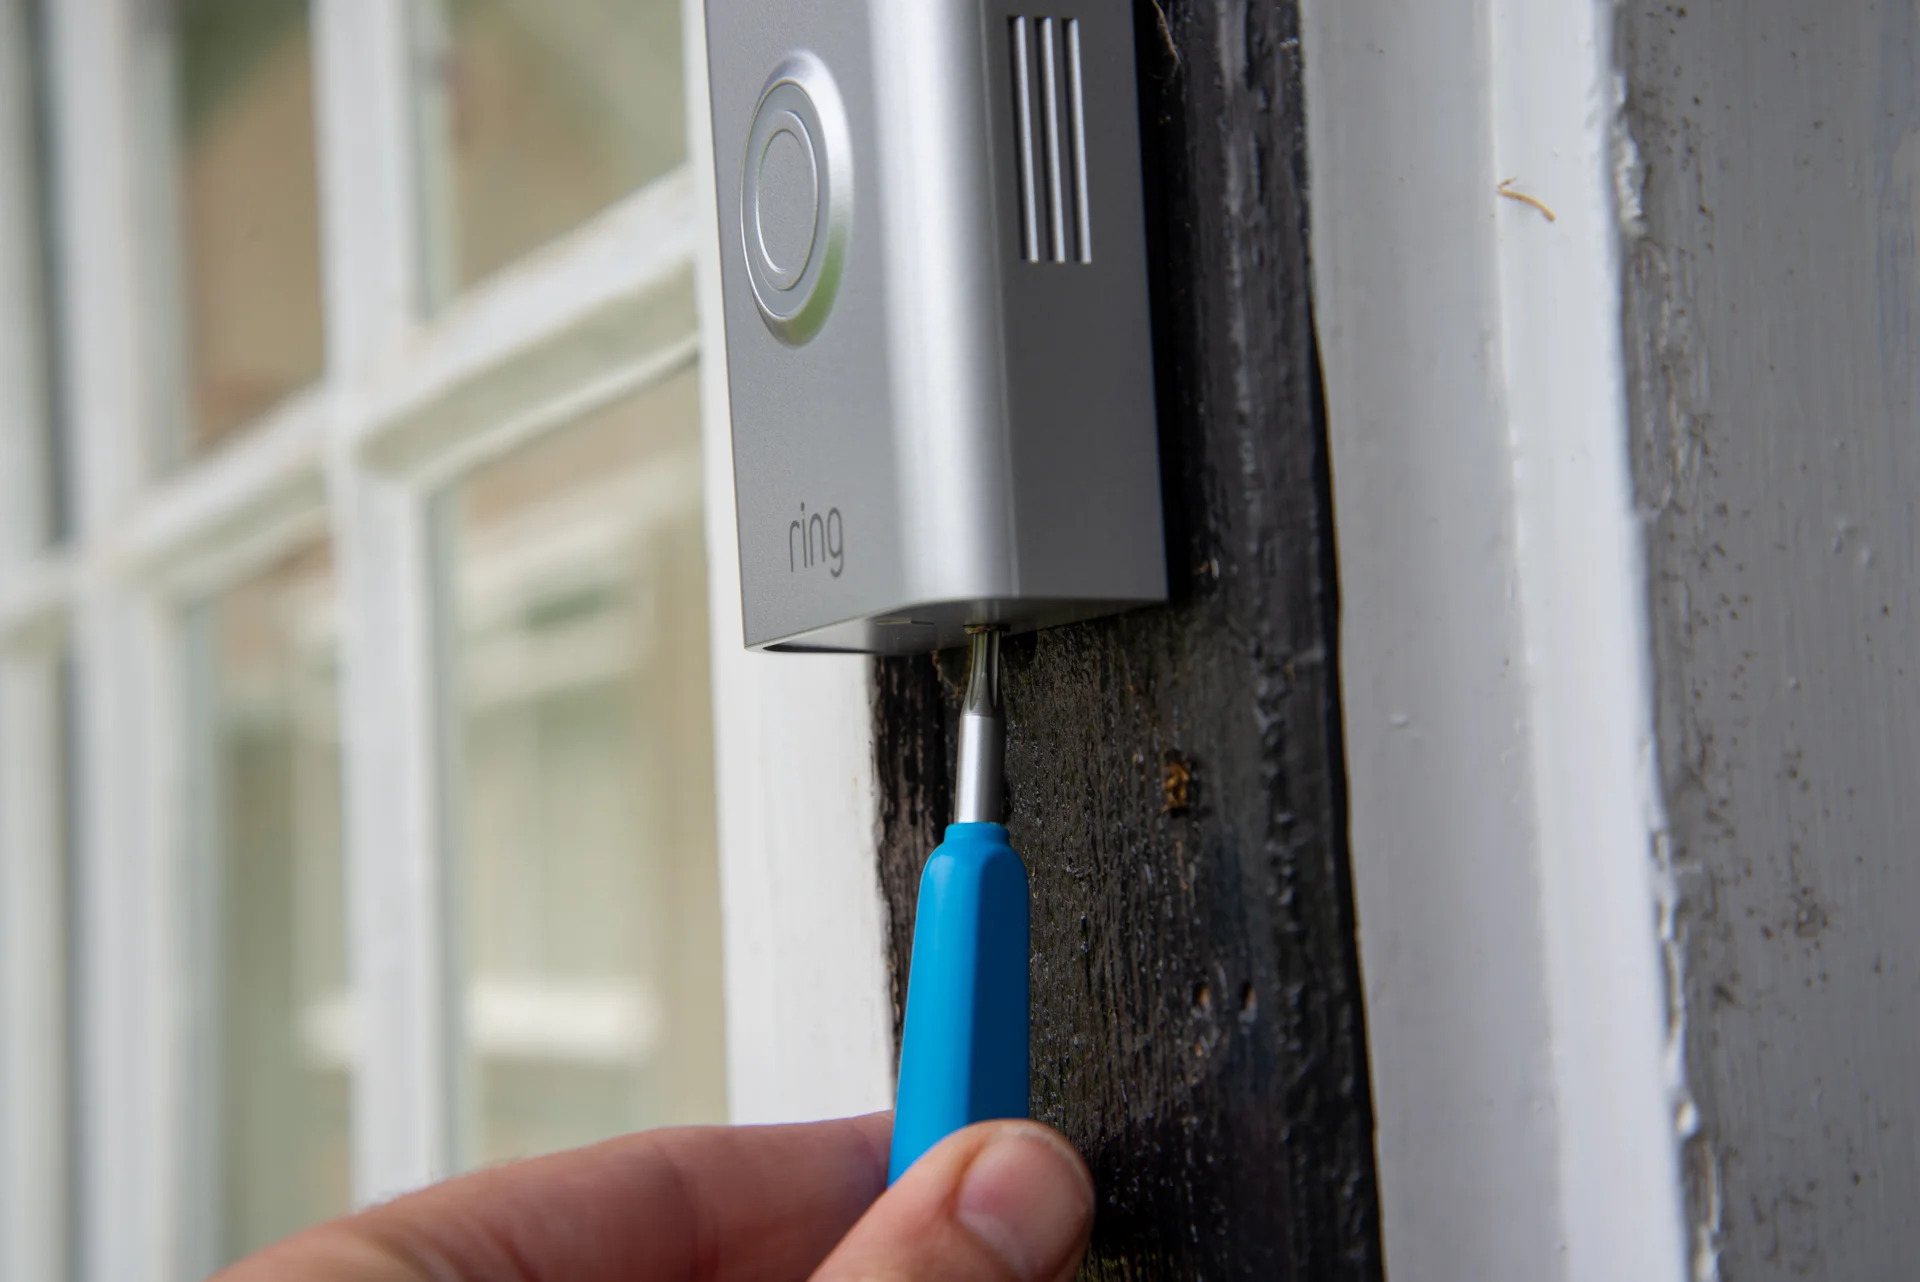
Step 3: Locate the faceplate release button
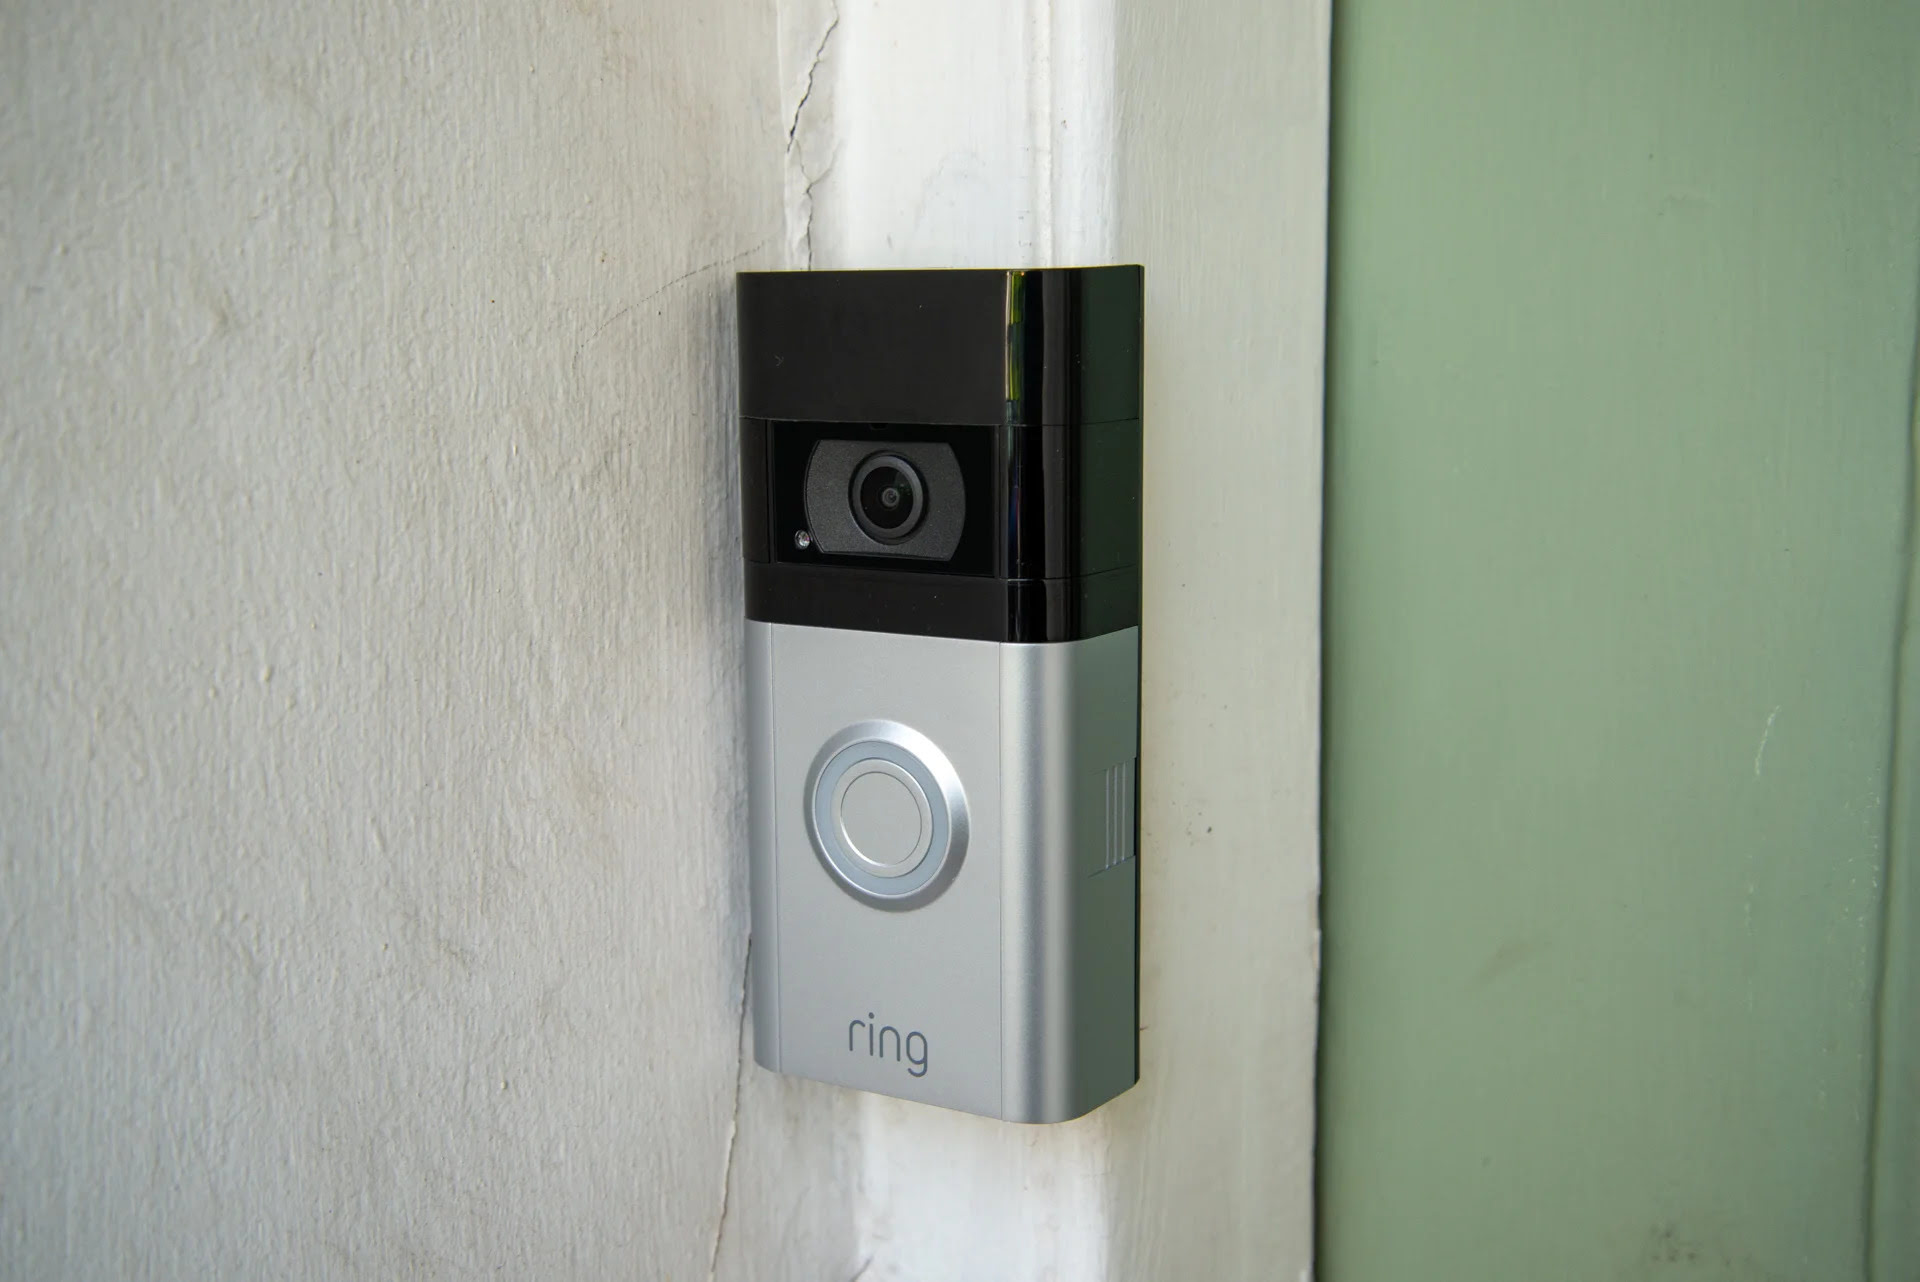
Now that your Ring Doorbell is powered off, it’s time to locate the faceplate release button. The faceplate release button is a small round button located either on the side or underneath the device. Here’s how you can find it:
- Take a close look at the front of the Ring Doorbell. Look for a small indentation or marking near the edge of the device.
- Gently run your finger along the edge of the device until you feel a small button-like protrusion. This is the faceplate release button.
- Once you have located the faceplate release button, move on to the next step to remove the faceplate.
It’s important to note that the location of the faceplate release button may vary slightly depending on the model and version of your Ring Doorbell. Take your time to locate it and ensure a smooth removal process.
To remove the faceplate on a Ring Doorbell, simply press the release button on the bottom and slide the faceplate off. Be gentle to avoid damaging the device.
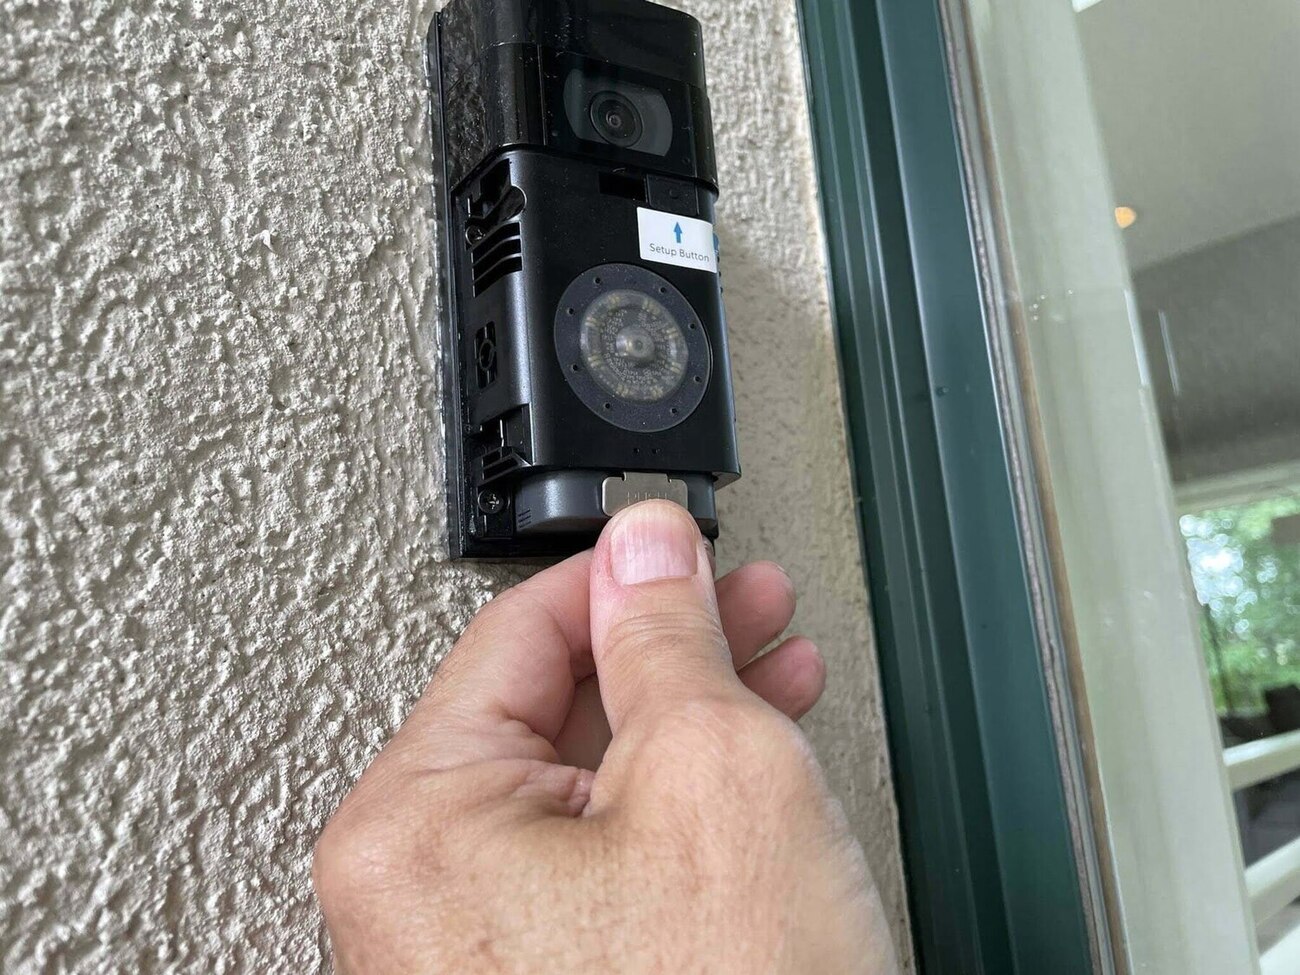
Step 4: Press and hold the faceplate release button
With the faceplate release button located, it’s time to remove the faceplate from your Ring Doorbell. Follow these steps to complete this process:
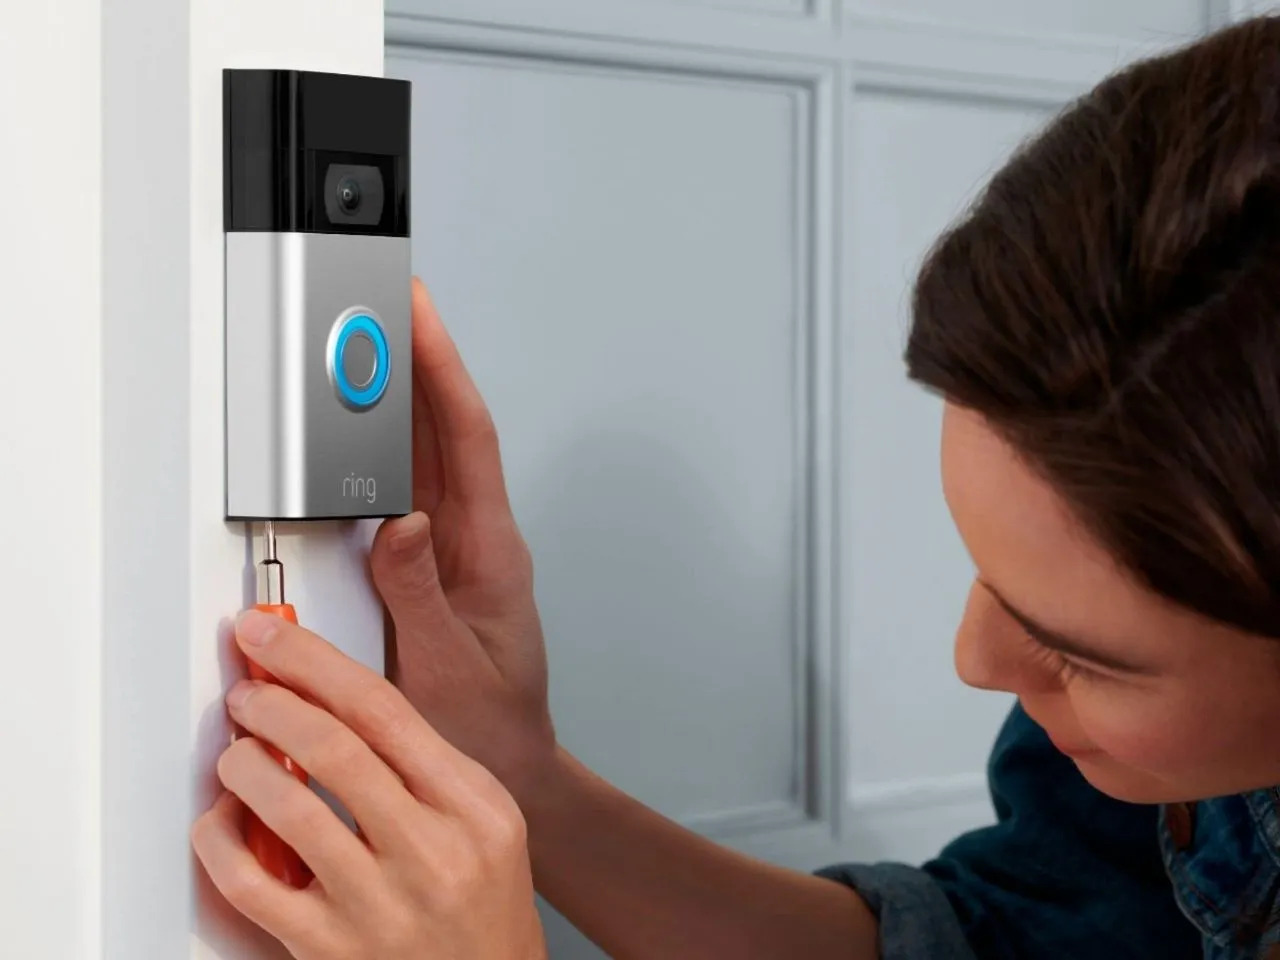
- Using your thumb or finger, firmly press and hold down the faceplate release button. Apply steady pressure to ensure that it stays engaged.
- While holding down the faceplate release button, gently pull the faceplate away from the Ring Doorbell. You may need to use your other hand to support the device and prevent any accidental damage.
- Continue pulling the faceplate away from the device until it is completely detached.
It’s essential to note that the faceplate may require some force to detach, but be careful not to apply too much pressure to prevent any damage to the device.
If you encounter any difficulty or resistance during the process, double-check that the Ring Doorbell is powered off and reposition your finger on the faceplate release button before attempting to remove the faceplate again.
Now that you have successfully removed the faceplate, let’s proceed to the next step.
Read more: How To Remove Ring Doorbell From Wall
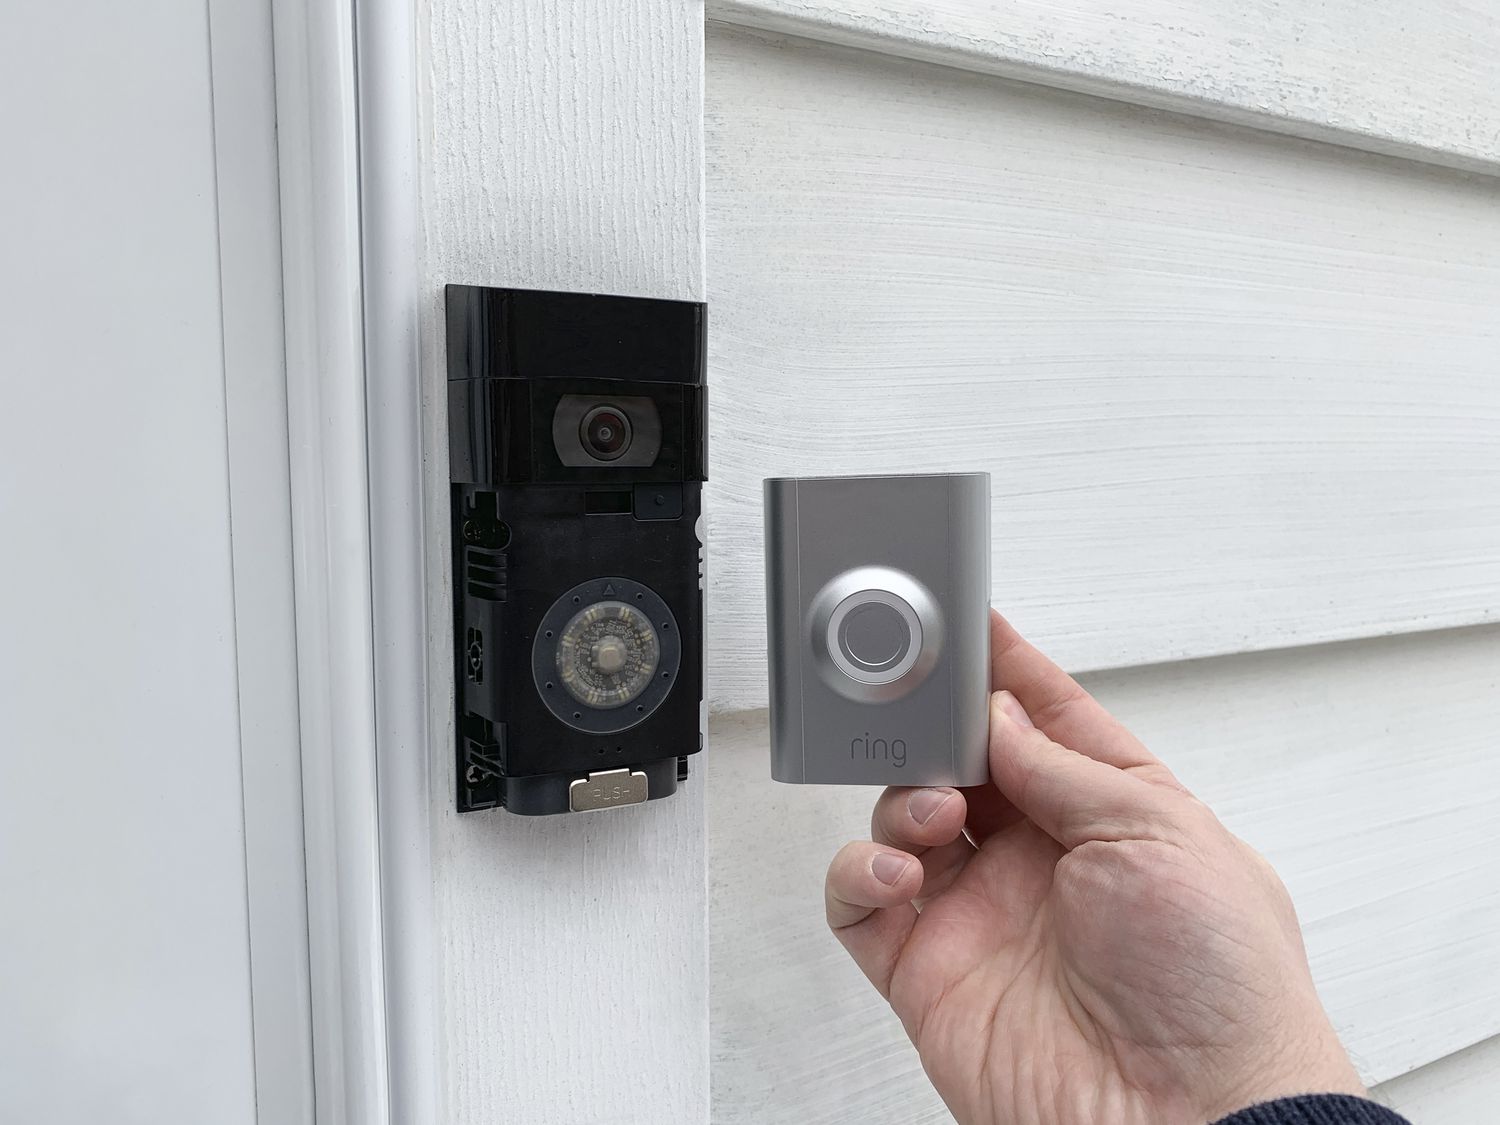
Step 5: Remove the faceplate from the Ring Doorbell
Now that the faceplate is detached from the Ring Doorbell, follow these steps to fully remove it:
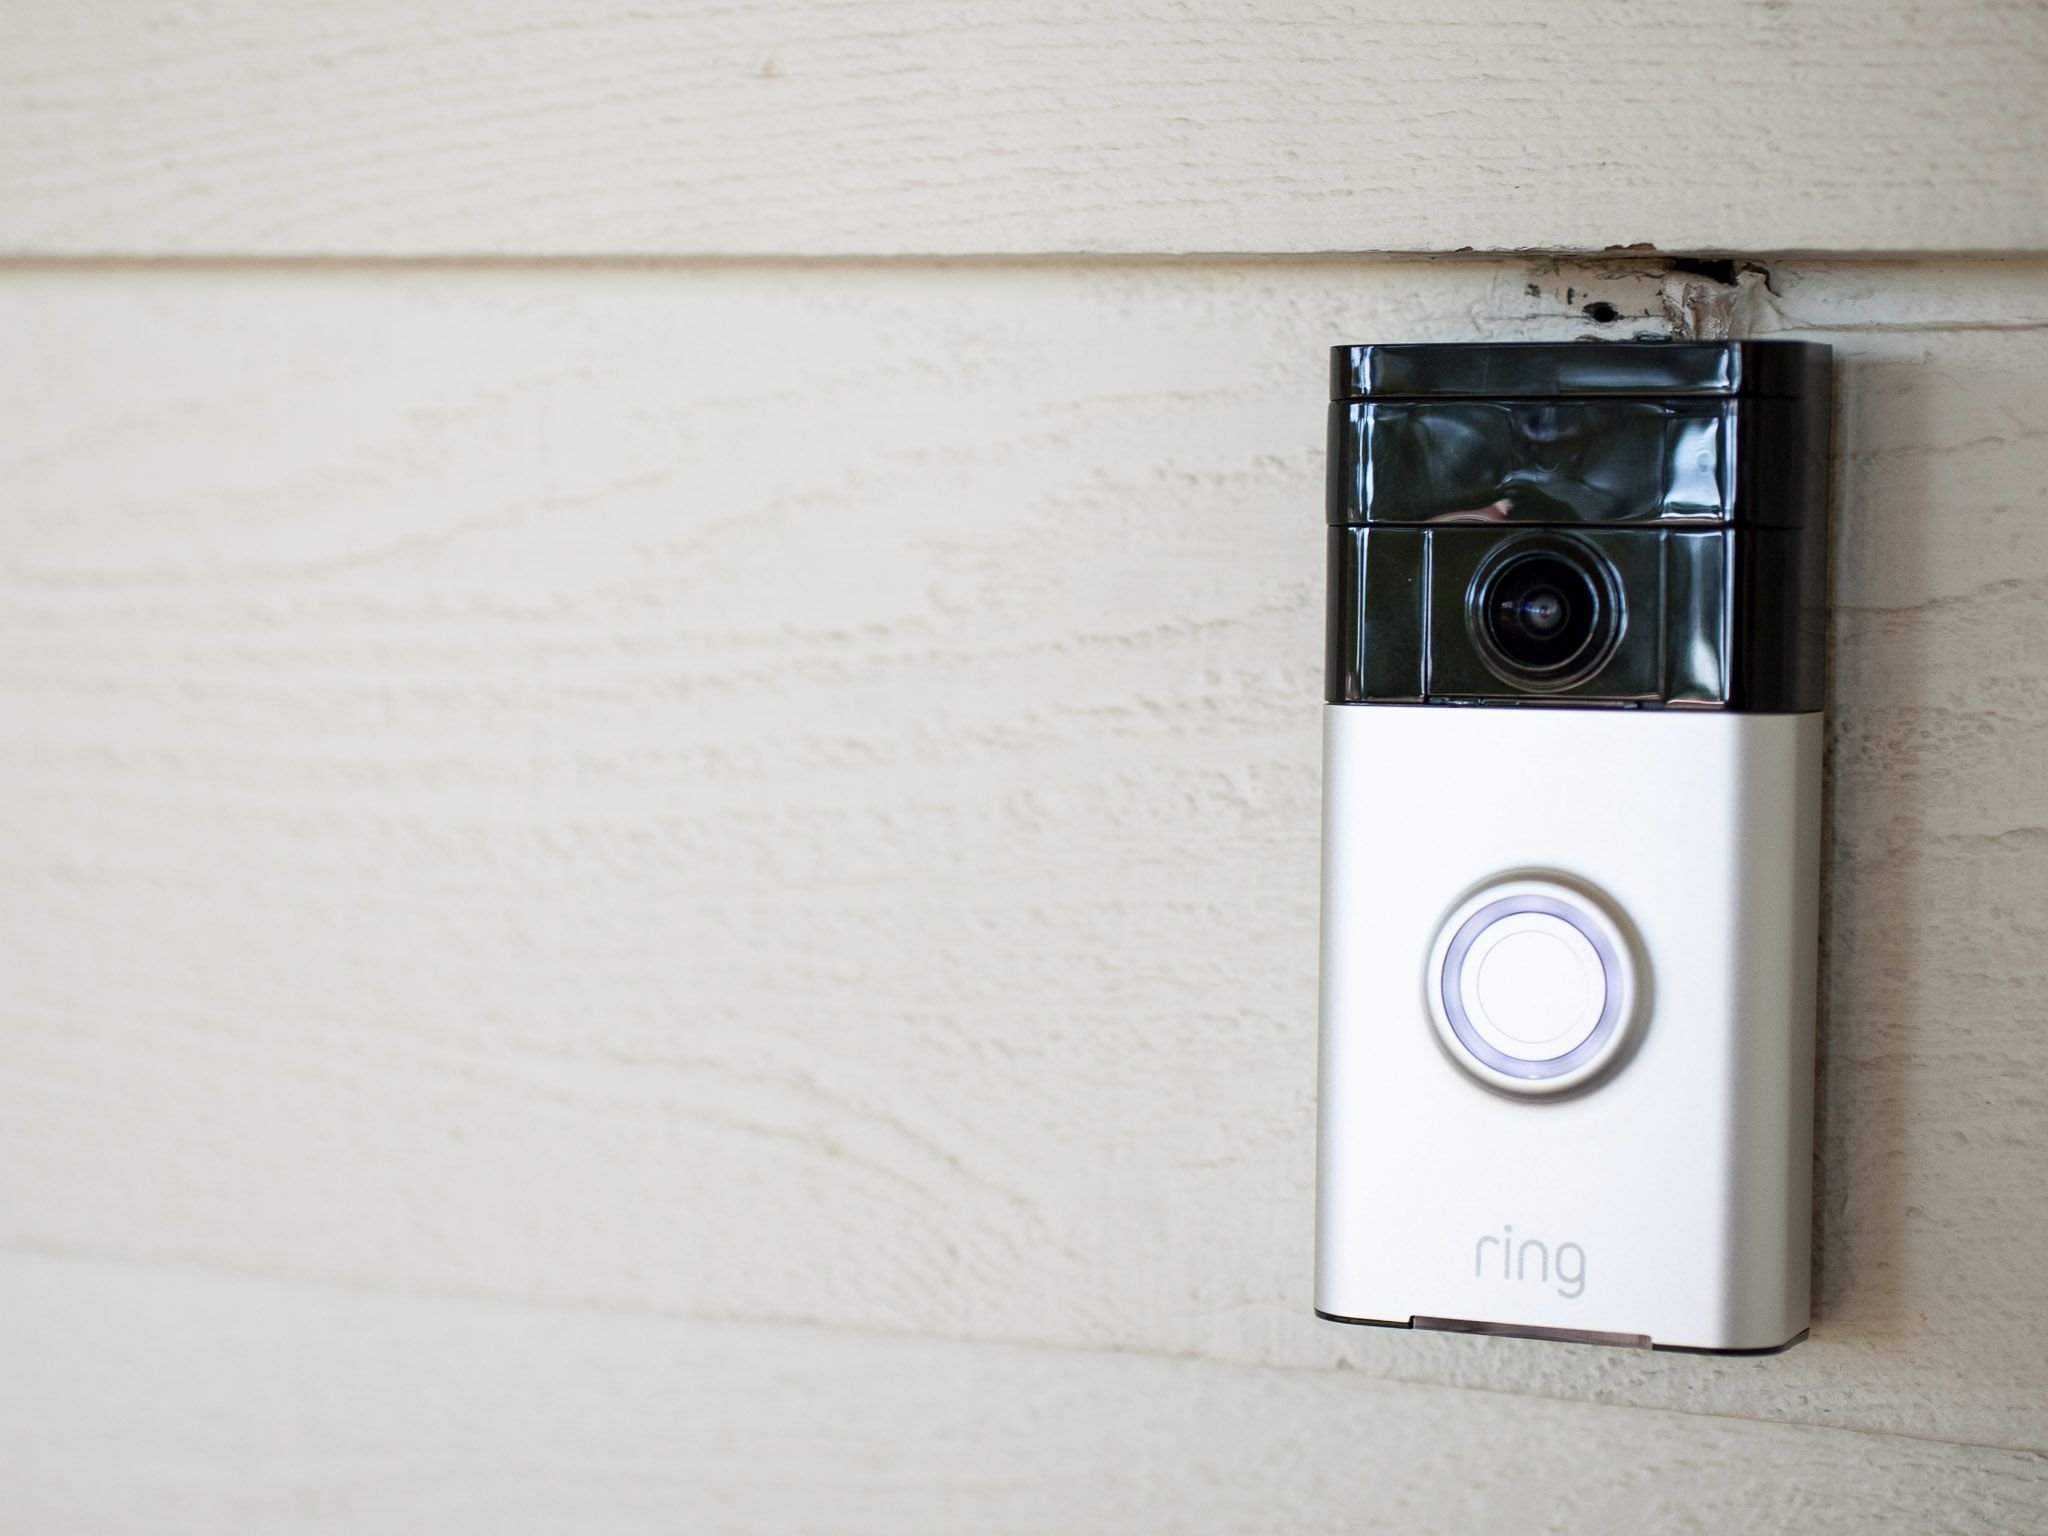
- With the faceplate in your hand, inspect the backside and edges for any dirt, dust, or debris.
- If you notice any buildup, gently wipe the surface using a soft cloth or microfiber cloth to ensure a clean and clear faceplate.
- If you are planning to replace the faceplate with a different color or design, carefully align the new faceplate with the camera and sensors on the front of the Ring Doorbell.
- Press the new faceplate firmly onto the device until it snaps securely into place.
It’s important to note that when removing or replacing the faceplate, be mindful of the camera lens and other components on the front of the Ring Doorbell. Avoid applying excessive pressure that could potentially cause damage to the device.
Now that you have successfully removed and potentially replaced the faceplate, let’s move on to the final step.
Step 6: Power on the Ring Doorbell
With the faceplate attached to your Ring Doorbell, it’s time to power on the device. Follow these steps to ensure a proper power-up:
- Locate the power button or switch on your Ring Doorbell. This is usually the same button that you used to power off the device.
- Press and hold the power button for a few seconds until the LED lights on the front of the Ring Doorbell turn on.
- Wait for the device to fully power up. This may take a few moments as the Ring Doorbell initializes and connects to the network.
- Once the device is powered on, ensure that the LED lights are illuminated and the faceplate is securely in place.
It’s important to note that if you encounter any issues during the power-up process, double-check that the faceplate is properly aligned and attached to the Ring Doorbell. Additionally, ensure that the device is connected to a stable power source.
Congratulations! You have successfully removed and reattached the faceplate on your Ring Doorbell. Enjoy the improved aesthetics or troubleshoot any issues you may have encountered. If you need to remove the faceplate again in the future, simply follow these steps.
Conclusion
Removing the faceplate on your Ring Doorbell is a simple process that can be done with ease by following the steps outlined in this guide. Whether you need to clean the faceplate, troubleshoot an issue, or replace it with a new design, you now have the knowledge and tools to confidently remove and reattach the faceplate.
Remember to gather the necessary tools, power off the Ring Doorbell, locate the faceplate release button, press and hold the button to detach the faceplate, and then remove and potentially replace the faceplate. Finally, power on the Ring Doorbell to ensure that everything is functioning properly.
As with any electronic device, it’s important to handle your Ring Doorbell with care and avoid applying excessive pressure during the removal process. Take the time to properly align and secure the faceplate, ensuring that the camera lens and other components are not obstructed or damaged.
By following the steps outlined in this guide, you can easily remove and reattach the faceplate on your Ring Doorbell, enhancing its appearance and functionality. Enjoy the benefits of a clean and well-maintained device, and make the most of your Ring Doorbell experience.
Remember to always refer to the manufacturer’s guidelines and instructions for specific details related to your particular model and version of the Ring Doorbell.
Now that you've mastered removing the faceplate of your Ring Doorbell, consider stepping up your home's defense line. Securing your residence involves more than just physical locks and alarms. Dive into our insightful piece on the essentials of robust home security systems. You'll learn why modern safety measures go beyond traditional setups and how they can provide peace of mind. Don't miss out on our expert insights to make your home a safer haven.
Frequently Asked Questions about How To Remove The Faceplate On Ring Doorbell
Was this page helpful?
At Storables.com, we guarantee accurate and reliable information. Our content, validated by Expert Board Contributors, is crafted following stringent Editorial Policies. We're committed to providing you with well-researched, expert-backed insights for all your informational needs.


0 thoughts on “How To Remove The Faceplate On Ring Doorbell”