Home>Articles>How To Remove Faceplate On A Primo 8 Inch Rain Can Showerhead
Articles
How To Remove Faceplate On A Primo 8 Inch Rain Can Showerhead
Modified: August 26, 2024
Learn how to remove the faceplate on a Primo 8 Rain Can Showerhead in this informative article. Follow our step-by-step guide to easily disassemble and clean your showerhead.
(Many of the links in this article redirect to a specific reviewed product. Your purchase of these products through affiliate links helps to generate commission for Storables.com, at no extra cost. Learn more)
Introduction
Welcome to our guide on how to remove the faceplate on a Primo 8 Rain Can Showerhead. The faceplate, also known as the showerhead cover, is the removable part that covers the showerhead and gives your shower a sleek and finished look. Whether you’re looking to clean the faceplate or replace it, this step-by-step tutorial will guide you through the process.
Removing the faceplate of your Primo 8 Rain Can Showerhead is a simple task that requires a few basic tools and just a little bit of time. By following these steps, you’ll be able to easily remove and clean or replace the faceplate, ensuring optimal performance and a fresh appearance for your shower.
Before we jump into the process, let’s go over the tools and materials you’ll need to successfully complete this task.
Key Takeaways:
- Easily remove and clean or replace the faceplate on your Primo 8 Rain Can Showerhead with just a few basic tools and simple steps, ensuring a fresh and polished look for your shower.
- Regular maintenance, including cleaning or replacing the faceplate, is essential to maintain optimal performance and visual appeal of your Primo 8 Rain Can Showerhead, providing an excellent shower experience.
Read more: What Is RainCan Showerhead
Tools and Materials Needed
Before you begin removing the faceplate on your Primo 8 Rain Can Showerhead, gather the following tools and materials:
- Adjustable wrench or pliers
- Screwdriver (size may vary depending on the showerhead model)
- Clean cloth or sponge
- Vinegar or mild soap
- Replacement faceplate (if desired)
The adjustable wrench or pliers will be used to disconnect the showerhead, providing easier access to the faceplate. The screwdriver will be used to remove the screws that secure the faceplate in place. The clean cloth or sponge will be used to wipe down the faceplate and showerhead, and vinegar or mild soap can be used to remove any built-up debris or mineral deposits.
If you’re looking to replace the faceplate, it’s important to have a replacement on hand. Check with the manufacturer or a local hardware store to find the correct faceplate model that matches your Primo 8 Rain Can Showerhead.
Once you have gathered all the necessary tools and materials, you’re ready to move on to the step-by-step process of removing the faceplate.
Step 1: Turn off the Water Supply
The first step in removing the faceplate on your Primo 8 Rain Can Showerhead is to turn off the water supply. This will prevent any water from flowing while you work on removing the faceplate.
Locate the water supply valve in your bathroom. It is typically located near the shower, either on the wall or under the sink. Turn the valve clockwise to shut off the water supply. Ensure that the valve is fully closed to prevent any water from leaking out.
If you’re unsure which valve controls the water supply to the shower, you may need to turn off the main water supply for your entire home. This can usually be done by locating the main water valve, often found in the basement or utility closet. Turning off the main water supply will shut off water to the entire house, so be sure to inform other household members in advance.
Once the water supply is turned off, you can proceed to the next step of locating the faceplate on your Primo 8 Rain Can Showerhead.
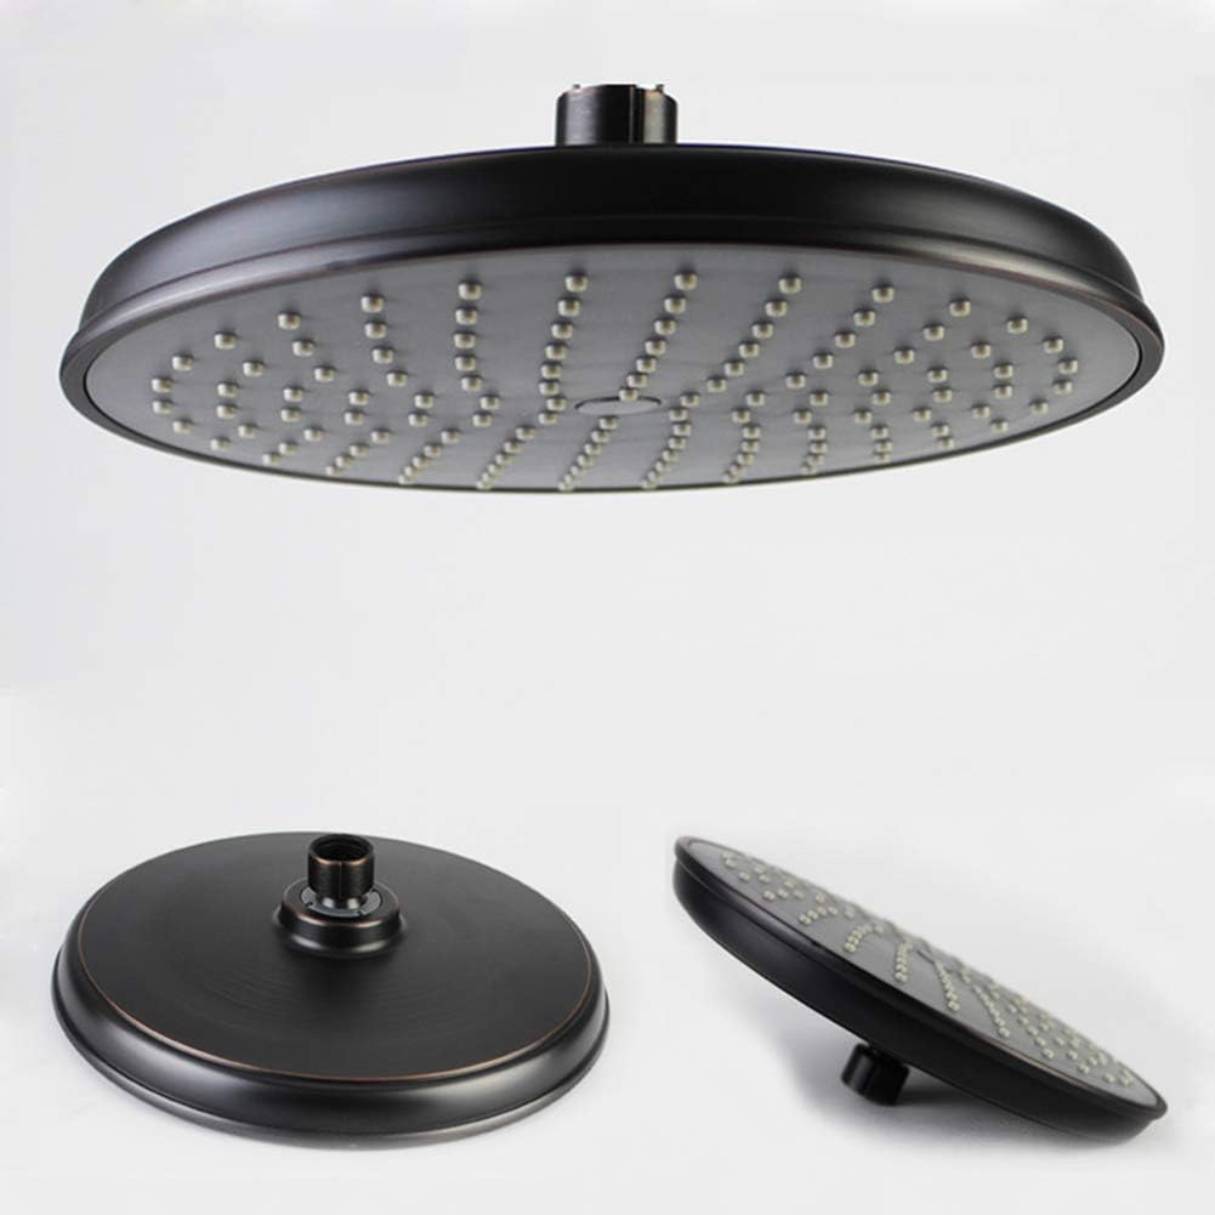
Step 2: Locate the Faceplate
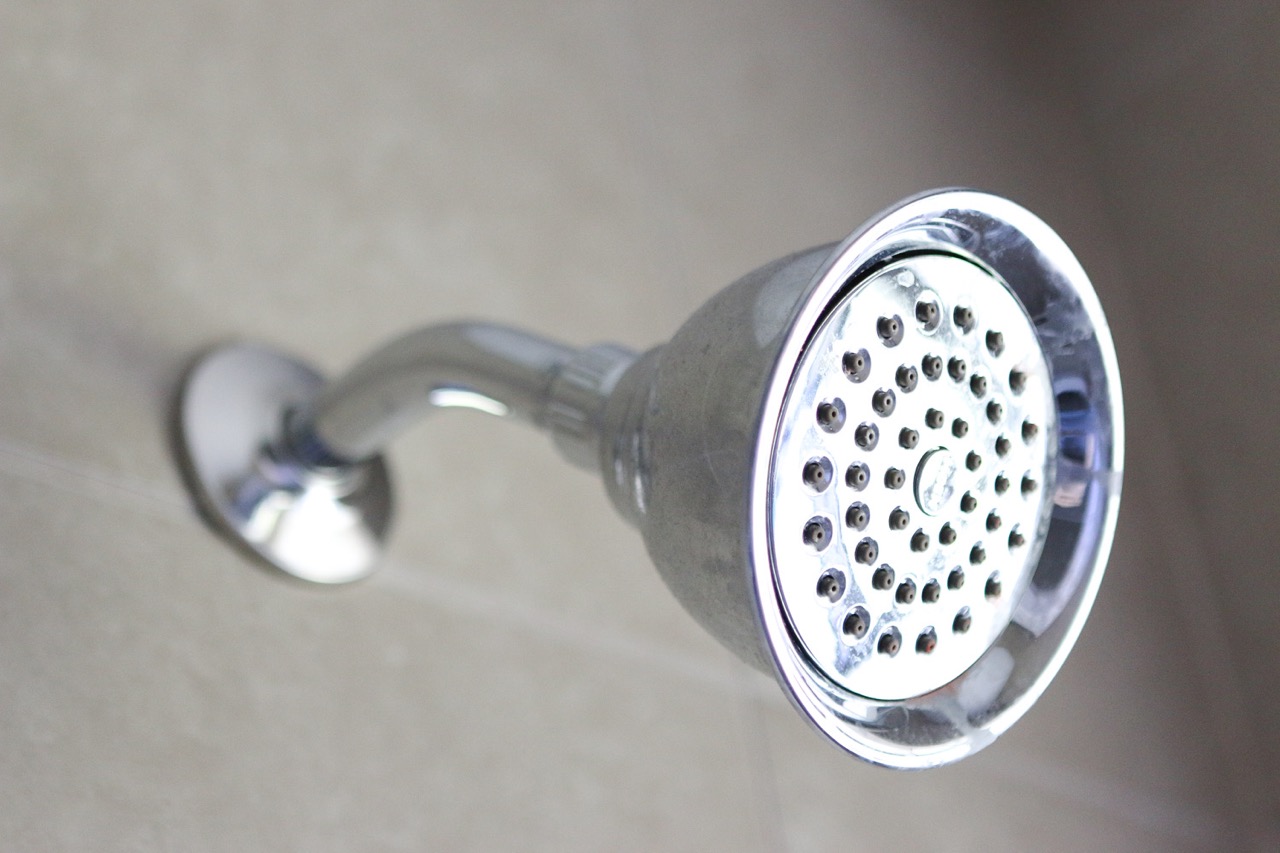
Now that you have turned off the water supply, it’s time to locate the faceplate on your Primo 8 Rain Can Showerhead. The faceplate is the decorative cover that surrounds the showerhead and gives it a polished look.
First, visually inspect the showerhead to identify the faceplate. It is typically a circular or square-shaped piece that is attached to the front of the showerhead. Look for any visible screws or tabs that may be holding the faceplate in place.
If you’re having trouble finding the faceplate, consult the user manual or manufacturer’s instructions for your specific Primo 8 Rain Can Showerhead model. They may provide detailed diagrams or descriptions of where the faceplate is located.
Additionally, you can use a flashlight to help illuminate hard-to-see areas, allowing you to better spot the faceplate. Take your time and ensure you have a clear understanding of where the faceplate is positioned before proceeding to the next step.
Once you have located the faceplate, you’re ready to move on to step 3, where you’ll learn how to remove the faceplate screws.
Step 3: Remove the Faceplate Screws
Now that you have located the faceplate on your Primo 8 Rain Can Showerhead, it’s time to remove the screws that are securing it in place. The screws may be visible on the front of the faceplate or on the sides, depending on the design of your showerhead.
Using the appropriate screwdriver (the size may vary depending on the showerhead model), carefully loosen and remove the screws that are holding the faceplate in place. Be sure to hold onto the screws to prevent them from falling into the shower drain.
If the faceplate doesn’t have visible screws, it may be attached using a different method such as adhesive or clips. In this case, refer to the user manual or manufacturer’s instructions for guidance on how to detach the faceplate.
Once you have removed all the screws, set them aside in a safe place. You’re now ready to proceed to the next step, where you’ll learn how to gently wiggle the faceplate to loosen it.
Read more: How To Choose A Rain Showerhead
Step 4: Gently Wiggle the Faceplate
With the screws removed, it’s time to gently wiggle the faceplate to loosen it from the Primo 8 Rain Can Showerhead. This step is important as it helps to loosen any adhesive or clips that may be holding the faceplate in place.
Start by placing your hands on opposite sides of the faceplate. Use a gentle back-and-forth motion, applying slight pressure as you wiggle the faceplate. Be careful not to apply too much force or twist too vigorously, as this can damage the showerhead or faceplate.
Continue wiggling the faceplate for a few moments, ensuring that it feels loose and is no longer firmly attached. If you encounter any resistance, double-check to make sure that all the screws have been removed.
Keep in mind that some faceplates may have additional features such as rubber gaskets that create a tight seal. In this case, you may need to exert slightly more force to separate the faceplate from the showerhead.
Once you feel that the faceplate is loosened, it’s time to move on to the next step, where you’ll learn how to detach the faceplate from the Primo 8 Rain Can Showerhead.
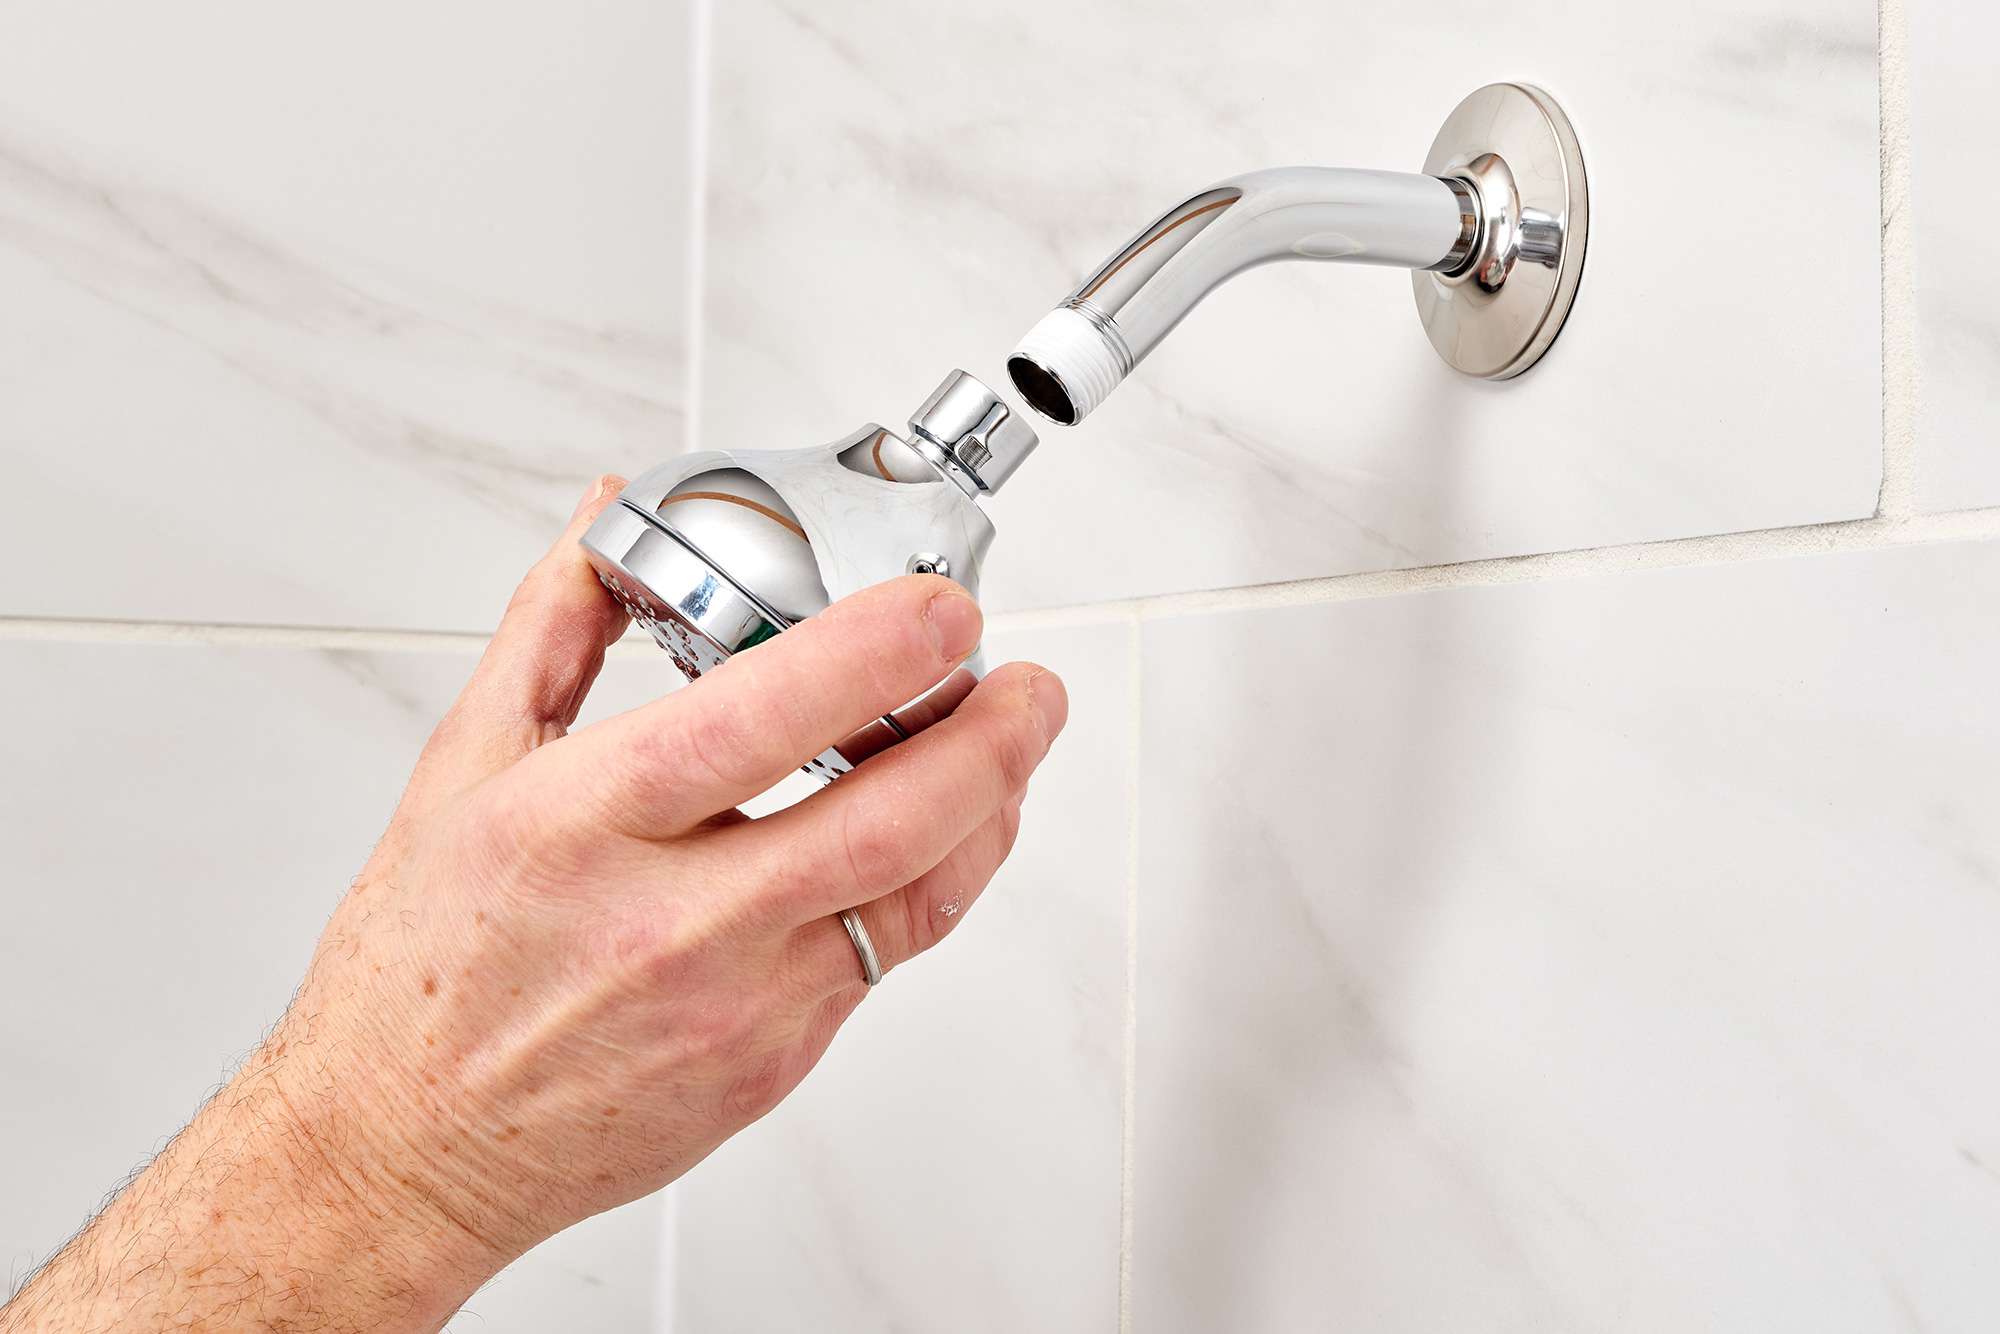
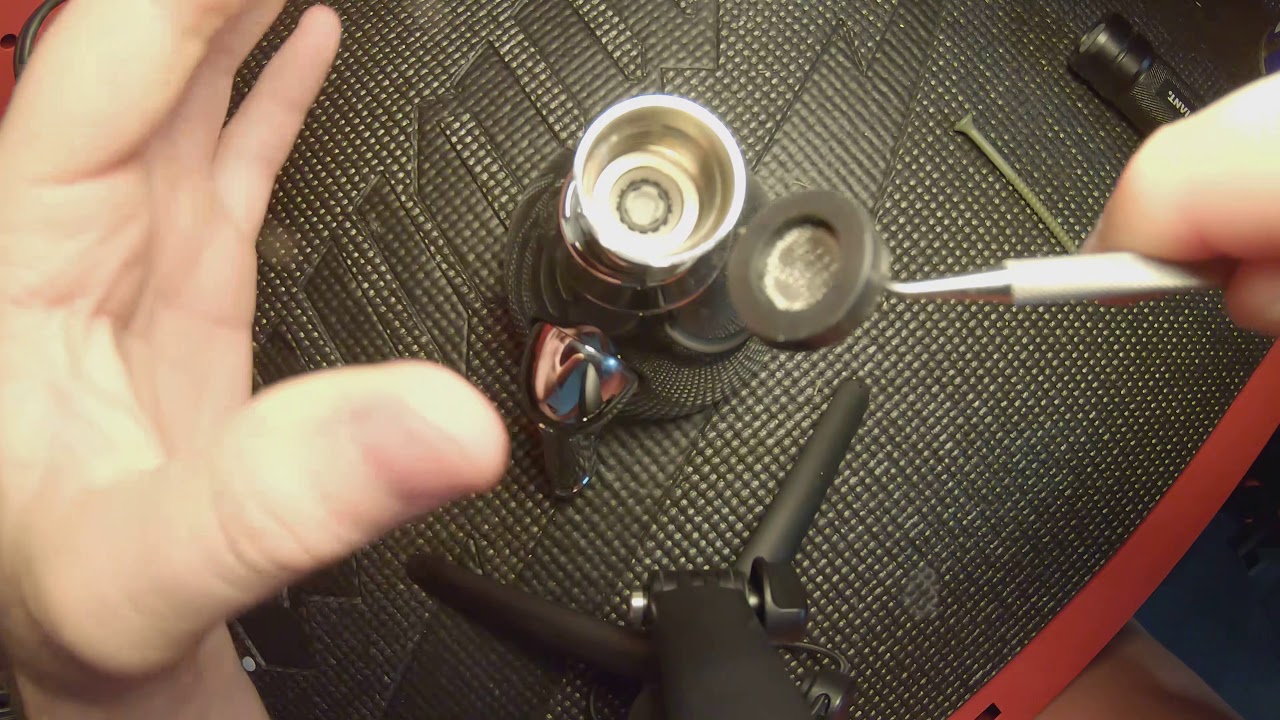
Step 5: Detach the Faceplate from the Showerhead
Now that the faceplate is loosened, it’s time to detach it from the Primo 8 Rain Can Showerhead. Carefully grip the faceplate with both hands and gently pull it away from the showerhead.
Depending on the type of attachment used, you may feel some resistance as you remove the faceplate. If the faceplate is attached with adhesive, you may need to use a bit more force to detach it. Be cautious and avoid pulling too hard, as you don’t want to damage the showerhead or the faceplate.
If you encounter any stubborn areas where the faceplate is still firmly attached, you can use a flat-headed screwdriver or a plastic pry tool to carefully separate it. Insert the tool between the faceplate and the showerhead and gently apply pressure to create a gap. From there, continue to carefully pry the faceplate away.
Once the faceplate is completely detached, set it aside in a safe place. You can now proceed to the next step, where we’ll discuss how to clean or replace the faceplate.
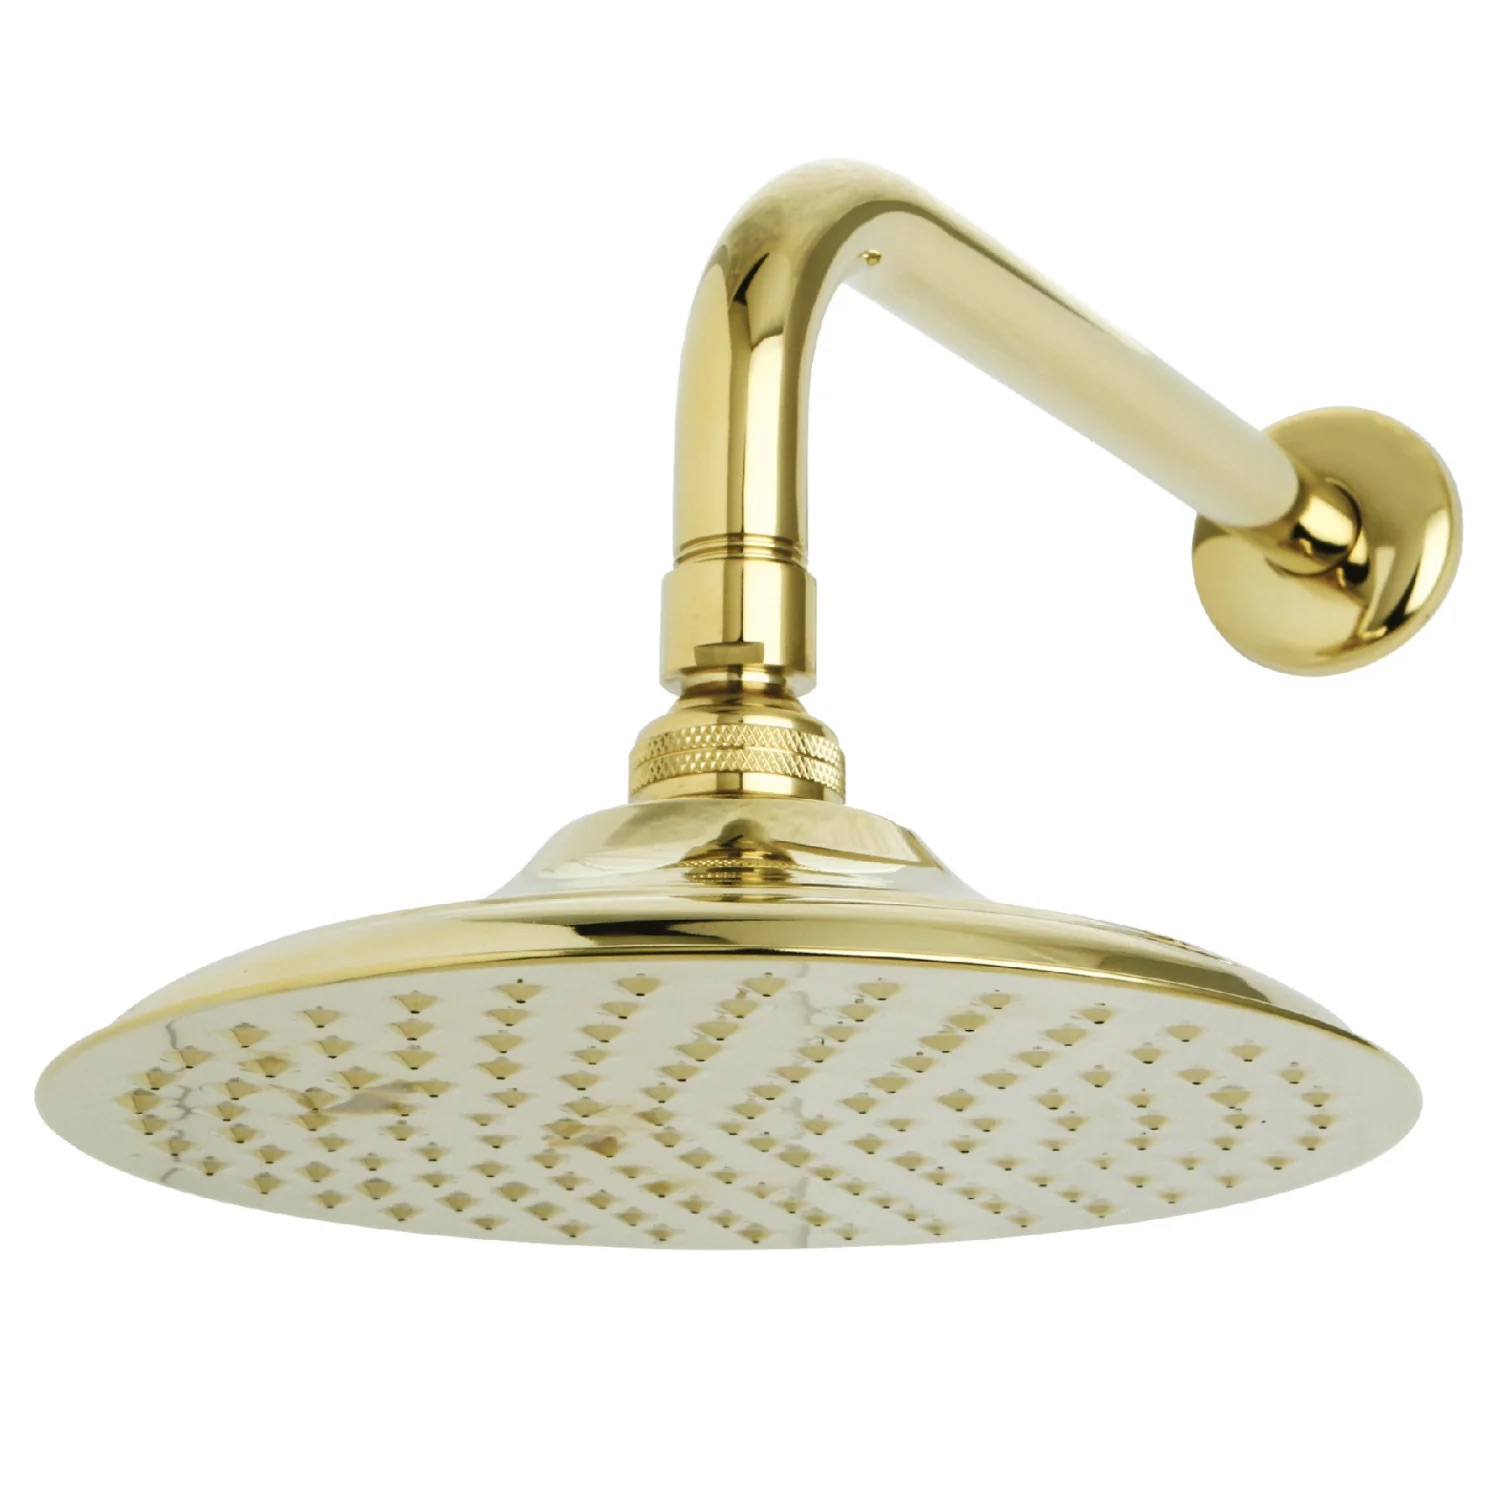
To remove the faceplate on a Primo 8 rain can showerhead, look for a small screw on the side or bottom of the faceplate. Use a screwdriver to loosen and remove the screw, then gently pull the faceplate off.
Step 6: Clean or Replace the Faceplate
Now that you have successfully removed the faceplate from your Primo 8 Rain Can Showerhead, it’s time to decide whether you want to clean or replace it. Here are the options:
Cleaning the Faceplate:
If you choose to clean the faceplate, start by inspecting it for any visible dirt, grime, or mineral deposits. Use a clean cloth or sponge dampened with mild soap and warm water to gently wipe down the surface of the faceplate.
If there are stubborn stains or mineral deposits, you can create a mixture of equal parts vinegar and water. Dip a cloth or sponge into the mixture and gently scrub the affected areas of the faceplate. Rinse thoroughly with clean water to remove any residue.
Once you have finished cleaning the faceplate, dry it thoroughly with a clean cloth or let it air dry before reattaching it to the showerhead. If the faceplate is in good condition and the cleaning has restored its appearance, you can move on to the next step of reattaching it.
Read more: How To Remove The Faceplate On Ring Doorbell
Replacing the Faceplate:
If you choose to replace the faceplate, ensure that you have a suitable replacement on hand. You can check with the manufacturer or a local hardware store to find the correct faceplate model that matches your Primo 8 Rain Can Showerhead.
To replace the faceplate, simply align it with the holes on the showerhead and gently press it into place. If necessary, use a screwdriver to secure the screws that hold the faceplate in position.
It’s important to follow the manufacturer’s instructions when replacing the faceplate to ensure a proper fit. Make sure all screws are tightened securely, but be careful not to overtighten and risk damaging the faceplate or showerhead.
Once you have either cleaned or replaced the faceplate, you’re ready to move on to the next step, where we’ll discuss how to reattach it to the Primo 8 Rain Can Showerhead.
Step 7: Reattach the Faceplate
With either a freshly cleaned or newly replaced faceplate, it’s time to reattach it to your Primo 8 Rain Can Showerhead. Follow these steps to ensure a secure and proper reattachment:
- Hold the faceplate in front of the showerhead, aligning it with the screw holes or attachment points.
- Gently press the faceplate against the showerhead, ensuring it fits snugly and is aligned correctly.
- If your faceplate has screws, insert them into the screw holes and tighten them using a screwdriver. Be sure not to overtighten and risk damaging the faceplate or showerhead.
- If your faceplate uses a different attachment method such as clips or adhesive, follow the manufacturer’s instructions to secure it in place.
- Double-check that the faceplate is securely fastened and flush against the showerhead.
It’s important to make sure the faceplate is properly attached to prevent any water leakage or damage. Take a moment to visually inspect the faceplate and ensure it is securely in place before moving on to the final step.
Now that you have successfully reattached the faceplate, you’re ready for the last step – turning on the water supply and enjoying your refreshed Primo 8 Rain Can Showerhead.
Step 8: Turn on the Water Supply
Congratulations! You’re almost done with the process of removing and reattaching the faceplate on your Primo 8 Rain Can Showerhead. The final step is to turn on the water supply and ensure that everything is working properly.
Locate the water supply valve that you previously turned off in Step 1. Slowly and carefully turn the valve counterclockwise to open it and allow water to flow back into the showerhead.
As you turn on the water supply, keep an eye out for any leaks or drips around the faceplate area. If you notice any, tighten the screws or adjust the faceplate to create a better seal.
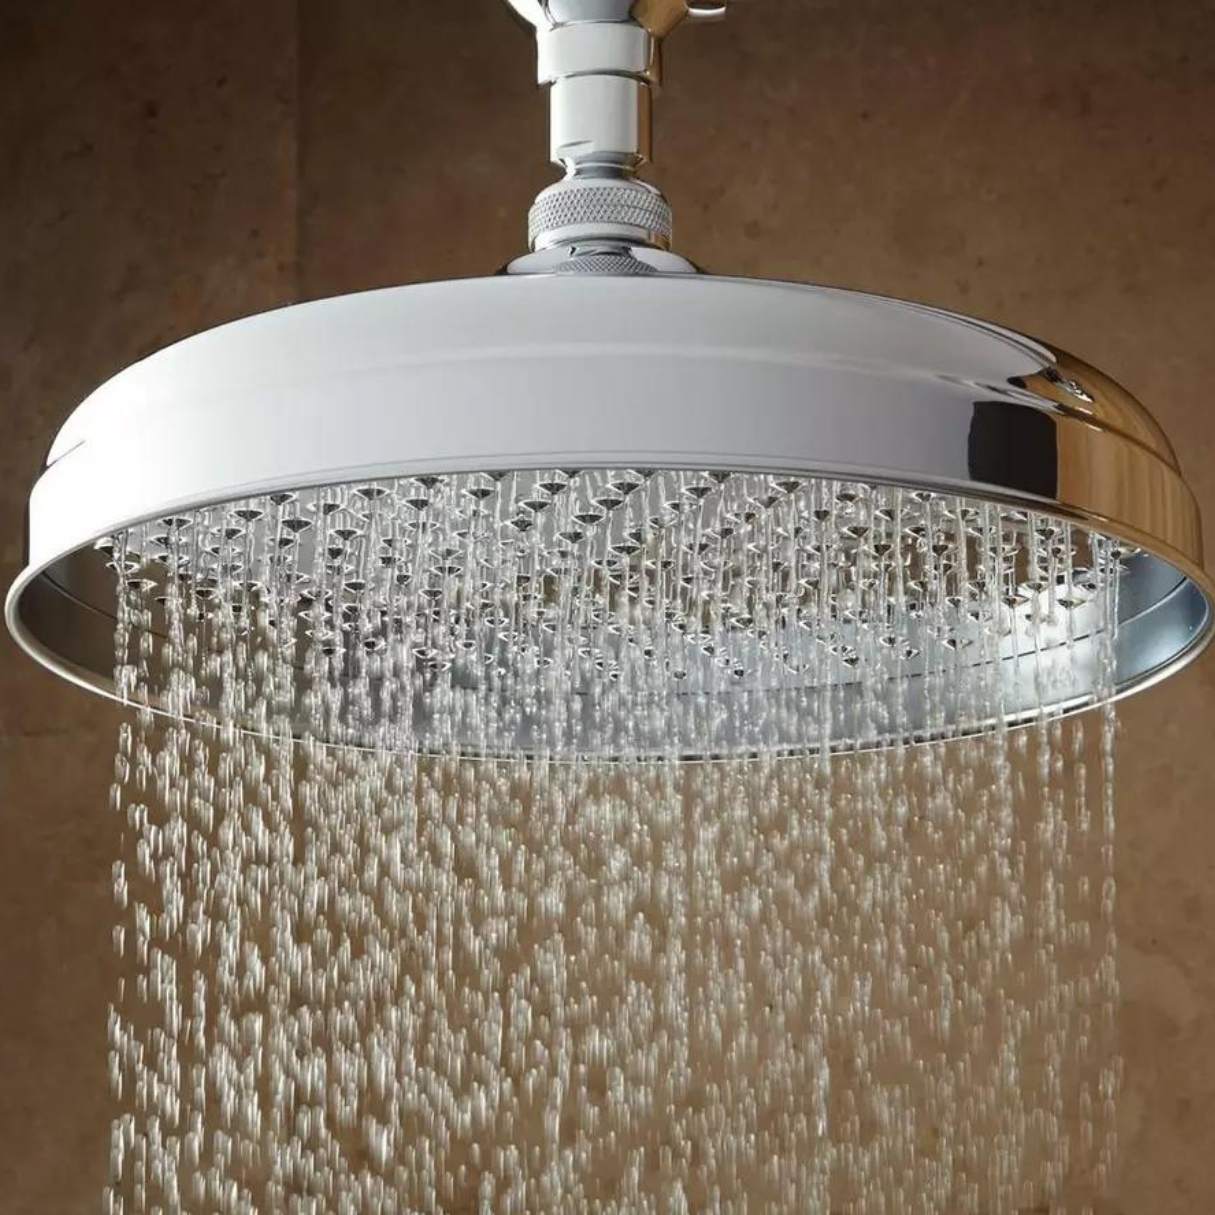
Once the water supply is fully turned on, step back and observe the showerhead. Check for any irregular water flow, unusual noises, or other signs of malfunction. If everything appears to be working correctly and the water is flowing smoothly, then you have successfully completed the process.
Take a moment to enjoy your refreshed Primo 8 Rain Can Showerhead. The clean or replaced faceplate not only enhances the visual appeal of your shower, but it also ensures optimal performance.
If you encountered any difficulties during the process or notice any ongoing issues with the showerhead, it may be worth contacting a professional plumber or reaching out to the manufacturer for further assistance.
Thank you for following this step-by-step guide on how to remove the faceplate on a Primo 8 Rain Can Showerhead. We hope that this tutorial has been helpful and that you now have a fully functional and visually appealing showerhead.
Remember to perform regular maintenance on your showerhead to keep it clean and in optimal condition for a great shower experience!
Happy showering!
Conclusion
Removing and reattaching the faceplate on a Primo 8 Rain Can Showerhead is a straightforward process that can be done with just a few tools and a little bit of patience. Whether you choose to clean the faceplate or replace it, this step-by-step guide has provided you with the necessary instructions to accomplish either task.
By turning off the water supply, locating the faceplate, removing the screws, gently wiggling the faceplate, detaching it from the showerhead, and then either cleaning or replacing it, you have successfully completed the main steps of this process. Finally, by reattaching the faceplate and turning on the water supply, you’ve ensured that everything is working properly and ready for your next refreshing shower.
Regular maintenance of your Primo 8 Rain Can Showerhead, including cleaning or replacing the faceplate, is essential to maintain its functionality and visual appeal. By taking the time to remove and care for the faceplate, you can ensure that your showerhead continues to provide an excellent shower experience.
Remember to gather the necessary tools and materials, follow the manufacturer’s instructions, and take precautions to avoid damaging the showerhead or faceplate during the process. If you encounter any difficulties or ongoing issues with your showerhead, don’t hesitate to seek assistance from a professional plumber or the manufacturer.
We hope that this guide has been helpful in guiding you through the process of removing and reattaching the faceplate on your Primo 8 Rain Can Showerhead. Now, go ahead and enjoy your rejuvenated shower experience!
Frequently Asked Questions about How To Remove Faceplate On A Primo 8 Inch Rain Can Showerhead
Was this page helpful?
At Storables.com, we guarantee accurate and reliable information. Our content, validated by Expert Board Contributors, is crafted following stringent Editorial Policies. We're committed to providing you with well-researched, expert-backed insights for all your informational needs.


0 thoughts on “How To Remove Faceplate On A Primo 8 Inch Rain Can Showerhead”