Articles
How To Remove Whirlpool Range Hood Filter
Modified: August 17, 2024
Learn how to easily remove the filter from your Whirlpool range hood with our step-by-step guide. Discover useful articles on maintaining your kitchen appliances.
(Many of the links in this article redirect to a specific reviewed product. Your purchase of these products through affiliate links helps to generate commission for Storables.com, at no extra cost. Learn more)
Introduction
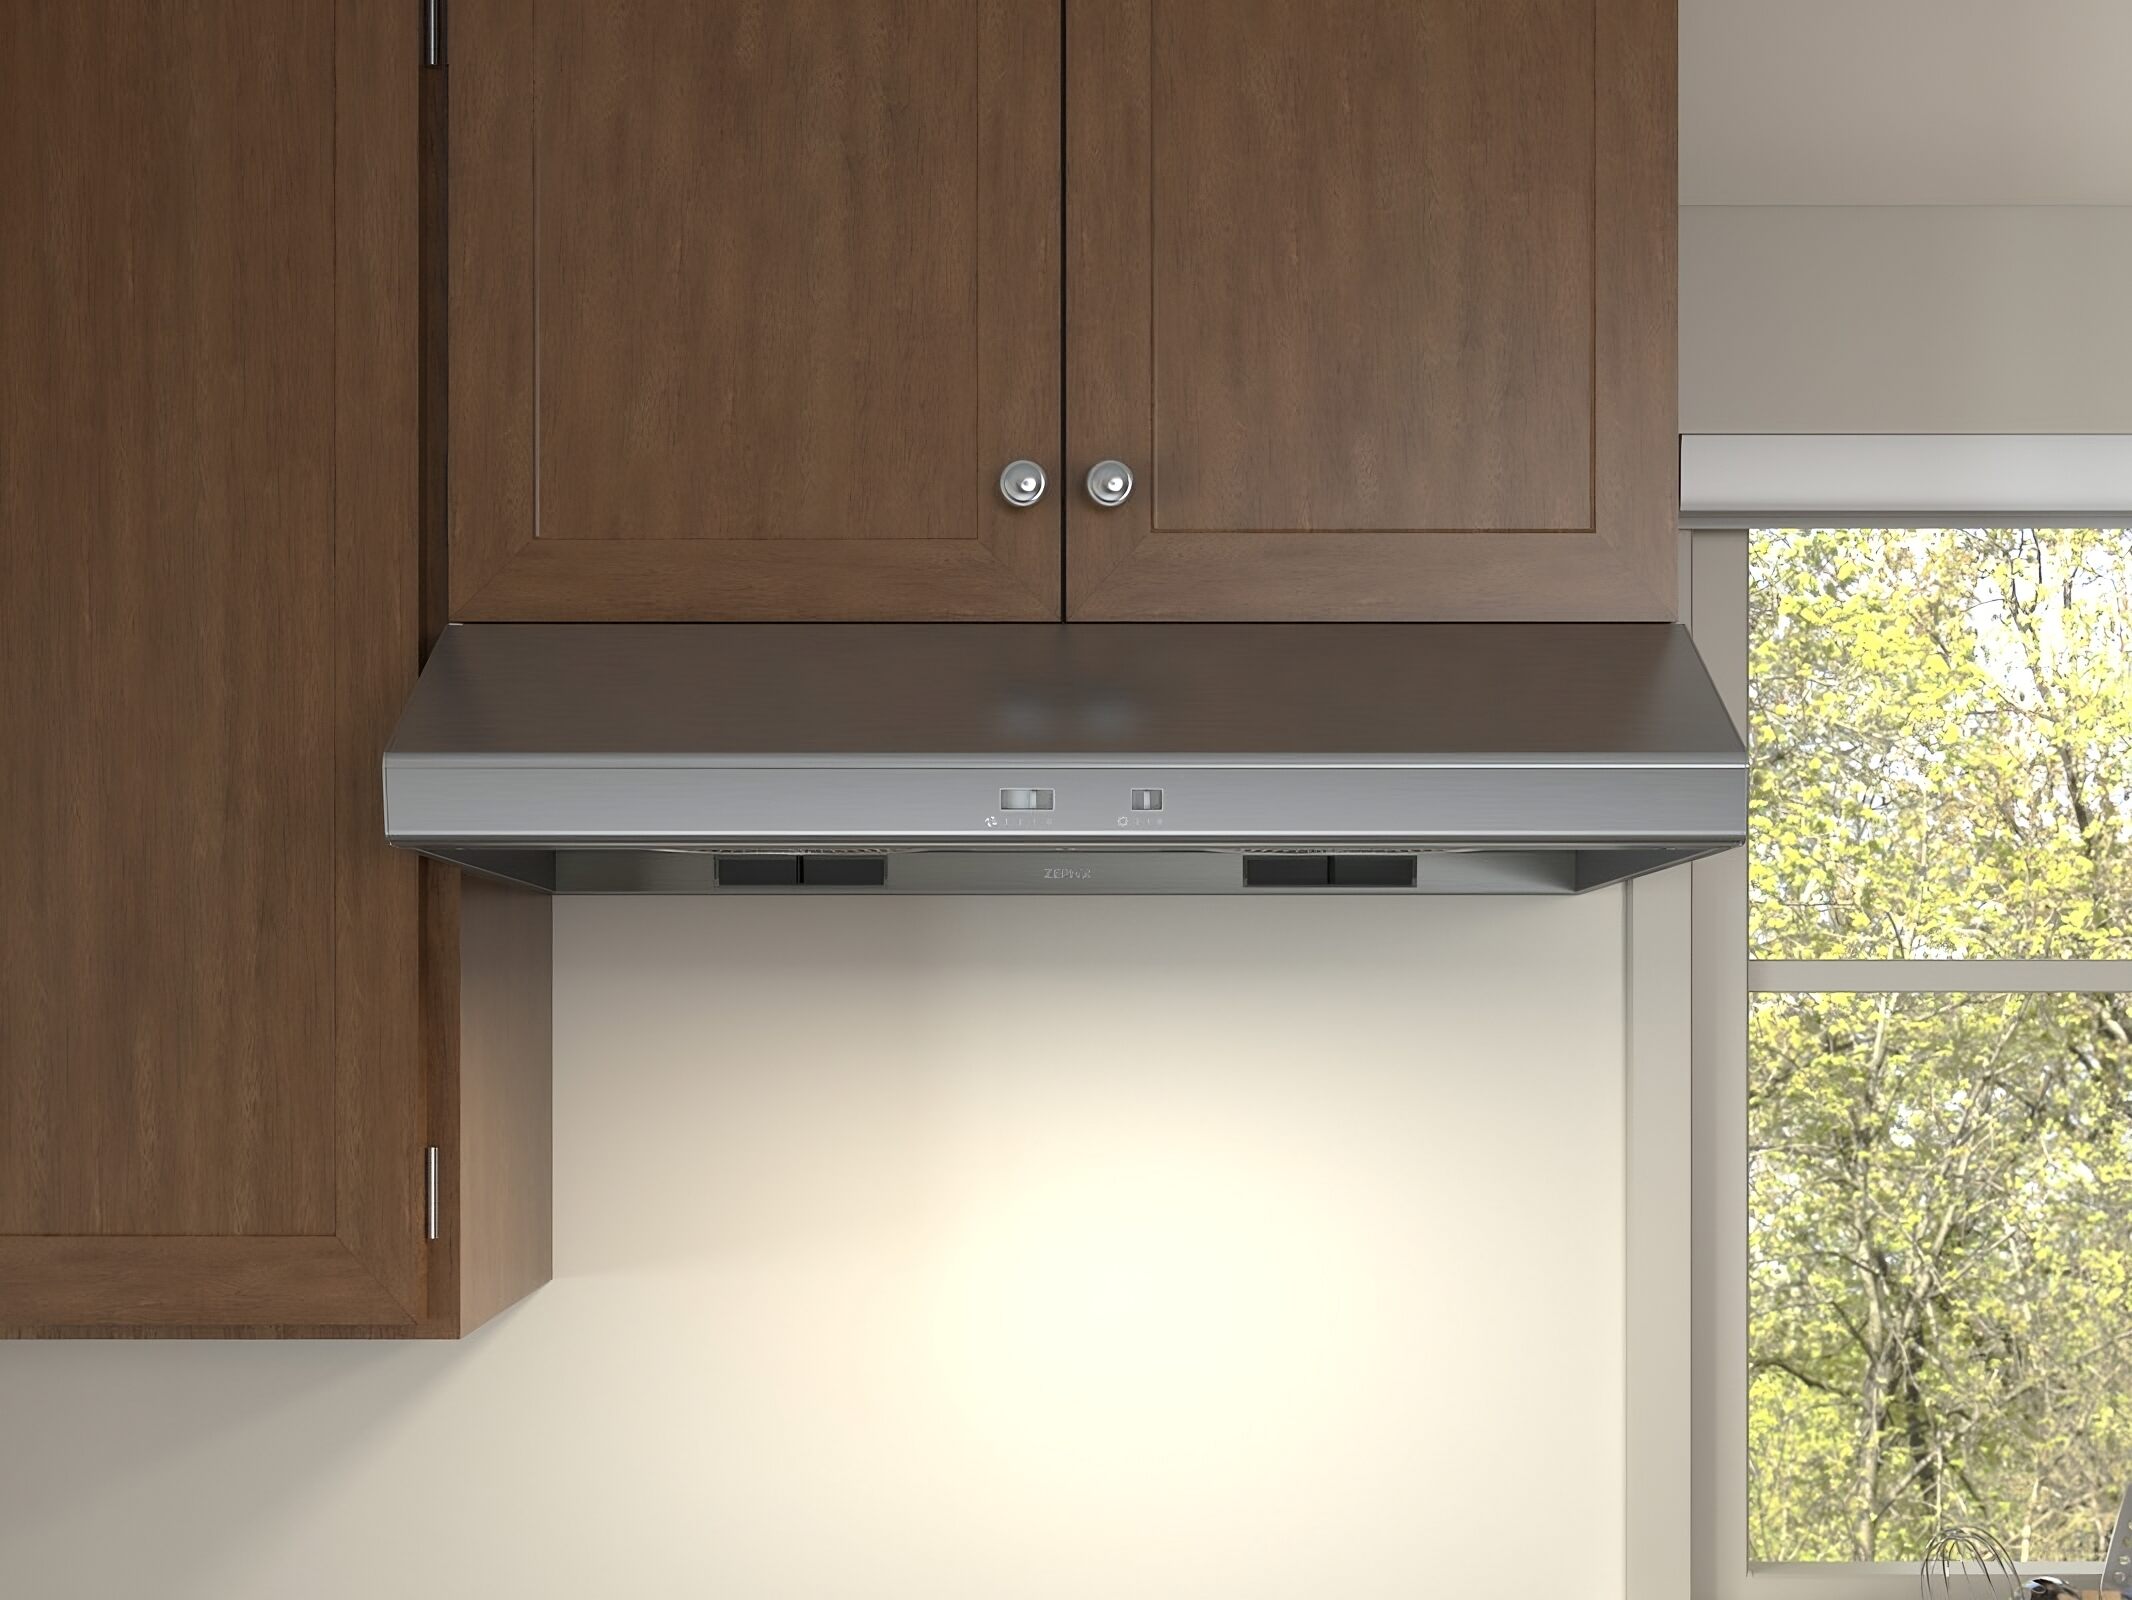
Whirlpool range hoods are a popular choice for homeowners looking to improve air quality and remove cooking odors from their kitchen. These range hoods are equipped with filters that capture grease, smoke, and other airborne particles, ensuring a clean and fresh environment while cooking.
Over time, these filters can become clogged and less effective, requiring regular cleaning or replacement. In this article, we will guide you through the step-by-step process of removing the Whirlpool range hood filter, cleaning it, and reinstalling it to maintain optimal performance. Let’s get started!
Key Takeaways:
- Regularly cleaning and maintaining your Whirlpool range hood filter is crucial for efficient air circulation and a healthier cooking environment. Follow the step-by-step process to ensure optimal performance and enjoy a clean kitchen while cooking.
- By gathering the necessary tools, turning off the range hood, locating the filter, and following the cleaning and reinstallation steps, you can easily maintain a clean and efficient Whirlpool range hood filter. Enjoy hassle-free cooking and a fresh kitchen environment!
Read more: How To Remove Broan Range Hood Filter
Step 1: Gather necessary tools and materials
Before you begin the process of removing the Whirlpool range hood filter, it’s important to gather all the necessary tools and materials to ensure a smooth and efficient cleaning process. Here’s a list of what you’ll need:
- Protective gloves: It’s always a good idea to wear protective gloves to keep your hands clean and protected during the cleaning process.
- Screwdriver: Depending on the model of your Whirlpool range hood, you may need a screwdriver to remove any screws holding the filter in place.
- Cleaning solution: Prepare a mild cleaning solution by mixing warm water with a gentle dish soap or a degreaser specifically designed for kitchen appliances.
- Soft-bristle brush or sponge: A soft-bristle brush or sponge will help you effectively clean the filter without damaging it.
- Clean cloth or towel: Have a clean cloth or towel on hand to dry the filter after cleaning.
Once you have gathered all the necessary tools and materials, you’re ready to move on to the next step.
Step 2: Turn off the range hood
Before you begin working on removing the filter, it’s important to ensure the range hood is turned off. This will prevent any accidents or injuries that may occur while handling the filter. Here’s how to turn off the range hood:
- Locate the power switch: Depending on the model of your Whirlpool range hood, the power switch may be located on the front panel, under the hood, or on the wall. Look for a clearly labeled switch.
- Switch off the power: Once you have located the power switch, simply flip it to the off position. This will cut off the power supply to the range hood, ensuring your safety while working on the filter.
Take a moment to ensure that the range hood is completely turned off and that no lights or indicator buttons are lit up. Safety should always be your top priority when working with electrical appliances.
With the range hood powered off, you can now proceed to the next step of locating the filter.
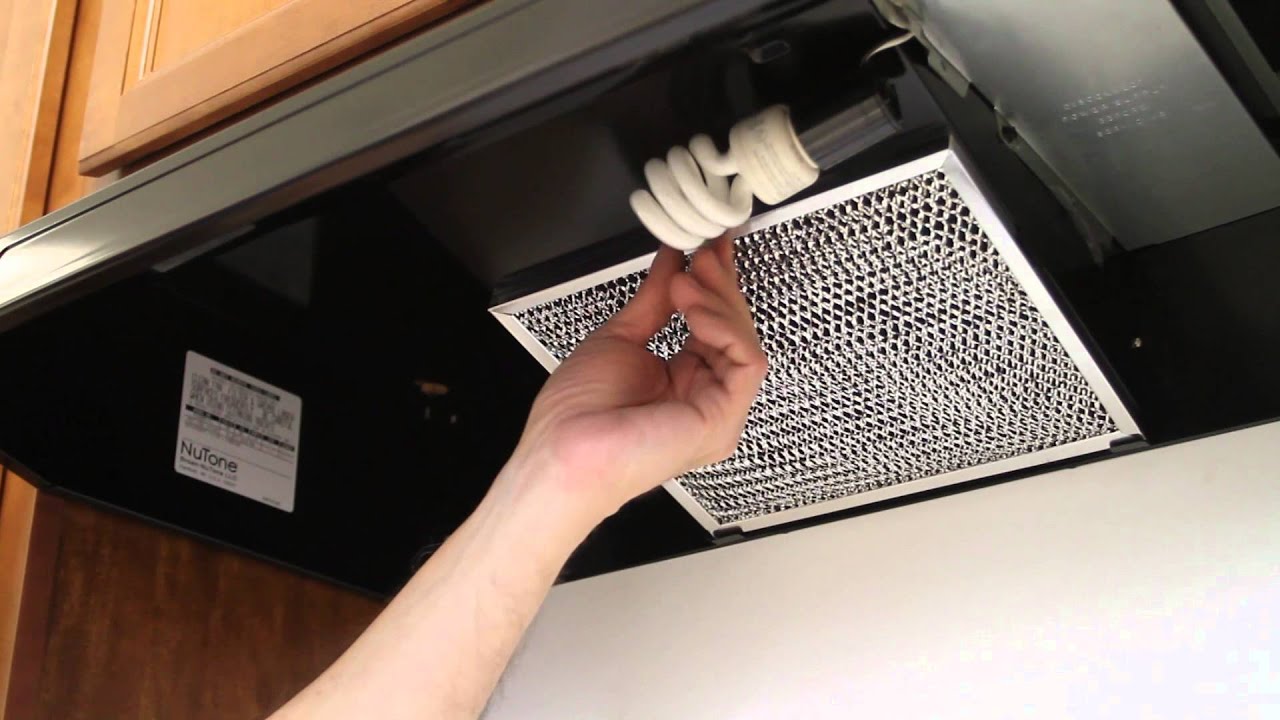
Step 3: Locate the filter
Now that the range hood is turned off, it’s time to locate the filter. The filter is responsible for capturing and trapping grease, smoke, and other airborne particles, so it’s essential to keep it clean for optimal performance. Follow these steps to locate the filter:
- Refer to the Whirlpool range hood manual: The specific location of the filter may vary depending on the model of your range hood. Consult the user manual that came with your appliance to find the exact location of the filter.
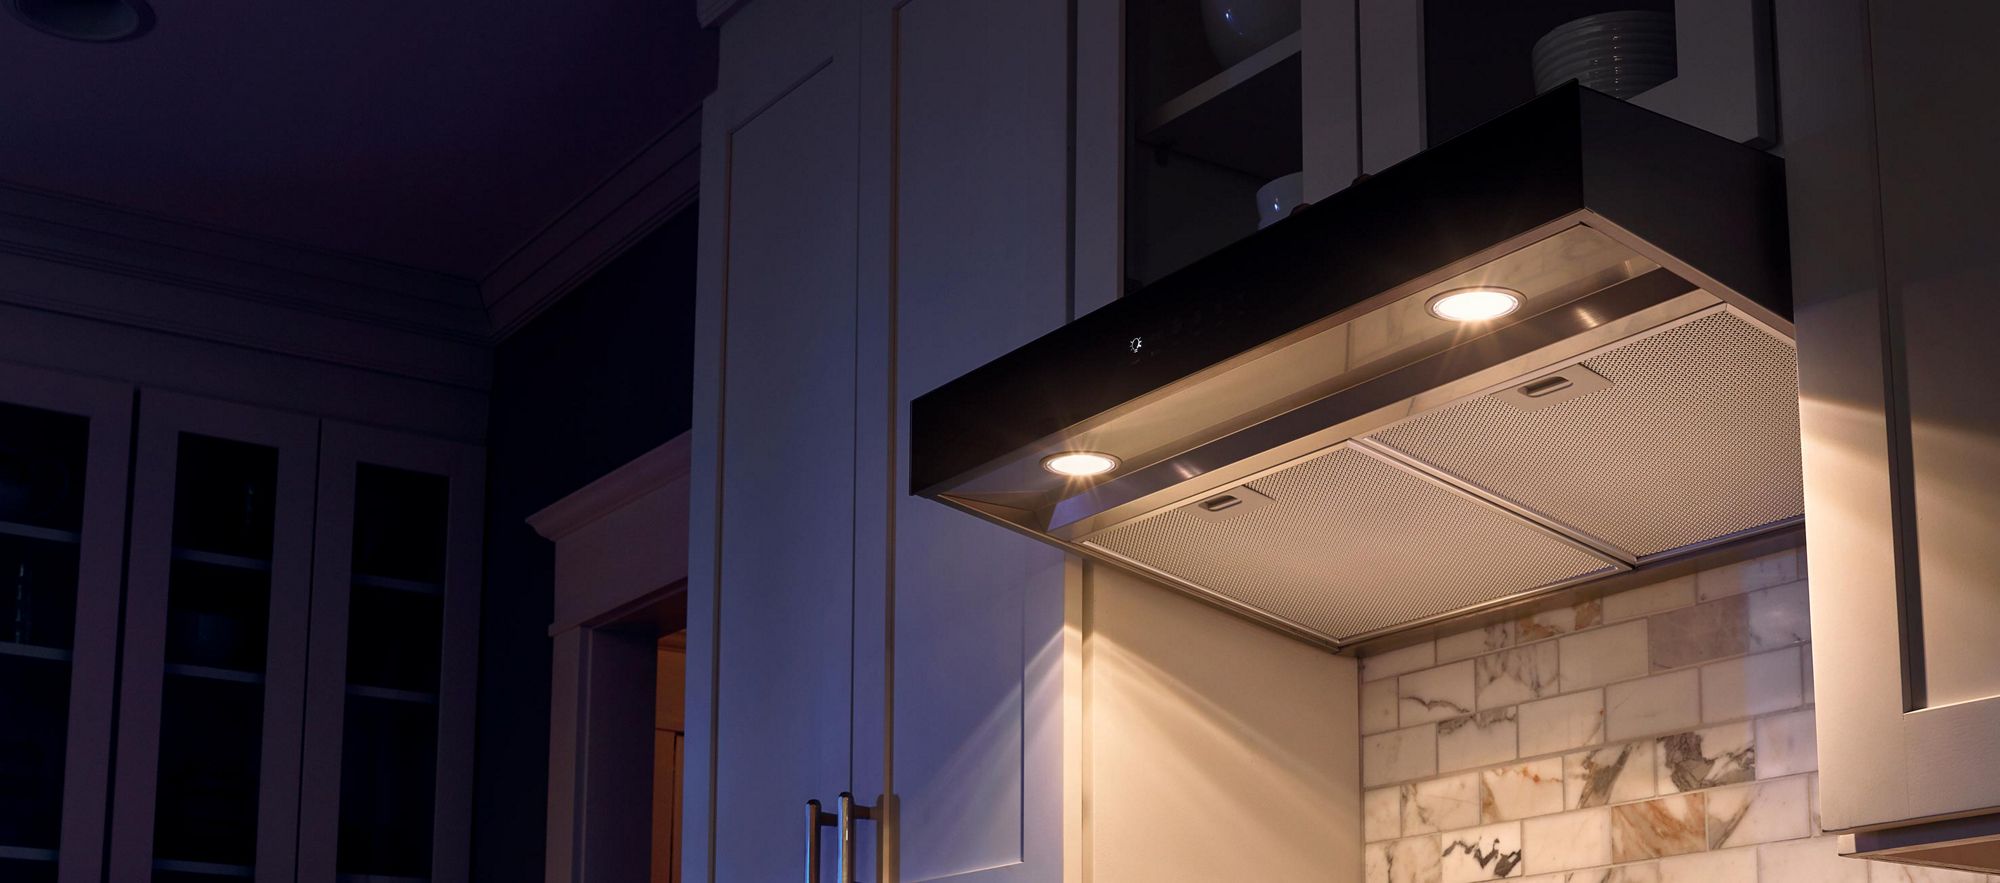
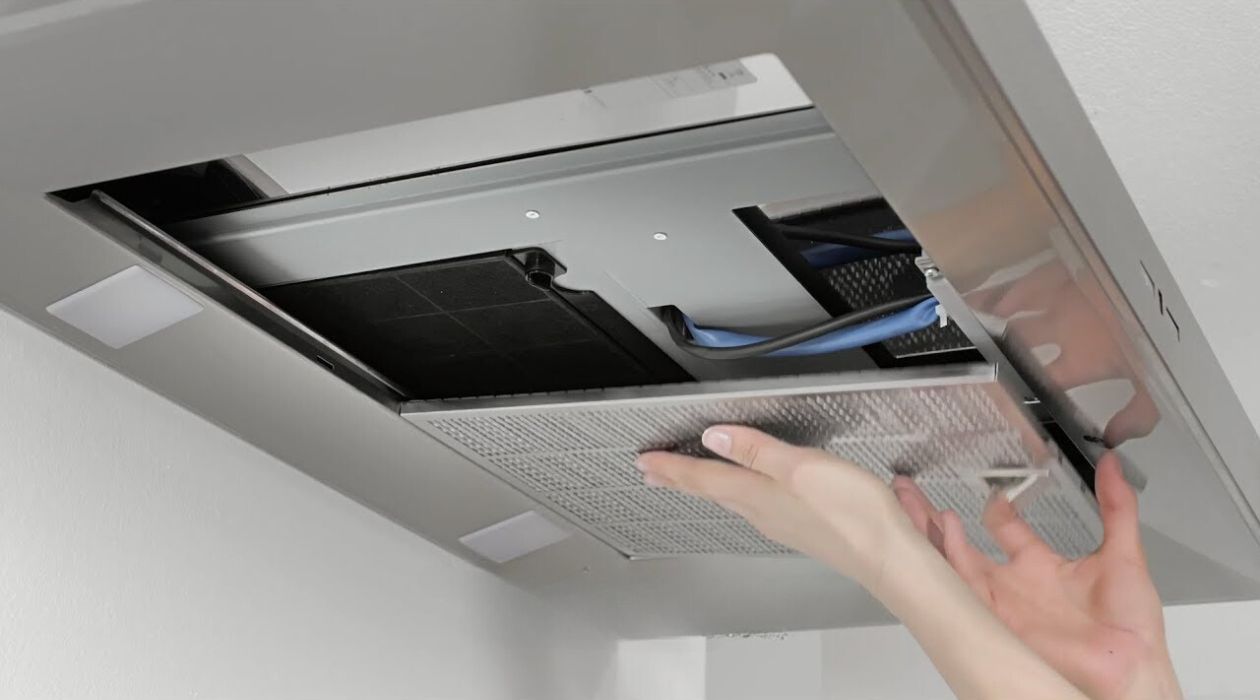
- Inspect the underside of the range hood: In most cases, the filter is located on the underside of the range hood. Lift the hood to expose the area underneath.
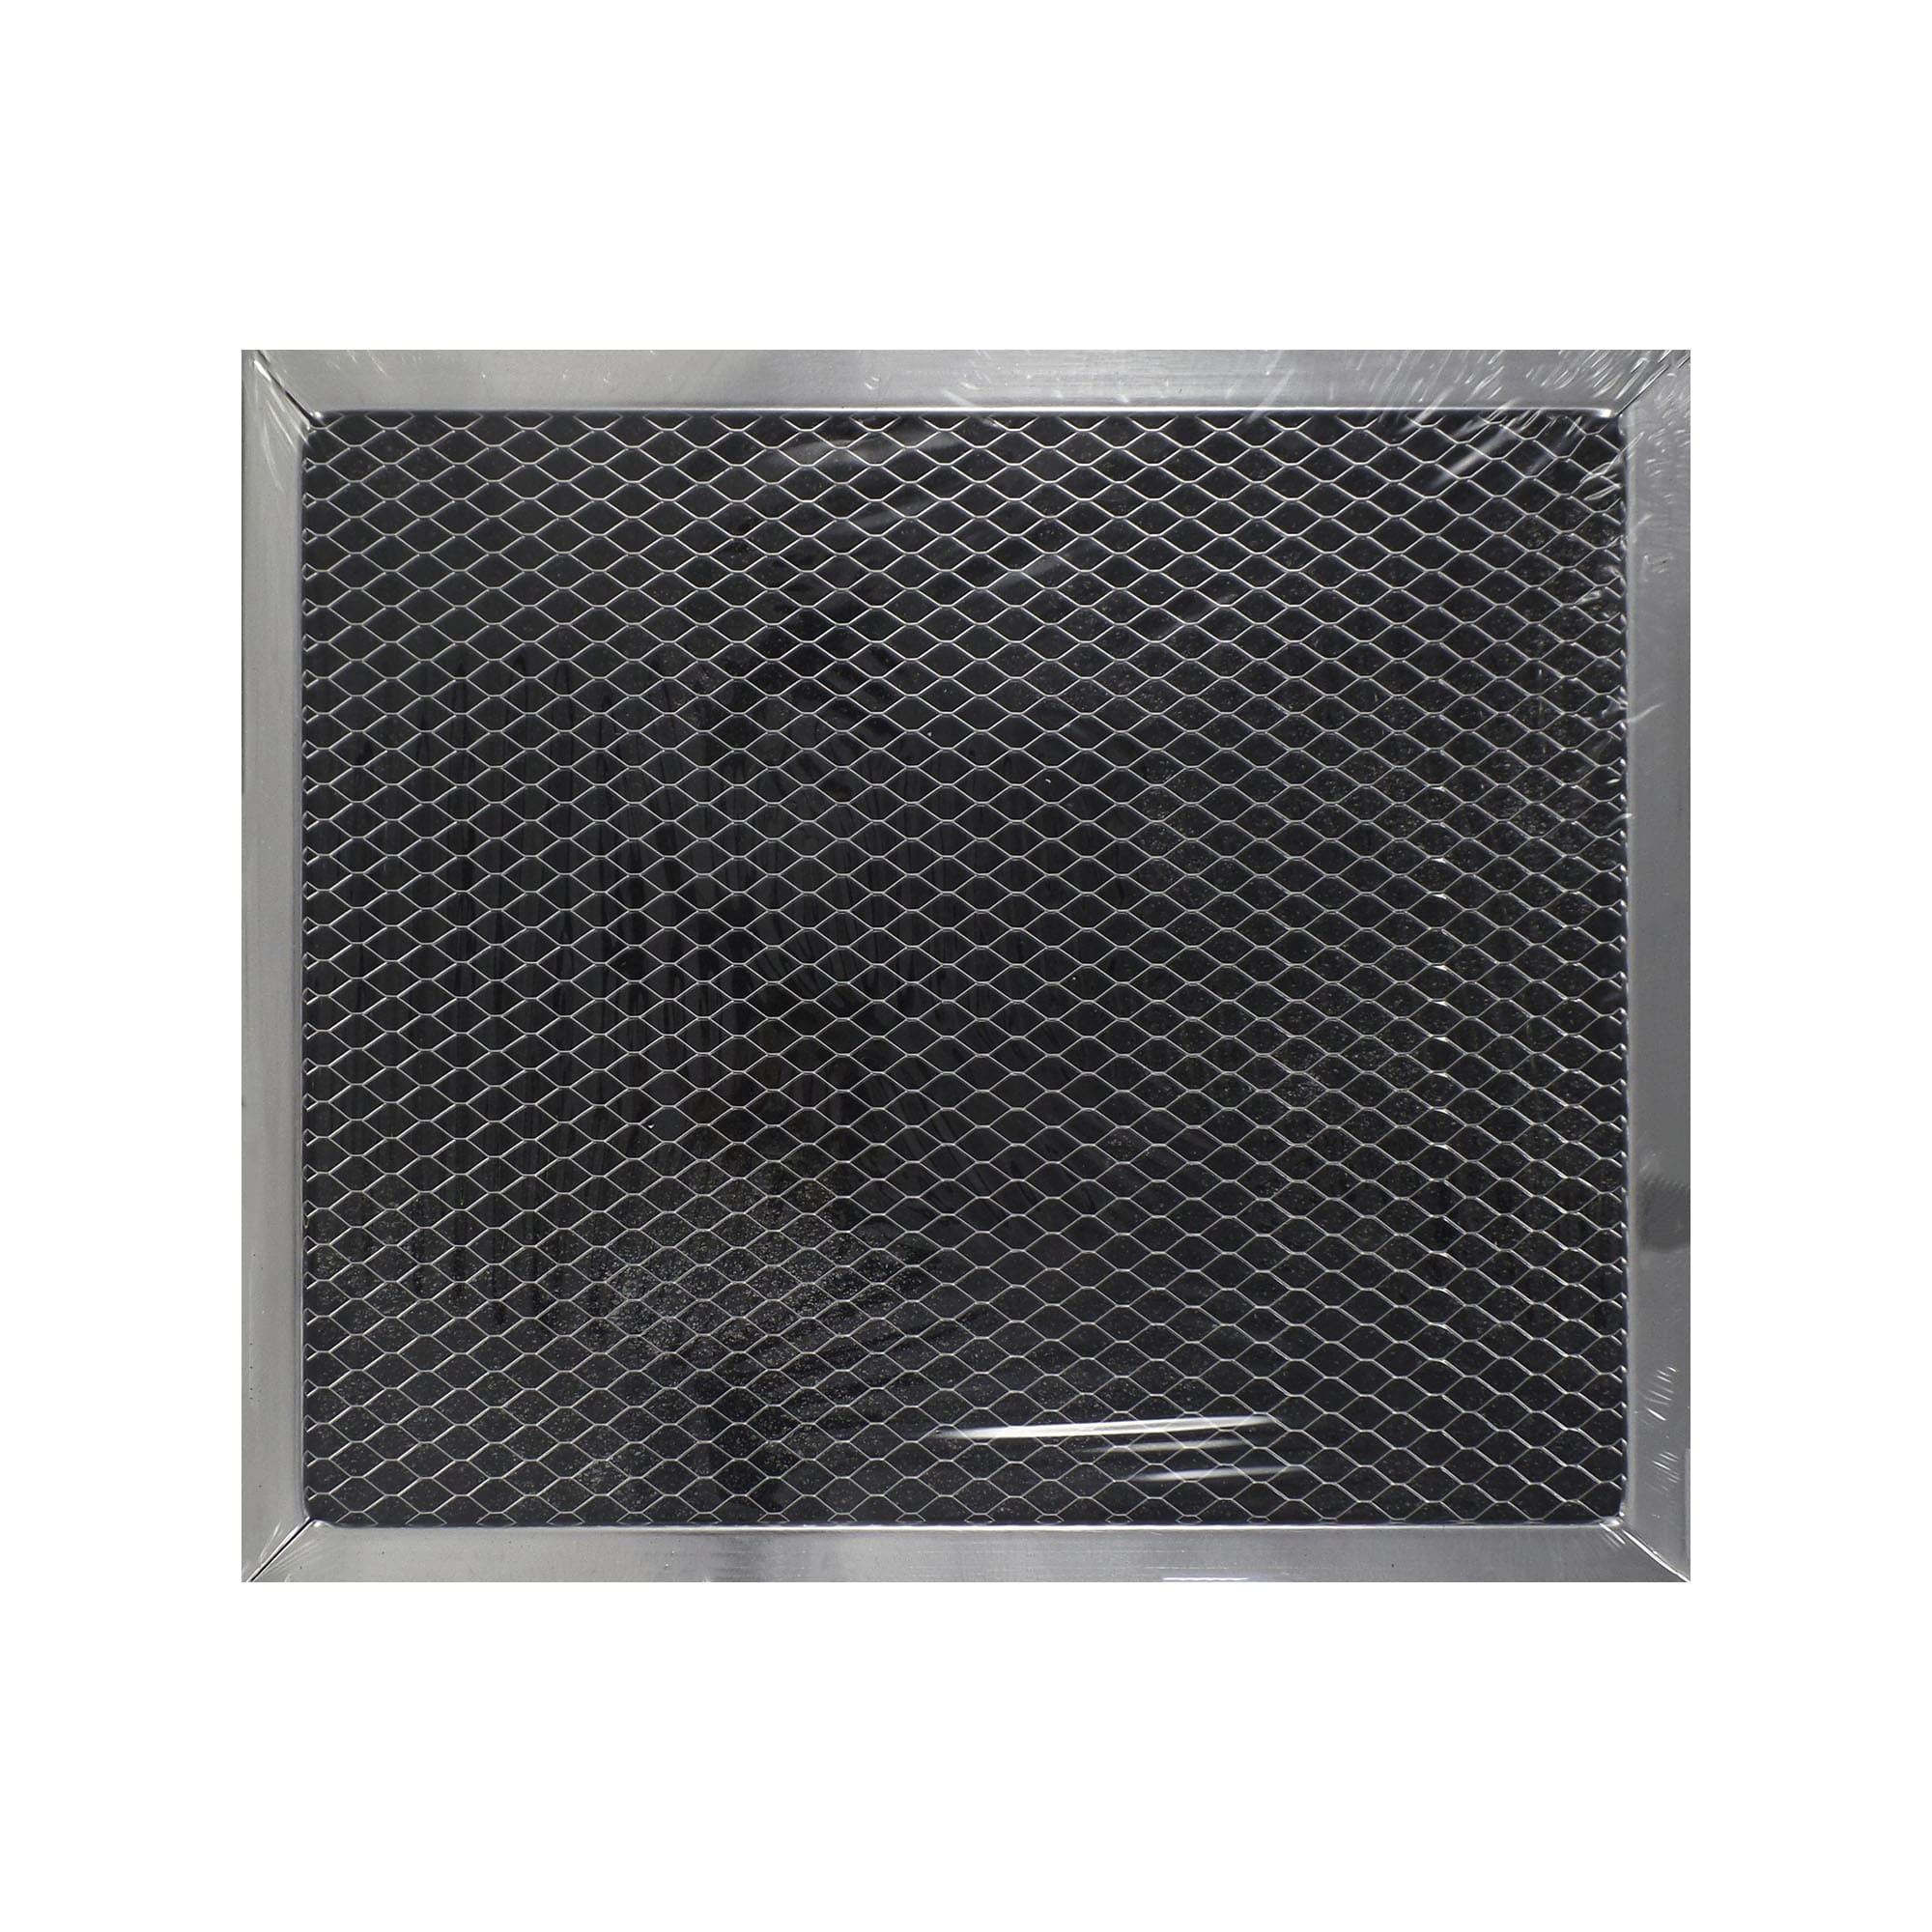
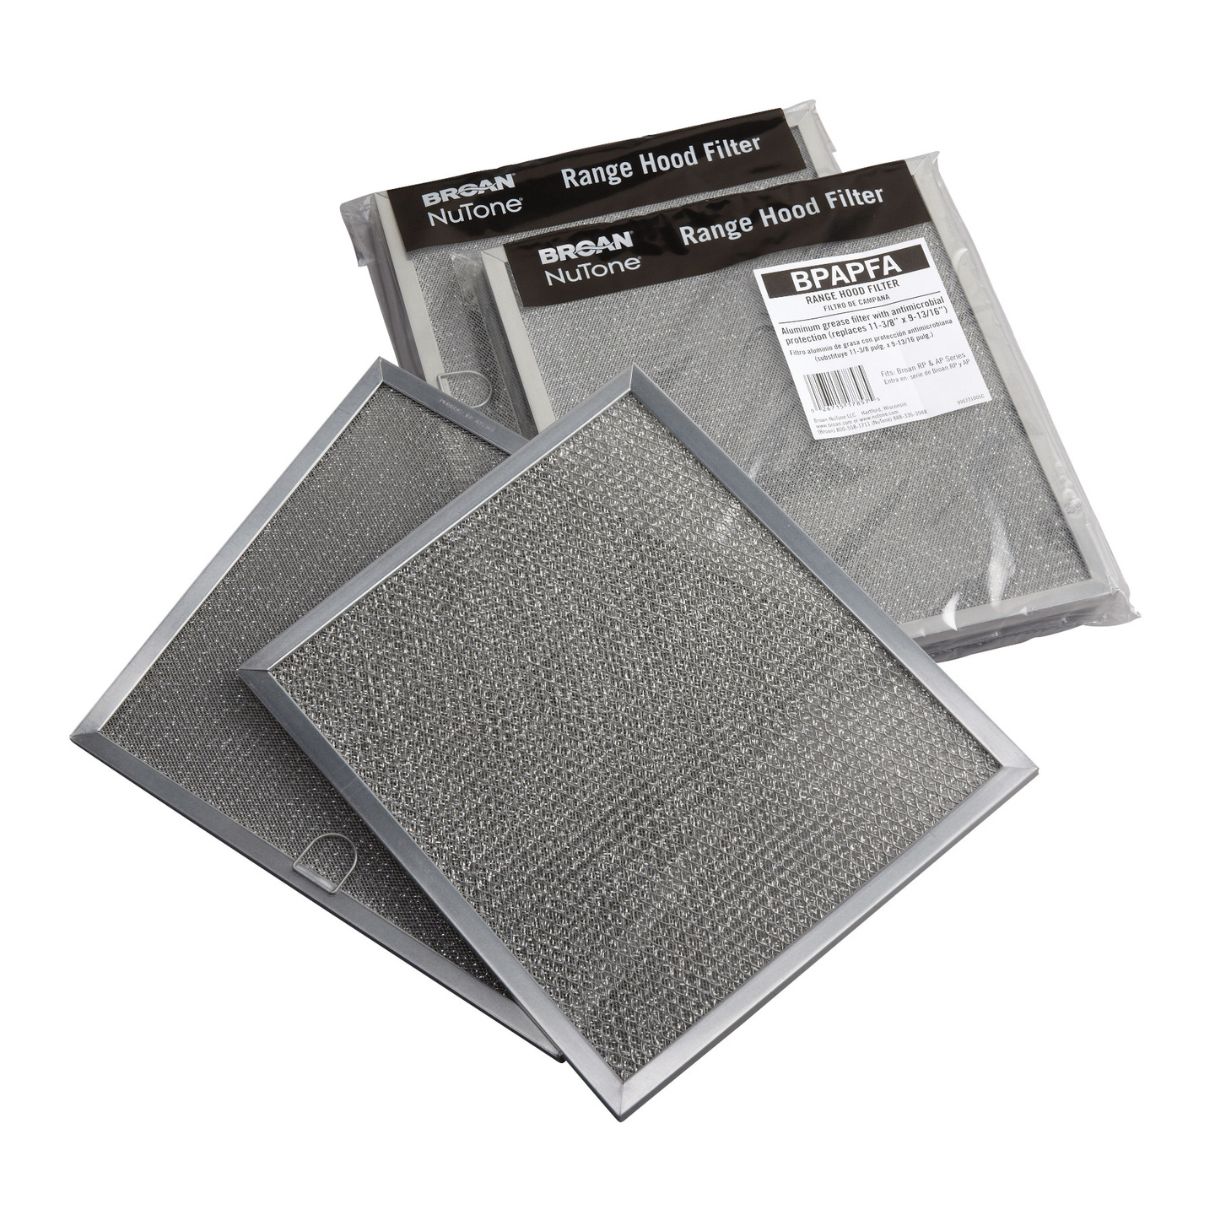
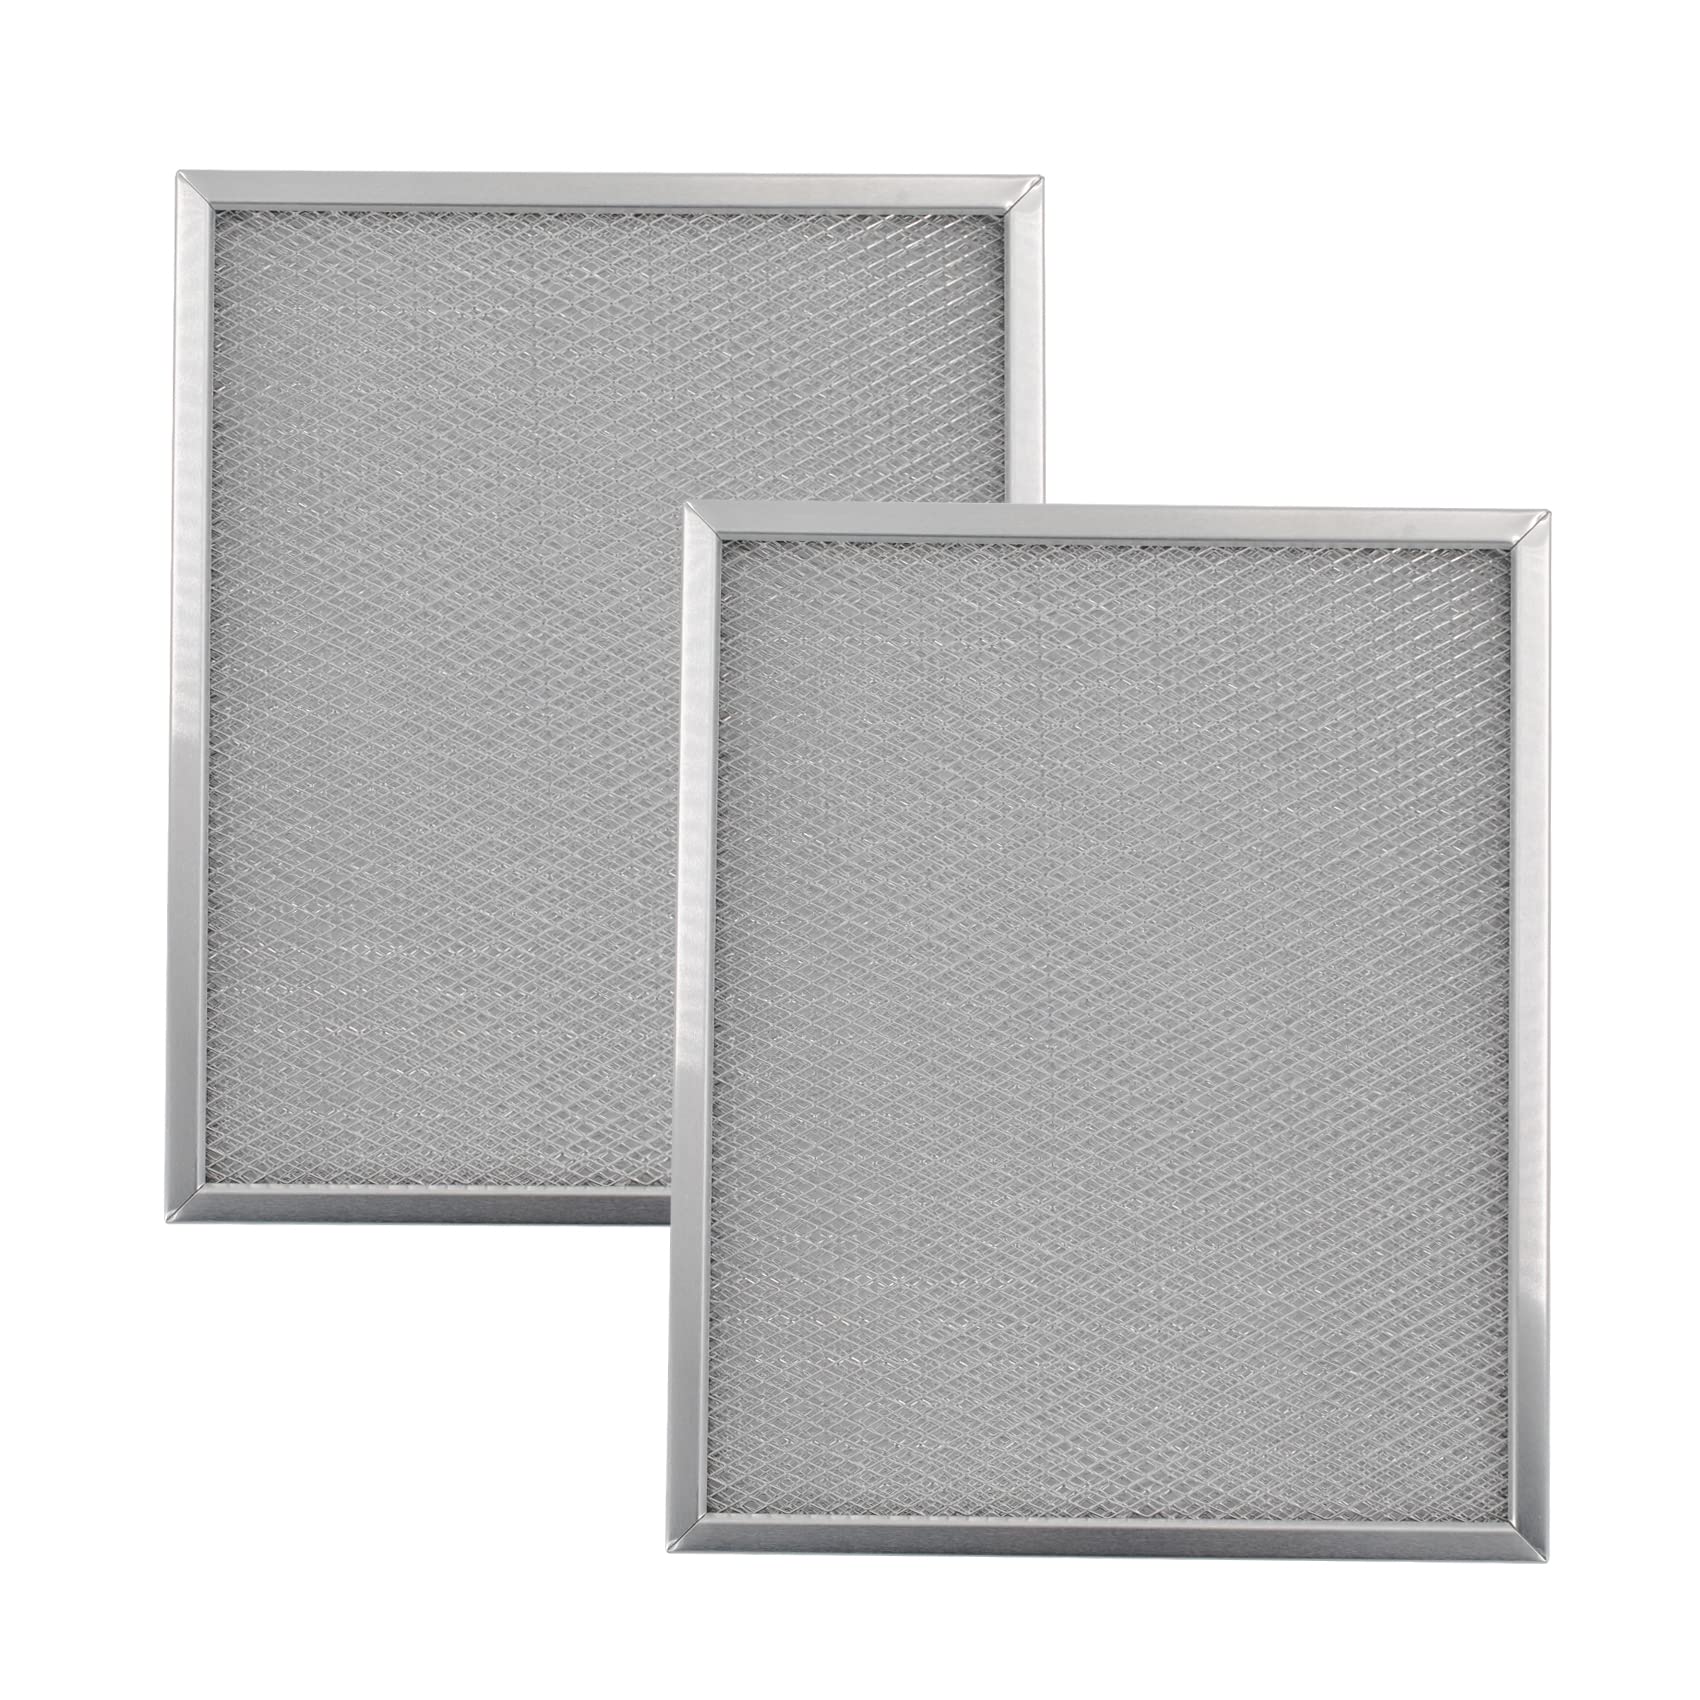
- Look for a metal or mesh panel: The filter is typically housed behind a metal or mesh panel. It may be easily visible or require removing a cover to access it. Take a close look to identify the panel.
Once you have located the filter, you’re ready to move on to the next step of removing it from the range hood.
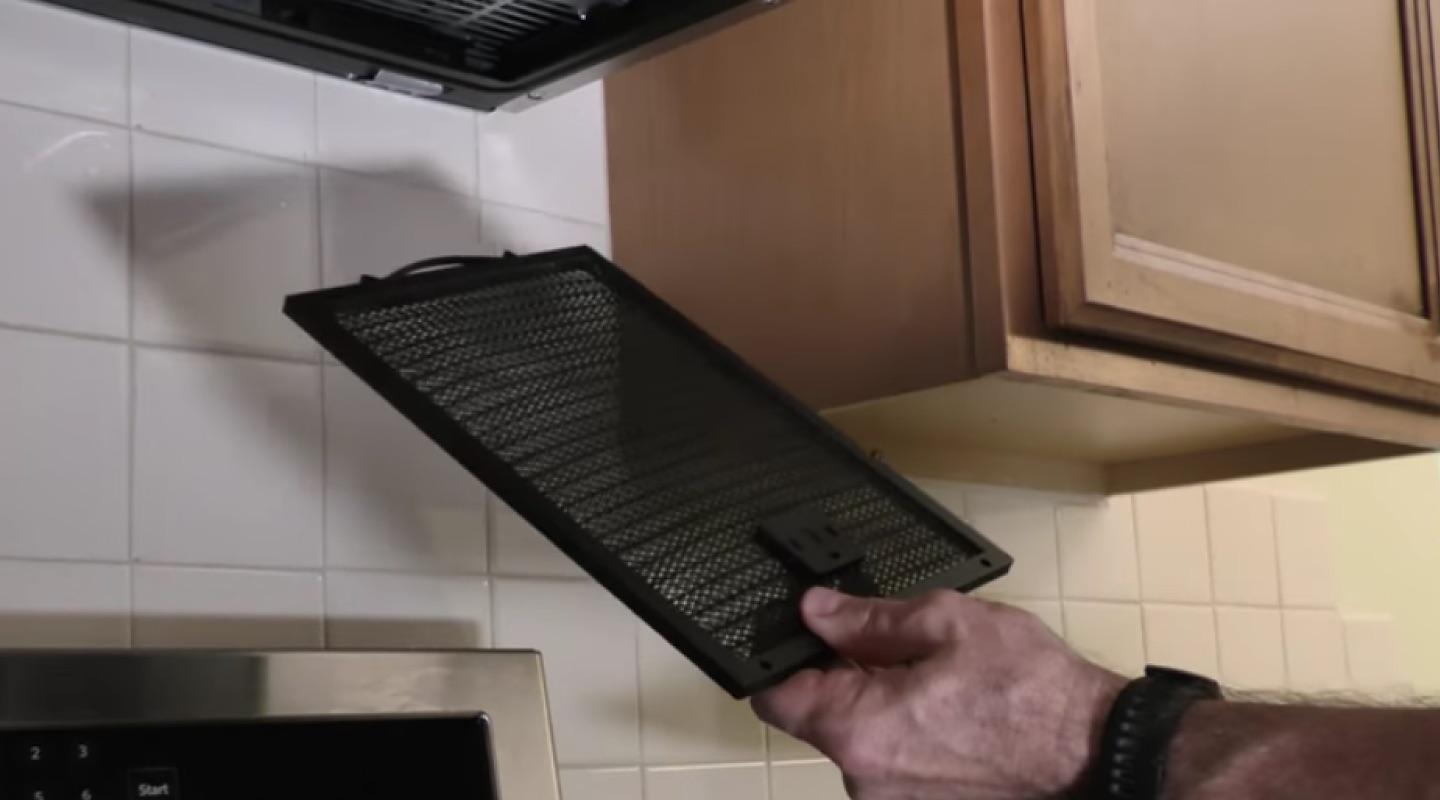
Step 4: Remove the filter
With the filter located, it’s time to remove it from the range hood. Follow these steps to ensure a proper removal:
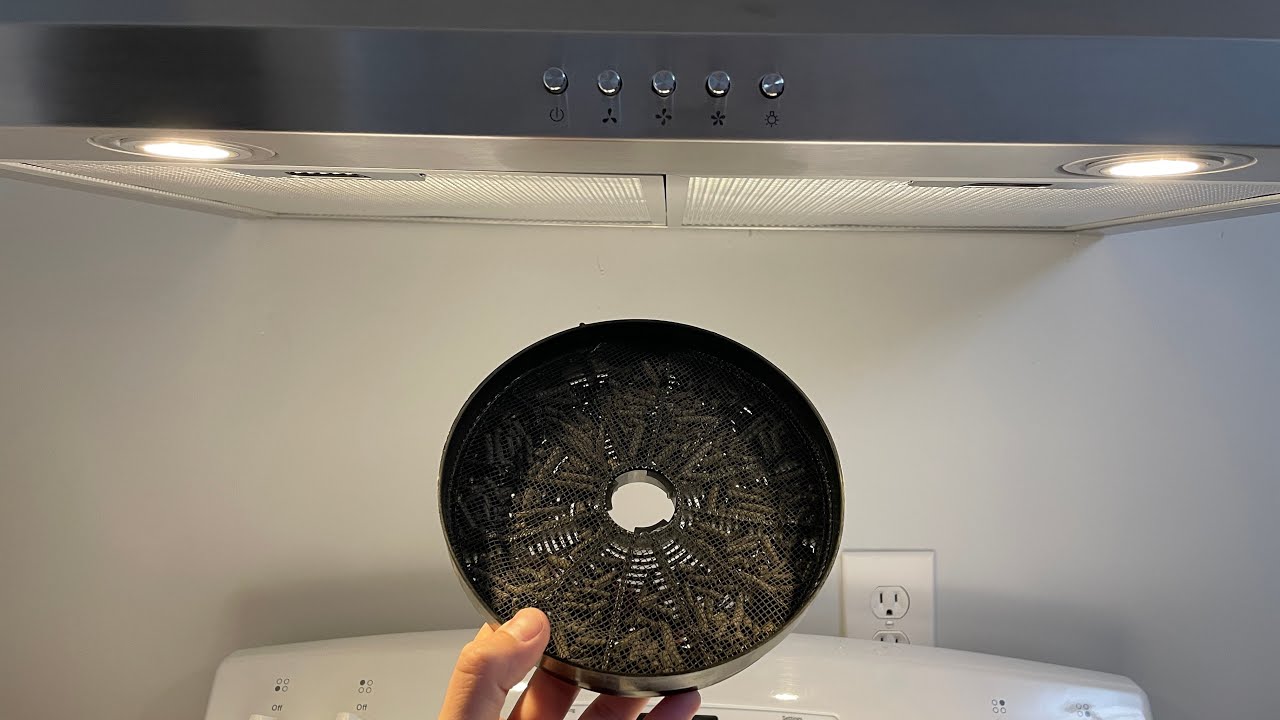
- Inspect the filter: Before removing the filter, take a moment to inspect its condition. Look for any signs of damage or excessive buildup of grease and residue. This will give you an idea of how thorough the cleaning process needs to be.
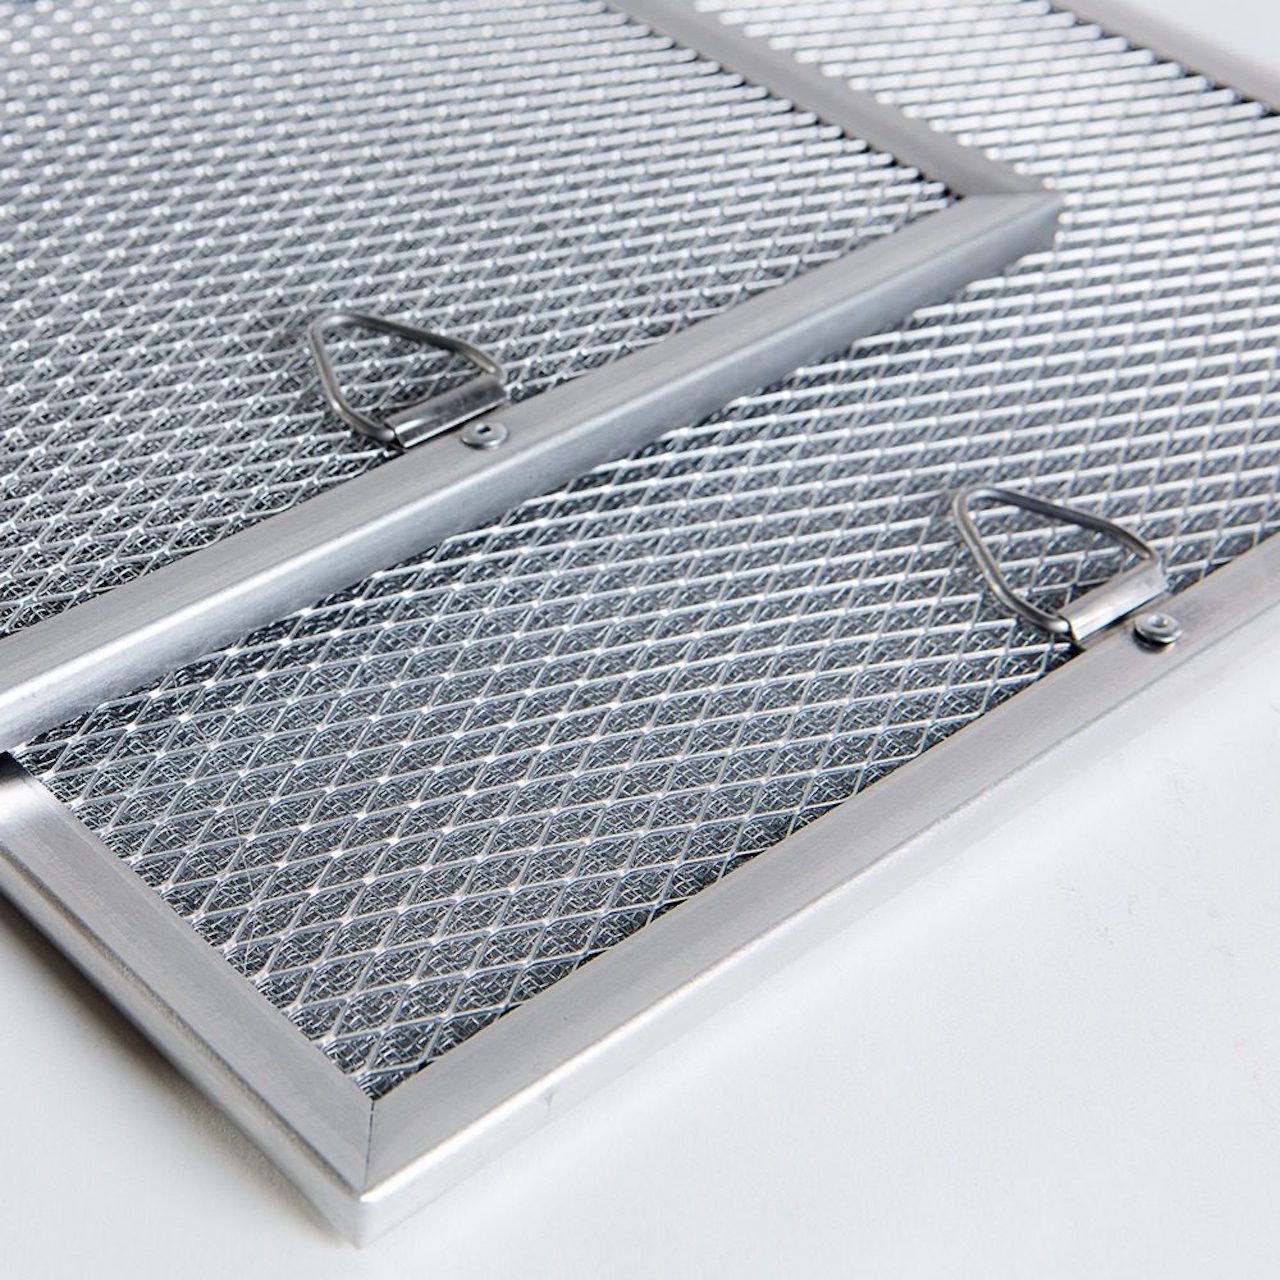
- Check for any securing mechanisms: Some range hoods may have additional securing mechanisms, such as clips or screws, holding the filter in place. Use a screwdriver or release the clips if necessary.
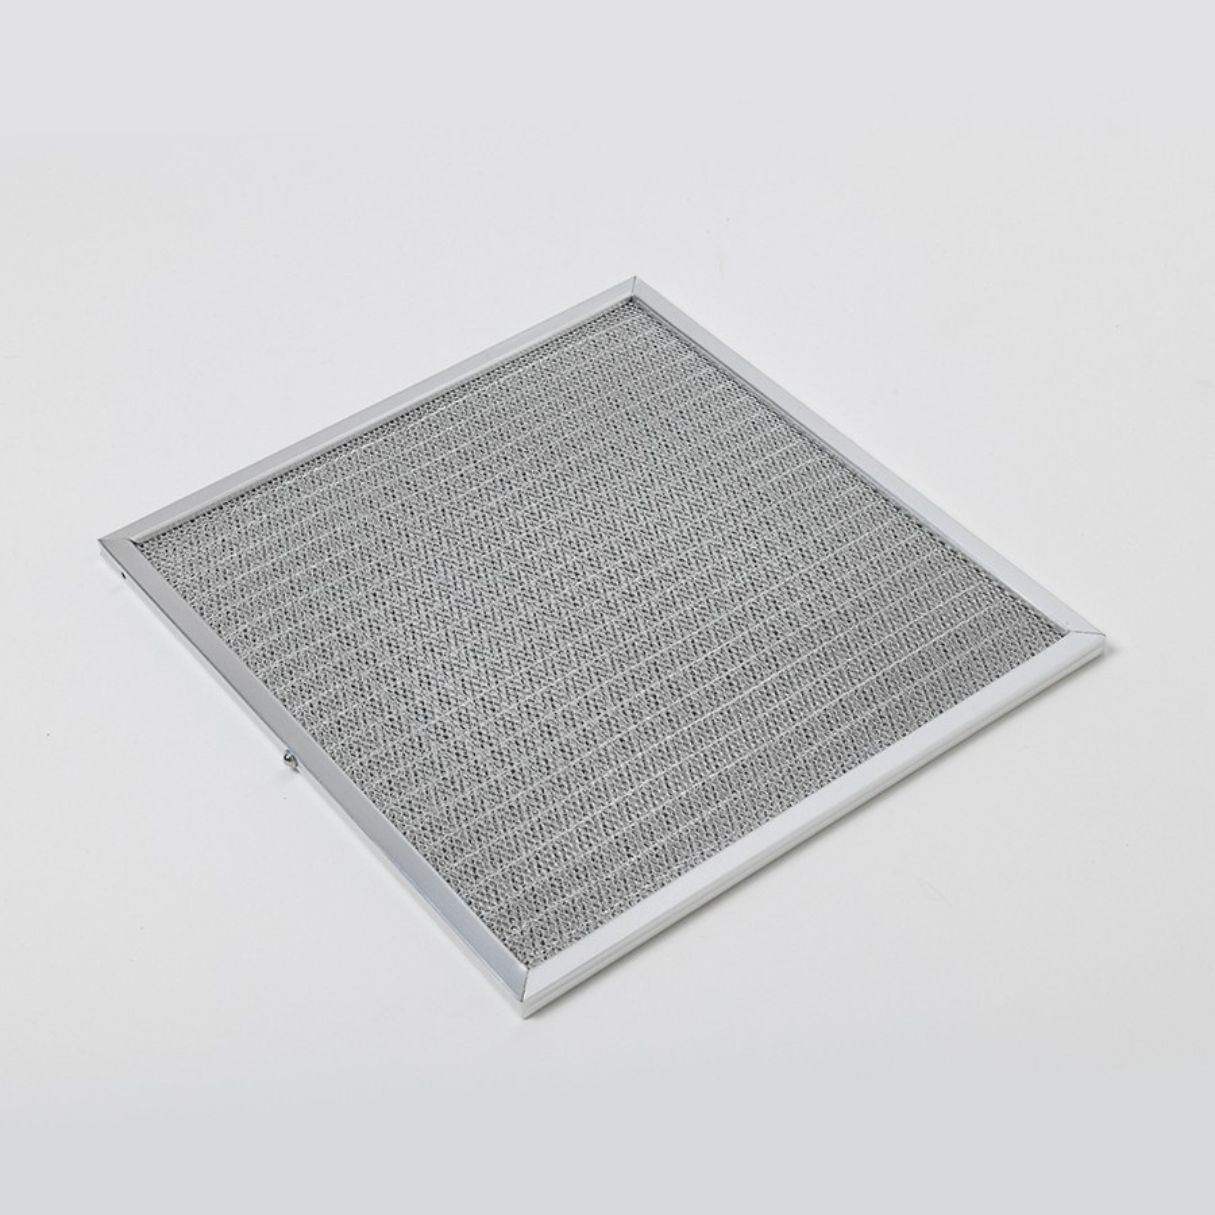
- Gently detach the filter: Carefully pull or slide the filter out from its housing. Be cautious not to bend or damage the filter during the removal process.
Once the filter is removed, place it on a suitable surface or a tray to contain any residual grease or debris. This will help keep your workspace clean and make the cleaning process more convenient.
Now that the filter is out of the range hood, you’re ready to move on to the next step of cleaning it.
To remove a Whirlpool range hood filter, locate the release tabs on the sides of the filter and push them in. Then, lift the filter out carefully to avoid damaging it.
Read more: How To Remove Grease From Range Hood Filter
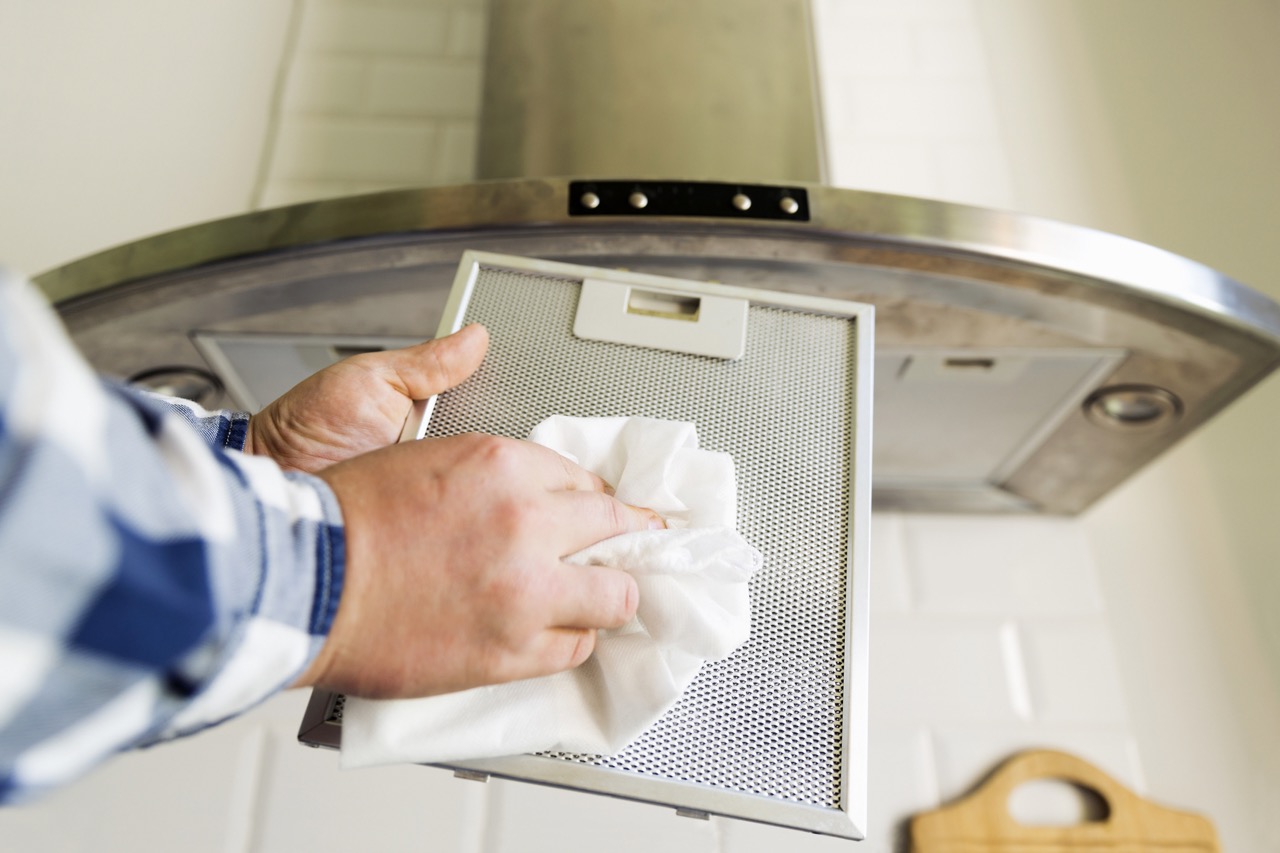
Step 5: Clean the filter
Now that you have removed the filter from the range hood, it’s time to clean it. The cleaning process will help remove grease, smoke residue, and other build-up, ensuring the filter works efficiently. Follow these steps to clean the filter:
- Prepare the cleaning solution: In a basin or sink, prepare a solution of warm water and a mild dish soap or a degreaser specifically designed for kitchen appliances. Follow the instructions on the cleaning product for the proper ratio of water to cleaner.
- Submerge the filter: Place the filter in the cleaning solution and let it soak for 10-15 minutes. This will help loosen and dissolve any grease or residue on the filter.
- Scrub the filter: After soaking, use a soft-bristle brush or sponge to gently scrub the filter. Pay attention to areas with heavy buildup. Be thorough but cautious not to apply too much pressure, as it might damage the filter.
- Rinse the filter: Thoroughly rinse the filter under running water to remove any remaining soap or cleaning solution. Ensure that all grease, residue, and cleaning product are completely washed away.
- Dry the filter: Use a clean cloth or towel to gently blot the filter and remove excess moisture. Allow the filter to air dry completely before reinstalling it. This will help prevent mold or musty odors from developing.
Once the filter is dry, it’s ready to be reinstalled into the range hood. Proceed to the next step for instructions on how to do this.
Step 6: Reinstall the filter
Now that you have cleaned and dried the filter, it’s time to reinstall it back into the range hood. Follow these steps to ensure a proper reinstallation:
- Inspect the filter: Before reinstalling the filter, give it a final inspection to ensure it is clean and free from any residual grease or debris. If needed, gently wipe it with a clean, dry cloth to remove any remaining particles.
- Align the filter: Position the filter in its original location within the range hood. Ensure that it is aligned properly and fits securely into the designated slot or bracket.
- Secure the filter: If your range hood has any securing mechanisms, such as clips or screws, gently secure them to hold the filter in place. Use a screwdriver or follow the manufacturer’s instructions for proper securing.
Once the filter is securely installed, give it a gentle tug or shake to ensure it is stable and properly seated in its position.
With the filter successfully reinstalled, you’re now ready to move on to the final step of turning on the range hood.
Step 7: Turn on the range hood
Now that you have reinstalled the cleaned filter, it’s time to turn on the range hood and ensure everything is working properly. Follow these steps to safely turn on the range hood:
- Double-check the filter: Before turning on the range hood, quickly inspect the filter to make sure it is properly installed and securely in place.
- Locate the power switch: Look for the power switch either on the range hood itself or on the wall near the hood. It is typically labeled and easily visible.
- Switch on the power: Flip the power switch to the on position to supply electricity to the range hood. You may also need to turn on any control buttons or adjust the fan speed according to your preference.
- Listen for proper operation: As the range hood starts running, listen for any unusual noises or vibrations. A properly cleaned and installed filter should help maintain a smooth and quiet operation.
- Check the airflow: Stand near the range hood and feel for the airflow coming from the vent. It should be strong and steady, indicating proper ventilation and filtration.
If everything seems to be working correctly, congratulations! You have successfully removed, cleaned, and reinstalled the Whirlpool range hood filter, ensuring efficient air circulation and a clean kitchen environment.
Remember to regularly clean and maintain the filter by following these steps to keep it in optimal condition. A clean filter will not only improve the performance of your range hood but also contribute to a healthier cooking environment.
By now, you should feel confident in maintaining and cleaning your Whirlpool range hood filter. Enjoy your clean kitchen and happy cooking!
Conclusion
Keeping your Whirlpool range hood filter clean is essential for maintaining optimal performance and air quality in your kitchen. By following the step-by-step process outlined in this article, you can easily remove, clean, and reinstall the filter, ensuring efficient air circulation and the removal of grease, smoke, and other airborne particles. Regular maintenance of the filter will not only enhance the functionality of your range hood but also contribute to a healthier cooking environment.
Remember to gather all the necessary tools and materials before starting the process, turn off the range hood to ensure your safety, and locate the filter underneath the hood. Carefully remove the filter, inspect it for any damage or excessive buildup, and proceed to clean it using a mild cleaning solution and a soft-bristle brush or sponge. Rinse the filter thoroughly and allow it to dry completely before reinstalling it back into the range hood.
Once the filter is securely in place, turn on the range hood, listen for proper operation, and check the airflow to ensure optimal functionality. Regularly repeat this process to maintain a clean and efficient Whirlpool range hood filter.
By taking the time to clean and maintain your range hood filter, you can enjoy a clean and fresh kitchen environment while cooking. Remember to consult the user manual for your specific model of Whirlpool range hood for any additional instructions or guidelines.
Now that you have learned how to remove, clean, and reinstall the Whirlpool range hood filter, you are equipped with the knowledge to keep your kitchen air clean and fresh. Enjoy hassle-free cooking and a cleaner cooking environment!
Frequently Asked Questions about How To Remove Whirlpool Range Hood Filter
Was this page helpful?
At Storables.com, we guarantee accurate and reliable information. Our content, validated by Expert Board Contributors, is crafted following stringent Editorial Policies. We're committed to providing you with well-researched, expert-backed insights for all your informational needs.


0 thoughts on “How To Remove Whirlpool Range Hood Filter”