Articles
How To Remove Range Hood Cabinet
Modified: August 25, 2024
Learn how to easily remove a range hood cabinet with our helpful articles. Find step-by-step instructions and expert tips to complete this DIY project.
(Many of the links in this article redirect to a specific reviewed product. Your purchase of these products through affiliate links helps to generate commission for Storables.com, at no extra cost. Learn more)
Introduction
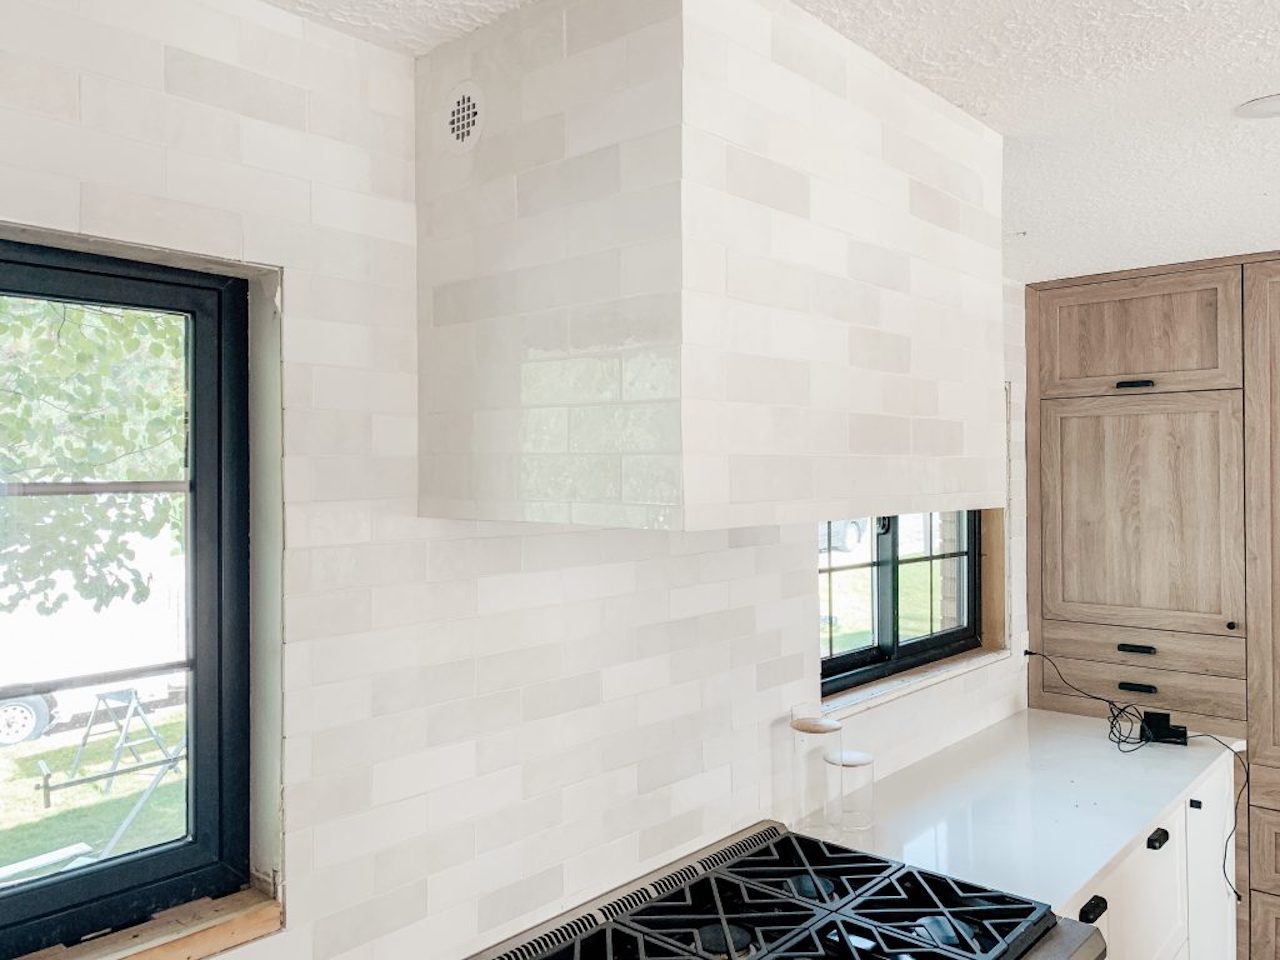
When it comes to kitchen renovations, one of the common tasks homeowners undertake is removing the range hood cabinet. Whether you’re looking to update your kitchen’s layout or simply replace the range hood, removing the cabinet can help create a more open and spacious cooking area.
Removing a range hood cabinet may seem like a daunting task, but with the right tools and knowledge, it can be a relatively straightforward process. In this article, we will guide you through the step-by-step process of removing a range hood cabinet, ensuring that you can complete the task safely and efficiently.
Before you begin, it’s important to note that this article assumes you have a basic understanding of tools and safety precautions. If you are unsure about any steps or are uncomfortable performing the task yourself, it is always recommended to consult a professional.
Now, let’s dive into the steps required to remove a range hood cabinet.
Key Takeaways:
- Removing a range hood cabinet involves gathering the right tools, disconnecting power, and carefully unscrewing and removing the appliance. Proper preparation, safety measures, and attention to detail are crucial for a successful removal process.
- After removing the range hood cabinet, patching and repairing any damage, thoroughly cleaning the area, and deciding whether to install a new cabinet or cover the space are essential steps to achieve a polished and cohesive look in your kitchen.
Read more: How To Install An Under Cabinet Range Hood?
Step 1: Gather necessary tools and materials
Before you can start removing the range hood cabinet, it’s essential to gather all the necessary tools and materials. Having everything you need on hand will make the process smoother and more efficient. Here are the tools and materials you will need:
- Protective gear: Safety goggles, gloves, and a dust mask to protect yourself from flying debris and dust.
- Power drill: A power drill will be needed to remove any screws securing the range hood cabinet.
- Screwdriver: Depending on the type of screws used in your cabinet, you will need either a flat-head or Phillips-head screwdriver.
- Pliers: Pliers can come in handy for removing any wire connections or brackets attached to the range hood cabinet.
- Putty knife: A putty knife will be helpful in removing any caulking or adhesive holding the cabinet in place.
- Pry bar: A pry bar can assist in carefully prying the cabinet away from the wall, if necessary.
- Drywall patching kit: In case there are any holes or damage left behind after removing the cabinet, a drywall patching kit will help you repair and restore the wall.
Once you have gathered all the necessary tools and materials, ensure that they are easily accessible in your workspace. Having everything within reach will save you time and effort during the removal process.
Now that you are well-equipped, let’s move on to preparing the workspace in the next step.
Step 2: Prepare the workspace
Before you begin removing the range hood cabinet, it’s important to properly prepare your workspace. This will help ensure a safe and efficient removal process. Follow these steps to prepare your workspace:
- Clear the area: Remove any objects or appliances near the range hood cabinet that could obstruct your work or pose a safety hazard.
- Protect the countertops and floor: Place a drop cloth or plastic sheeting over the countertops and floor nearby to protect them from dust, debris, and potential damage.
- Turn off the power: Locate the circuit breaker that powers the range hood and turn it off to avoid any electrical accidents.
- Secure loose items: If there are any loose shelves or items inside the cabinet, remove them or secure them to prevent them from falling during the removal process.
By preparing your workspace in advance, you create a clean and safe area to work in. This will make it easier to navigate around the cabinet and prevent any accidents or damage to your surroundings.
With the workspace prepared, we can now move on to disconnecting the range hood from power in the next step.
Step 3: Disconnect the range hood from power
Before you can safely remove the range hood cabinet, it’s crucial to disconnect the appliance from power. This will help prevent any electrical accidents or injuries during the removal process. Follow these steps to disconnect the range hood from power:
- Locate the power source: Identify the electrical outlet or circuit that supplies power to the range hood. This is typically located above the cabinet or in the vicinity of the kitchen hood.
- Turn off the power: Flip the switch on the circuit breaker that controls the range hood to the “off” position. This will cut off the power supply, ensuring that the appliance is safe to work on.
- Test the power: Although you have turned off the circuit, it’s a good practice to use a voltage tester to double-check that the power is indeed disconnected. Simply touch the voltage tester to the wires or electrical connections to ensure there is no live current.
- Disconnect the wiring: With the power confirmed to be off, you can proceed to disconnect the range hood’s electrical wiring. Carefully unscrew the wire nuts or detach the wire connectors joining the range hood to the electrical supply.
By following these steps to disconnect the range hood from power, you ensure a safe and risk-free removal process. Always prioritize safety when working with electricity.
With the range hood safely disconnected, the next step is to remove the range hood’s vent cover, which we will cover in the following step.
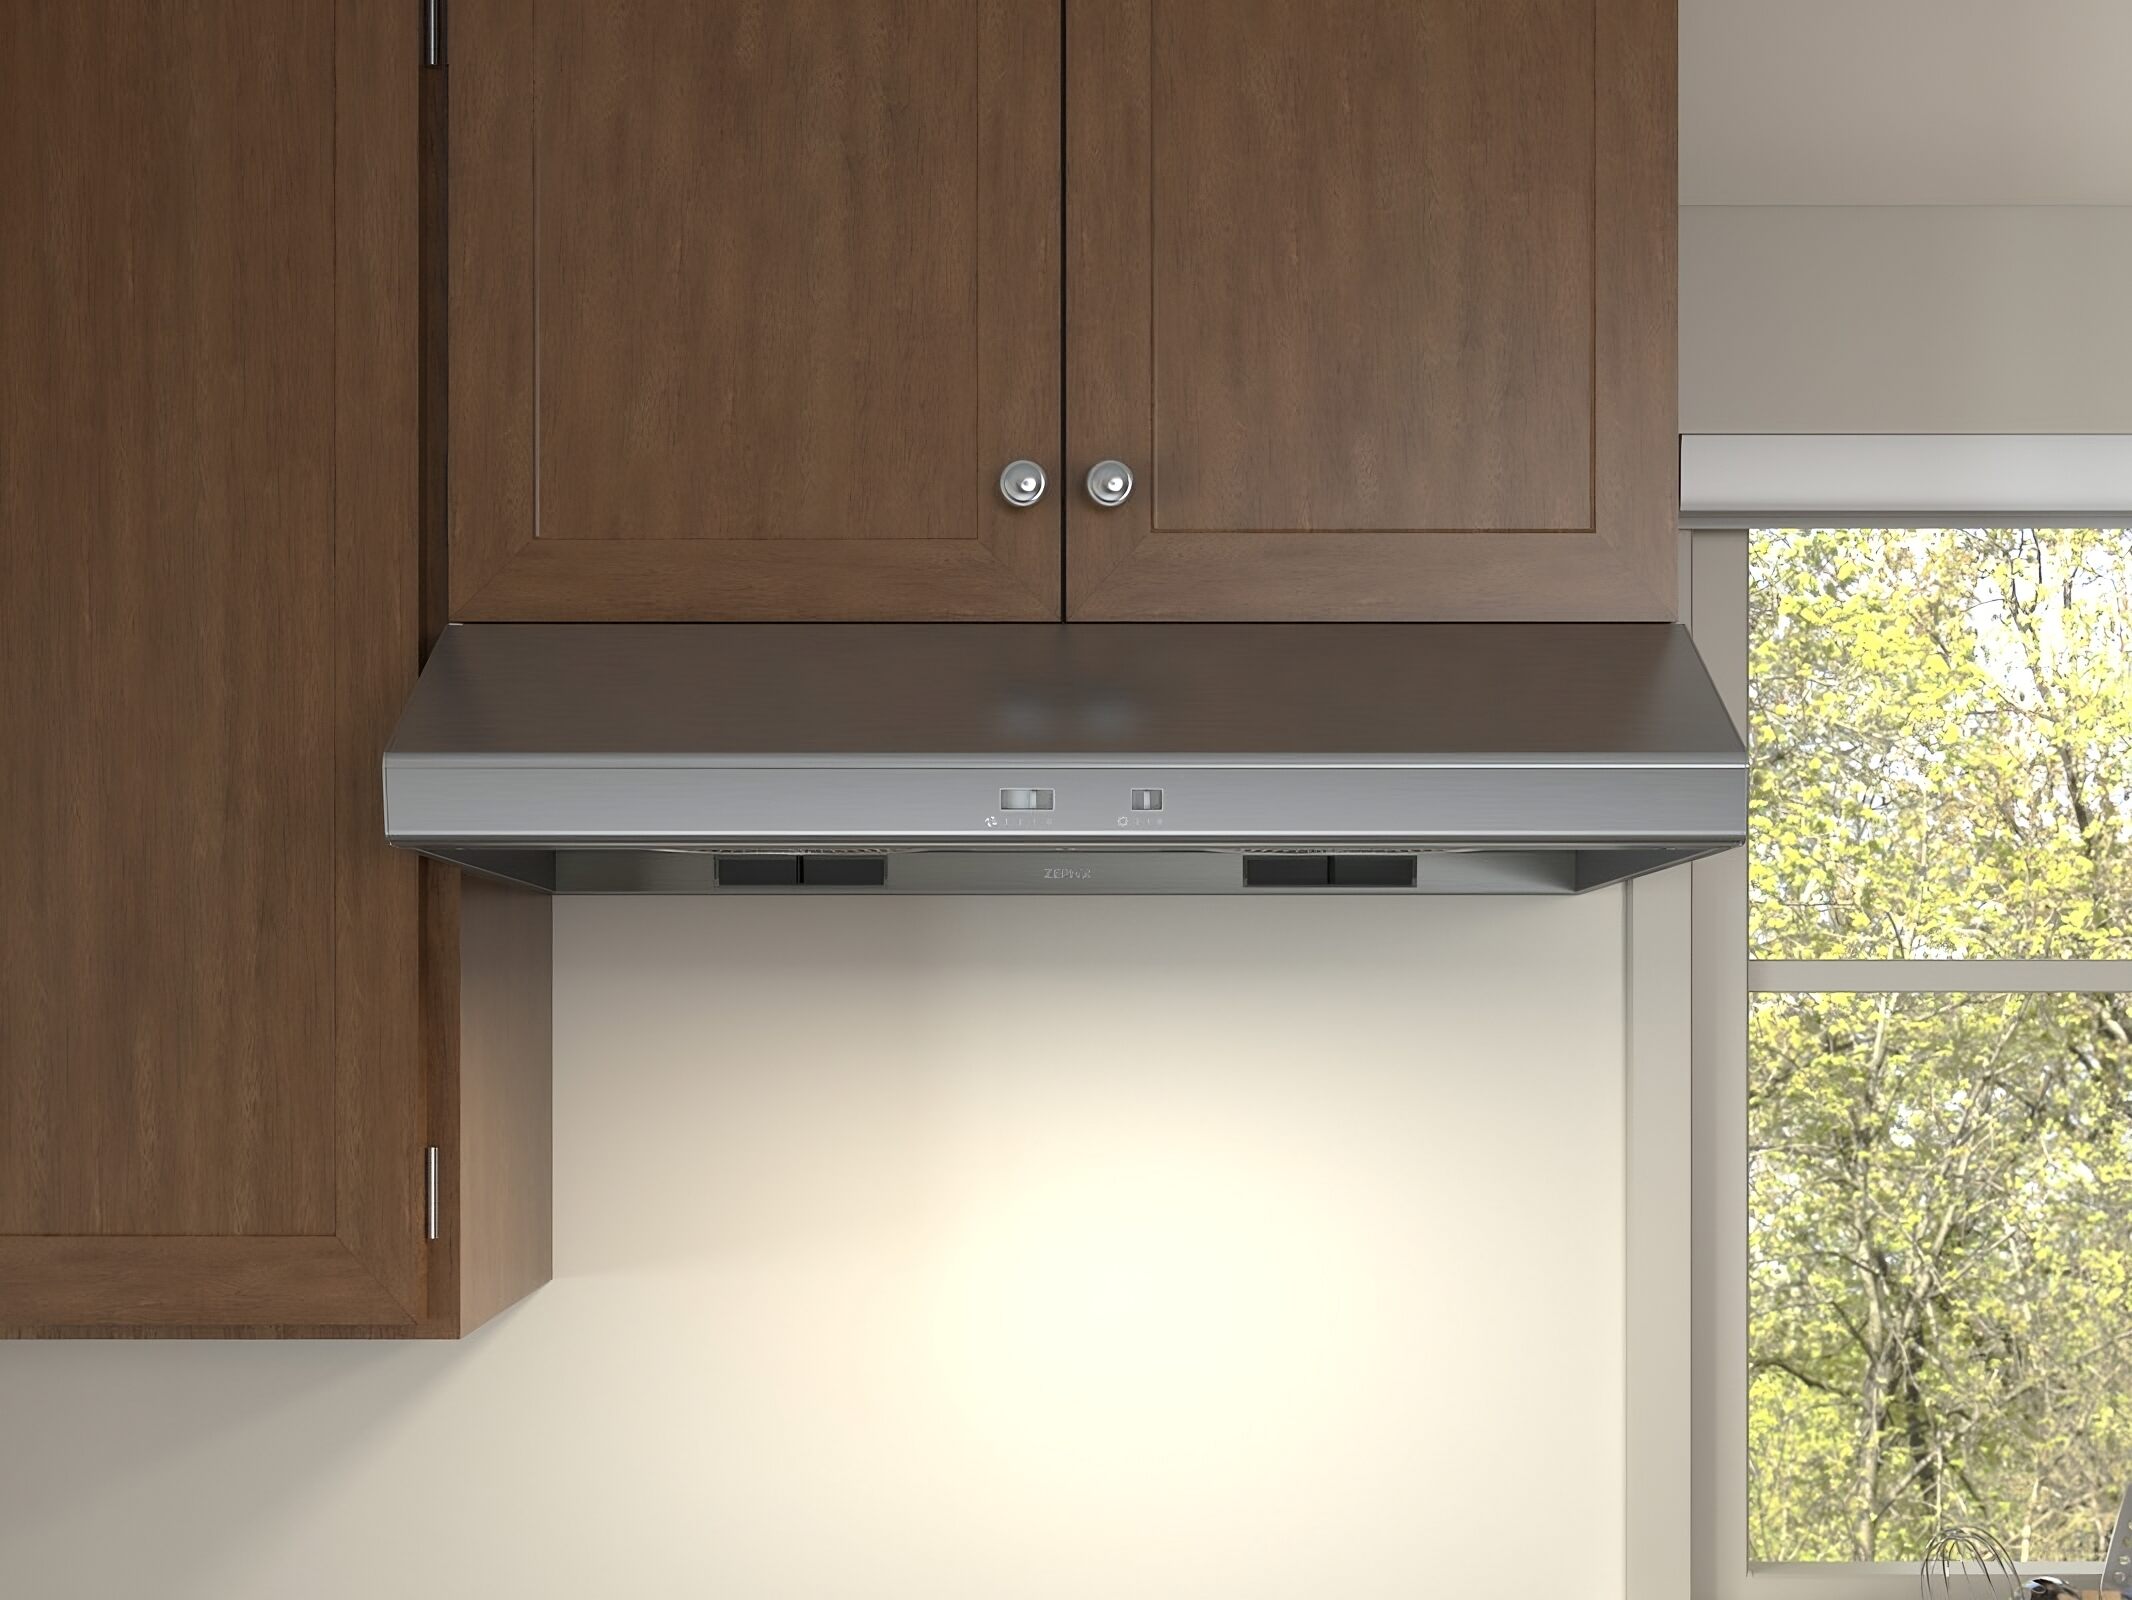
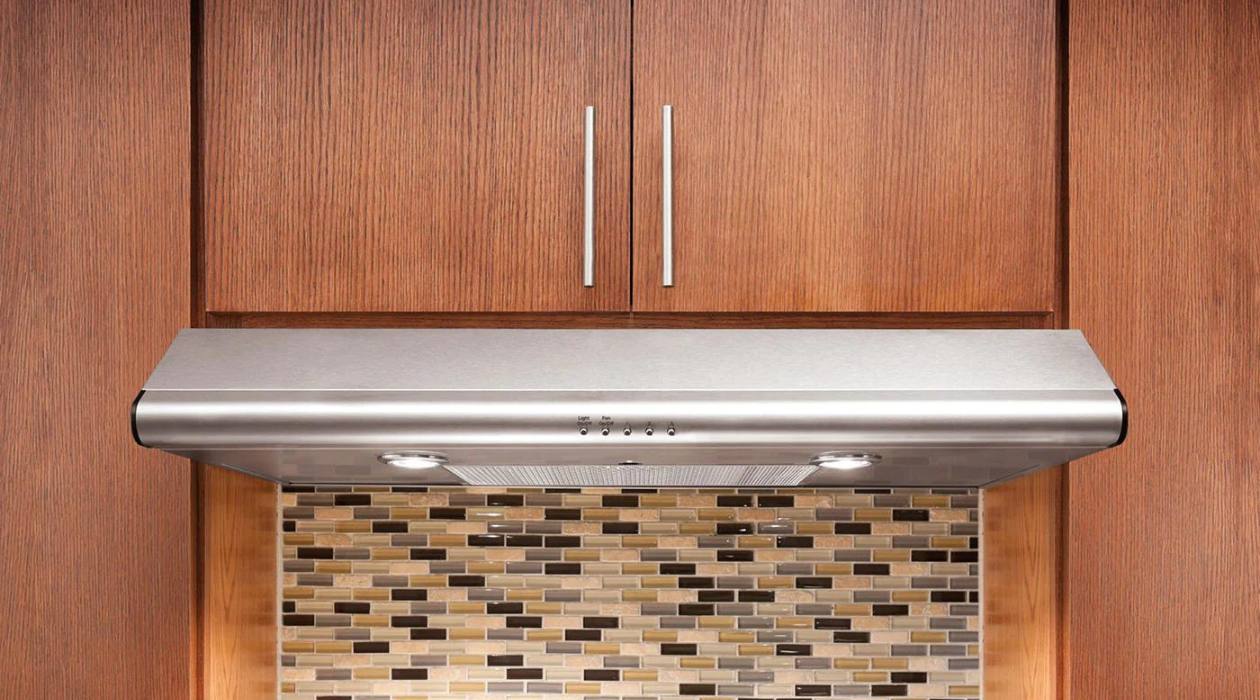
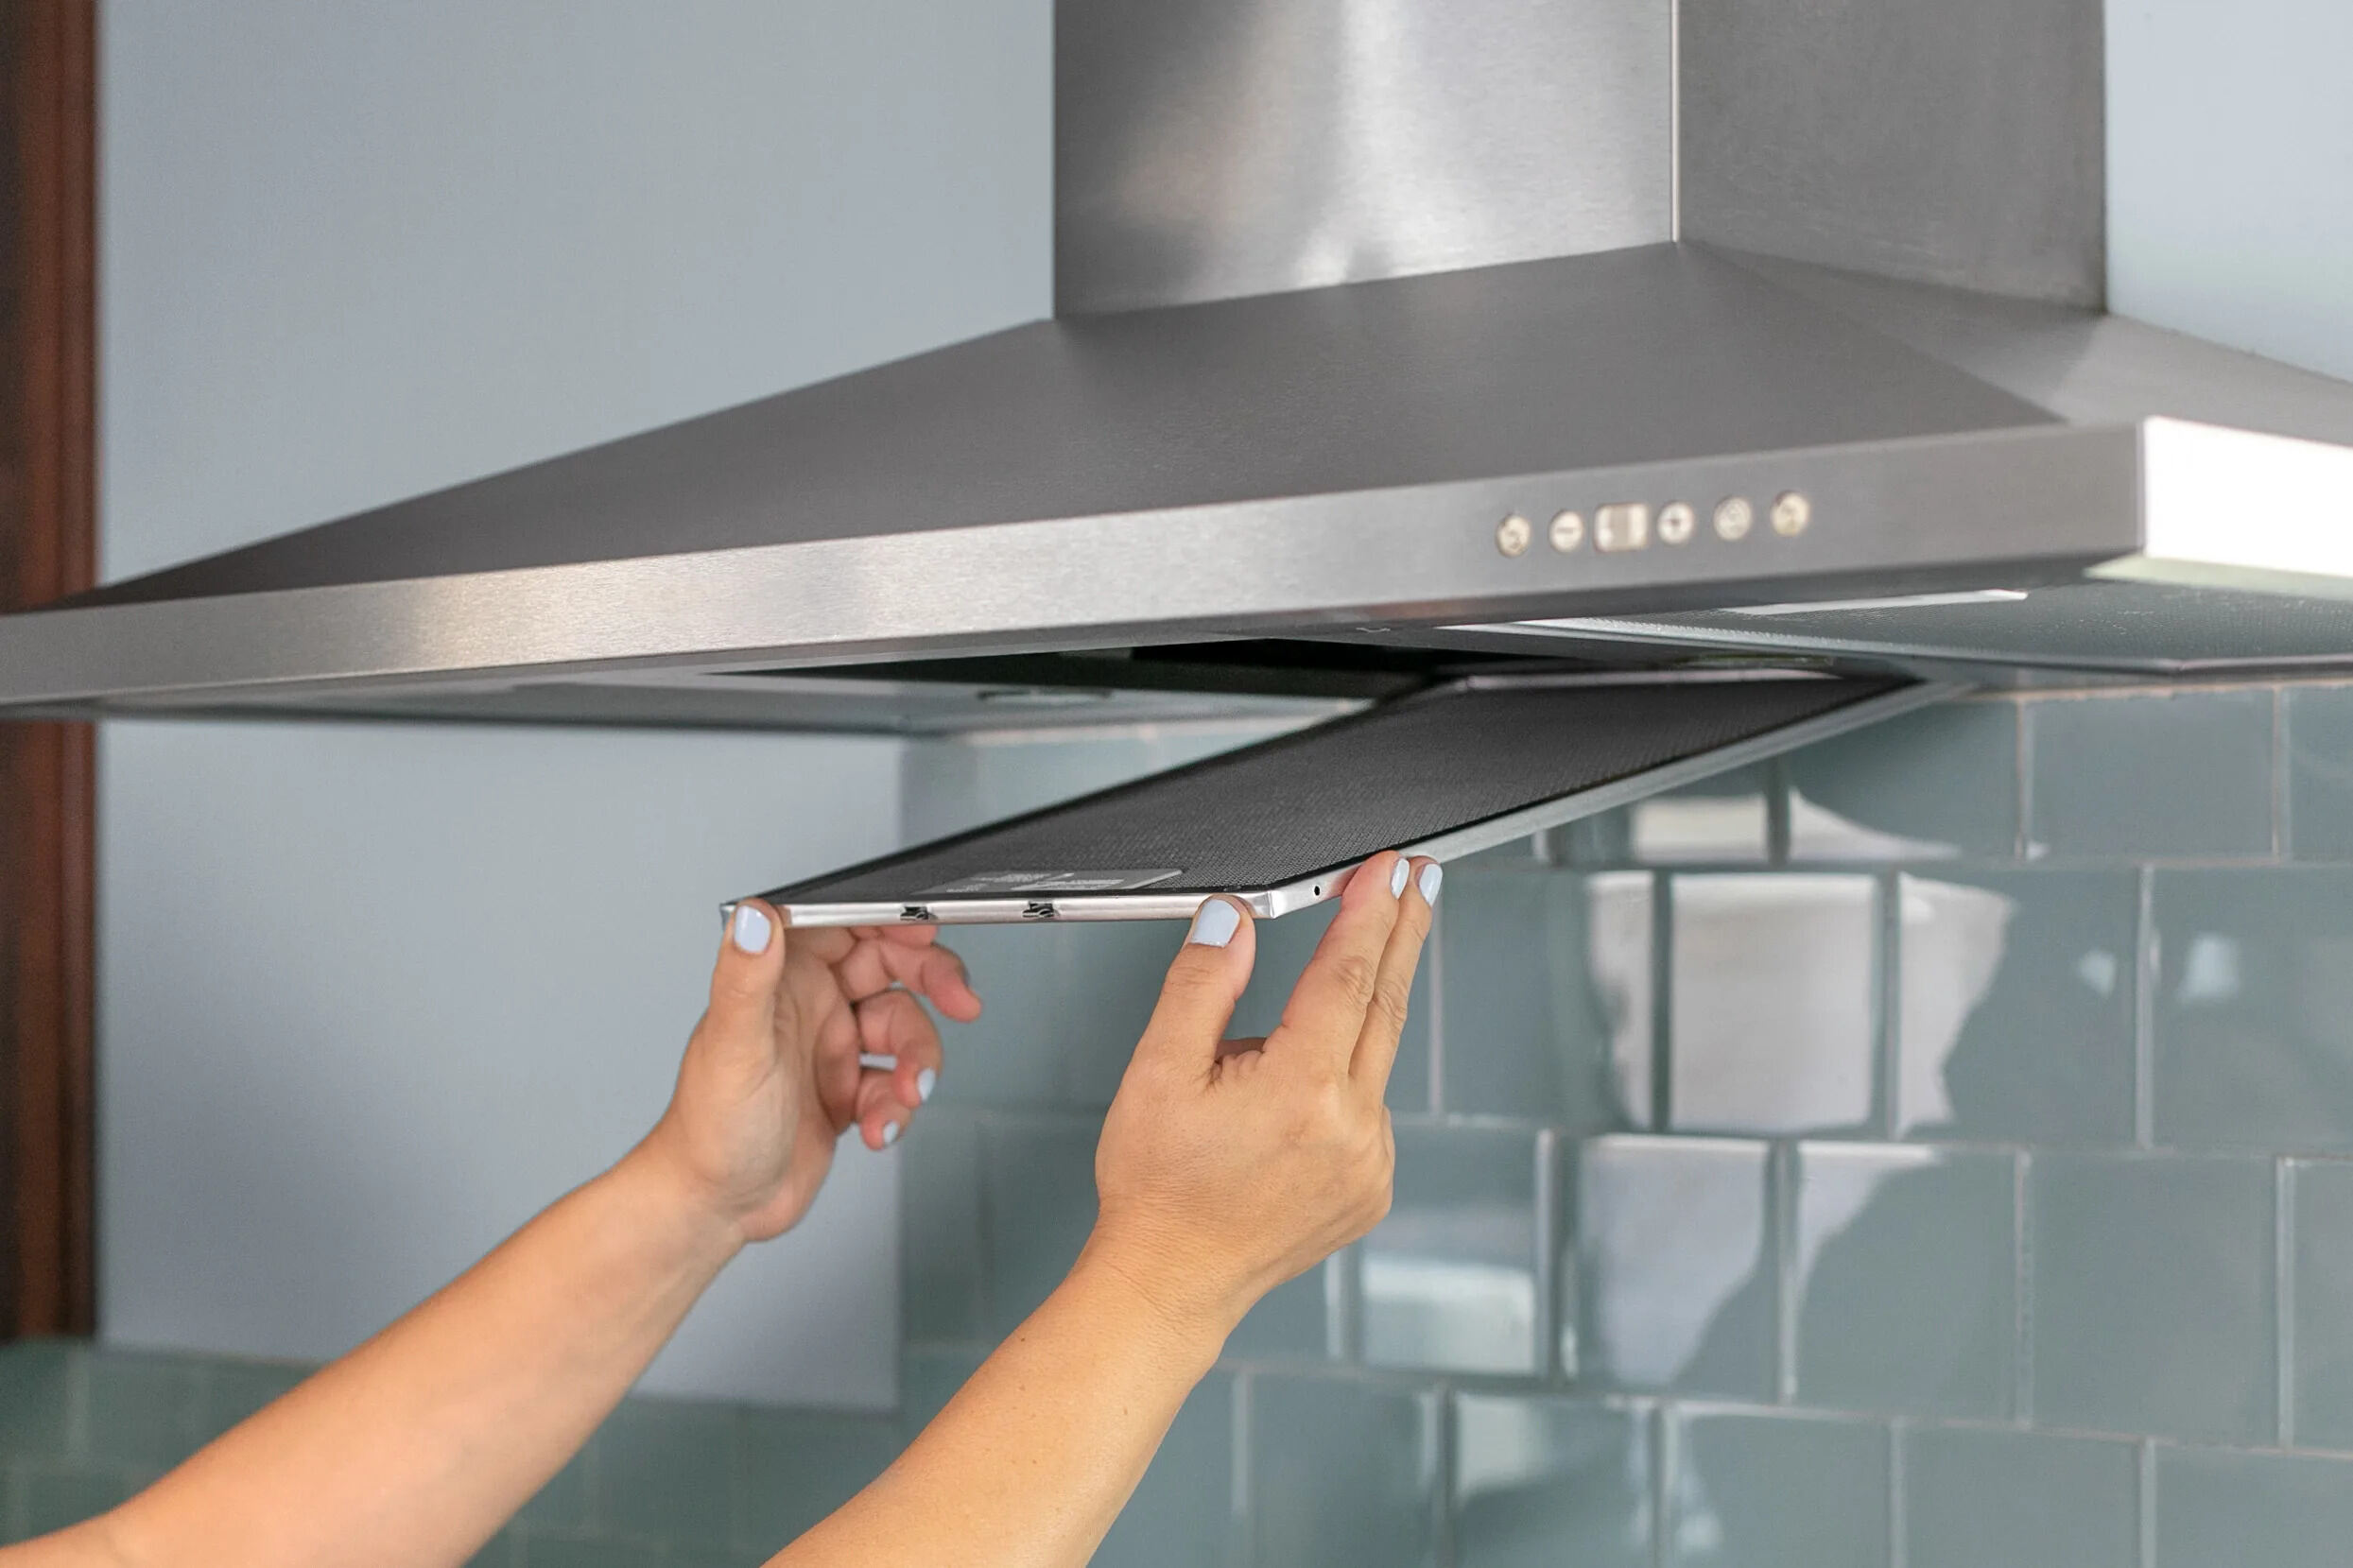
Step 4: Remove the range hood’s vent cover
Before you can proceed with removing the range hood cabinet, it’s important to remove the vent cover first. The vent cover is typically located at the bottom or top of the range hood and is designed to allow air to flow out of the kitchen. Follow these steps to remove the range hood’s vent cover:
- Inspect the vent cover: Carefully examine the vent cover to identify any screws or clips holding it in place. Depending on the model and design, you may find screws on the side or corners of the cover.
- Remove the screws or clips: Using a screwdriver or pliers, carefully remove any screws or unfasten any clips securing the vent cover. Keep these screws or clips in a safe place, as you will need them later for reinstallation.
- Gently detach the vent cover: Once the screws or clips are removed, you can gently pull or wiggle the vent cover to detach it from the range hood. Take your time to avoid any damage or breaking of the cover.
- Set aside the vent cover: Place the removed vent cover in a safe location away from your workspace to prevent it from being damaged or getting in the way during the cabinet removal process.
By carefully removing the range hood’s vent cover, you create a clear path for removing the cabinet without any obstacles. The removed vent cover can be easily reinstalled later once the cabinet removal is complete.
Now that the vent cover is out of the way, it’s time to locate the screws holding the range hood in place in the next step.
Read more: How To Remove Whirlpool Range Hood Filter
Step 5: Locate the screws holding the range hood in place
In order to remove the range hood cabinet, you first need to locate the screws that are securing it in place. These screws are typically located at the top of the range hood and may vary depending on the make and model of your appliance. Follow these steps to locate the screws holding the range hood in place:
- Inspect the range hood: Take a close look at the top of the range hood and examine for any visible screws. Some range hoods have screw covers or decorative elements that may need to be removed to access the screws.
- Remove any obstructions: If there are any objects or components obstructing your view of the range hood screws, such as lighting fixtures or decorative panels, carefully remove them to expose the screws.
- Refer to the user manual: If you are having trouble locating the screws, it’s always helpful to consult the user manual of your range hood. The manual should provide detailed instructions on where the screws are located and how to access them.
- Use a flashlight: In some cases, the screws may be positioned in hard-to-reach areas or behind the range hood. To get a better view, use a flashlight to illuminate the area and help you locate the screws more easily.
It’s crucial to be patient and thorough during this step, as missing any screws may result in difficulty removing the range hood cabinet later on. Take your time to ensure that you have located all the necessary screws.
With the screws located, you can now move on to the next step, which involves unscrewing and removing the range hood.
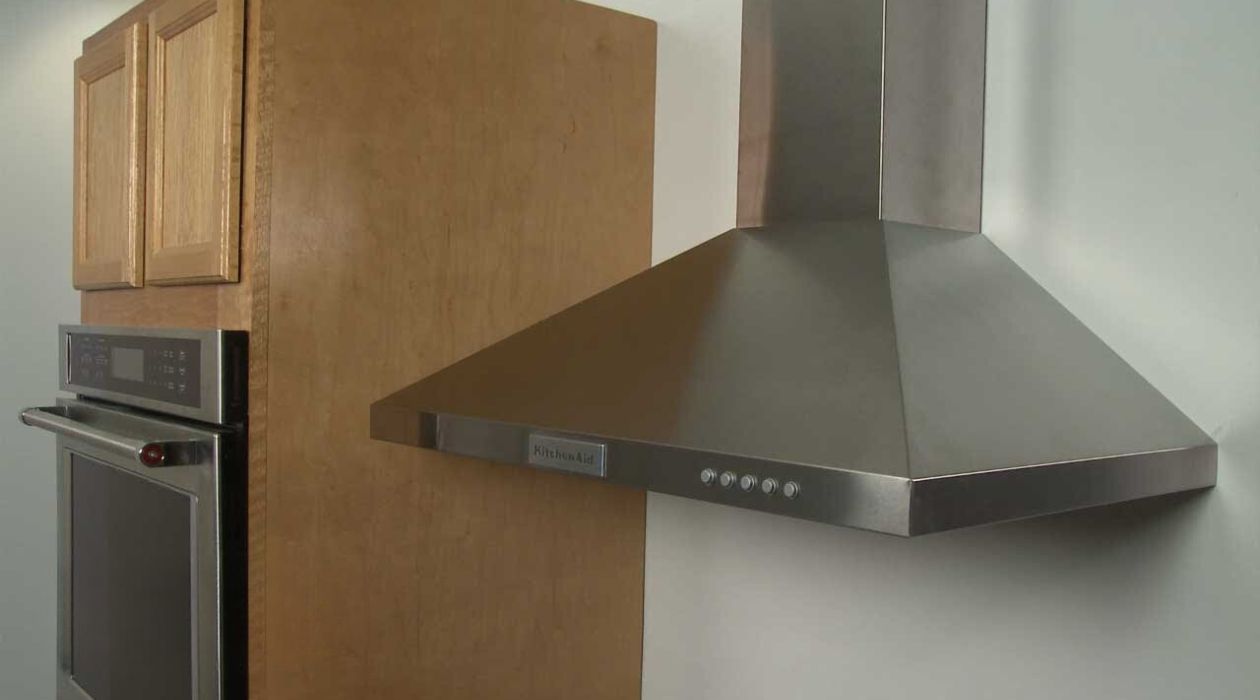
Step 6: Unscrew and remove the range hood
With the screws holding the range hood in place located, it’s time to unscrew and remove the appliance. Follow these steps to safely remove the range hood:
- Prepare a holding surface: Place a soft cloth or towel on the countertop or floor directly beneath the range hood. This will provide a cushioned surface to rest the range hood on once it is removed.
- Use a power drill or screwdriver: Grab your power drill or screwdriver and begin unscrewing the screws that are holding the range hood in place. Start with the screws located at the top of the range hood, and work your way down to ensure the appliance is properly supported.
- Enlist a helper: Range hoods can be heavy and cumbersome, especially if they are made of metal. Enlist the help of a friend or family member to assist in lifting and safely removing the range hood from the cabinet.
- Carefully lift the range hood: With the screws removed, carefully lift the range hood upwards while keeping it level. Slowly guide the appliance out of the cabinet, taking care not to damage the surrounding area or any wire connections that may still be in place.
- Place the range hood on the holding surface: Once the range hood is removed from the cabinet, gently place it on the prepared holding surface that you placed earlier. This will prevent any accidental damage to the range hood or your workspace.
Take your time during this step to ensure a smooth removal process. If you encounter any difficulties or if the range hood feels excessively heavy, stop and reassess the situation. It may be necessary to seek professional assistance if you’re unable to safely remove the range hood on your own.
Now that the range hood has been successfully removed, we can move on to the next step, which involves patching and repairing any holes or damage.
Before removing the range hood cabinet, make sure to turn off the power to the range hood. Use a screwdriver to remove the screws holding the cabinet in place, and have someone help you lift and remove it safely.
Step 7: Patch and repair any holes or damage
After removing the range hood, there may be holes or damage left behind on the wall or cabinet where it was installed. It’s important to patch and repair these areas to ensure a clean and finished look. Follow these steps to properly patch and repair any holes or damage:
- Assess the damage: Take a close look at the wall and the cabinet to identify any holes, scratches, or other damage that needs to be addressed. Note the size and severity of each issue.
- Fill small holes: For smaller holes or dings, you can use a lightweight spackling compound. Apply the compound to a putty knife and spread it evenly over the damaged area. Allow it to dry according to the manufacturer’s instructions, then sand it down until it’s smooth.
- Repair larger holes: If you have larger holes or damage, you may need to use a patching kit or joint compound. Follow the instructions provided with the patching kit to fill and smooth out the damaged area. Allow it to dry, then sand it down until it’s level with the surrounding surface.
- Touch up paint or cover with wallpaper: Once the patched areas are dry and smooth, you can touch up the paint to match the surrounding walls or apply wallpaper to create a cohesive look. Be sure to let the paint or wallpaper dry completely before moving on to the next step.
By patching and repairing any holes or damage, you ensure that the space left behind by the range hood cabinet looks seamless and well-maintained. This step is crucial in achieving a polished end result for your kitchen renovation.
With the holes patched and any necessary repairs made, it’s time to move on to the next step, which involves cleaning the area.
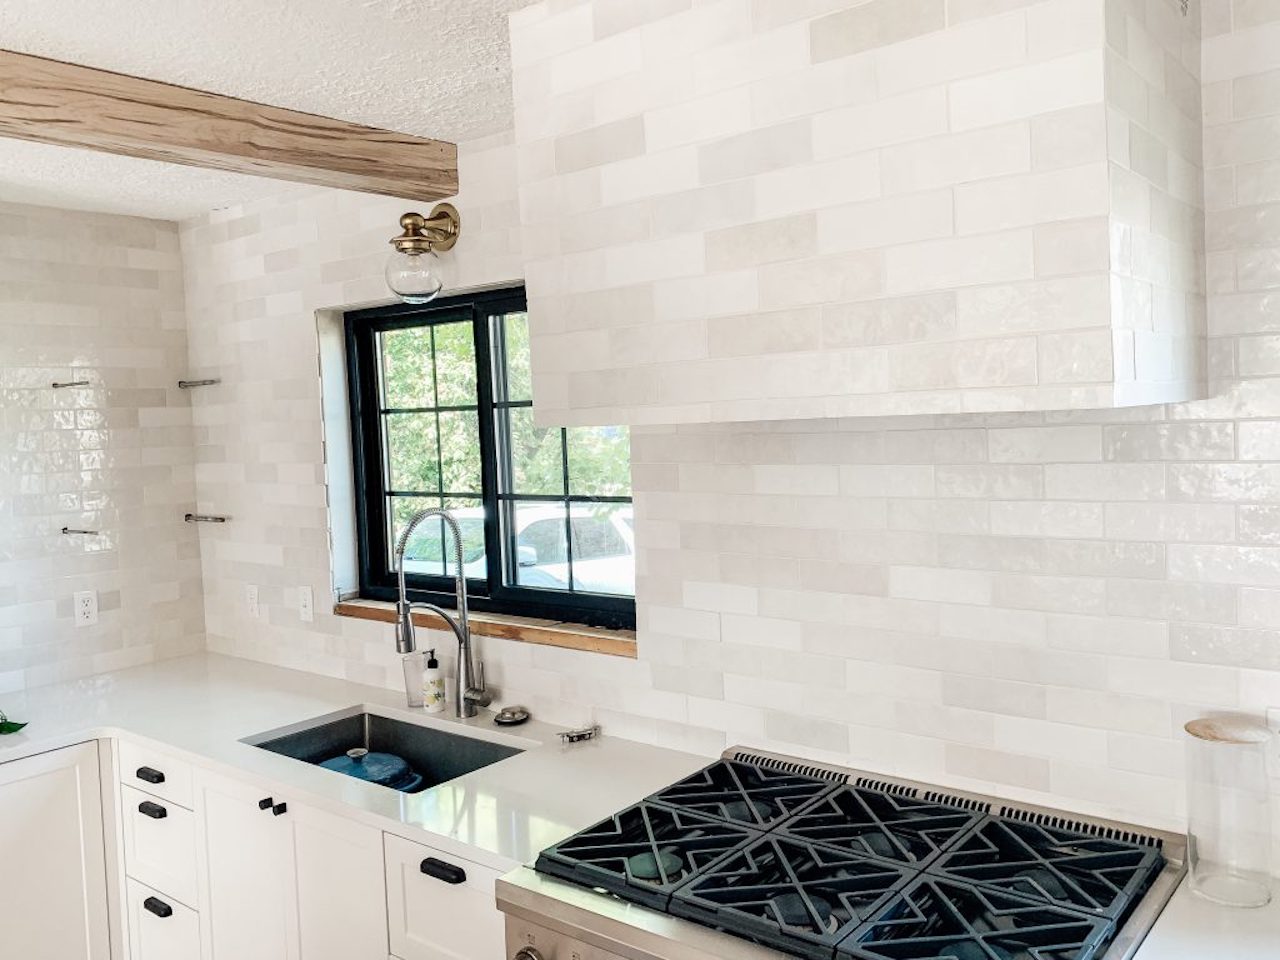
Step 8: Clean the area
Now that the range hood cabinet has been removed and any necessary repairs have been made, it’s important to thoroughly clean the area. Cleaning the space will ensure that it is free from dust, debris, and any leftover residue. Follow these steps to properly clean the area:
- Clear away any debris: Use a broom, vacuum cleaner, or dustpan to remove any loose debris, dirt, or dust from the floor, countertops, and surrounding area.
- Wipe down surfaces: Use a damp cloth or sponge to wipe down the walls, cabinets, and countertops to remove any dirt or grime that may have accumulated during the cabinet removal process.
- Clean the range hood vent: Take the opportunity to clean the range hood vent while it is detached. Remove any grease or buildup using a suitable cleaner or degreaser, following the manufacturer’s instructions.
- Polish and shine: Once the area is clean, use a suitable cleaner or polish to give the countertops and surrounding surfaces a final shine. This will help restore their appearance and leave them looking refreshed.
By thoroughly cleaning the area, you create a clean and fresh space that is ready for the next step in your kitchen renovation. Plus, it’s always satisfying to have a clean and tidy workspace.
Now that the area has been cleaned, it’s time to move on to the final step, which involves either installing a new cabinet or covering the space left behind.
Read more: How To Install Under Cabinet Range Hood
Step 9: Install a new cabinet or cover the space
With the range hood cabinet removed and the area cleaned, it’s time to consider your options for the space left behind. Depending on your design preferences and needs, you can either choose to install a new cabinet or cover the space to create a cohesive look in your kitchen. Here are two possible approaches:
Install a new cabinet:
- Measure the space: Take accurate measurements of the area left vacant by the range hood cabinet. This will help you determine the size of the new cabinet you need to install.
- Select a cabinet: Choose a cabinet that matches the style and finish of your existing cabinetry. Take into consideration the dimensions of the space, ensuring that the new cabinet fits perfectly.
- Secure the new cabinet: Follow the manufacturer’s instructions to install and secure the new cabinet in place. Use the appropriate screws and hardware to secure it to the wall and adjacent cabinets.
- Adjust shelves and doors: Once the new cabinet is in place, adjust any shelves or doors to ensure they are properly aligned and functional.
Cover the space:
- Use a filler panel: A filler panel is a flat piece of material that matches the finish of your existing cabinets. Measure and cut the filler panel to fit the space left by the range hood cabinet.
- Attach the filler panel: Use screws or adhesive to secure the filler panel in place, ensuring that it aligns seamlessly with the surrounding cabinetry.
- Finish the filler panel: Use a suitable trim or molding to cover the edges of the filler panel for a polished look. Sand and paint the filler panel to match the existing cabinetry if necessary.
Whether you choose to install a new cabinet or cover the space with a filler panel, ensure that the final result is cohesive with the overall look and style of your kitchen.
Congratulations! You have successfully completed the process of removing the range hood cabinet and addressing the space left behind. Take a step back and admire your kitchen transformation.
Remember, if you are unsure about any steps or do not have the necessary skills or tools, it is always wise to consult a professional for assistance. Safety should be your top priority throughout the process of removing and installing cabinets.
Now that you know how to remove a range hood cabinet, you can confidently tackle your kitchen renovation and create the space of your dreams.
Good luck with your project!
Conclusion
Removing a range hood cabinet is an important step in kitchen renovations or appliance upgrades. By following the step-by-step process outlined in this article, you can safely and efficiently remove the cabinet, creating a more open and spacious cooking area.
We started by gathering the necessary tools and materials, ensuring we have everything at our disposal. Then, we prepared the workspace, clearing the area and disconnecting the range hood from power to prioritize safety.
We proceeded to remove the range hood’s vent cover and located the screws holding the range hood in place. With the screws located, we carefully unscrewed and removed the range hood, taking precautions to prevent damage.
After removing the range hood, we patched and repaired any holes or damage to create a clean and smooth surface. Then, we thoroughly cleaned the area, ensuring it was free from debris and dust.
Finally, we discussed two options for the space left behind: installing a new cabinet that matches your existing cabinetry or covering the space with a filler panel. Both approaches can help create a cohesive look in your kitchen.
Always prioritize safety and consult a professional if you are unsure or uncomfortable with any steps in the process. With the knowledge and understanding gained from this article, you can confidently remove a range hood cabinet and embark on your kitchen renovation journey.
Good luck with your project, and enjoy your newly updated kitchen space!
Frequently Asked Questions about How To Remove Range Hood Cabinet
Was this page helpful?
At Storables.com, we guarantee accurate and reliable information. Our content, validated by Expert Board Contributors, is crafted following stringent Editorial Policies. We're committed to providing you with well-researched, expert-backed insights for all your informational needs.


0 thoughts on “How To Remove Range Hood Cabinet”