Articles
How To Replace Range Hood Filter
Modified: October 29, 2024
Learn how to replace your range hood filter with our informative articles. Improve air quality and keep your kitchen fresh.
(Many of the links in this article redirect to a specific reviewed product. Your purchase of these products through affiliate links helps to generate commission for Storables.com, at no extra cost. Learn more)
Introduction
Have you noticed a decrease in the effectiveness of your range hood? It might be time to replace the range hood filter. Range hood filters are essential components that help to remove grease, smoke, and odors from the air while cooking. Over time, these filters can become clogged with grease and other debris, affecting their performance and potentially leading to poor air quality in your kitchen.
In this article, we will guide you through the step-by-step process of replacing your range hood filter. By following these instructions, you will be able to restore the efficiency of your range hood and improve the air circulation in your kitchen.
Let’s get started!
Key Takeaways:
- Regularly replacing and maintaining your range hood filter is crucial for optimal performance and a healthier kitchen environment. Follow the step-by-step guide to ensure efficient air circulation and extend the lifespan of your range hood.
- Prioritize safety precautions, gather necessary tools, and follow manufacturer’s guidelines for a hassle-free range hood filter replacement. Enjoy improved air quality and efficient smoke and odor removal in your kitchen.
Step 1: Gather the necessary tools and materials
Before you begin replacing the range hood filter, it’s crucial to ensure that you have all the required tools and materials on hand. This will help streamline the process and prevent any unnecessary delays. Here are the items you will need:
- A new range hood filter – Ensure that you purchase the correct filter that is compatible with your specific range hood model. Check the dimensions and specifications to ensure a proper fit.
- Gloves – It’s always a good idea to wear gloves to protect your hands from any grease or grime that may be present on the old filter.
- Screwdriver – Depending on your range hood model, you may need a screwdriver to remove any screws or fasteners holding the filter in place.
- Bucket or trash bag – To dispose of the old filter properly, have a bucket or trash bag ready to discard it without making a mess.
- Cleaning supplies – It’s a good practice to have some cleaning supplies, such as mild detergent or degreaser, and a sponge or cloth to clean the filter housing if needed.
Take a few moments to gather these items to ensure a smooth and efficient replacement process. Once you have everything ready, you can move on to the next step.
Step 2: Safety precautions
When working with any appliance, it’s important to prioritize your safety. Before you begin replacing the range hood filter, take the following safety precautions:
- Turn off the range hood – Ensure that the range hood is turned off and unplugged from the power source. This will prevent any accidents or injuries while you’re working on the filter.
- Allow the range hood to cool down – If you’ve recently been using your range hood, give it some time to cool down before attempting to replace the filter. Hot surfaces can pose a burn hazard.
- Wear protective gear – Put on gloves to protect your hands from grease or sharp edges. Additionally, wearing safety goggles can prevent any debris or particles from getting into your eyes.
- Work in a well-ventilated area – Ensure that there is proper ventilation in your kitchen while working with the range hood filter. Open windows or use fans to circulate fresh air and prevent the accumulation of any fumes.
By following these safety precautions, you can minimize the risk of accidents and ensure a safe working environment while replacing your range hood filter. Proceed to the next step only when you have taken all necessary safety measures.
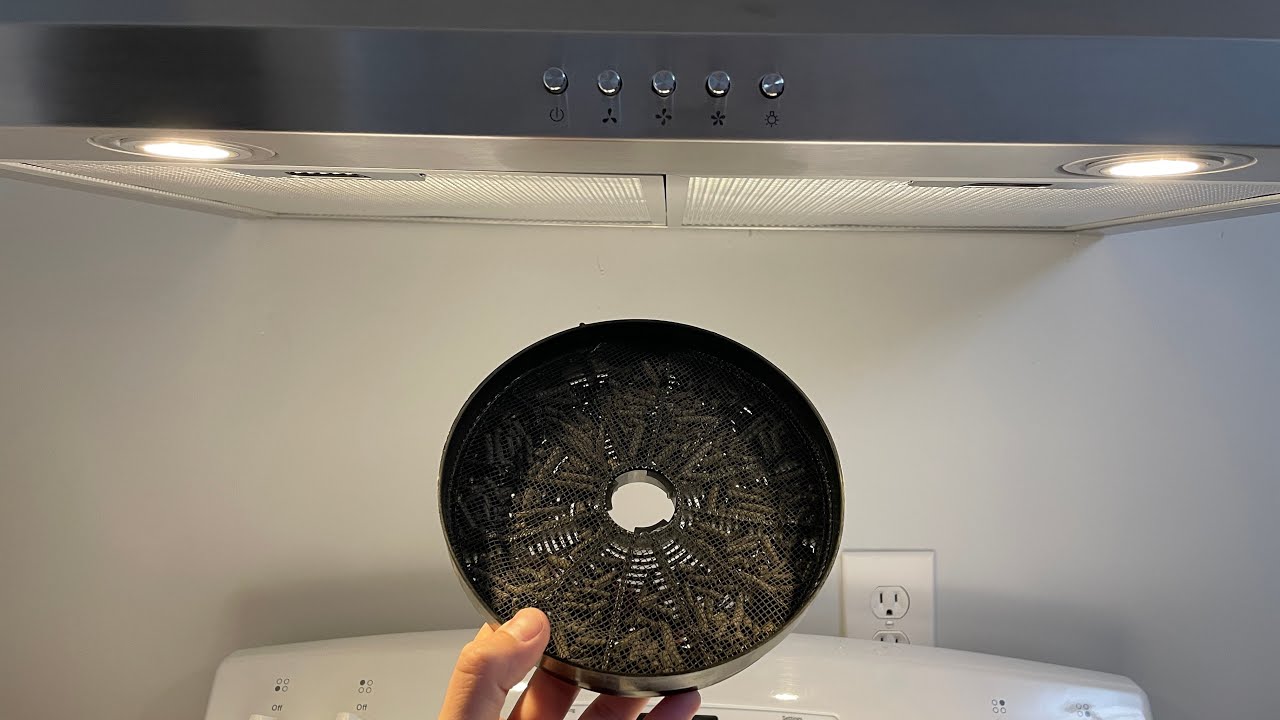
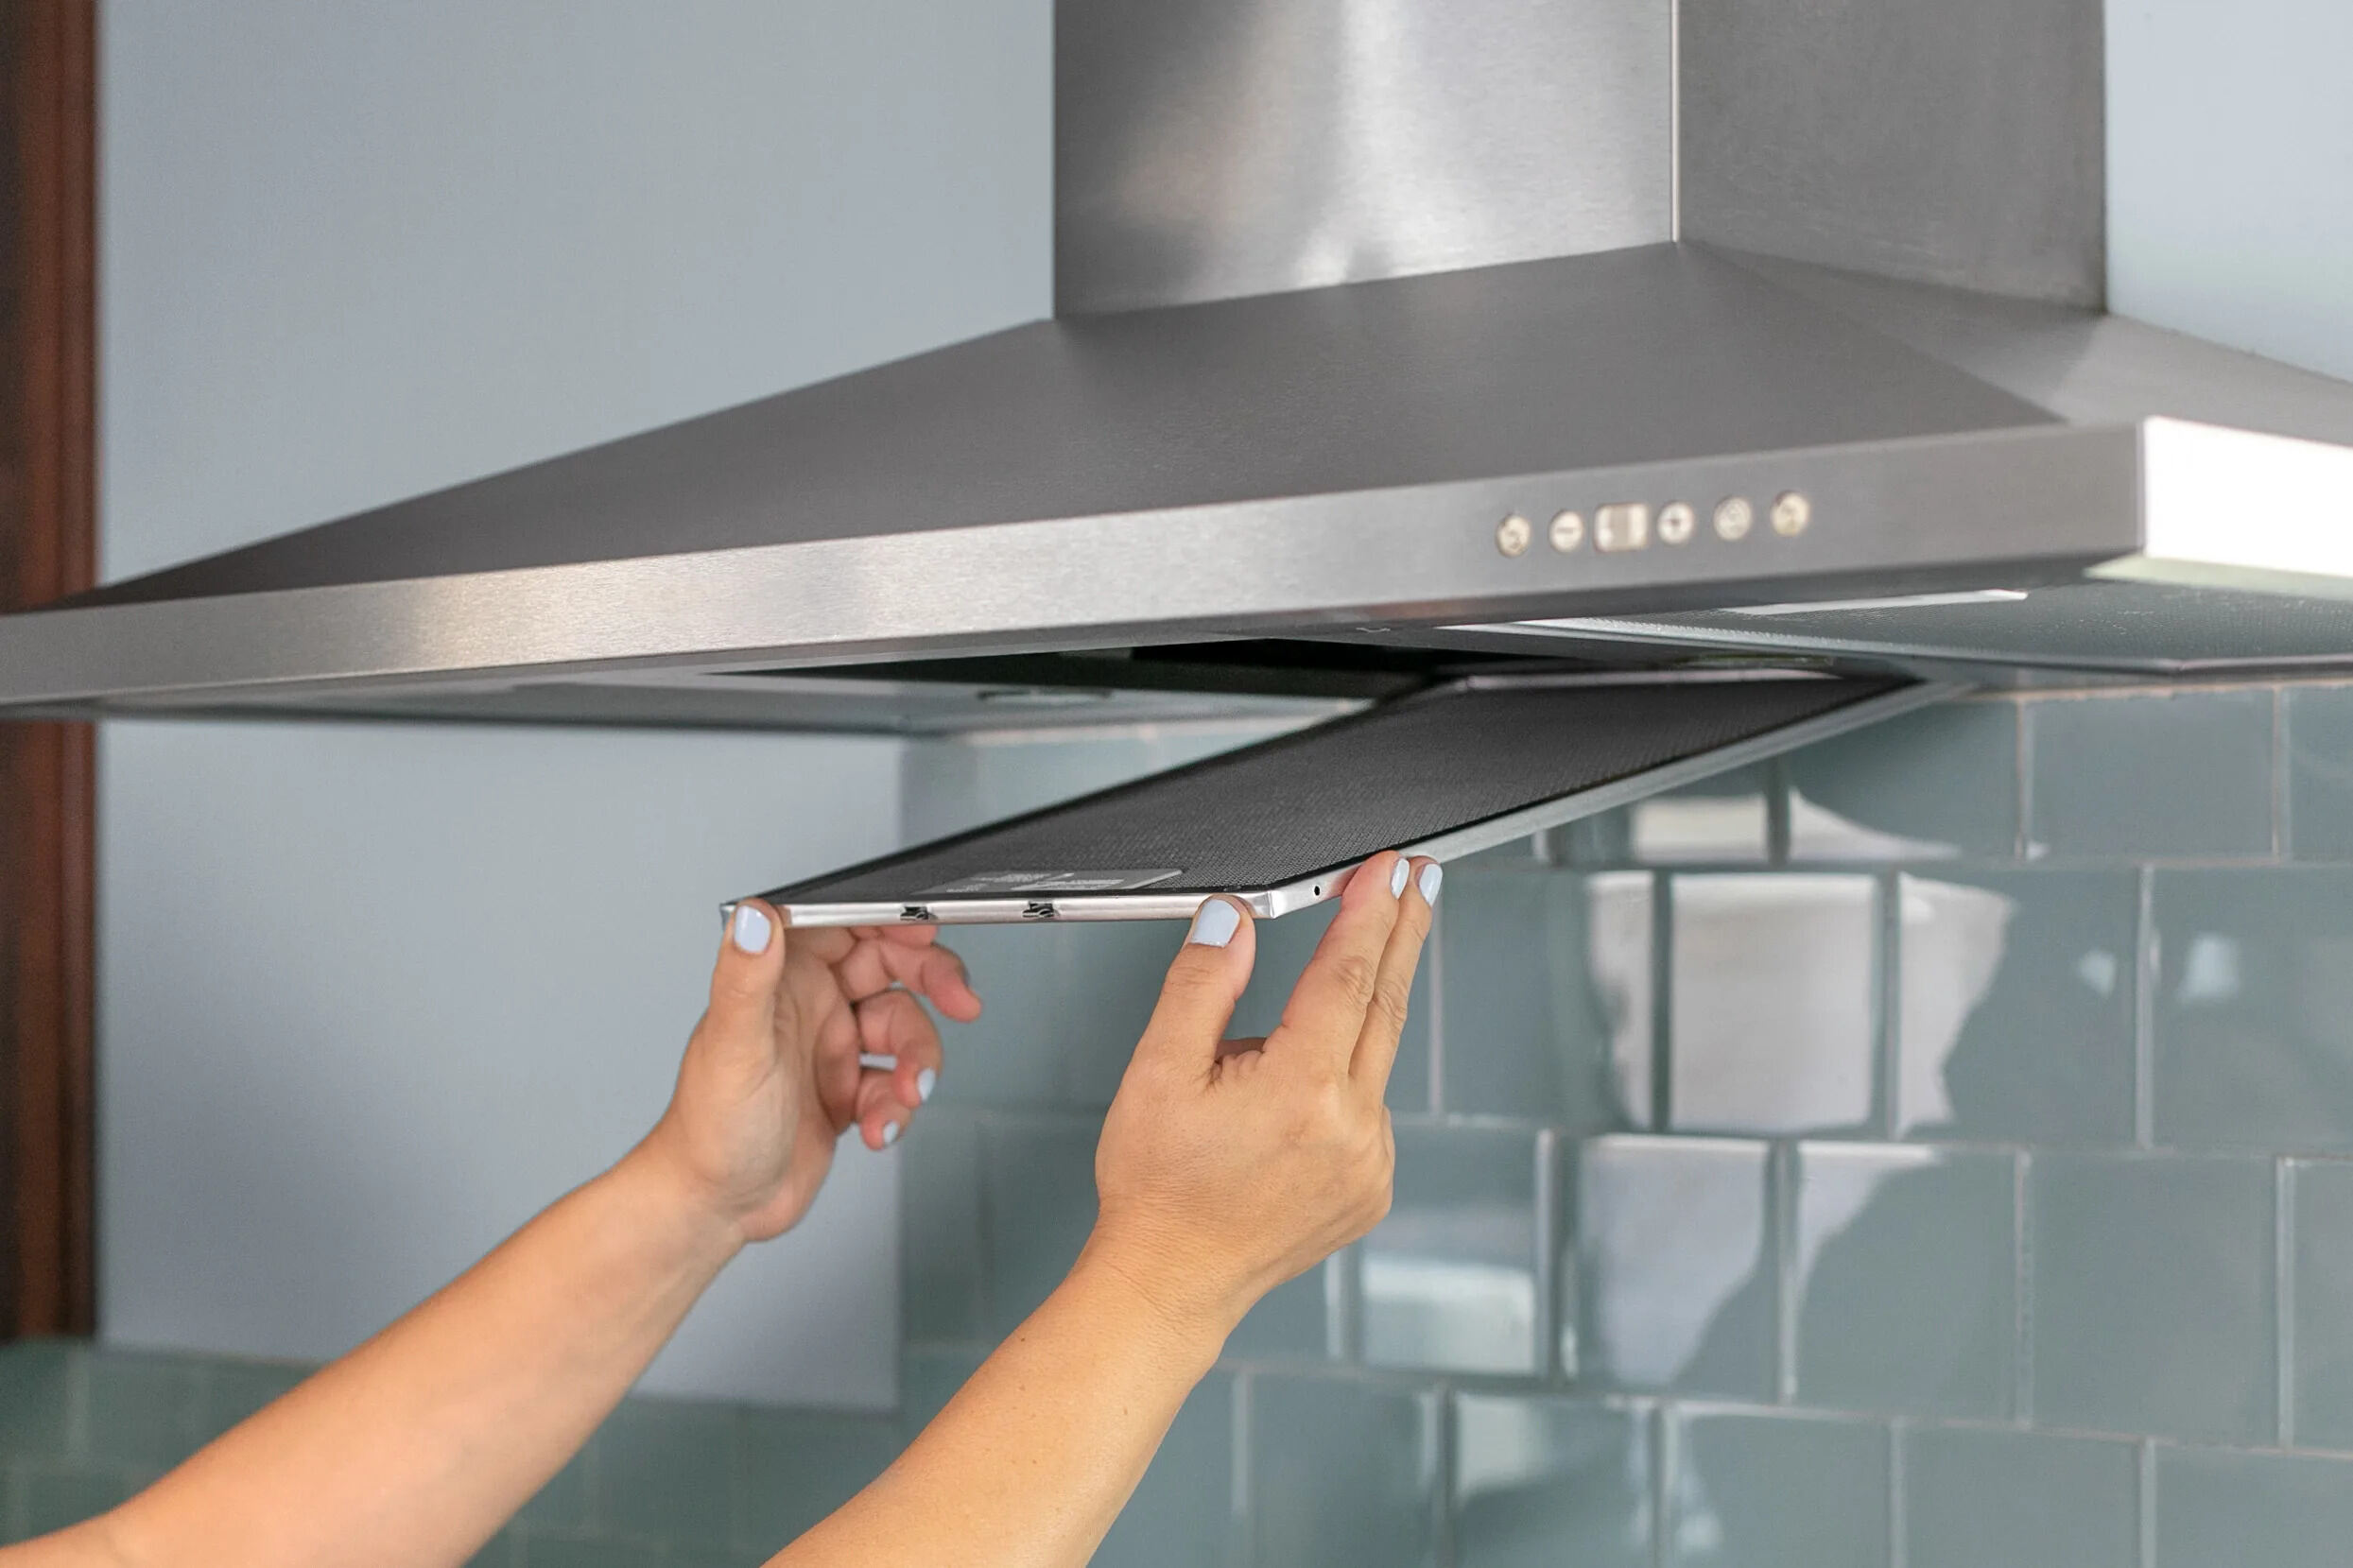
Step 3: Locate and access the range hood filter
Before you can replace the range hood filter, you need to locate it. The filter is typically located either on the bottom or within the hood of the range. Here’s how to find and access the filter:
- Refer to the owner’s manual – If you’re unsure about the exact location of the filter, consult the owner’s manual of your range hood. The manual should provide detailed instructions and diagrams specific to your model.
- Inspect the bottom of the range hood – In many cases, the filter is accessible from the underside of the hood. Look for a panel that can be easily removed or a latch that allows access to the filter compartment.
- Check the sides or back of the range hood – In some range hood models, the filter may be located on the sides or at the back. Carefully inspect these areas to locate any panels or access points.
Once you’ve identified the location of the filter, you’re ready to move on to the next step and remove the old filter. Familiarize yourself with the filter’s position and any fasteners that need to be loosened or removed to access it. This will make the removal process much smoother.
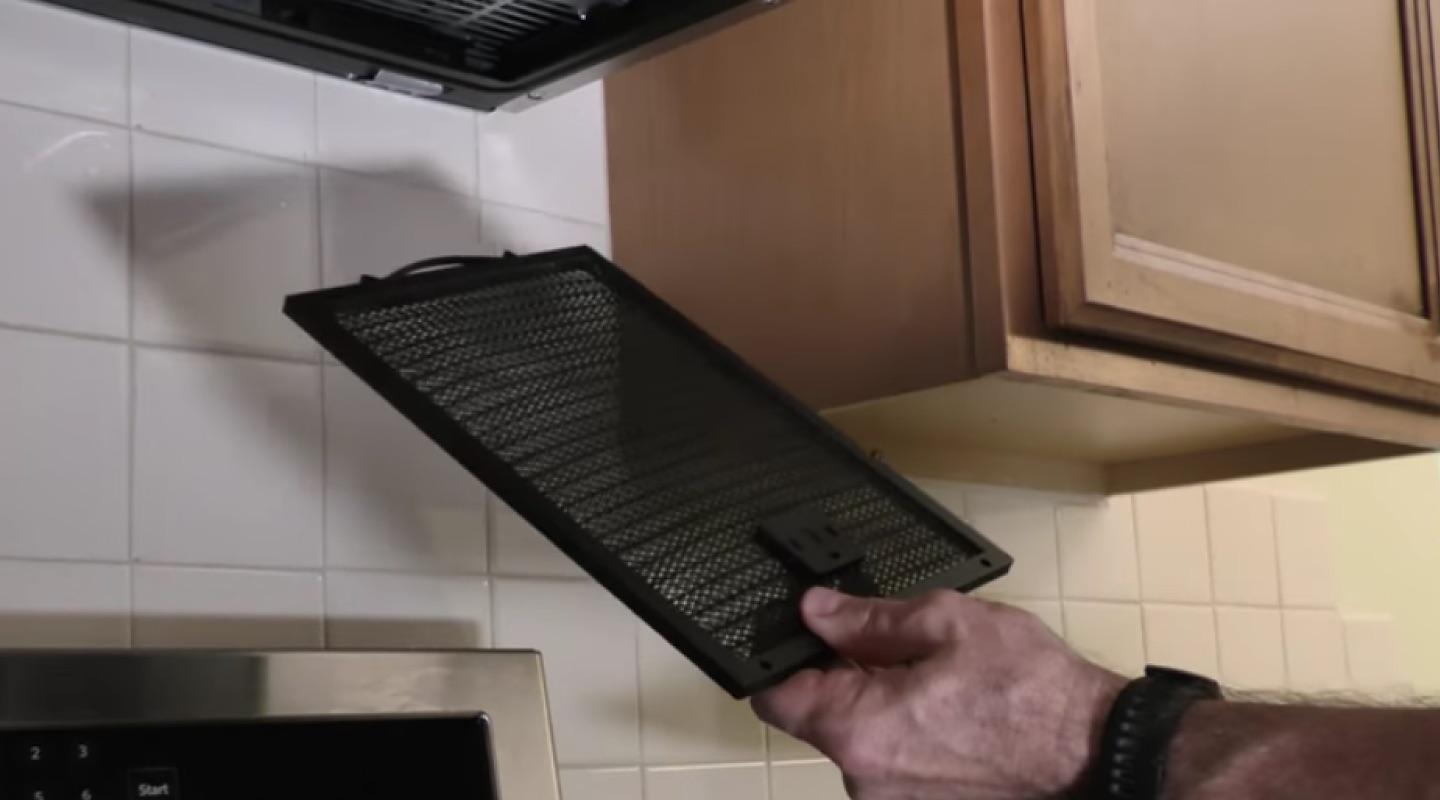
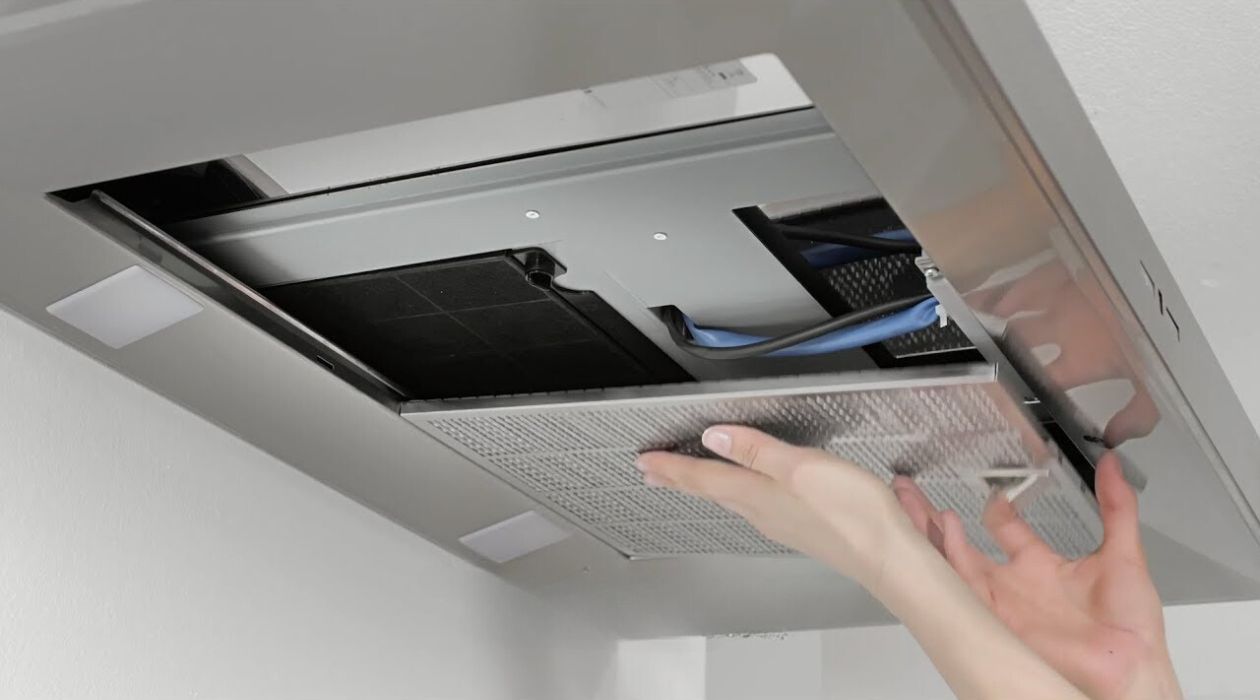
Step 4: Remove the old range hood filter
Now that you have located the range hood filter, it’s time to remove the old one. Follow these steps:
- Ensure the range hood is turned off and unplugged for safety.
- Inspect the filter for any screws or clips that may be securing it in place. If there are any, use a screwdriver or release the clips to loosen the filter.
- Once the fasteners are loosened, carefully pull the old filter out of its housing. Take caution not to bend or damage the filter during removal.
- Place the old filter in a bucket or trash bag, as it will need to be disposed of properly.
If the old filter is particularly dirty or greasy, it is recommended to wear gloves while handling it to avoid getting any residue on your hands. Additionally, take note of any specific instructions provided in the owner’s manual for removing the filter, as different range hood models may have varying attachment methods.
With the old filter successfully removed, you can now proceed to the next step, which involves cleaning the filter housing.
When replacing a range hood filter, make sure to turn off the power to the hood before removing the old filter. Measure the dimensions of the old filter to ensure the new one fits properly.
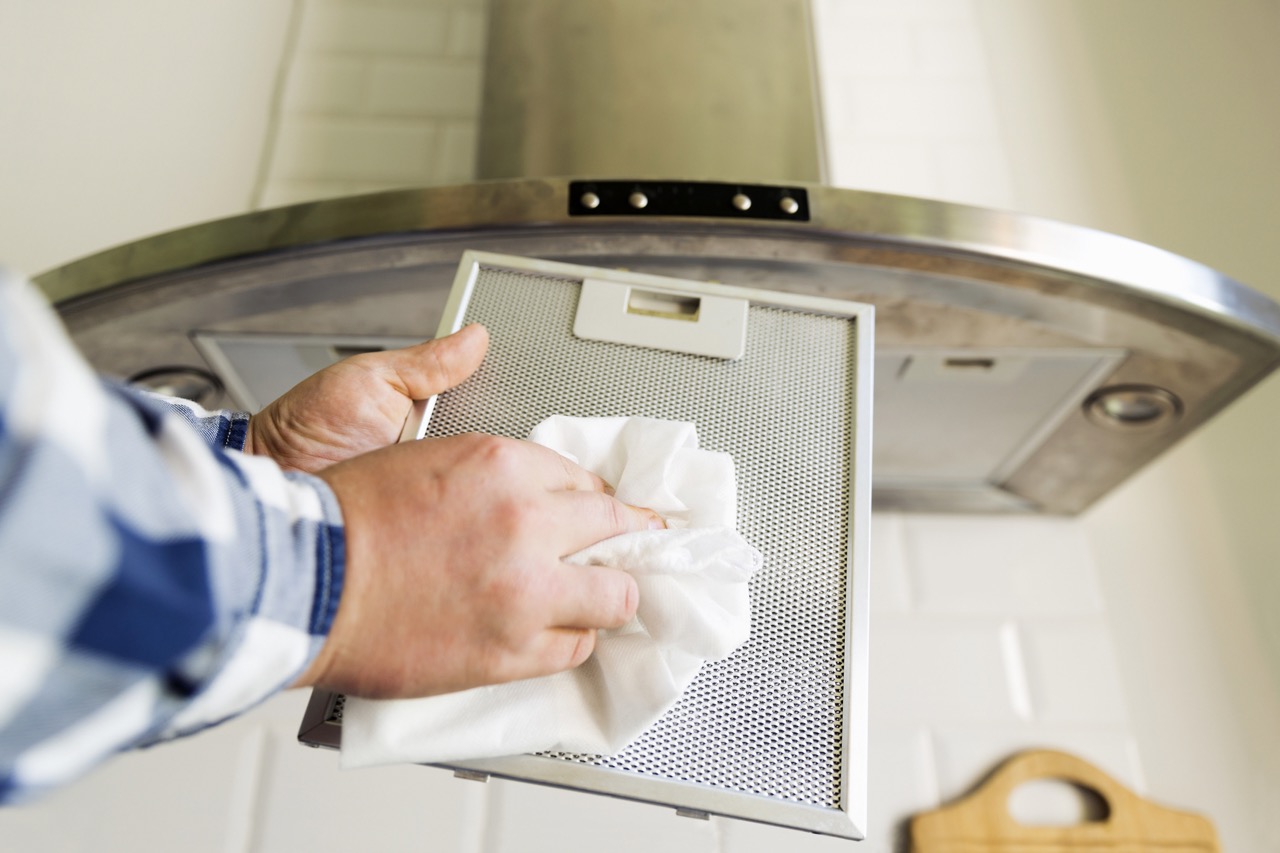
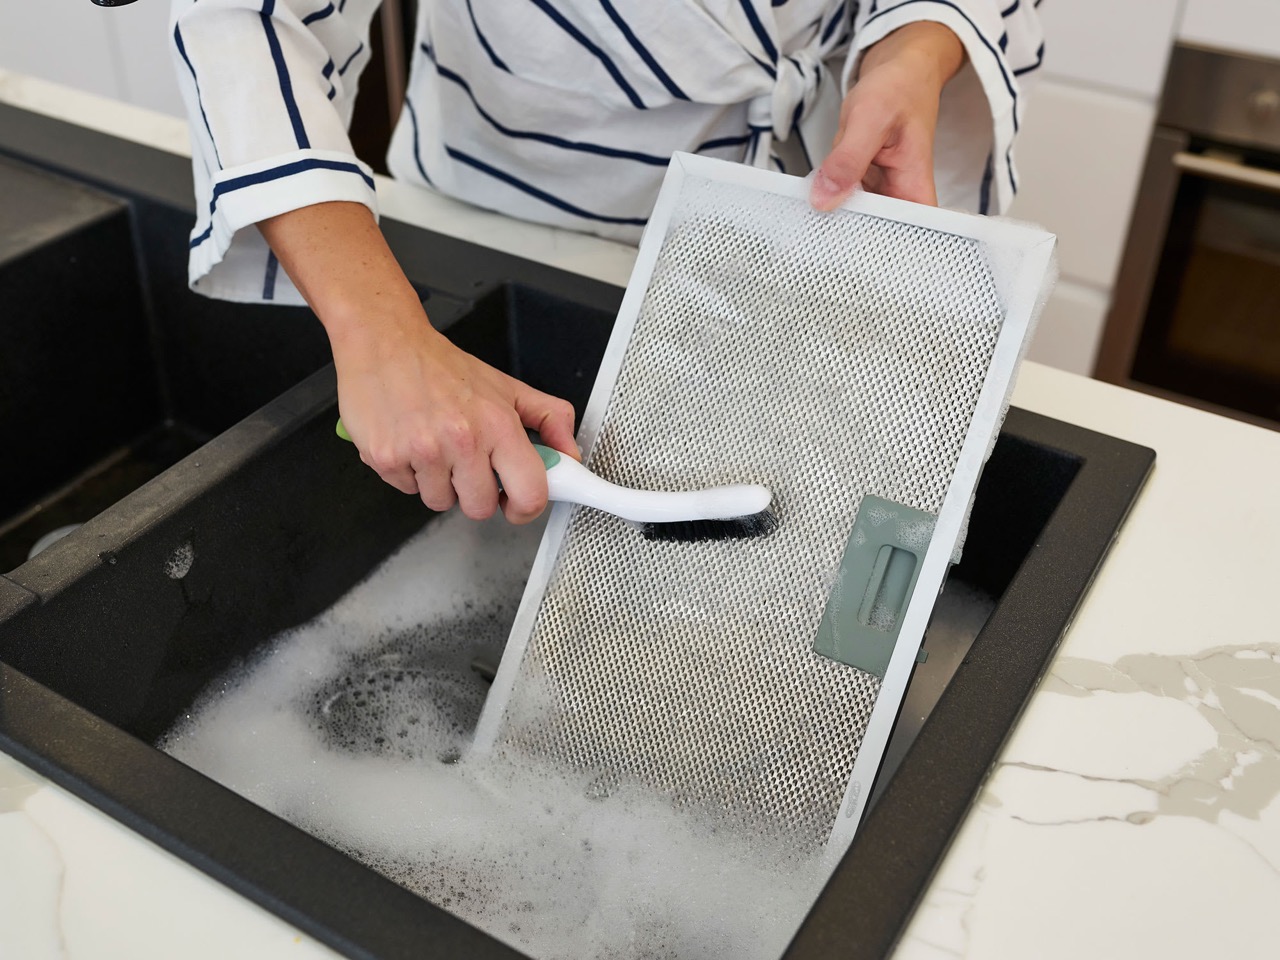
Step 5: Clean the filter housing
After removing the old range hood filter, it’s important to clean the filter housing to ensure proper functioning and longevity of the new filter. Here’s how you can clean the filter housing:
- Inspect the filter housing for any dirt, grease, or debris that may have accumulated over time. Use a flashlight if needed to get a clear view.
- If there is visible dirt or grease, dampen a sponge or cloth with a mild detergent or degreaser. Gently scrub the interior of the housing to remove any buildup.
- Rinse the housing with warm water to remove any cleaning solution residue.
- Allow the housing to air dry completely before proceeding to the next step. This will prevent any moisture from affecting the performance of the new filter.
It’s important to regularly clean the filter housing to maintain optimal air circulation and efficiency. A clean housing prevents any blockages or restrictions that may hinder the performance of the range hood. Once the housing is clean and dry, you can move on to the next step and install the new range hood filter.
Step 6: Install the new range hood filter
Now that the filter housing is clean and dry, it’s time to install the new range hood filter. Follow these steps:
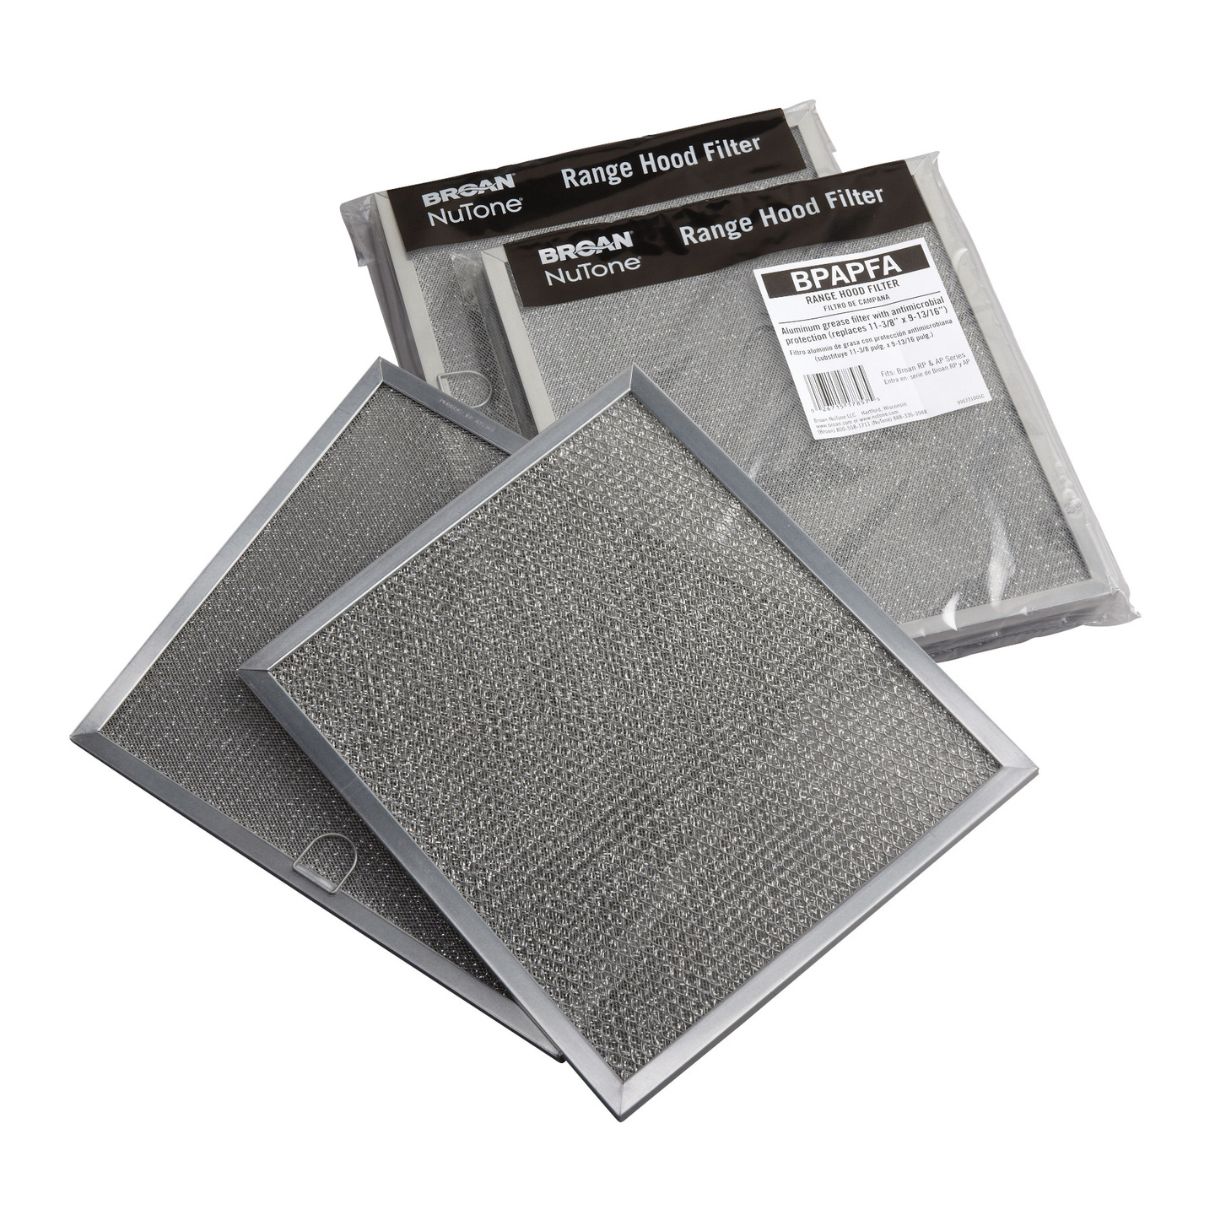
- Take the new range hood filter out of its packaging. Ensure that it is the correct size and type for your range hood model.
- Position the new filter into the filter housing, aligning it properly with the designated slots or guides.
- If there are any clips or fasteners that secure the filter in place, fasten them securely to ensure a tight fit.
- If your range hood has a latch or panel that needs to be closed to secure the filter, make sure to close it properly.
Pay close attention to any instructions provided in the owner’s manual regarding the installation of the new filter. It’s important to ensure that the filter is securely in place to maintain the effectiveness of the range hood.
With the new filter properly installed, you’re almost done! The next step involves testing the range hood to ensure everything is working correctly.
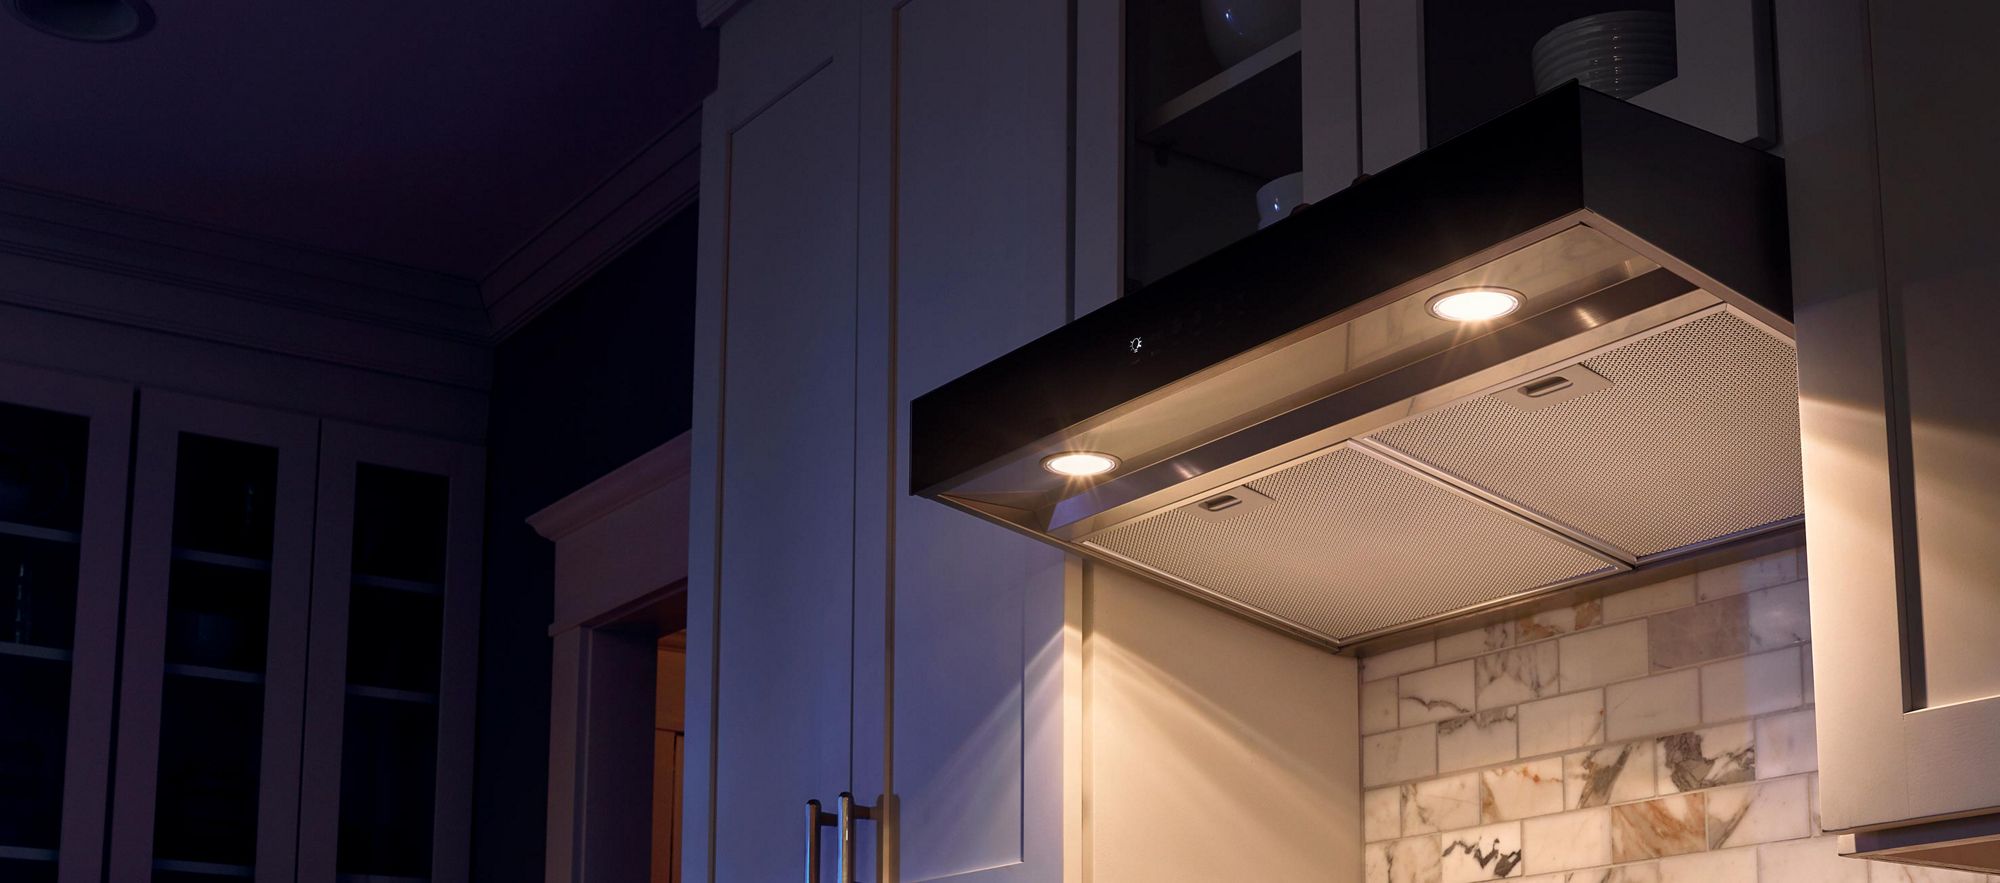
Step 7: Test the range hood
After replacing the range hood filter, it’s important to test the functionality of your range hood to ensure that everything is working correctly. Here’s how you can test the range hood:
- Turn on the range hood and set it to its highest power setting.
- Observe the airflow and listen for any unusual noises. The range hood should effectively remove smoke, odors, and excess heat from the cooking area.
- Check the filter housing and surrounding area for any air leaks or loose connections. If you notice any gaps or issues, revisit the installation to ensure a proper fit.
- If the range hood is functioning as expected, allow it to run for a few minutes to thoroughly test its performance.
If you encounter any problems such as reduced airflow or unusual noises, double-check the filter installation and make sure it is properly aligned and secured. Clean the filter housing again if necessary, as debris or improper installation can affect the range hood’s efficiency.
By testing the range hood, you can ensure that the new filter is working effectively and maintaining optimal performance. Once you’re satisfied with the results, you can move on to the final step – regular maintenance tips.
Step 8: Regular maintenance tips
Regular maintenance is crucial to keep your range hood in optimal condition and extend its lifespan. Follow these maintenance tips to ensure the longevity and effectiveness of your range hood:
- Clean the range hood filter regularly – Depending on your cooking frequency, it is recommended to clean or replace the range hood filter every 1-3 months. Follow the manufacturer’s guidelines for specific cleaning instructions.
- Wipe down the exterior surfaces – Use a damp cloth and mild detergent to clean the exterior surfaces of the range hood, including the control panel and ventilation slats. Avoid abrasive cleaners that may scratch the surface.
- Clean the grease trap – If your range hood has a grease trap, regularly remove it and clean it thoroughly. This will help prevent grease buildup and maintain proper airflow.
- Inspect and clean the exhaust duct – Periodically check the exhaust duct for any blockages or buildup. If necessary, use a vacuum or a duct cleaning brush to remove any debris.
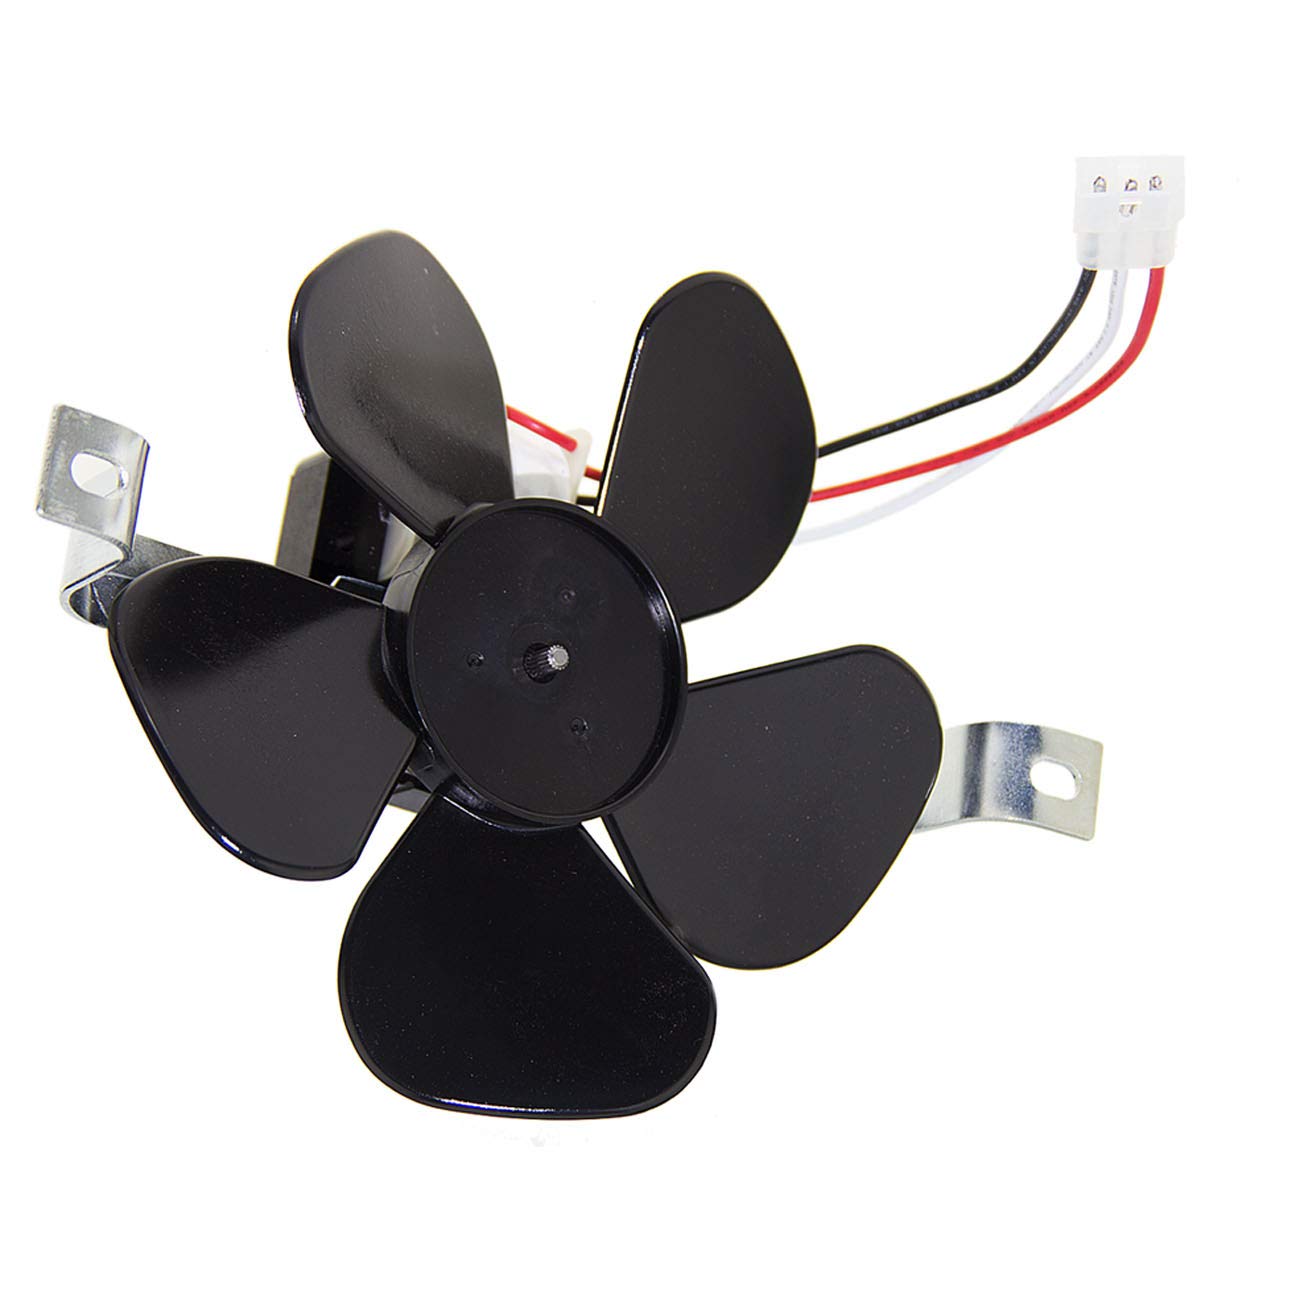
- Inspect and replace damaged parts – Regularly inspect the range hood for any damaged or worn-out parts, such as fan blades or light bulbs. Replace them as needed to ensure the proper functioning of the range hood.
By following these maintenance tips, you can ensure that your range hood remains in peak condition and continues to effectively remove smoke, odors, and grease from your kitchen. Regular maintenance not only improves the performance of the range hood but also promotes a clean and healthy cooking environment.
We hope this guide has been helpful in replacing and maintaining your range hood filter. Remember to consult your specific range hood’s owner’s manual for any model-specific instructions or guidelines. Happy cooking!
Read more: What Is A Range Hood Filter
Conclusion
Replacing the range hood filter is a simple yet essential task that ensures the efficient functioning of your range hood and promotes better air quality in your kitchen. By following the step-by-step process outlined in this article, you can easily replace the filter and maintain the optimal performance of your range hood.
Remember to gather all the necessary tools and materials before starting, prioritize safety precautions, and locate the range hood filter. Take the time to clean the filter housing and install the new filter correctly. Finally, test the range hood to ensure it is operating smoothly and follow regular maintenance tips to keep it in excellent working condition.
By regularly replacing and maintaining the range hood filter, not only will your range hood perform effectively in removing smoke, grease, and odors from the air, but it will also prolong the lifespan of the appliance itself. A clean and well-maintained range hood contributes to a healthier and more enjoyable cooking environment.
Make sure to consult your range hood’s owner’s manual for any specific instructions or maintenance requirements unique to your model. With proper care and maintenance, your range hood will continue to be a reliable ally in keeping your kitchen fresh and clean for years to come.
So, don’t delay any longer. Take the necessary steps to replace your range hood filter and enjoy the benefits of a properly functioning range hood in your kitchen!
Frequently Asked Questions about How To Replace Range Hood Filter
Was this page helpful?
At Storables.com, we guarantee accurate and reliable information. Our content, validated by Expert Board Contributors, is crafted following stringent Editorial Policies. We're committed to providing you with well-researched, expert-backed insights for all your informational needs.

0 thoughts on “How To Replace Range Hood Filter”