Articles
How To Make Wicks For Candles
Modified: December 7, 2023
Learn how to make wicks for candles with our informative articles. Discover tips and techniques for creating high-quality wicks at home.
(Many of the links in this article redirect to a specific reviewed product. Your purchase of these products through affiliate links helps to generate commission for Storables.com, at no extra cost. Learn more)
Introduction
Candles have been used for thousands of years for their warm glow and soothing ambiance. Whether for a cozy night in, a romantic dinner, or as part of a religious ceremony, candles are a timeless way to create a serene atmosphere.
While you can easily purchase pre-made candles from stores, there’s something special about making your own candles from scratch. Not only do you have control over the ingredients and scents used, but you also have the opportunity to personalize them with unique wicks.
Wicks play a crucial role in candle making. They are responsible for keeping the flame steady and ensuring a clean, even burn. While you can buy pre-made wicks, making your own allows you to tailor them to your specific candle project and add a personal touch.
In this article, we will guide you through the process of making wicks for candles. We will cover the materials needed, step-by-step instructions, and tips for testing the performance of your homemade wicks. By the end of this guide, you’ll be ready to create beautifully crafted candles with custom-made wicks.
Key Takeaways:
- Create personalized candles with custom-made wicks by following these steps. Tailor wick size and type for optimal burn performance, and enjoy the satisfaction of crafting your own candles.
- Experiment with different wick sizes and styles to find the perfect combination for your candle-making projects. Keep records and embrace the artistry of homemade wicks for beautiful, steady-burning candles.
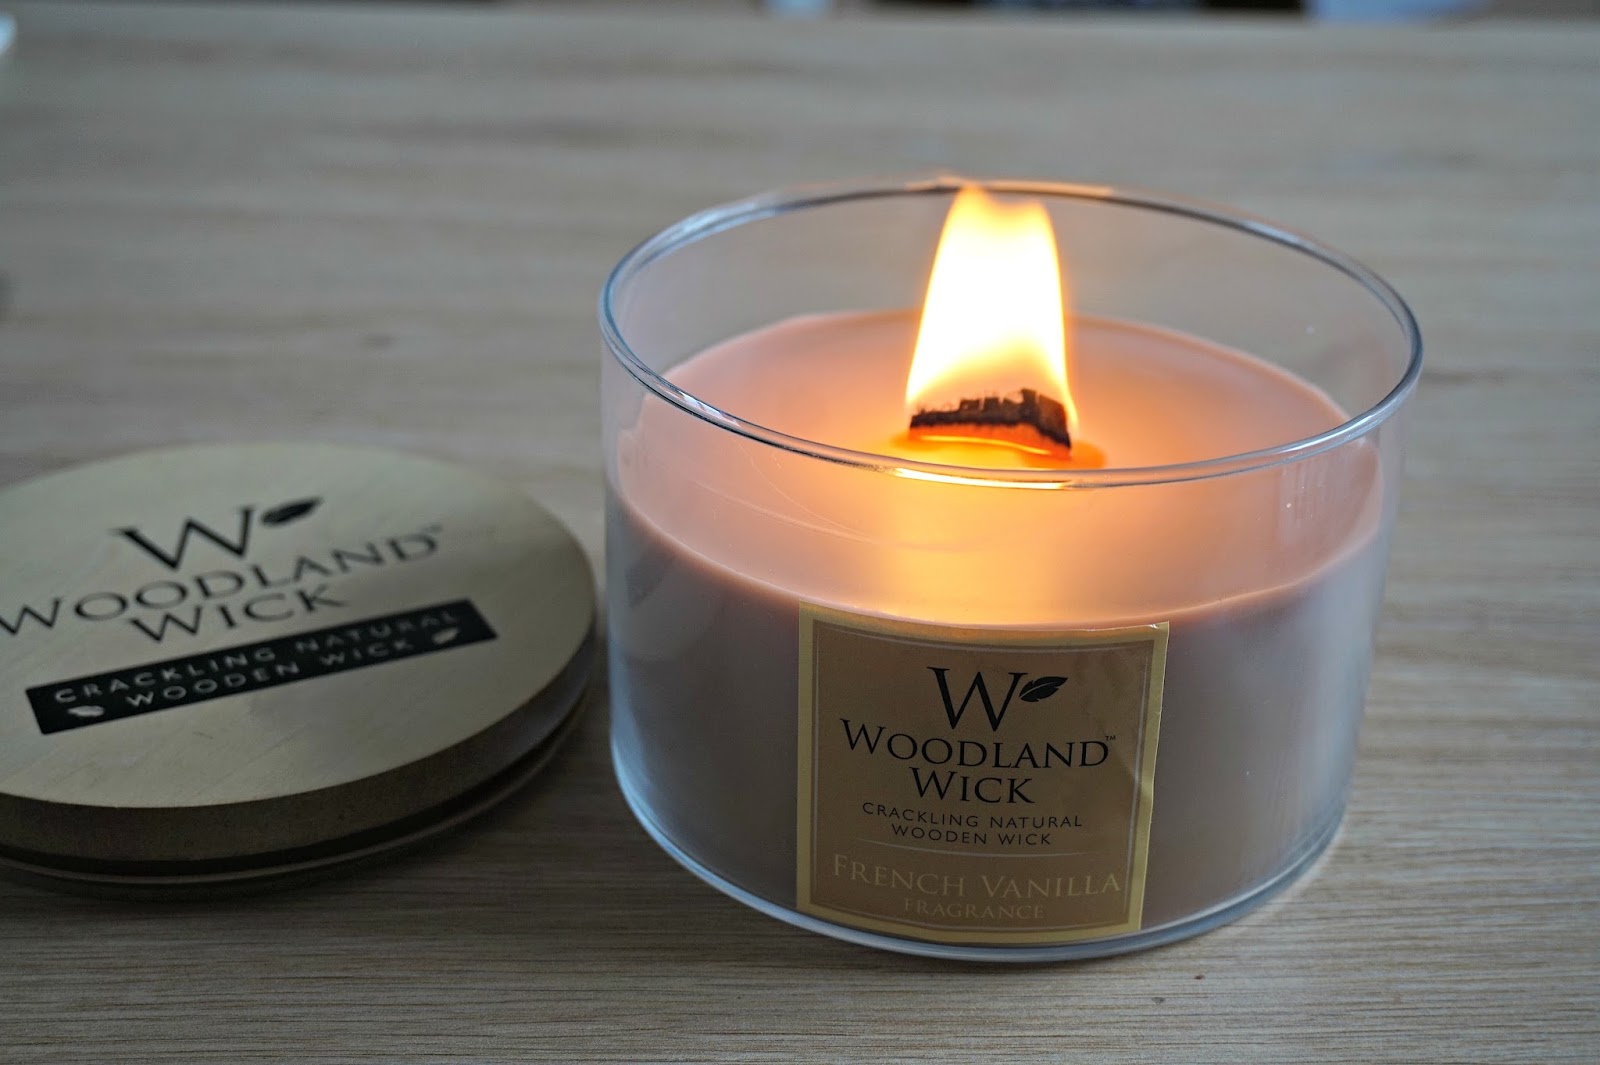
Read more: How To Make Wooden Wick Candles
Materials Needed
Before you begin making your own wicks for candles, gather the following materials:
- Cotton string or twine: Choose a natural fiber, such as cotton, that is unbleached and free of any synthetic materials. The thickness of the string should be appropriate for the size of your candle.
- Beeswax or soy flakes: You will need wax to coat the wicks. Beeswax and soy flakes are popular options as they are natural and have good burning properties.
- Scissors: To cut the cotton string to the desired length.
- Wax paper or parchment paper: To lay out the drying wicks.
- Double boiler or a heat-resistant container and a pot: To melt the wax for coating the wicks.
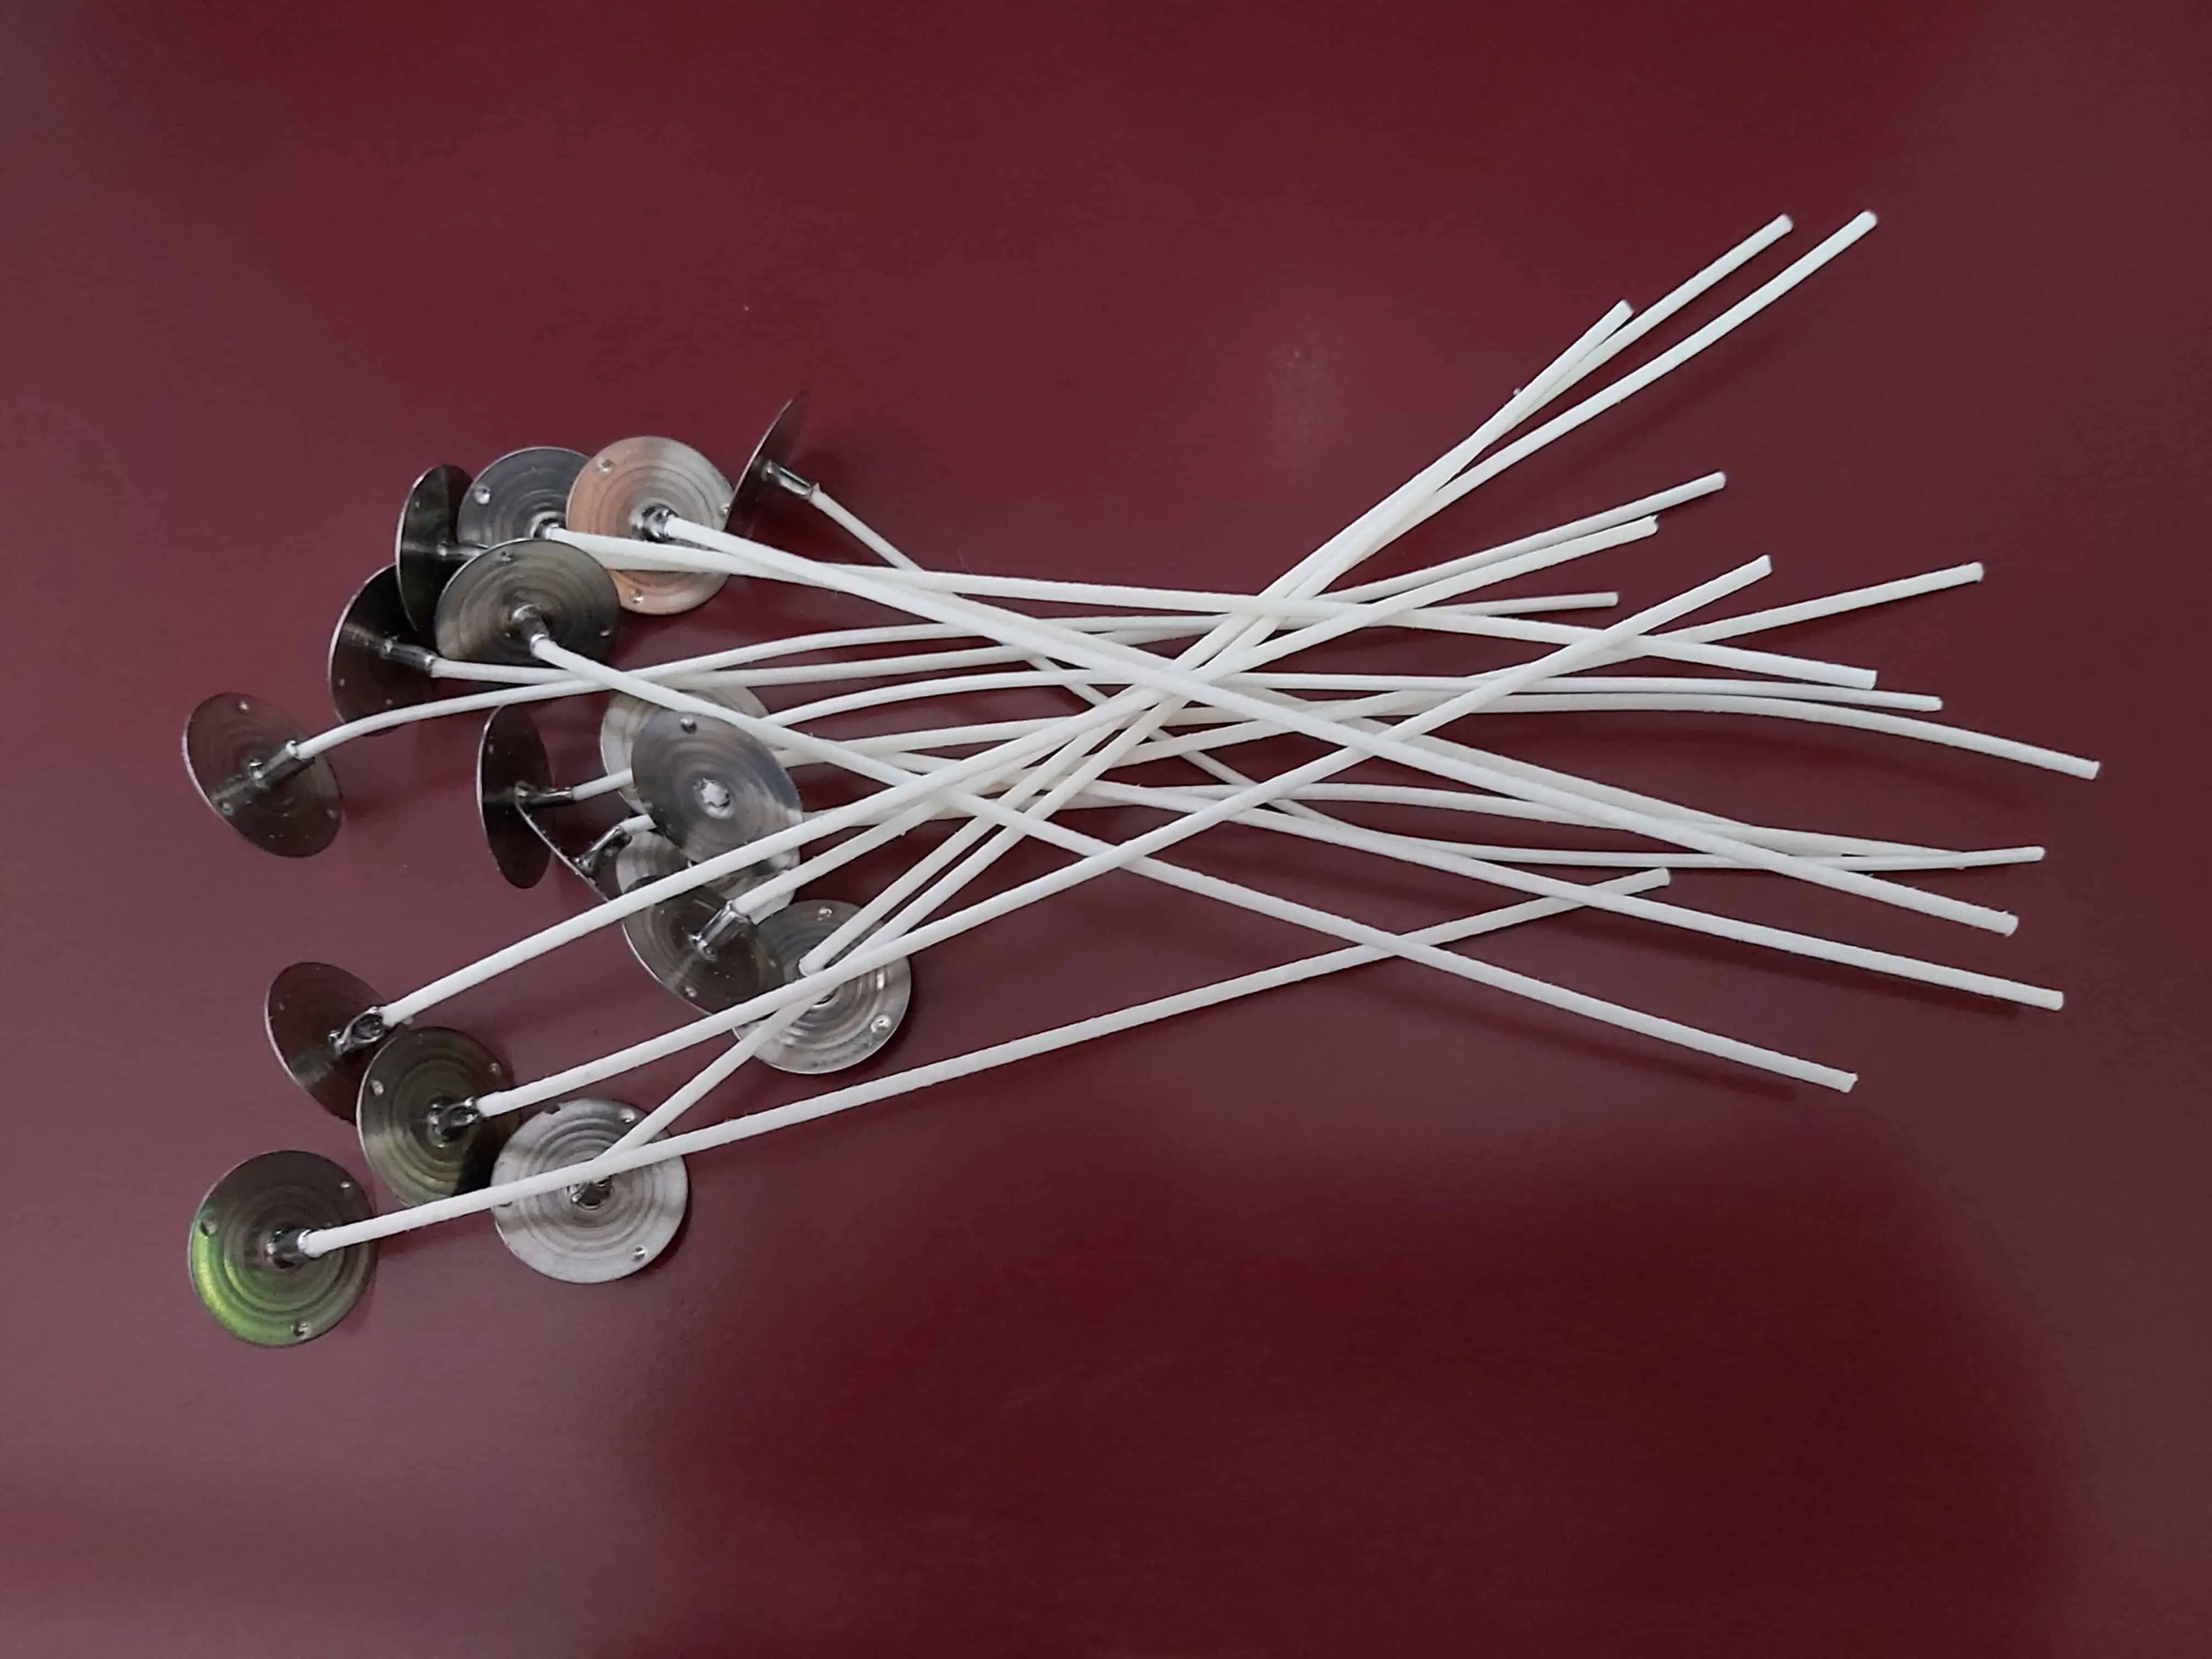
- Optional: Wick tabs or sustainer tabs: These small metal or plastic discs can be used to anchor the wick to the bottom of the candle container.
Make sure you have all the necessary materials ready before starting the wick-making process. This will ensure a smooth and seamless experience as you create your homemade wicks.
Step 1: Choosing the Right Wick
The first step in making wicks for candles is selecting the right type of wick for your specific candle project. The size and type of wick you choose will depend on the diameter of your candle and the type of wax you’re using.
Here are some factors to consider when choosing a wick:
- Candle diameter: The size of your candle will determine the thickness of the wick needed. Measure the diameter of your candle to ensure you select a wick that fits appropriately.
- Type of wax: Different waxes have different burn characteristics. For example, beeswax typically requires a larger wick size compared to soy wax. Research the recommended wick types for the specific wax you’re using.
- Scent and color additives: If you plan to add fragrance oils or dye to your candles, keep in mind that these additives can affect the burn characteristics. You may need to adjust the wick size accordingly.
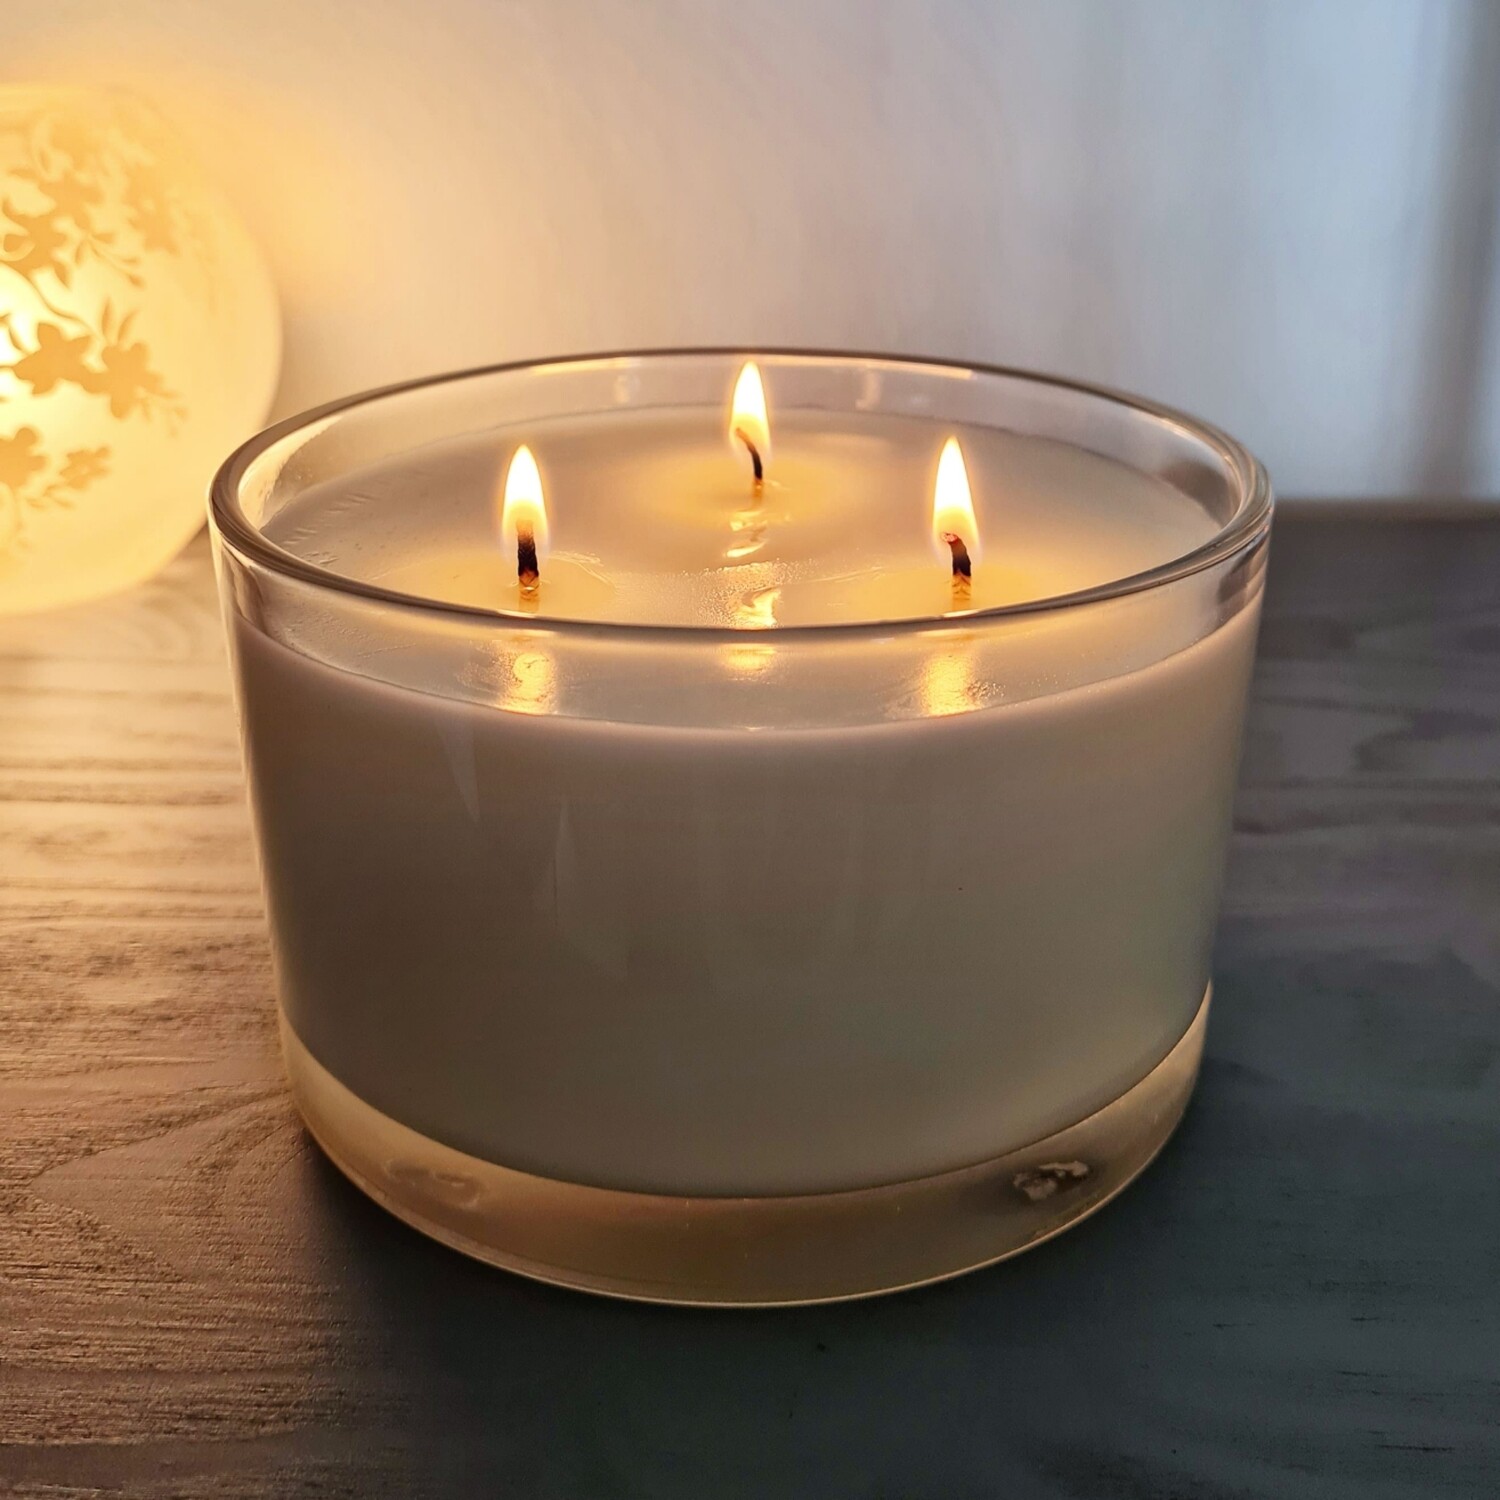
- Container or pillar candle: Consider whether your candle will be in a container or if it will be a free-standing pillar candle. Container candles typically require a wick with a larger diameter for better heat distribution.
It’s important to note that wick selection can sometimes be trial and error. Keep records of the wicks you use and their performance to help refine your future candle-making endeavors.
Once you have determined the appropriate wick size and type, you’re ready to move on to the next step in creating your homemade wicks – preparing the wick.
Step 2: Preparing the Wick
Now that you have chosen the right wick for your candle project, it’s time to prepare the wick before coating it with wax. Follow these steps to ensure your wick is ready for the next stage:
- Measure and cut the wick: Use a pair of scissors to cut the cotton string or twine to the desired length. Make sure to add a few extra inches to account for the length lost during the coating and trimming process.
- Straighten the wick: Hold one end of the wick with your fingers and gently run the other end between your thumb and index finger, applying slight tension. This will help to straighten out any curl or kinks in the wick.
- Optional: Attach a wick tab: If you’re using a container for your candle, you may choose to attach a wick tab or sustainer tab to the bottom end of the wick. This will make it easier to anchor the wick in the center of the container.
- Trim the wick: Use scissors to trim the top end of the wick to a length that is slightly longer than the height of the candle container or the desired length for a free-standing candle.
By taking the time to properly prepare your wick, you ensure that it is straight, even, and ready to be coated with wax. This will result in a well-performing and visually appealing candle wick.
Now that your wick is prepared, it’s time to move on to the next step – applying the wax coating.
When making wicks for candles, use natural fibers like cotton or hemp for a clean burn. Soak the wick in melted wax to make it easier to handle and to prevent it from burning too quickly.
Step 3: Applying the Wax Coating
With your prepared wick in hand, it’s time to apply a wax coating to enhance its burn performance. The wax coating helps to strengthen the wick, provide stability, and control the rate of burn. Follow these steps to apply the wax coating to your homemade wick:
- Melt the wax: If you’re using beeswax, melt it in a double boiler or a heat-resistant container placed in a pot of simmering water. If you’re using soy flakes, melt them in a microwave-safe container or using a double boiler.
- Dip the wick: Holding the top end of the wick, carefully dip the bottom end into the melted wax. Make sure to fully submerge the wick in the wax for a few seconds to allow the wax to saturate the fibers.
- Remove excess wax: After dipping, lift the wick out of the wax and gently shake it to remove any excess wax. You want a thin and even coating of wax on the wick.
- Lay out to dry: Place the coated wick on a sheet of wax paper or parchment paper, allowing it to dry completely. This may take a few hours depending on the thickness of the wax coating and the ambient temperature.
During the drying process, the wax coating will harden, ensuring that the wick remains stable and intact when it comes into contact with the melted wax of the candle.
Once the wax coating has dried, you can move on to the next step – drying and cutting the wicks.
Read more: How To Remove Wicks From Candles
Step 4: Drying and Cutting the Wicks
After applying the wax coating to your wicks, it’s important to dry them thoroughly before use. This step ensures that the wicks are fully hardened and ready for trimming. Follow these steps to dry and cut your homemade wicks:
- Leave the wicks undisturbed on the wax paper or parchment paper for at least 24 hours. This allows the wax coating to completely harden and solidify.
- Check the wicks for any signs of bending or misalignment. If needed, gently adjust and straighten them while they are still pliable.
- Once the wicks are fully dry and hardened, use a pair of sharp scissors to trim the wicks to the desired length. Trim them to be slightly taller than the height of the candle container or to your preferred length for a free-standing candle.
- Discard any excess wick trimmings and keep the trimmed wicks in a clean and organized manner, ready for use in your candle-making projects.
By properly drying and cutting your wicks, you ensure that they are the perfect length for the size of your candle and that they will burn evenly and efficiently.
With your wicks dried and trimmed, it’s time to move on to the final step – testing the wicks to ensure their performance.
Step 5: Testing the Wicks
Before using your homemade wicks in your candle-making projects, it’s essential to test their performance to ensure a clean and even burn. Conducting a simple wick test will help you determine if the wicks are the right size and type for your specific candle and wax combination. Follow these steps to test your homemade wicks:
- Prepare a test candle: Choose a small container or create a sample pillar candle using the same wax and additives you’ll be using for your final candles.
- Secure the wick: Attach or center the tested wick in the container or candle mold, making sure it stands straight and secure.
- Pour the melted wax: Fill the container or mold with the melted wax, making sure to leave enough room for the wick to burn properly.
- Light the wick: Carefully light the wick and observe its burn characteristics.
- Observe the burn: Pay attention to how the wick performs during the burn. Look out for issues such as excessive smoking, mushrooming, or tunneling.
- Monitor the burn time: Note how long it takes for the candle to fully burn down and if the wick keeps a steady flame throughout.
- Assess the results: Based on your observations, assess if the wick burns evenly, provides sufficient heat, and maintains a stable flame. If any issues arise, you may need to adjust the wick size for future candles.
Conducting thorough wick testing ensures that your homemade wicks will provide an optimal burn experience, resulting in beautiful and well-performing candles.
With the wick testing complete, you are now ready to incorporate your freshly made wicks into your candle-making projects. Enjoy the satisfaction of crafting your own candles with custom-made wicks and embrace the beauty and warmth they bring to your space.
Remember to keep records of your wick selections and test results for future reference and to fine-tune your candle-making skills.
Happy candle making!
Conclusion
Congratulations! You have successfully learned how to make your own wicks for candles. By following the steps outlined in this guide, you have gained valuable knowledge on choosing the right wick, preparing it, applying the wax coating, drying and cutting the wicks, and testing their performance.
Making your own wicks allows you to customize your candles, ensuring a clean and even burn every time. You have the freedom to tailor the wick size and type to match the diameter of your candle and the specific wax you’re using. With the right wicks, your homemade candles will impress with their steady flame and beautiful ambiance.
Remember to take note of your wick selections and experiment with different styles and sizes to find the perfect combination for your candle-making projects. Each step in the wick-making process is crucial for creating high-quality candles that you can enjoy and share with others.
Now that you have the skills to make your own wicks, you can unleash your creativity and explore various candle-making techniques. Whether you’re crafting candles as a hobby, a thoughtful gift, or even as a small business venture, your homemade wicks will add that special touch to your creations.
So, gather your materials, set up your work area, and start making your own wicks for an elevated candle-making experience. Enjoy the process, embrace the artistry, and bask in the warm glow of your carefully crafted candles.
Frequently Asked Questions about How To Make Wicks For Candles
Was this page helpful?
At Storables.com, we guarantee accurate and reliable information. Our content, validated by Expert Board Contributors, is crafted following stringent Editorial Policies. We're committed to providing you with well-researched, expert-backed insights for all your informational needs.


0 thoughts on “How To Make Wicks For Candles”