Articles
What To Do With A Frayed Electrical Cord
Modified: March 2, 2024
Discover what to do if you have a frayed electrical cord in this informative article. Learn how to handle this safety hazard and prevent potential accidents.
(Many of the links in this article redirect to a specific reviewed product. Your purchase of these products through affiliate links helps to generate commission for Storables.com, at no extra cost. Learn more)
Introduction
A frayed electrical cord can be a common occurrence in many households. Whether it’s due to wear and tear, accidents, or the age of the cord, fraying can pose a significant risk. Understanding the potential hazards and knowing how to handle a frayed electrical cord is essential for ensuring your safety and the safety of your home.
In this article, we will explore what a frayed electrical cord is, the potential dangers it poses, steps to take when you have a frayed cord, how to repair it (if possible), when to replace it, and safety measures to prevent frayed cords.
By the end of this article, you’ll have a comprehensive understanding of how to deal with frayed electrical cords and keep your home safe.
Key Takeaways:
- Don’t Ignore Frayed Cords
Frayed electrical cords pose serious risks, including electric shock, fire hazards, and damage to devices. Take immediate action by unplugging, assessing, and repairing or replacing the cord to ensure safety. - Prioritize Prevention and Safety
Implement safety measures such as proper handling, storage, and regular inspections to prevent frayed cords. Investing in high-quality cords and consulting a professional electrician can safeguard your home from potential hazards.
Read more: What Do The Magnets Do On My Electrical Cord
Understanding a Frayed Electrical Cord
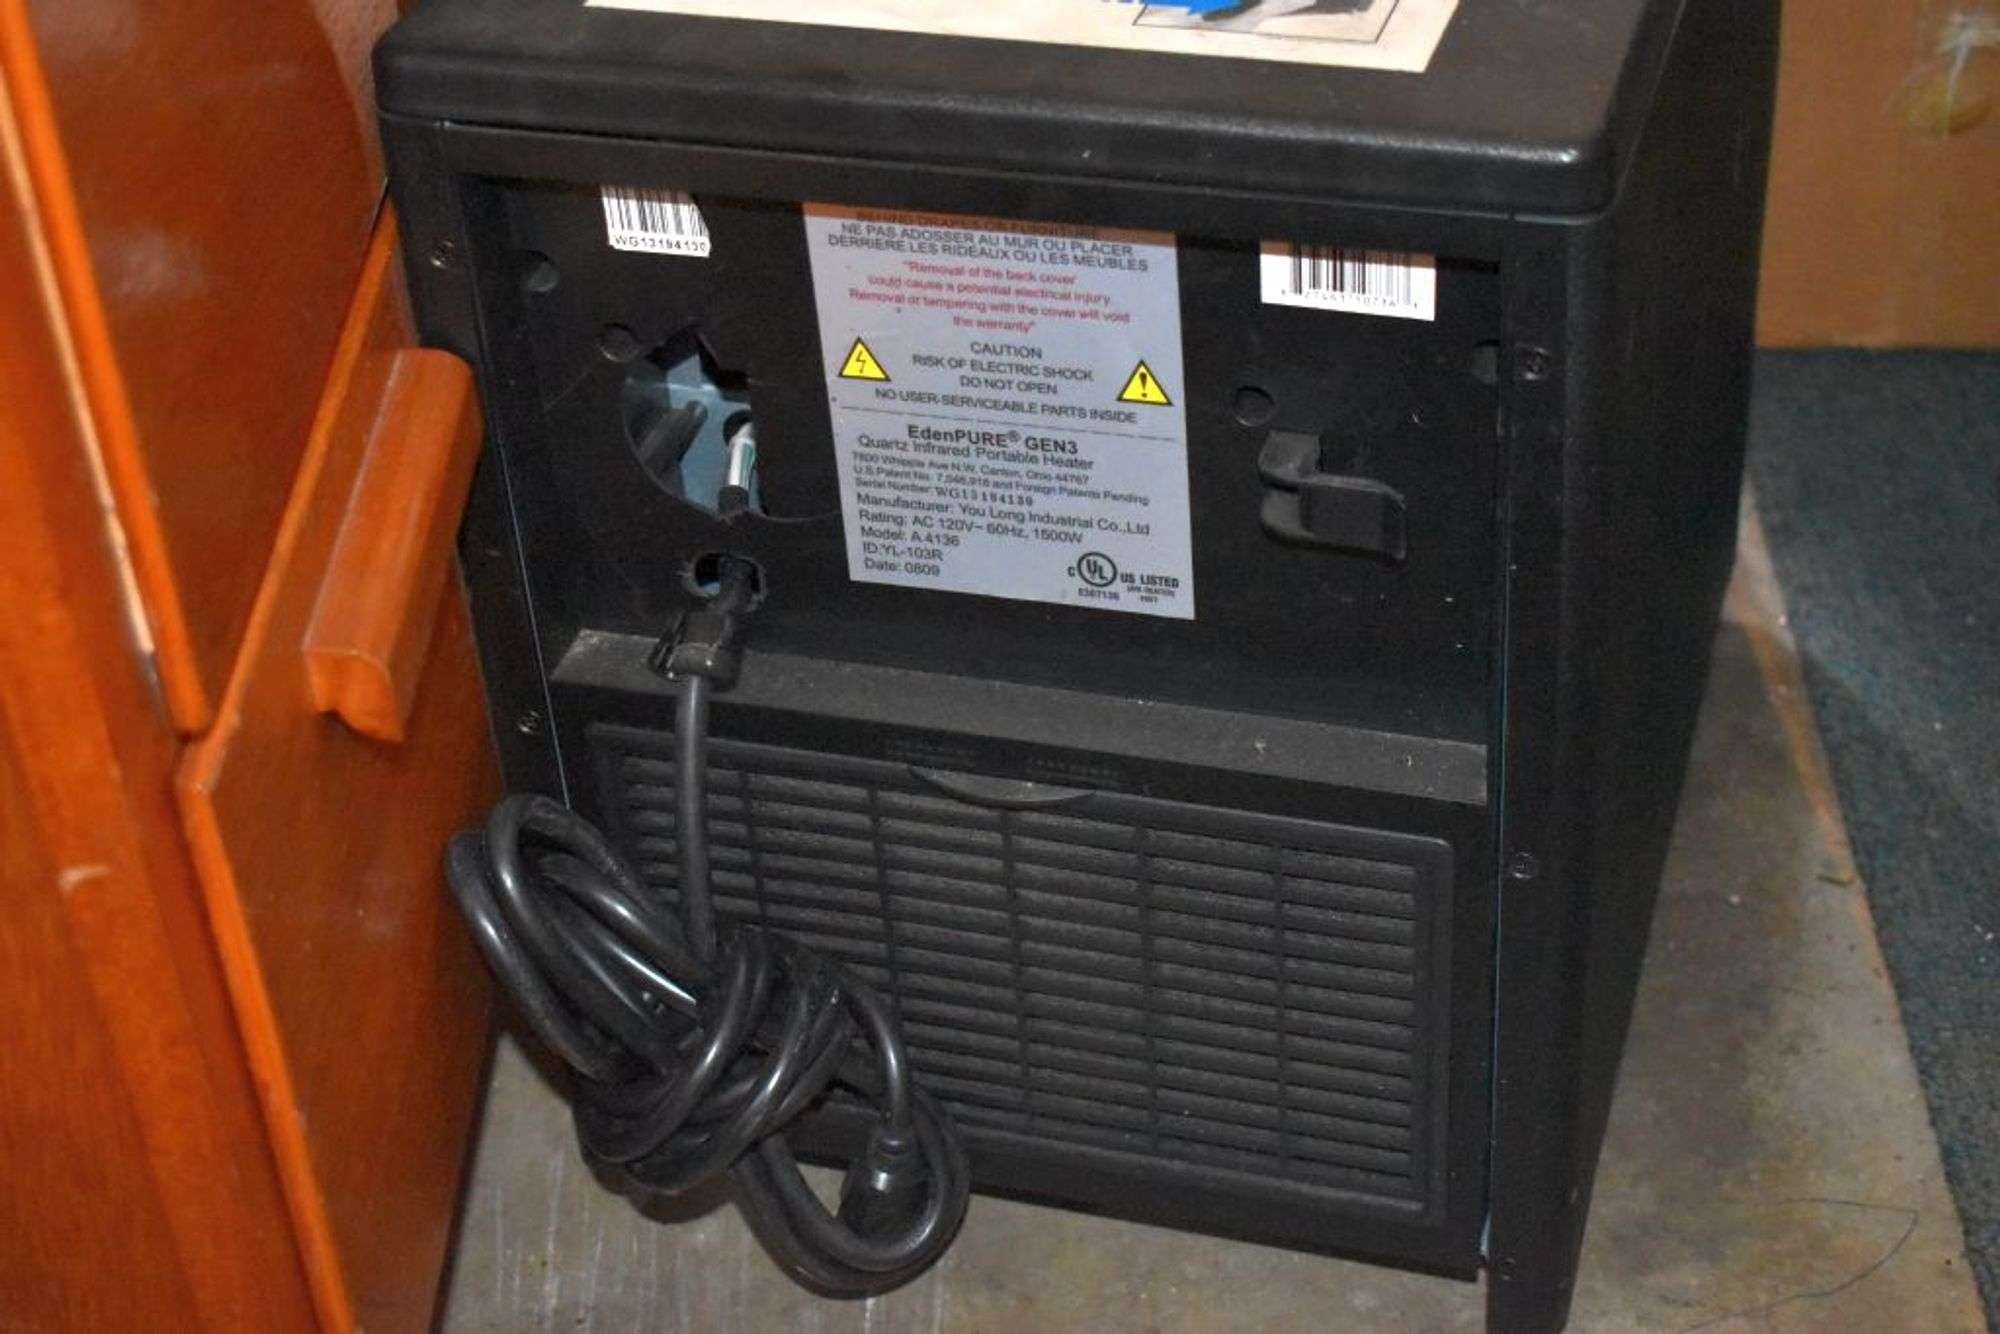
A frayed electrical cord refers to a cord that has become worn or damaged, resulting in the outer covering of the cord becoming frayed or torn. This type of damage can expose the underlying wires or insulation, creating a potential risk of electrical shock or fire.
There are several factors that can contribute to the fraying of an electrical cord. These can include overuse, improper storage, the cord being bent or twisted excessively, exposure to heat or moisture, or even accidental damage due to pets or household accidents. Additionally, the age and quality of the cord can also play a role in its susceptibility to fraying.
It’s important to note that a frayed electrical cord can be identified by visible signs of damage, such as the outer covering being worn or torn, the wires being exposed, or the insulation being damaged. It’s crucial to address a frayed cord as soon as possible to avoid further damage or potential hazards.
Furthermore, different types of electrical cords can experience different levels of fraying. For example, extension cords and power cords that are frequently used and moved around are more prone to wear and tear compared to cords that are relatively stationary.
Understanding the nature of a frayed electrical cord is the first step in effectively dealing with the issue. Recognizing the signs of fraying and understanding the potential risks associated with it will help you take appropriate actions to ensure your safety.
Potential Hazards of a Frayed Electrical Cord
Having a frayed electrical cord in your home poses several potential hazards that should not be taken lightly. Ignoring a frayed cord or continuing to use it despite the damage puts you at risk of electrical shock, fire, and damage to your electrical devices.
One of the most significant dangers of a frayed electrical cord is the risk of electrical shock. When the outer covering of the cord becomes frayed, the underlying wires are exposed. This means that when you touch the cord, you are directly coming into contact with the live wires, increasing the likelihood of receiving an electric shock. Electrical shocks can cause severe injuries or even be fatal, so it’s crucial to address a frayed cord immediately.
In addition to the risk of electric shock, frayed cords also pose a fire hazard. When the wires within the cord are exposed, they can come into contact with flammable materials, leading to sparks and potential fires. This risk is particularly high if the cord is located near combustible objects or in areas where there is a high concentration of flammable materials. It only takes a small spark to ignite a fire, so it’s essential to address frayed cords promptly.
Frayed electrical cords can also cause damage to your electrical devices. When the wires within the cord are exposed, they can come into contact with the electrical components of your devices. This can result in short circuits, voltage fluctuations, and potential damage to the device itself. Using a frayed cord with your valuable electronics can lead to costly repairs or even render the device unusable.
It’s important to be aware of these potential hazards and to take immediate action when you discover a frayed electrical cord in your home. Ignoring the damage can put both your safety and the safety of your property at risk. Always prioritize your well-being and address frayed cords promptly.
Steps to Take When You Have a Frayed Electrical Cord
Discovering a frayed electrical cord in your home can be concerning, but it’s important to take immediate action to address the issue. Here are some steps you should take when you have a frayed electrical cord:
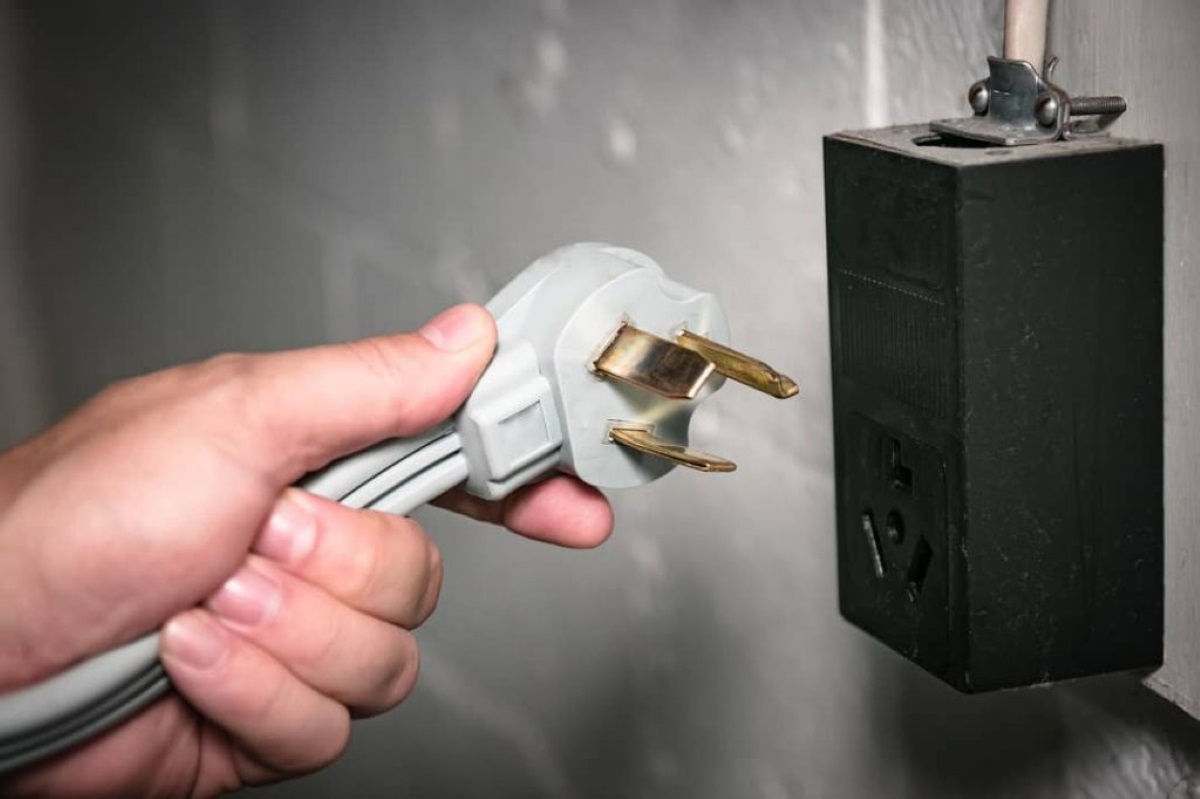
- Unplug the cord: The first and most crucial step is to unplug the cord from the outlet. This will ensure that there is no electrical current running through the frayed wires, reducing the risk of electric shock or fire.
- Assess the damage: Once the cord is unplugged, carefully examine the extent of the fraying. Look for any exposed wires, torn insulation, or other signs of damage. This will help you determine whether the cord can be repaired or if it needs to be replaced.
- Isolate the cord: If possible, separate the frayed cord from other electrical cords or devices. This will prevent any potential damage or accidents caused by the frayed wires coming into contact with other objects.
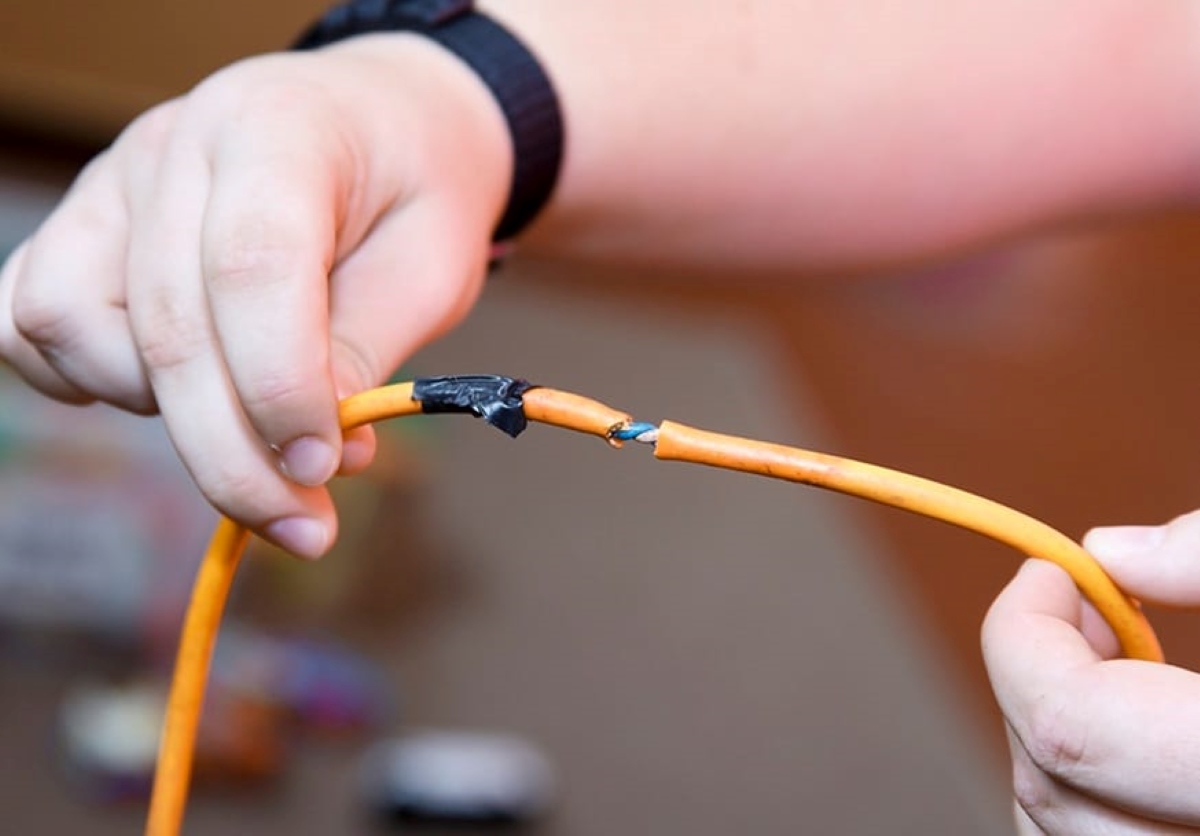
- Consider immediate repairs: If the fraying is minimal, you may be able to repair the cord temporarily. Use electrical tape to wrap the affected area, ensuring that the exposed wires are covered. However, keep in mind that this is only a temporary solution and should not be a long-term fix.
- Contact a professional: For more severe fraying or if you are unsure about how to proceed, it’s best to contact a professional electrician. They will have the expertise to assess the damage and provide appropriate solutions, whether that involves repairing the cord or replacing it entirely.
- Dispose of the cord: If the cord is no longer safe for use or cannot be repaired, it’s important to dispose of it properly. Check with your local recycling or waste management authorities for guidelines on how to dispose of electrical cords responsibly.
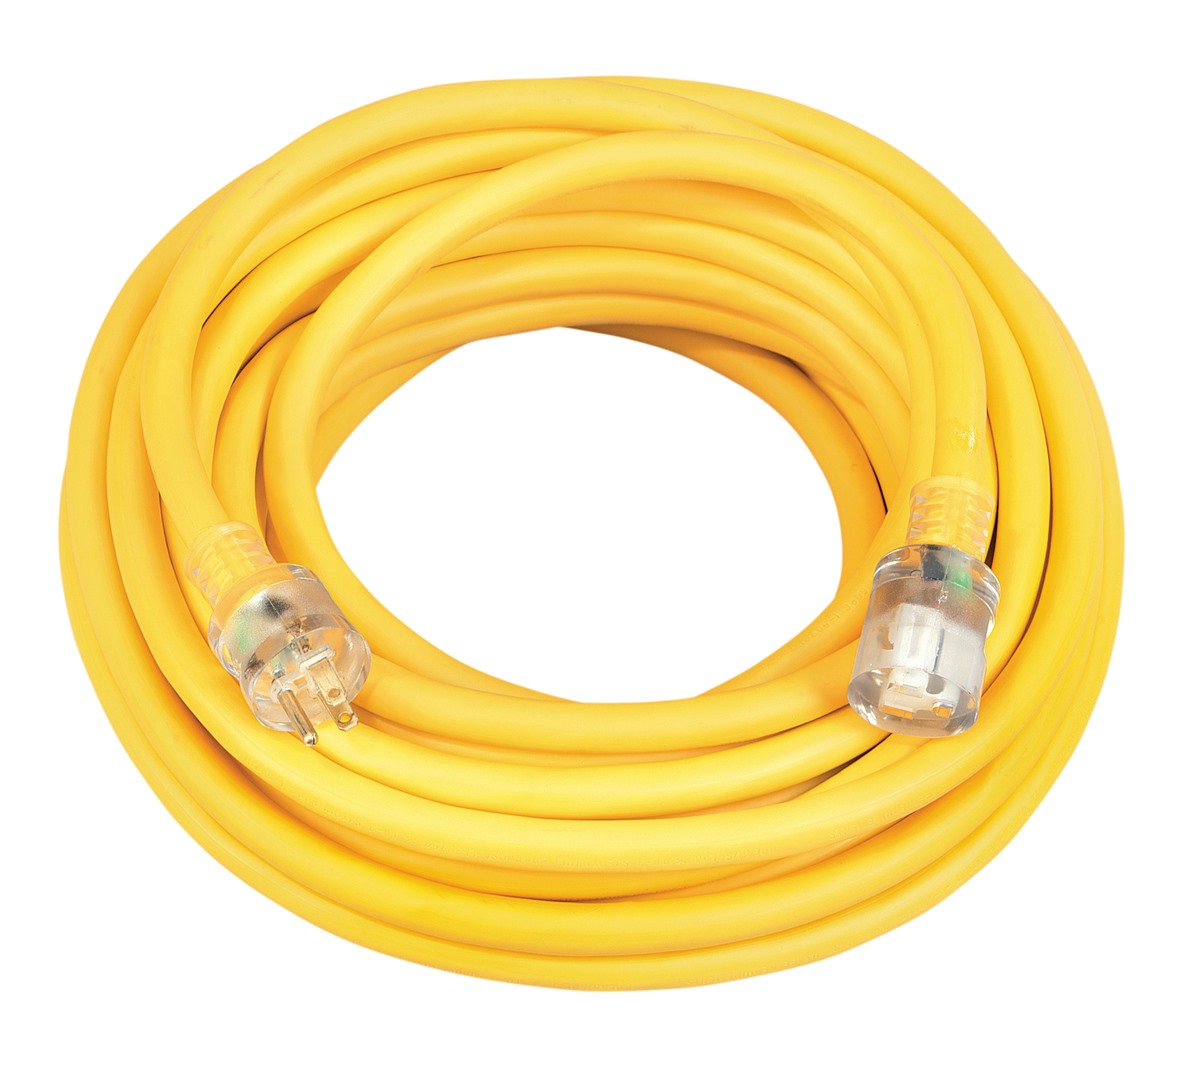
- Replace the cord: Once you have addressed the immediate concerns, it’s crucial to replace the frayed cord with a new one. Choose a high-quality cord that is appropriate for your specific needs, taking into consideration factors such as length, capacity, and durability.
By following these steps, you can mitigate the risks associated with a frayed electrical cord and ensure the safety of your home and everyone in it. Remember, safety should always be your top priority when dealing with electrical issues.
If you have a frayed electrical cord, do not attempt to use it. Unplug the cord immediately and replace it with a new one to avoid the risk of electrical shock or fire.
Repairing a Frayed Electrical Cord
Repairing a frayed electrical cord can be a temporary solution to keep the cord functional while you make arrangements for its replacement. However, it’s important to note that repairing a frayed cord should only be done if you are confident in your ability to do so safely. If you are unsure or uncomfortable with performing the repair, it is best to consult a professional electrician.
Here are the steps to repair a frayed electrical cord:
- Unplug the cord: Always start by unplugging the cord from the outlet to avoid any risk of electric shock.
- Assess the damage: Examine the frayed area of the cord and determine how extensive the fraying is. If the fraying is minor and limited to a small section of the cord, it may be a candidate for repair.
- Prepare the repair materials: To repair the frayed cord, you will need electrical tape and a utility knife. Make sure the tape is of good quality and designed for electrical use.
- Trim the frayed edges: Use a utility knife to carefully trim away the frayed edges of the cord. Be cautious not to cut into the wires inside the cord.
- Wrap the repair area: Take the electrical tape and begin wrapping it tightly around the repaired area of the cord. Start a few inches before the frayed section and continue wrapping a few inches beyond it. Ensure that the tape overlaps and covers both the cord and the repaired area to provide insulation and strength.
- Secure the ends: Once you have wrapped the repair area, press the ends of the tape firmly to secure them in place. This will prevent the tape from unraveling and ensure a more durable repair.
- Test the cord: After completing the repair, it’s important to test the cord before using it. Plug it into a safe outlet and check if the device connected to it is receiving power correctly. Pay attention to any unusual sparks, heat, or flickering.
- Monitor the repair: Keep an eye on the repaired cord for a period of time to ensure that it remains secure and functional. If you notice any signs of additional fraying or damage, discontinue use and replace the cord.
Remember, repairing a frayed electrical cord is a temporary solution. It is crucial to prioritize your safety and consider replacing the cord as soon as possible to avoid any further risks or damage.
When to Replace a Frayed Electrical Cord
While repairing a frayed electrical cord can provide a temporary solution, it’s important to understand that there are situations when it is necessary to replace the cord altogether. Knowing when to replace a frayed electrical cord is crucial for maintaining safety in your home and preventing potential hazards.
Here are some factors to consider when determining whether to replace a frayed electrical cord:
- Extent of the fraying: If the fraying is extensive, with multiple areas of exposed wires or torn insulation, it may be safer and more practical to replace the cord rather than attempting repairs.
- Frequency of fraying: If a cord consistently becomes frayed or damaged, it may indicate a larger underlying issue. In such cases, it is recommended to replace the cord to ensure long-term safety and avoid potential risks.
- Age and condition of the cord: Consider the age and overall condition of the cord. If the cord is old, brittle, or has other signs of wear and tear, it is advisable to replace it rather than relying on temporary repairs.
- Intended use and load capacity: Evaluate whether the cord is appropriate for its intended use and load capacity. If you find that the current cord is undersized for the devices or appliances you are using, it is best to replace it with a cord that meets the necessary specifications.
- Safety concerns: If you have any doubts about the safety or integrity of the frayed cord, it is best to err on the side of caution and replace it. Your peace of mind and safety should always be the top priority.
Remember, the purpose of replacing a frayed electrical cord is to ensure your safety and minimize the risk of electrical shock or fire hazards. It’s better to invest in a new, high-quality cord than to compromise the safety of your home and yourself by using a damaged one.
If you are unsure about whether to replace a frayed cord or need guidance, it is always recommended to consult a professional electrician. They can assess the situation and provide expert advice on the best course of action.
Safety Measures to Prevent Frayed Electrical Cords
Preventing frayed electrical cords is essential for maintaining a safe and hazard-free environment in your home. By implementing these safety measures, you can reduce the risk of fraying and ensure the longevity of your electrical cords:
- Avoid overloading outlets: Overloading outlets with too many devices or appliances can strain the cords and increase the likelihood of fraying. Spread out your electrical load by using power strips or additional outlets.
- Use the correct wattage: Ensure that the devices or appliances you plug into the electrical cord are compatible with its wattage rating. Overloading the cord with devices that require more power can cause it to overheat and fray.
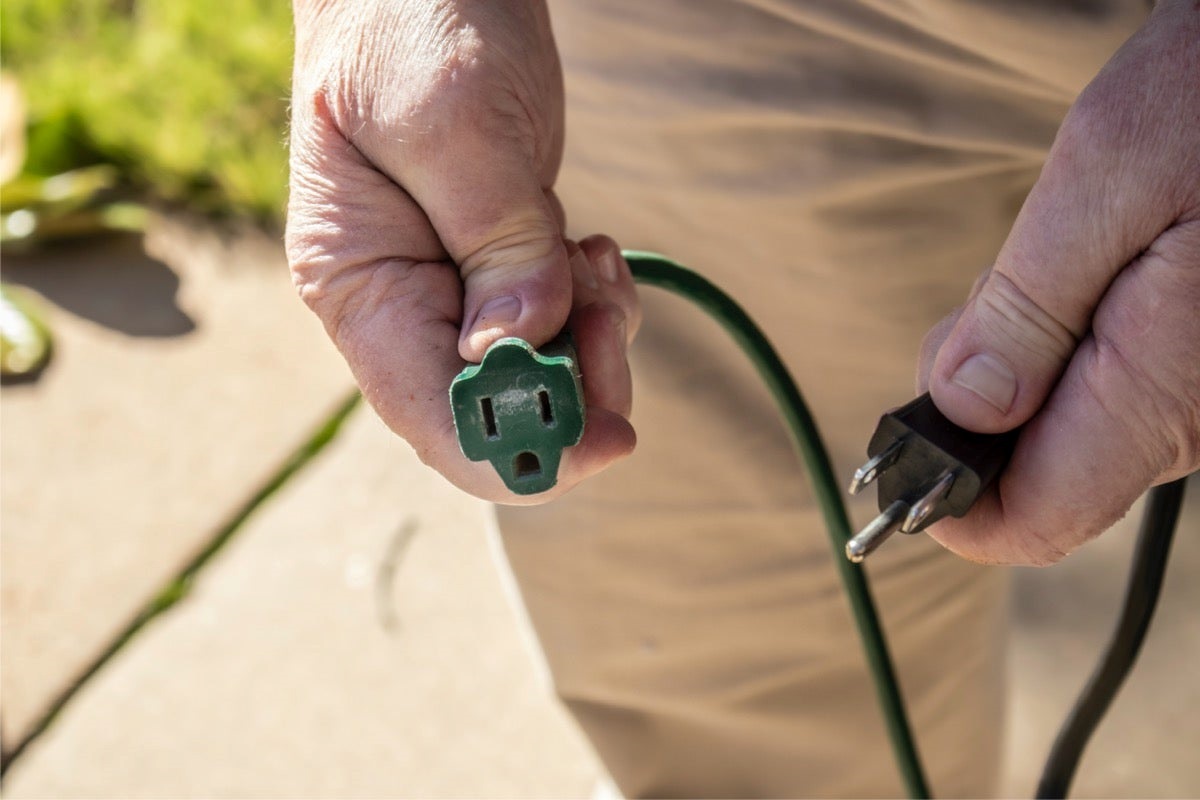
- Handle cords with care: Avoid twisting, bending, or pulling cords excessively, as this can lead to fraying. When unplugging a cord, pull from the plug itself rather than yanking on the cord.
- Proper storage: Store your electrical cords properly by coiling them loosely without tight bends or kinks. This prevents unnecessary stress and reduces the risk of fraying.
- Keep cords away from heat sources: Exposing electrical cords to high heat sources, such as radiators or heating appliances, can cause damage and lead to fraying. Keep cords away from heat sources to prevent potential hazards.
- Inspect cords regularly: Regularly inspect your electrical cords for signs of wear and tear, such as fraying, exposed wires, or cracked insulation. If you notice any damage, address it promptly and either repair or replace the cord.
- Avoid pet damage: Pets, especially puppies and kittens who like to chew, can damage electrical cords. Keep cords out of reach of pets or use cord protectors to prevent them from gnawing on the cords.
- Use surge protectors: Surge protectors not only provide extra outlets but also protect your devices from power surges. This can help prevent damage to both your electrical cords and the devices you have plugged into them.
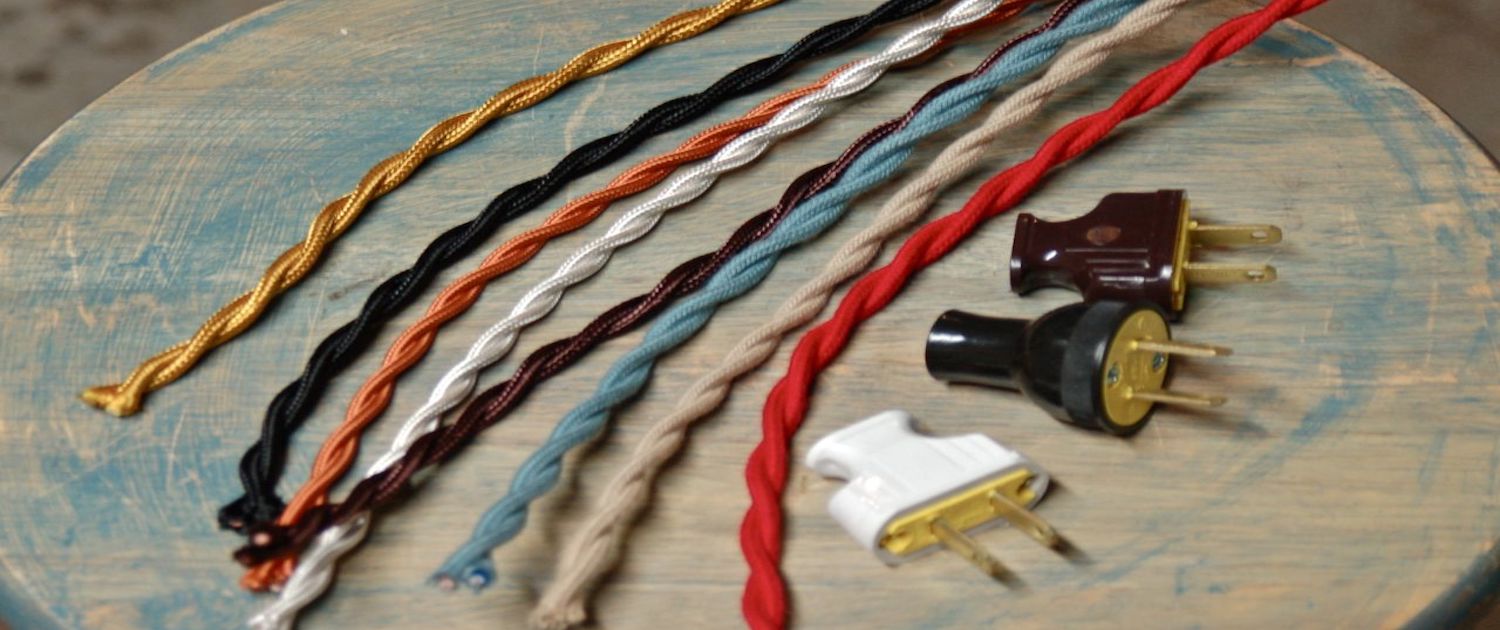
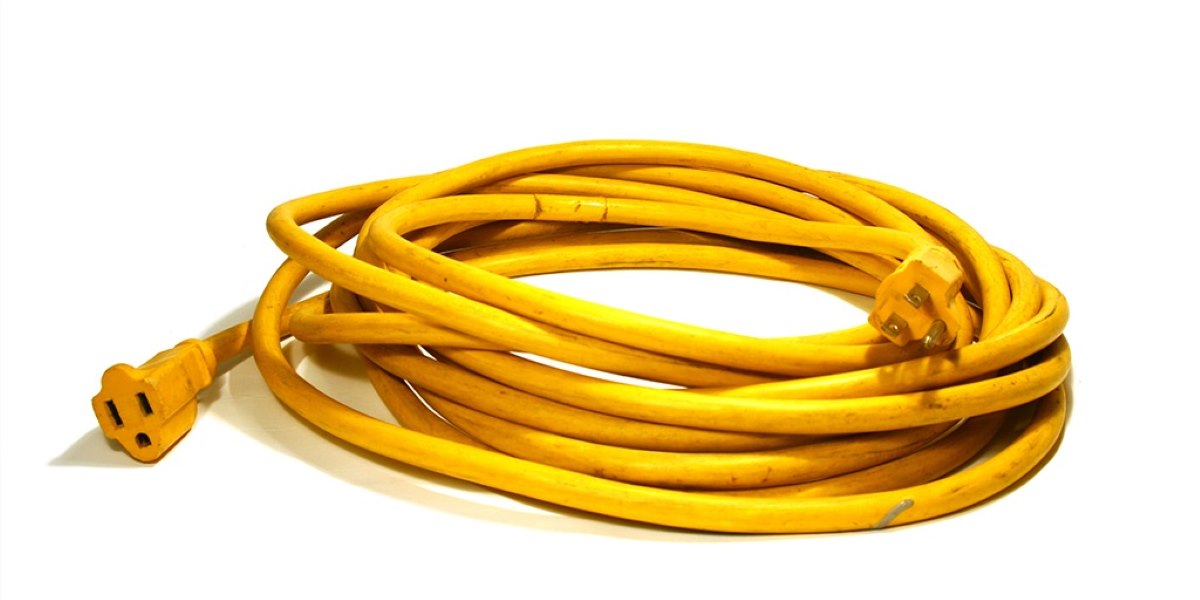
- Invest in high-quality cords: When purchasing electrical cords, choose ones that are high-quality and appropriate for your needs. Good-quality cords are less likely to fray and can withstand regular use for a longer period.
- Consult a professional: If you have concerns about the safety of your electrical system or need assistance with cord management, it is always recommended to consult a professional electrician. They can provide expert advice and ensure that your electrical setup is safe and up to code.
By following these safety measures, you can minimize the risk of frayed electrical cords and ultimately protect yourself, your loved ones, and your property from potential hazards. Safety should always be the top priority when it comes to dealing with electrical systems and cords.
Conclusion
Frayed electrical cords are not only unsightly but can also be a serious safety hazard. Understanding the nature of frayed cords, recognizing the potential hazards they pose, and knowing how to handle them is essential for maintaining a safe living environment.
In this article, we discussed the importance of recognizing and understanding frayed electrical cords, the potential hazards they can present, steps to take when you have a frayed cord, repairing options, when to replace a frayed cord, and safety measures to prevent fraying.
When dealing with a frayed electrical cord, it is crucial to prioritize safety. Unplugging the cord, assessing the damage, and taking appropriate action, such as repairs or replacements, are essential steps to mitigate the risks involved. It’s always advisable to consult a professional electrician for guidance and assistance when in doubt.
Prevention is better than cure when it comes to frayed electrical cords. By implementing safety measures such as avoiding overloading outlets, proper handling and storage, regular inspections, and using high-quality cords, you can minimize the chances of fraying and ensure the longevity of your electrical cords.
Remember, electrical safety is not something to be taken lightly. Taking the necessary precautions and being proactive in maintaining the integrity of your electrical cords can go a long way in protecting yourself, your loved ones, and your property.
By being knowledgeable and proactive, you can enjoy peace of mind knowing that you are taking the necessary steps to prevent frayed electrical cords and keeping your home safe.
Frequently Asked Questions about What To Do With A Frayed Electrical Cord
Was this page helpful?
At Storables.com, we guarantee accurate and reliable information. Our content, validated by Expert Board Contributors, is crafted following stringent Editorial Policies. We're committed to providing you with well-researched, expert-backed insights for all your informational needs.


0 thoughts on “What To Do With A Frayed Electrical Cord”