Articles
How To Hang A Lamp With An Electrical Cord
Modified: August 27, 2024
Learn how to hang a lamp with an electrical cord. Explore our articles for step-by-step guides and expert tips on installing lighting fixtures.
(Many of the links in this article redirect to a specific reviewed product. Your purchase of these products through affiliate links helps to generate commission for Storables.com, at no extra cost. Learn more)
Introduction
When it comes to home décor, lighting plays a crucial role in creating the right ambiance and adding a touch of style to any space. If you have a lamp that you want to hang using an electrical cord, but you’re unsure how to go about it, don’t worry – we’ve got you covered!
Hanging a lamp with an electrical cord may seem like a daunting task, but with the right tools and proper instructions, it can be a relatively straightforward process. In this article, we will guide you through the step-by-step process of hanging a lamp with an electrical cord, ensuring that you can successfully achieve your desired lighting setup.
Before we delve into the detailed process, it’s important to note that electrical work can be dangerous if not done correctly. If you’re not confident or experienced in working with electrical systems, it’s always a good idea to consult a professional electrician for assistance. Safety should be your top priority when dealing with electrical projects.
Now, let’s gather our tools and materials and get started on this exciting DIY project!
Key Takeaways:
- Transform your space with a stylish hanging lamp by following a step-by-step guide. Prioritize safety, choose the right location, and gather the necessary tools for a successful DIY project.
- Achieve the perfect ambiance and lighting with a hanging lamp. From turning off the power to securing the lampshade, follow the detailed steps to ensure a safe and visually appealing installation.
Read more: How To Replace An Electrical Cord On A Lamp
Tools and Materials Needed
Before you begin hanging your lamp with an electrical cord, it’s essential to gather all the necessary tools and materials. Having everything you need on hand will help streamline the process and ensure that you can complete the project smoothly. Here are the tools and materials you’ll need:
- Electric drill
- Drill bits
- Screwdriver
- Measuring tape
- Pencil or marker
- Ceiling mount or hook
- Mounting bracket
- Wire cutters/strippers
- Electrical tape
- Screwdriver
- Lampshade
- Electrical cord kit
- Bulb
- Ladder or step stool
Make sure the tools and materials you choose are appropriate for the weight and style of your lamp. It’s essential to choose a sturdy and reliable ceiling mount or hook that can support the weight of your lamp.
If you’re unsure about which tools or materials to select, don’t hesitate to ask for assistance from a hardware store professional or an electrician. They can provide valuable guidance tailored to your specific lamp and hanging needs.
Once you have gathered all the necessary tools and materials, you’ll be ready to move on to the next step: finding the perfect location for your lamp!
Step 1: Choose the Right Location
Choosing the right location for your lamp is crucial for both functionality and aesthetics. Before you start drilling any holes, take some time to assess the room and determine the ideal spot for your lamp. Here are a few things to consider:
- Lighting Needs: Think about the purpose of the lamp. Do you need task lighting for a specific area, or do you want to create ambient lighting in the room? Understanding your lighting needs will help you determine the best location.
- Accessibility: Make sure the chosen location is easily accessible. You should be able to reach the lamp conveniently for turning it on and off or replacing the bulb.
- Proximity to Power Source: Consider the proximity to a power source. It’s easier to hang the lamp near an existing electrical outlet, as you won’t have to worry about hiding or extending the electrical cord.
- Aesthetics: Take into account the overall look and feel of the room. The lamp should complement the style and decor. Consider the height and placement in relation to other items in the room, such as furniture or artwork.
- Safety: Ensure that the location you choose allows for the lamp to hang securely and safely. Avoid placing it in areas with high foot traffic or where it might be bumped or knocked over.
Once you have considered these factors, mark the chosen location on the ceiling with a pencil or marker. This will serve as a guide as you move forward with the installation process.
Now that you have selected the perfect spot for your lamp, it’s time to gather the necessary supplies for the installation. Let’s move on to Step 2!
Step 2: Gather Necessary Supplies
Now that you have chosen the right location for your lamp, it’s time to gather the necessary supplies to ensure a successful installation. Here are the items you will need:
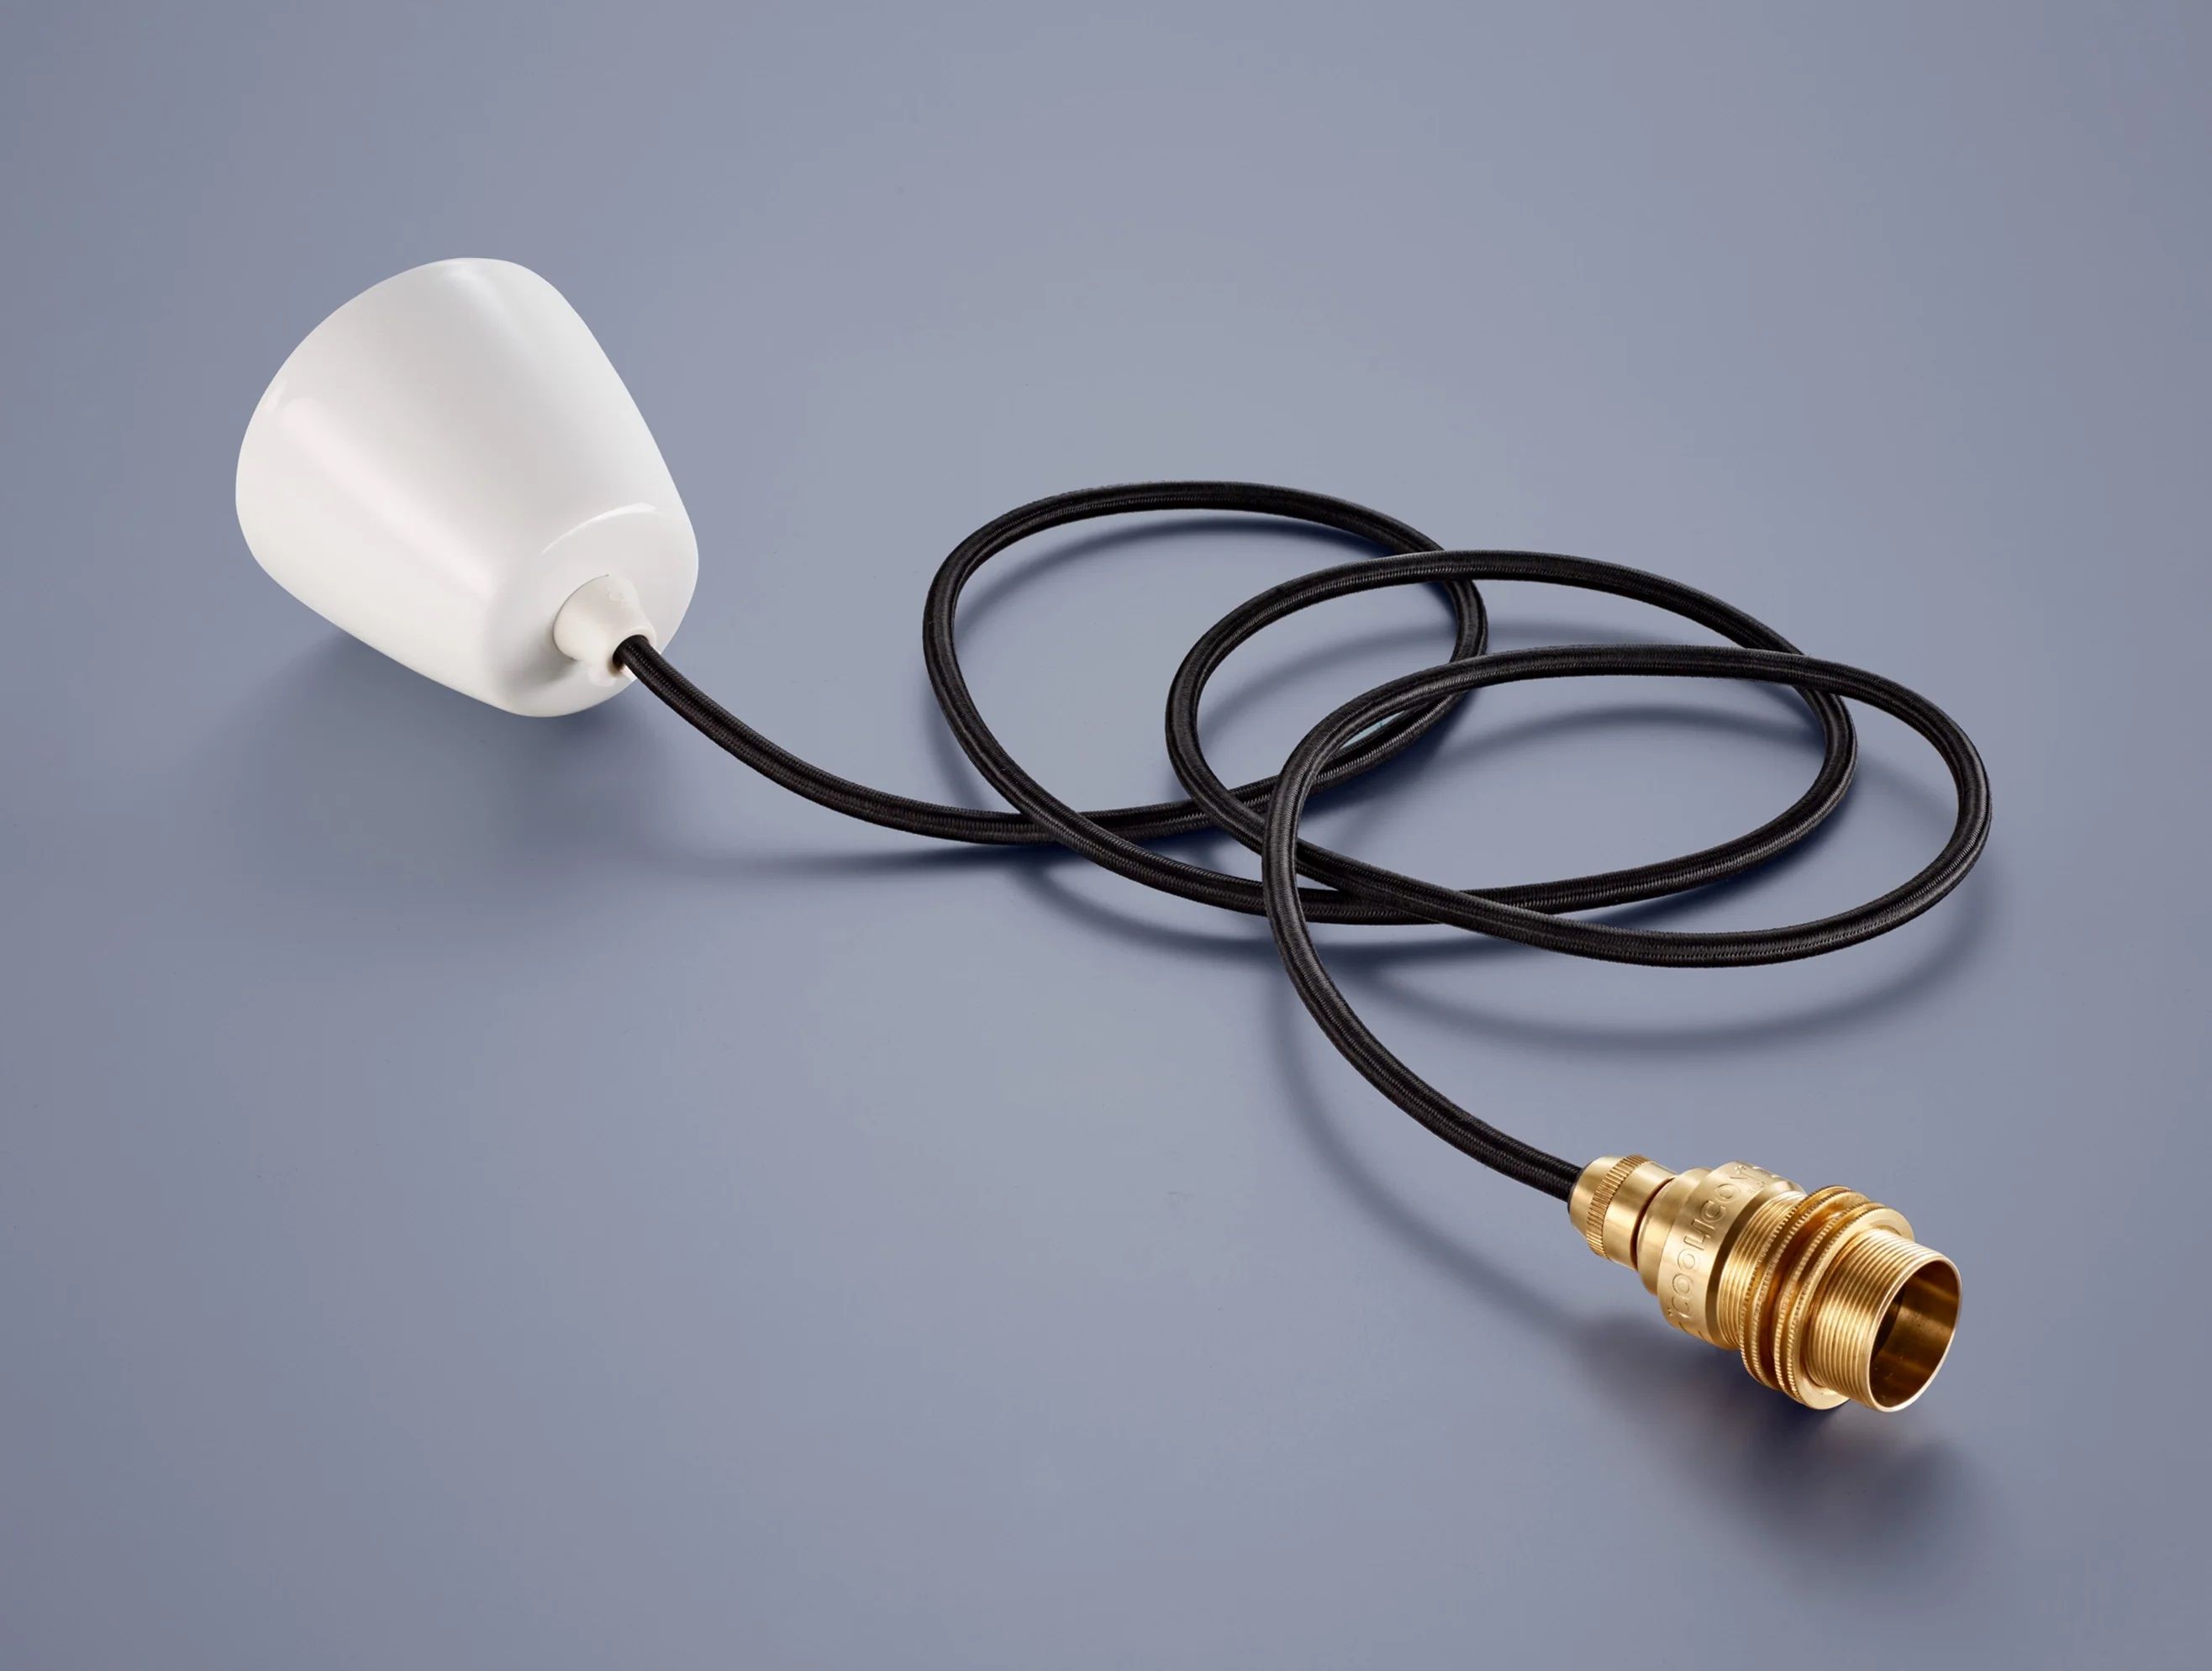
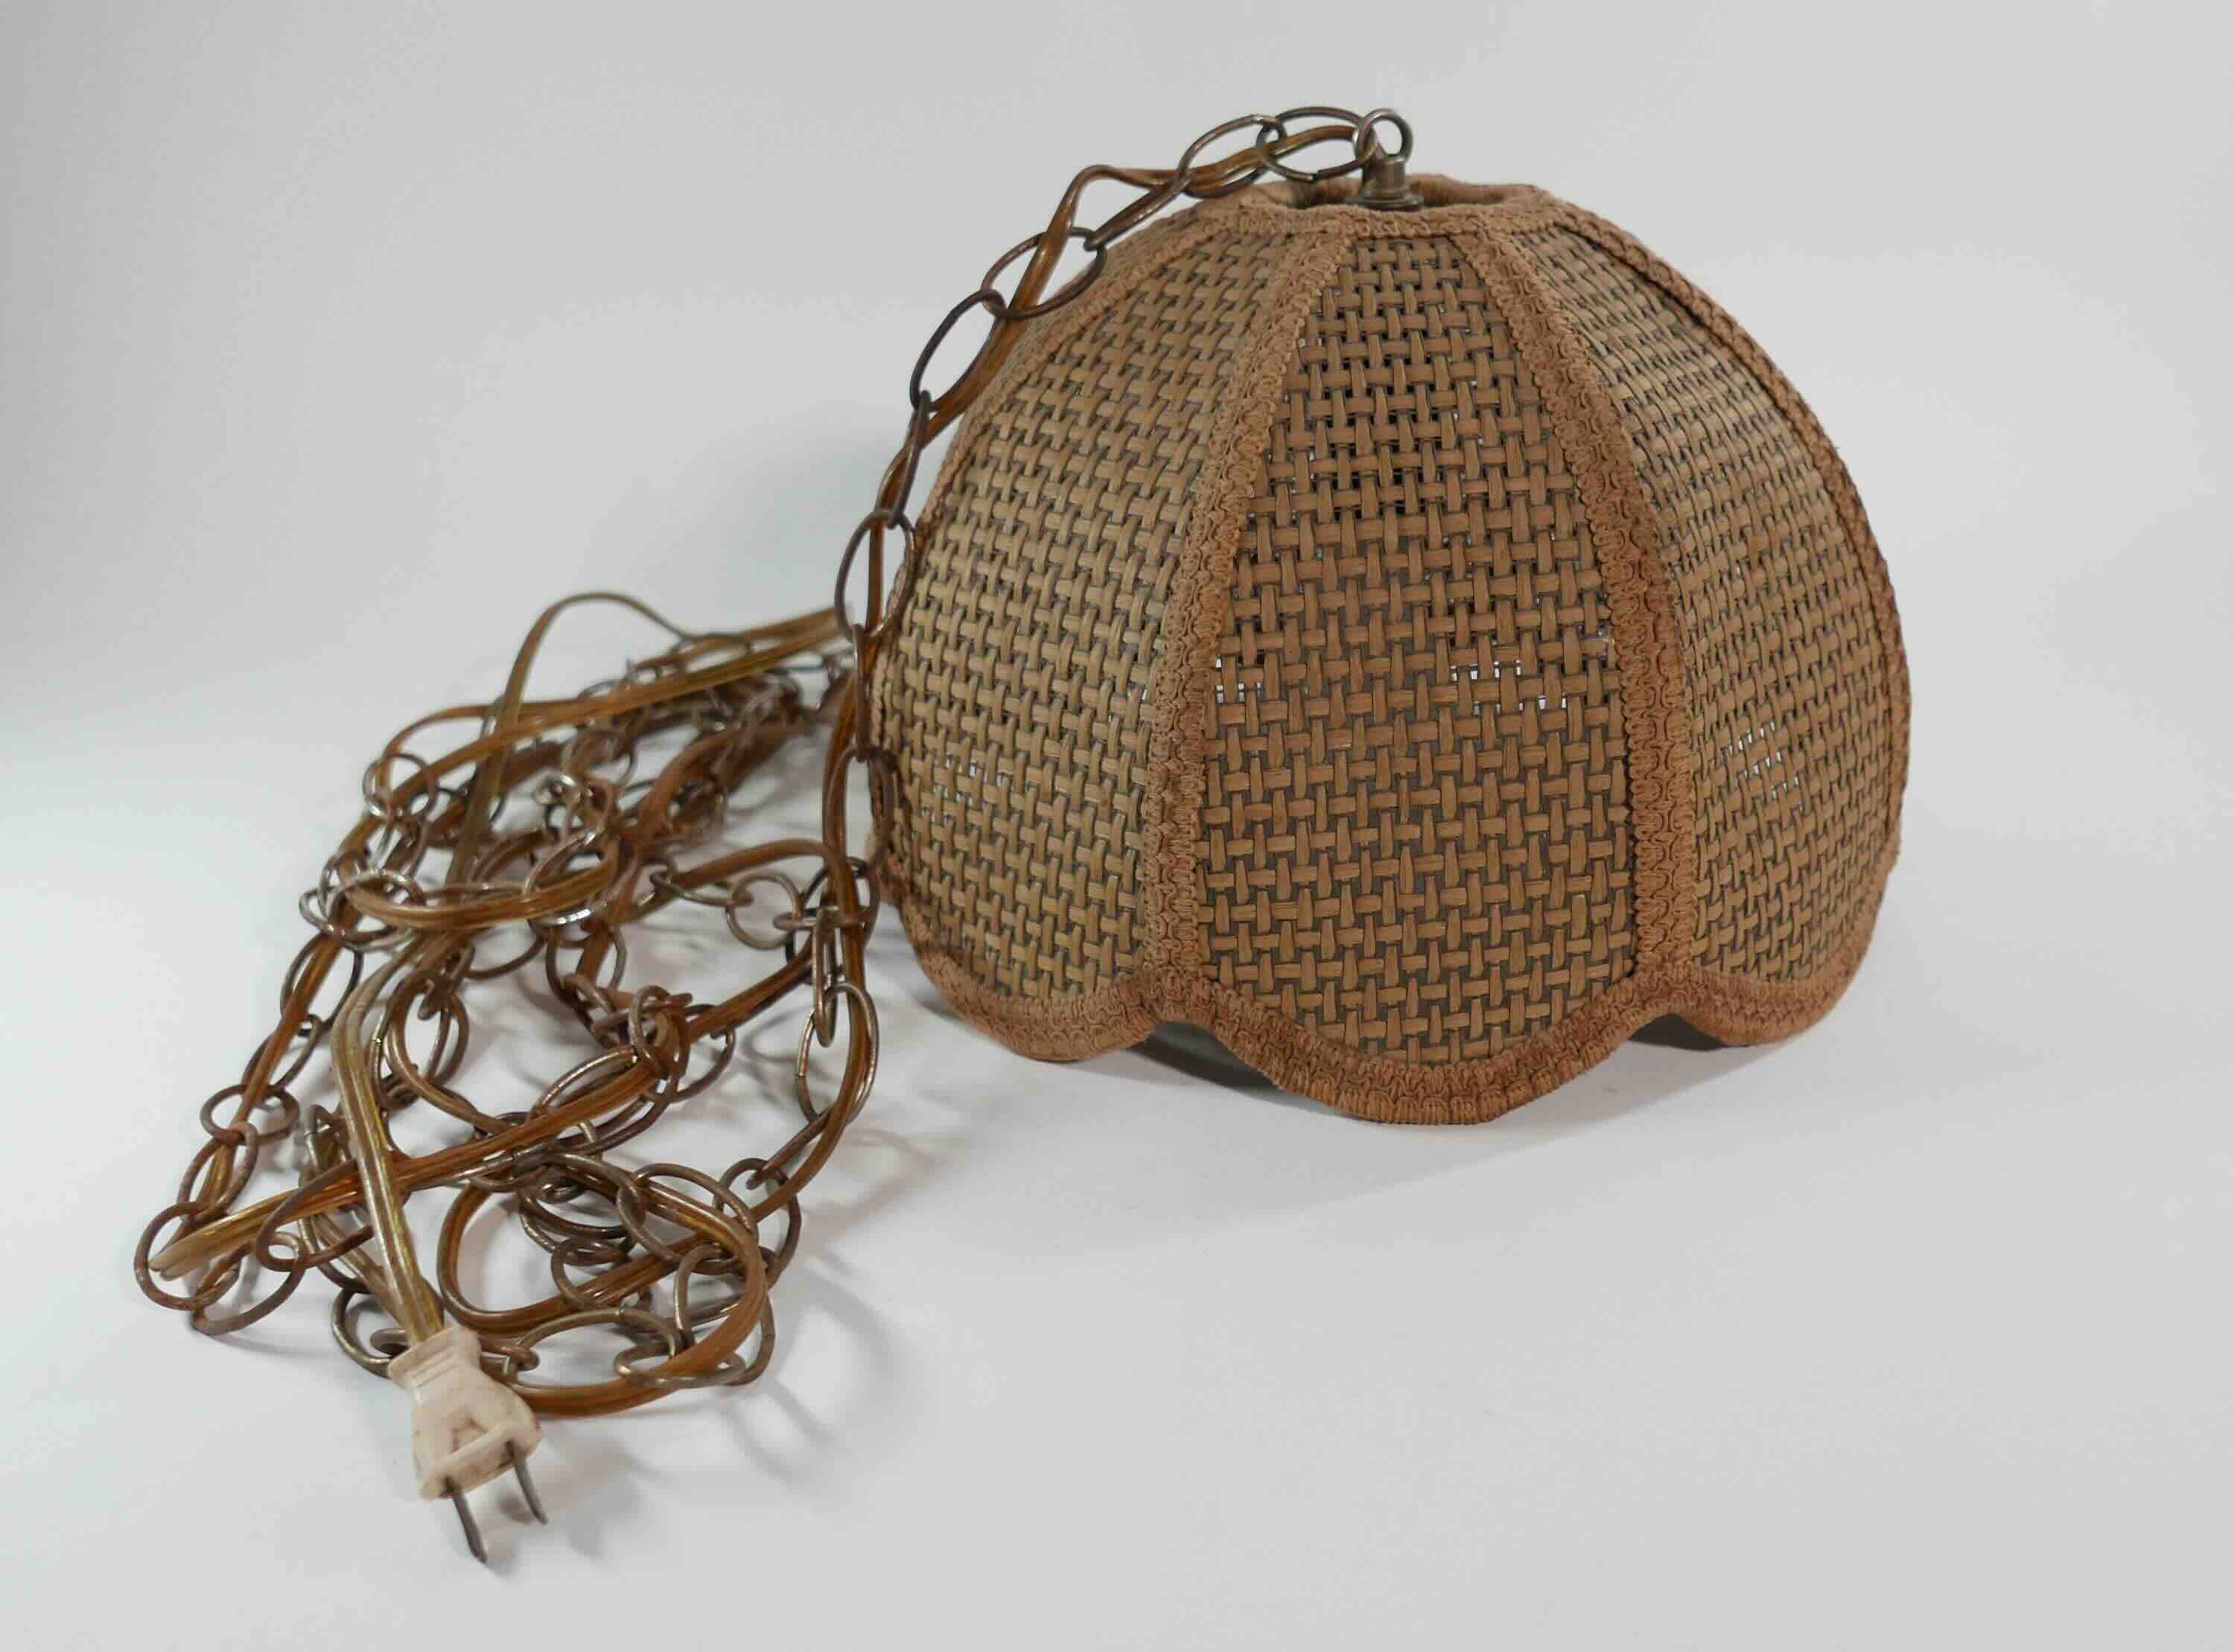
- Lamp: Select the lamp of your choice that fits your style and lighting needs. Ensure that it has a detachable cord for hanging.
- Ceiling Mount or Hook: Depending on your preference and the weight of the lamp, choose a suitable ceiling mount or hook that will securely hold the lamp.
- Wire Cutters/St strippers: These tools will be needed for cutting and stripping the electrical cord for proper connection.
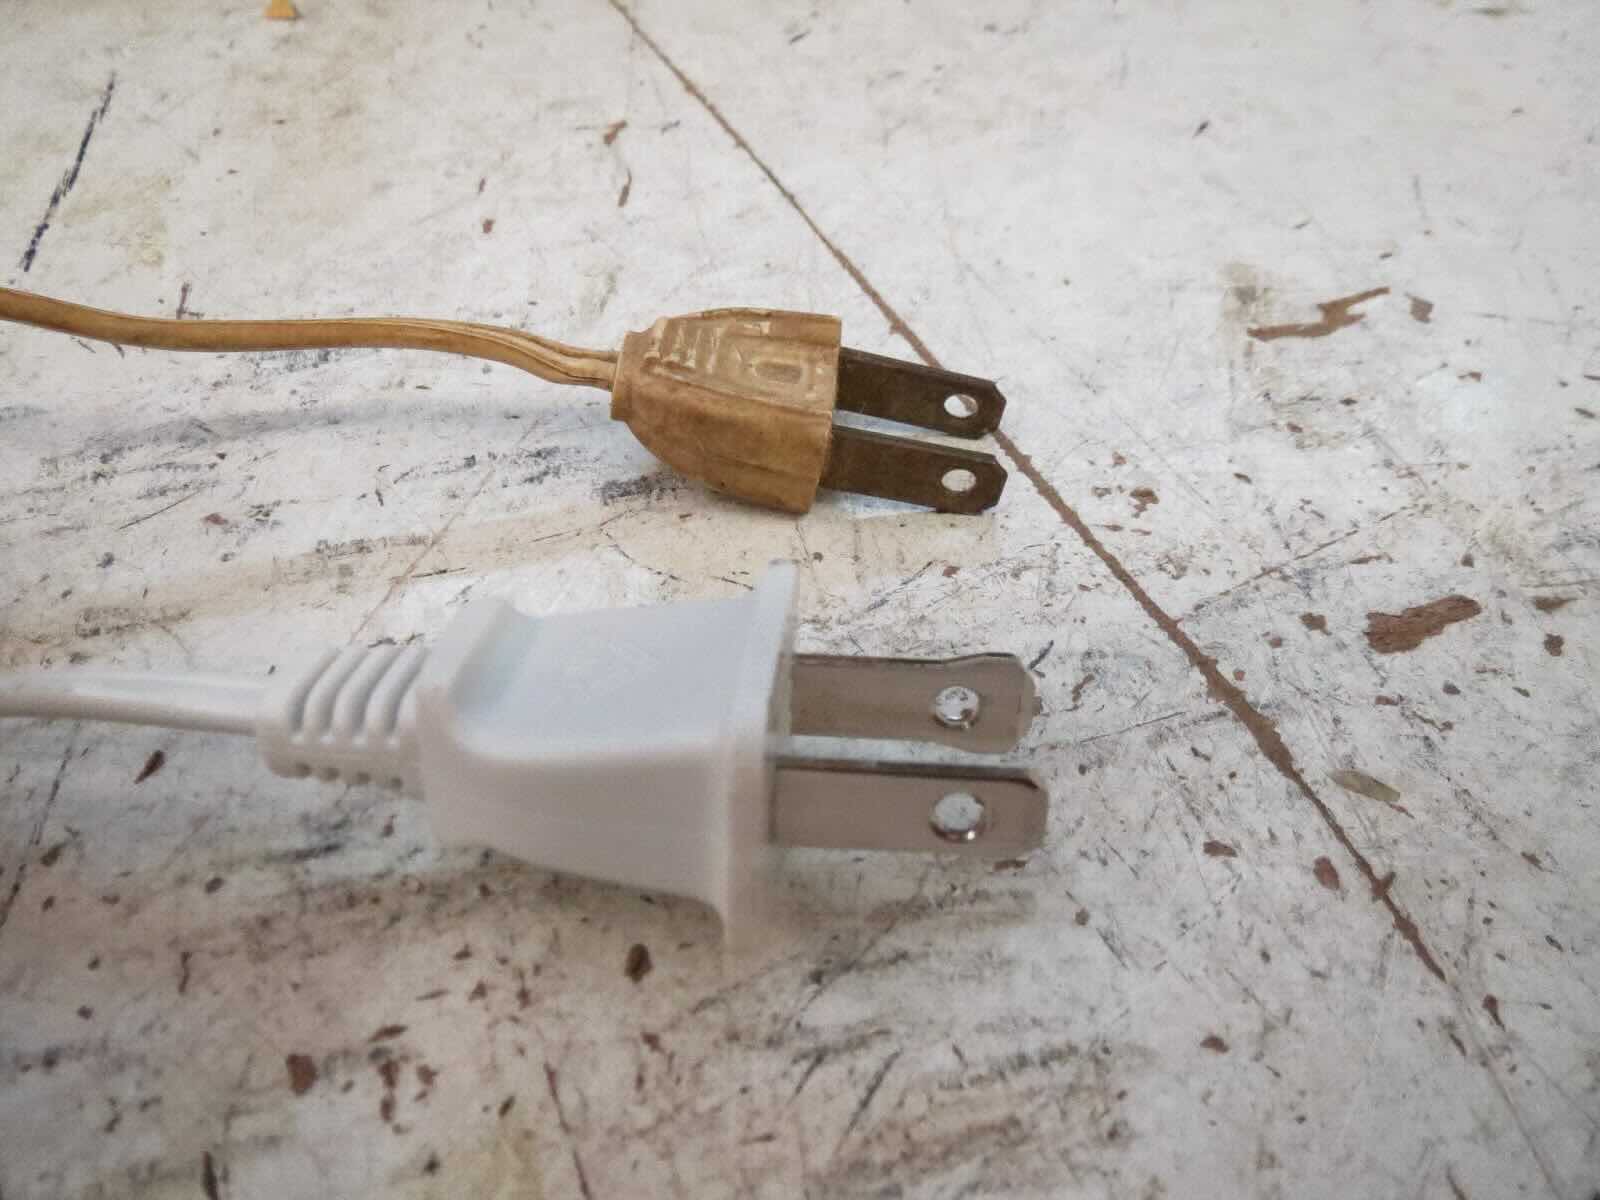
- Electrical Cord Kit: Purchase an electrical cord kit that includes all the necessary components, such as the cord, plug, and connectors.
- Lampshade: Choose a lampshade that complements the style of your lamp and provides the desired lighting effect.
- Additional Tools: You may also need a screwdriver, measuring tape, pencil, and ladder or step stool for the installation process.
It’s essential to select high-quality materials that are safe and reliable for your installation. If you’re unsure about the specific supplies you need or have any doubts, consult with a professional electrician or your local hardware store for guidance.
Once you have gathered all the necessary supplies, you’re ready to move on to the next step: turning off the power. This is a critical safety precaution that should never be overlooked. Let’s proceed to Step 3!
Step 3: Turn off the Power
Before you begin any electrical work, it is crucial to turn off the power to ensure your safety. Working on live electrical circuits can be extremely dangerous and may result in electrical shocks or other accidents. Follow these steps to turn off the power:
- Locate the electrical circuit breaker for the room where you will be installing the lamp.
- Open the electrical circuit breaker panel.
- Identify the circuit breaker that controls the power to the specific room or area.
- Switch the identified circuit breaker to the “Off” position.
- Double-check that the power is indeed turned off by testing the existing lights or outlets in the room.
It is important to note that in some older homes, the wiring may not be properly labeled or may be outdated, making it challenging to identify the correct circuit breaker. If you are uncertain, it is best to seek the assistance of a qualified electrician.
Once the power is turned off and you have confirmed it, you can proceed with the installation process with peace of mind. Remember, safety should always be your top priority when working with electrical systems.
Now that the power is off, we can move on to the next step: installing the mounting bracket. Let’s proceed to Step 4!
Read more: How To Make A Hanging Lamp
Step 4: Install the Mounting Bracket
Now that you have turned off the power, it’s time to move on to installing the mounting bracket for your lamp. The mounting bracket provides a secure base for hanging the lamp from the ceiling. Follow these steps to install the mounting bracket:
- Measure and mark the location on the ceiling where you want the lamp to hang. This should align with the previously marked location.
- Hold the mounting bracket against the ceiling at the marked spot and align it with the screw holes.
- Using an electric drill and the appropriate drill bit, drill pilot holes into the ceiling at the marked screw hole locations.
- Insert the screws through the mounting holes in the bracket and into the pilot holes in the ceiling.
- Tighten the screws using a screwdriver until the bracket is securely attached to the ceiling.
Ensure that the mounting bracket is level and securely fastened to the ceiling. This will provide a stable base for your lamp and prevent it from falling or causing any accidents.
Once the mounting bracket is installed, it’s time to proceed to the next step: threading the electrical cord. This step will guide you through the process of properly positioning the cord to hang your lamp securely. Let’s move on to Step 5!
When hanging a lamp with an electrical cord, make sure to use a secure hook or bracket to support the weight of the lamp. Ensure the cord is not twisted or tangled to prevent any potential hazards.
Step 5: Thread the Electrical Cord
Now that you have installed the mounting bracket for your lamp, it’s time to thread the electrical cord through the bracket to prepare for connection. Follow these steps to properly thread the electrical cord:
- Determine the length of the cord you need to hang your lamp at the desired height.
- Using wire cutters, carefully cut the cord to the desired length. Make sure to leave some extra length for any adjustments or connections.
- Strip the outer insulation of the cut end of the cord, exposing the inner wires. Use wire strippers to remove about 1 inch of insulation.
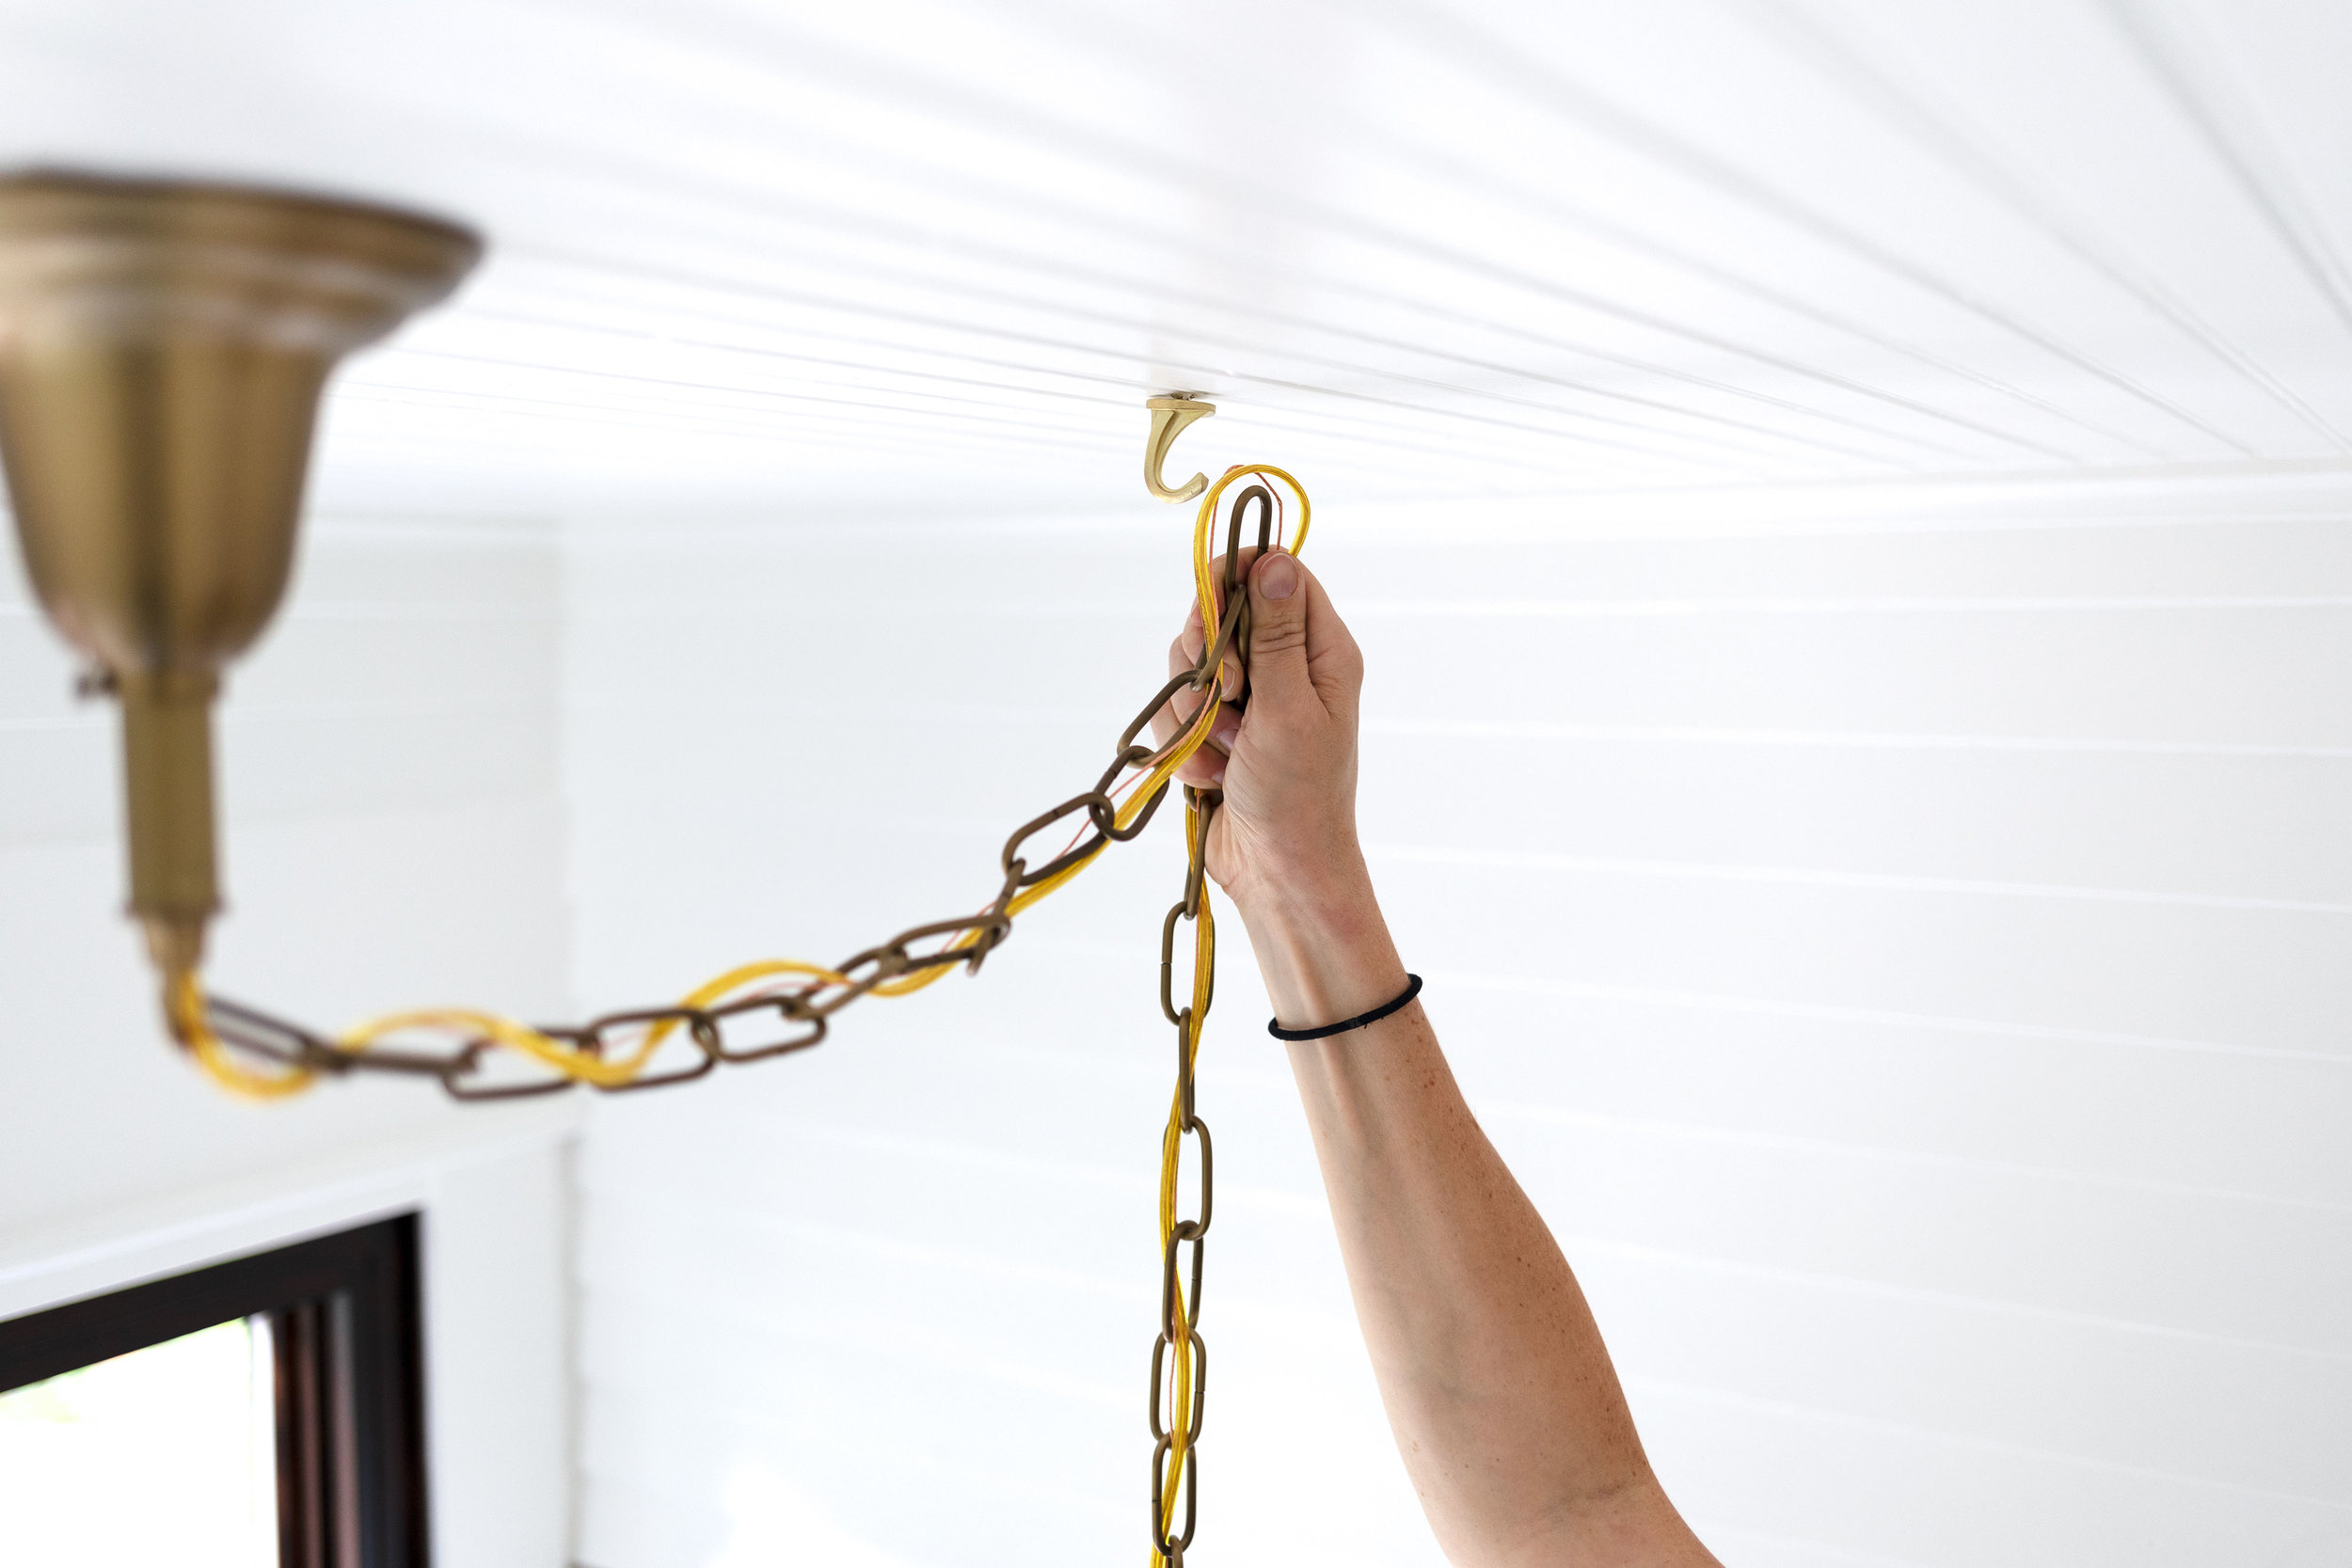
- Thread the cut end of the cord through the opening in the mounting bracket. Push it through until you have enough cord on each side to make the necessary connections.
- Once the cord is threaded through the mounting bracket, you can adjust the length by pulling it up or down as needed.
It’s important to ensure that the cord is tightly threaded through the mounting bracket and properly secured. This will prevent any accidents and ensure the stability of your lamp.
With the cord properly threaded through the mounting bracket, you can now move on to the next step: connecting the wires. This step is crucial for providing power to your lamp and must be done correctly. Let’s proceed to Step 6!
Step 6: Connect the Wires
With the electrical cord threaded through the mounting bracket, it’s time to connect the wires to ensure that your lamp receives power. Before proceeding, make sure the power is still turned off to avoid any risk of electric shock. Follow these steps to connect the wires:
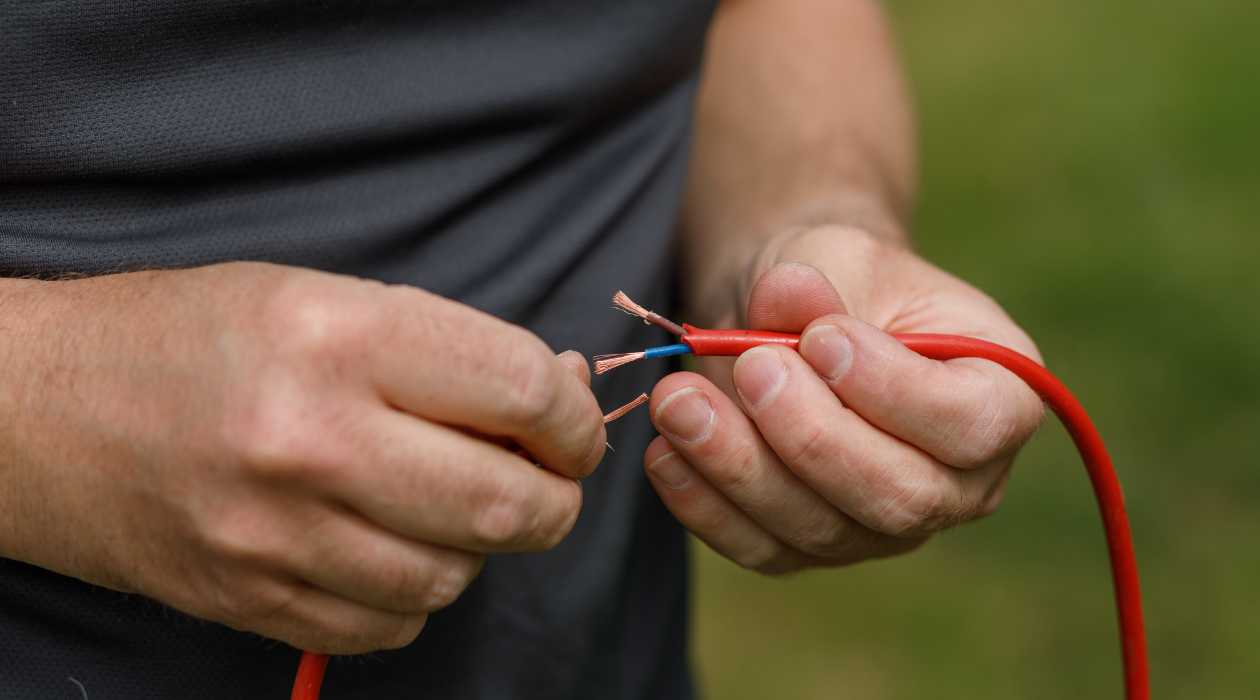
- At the end of the electrical cord, you will find two wires – typically a black or brown wire (hot) and a white or blue wire (neutral). There may also be a green or yellow wire, which is the ground wire.
- Take the corresponding wires from the lamp fixture and carefully match them to the wires of the electrical cord.
- To connect the wires, you can use wire connectors, which are small plastic caps that twist onto the exposed wire ends. Make sure that the connections are secure and tightly twisted together.
- If there is an additional ground wire, connect it to the ground wire in the electrical box using a wire connector or by wrapping them together with electrical tape.
- Once the connections are made, carefully tuck the wires and connectors into the electrical box, ensuring that they do not interfere with the mounting bracket or lampshade.
It’s essential to double-check that all wire connections are secure and properly insulated. This will ensure a safe and reliable electrical connection for your lamp.
With the wires properly connected, you can now proceed to the next step: securing the lampshade. This will add the finishing touch to your hanging lamp. Let’s move on to Step 7!
Step 7: Secure the Lampshade
Now that the wires are properly connected, it’s time to secure the lampshade to complete the installation of your hanging lamp. Follow these steps to ensure the lampshade is securely in place:
- Choose the appropriate lampshade for your lamp and attach it to the lamp socket or fixture according to the manufacturer’s instructions.
- Align the lampshade so that it hangs evenly and covers the bulb without touching it.
- If necessary, tighten the screws or fittings on the lampshade bracket to secure it in place.
- Adjust the angle or position of the lampshade as needed to achieve the desired lighting effect and aesthetic appeal.
Make sure that the lampshade is securely attached and does not wobble or tilt. This will ensure that it remains in place and does not pose a safety hazard.
With the lampshade securely in place, it’s time to move on to the next step: testing the connection. This is an important step to confirm that your hanging lamp is functioning properly. Let’s proceed to Step 8!
Read more: How To Hang A Heat Lamp
Step 8: Test the Connection
After completing the installation of your hanging lamp, it’s essential to test the connection to ensure everything is functioning correctly. Follow these steps to test the connection:
- Double-check that the power to the room is still turned off for safety.
- Insert a light bulb into the lamp socket or fixture.
- Turn on the power to the room by switching the circuit breaker back to the “On” position.
- Flip the switch or use the lamp’s power cord switch to turn on the lamp.
- Observe and ensure that the lamp lights up without any flickering or abnormalities.
- Verify that the lampshade is properly illuminated, providing the desired amount of light.
If the lamp doesn’t light up or if there are any issues with the connection, turn off the power immediately and review the installation steps to identify and fix any errors. It may be necessary to consult a professional electrician for assistance in troubleshooting and resolving the issue.
Once you have confirmed that the lamp is functioning properly and the connection is secure, congratulations! You have successfully completed the installation of your hanging lamp.
Now, it’s time for the final step: adding the finishing touches. Let’s proceed to Step 9!
Step 9: Finishing Touches
Now that your hanging lamp is installed and the connection is tested, it’s time to add the final touches to enhance its appearance and ensure everything is in place. Follow these steps to complete the finishing touches:
- Ensure that all exposed wires are neatly tucked into the electrical box or covered with electrical tape to prevent them from being visible or getting tangled.
- Inspect the lamp and its components to make sure everything is securely fastened, including the mounting bracket, lampshade, and electrical cord.
- Check the positioning of the lampshade and make any necessary adjustments to ensure it hangs straight and evenly covers the bulb.
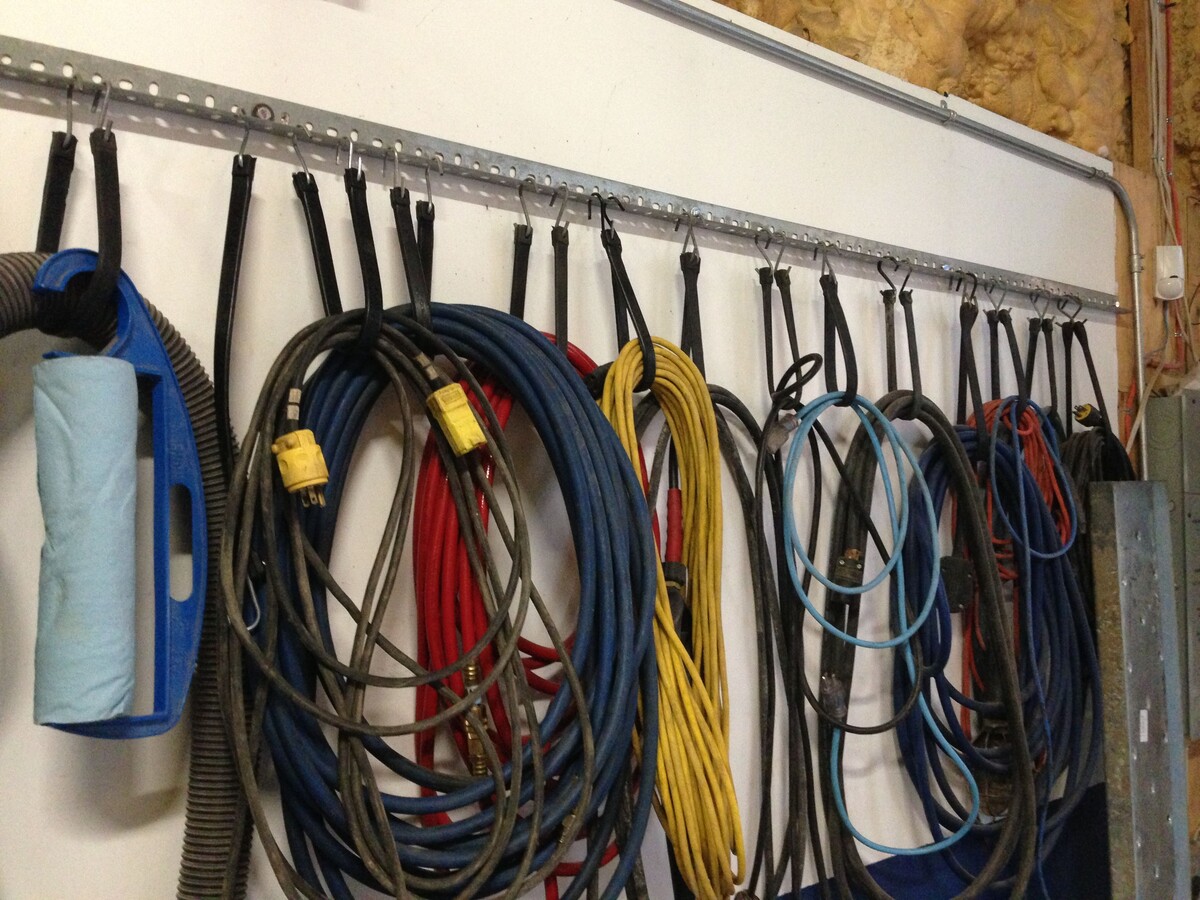
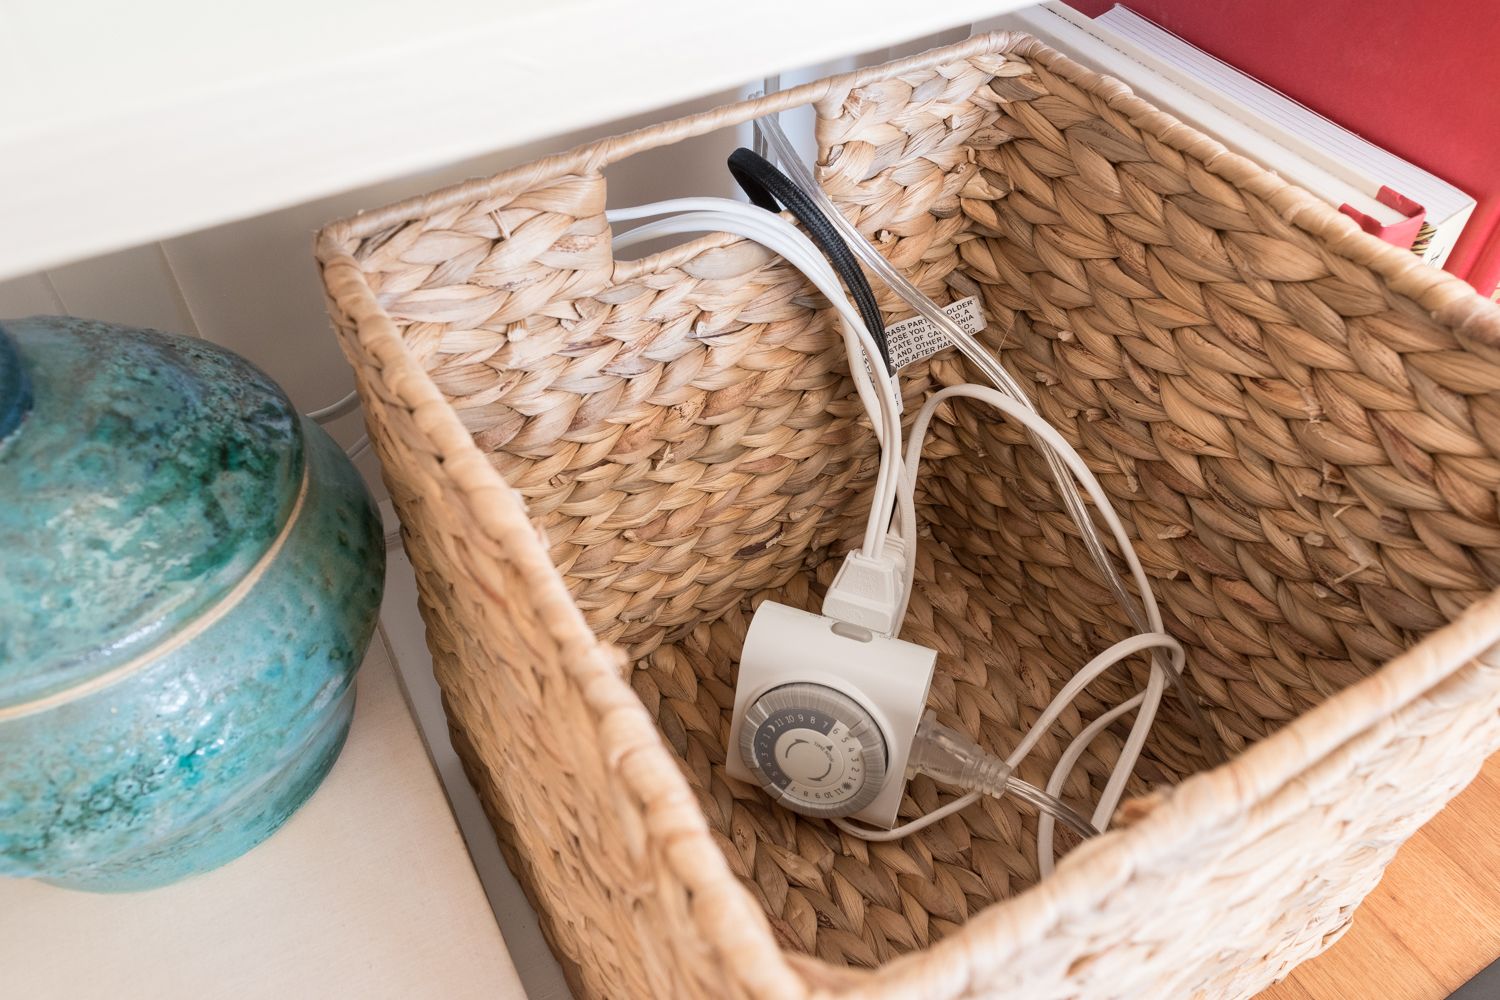
- If there are any excess or dangling cords, use cord clips or cable management solutions to organize and secure them along the wall or ceiling.
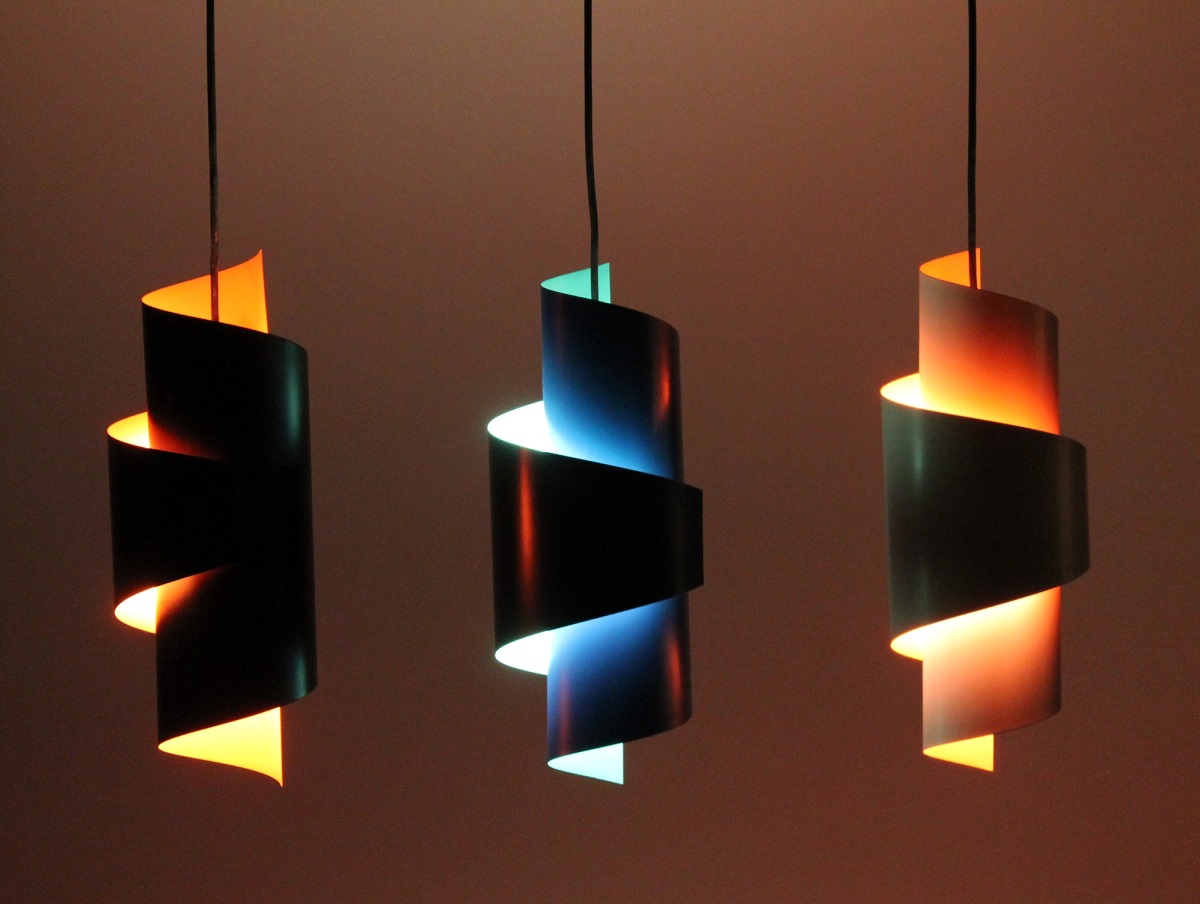
- Take a step back and ensure that the lamp is aesthetically pleasing and complements the overall design of the room.
By paying attention to these finishing touches, you can ensure that your hanging lamp not only provides functional lighting but also enhances the overall ambiance of the space.
Now that you have completed the installation and added the finishing touches, it’s time to step back and admire your work. Enjoy the beautiful illumination and the stylish touch that your hanging lamp brings to your space.
Remember, if at any point you are unsure or uncomfortable with the installation process, it is always best to consult a professional electrician for assistance. Safety should always be the top priority when working with electrical systems.
Congratulations on successfully hanging your lamp with an electrical cord! With your newfound knowledge and skills, you can now confidently tackle future DIY lighting projects.
Thank you for following along with this step-by-step guide. Happy decorating!
Conclusion
Hanging a lamp with an electrical cord may seem like a challenging task, but with the right tools, materials, and instructions, it can be a rewarding DIY project. By following the step-by-step guide outlined in this article, you can successfully install a hanging lamp and transform the lighting in your space.
Throughout the installation process, safety should be your top priority. Turning off the power, properly connecting the wires, and ensuring the lampshade is securely attached are all crucial steps to minimize any risks. If you are unsure or uncomfortable with any part of the process, it is always wise to consult a professional electrician.
Remember to consider the location, lighting needs, and aesthetics when choosing where to hang your lamp. Taking the time to plan and measure will help you achieve the desired effect and ensure that the lamp complements the overall design of the room.
With the right tools, including an electric drill, wire cutters/strippers, and a mounting bracket, you can securely hang your lamp from the ceiling. Threading the electrical cord through the bracket, connecting the wires, and securing the lampshade are vital steps to complete the installation process.
By properly testing the connection and addressing any issues that arise, you can ensure that your hanging lamp illuminates your space effectively and safely. The finishing touches, such as organizing any excess cords and adjusting the lampshade, will add the final touch of style to your installation.
Now that you’ve successfully completed the installation of your hanging lamp, take a step back and admire your work. Enjoy the inviting ambiance and enhanced visual appeal that your new lighting addition brings to your space.
Hopefully, this comprehensive step-by-step guide has empowered you with the knowledge and confidence to hang a lamp with an electrical cord on your own. Remember, if you have any doubts or concerns, it’s always best to seek professional assistance. Safety is of paramount importance when it comes to electrical projects.
Thank you for following along with this guide. We hope you found it helpful and that you enjoy the beautiful lighting in your revamped space.
Frequently Asked Questions about How To Hang A Lamp With An Electrical Cord
Was this page helpful?
At Storables.com, we guarantee accurate and reliable information. Our content, validated by Expert Board Contributors, is crafted following stringent Editorial Policies. We're committed to providing you with well-researched, expert-backed insights for all your informational needs.


0 thoughts on “How To Hang A Lamp With An Electrical Cord”