Home>Articles>How To Connect Electrical Cord To Whirlpool Range
Articles
How To Connect Electrical Cord To Whirlpool Range
Modified: March 1, 2024
Learn how to properly connect the electrical cord on your Whirlpool range with step-by-step instructions and helpful articles.
(Many of the links in this article redirect to a specific reviewed product. Your purchase of these products through affiliate links helps to generate commission for Storables.com, at no extra cost. Learn more)
Introduction
Connecting the electrical cord to your Whirlpool range is an essential step in the installation process. It ensures that your range receives the necessary power supply to function properly and safely. While it may seem like a daunting task, with the right tools and precautions, you can successfully connect the electrical cord in no time.
In this article, we will guide you through the step-by-step process of connecting the electrical cord to your Whirlpool range. We will also discuss the necessary safety precautions you need to take to ensure a smooth and secure installation. So, let’s get started!
Key Takeaways:
- Prioritize safety by turning off the power, wearing protective gear, and following manufacturer’s instructions when connecting the electrical cord to your Whirlpool range for a smooth and secure installation.
- Ensure a stable and reliable connection by using the required tools and materials, securing the cord with a strain relief, and performing a thorough check of the electrical connection before finalizing the installation.
Safety Precautions
Before you begin the process of connecting the electrical cord to your Whirlpool range, it is essential to prioritize safety. Working with electricity can be dangerous, so it is crucial to take the necessary precautions to protect yourself and prevent any accidents. Here are some safety measures to keep in mind:
- Turn off the power: Before starting any electrical work, ensure that the power to your range is turned off from the main electrical panel. This will eliminate the risk of electric shock.
- Wear protective gear: It is advisable to wear safety gloves and goggles while working on electrical connections to protect yourself from any potential hazards.
- Read the manufacturer’s instructions: Familiarize yourself with the manufacturer’s guidelines and instructions provided with your Whirlpool range. Following these guidelines will ensure that you perform the installation correctly and avoid any damage to the appliance.
- Avoid water and damp areas: Keep the installation area dry and free from any moisture. Water and electricity do not mix well and can lead to severe electrical shock.
- Work in a well-ventilated area: Ensure that the work area is well-ventilated to prevent the buildup of fumes or gases that may be produced during installation.
- Turn off the circuit breaker: During the installation process, turn off the circuit breaker that supplies power to the range. This will provide an additional layer of protection and prevent accidental power surges.
- Avoid overloading the circuit: Ensure that the electrical circuit you are connecting the range to can handle the power load. Overloading the circuit can lead to fires and other electrical issues.
- Seek professional help if needed: If you are unsure or uncomfortable performing the electrical connection, it is best to seek the assistance of a qualified electrician to ensure a safe and proper installation.
By adhering to these safety precautions, you can minimize risks and ensure a secure installation process for your Whirlpool range.
Required Tools and Materials
Before you begin connecting the electrical cord to your Whirlpool range, make sure you have the following tools and materials ready:
- Phillips screwdriver: You will need a Phillips screwdriver to remove any screws or panels that may be obstructing the electrical connection area.
- Wire cutters/strippers: These tools will come in handy when you need to cut and strip the electrical wires to connect them properly.
- Electrical tape: Use electrical tape to secure the wire connections and ensure a safe and reliable connection.
- Wire nuts: Wire nuts are essential for joining the wires securely. Make sure you have a few different sizes available to accommodate the different wire gauges.
- Level: A level will help you ensure that your range is installed evenly and securely, providing stability and preventing any potential accidents.
- Measuring tape: Use a measuring tape to accurately measure the distance between the range and the electrical outlet to ensure that the cord length is sufficient.
- Extension cord (if necessary): If the electrical outlet is too far from the range, you may need to use an extension cord. Make sure it is a heavy-duty extension cord that can handle the power load.
- Electrical cord: Purchase a UL-listed three-wire or four-wire electrical cord that is compatible with your Whirlpool range. Check the manufacturer’s instructions for the correct type of cord required.
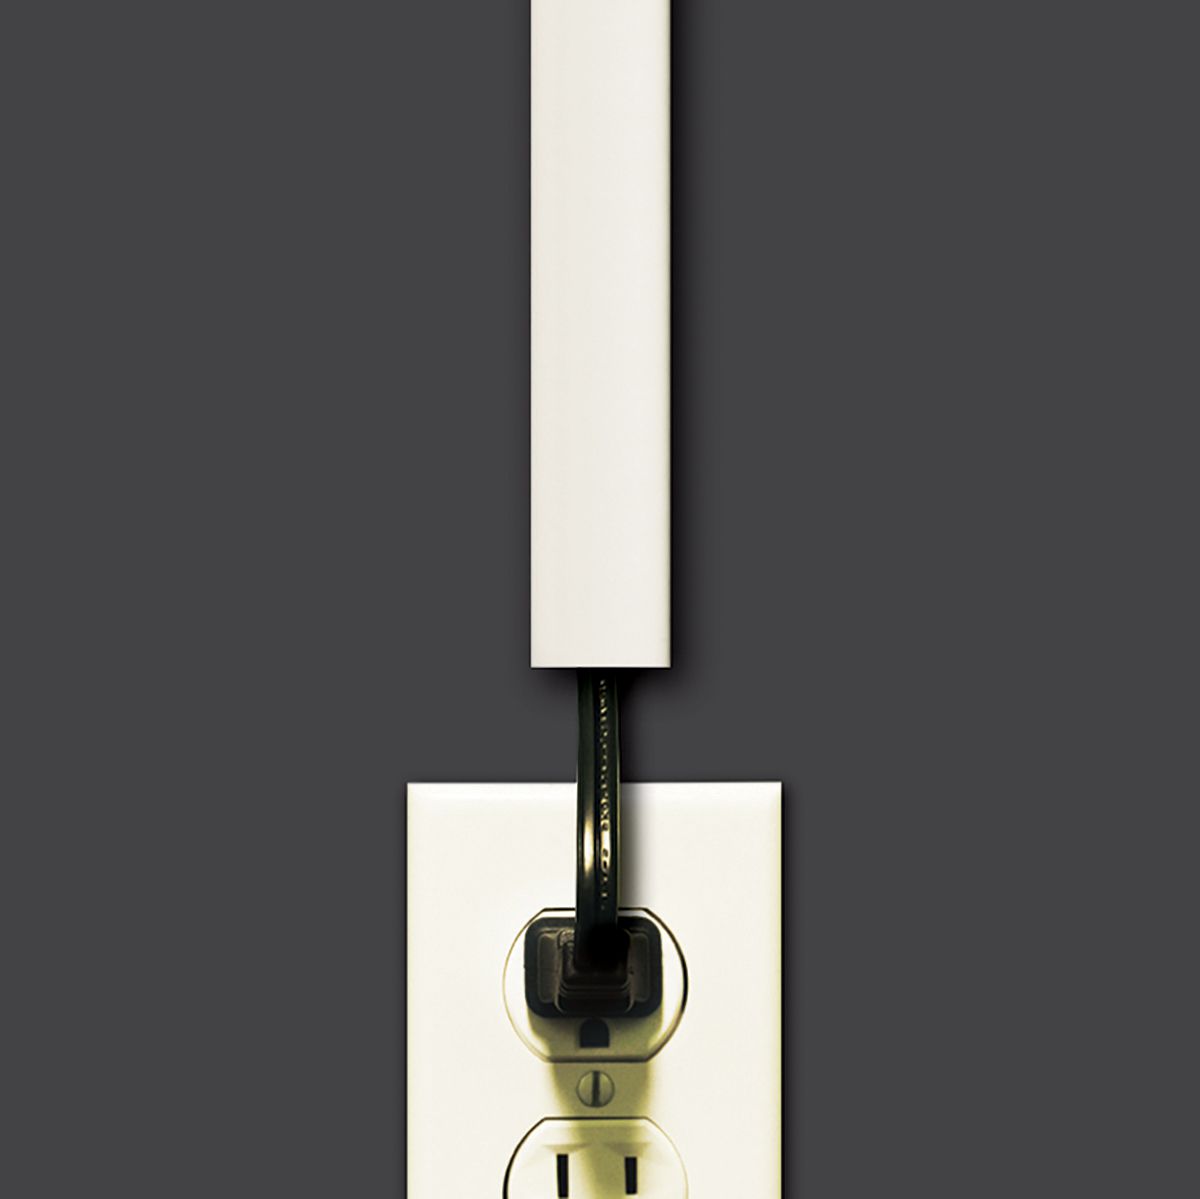
- Cord strain relief: This small but important component helps secure the electrical cord to the range and prevents it from being accidentally pulled out.
- Outlet cover: If you are installing a new outlet, you will need an outlet cover to protect the electrical connections and prevent any accidental contact.
Having these tools and materials ready before starting the installation will ensure that you have everything you need to connect the electrical cord to your Whirlpool range smoothly and efficiently.
Step 1: Unpacking the Whirlpool Range
Before you can start connecting the electrical cord to your Whirlpool range, you’ll need to unpack the appliance and prepare it for installation. Follow these steps:
- Begin by carefully unboxing the Whirlpool range and removing any packaging materials. Be sure to avoid using sharp objects that could damage the appliance.
- Inspect the range for any visible signs of damage or defects. If you notice any issues, contact the retailer or Whirlpool customer service for assistance.
- Place the range in its designated installation location. Make sure the area is well-ventilated and has sufficient clearance around the appliance to prevent overheating.
- Ensure that the floor is level before proceeding with the installation. Use a level tool to check for any unevenness and adjust the range’s position as needed.
- Locate the electrical connection area on the back of the range. It is usually located near the bottom of the appliance, close to the floor.
- Remove any access panels covering the electrical connection area. These panels are typically secured by screws, which can be loosened using a Phillips screwdriver.
By completing these steps, you have successfully unpacked and prepared the Whirlpool range for the electrical cord connection process. You are now ready to move on to the next step.
Step 2: Preparing the Electrical Connection
Now that you have unpacked the Whirlpool range, it’s time to prepare the electrical connection. Follow these steps to ensure a smooth and safe installation:
- Ensure that the power to the range is turned off from the main electrical panel. This will prevent any accidental electric shock during the installation process.
- Locate the electrical junction box near the installation area. This is where the electrical wiring will be connected to the range.
- Remove the cover of the junction box by unscrewing the screws that secure it in place. Keep the screws in a safe place, as you will need them to reattach the cover later.
- Inspect the wiring inside the junction box and ensure that it is in good condition. Look for any frayed or damaged wires, and if you notice any issues, it is recommended to consult a licensed electrician for assistance.
- Identify the grounding wire inside the junction box. It is usually green or bare copper. Ensure that the grounding wire is securely attached to the grounding screw within the box.
- Measure the distance between the range and the electrical outlet to determine the length of the electrical cord you will need. It is important to have a cord that is long enough to reach the outlet without tension, but not excessively long to avoid tripping hazards or entanglement.
- If the electrical outlet is not within reach of the required cord length, you may need to install a new outlet or use a heavy-duty extension cord. Consult a qualified electrician if you are unsure about electrical outlet installation.
By completing these steps, you have prepared the electrical connection for your Whirlpool range. Now you are ready to move on to the next step of attaching the electrical cord.
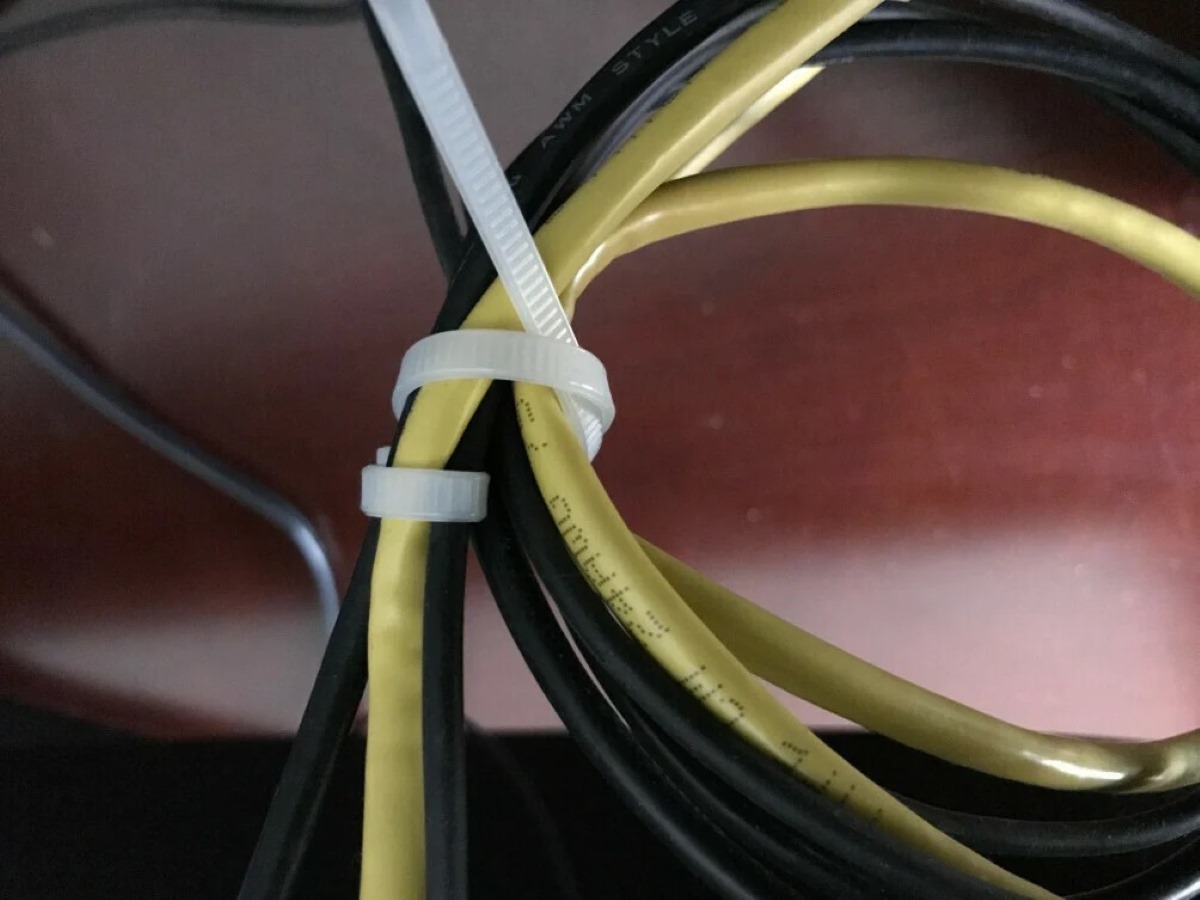
When connecting the electrical cord to a Whirlpool range, make sure to match the cord’s prongs with the range’s outlet. Tighten the screws securely to ensure a safe and stable connection. Always follow the manufacturer’s instructions and consult a professional if needed.
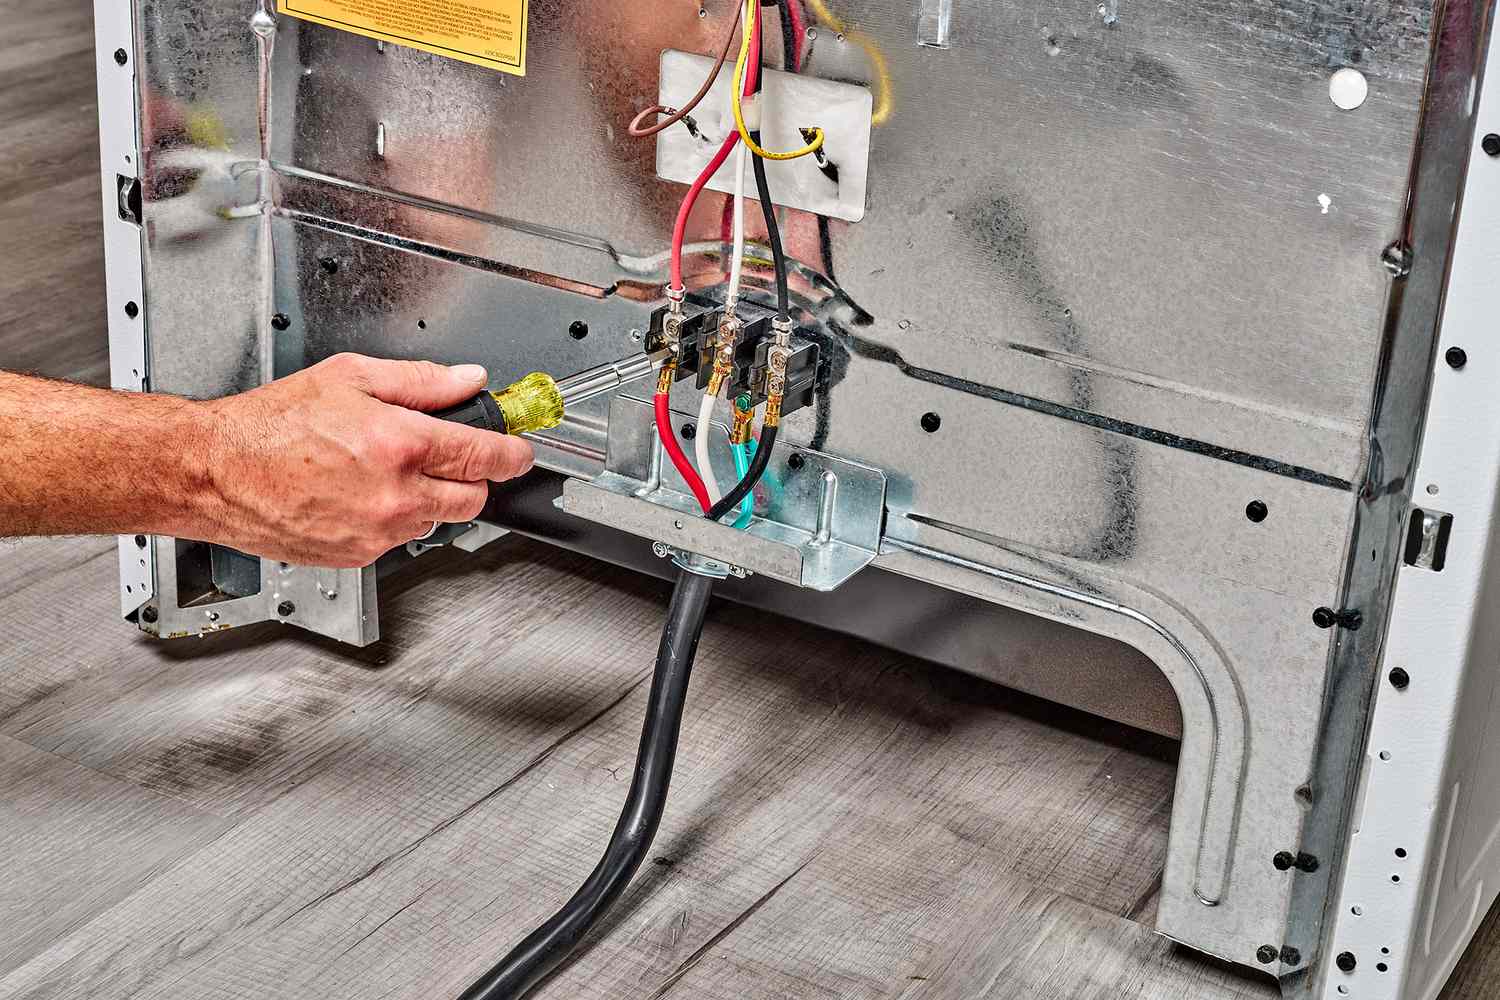
Step 3: Attaching the Electrical Cord
With the electrical connection prepared, it’s time to attach the electrical cord to your Whirlpool range. Follow these steps to ensure a secure and reliable connection:
- Locate the terminal block on the back of the range, close to the electrical connection area. This is where you will attach the electrical cord.
- Identify the individual wires of the cord – usually black, red, white, and green (or bare copper).
- Strip about 1 inch of insulation from the end of each wire using wire cutters or strippers.
- Insert the stripped end of each wire into the corresponding terminal opening on the terminal block.
- Tighten the terminal screws securely with a screwdriver to secure the wires in place. Ensure that there is good contact between the wires and the terminal block.
- If your Whirlpool range requires a four-wire connection, connect the green (or bare copper) wire to the grounding screw inside the junction box and tighten it securely.
- Double-check the wire connections to ensure that they are secure and properly inserted into the terminal block.
Attaching the electrical cord is an important step, as it ensures that the power supply is connected to your Whirlpool range correctly. Take your time and make sure the connections are secure before moving on to the next step.
Step 4: Securing the Cord Connection
After attaching the electrical cord to your Whirlpool range, it is important to secure the cord connection to ensure its stability and prevent accidental disconnection. Follow these steps to properly secure the cord connection:
- Locate the cord strain relief provided with your Whirlpool range. This small plastic or metal component is designed to hold the electrical cord in place and prevent it from being accidentally pulled out.
- Insert the cord through the opening of the strain relief. Make sure the wires are properly aligned within the strain relief and not pinched or twisted.
- Position the strain relief over the notch or groove on the back of the range, ensuring a snug fit.
- Tighten the screws on the strain relief to secure it in place. Be careful not to overtighten, as it could damage the cord or strain relief.
- Check the cord connection to ensure that it is secure and does not move or wiggle. A properly secured cord connection will provide stability and minimize the risk of accidental disconnection.
Securing the cord connection is an important step to ensure the safety and reliable operation of your Whirlpool range. Take the time to carefully secure the cord using the provided strain relief and verify that it is firmly in place.
Step 5: Checking the Electrical Connection
Once the electrical cord is securely attached and the cord connection is properly secured, it’s important to check the electrical connection to ensure everything is in order. Follow these steps to perform a thorough check of the electrical connection:
- Ensure that the power to the range is still turned off from the main electrical panel.
- Visually inspect the cord connection, terminal block, and junction box for any loose wires, exposed wiring, or signs of damage. If you notice any issues, it is recommended to consult a licensed electrician for assistance.
- Verify that the wires are securely tightened in the terminal block and that there are no loose connections.
- If your Whirlpool range has a grounding wire, make sure it is properly connected to the grounding screw inside the junction box.
- Inspect the electrical cord for any damage or frayed insulation. If there are any issues, it is advisable to replace the cord before proceeding further.
- Confirm that the strain relief is securely holding the cord in place and that there is no tension or pulling on the wires.
By performing this thorough check, you can identify any potential issues with the electrical connection and address them before proceeding with the final installation steps.
Note: It is always a good idea to consult the manufacturer’s instructions or contact Whirlpool customer support for specific guidance related to your model of range.
Step 6: Finalizing Installation
With the electrical connection checked and confirmed, you are now ready to finalize the installation of your Whirlpool range. Follow these steps to complete the process:
- Reattach any access panels or covers that were removed during the installation, ensuring they are securely fastened.
- Turn on the circuit breaker that supplies power to the range from the main electrical panel. This will restore power to the appliance.
- Double-check that the range is level and stable on the floor. Use a level tool to ensure it is properly balanced.
- Clean the exterior of the range using a mild detergent and a soft cloth.
- Test the range by turning on the burners or oven to ensure that it is receiving power and operating correctly.
- Verify that the control panel functions are working as expected.
- If everything is in working order, you have successfully completed the installation of your Whirlpool range!
It is important to read the manufacturer’s instructions for any specific post-installation requirements or recommended maintenance tasks for your Whirlpool range.
Congratulations on successfully connecting the electrical cord and finalizing the installation of your Whirlpool range. Enjoy the convenience and performance of your new appliance!
Conclusion
Connecting the electrical cord to your Whirlpool range is a crucial step in the installation process that ensures proper functionality and safety of the appliance. By following the steps outlined in this article and taking the necessary safety precautions, you can successfully complete the installation with ease.
Throughout the process, it is essential to prioritize safety by turning off the power, wearing protective gear, and adhering to the manufacturer’s instructions. Working in a well-ventilated area and avoiding overloading the circuit are also important considerations.
Having the required tools and materials, such as screwdrivers, wire cutters, electrical tape, and a level, will make the installation process smoother and more efficient. Double-checking the electrical connection and securing the cord using a strain relief are crucial for a stable and reliable connection.
Once the electrical connection is in place, it is important to perform a thorough check to ensure there are no loose wires or any signs of damage. Finalize the installation by reattaching any access panels, turning on the circuit breaker, and testing the range to ensure it operates correctly.
Always consult the manufacturer’s instructions for specific guidance on your particular Whirlpool range model, and do not hesitate to seek professional assistance if needed.
With the installation complete, you can now enjoy the convenience and performance of your Whirlpool range. Remember to follow proper maintenance guidelines and regularly clean your appliance to ensure its longevity and optimal functionality.
Thank you for choosing Whirlpool, and we hope this guide has been helpful in connecting the electrical cord to your Whirlpool range!
Frequently Asked Questions about How To Connect Electrical Cord To Whirlpool Range
Was this page helpful?
At Storables.com, we guarantee accurate and reliable information. Our content, validated by Expert Board Contributors, is crafted following stringent Editorial Policies. We're committed to providing you with well-researched, expert-backed insights for all your informational needs.


0 thoughts on “How To Connect Electrical Cord To Whirlpool Range”