Articles
How To Repair Cordless Window Blinds
Modified: August 17, 2024
Learn how to repair cordless window blinds with these helpful articles. Find step-by-step guides and tips to fix your blinds and restore them to perfect condition.
(Many of the links in this article redirect to a specific reviewed product. Your purchase of these products through affiliate links helps to generate commission for Storables.com, at no extra cost. Learn more)
Introduction
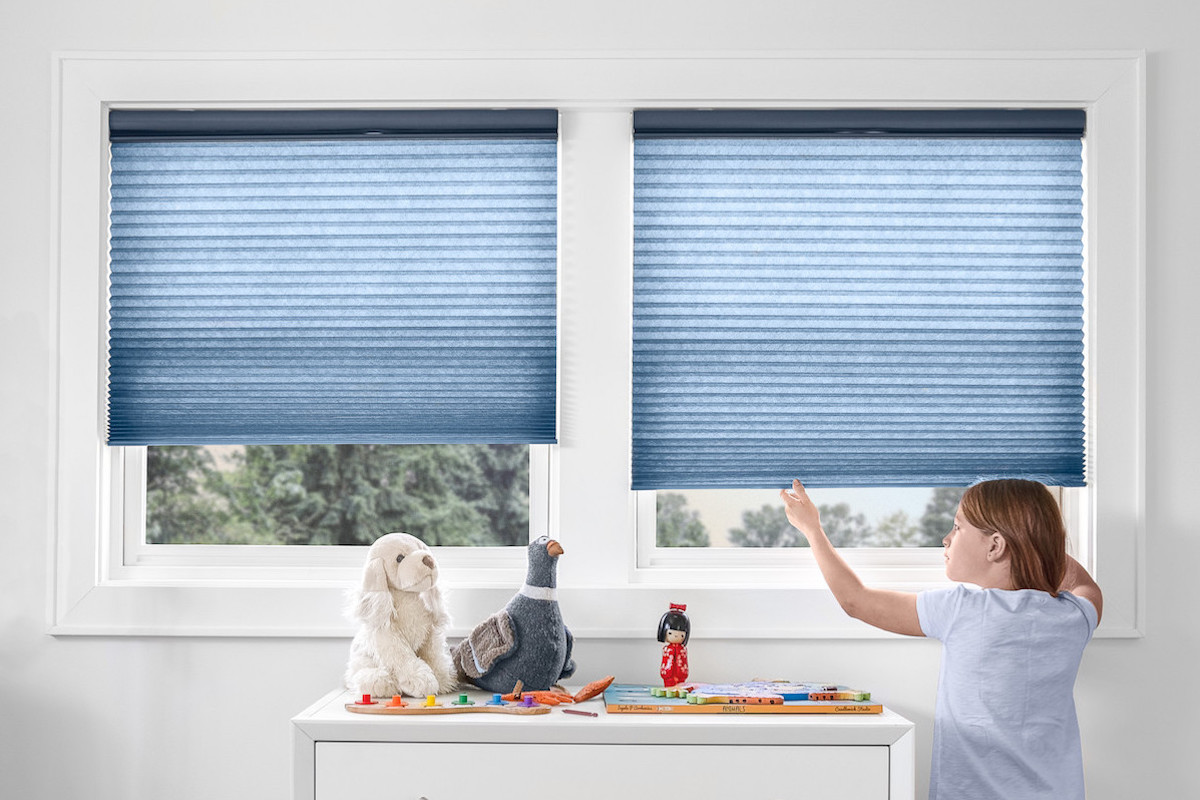
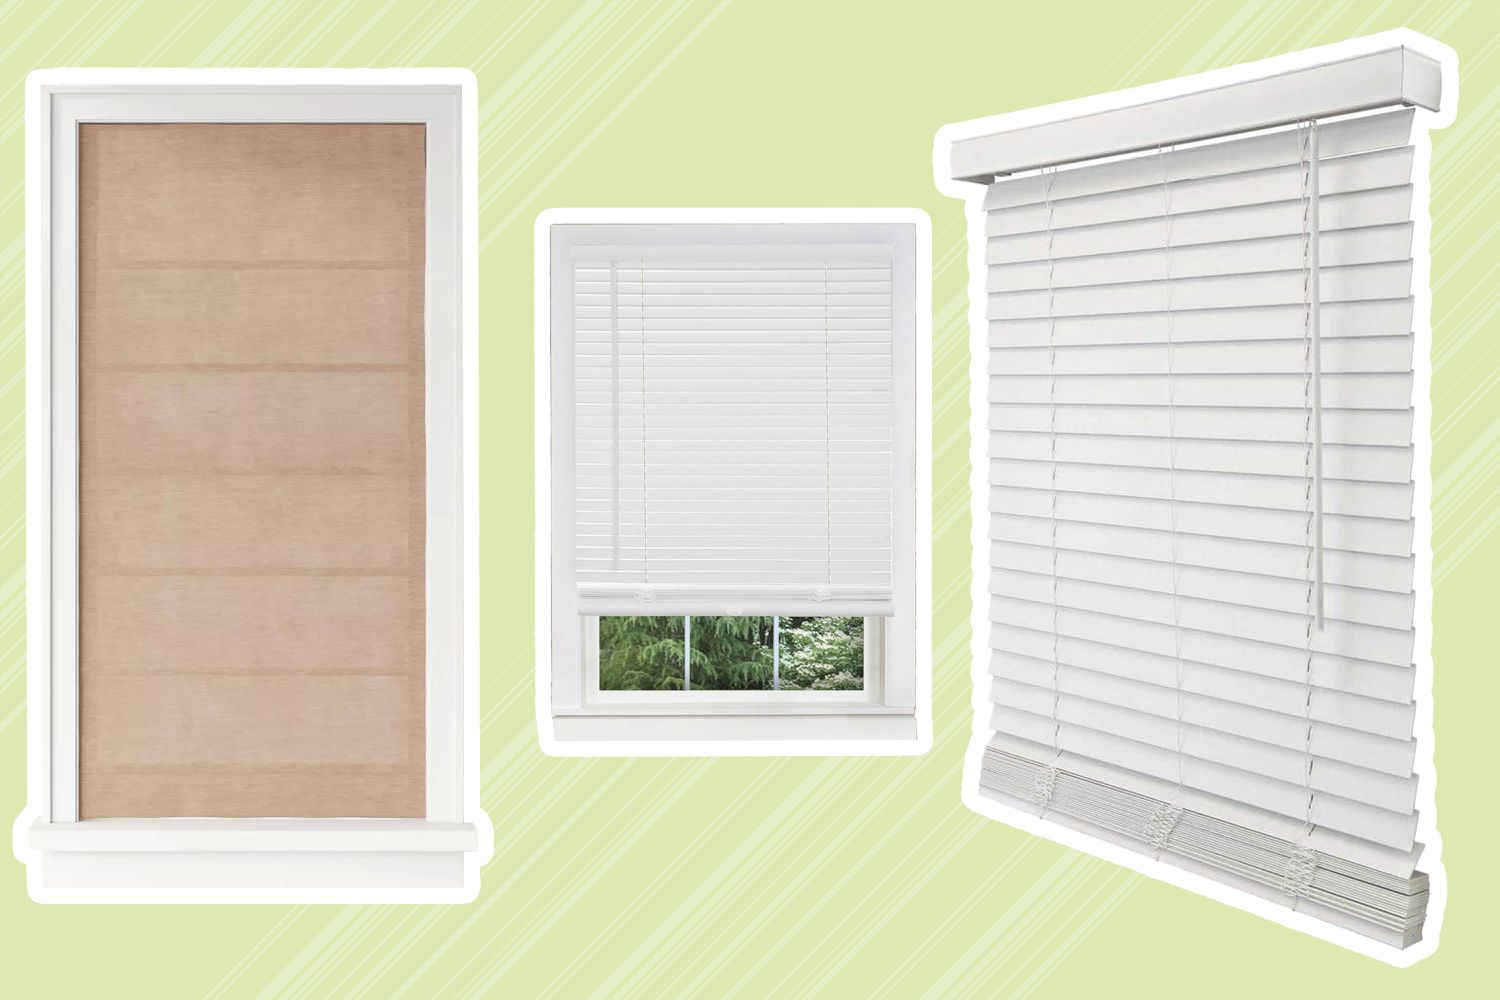
Window blinds are a popular choice for homeowners looking to add privacy and control the amount of light entering a room. Cordless window blinds, in particular, are a convenient and safe option, as they eliminate the need for cords that can pose a potential hazard, especially for households with children or pets.
However, like any other household item, cordless window blinds can develop problems over time. From malfunctioning mechanisms to damaged parts, there are several issues that may require repair. Luckily, repairing cordless window blinds is a relatively straightforward process, and with a little know-how and the right tools, it’s something that you can easily do yourself.
In this article, we will walk you through the step-by-step process of repairing cordless window blinds, ensuring that they work smoothly and effectively once again. From assessing the problem to troubleshooting tips, from removing the blinds to identifying the issue, we will cover everything you need to know to get your window blinds back in tip-top shape.
Before we get started, let’s take a look at the tools and materials you’ll need for this repair project:
Key Takeaways:
- Repairing cordless window blinds is a manageable DIY project that involves assessing, troubleshooting, and repairing or replacing parts. With the right tools and patience, you can restore functionality and extend the lifespan of your blinds.
- By following a step-by-step process, including removing, identifying, and reassembling the blinds, you can save on replacement costs and enjoy the benefits of privacy, light control, and aesthetics for years to come.
Read more: How Cordless Blinds Work
Tools and Materials Needed
Before you start repairing your cordless window blinds, it’s important to gather all the necessary tools and materials. Having everything on hand will make the process smoother and more efficient. Here’s a list of what you’ll need:
- Screwdriver set – both flathead and Phillips head
- Pliers
- Needle-nose pliers
- Scissors
- Replacement parts – such as cords, wand, or tilt mechanism
- Super glue or adhesive tape
- Clean cloth or sponge
- Dish soap or mild detergent
Make sure you have these tools and materials easily accessible before you begin the repair process. It’s also a good idea to have a clean and well-lit workspace, with enough room to spread out the blinds and work comfortably.
Now that you’re ready with the necessary tools and materials, let’s move on to the next step: assessing the problem with your cordless window blinds.
Step 1: Assess the Problem
Before you start repairing your cordless window blinds, it’s important to assess the problem and determine the extent of the damage. This will help you decide whether the blinds can be repaired or if they need to be replaced entirely.
Begin by examining the blinds closely and identifying any visible issues, such as broken slats, tangled cords, or a malfunctioning tilt mechanism. Take note of any specific areas that require attention or replacement parts.
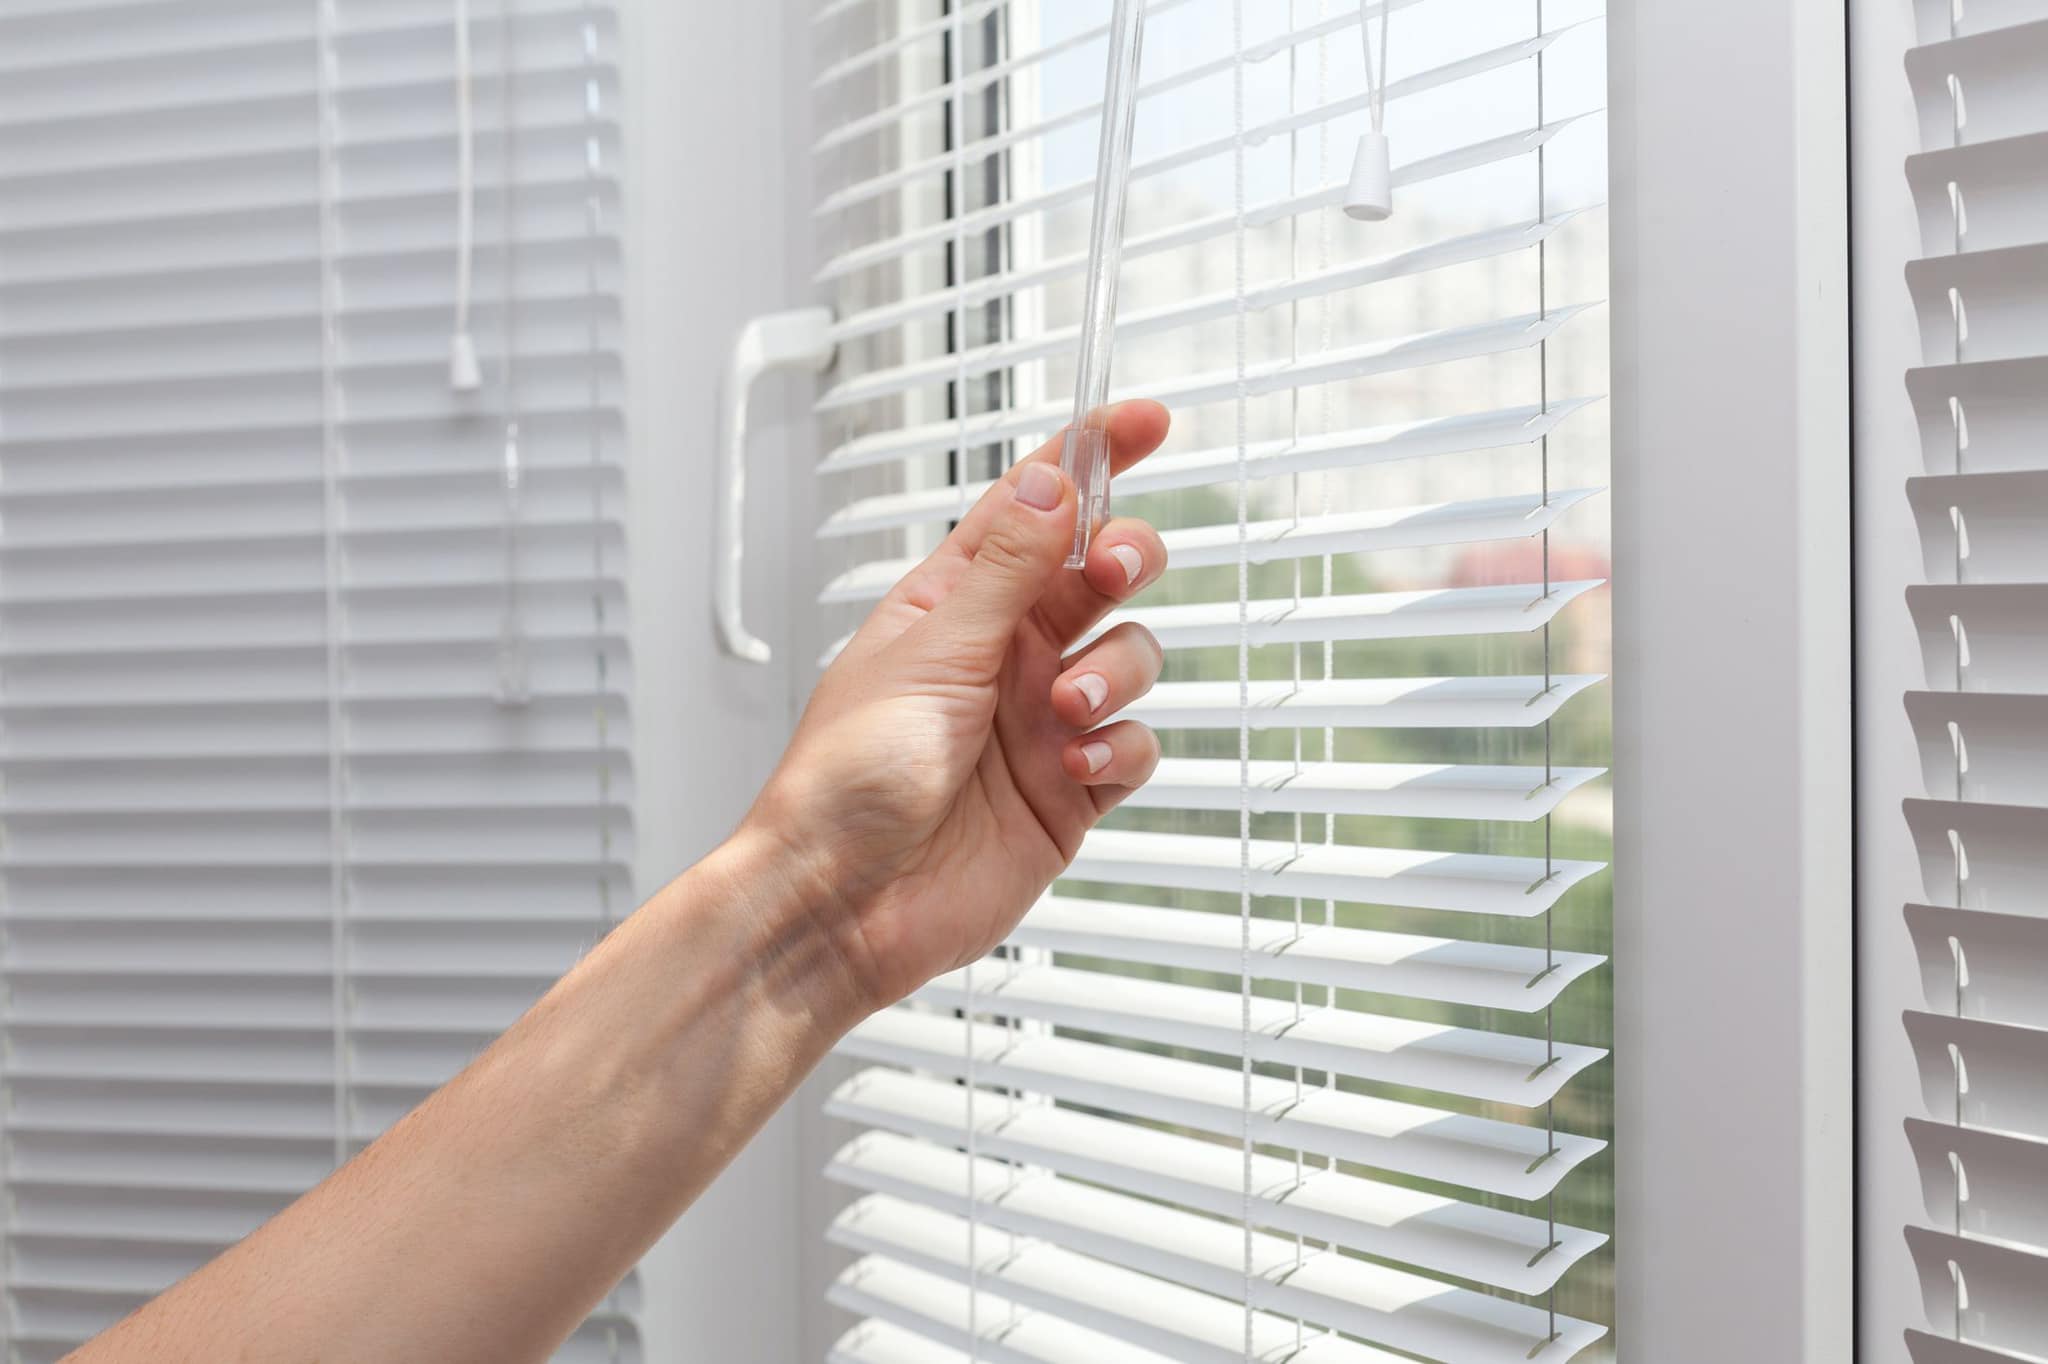
Next, test the blinds by attempting to raise and lower them. Pay attention to any resistance or uneven movement. If the blinds do not stay in place when raised or lowered, it may indicate a problem with the locking mechanism.
Additionally, check the tilt function of the blinds. If the slats do not tilt or tilt at odd angles, it could be a sign of a loose wand or broken tilt mechanism.
It’s also important to assess the overall condition of the blinds. If they are old, worn, or have sustained extensive damage, it may be more cost-effective to replace them instead of attempting repairs.
By assessing the problem thoroughly, you’ll have a better understanding of the repairs needed and whether they can be done on your own or if professional help is necessary. With this information in hand, you can move on to the next step: troubleshooting tips to fix common cordless window blinds issues.
Step 2: Troubleshooting Tips
Before diving into the repair process, it’s worth trying some troubleshooting tips to see if you can resolve the issue without fully disassembling the blinds. Here are some common problems and their possible solutions:
- Blinds not raising or lowering: If your cordless blinds are not moving up or down, check if there is any debris or dirt blocking the mechanism. Use a clean cloth or sponge dampened with mild detergent to gently clean the track. If this doesn’t solve the problem, the lifting mechanism may be broken and in need of replacement.
- Blinds not staying in position: If the blinds do not stay in place when raised or lowered, the locking mechanism may be worn or damaged. Inspect the locking mechanism and see if there are any broken or missing parts. If necessary, replace the locking mechanism to ensure proper functionality.
- Tangled or uneven cords: If the cords of your window blinds are tangled or uneven, start by manually untangling them. If the cords are frayed or damaged, it’s best to replace them with new ones. Make sure to follow the manufacturer’s instructions on cord replacement carefully.
- Broken tilt mechanism: If the slats of your blinds do not tilt or tilt at odd angles, the tilt mechanism may be broken. Examine the tilt mechanism and check for any broken or loose parts. In some cases, tightening screws or replacing the tilt mechanism may solve the issue.
These troubleshooting tips can help you address common issues with cordless window blinds. However, if the problem persists or if you encounter more complex issues, it may be necessary to proceed with the repair process, as outlined in the next steps.
Next, we will guide you through the process of removing the window blinds to facilitate the repair or replacement of parts.
Step 3: Removing the Window Blinds
Before you can begin repairing your cordless window blinds, you’ll need to remove them from the window. Removing the blinds will allow you better access to the mechanisms and make the repair process easier. Follow these steps to safely remove the blinds:
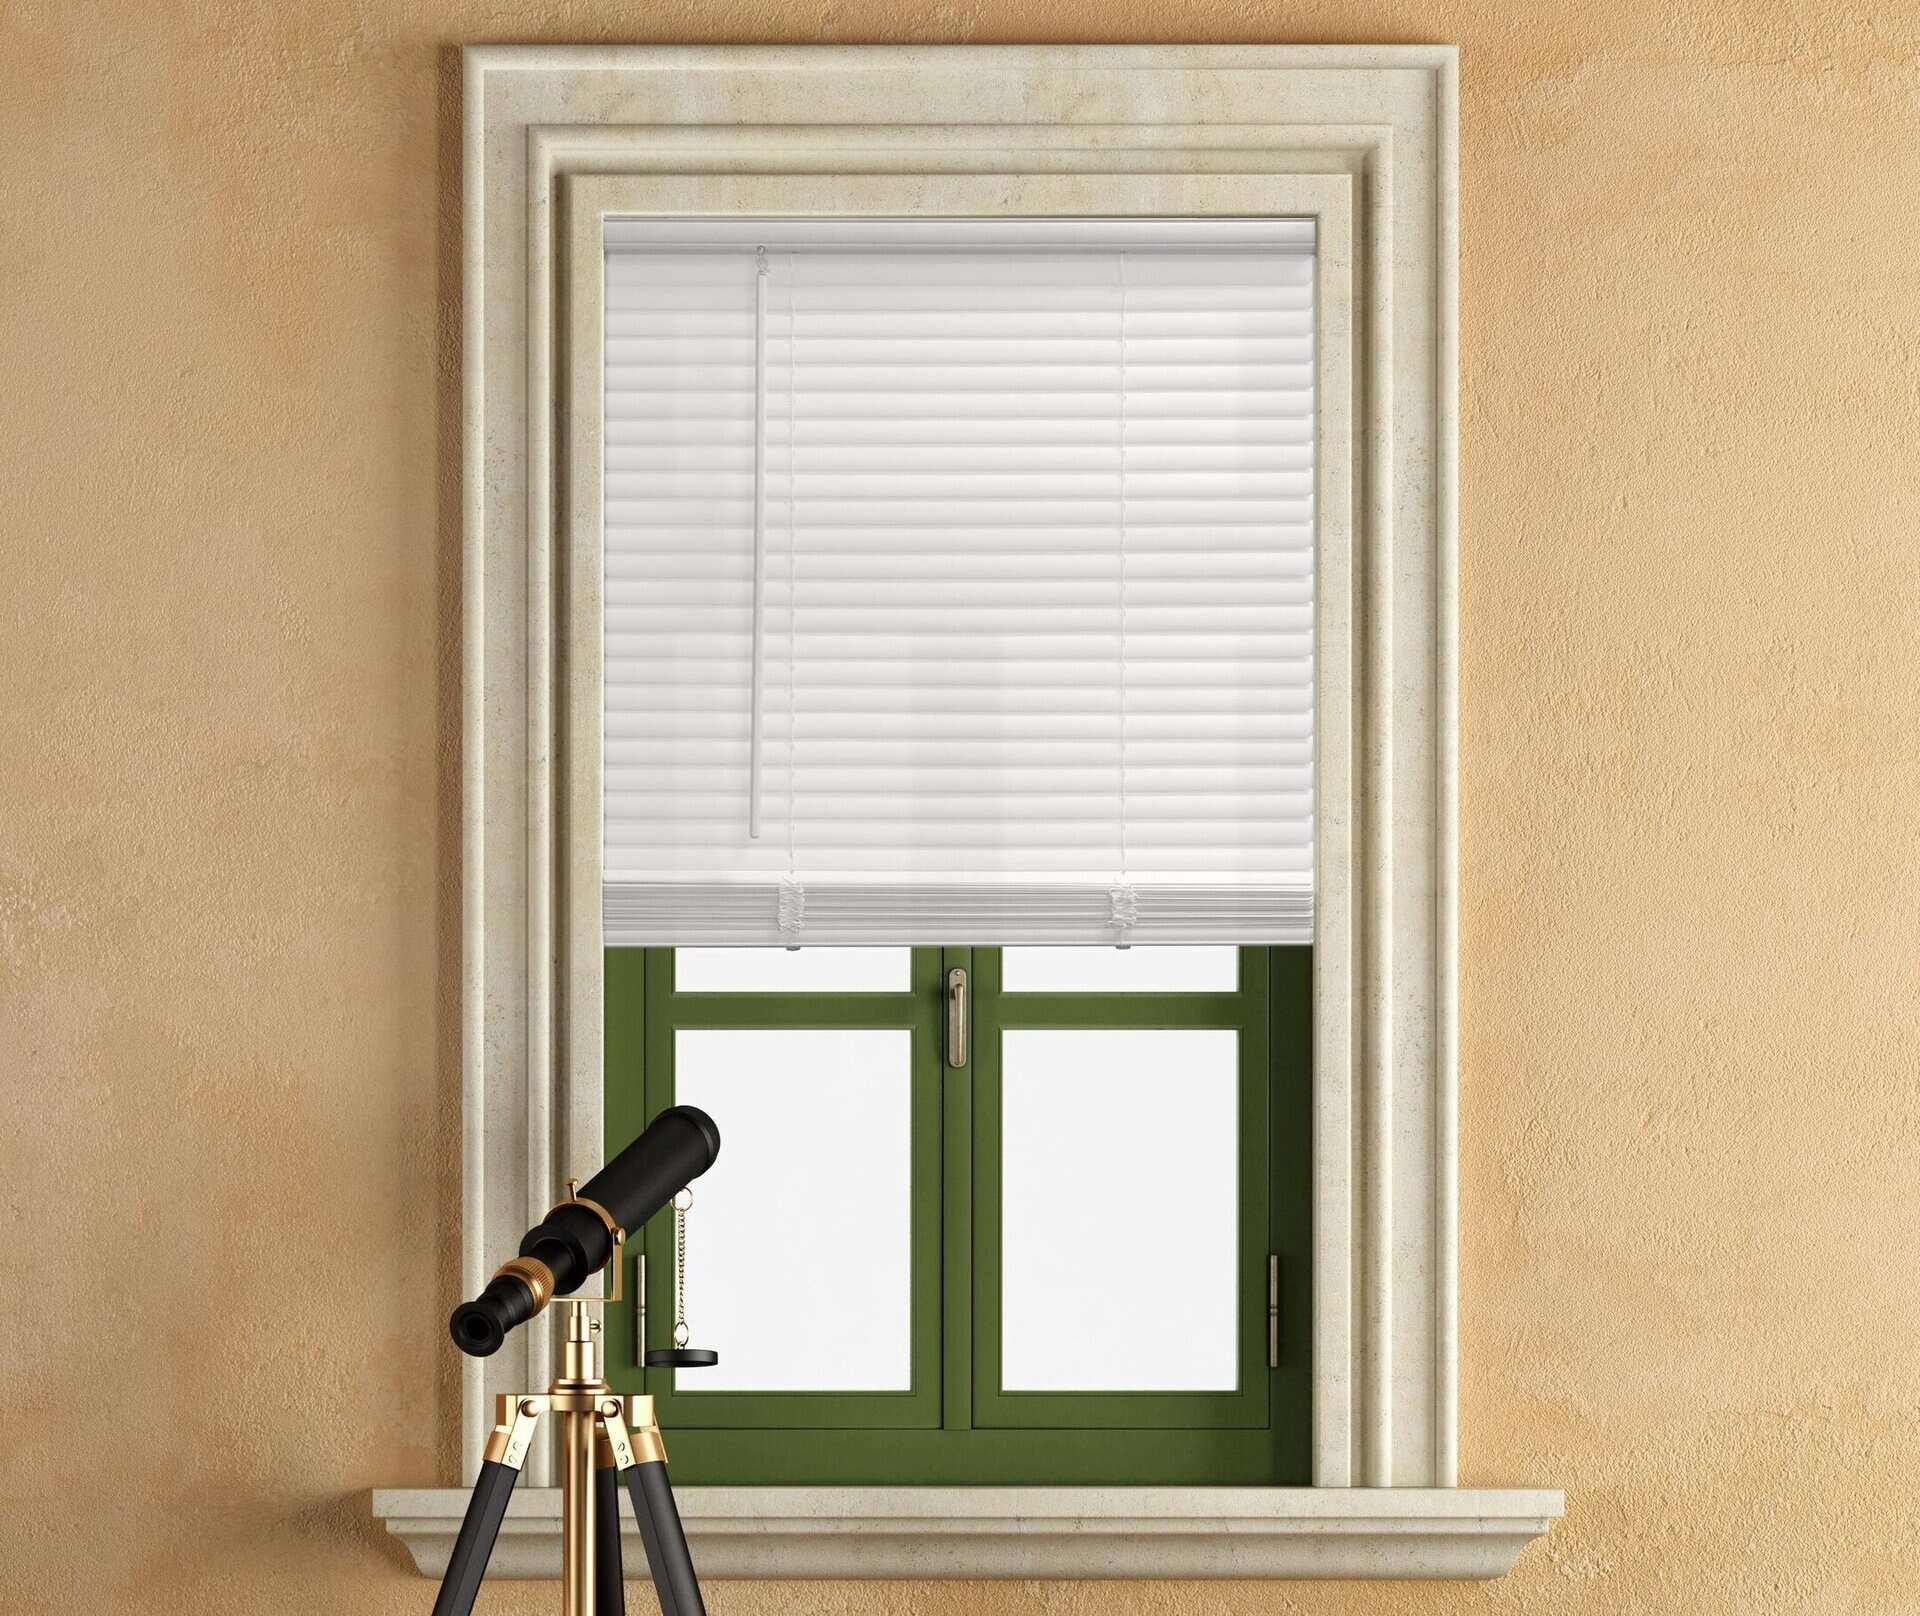
- Start by fully raising the blinds to the top position, ensuring that they are completely extended.
- Locate the brackets that hold the blinds in place. These are typically located at the top of the window frame or on the sides. Depending on the type of brackets, they may have screws or clips holding them in place.
- Using a screwdriver or pliers, carefully remove any screws or unclip the brackets to release the blinds. Be cautious not to damage the window frame or the blinds themselves.
- Once the brackets are removed, gently lower the blinds to the floor, making sure to keep them flat and avoid any twists or tangles as you go.
- Place the blinds on a clean and flat surface, such as a table or the floor, with enough space to work comfortably.
Now that you have successfully removed the window blinds, you can proceed with the next step: identifying the specific issue that needs to be addressed for repair.
Note: If you’re uncomfortable or unsure about removing the window blinds yourself, it’s always a good idea to seek professional help to avoid any potential damage or accidents.
When repairing cordless window blinds, start by checking the batteries and ensuring they are properly inserted. If the blinds still don’t work, inspect the internal mechanisms for any obstructions or damage.
Read more: What Is Cordless Blinds
Step 4: Identifying the Issue
Now that you have the cordless window blinds removed and laid out, it’s time to identify the specific issue that needs to be addressed for repair. This step will help you determine the necessary replacement parts or repairs needed to restore the blinds’ functionality. Here’s what you should do:
- Inspect the entire blind system, including the headrail, slats, cords, wand, and tilt mechanism. Look for any visible signs of damage, such as broken or bent slats, frayed cords, or loose components.
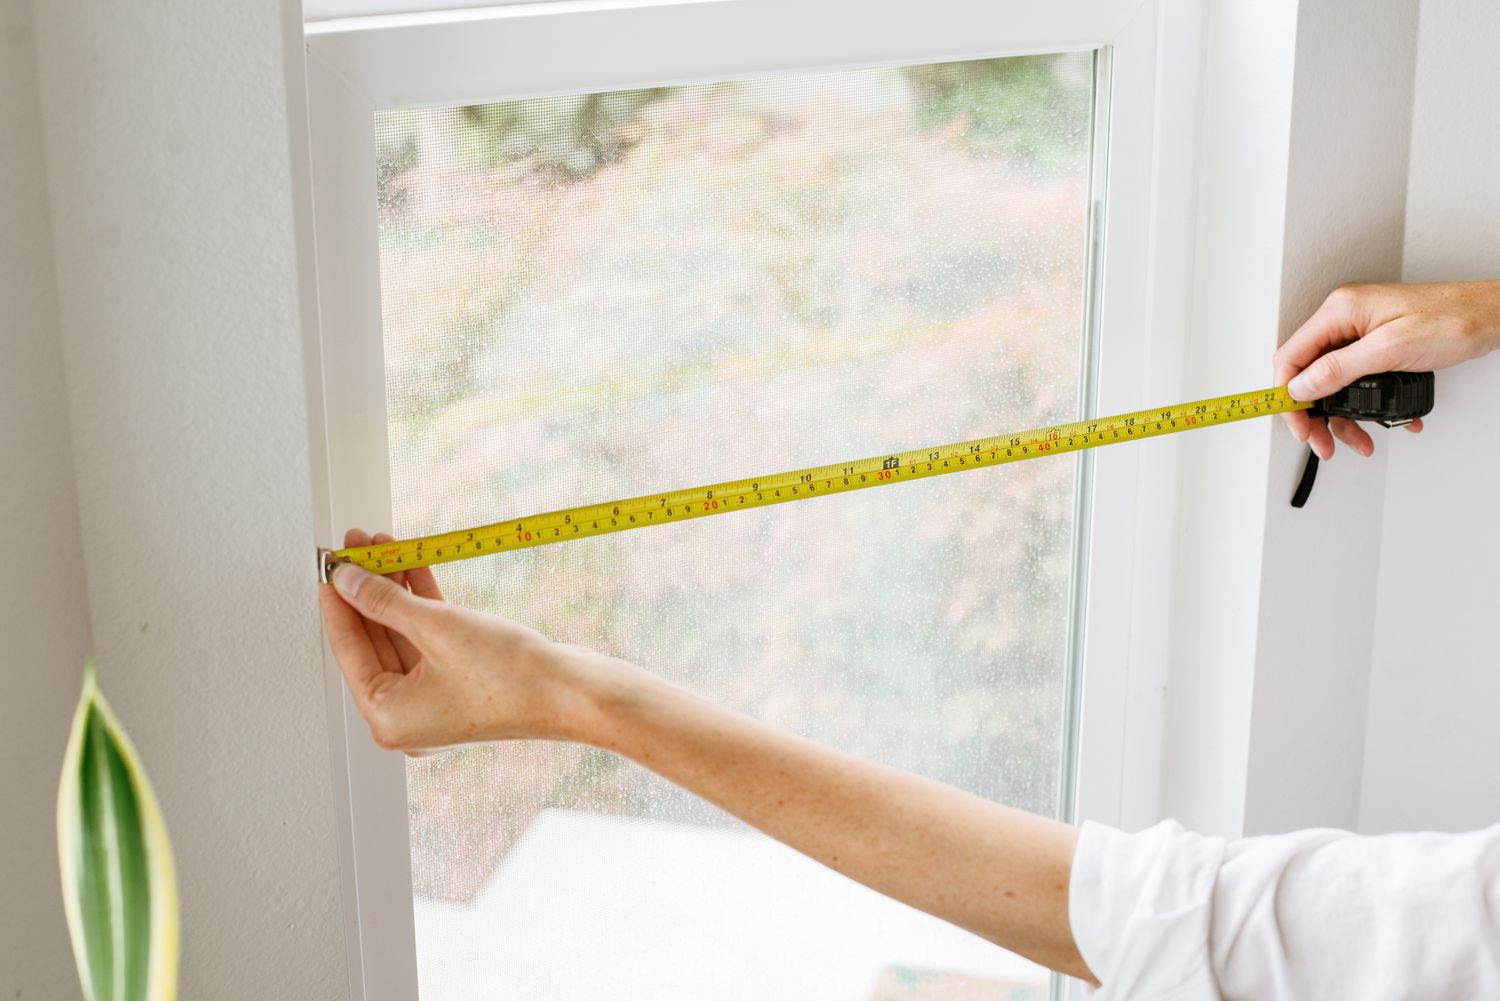
- If the issue is with the slats, check if any are broken, warped, or out of alignment. Make a note of how many and which specific slats need to be replaced. Measure the size and width of the slats to ensure you purchase the correct replacements.
- If the issue is with the cords, check for any tangles, knots, or fraying. Determine whether the cords need to be replaced entirely or if repairs can be made by restringing or tightening them.
- Inspect the wand or tilt mechanism for any cracks, stiffness, or missing parts. Identify if the problem lies with the wand itself or with the internal workings of the tilt mechanism.
- Make a detailed list of the issues you have identified, noting the specific parts that need to be repaired or replaced. This will help guide you when purchasing replacement parts or when doing the repairs.
By carefully examining your cordless window blinds, you can pinpoint the exact issues and determine the most appropriate solutions. This will ensure that you procure the correct replacement parts and approach the repairs with clarity.
Now that you have identified the issues, you’re ready to move on to step 5: repairing or replacing the necessary parts to fix the blinds.
Step 5: Repairing or Replacing Parts
Now that you have identified the specific issues with your cordless window blinds, it’s time to start the process of repairing or replacing the necessary parts. Depending on the extent of the damage, you may be able to fix the problem yourself or purchase new parts for replacement. Here’s a general guide on how to approach this step:
- If the issue is with broken or damaged slats, carefully remove the damaged slats by sliding them out of the ladder system. Replace them with new slats of the same width and length, following the manufacturer’s instructions for installation. If the blinds have a continuous cord loop, you may need to partially disassemble the ladder system to insert the new slats.
- For tangled or frayed cords, you have a few options. If the cords are lightly tangled, carefully untangle them using your fingers or a pair of needle-nose pliers. If the cords are severely tangled or frayed, it’s best to replace them entirely. Refer to the manufacturer’s instructions or seek guidance from a professional for instructions on restringing the cords or replacing them with new ones.
- If the issue lies with the wand or tilt mechanism, you can try repairing it first. If the wand is loose or broken, you may be able to tighten or replace the connecting screws. If the tilt mechanism is the problem, carefully remove the old mechanism and replace it with a new one, following the manufacturer’s instructions.
- As you repair or replace any parts, take note of any additional repairs needed or parts that may need further attention. This will help ensure a thorough and comprehensive repair process.
Remember to always refer to the manufacturer’s instructions or consult a professional if you are unsure about any specific steps or procedures. Take your time during this step to ensure the repairs are done accurately and securely. Once you have repaired or replaced the necessary parts, you can move on to the next step: reassembling the cordless window blinds.
Step 6: Reassembling the Window Blinds
After repairing or replacing the necessary parts, it’s time to reassemble your cordless window blinds. This step involves putting all the components back together to restore the blinds’ functionality. Follow these steps to successfully reassemble the blinds:
- Start by aligning the slats in the correct order, making sure they are all facing the same direction.
- Insert the slats back into the ladder system or string them onto the continuous cord loop, ensuring they are evenly spaced.
- If you replaced the cords, carefully thread them back through the designated holes or hooks, following the original path. Make sure the cords are properly tensioned and not twisted.
- If you replaced the tilt mechanism, carefully position the new mechanism in its designated place and secure it according to the manufacturer’s instructions.
- Reattach the wand by connecting it to the tilt mechanism or attaching it to the main headrail, depending on the design of your blinds.
- Check that all the components are properly aligned and secure. Make any necessary adjustments or tighten any screws to ensure everything is in place.
It’s important to take your time during this step and double-check that everything is properly assembled. This will ensure the blinds operate smoothly and effectively once reinstalled. If you encounter any difficulties or are unsure about the reassembly process, refer to the manufacturer’s instructions or seek professional assistance.
With the blinds successfully reassembled, you’re almost done. The final step involves testing the repaired blinds to ensure they are functioning as expected.
Step 7: Testing the Repaired Blinds
Now that you have completed the repair and reassembly process, it’s time to test the functionality of your cordless window blinds. Testing the blinds will ensure that they are working properly and that the repairs have been successful. Follow these steps to test your repaired blinds:
- Hold the blinds by the headrail or grab the bottom rail and gently raise and lower them. Observe if they move smoothly and stay in position when raised or lowered. This will determine if the lifting mechanism and locking system are functioning correctly.
- Test the tilt function by using the wand or tilt mechanism to adjust the angle of the slats. Make sure the slats tilt evenly and in the desired direction.
- Check the cords to ensure they glide smoothly without any tangles or obstruction. Test the cords by raising and lowering the blinds multiple times to ensure they operate effortlessly.
- Inspect the blinds from different angles to verify that all the slats are properly aligned and evenly spaced.
- If you notice any issues during testing, such as difficulty in raising or lowering, uneven slat tilting, or tangled cords, make note of them for further adjustments or repairs.
By thoroughly testing your repaired blinds, you can identify any remaining issues and make final adjustments as necessary. Address any lingering problems promptly to ensure the blinds are fully functional and provide the privacy and light control you desire.
With successful testing complete, you can now confidently reinstall your repaired cordless window blinds and enjoy their renewed functionality and aesthetic appeal.
Read more: How To Pull Down Cordless Blinds
Conclusion
Repairing cordless window blinds can be a rewarding and cost-effective DIY project that allows you to restore their functionality without the need for professional assistance. By following the step-by-step process outlined in this article, you can assess the problem, troubleshoot common issues, remove the blinds, identify the specific issues, repair or replace the necessary parts, reassemble the blinds, and test their functionality.
Throughout the repair process, it’s important to take your time, refer to manufacturer’s instructions, and ensure that all repairs are done accurately and securely. This will help you avoid further damage and make the blinds work smoothly and effectively once again.
Remember, if you encounter any difficulties or feel unsure about any specific steps, it’s always a good idea to seek professional help. They can provide guidance and ensure that the repairs are done correctly and safely.
By successfully repairing your cordless window blinds, you not only save money on replacement costs but also extend the lifespan of your blinds, allowing you to continue enjoying the benefits they provide in terms of privacy, light control, and aesthetics.
Now that you have the knowledge and understanding of how to repair cordless window blinds, you can confidently tackle any issues that arise, ensuring that your window treatments continue to enhance your home for years to come.
Frequently Asked Questions about How To Repair Cordless Window Blinds
Was this page helpful?
At Storables.com, we guarantee accurate and reliable information. Our content, validated by Expert Board Contributors, is crafted following stringent Editorial Policies. We're committed to providing you with well-researched, expert-backed insights for all your informational needs.