Articles
How To Repair Wood Siding
Modified: January 8, 2024
Learn helpful tips and techniques for repairing wood siding with our informative articles. Expert advice to restore and maintain your wood siding.
(Many of the links in this article redirect to a specific reviewed product. Your purchase of these products through affiliate links helps to generate commission for Storables.com, at no extra cost. Learn more)
Introduction
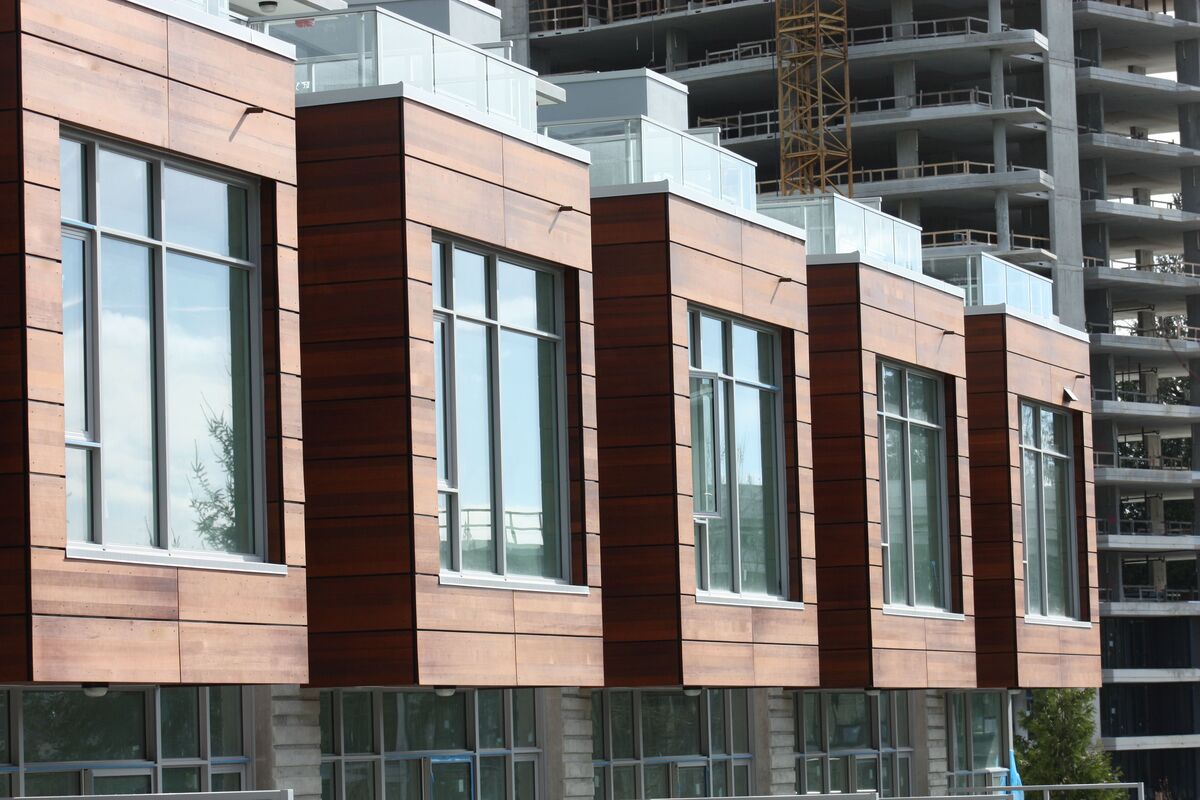
Wood siding is a popular choice for homeowners due to its natural beauty and durability. However, over time, it may start showing signs of wear and tear, such as rot or damage from pests. Repairing wood siding is essential to maintain the integrity and aesthetics of your home’s exterior. While it may seem like a daunting task, with the right tools and techniques, you can easily repair wood siding on your own.
In this article, we will guide you through the step-by-step process of repairing wood siding. From assessing the damage to finishing touches and maintenance, we will provide you with all the information you need to successfully restore your wood siding.
Before you begin the repair process, it’s important to note that some cases of extensive damage may require the help of a professional. If you are unsure about the severity of the damage or if it is beyond your scope of expertise, it’s always best to consult a professional contractor.
Now, let’s explore the different steps involved in repairing wood siding to help you get started on this rewarding DIY project.
Key Takeaways:
- DIY wood siding repair involves assessing, preparing, and installing replacement pieces. Regular maintenance and professional assistance ensure long-lasting, beautiful siding that adds value to your home.
- Properly addressing wood siding damage through DIY repair and regular maintenance can enhance your home’s exterior, protect against further damage, and preserve its beauty for years to come.
Read more: How To Replace Rotted Wood Siding
Assessing the Damage
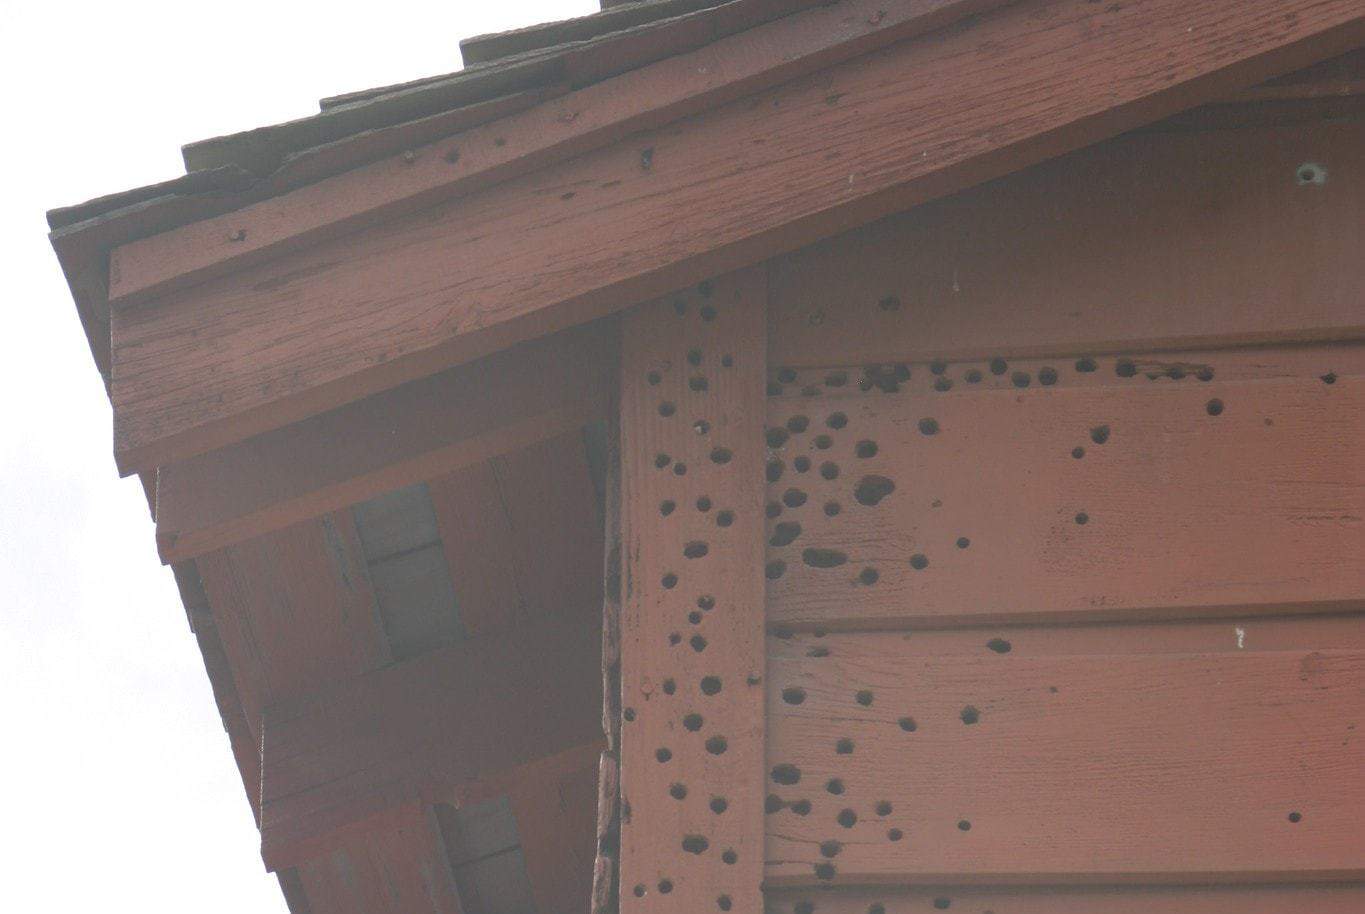
The first step in repairing wood siding is to assess the extent of the damage. Carefully examine the siding to identify any areas that show signs of decay, rot, insect infestation, or other forms of damage.
Start by visually inspecting the siding from a distance. Look for any discoloration, cracks, or peeling paint on the surface. Pay attention to areas near the ground, where moisture can accumulate and cause rot. Also, inspect around windows, doors, and other openings where water infiltration is more likely.
Once you’ve identified potential problem areas, get closer for a more detailed inspection. Use a screwdriver or a small knife to gently probe the wood siding. If you notice any soft or spongy spots, it indicates rot. Evident signs of insect infestation may include small holes or trails made by wood-boring insects.
If the damage is minimal and confined to a small portion of the siding, you may be able to repair it without replacing the entire piece. However, if the damage is extensive or affects the structural integrity of the siding, it’s best to replace the entire section.
Make a note of all the areas that require repair and determine the scope of the project. This will help you estimate the amount of time, tools, and materials needed for the repair process. Additionally, take photographs of the damaged areas as a reference for later stages of the repair.
Remember, it’s important to address any sources of moisture or underlying issues that caused the damage in the first place. Ensure that the siding has proper drainage and moisture barriers, and make any necessary repairs or improvements to prevent future damage.
Once you have thoroughly assessed the damage and have a clear understanding of what needs to be repaired, you can move on to the next step, which is gathering the necessary tools and materials.
Gathering the Necessary Tools and Materials
Before you begin repairing wood siding, it’s important to gather all the necessary tools and materials. Having everything prepared in advance will make the repair process smoother and more efficient.
Here’s a list of tools and materials you will need:
Tools:
- Hammer
- Pry bar
- Circular saw or handsaw
- Utility knife
- Screwdriver or drill
- Nail set
- Chisel
- Measuring tape
- Caulking gun
- Sanding block or sandpaper
- Paintbrush
Materials:
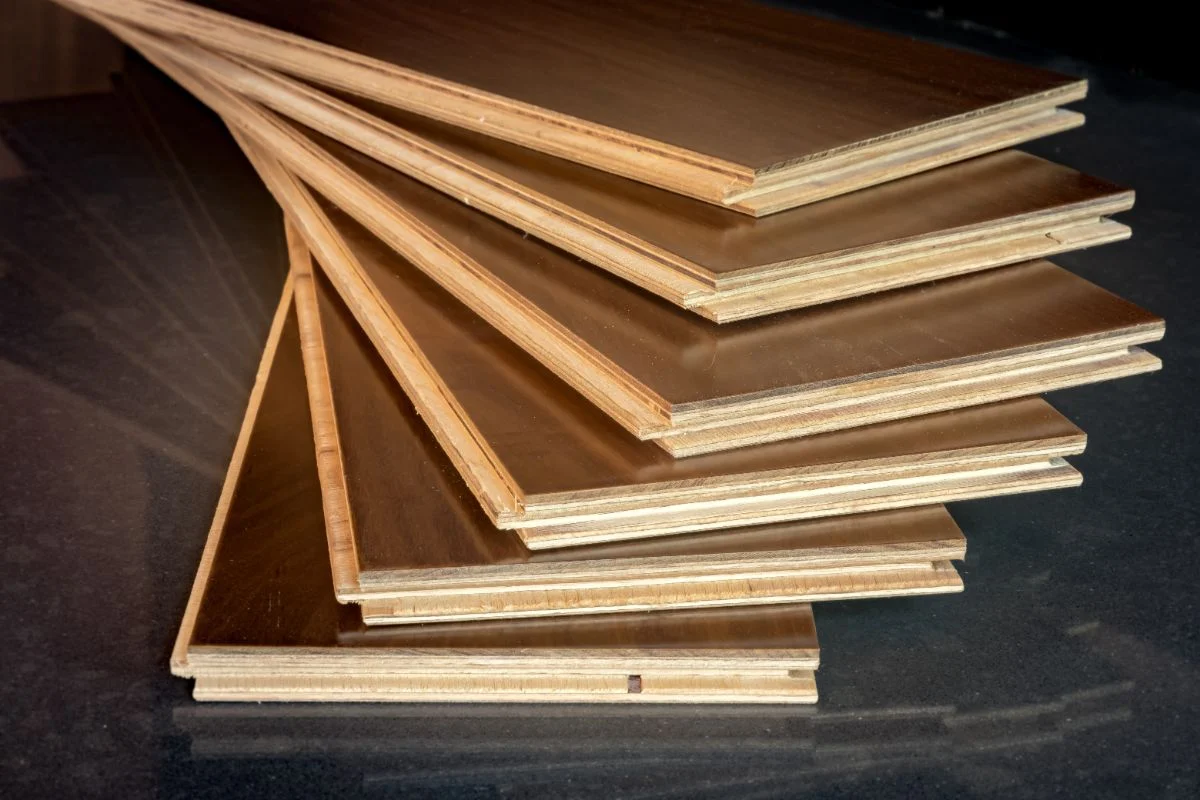
- Replacement wood siding (matching the existing siding type and dimensions)
- Screws or nails
- Exterior caulking
- Wood filler or epoxy
- Primer
- Paint or stain (matching the existing color)
Ensure that you have the right tools and materials for the specific type of wood siding you are repairing. Different types of siding may require different tools and fasteners, so consult the manufacturer’s guidelines or seek advice from a professional if you are unsure.
It’s also a good idea to invest in personal protective equipment (PPE) such as safety glasses, gloves, and a dust mask to protect yourself during the repair process.
Once you have gathered all the necessary tools and materials, organize them in a convenient and accessible manner. This will save you time and frustration while working on the repair.
Now that you have everything prepared, you’re ready to move on to the next step, which is removing the damaged siding.
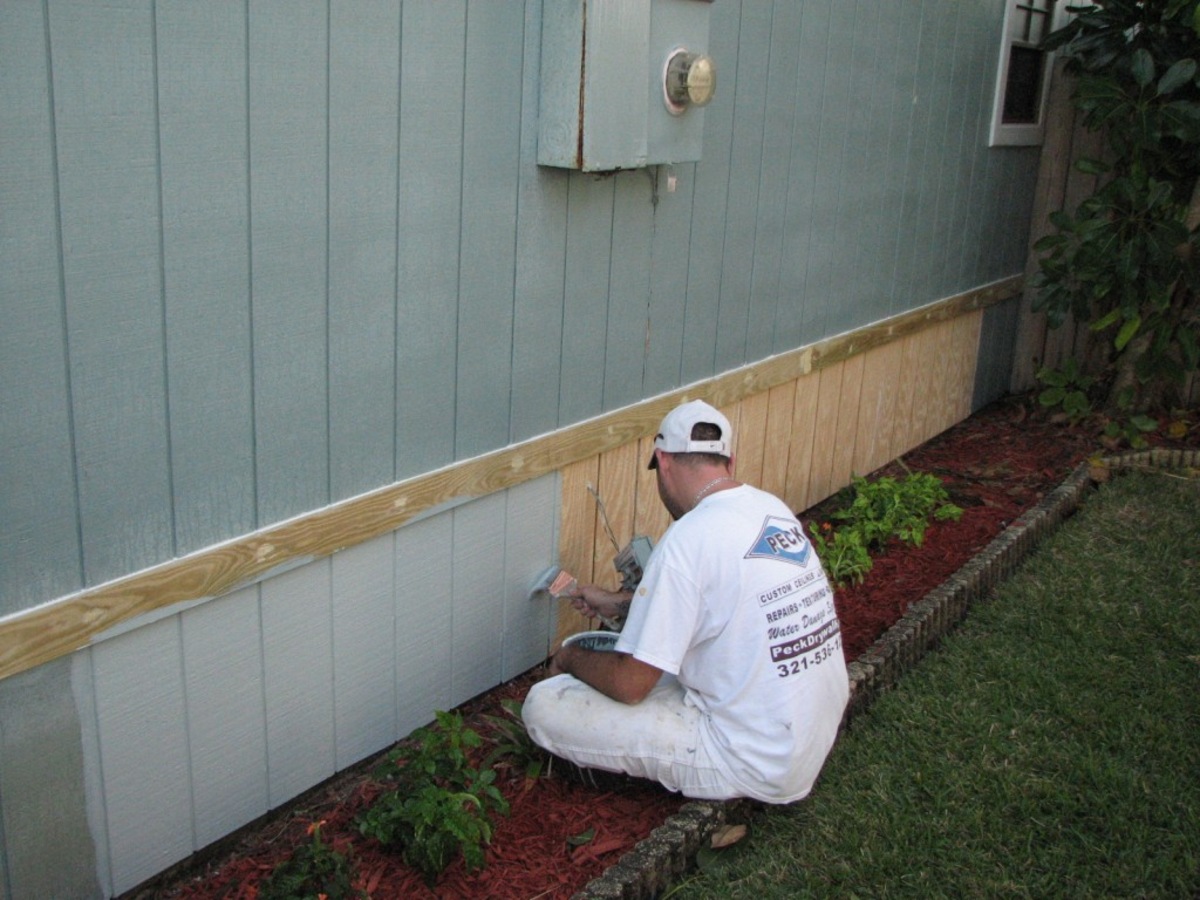
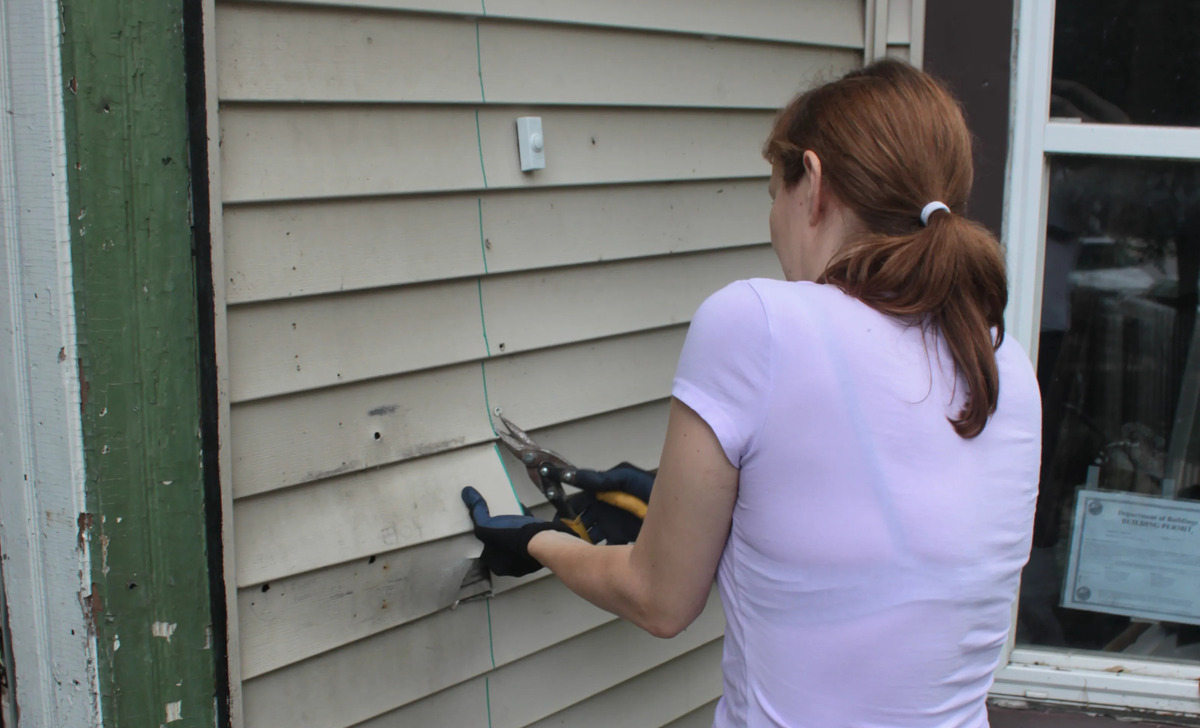
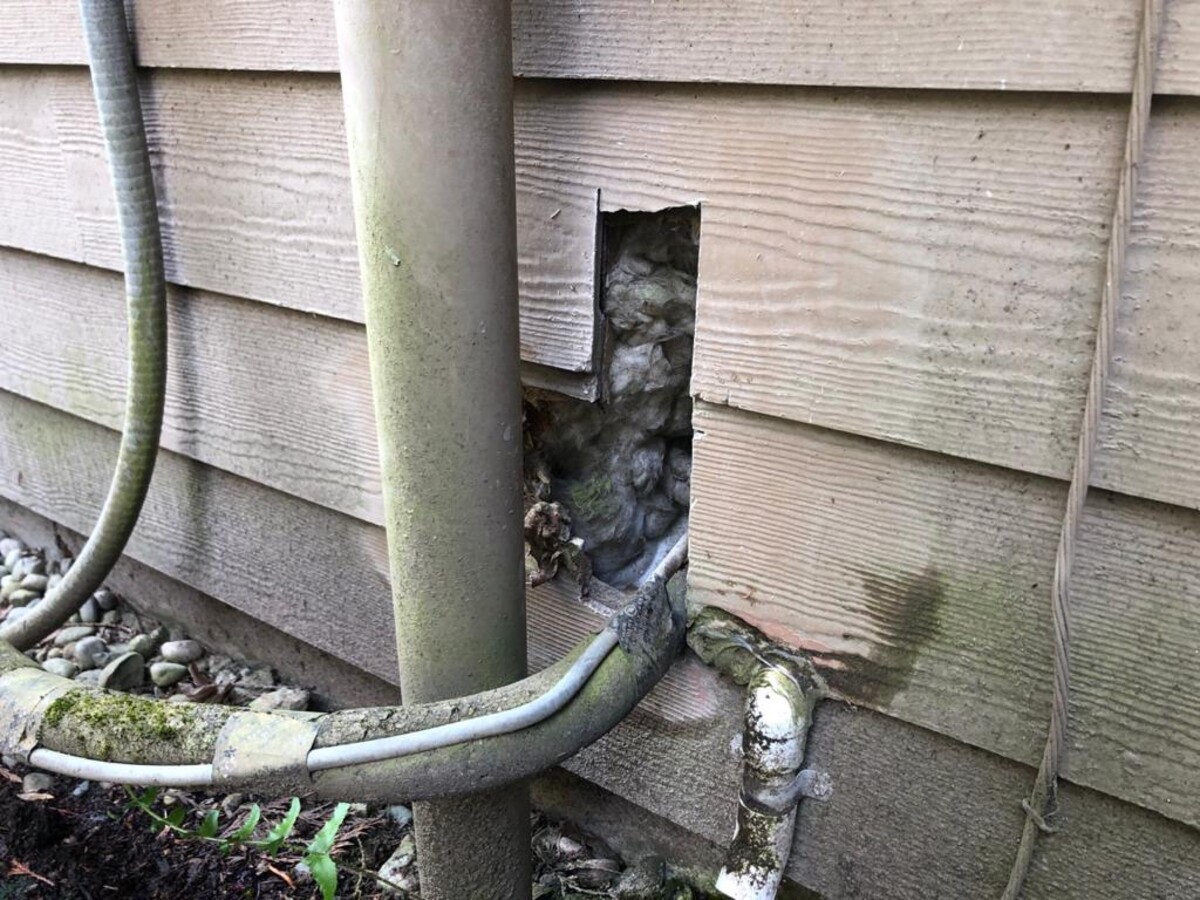
Removing the Damaged Siding
Now that you have assessed the damage and gathered the necessary tools and materials, it’s time to remove the damaged wood siding. This step is crucial for creating a clean and stable surface for the replacement piece.
Here’s a step-by-step guide to help you remove the damaged siding:
- Prepare the work area: Start by clearing the area around the damaged section. Remove any obstacles or furniture that may hinder your access to the siding. Lay down a drop cloth or tarp to catch any debris that may fall during the removal process.
- Locate the fasteners: Carefully inspect the siding to identify the fasteners holding it in place. Depending on the type of siding, you may find nails, screws, or tongue-and-groove connectors.
- Remove the fasteners: Using a pry bar or hammer, gently remove the fasteners from the damaged piece. Be cautious not to damage the surrounding siding while doing so.
- Gradually remove the damaged piece: Once you’ve removed the fasteners, begin prying the damaged piece of siding away from the wall. Start at one end and work your way along the length of the siding. Use the pry bar or a chisel to separate the siding from any adjoining pieces if necessary.
- Inspect the underlying structure: With the damaged siding removed, take a moment to inspect the underlying structure for any signs of rot or damage. If you identify any structural issues, it’s important to address them before installing the replacement piece.
- Clean the area: Use a brush or vacuum to remove any debris or loose material from the surface. Ensure the area is free from dust, dirt, and old caulking to provide a clean surface for the new siding.
As you remove the damaged siding, be cautious of any electrical wires or pipes that may be hidden behind it. Avoid damaging these utilities during the removal process.
Once you have successfully removed the damaged siding, you are ready to move on to the next step, which is preparing the replacement piece.
Preparing the Replacement Piece
Now that you have removed the damaged siding, it’s time to prepare the replacement piece. This step is crucial to ensure a seamless and secure fit with the existing siding.
Here’s a step-by-step guide to help you prepare the replacement piece:
- Measure and cut: Take accurate measurements of the opening left by the removed siding piece. Use a tape measure to determine the length, width, and thickness of the replacement piece needed. Double-check your measurements to ensure an exact fit.
- Mark the replacement piece: Transfer the measurements to the replacement piece. Use a pencil or marker to mark the cut lines. Make sure the markings are clear and visible.
- Cut the replacement piece: Using a circular saw or handsaw, carefully cut along the marked lines to create the replacement piece. Take your time and make precise cuts to ensure a perfect fit.
- Smooth the edges: After cutting the replacement piece, use sandpaper or a sanding block to smooth the edges. This will ensure a clean and professional-looking finish.
- Pre-drill if necessary: Depending on the type of siding and fasteners used, you may need to pre-drill holes in the replacement piece. This will prevent the wood from splitting when attaching it to the wall.
- Treat the replacement piece (optional): If you are using untreated wood, consider treating it with a wood preservative to protect it from moisture, rot, and insect damage. Follow the manufacturer’s instructions and allow it to dry before proceeding.
Remember to use caution and proper safety measures when cutting the replacement piece. Follow the manufacturer’s guidelines for your tools and wear appropriate safety gear, such as goggles and gloves, to protect yourself.
Once you have prepared the replacement piece, you are ready to move on to the next step, which is installing the replacement piece onto the wall.
Read more: How To Clean Wood Siding
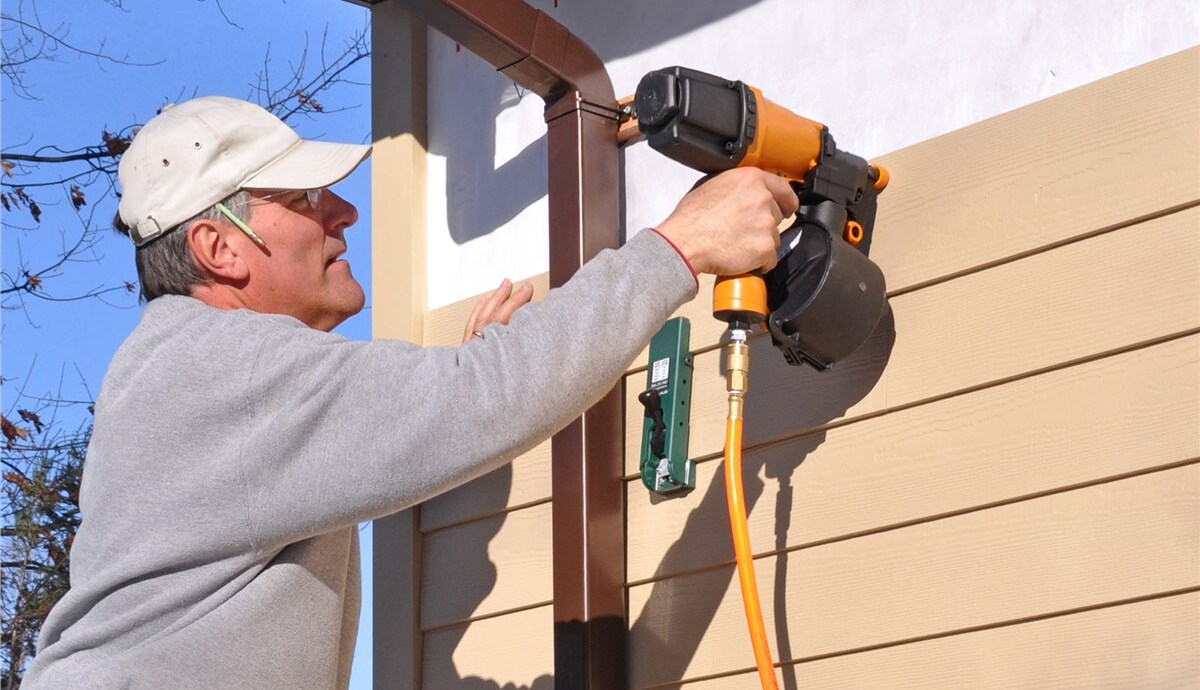
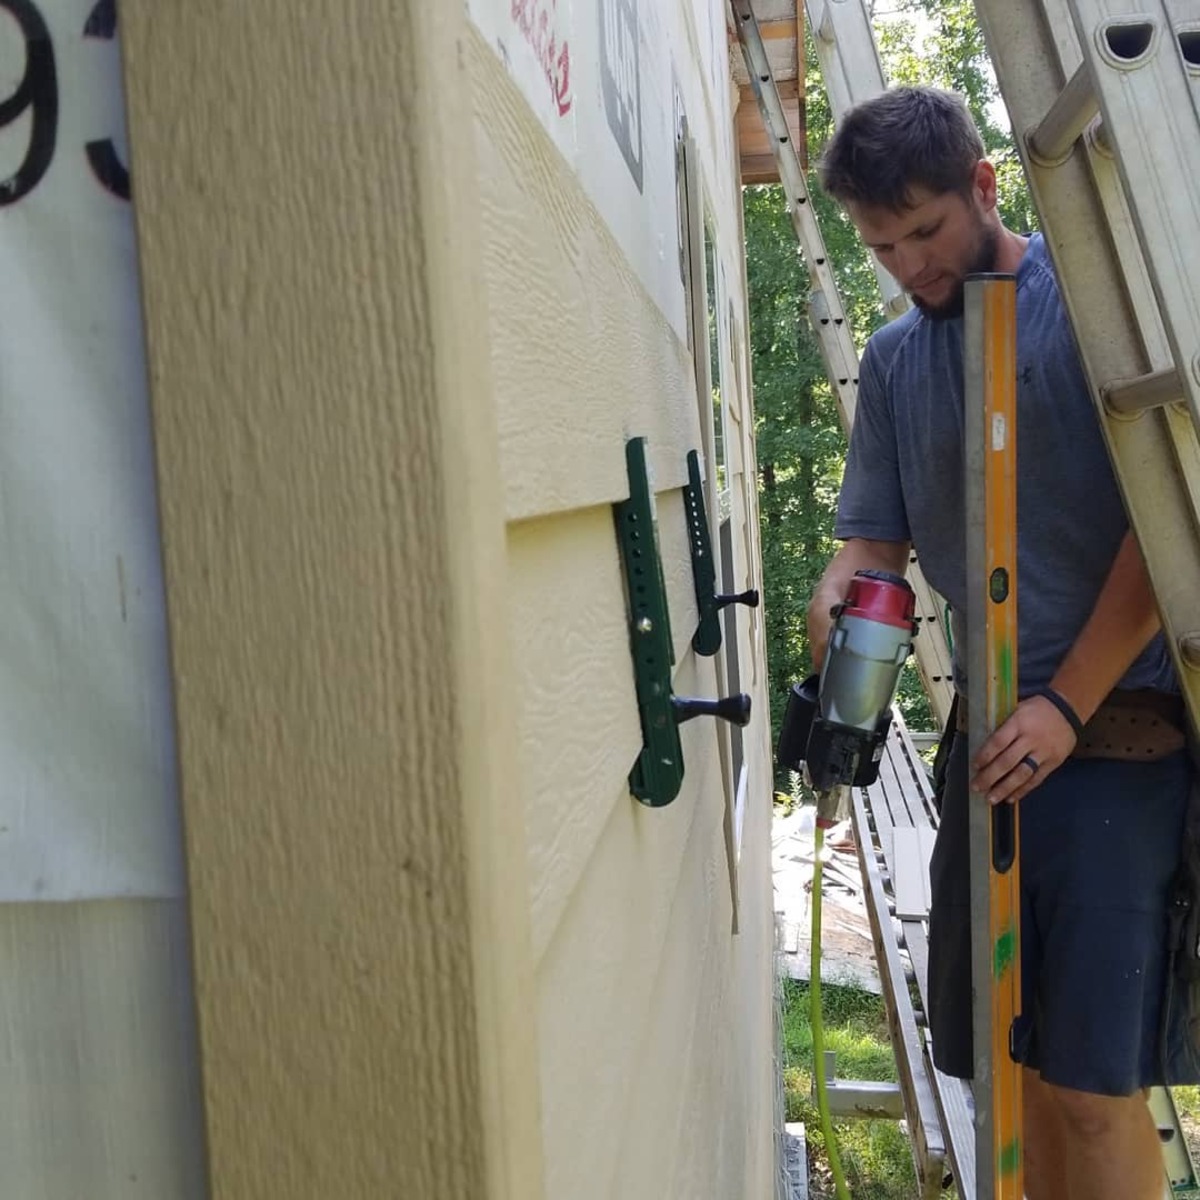
Installing the Replacement Piece
Now that you have prepared the replacement piece, it’s time to install it onto the wall. This step is crucial for restoring the functionality and appearance of your wood siding.
Here’s a step-by-step guide to help you install the replacement piece:
- Apply caulking: Before placing the replacement piece, apply a thin bead of exterior caulking along the edges of the opening left by the removed siding. This will create a waterproof seal and help prevent moisture infiltration.
- Position the replacement piece: Carefully place the replacement piece into the opening, aligning it with the surrounding siding. Press it firmly against the wall, ensuring a snug fit.
- Secure the replacement piece: Depending on the type of siding and fasteners used, secure the replacement piece in place. For horizontal siding, use screws or nails to attach it to the wall. For vertical siding, slide it into the groove or use tongue-and-groove connectors according to the manufacturer’s instructions.
- Drive in the screws or nails: If using screws or nails, insert them into the pre-drilled holes or through the top edge of the replacement piece. Use a screwdriver or drill to drive them in, ensuring they are flush with the surface of the wood.
- Counter-sink the screws or nails: If necessary, use a nail set or countersink bit to sink the screws or nails slightly below the surface of the replacement piece. This allows for a smooth finish and easier application of caulking and paint.
Ensure that the replacement piece is firmly attached to the wall, with no gaps or loose areas. It should be level and aligned with the surrounding siding for a seamless appearance.
After installing the replacement piece, take a moment to inspect the entire area. Make sure the siding is securely fastened and that there are no visible flaws or gaps. Address any issues immediately before moving on to the next step.
Now that you have successfully installed the replacement piece, you are ready to move on to the next step, which is reattaching the surrounding siding.
Reattaching Surrounding Siding
After installing the replacement piece, it’s important to reattach the surrounding siding to ensure a seamless and cohesive look. This step will help restore the overall integrity and appearance of your wood siding.
Here’s a step-by-step guide to help you reattach the surrounding siding:
- Inspect the surrounding siding: Take a close look at the adjacent siding pieces to ensure they are in good condition and securely attached to the wall. If any of the surrounding pieces show signs of damage or instability, address those issues before continuing.
- Clean the edges: Use a brush or cloth to clean any debris or old caulking from the edges of the surrounding siding. This will provide a clean surface for the reattachment process.
- Apply caulking: Apply a thin bead of exterior caulking along the edges of the replacement piece and the adjacent siding. This will help create a waterproof seal and prevent moisture infiltration.
- Position the surrounding siding: Carefully position the surrounding siding back in place, aligning it with the replacement piece and the existing siding. Press it firmly against the wall, ensuring a flush fit.
- Secure the surrounding siding: Depending on the type of siding and fasteners used, secure the surrounding siding in place. Use screws or nails to attach it to the wall, making sure they go through the existing nail holes or pre-drilled holes.
- Drive in the screws or nails: Insert the screws or nails into the pre-drilled holes or through the top edge of the surrounding siding. Use a screwdriver or drill to drive them in, ensuring they are flush with the surface of the wood.
- Counter-sink the screws or nails: If necessary, use a nail set or countersink bit to sink the screws or nails slightly below the surface of the surrounding siding. This will allow for a smooth finish and easier application of caulking and paint.
Ensure that the surrounding siding is securely attached to the wall, with no visible gaps or loose areas. It should be level and aligned with the replacement piece and the rest of the siding for a seamless appearance.
After reattaching the surrounding siding, take a moment to inspect the entire area. Make sure all the siding pieces are securely fastened, and there are no visible flaws or gaps. Address any issues promptly to maintain the integrity of your wood siding.
Now that you have successfully reattached the surrounding siding, you are ready to move on to the next step, which involves adding the finishing touches and essential maintenance tips.
When repairing wood siding, make sure to thoroughly clean and dry the area before applying any patching material. This will help the patch adhere properly and ensure a longer-lasting repair.
Finishing Touches and Maintenance Tips
After repairing and reattaching the wood siding, there are a few finishing touches and maintenance tips that will help ensure its longevity and preserve its appearance.
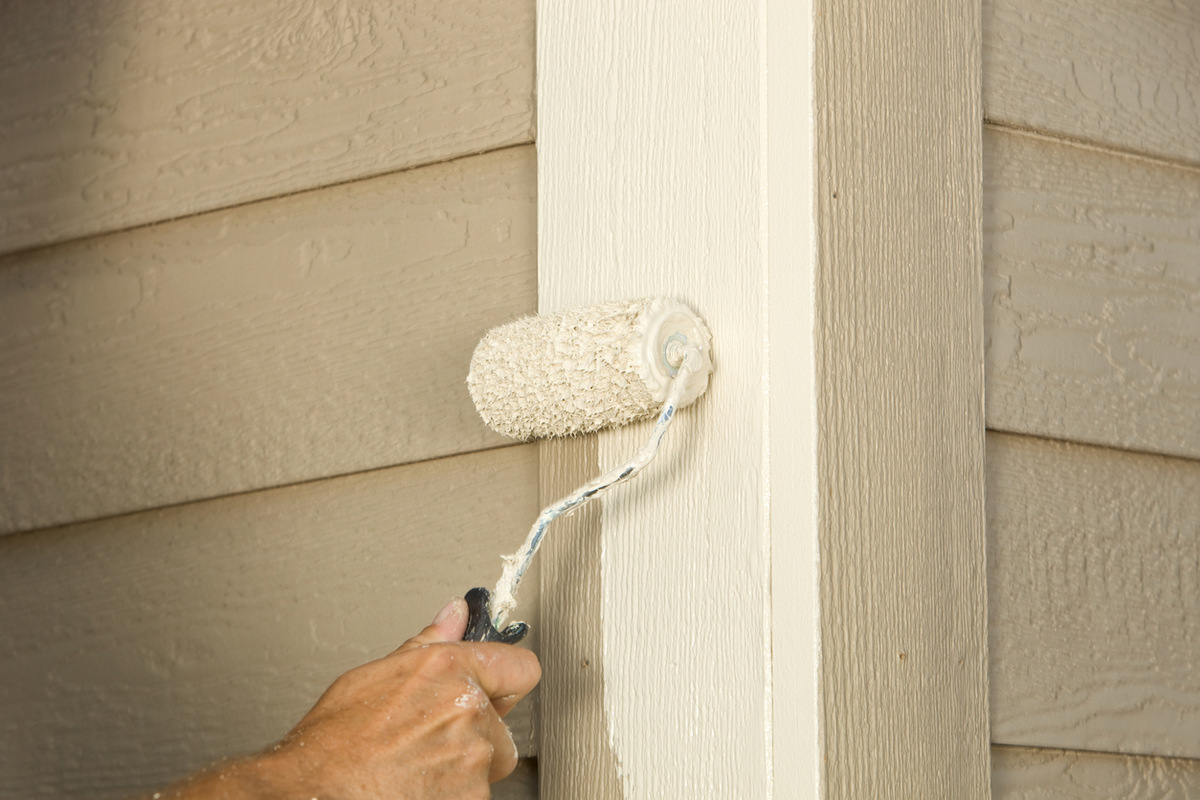
1. Caulking and sealing:
Once all the siding pieces are securely attached, inspect the seams and joints for any gaps or openings. Apply exterior caulking to seal these areas, preventing moisture and pests from entering. Smooth out the caulking using a caulk smoothing tool or your finger for a clean finish.
Read more: How To Replace Wood Siding
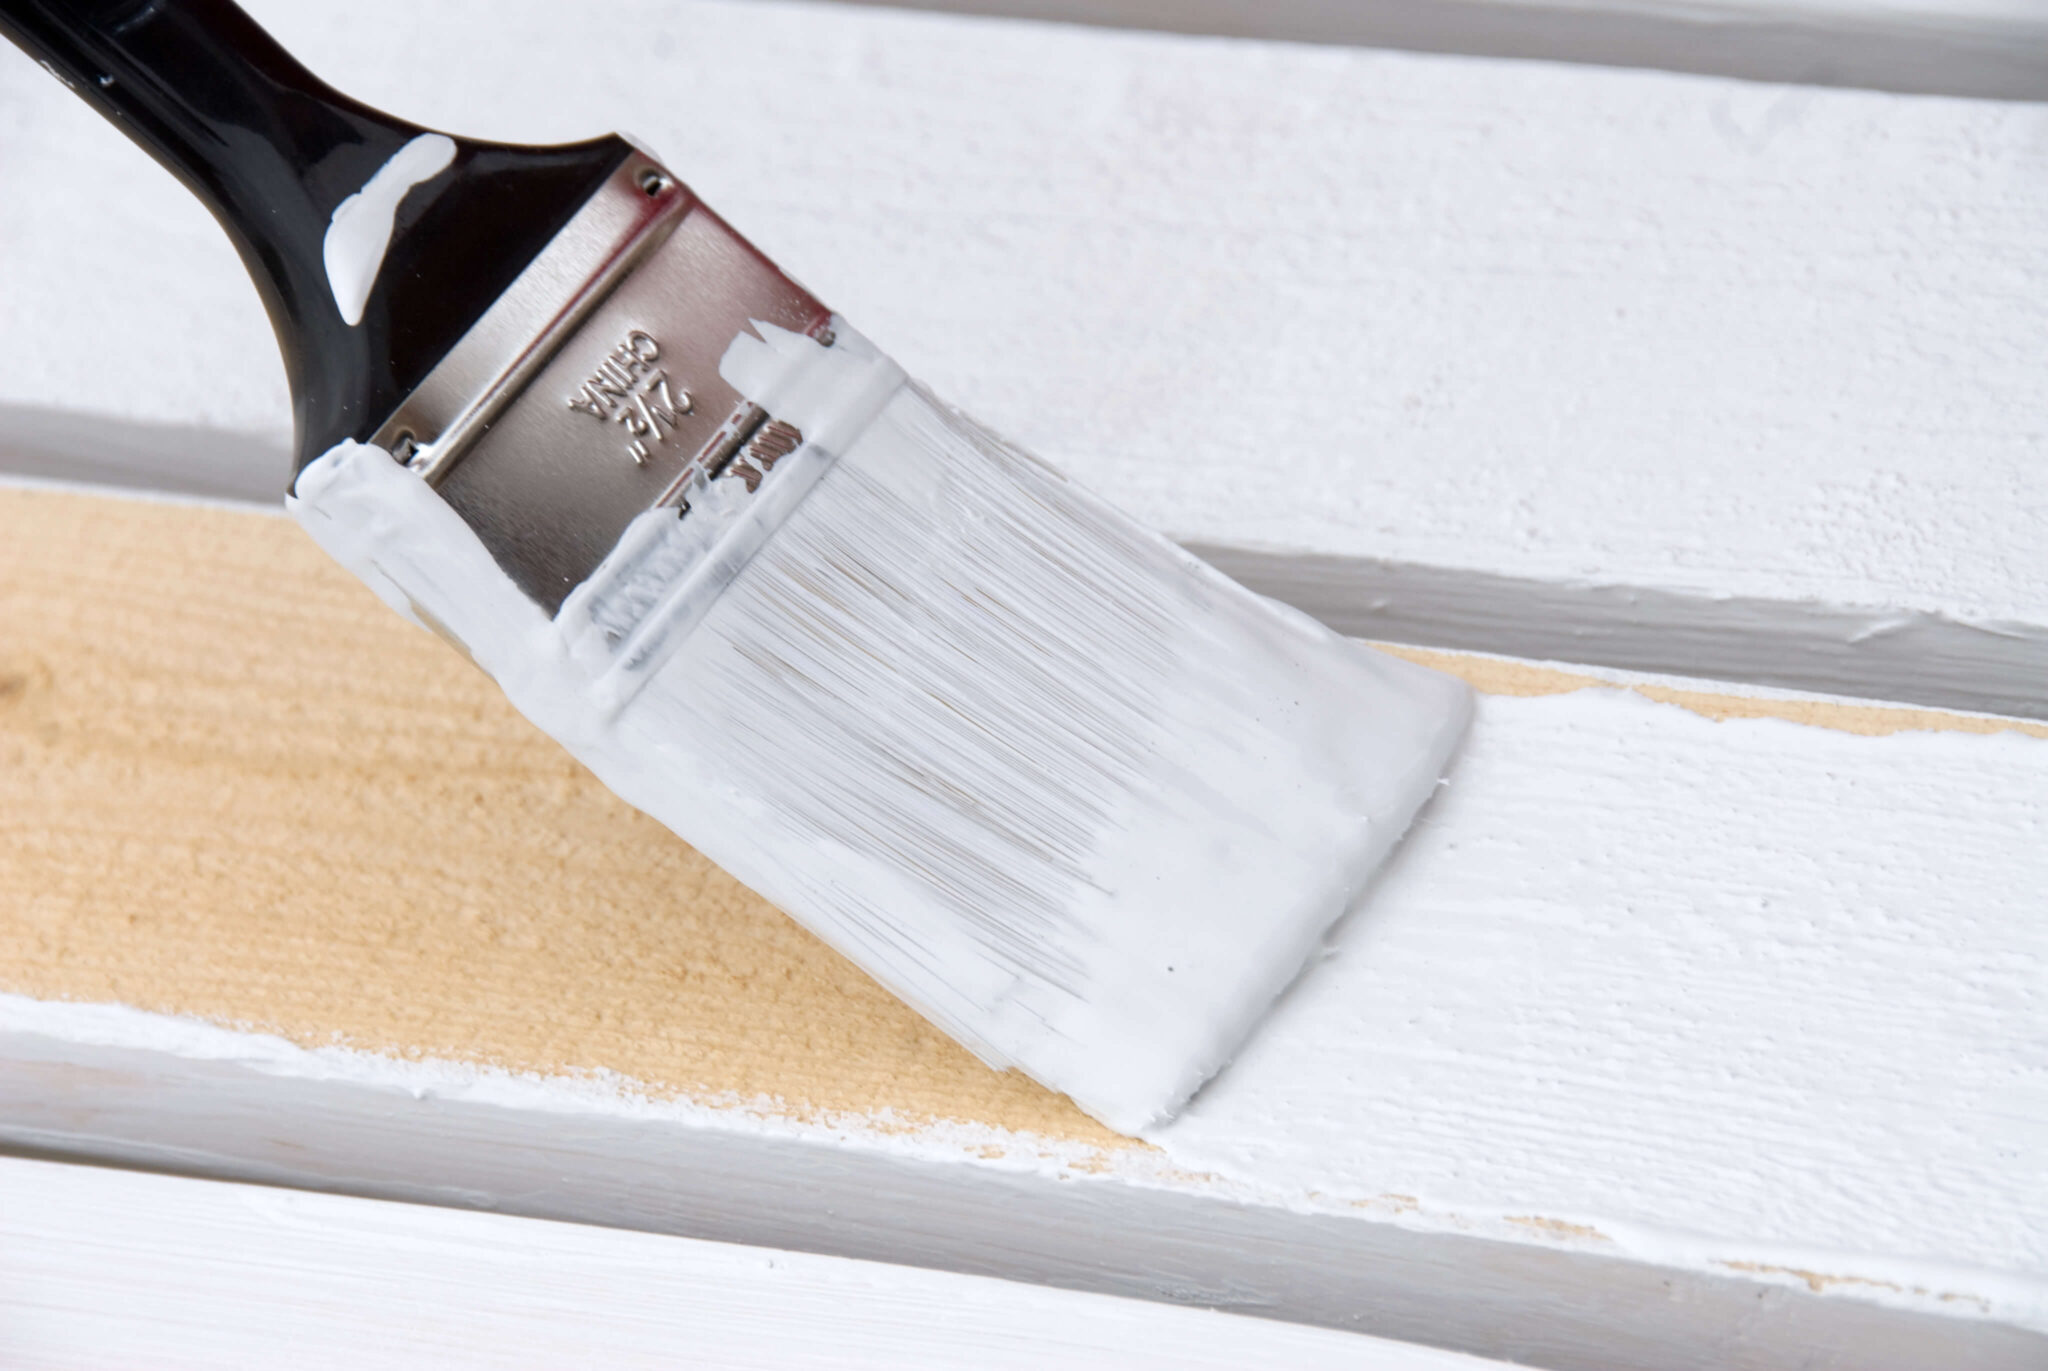
2. Priming and painting:
If the repaired area or the entire siding needs repainting, it’s important to prime the wood surface first. Apply a coat of primer to protect the wood and promote adhesion of the paint. After the primer has dried, apply a high-quality exterior paint or stain that is suitable for wood siding. Follow the manufacturer’s instructions for application and drying times.
3. Regular maintenance:
To keep your wood siding in optimal condition, it’s important to perform regular maintenance tasks:
- Inspect the siding annually for any signs of damage, decay, or pests. Address any issues promptly to prevent further damage.
- Trim back vegetation surrounding the siding to prevent moisture buildup and reduce the risk of pest infestation.
- Keep the siding clean by washing it with a mild detergent and water. Use a soft brush or sponge for gentle scrubbing. Avoid using high-pressure washers as they can damage the wood.
- Monitor the caulking and touch up areas where it has cracked or deteriorated. Replace any damaged caulking to maintain a watertight seal.
- Inspect and clean gutters and downspouts regularly to ensure proper drainage and prevent water from backing up into the siding.
- Consider using a wood preservative to protect the siding from moisture, fungal growth, and insect damage. Follow the manufacturer’s instructions and reapply as necessary.
4. Professional maintenance:
If you are unsure about any aspects of wood siding repair or upkeep, or if you encounter severe damage that requires specialized knowledge, it’s recommended to consult with a professional contractor. They can provide expert advice and ensure that the repair work is done correctly and efficiently.
By following these finishing touches and maintenance tips, you can help extend the lifespan of your wood siding and maintain its beauty for years to come.
With the completion of these steps and tips, you have successfully repaired and maintained your wood siding. By following these instructions and taking proper care, you can ensure that your wood siding remains a durable and attractive feature of your home’s exterior.
Conclusion
Repairing wood siding may seem like a daunting task, but with the right knowledge and tools, it can be a manageable and rewarding project. By assessing the damage, gathering the necessary tools and materials, removing the damaged siding, preparing the replacement piece, installing it, reattaching the surrounding siding, and adding the finishing touches and performing regular maintenance, you can restore the integrity and beauty of your wood siding.
Remember to carefully inspect your wood siding for any signs of damage, rot, or insect infestation. Addressing these issues promptly will help prevent further damage and prolong the lifespan of your siding.
Properly preparing and installing the replacement piece ensures a seamless fit and enhances the overall appearance of your siding. Taking time to reattach the surrounding siding securely and applying caulking and sealants will protect against moisture infiltration and maintain the structural integrity of your wood siding.
Regular maintenance, including cleaning, inspecting, and performing necessary touch-ups, is essential for the long-term durability and aesthetics of your wood siding. By following these maintenance tips and seeking professional assistance when needed, you can preserve your wood siding for many years to come.
Repairing wood siding not only improves the functionality and aesthetics of your home’s exterior, but it also enhances its value and curb appeal. With the knowledge and guidance provided in this article, you can confidently tackle wood siding repairs and enjoy the satisfaction of a job well done.
Always remember to prioritize safety during the repair process by wearing appropriate protective gear and exercising caution when working with tools and equipment. If you are unsure about any aspect of the repair or if the damage is extensive, it’s best to consult with a professional contractor for expert advice and assistance.
With these tips and guidelines in mind, you are well-equipped to repair and maintain your wood siding, ensuring that your home remains beautiful and protected for years to come.
Frequently Asked Questions about How To Repair Wood Siding
Was this page helpful?
At Storables.com, we guarantee accurate and reliable information. Our content, validated by Expert Board Contributors, is crafted following stringent Editorial Policies. We're committed to providing you with well-researched, expert-backed insights for all your informational needs.


0 thoughts on “How To Repair Wood Siding”