
Articles
How To Store Cross Stitch Projects
Modified: August 27, 2024
Learn how to properly store your cross stitch projects with our articles. Discover the best tips and techniques to keep your work safe and preserved for years to come.
(Many of the links in this article redirect to a specific reviewed product. Your purchase of these products through affiliate links helps to generate commission for Storables.com, at no extra cost. Learn more)
Introduction
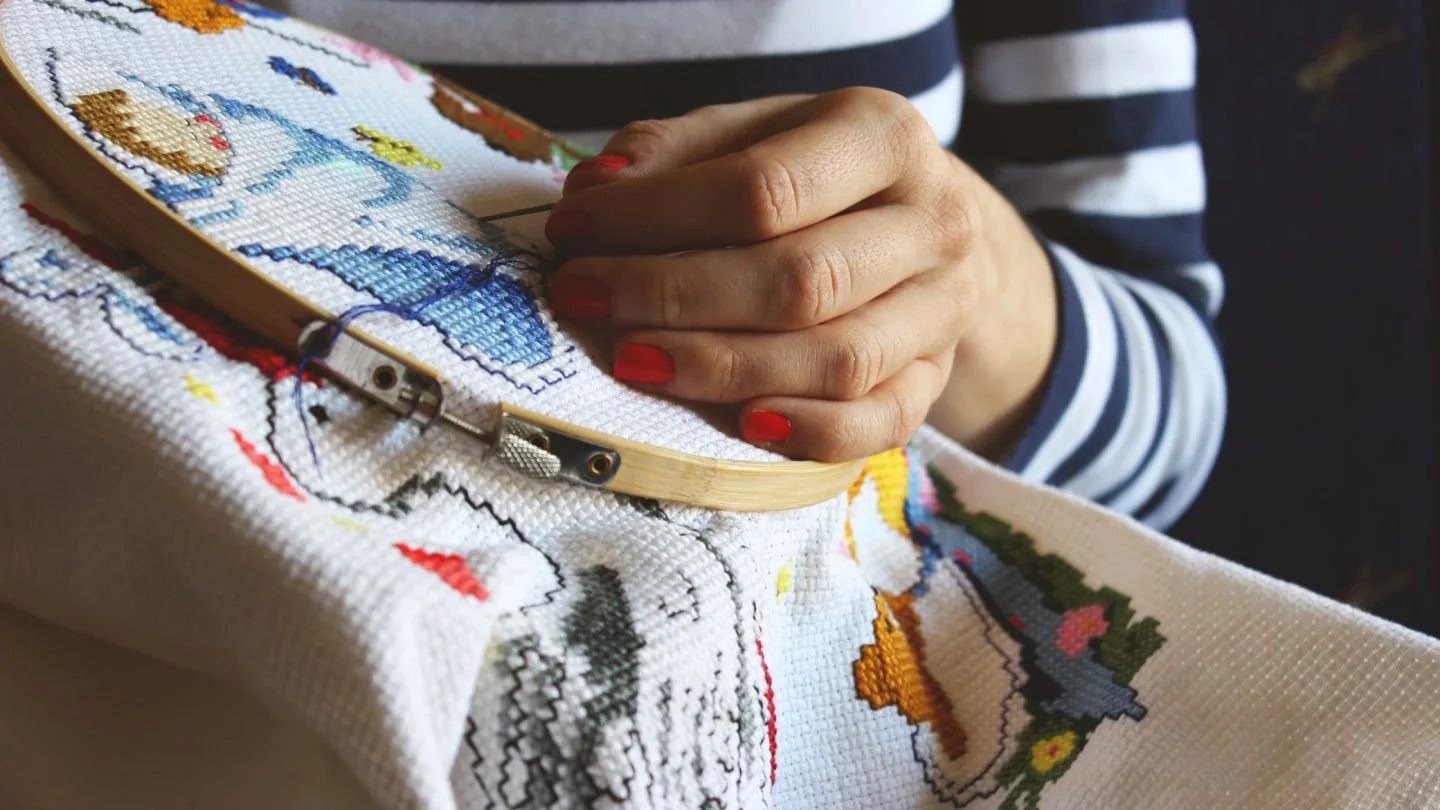
Cross stitch projects are a labor of love, requiring hours of meticulous work and attention to detail. Whether you’re a seasoned cross stitcher or just starting out, ensuring proper storage for your completed projects is essential for preserving their beauty and longevity. Proper storage not only prevents damage from dust, moisture, and pests but also ensures they remain in excellent condition for years to come.
In this article, we will explore various methods and materials for storing cross stitch projects, including folded storage, flat storage, hanging storage, and display and framing options. Additionally, we will provide tips for cleaning and preparing your projects for storage and offer guidance on long-term preservation.
By following these tips and investing a little time and effort into proper storage, you can safeguard the fruits of your cross stitch labor and enjoy them for many years to come.
Key Takeaways:
- Preserve the beauty of your cross stitch projects by choosing the right storage materials, cleaning and preparing them diligently, and exploring various storage and display options to showcase your hard work.
- Ensure the longevity of your cross stitch projects by implementing long-term storage tips, such as protecting them from sunlight and pests, monitoring humidity levels, and making digital backups of your designs.
Choosing the Right Storage Materials
When it comes to storing your cross stitch projects, selecting the right materials is crucial for their preservation. Here are some essential storage materials to consider:
- Acid-free storage containers: Acid-free plastic containers or archival-quality boxes are ideal for keeping your cross stitch projects safe. These containers help prevent yellowing, discoloration, and deterioration of your fabric and threads over time.
- Acid-free tissue paper: Use acid-free tissue paper to wrap your projects before placing them in storage. This helps to protect the fabric from creasing and minimizes the risk of fading and color transfer.
- Ziplock bags: Opt for clear, acid-free, and resealable ziplock bags to store smaller projects or individual parts of larger projects. This keeps them organized and protected from dust and moisture.
- Thread organizers: Invest in thread organizers or bobbin cards to keep your threads neatly organized and tangle-free. This makes it easier to find and use specific colors for future projects.
By using these materials, you can ensure that your cross stitch projects are well-protected from potential damage and deterioration.
Cleaning and Preparing Your Cross Stitch Projects
Before storing your cross stitch projects, it’s important to clean and prepare them properly to prevent any dirt or stains from setting in. Here are some steps to follow:
- Remove loose debris: Gently shake off or use a soft brush to remove any loose dirt or debris from your project. Avoid using excessive force, as this can damage the delicate stitches.
- Spot clean if necessary: If you notice any stains or spots on your project, use a mild detergent or stain remover specifically designed for delicate fabrics. Apply it with a soft brush or sponge in a gentle, circular motion. Thoroughly rinse and air dry your project before proceeding.
- Iron with caution: If your project has wrinkles or creases, iron it on the reverse side using a low heat setting. Use a pressing cloth or a clean white cotton cloth to protect the stitches. Avoid ironing directly on top of the stitches, as this can flatten or distort them.
- Consider framing or mounting: If you plan to display your cross stitch project, consider framing it or mounting it on a foam core board. This not only adds a professional touch but also provides additional protection against dust and damage. Ensure that the framing materials are acid-free to prevent any long-term deterioration.
By following these steps, you can ensure that your cross stitch projects are clean, wrinkle-free, and ready for storage.
Folded Storage Methods
Folded storage is a popular and space-efficient way to store your cross stitch projects. Here are a few folded storage methods to consider:
- Stacking in acid-free containers: Place your folded projects in acid-free plastic containers or archival-quality boxes. Stack them neatly, separating each project with acid-free tissue paper to prevent any friction or color transfer between them. Make sure to label the containers to easily identify the projects.
- Ziplock bags for smaller projects: For smaller cross stitch projects, you can store them individually in acid-free, resealable ziplock bags. Be sure to remove as much air as possible from the bags before sealing them to minimize the risk of moisture buildup.
- Hanging bags or garment storage: If you prefer to hang your folded projects, consider using hanging bags or garment storage bags specifically designed for storing textiles. These bags protect your projects from dust and allow for easy identification.
Regardless of the folded storage method you choose, always ensure that your projects are clean, dry, and properly folded without any tension or stress on the fabric. This will help prolong their lifespan and prevent any unnecessary damage.
Flat Storage Methods
For larger cross stitch projects or those with delicate stitching, flat storage is an ideal option to prevent creasing and maintain the integrity of the stitches. Here are a few flat storage methods to consider:
- Acid-free foam boards: Place your completed cross stitch projects on acid-free foam boards to keep them flat and protected. Use acid-free tape or clips to secure the fabric to the board, being careful not to damage the stitches. You can then stack these boards in an acid-free container or lay them flat in a storage box.
- Acid-free sleeves or folders: Slide your flat cross stitch projects into acid-free sleeves or folders to protect them from dust and light. These sleeves or folders should be of an appropriate size, so the fabric isn’t folded or compressed too tightly.
- Flat file cabinets: If you have a larger collection of cross stitch projects, consider using a flat file cabinet or drawers specifically designed for storing artwork or documents. These cabinets provide a convenient and organized way to store your projects while keeping them flat and protected.
When using flat storage methods, it’s essential to ensure that your projects are clean, dry, and free from any sharp objects that could potentially damage the delicate stitches. By following these flat storage methods, you can preserve the beauty of your cross stitch projects for years to come.
Store cross stitch projects in acid-free plastic bags or containers to protect them from dust, moisture, and pests. Keep them in a cool, dry place away from direct sunlight to prevent fading.
Hanging Storage Methods
If you prefer to display your cross stitch projects or have limited space for storage, hanging storage methods can be a practical and visually appealing solution. Here are a few options:
- Wall-mounted frames: Consider framing your cross stitch projects and hanging them on the wall. Choose frames that are specifically designed for textile art, ensuring they provide ample protection against dust and UV damage.
- Hanging organizers: Invest in hanging organizers with clear pockets or compartments to store your folded cross stitch projects. These organizers are ideal for smaller projects or works in progress, allowing you to easily see and access your projects.
- Hanging garment bags: If you have larger cross stitch projects or collections, consider using hanging garment bags. These bags provide ample space to store your projects while protecting them from dust and pests. Hang them in a closet or on a dedicated garment rack.
When using hanging storage methods, it’s important to ensure that your projects are clean, free from any moisture, and properly supported to prevent any tension or stress on the fabric. Regularly inspect your projects to ensure that they are in good condition and make any necessary adjustments to the hanging storage setup.
Hanging storage methods not only keep your cross stitch projects organized but also provide an opportunity to showcase your hard work and artistic talent.
Display and Framing Options
Displaying and framing your cross stitch projects adds a beautiful finishing touch and allows you to showcase your intricate work. Here are some options to consider:
- Traditional framing: Opt for traditional framing by taking your cross stitch project to a professional framer. They will help you select a suitable frame, matting, and glass that will protect your project while enhancing its appearance. Ensure that acid-free materials are used to prevent any potential damage.
- Floating frames: Floating frames are a modern and unique way to display cross stitch projects. The fabric is stretched over a backing board, and then the frame is placed around it, giving the illusion that the fabric is floating within the frame. This option allows the intricate details of your cross stitch to be clearly visible.
- Showcase box frames: Showcase box frames are deeper frames that allow you to display your cross stitch project in a three-dimensional manner. This option works well for cross stitch projects with added embellishments or if you prefer a more layered, textured look.
- Embroidery hoops: Embroidery hoops are a simple yet charming way to display smaller cross stitch projects. Simply place your fabric in the hoop, tighten it, and hang it on the wall. You can even create a gallery wall with a collection of cross stitch hoops for a unique display.
When choosing a display or framing option, consider the style and size of your cross stitch project. The goal is to showcase your hard work while ensuring its long-term preservation. Take into account the aesthetics of the room or space where you plan to display your project to create a cohesive and visually appealing display.
Remember to handle your cross stitch projects with clean hands and avoid excessive touching, as oils and dirt from your hands can transfer onto the fabric and potentially cause damage over time.
Additional Tips for Long-Term Storage
When it comes to long-term storage of your cross stitch projects, proper care and precautions are essential. Here are some additional tips to ensure the longevity of your cherished creations:
- Avoid direct sunlight: Exposure to direct sunlight can fade the colors of your cross stitch projects over time. Store them in a cool, dark place away from windows or use UV-protective glass if displaying them in a well-lit area.
- Monitor humidity levels: High humidity can lead to moisture build-up, which can cause mold and mildew to develop on your projects. Aim for a humidity level of around 50%, and consider using moisture-absorbing products like silica gel packets or dehumidifiers in the storage area.
- Regularly inspect and rotate: Periodically inspect your stored cross stitch projects for any signs of damage or pests. Additionally, rotate the projects to ensure equal exposure to light and air circulation.
- Keep away from pets and pests: Protect your cross stitch projects from potential damage by keeping them away from pets, as they may be tempted to chew or play with the fabric. Also, take precautions to prevent pests like moths or mice from infesting your storage area.
- Backup digital copies: If you have digital cross stitch patterns or designs, make backup copies and store them separately from your physical projects. This ensures you have a backup in case of accidental loss or damage.
Remember that prevention is key when it comes to long-term storage. By implementing these tips, you can prolong the life of your cross stitch projects and continue to enjoy their beauty for years to come.
Conclusion
Proper storage and preservation of your cross stitch projects are essential for maintaining their beauty and ensuring their longevity. By following the tips and techniques outlined in this article, you can protect your hard work and enjoy your cross stitch projects for years to come.
Start by choosing the right storage materials, such as acid-free containers, tissue paper, ziplock bags, and thread organizers. Cleaning and preparing your projects diligently before storage is crucial to prevent dirt and stains from setting in.
Consider the storage methods that suit your needs, including folded storage in acid-free containers, flat storage using foam boards or acid-free sleeves, or hanging storage options like wall frames or garment bags. Each method has its advantages, so choose the one that works best for your collection.
Displaying your cross stitch projects not only protects them but also allows others to admire your skill and creativity. Explore traditional framing, floating frames, showcase box frames, or the simplicity of embroidery hoops to showcase your work in a visually appealing way.
Remember to take additional precautions for long-term storage, such as protecting the projects from direct sunlight, monitoring humidity levels, inspecting and rotating them periodically, and keeping them away from pets and pests. Don’t forget to make digital backups of your patterns and designs for added security.
By following these guidelines, you can safeguard your cross stitch projects and ensure that they remain vibrant and beautiful for generations to come. Take the time to properly store and care for your cross stitch projects, and they will continue to bring joy and admiration for many years.
Frequently Asked Questions about How To Store Cross Stitch Projects
Was this page helpful?
At Storables.com, we guarantee accurate and reliable information. Our content, validated by Expert Board Contributors, is crafted following stringent Editorial Policies. We're committed to providing you with well-researched, expert-backed insights for all your informational needs.








0 thoughts on “How To Store Cross Stitch Projects”