Home>Articles>How To Finish The Back Of Stamped Cross Stitch Quilt
Articles
How To Finish The Back Of Stamped Cross Stitch Quilt
Modified: December 7, 2023
Learn how to finish the back of your stamped cross stitch quilt with these detailed articles. Enhance your quilting skills and create beautiful masterpieces.
(Many of the links in this article redirect to a specific reviewed product. Your purchase of these products through affiliate links helps to generate commission for Storables.com, at no extra cost. Learn more)
Introduction
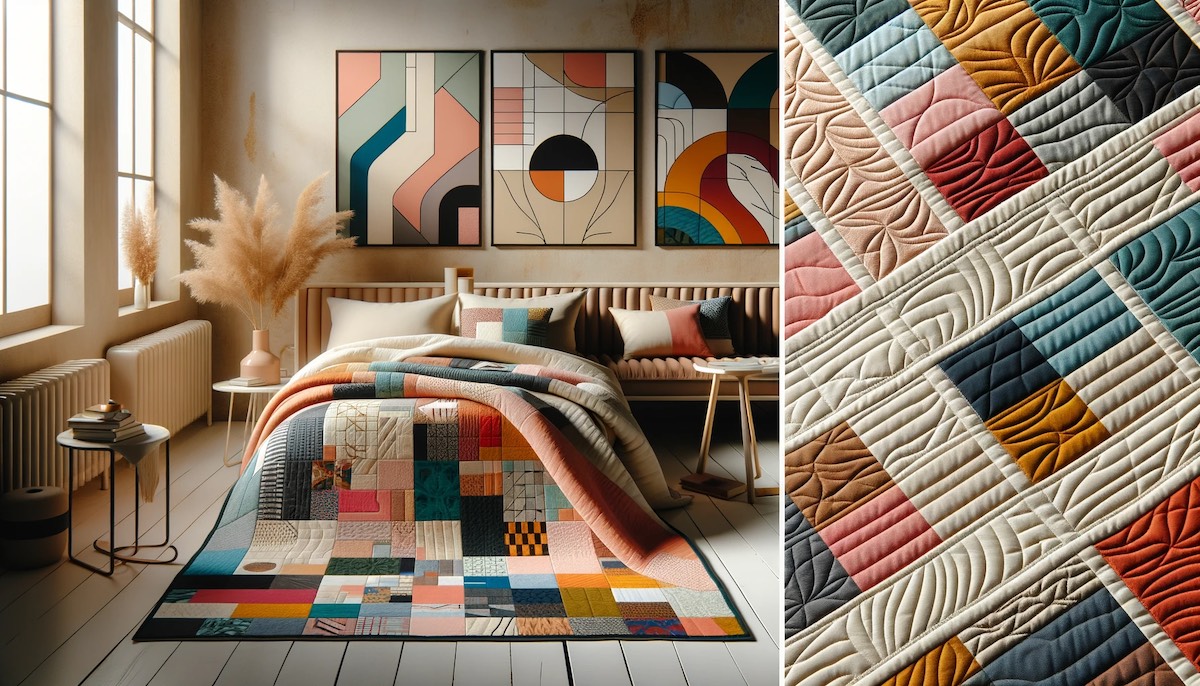
Stamped cross stitch quilting is a popular craft that allows you to create beautiful and intricate designs on fabric. While most of the focus is on the front of the quilt, it’s important not to forget about the back! Finishing the back of a stamped cross stitch quilt not only adds a polished look to your finished project but also helps protect the stitching and keeps the quilt durable over time.
In this article, we’ll guide you through the process of finishing the back of a stamped cross stitch quilt. We’ll cover everything from preparing the backing fabric to stitching the design and finishing the edges. By following these steps, you’ll be able to create a professional-looking quilt that you can be proud of.
Key Takeaways:
- Create a professional stamped cross stitch quilt by carefully preparing the backing fabric, choosing the right batting, and stitching the design with precision. Finish with a polished edge for a durable and beautiful masterpiece.
- Infuse creativity and care into your stamped cross stitch quilting process. From arranging the design to adding final touches, each step contributes to a unique and cherished quilt. Enjoy the art of quilting and let your creativity soar!
Read more: How To Store Cross Stitch Projects
Materials Needed
Before we dive into the process, let’s gather the materials you’ll need:
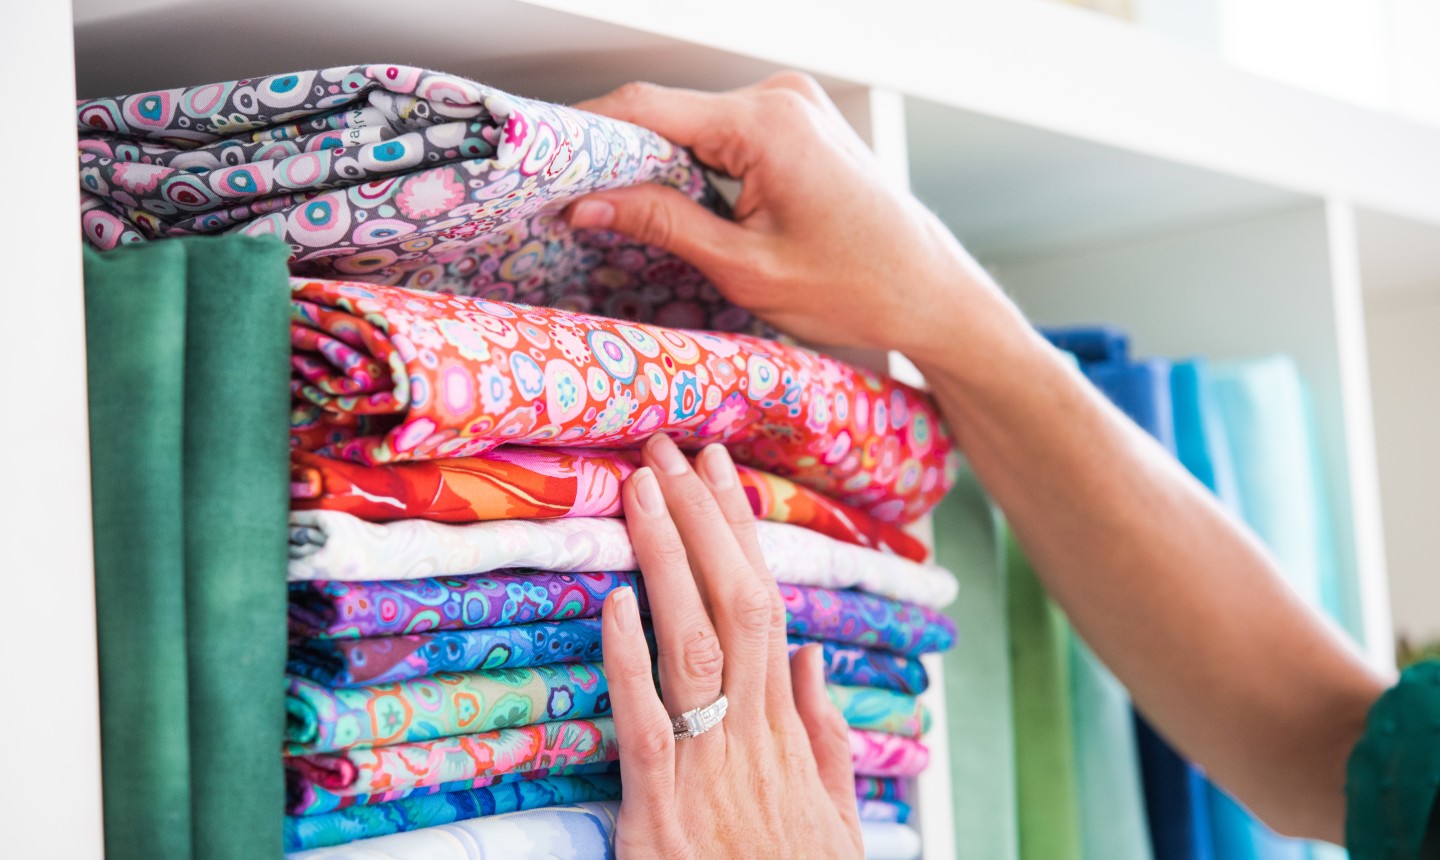
- Back fabric – Choose a fabric that complements your stamped cross stitch design. It should be sturdy and of high quality.
- Batting – This is the material that goes between the back fabric and the cross stitch design. It adds warmth and thickness to the quilt.
- Thread – Select a thread color that matches or complements the colors in your stamped cross stitch design.
- Needle – Use a needle suitable for stitching through multiple layers of fabric and batting.
- Scissors – Sharp scissors will be needed to trim the fabric and batting.
- Pins or clips – These will be used to hold the layers together while stitching.
- Iron and ironing board – Ironing will help smooth out the fabric and prepare it for stitching.
- Sewing machine (optional) – While hand-stitching is traditional, using a sewing machine can save time and make the process more efficient.
Once you have gathered all the necessary materials, you are ready to start finishing the back of your stamped cross stitch quilt.
Key Takeaways:
- Create a professional stamped cross stitch quilt by carefully preparing the backing fabric, choosing the right batting, and stitching the design with precision. Finish with a polished edge for a durable and beautiful masterpiece.
- Infuse creativity and care into your stamped cross stitch quilting process. From arranging the design to adding final touches, each step contributes to a unique and cherished quilt. Enjoy the art of quilting and let your creativity soar!
Read more: How To Store Cross Stitch Projects
Materials Needed
Before we dive into the process, let’s gather the materials you’ll need:
- Back fabric – Choose a fabric that complements your stamped cross stitch design. It should be sturdy and of high quality. Cotton or cotton blend fabrics are commonly used for quilting.
- Batting – This is the material that goes between the back fabric and the cross stitch design. It adds warmth and thickness to the quilt. There are various types of batting available, such as cotton, polyester, wool, or a blend of these materials. Choose one that suits your preferences and the desired effect for your quilt.
- Thread – Select a thread color that matches or complements the colors in your stamped cross stitch design. It’s essential to use a thread specifically designed for quilting to ensure durability.
- Needle – Using a needle suitable for stitching through multiple layers of fabric and batting is crucial. A quilting needle or a needle with a larger eye and sharp point is recommended for easy stitching.
- Scissors – Sharp scissors will be needed to trim the fabric and batting. You may want to have both fabric scissors and small embroidery scissors for precision cutting.
- Pins or clips – These will be used to hold the layers together while stitching. Quilting pins or clips specially designed for quilting will ensure that the layers stay in place securely.
- Iron and ironing board – Ironing will help smooth out the fabric and prepare it for stitching. Make sure to have an iron and an ironing board handy for this step.
- Sewing machine (optional) – While hand-stitching is traditional, using a sewing machine can save time and make the process more efficient. If you decide to use a sewing machine, ensure that you have the appropriate thread and needle for machine quilting.
Once you have gathered all the necessary materials, you are ready to start finishing the back of your stamped cross stitch quilt.
Step 1: Preparing the Backing Fabric
The backing fabric plays a crucial role in the overall appearance and durability of your stamped cross stitch quilt. Follow these steps to prepare the backing fabric:
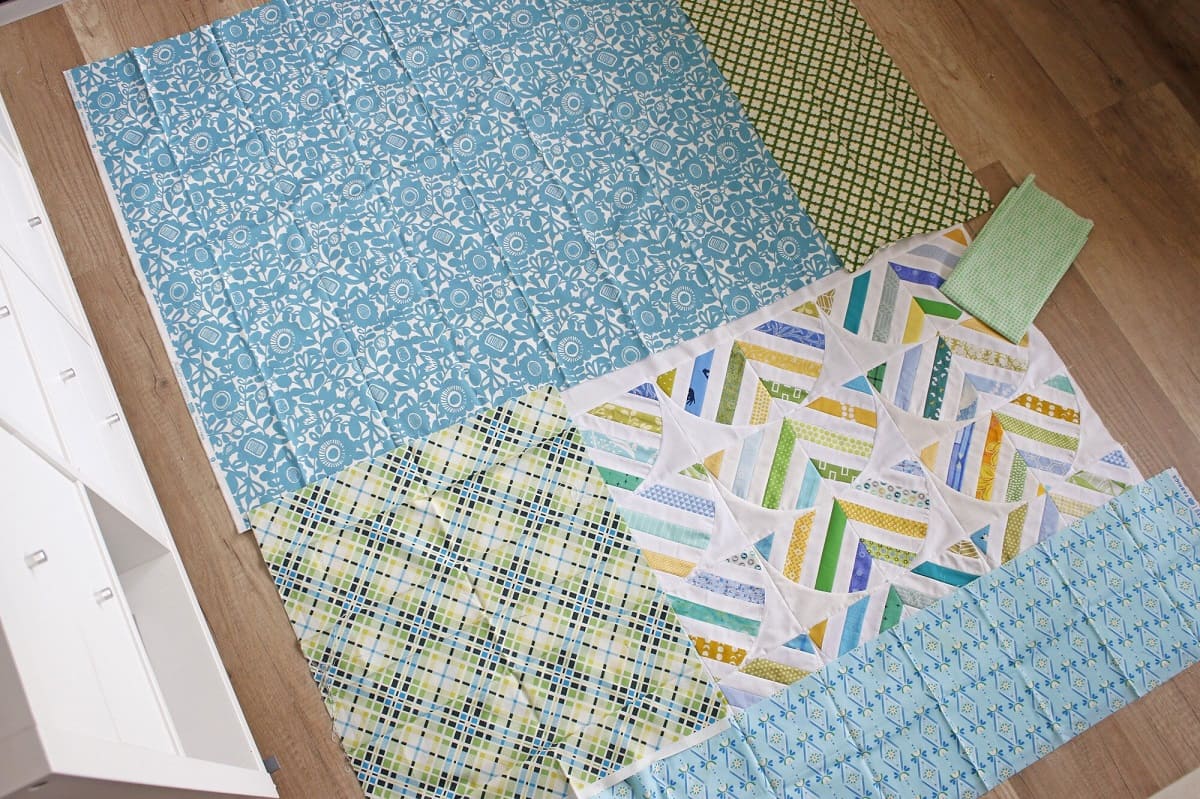
- Measure and cut the fabric: Start by measuring your quilt top to determine the size of the backing fabric you’ll need. Add a few extra inches to each side for seam allowances. Once you have the measurements, use a rotary cutter and cutting mat to cut the fabric to the desired size.
- Press the fabric: Take the cut fabric and give it a good press with an iron to remove any wrinkles or creases. This will help ensure a smooth and professional-looking finish.
- Square up the fabric: Check to see if the edges of the fabric are straight and even. If necessary, trim any uneven edges to create a neat and square piece of fabric.
By taking the time to properly prepare the backing fabric, you’ll have a solid foundation for the rest of the quilting process.
Step 2: Choosing and Preparing the Batting
The batting is an essential layer that adds warmth, thickness, and structure to your stamped cross stitch quilt. Follow these steps to choose and prepare the batting:
- Consider the type of batting: There are various types of batting available, each with its own characteristics. Cotton batting offers a traditional, natural look and provides a soft and breathable feel. Polyester batting is a popular choice for its durability and ability to retain loft. Wool batting provides excellent insulation and warmth. Consider the desired look and feel of your quilt when choosing the type of batting.
- Measure and cut the batting: Measure the size of your backing fabric and cut the batting to match these dimensions. It is recommended to cut the batting slightly larger than the fabric to ensure that it covers the entire quilt.
- Prepare the batting: Before attaching the batting to the backing fabric, it’s important to prepare the batting to minimize shifting and ensure a smooth finish. Gently unfold the batting and lay it on a flat surface. If there are any wrinkles or creases, you can lightly steam or press the batting with an iron on a low setting to smooth it out. Avoid stretching or pulling the batting, as this can distort its shape.
Choosing the right batting and properly preparing it will contribute to the overall look and feel of your stamped cross stitch quilt. Take your time to make the best selection and ensure the batting is ready for the next steps.
Read more: How To Make A Postage Stamp Quilt
Step 3: Attaching the Batting to the Backing Fabric
Attaching the batting to the backing fabric is an important step in creating a stable and durable stamped cross stitch quilt. Follow these steps to securely attach the batting:
- Lay out the backing fabric: Start by laying the backing fabric on a flat surface, right side down. Smooth out any wrinkles or creases to ensure a flat surface for layering.
- Position the batting: Place the prepared batting on top of the backing fabric, aligning the edges. Make sure the batting is centered and evenly distributed on the fabric.
- Secure the layers: To hold the layers together while stitching, you can use pins or clips. Start by pinning or clipping the layers at the center, then work your way towards the edges, spacing the pins or clips a few inches apart. This will prevent the layers from shifting during the stitching process.
- Smooth out the layers: Take a moment to smooth out any wrinkles or folds that may have formed in the batting. Using your hands, gently press down and smooth out the fabric and batting, starting from the center and working towards the edges. This will help ensure a flat and even surface for stitching.
Attaching the batting to the backing fabric will provide stability and structure to your stamped cross stitch quilt. The layers should be securely held together, ready for the next step of stitching the design.
When finishing the back of a stamped cross stitch quilt, use a fabric backing to cover the stitches and protect them from wear and tear. This will also give the quilt a neater and more professional finish.
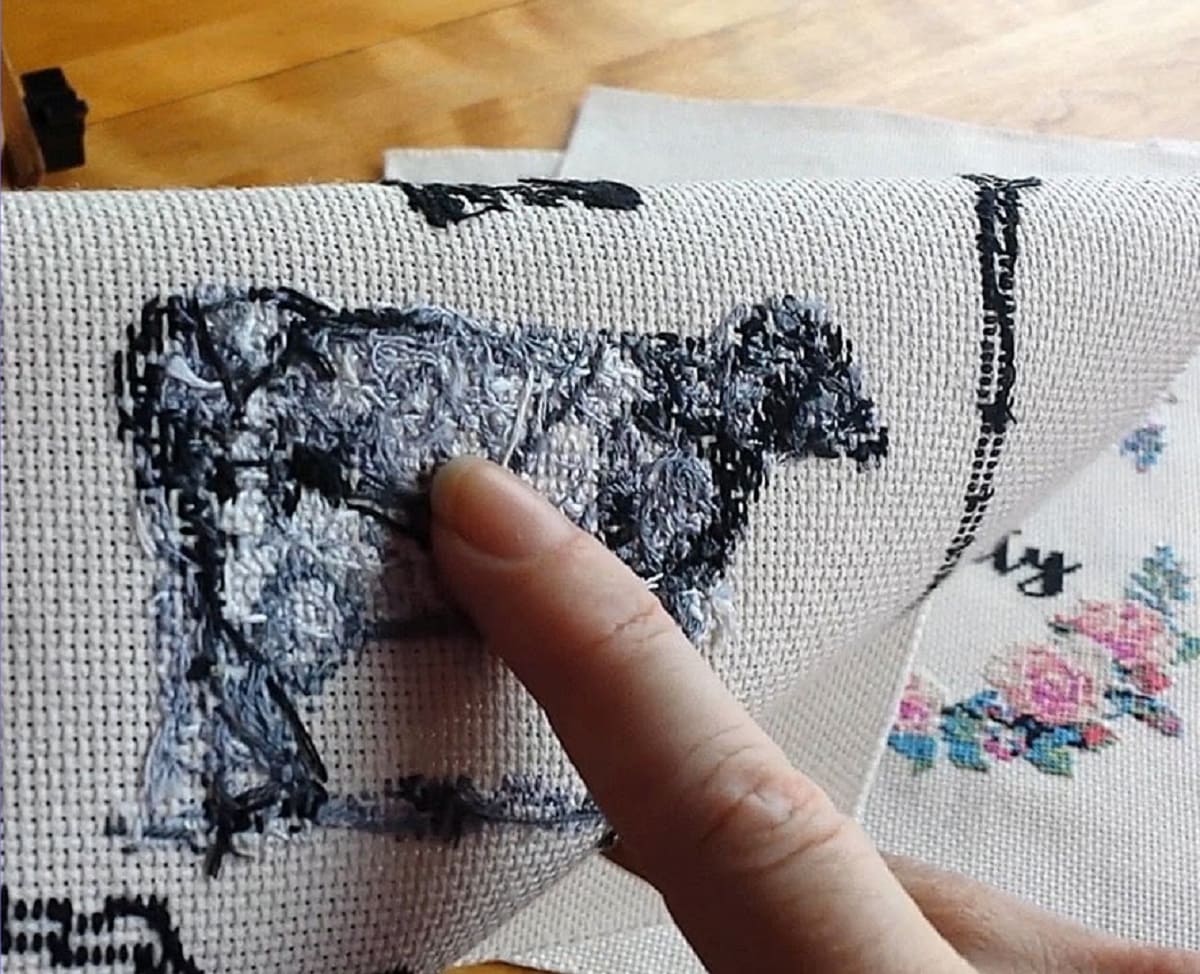
Step 4: Arranging and Marking the Stamped Cross Stitch Design
Before you start stitching the design, it’s important to carefully arrange and mark the stamped cross stitch design on the backing fabric. Follow these steps to ensure accurate placement:
- Lay out the stamped design: Lay the stamped cross stitch design on top of the batting, making sure it is centered and aligned with the fabric. Smooth out any wrinkles or bubbles in the design to create a flat surface.
- Secure the design: To hold the design in place while marking, you can use pins or clips along the edges. Make sure the design is securely attached to prevent shifting during the stitching process.
- Mark the key points: Use a fabric marker or a water-soluble pen to mark the key points of the design, such as the corners, center, and any specific reference points. These marks will serve as guides when stitching the design.
- Transfer additional markings: If the stamped design includes additional markings for specific stitches or colors, transfer those markings onto the fabric as well. This will help you follow the design accurately and achieve the desired outcome.
- Double-check the arrangement: Take a step back and double-check the arrangement of the design on the fabric. Ensure that it is positioned correctly and aligned with your vision for the finished quilt.
By taking the time to carefully arrange and mark the stamped cross stitch design, you’ll be well-prepared for the stitching process. These steps will help you achieve accurate placement and maintain consistency throughout the quilt.
Step 5: Stitching the Design on the Backing Fabric
Now that you have arranged and marked the stamped cross stitch design on the backing fabric, it’s time to start stitching. Follow these steps to bring your design to life:
- Select your stitching method: Decide whether you will be hand-stitching or using a sewing machine. Both methods can yield beautiful results, so choose the one that you are most comfortable with and suits your preferences.
- Thread your needle: Thread your needle with the appropriate color of thread. You can either use a single strand of embroidery floss for hand-stitching or a matching thread for machine stitching.
- Start stitching: Begin stitching according to the markings on the fabric. Follow the stamped design, making sure to maintain even and consistent stitches. Use a gentle hand and avoid pulling the thread too tightly to prevent puckering or distorting the fabric.
- Work in sections: Stitch the design in sections, gradually filling in each area. This will help you stay organized and prevent the fabric from wrinkling or bunching up as you work.
- Take breaks and reassess: It’s important to take breaks periodically to rest your eyes and evaluate your progress. Step back from your work and assess the overall look of the design. Make any necessary adjustments or corrections along the way.
- Continue stitching until complete: Work diligently until the entire design is stitched onto the fabric. Take your time to ensure neat and precise stitches.
Stitching the design on the backing fabric requires patience and attention to detail. Enjoy the process and take pride in each stitch as your stamped cross stitch quilt begins to take shape.
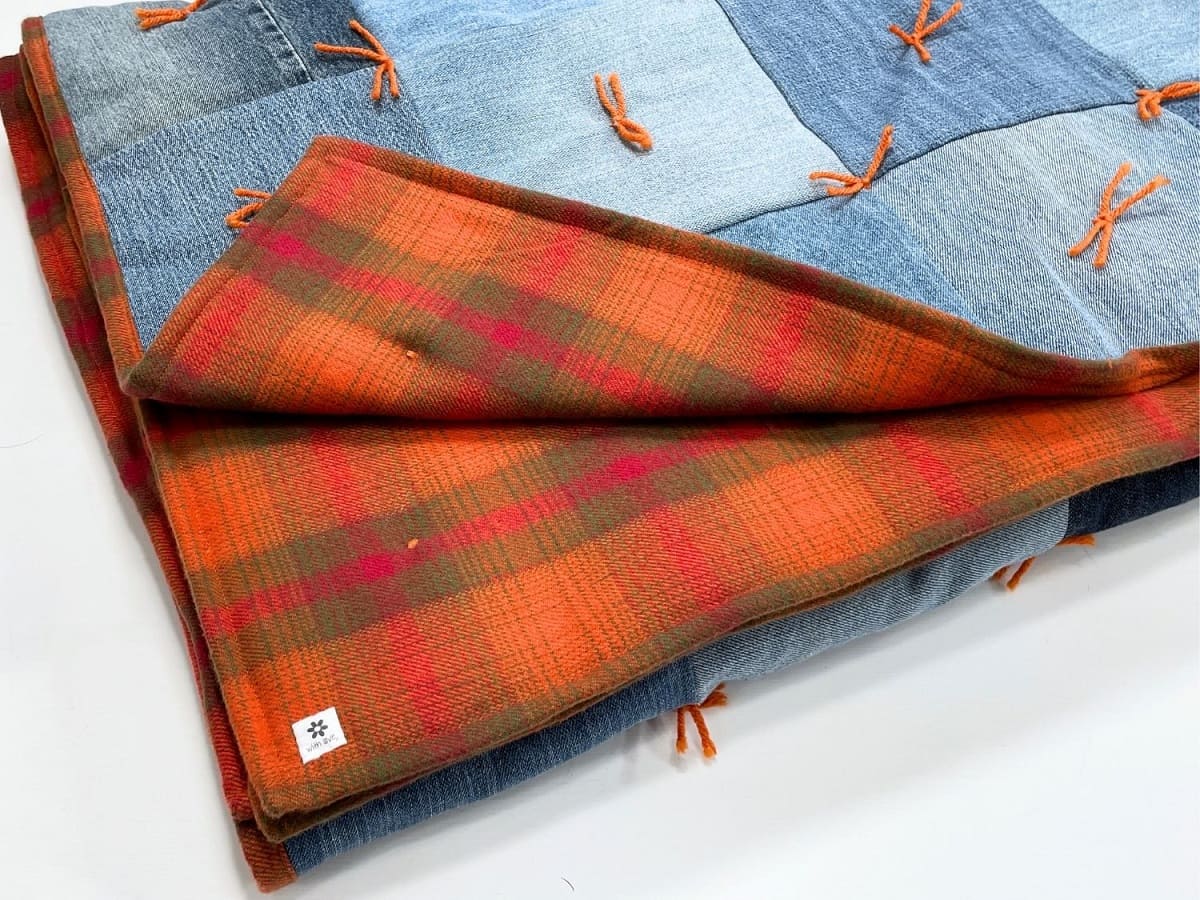
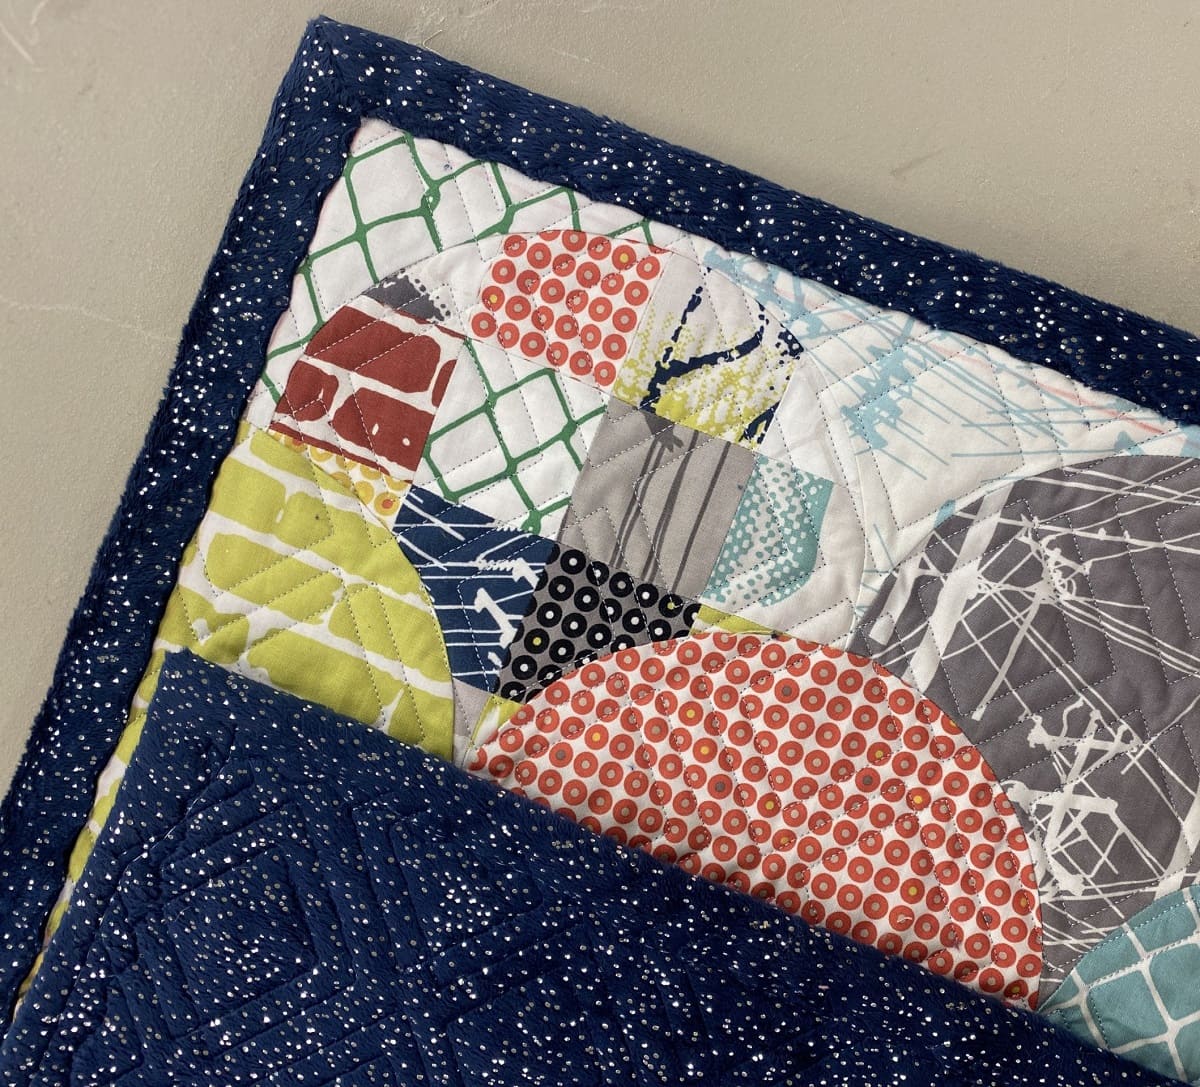
Step 6: Finishing the Edges of the Quilt
Once you have completed stitching the design on the backing fabric of your stamped cross stitch quilt, it’s time to finish the edges. Follow these steps to give your quilt a polished and professional look:
- Trim excess fabric: Use sharp scissors to carefully trim any excess backing fabric and batting that extends beyond the stitched design. Make sure to leave a small margin of fabric, about 1/4 to 1/2 inch, to prevent fraying.
- Create a binding: You can give your quilt a clean and finished look by attaching a binding. Cut fabric strips, usually 2.5 inches wide, and join them together to create a continuous strip. Fold the strip in half lengthwise, wrong sides together, and press to create a crease.
- Attach the binding: Starting in the middle of one side of the quilt, align the raw edges of the binding with the raw edges of the quilt. Pin or clip the binding in place, and sew along the crease line using a 1/4-inch seam allowance. Continue attaching the binding, mitering the corners as you go, until you reach the starting point.
- Finish the binding: Fold the binding over the raw edges of the quilt to the backside, covering the stitching line. Pin or clip the binding in place, and hand-stitch it to the back of the quilt using a blind stitch or ladder stitch. Ensure that your stitches are small and discreet.
- Secure the corners: For neat corners, fold the mitered corners of the binding diagonally and tuck them in before hand-stitching. This will create a clean, finished look.
- Press and trim: Once the binding is securely stitched to the back of the quilt, lightly press the quilt to remove any wrinkles and ensure a crisp finish. Trim any loose threads or excess fabric, and your quilt is now complete!
Finishing the edges of your stamped cross stitch quilt with a binding not only adds a professional touch but also helps protect the quilt and prevents fraying over time. Take your time during this step to ensure a neat and secure finish.
Read more: How To Finish Quilt Edges
Step 7: Final Touches and Care Instructions
Now that you have finished the edges of your stamped cross stitch quilt, it’s time to add some final touches and learn how to care for your beautiful creation. Follow these steps to complete your quilt:
- Inspect and make adjustments: Take a close look at your quilt and make any final adjustments or touch-ups. Trim any loose threads, smooth out any wrinkles, and ensure that all the stitches are secure.
- Label your quilt: Add a personalized label to your quilt to mark it as your own. Include important details such as your name, the date completed, and any other relevant information. This will add a special touch and create a lasting memory of your quilt.
- Care for your quilt: Proper care is essential to preserve the beauty and longevity of your stamped cross stitch quilt. Follow these care instructions to keep your quilt in great condition:
- When not in use, store your quilt in a cool and dry place to protect it from moisture and pests.
- To remove dust, gently vacuum your quilt using a low suction setting or lightly shake it outdoors.
- If necessary, spot clean any stains with a mild detergent or seek professional cleaning for tough stains.
- Avoid exposing your quilt to direct sunlight for extended periods as this can cause fading.
- Consider periodically airing out your quilt to keep it fresh and prevent odors.
- Showcase your quilt: Finally, proudly display or use your finished quilt. Whether you choose to hang it on a wall, drape it over furniture, or gift it to a loved one, your stamped cross stitch quilt is a testament to your creativity and skill.
By adding those final touches and following the care instructions, you can enjoy your stamped cross stitch quilt for years to come. Cherish the memories and warmth it brings, and continue to explore the wonderful world of quilting.
Conclusion
Congratulations! You have successfully finished the back of your stamped cross stitch quilt, creating a beautiful and durable masterpiece. Through the steps outlined in this article, you have learned how to prepare the backing fabric, choose and prepare the batting, attach the batting to the backing fabric, arrange and mark the stamped cross stitch design, stitch the design onto the fabric, finish the edges with a binding, and add final touches and care for your quilt.
By paying attention to each step and infusing your creativity, you have created a quilt that showcases your skills and brings joy to the recipient. The back of the quilt is no longer an afterthought but a well-crafted and finished part of the overall design.
Remember, practice makes perfect. As you continue to create more stamped cross stitch quilts, you will develop your own personal style and techniques. Don’t be afraid to experiment with different fabrics, threads, and designs to make each quilt unique.
Quilting is not just a hobby; it is an art form that shares stories, creates memories, and brings comfort. The time and effort you put into your quilts will be cherished for generations to come.
So, embrace the world of stamped cross stitch quilting, enjoy the process, and let your creativity soar. Happy quilting!
Frequently Asked Questions about How To Finish The Back Of Stamped Cross Stitch Quilt
Was this page helpful?
At Storables.com, we guarantee accurate and reliable information. Our content, validated by Expert Board Contributors, is crafted following stringent Editorial Policies. We're committed to providing you with well-researched, expert-backed insights for all your informational needs.

0 thoughts on “How To Finish The Back Of Stamped Cross Stitch Quilt”