Articles
How To Add A Roof To A Deck
Modified: October 25, 2024
Learn how to add a beautiful and functional roof to your deck with our informative articles. Enhance your outdoor space and protect yourself from the elements.
(Many of the links in this article redirect to a specific reviewed product. Your purchase of these products through affiliate links helps to generate commission for Storables.com, at no extra cost. Learn more)
Introduction
Welcome to our comprehensive guide on how to add a roof to your deck. Whether you want to create additional living space, protect your deck from the elements, or simply enhance the overall aesthetic appeal of your outdoor area, adding a roof to your deck can be a great solution. This project not only provides shade and shelter but also increases the functionality and value of your home.
However, before you embark on this project, there are several factors you need to consider, including local building codes, the structural integrity of your deck, the design of the roof, and the materials needed. In this article, we will walk you through the step-by-step process of adding a roof to your deck, ensuring both functionality and visual appeal.
So, let’s dive in and explore the planning and preparation required to successfully add a roof to your deck!
Key Takeaways:
- Proper planning, adherence to local building codes, and thorough evaluation of the deck’s structure are crucial before adding a roof. This ensures a safe, functional, and visually appealing addition to your outdoor space.
- From gathering materials and installing support posts to adding roofing materials and finishing touches, attention to detail and adherence to manufacturer’s guidelines are essential for a successful deck roof project.
Read more: How To Add A Gable Roof To An Existing Roof
Planning and Preparation
Before you start adding a roof to your deck, thorough planning and preparation are essential. This will help ensure that the project goes smoothly and that you end up with a structurally sound and visually appealing result. Here are the key steps to consider during the planning and preparation phase:
- Checking local building codes
- Evaluating the structure of the deck
- Choosing a suitable roof design
- Gathering materials and tools
The first step is to familiarize yourself with the local building codes and regulations in your area. These codes will outline specific requirements and restrictions for deck structures, including the addition of a roof. This information is crucial as it will dictate the height, size, materials, and design elements you can incorporate into your roof. Contact your local building department to obtain the necessary permits and understand the guidelines you need to follow.
Next, assess the current structure of your deck to determine if it can support the weight and additional strain of a roof. Look for signs of damage, decay, or structural issues that need to be addressed before proceeding. Consult with a professional if you have any concerns about the structural integrity of your deck.
Consider the aesthetic design and style that you want to achieve with your roof. Do you prefer a simple and functional design or a more elaborate and decorative one? Research different roof designs, such as gable, shed, or hip roofs, to find the one that best suits your preferences and complements the architecture of your home. Take into account factors like roof pitch, slope, and overhang.
Once you have determined the design, make a list of all the necessary materials and tools you will need for the project. This may include roofing materials, lumber, screws, brackets, flashing, sealant, and more. It’s important to gather all the required supplies beforehand to avoid any delays or unexpected trips to the hardware store.
Checking Local Building Codes
Before you begin the process of adding a roof to your deck, it is crucial to familiarize yourself with the local building codes and regulations in your area. Building codes vary from location to location, and they dictate the requirements and restrictions for constructing and modifying deck structures.
Consulting the building codes will provide you with essential information regarding the maximum height and size limitations for your deck roof, as well as any specific design requirements. Some areas may have specific guidelines on roof pitch, materials, or even color choices to ensure consistency within the community.
Here are some key steps to follow when checking local building codes:
- Contact your local building department: Begin by reaching out to the building department in your municipality or city. They are responsible for enforcing the building codes and can provide you with the necessary information and guidelines for adding a roof to your deck.
- Request permit requirements: Inquire about the permits required for the project. Depending on the scope and complexity, you may need different types of permits, such as a construction permit, electrical permit, or plumbing permit. The building department can guide you through the permitting process and let you know about any fees associated with the permits.
- Understand the building standards: Familiarize yourself with the building standards set by your local jurisdiction. These standards may cover aspects such as the required structural integrity of the roof, load-bearing capacities, and fire safety regulations. It is important to comply with these standards to ensure the safety and durability of your deck roof.
- Review design guidelines: Some localities have specific design guidelines aimed at preserving the visual harmony of the neighborhood. These guidelines may regulate the height and style of the roof, the materials used, or even the color scheme. Take the time to review these guidelines and adapt your design accordingly.
- Engage a professional, if necessary: If you are unsure about interpreting the building codes or navigating the permitting process, consider consulting with a professional contractor or an architect familiar with local regulations. Their expertise can ensure that your deck roof project meets all the necessary requirements and passes inspection.
By taking the time to understand and adhere to the local building codes and regulations, you can avoid any potential legal issues and create a roof for your deck that is not only aesthetically pleasing but also structurally sound and safe.
Evaluating the Structure of the Deck
Before adding a roof to your deck, it is essential to evaluate the existing structure to ensure it can support the weight and additional strain of the roof. Conducting a thorough assessment will help identify any structural issues or weaknesses that need to be addressed before proceeding with the roof installation. Here are some key steps to follow when evaluating the structure of your deck:
- Inspect for visible damage: Begin by visually assessing the deck for any signs of damage, such as rot, decay, or warping. Look for loose or deteriorated boards, rusted fasteners, or any visible structural instability. Address any evident issues before proceeding with the roof installation.
- Check the ledger board: The ledger board is the part of the deck that is attached to the house. Inspect this board carefully, as it plays a crucial role in supporting the weight of the roof. Look for any signs of rot, water damage, or inadequate attachment. Reinforce or replace the ledger board if necessary.
- Examine the posts and footings: The posts and footings provide the main support for your deck. Check the posts for any signs of rot, cracks, or shifts. Ensure that the footings are secure and in good condition. If there are any issues with the posts or footings, consult with a professional to determine the best course of action.
- Assess the joists and beams: The joists and beams provide the framework for your deck. Inspect each joist for signs of rot, sagging, or damage. Check the beams for any signs of warping or cracks. Reinforce or replace any compromised joists or beams to ensure the structural integrity of the deck.
- Consider load-bearing capacity: Adding a roof to your deck will increase the weight and load on the structure. Make sure the deck is designed and built to handle this additional load. Consult with a professional if you have any concerns about the load-bearing capacity of your deck.
It is important to address any structural issues before proceeding with the roof installation. Neglecting to do so can jeopardize the safety and stability of your deck roof. If you are unsure about evaluating the structure of your deck, it is always wise to consult with a professional contractor or structural engineer who can provide expert advice and guidance.
Choosing a Suitable Roof Design
When adding a roof to your deck, selecting a suitable roof design is essential to ensure both functionality and aesthetic appeal. The right roof design will not only provide the desired protection and shade but also complement the overall architecture of your home and the style of your outdoor space. Here are some factors to consider when choosing a roof design:
- Consider your needs and preferences: Start by determining your specific goals and requirements for adding a roof to your deck. Do you want a simple and functional design, or are you looking for a more elaborate and decorative roof? Consider factors such as the amount of shade required, the desired level of ventilation, and the overall aesthetic you want to achieve.
- Match the existing architecture: Your deck’s roof should harmonize with the architecture of your home and blend seamlessly with the overall design. If your house has a specific architectural style, such as contemporary, traditional, or colonial, select a roof design that complements it. This will create a cohesive and visually appealing outdoor space.
- Roof pitch and slope: The pitch and slope of the roof will determine its visual appearance, water drainage efficiency, and overall functionality. Steeper roofs with a higher pitch are more suitable for areas with heavy rainfall or snowfall, as they promote better water runoff. Consider the climate in your region and choose a roof pitch that works best for your specific circumstances.
- Consider structural complexity: Different roof designs have varying levels of structural complexity. Some designs, like gable or hip roofs, require more materials, support beams, and construction expertise. Consider your budget, skills, and resources when selecting a roof design. If you’re unsure, consult with a professional contractor or architect to determine the best choice for your deck.
- Incorporate ventilation: Ventilation is crucial to maintaining a comfortable and healthy deck environment. Make sure to choose a roof design that allows for proper airflow and ventilation, preventing the buildup of heat and moisture. This can be achieved through the inclusion of vents, skylights, or open sides in your roof design.
- Think about future maintenance: Consider the long-term maintenance requirements of your chosen roof design. Projects with intricate details or hard-to-reach areas may require more frequent inspection and maintenance. Choose a design that aligns with your willingness and ability to maintain it in the years to come.
Take the time to research different roof designs and consult with professionals if needed. By carefully selecting a suitable roof design, you can create a functional and visually appealing addition to your deck that enhances your outdoor living experience.
Read more: How To Lay Roof Decking
Gathering Materials and Tools
Before you can start adding a roof to your deck, it’s important to gather all the necessary materials and tools. Having everything you need on hand will not only make the installation process smoother but also help prevent delays and interruptions. Here are the key steps to take when gathering materials and tools:
- Create a materials list: Make a comprehensive list of all the materials you’ll need for your deck roof project. This will depend on the design you’ve chosen, but generally, it will include roofing materials (such as shingles or metal panels), lumber for framing (such as beams and rafters), screws, brackets, flashing, sealant, and insulation if needed. Consult with your local building codes and guidelines to ensure compliance with specific requirements.
- Calculate quantities: Once you have your materials list, calculate the quantities needed for each item. This will depend on the size of your deck and the dimensions of the roof you’re building. Make sure to account for any additional materials required for specific construction techniques, such as overhangs or special flashing details.
- Research suppliers: Identify local suppliers or home improvement stores where you can purchase the necessary materials. Compare prices, quality, and availability to find the best options for your budget and needs. You may also consider online vendors for hard-to-find or specialized materials.
- Compile a tools checklist: Make a checklist of all the tools you’ll need for the project. This may include basic hand tools like hammers, saws, drills, levels, and tape measures, as well as specialized tools like a nail gun, roofing nailer, or a circular saw. Ensure that you have all the necessary tools readily available or consider renting any equipment you don’t already own.
- Organize and prepare your workspace: Set up a designated workspace for your roof construction. Clear the area of any debris, obstacles, or fragile items that may hinder the installation process. Organize your materials and tools in a logical and accessible manner to make the job more efficient and safe.
- Consider safety equipment: Don’t forget about safety! Gather the appropriate safety equipment, such as gloves, safety glasses, and a hard hat. If you’re working at heights, consider using a harness or safety ropes. Protecting yourself is essential throughout the entire project.
By preparing and gathering all the necessary materials and tools ahead of time, you can streamline the roof installation process and ensure a more successful and efficient project overall. Take your time to research and plan for the specific requirements of your chosen roof design to ensure a smooth construction process.
When adding a roof to a deck, make sure to check local building codes and obtain any necessary permits before starting the project. This will ensure that the roof is built to code and is safe and structurally sound.
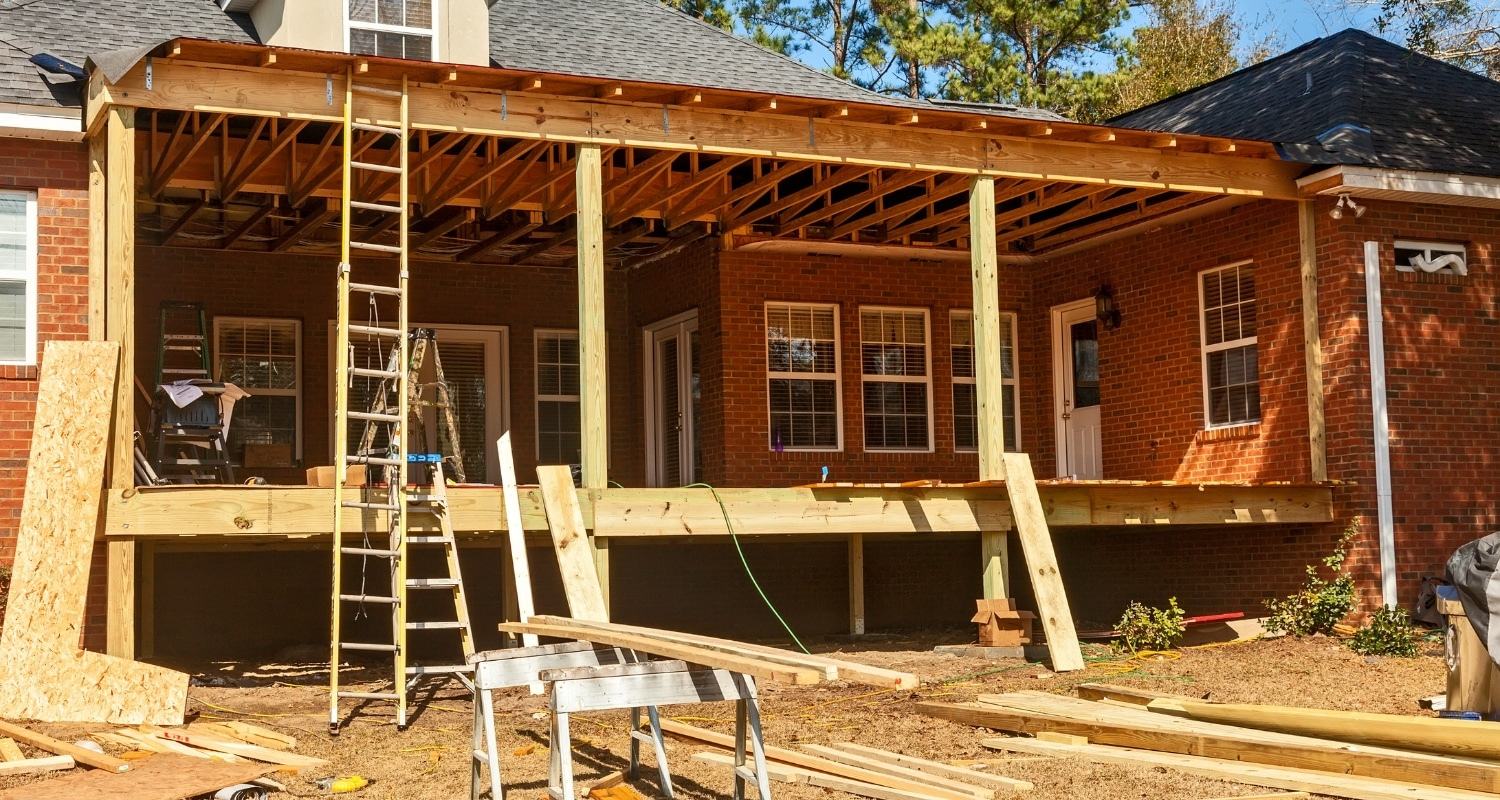
Installing Support Posts
The installation of support posts is a critical step in adding a roof to your deck. These posts will provide the necessary structural support for the roof and ensure its stability and durability. Follow these steps to properly install support posts:
- Determine the placement: Carefully plan where the support posts will be positioned. The number of posts needed will depend on the size and design of your deck roof. As a general guideline, posts should be spaced approximately 8-10 feet apart to ensure adequate support. Mark the locations where the posts will be installed.
- Prepare the deck surface: Ensure that the deck surface is clean and free of any obstructions. Use a broom or a pressure washer to remove dirt, debris, and any unwanted materials that could hinder the installation process.
- Measure and cut the posts: Measure and cut the support posts to the desired height. Taking into account the height of the roof and any necessary clearance, use a saw to make clean and accurate cuts. Remember to consider any slopes or angles that need to be factored in when determining the height of the posts.
- Attach post anchors: Secure metal post anchors to the deck surface at each marked location. These anchors will serve as a base for the support posts and provide stability. Make sure the anchors are level and align with the desired placement of the posts.
- Set the support posts: Place the cut support posts into the post anchors. Ensure that they are plumb and level by using a level tool. Make any necessary adjustments to ensure accuracy and stability. Temporarily brace the posts in place to keep them secure during the installation process.
- Secure the posts: Attach the support posts to the post anchors using appropriate screws or bolts. Make sure the connections are tight and secure to ensure the posts are properly anchored. Double-check the alignment and stability of each post before moving on to the next step.
It is crucial to follow the manufacturer’s instructions and guidelines for post installation, as the specific process may vary depending on the type of post anchors or connectors used. If you have any uncertainties or concerns about the installation, consult with a professional to ensure the structural integrity of your deck roof.
Properly installed support posts are the foundation of a sturdy and reliable deck roof. Taking the time to complete this step accurately will set the stage for a successful roof installation and long-term enjoyment of your deck space.
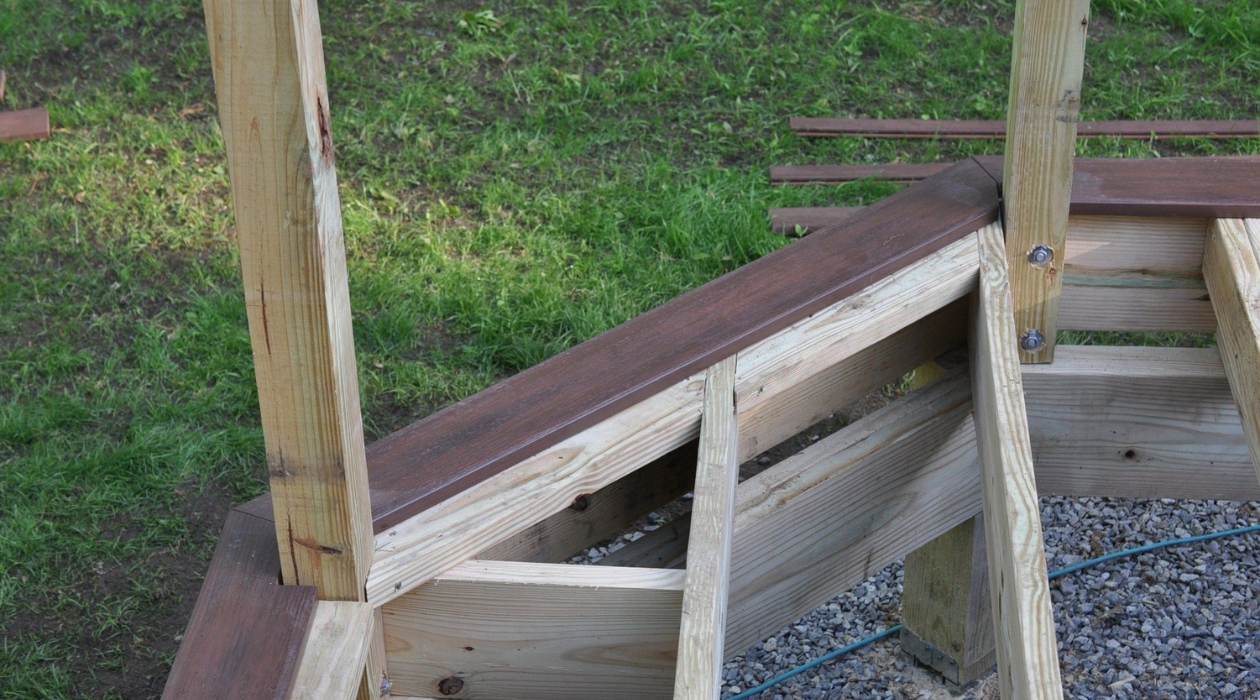
Attaching the Beam and Rafters
After installing the support posts for your deck roof, the next step is to attach the beam and rafters. These components play a crucial role in providing additional support and creating the framework for the roof structure. Follow these steps to correctly attach the beam and rafters:
- Measure and cut the beam: Measure the distance between the support posts to determine the length of the beam. Using a saw, cut the beam to the appropriate length. Ensure that the cut is clean and accurate for a precise fit.
- Position the beam: Place the beam on top of the support posts, ensuring that it is centered and aligned with the marked locations. Double-check that the beam is level and adjust as needed.
- Secure the beam: Attach the beam to the support posts using appropriate screws or bolts. Make sure the connections are secure and tight. Use a level tool to ensure the beam is still level after securing it to the posts.
- Measure and cut the rafters: Measure the distance from the beam to the outer edge of the deck, which will determine the length of the rafters. Cut the rafters to the appropriate length, ensuring clean and accurate cuts.
- Attach the rafters: Position the rafters on top of the beam, perpendicular to the support posts. Place them at regular intervals, typically 16-24 inches apart, depending on your chosen roof design. Use appropriate fasteners to secure the rafters to the beam, ensuring a strong and stable connection.
- Check for alignment and level: As you attach each rafter, check for proper alignment and levelness. Adjust if necessary to ensure that the rafters are perpendicular to the support posts and parallel to the beam.
It is essential to use the appropriate size and type of fasteners for attaching the beam and rafters. Consult with your local building codes or a professional if you need guidance on the specific requirements for your deck roof construction.
Keep in mind that the installation process may vary depending on the type of roof design or materials you are using. Always refer to the manufacturer’s instructions and guidelines to ensure proper installation and structural integrity. If you are unsure about any aspect of the installation, seek advice from a professional contractor or structural engineer.
Attaching the beam and rafters is a critical step in building the framework of your deck roof. A well-constructed framework will provide stability and support for the roof, ensuring a long-lasting and secure structure.
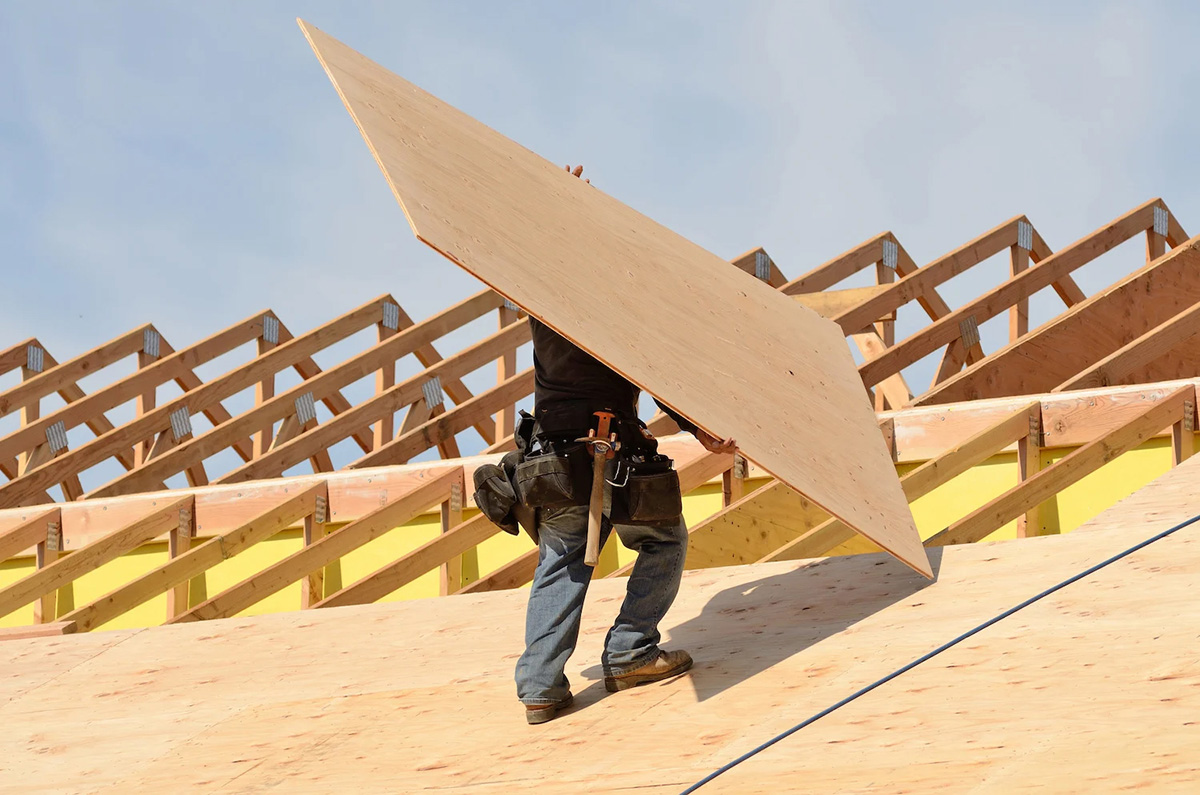
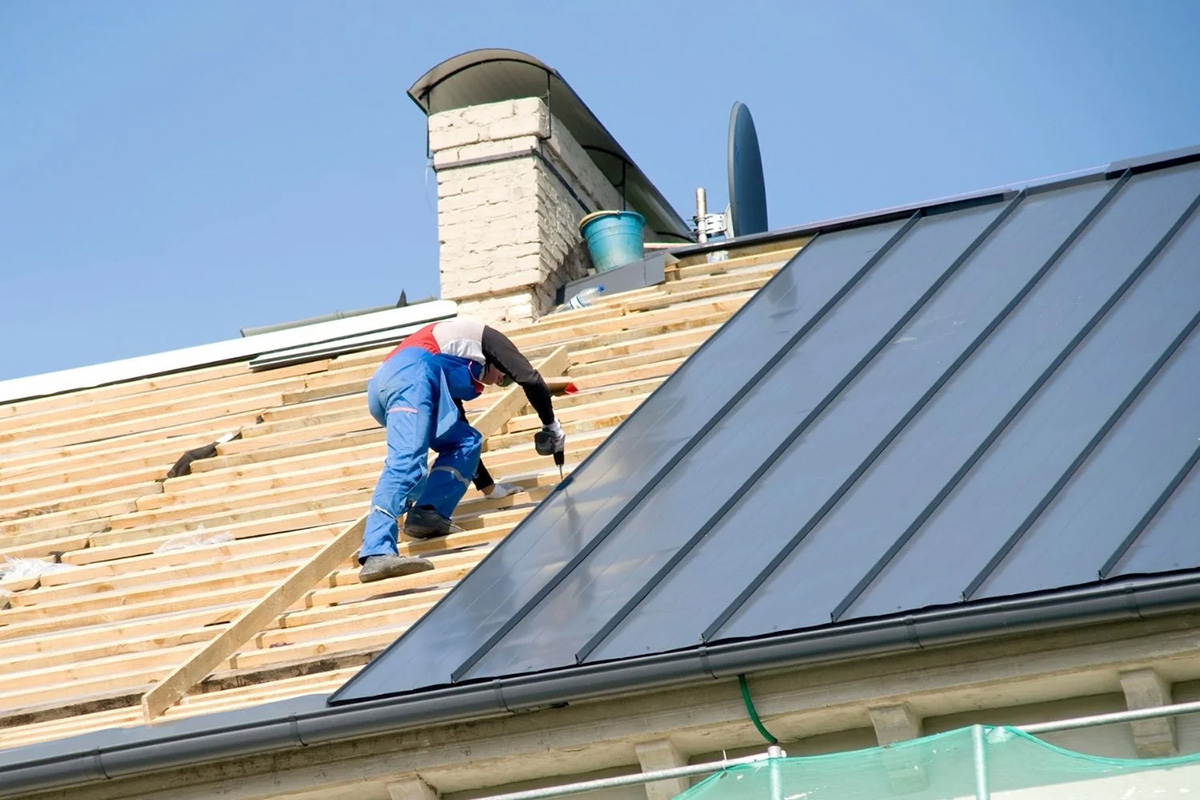
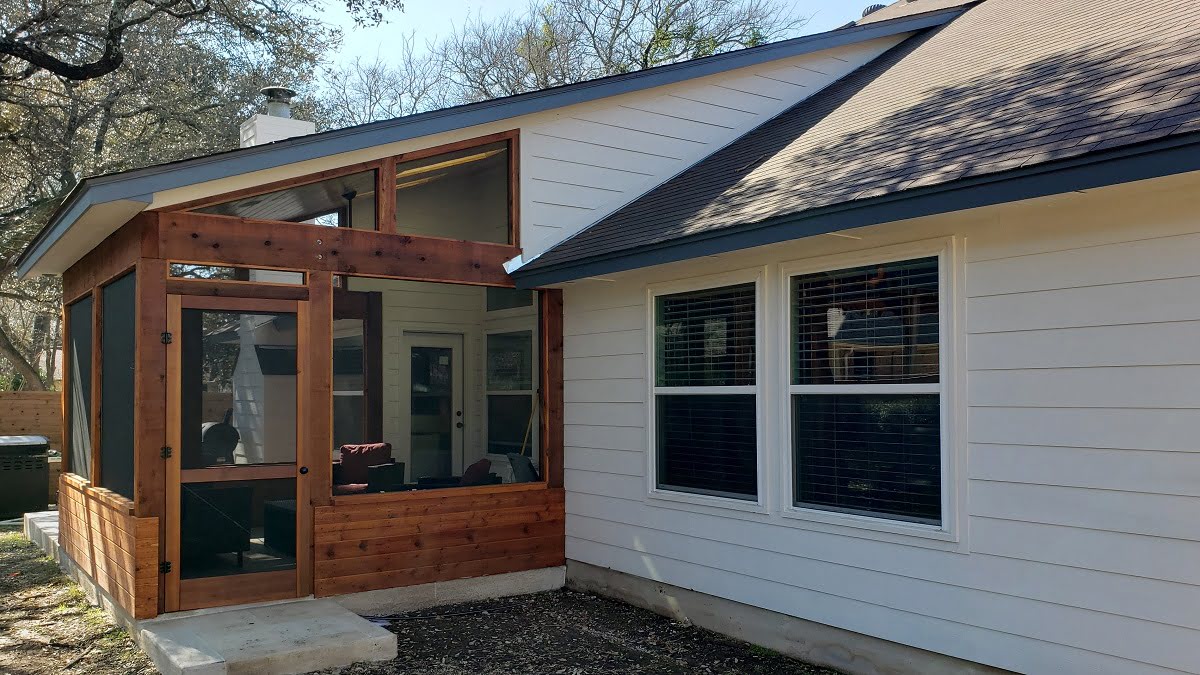
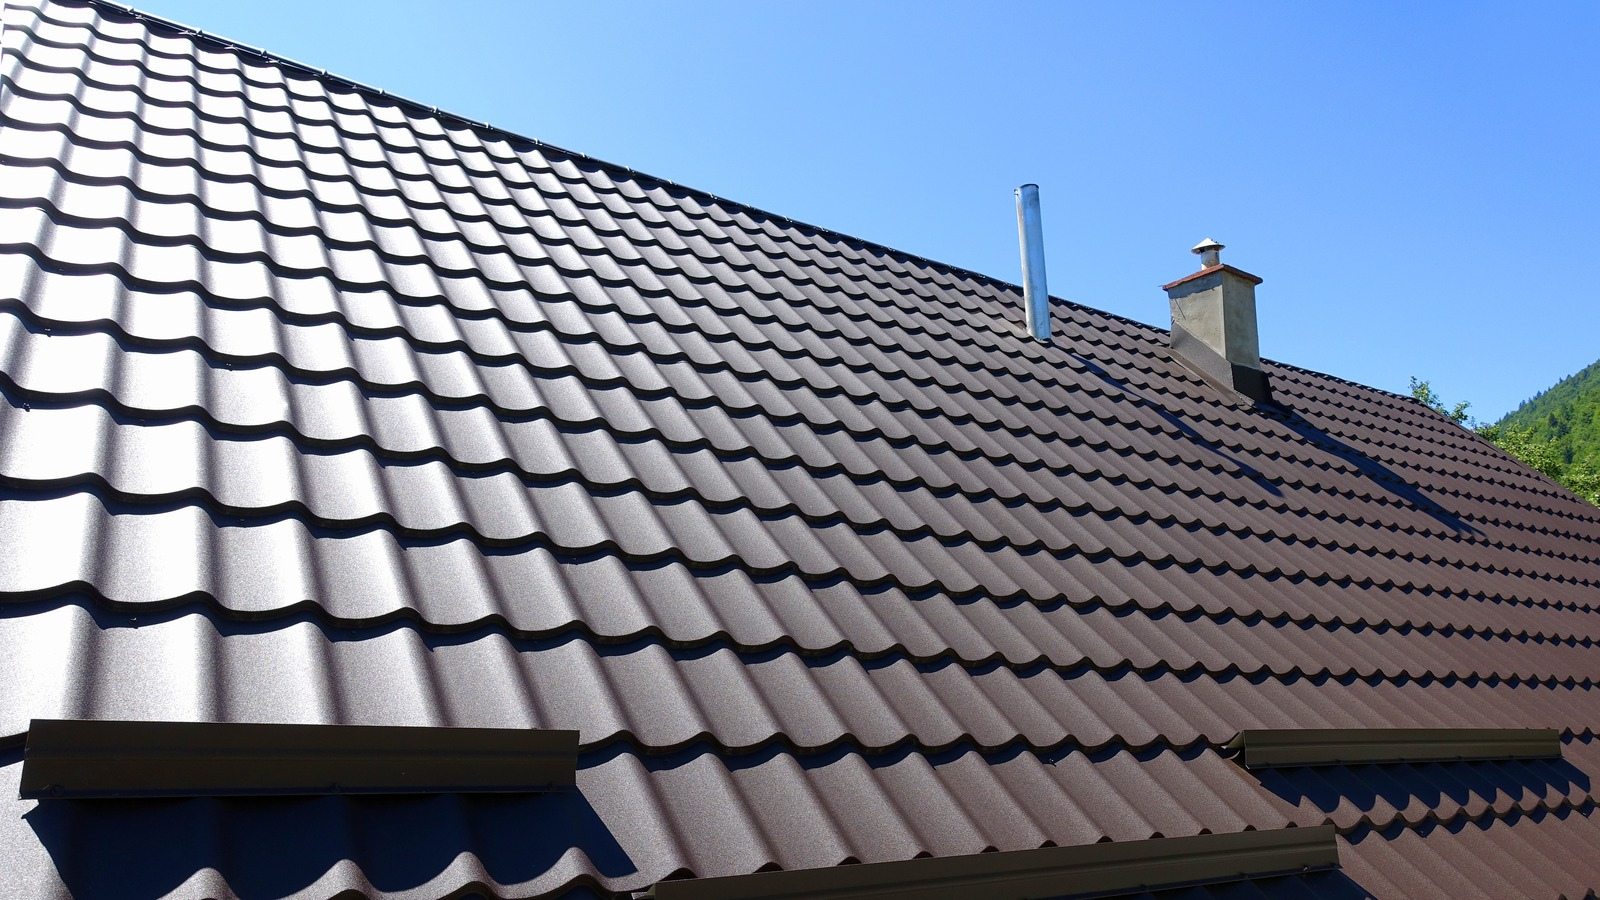
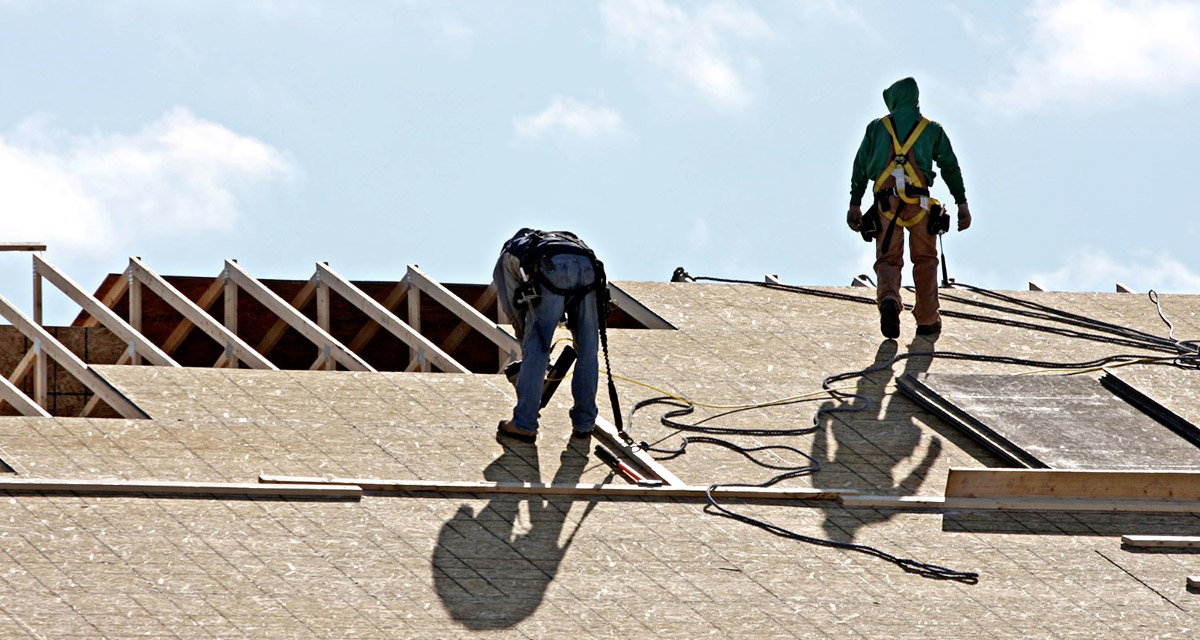
Adding Roofing Materials
Once the beam and rafters are securely in place, it’s time to add the roofing materials to complete the construction of your deck roof. The choice of roofing materials will depend on your design preferences, budget, climate, and local building codes. Here are some steps to follow when adding roofing materials:
- Prepare the roof deck: Ensure the roof deck is clean, dry, and free from any debris. Remove any protruding nails or screws, and repair any damaged sections of the deck if necessary. This will provide a smooth and stable surface for the installation of the roofing materials.
- Install underlayment: Start by installing an underlayment on the roof deck. The underlayment acts as a moisture barrier and provides extra protection against leaks. Roll out the underlayment material, align it correctly, and fasten it securely to the roof deck using appropriate fasteners.
- Choose roofing materials: Select the roofing materials that best suit your preferences, budget, and climate. Common options include asphalt shingles, metal panels, clay or concrete tiles, or even a green roof. Consider factors such as durability, aesthetics, maintenance requirements, and energy efficiency when making your choice.
- Install the roofing materials: Follow the manufacturer’s instructions to install the chosen roofing materials. This may involve nailing or screwing down the materials, using adhesive or interlocking systems, or other specific installation methods. Ensure that each piece is aligned correctly and securely fastened to the deck structure.
- Pay attention to flashing: Flashing is essential for preventing water from seeping into the roof and causing damage. Install flashing around vulnerable areas, such as chimney stacks, vent pipes, and intersections between the roof and walls. Properly sealing and securing the flashing is crucial for maintaining a watertight seal.
- Assess ventilation: Adequate ventilation is crucial to prevent issues like condensation and moisture buildup. Make sure that your roof design accommodates proper ventilation, either through designated vents or spaces left open between roofing materials. This will help regulate temperatures and maintain a healthy roof environment.
- Consider gutter installation: Depending on your roof design and local climate, installing gutters and downspouts may be necessary to efficiently redirect rainwater away from your deck and foundation. Proper gutter installation will prevent water damage and erosion.
Always consult the manufacturer’s guidelines and follow local building codes when installing roofing materials. If you have any doubts or lack experience in roof installation, consider consulting with a professional contractor who can provide expert advice and ensure a professional finish.
Adding the appropriate roofing materials will not only protect your deck but also enhance its visual appeal. With the right choice of materials and proper installation, your deck roof will provide lasting durability and protection against the elements for years to come.
Read more: What Is Used For Roof Decking
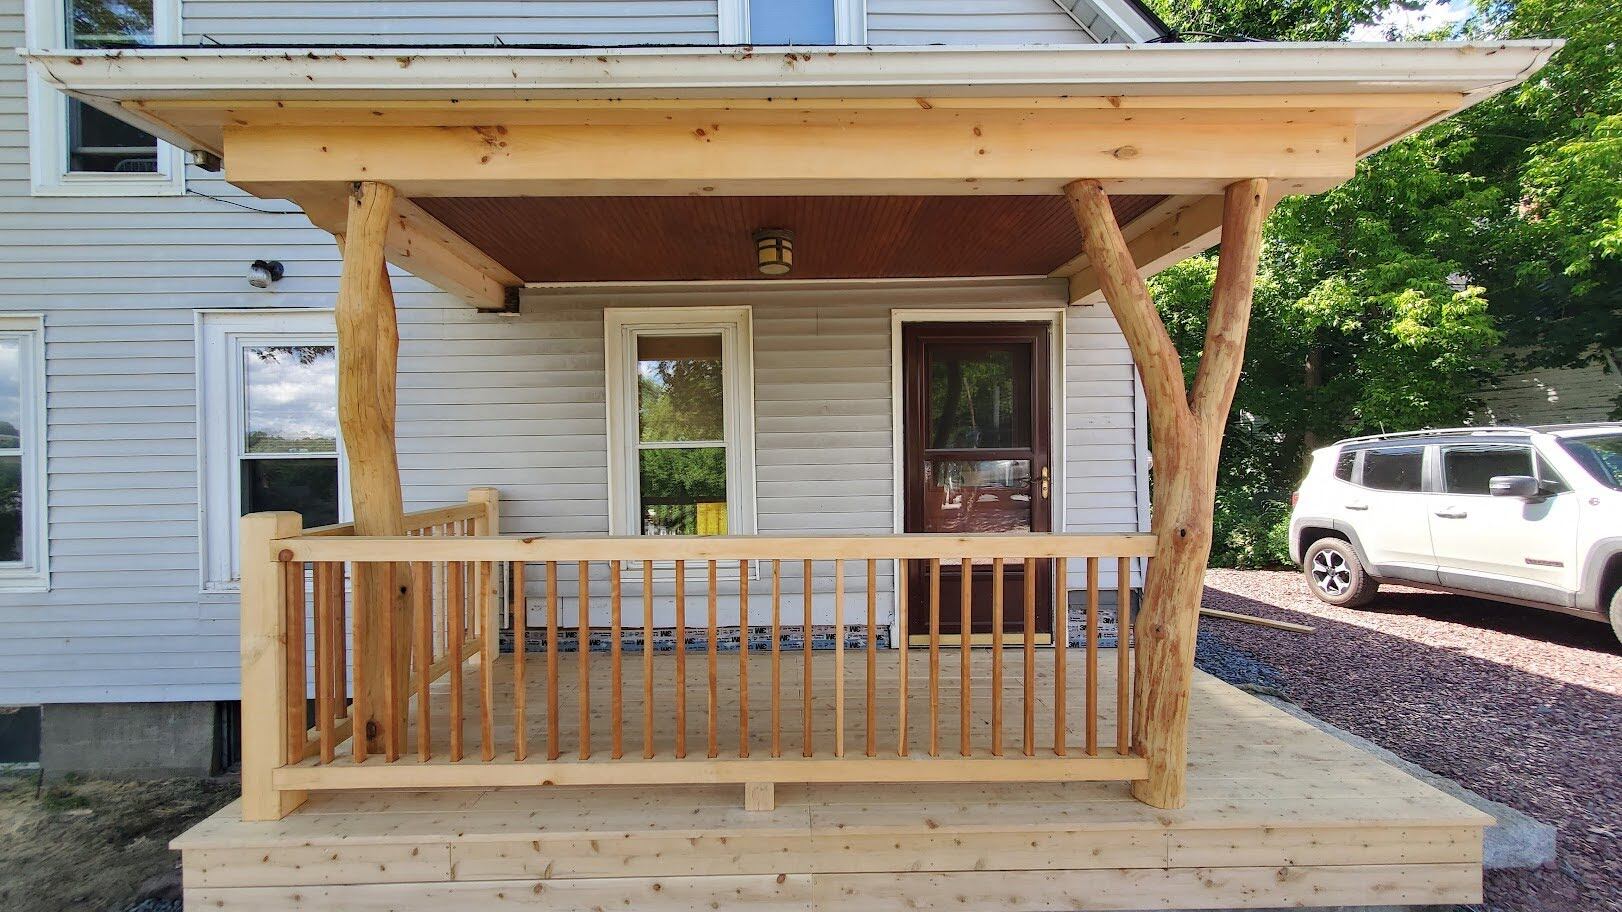
Sealing and Finishing Touches
Once the roofing materials are in place, it’s important to focus on sealing and adding the finishing touches to your deck roof. These final steps will help ensure the longevity and functionality of your roof, as well as enhance its overall appearance. Here are some key considerations for sealing and completing your deck roof:
- Inspect for gaps and leaks: Thoroughly inspect the roof for any gaps, seams, or areas where water could potentially penetrate. Fill any gaps or spaces with appropriate sealant or roofing cement to create a watertight barrier. Address any potential points of leakage to prevent water damage.
- Install edge flashing: Install edge flashing along the perimeter of the roof to protect the edges and provide an additional layer of waterproofing. The flashing should be securely attached to the roof structure and overlap with the roofing materials to divert water away from the deck.
- Check for proper drainage: Ensure that the roof has proper slope and drainage to prevent water from pooling or stagnating. This is especially important for flat or low-slope roofs. Make any necessary adjustments to the roof structure to promote water runoff and prevent damage caused by standing water.
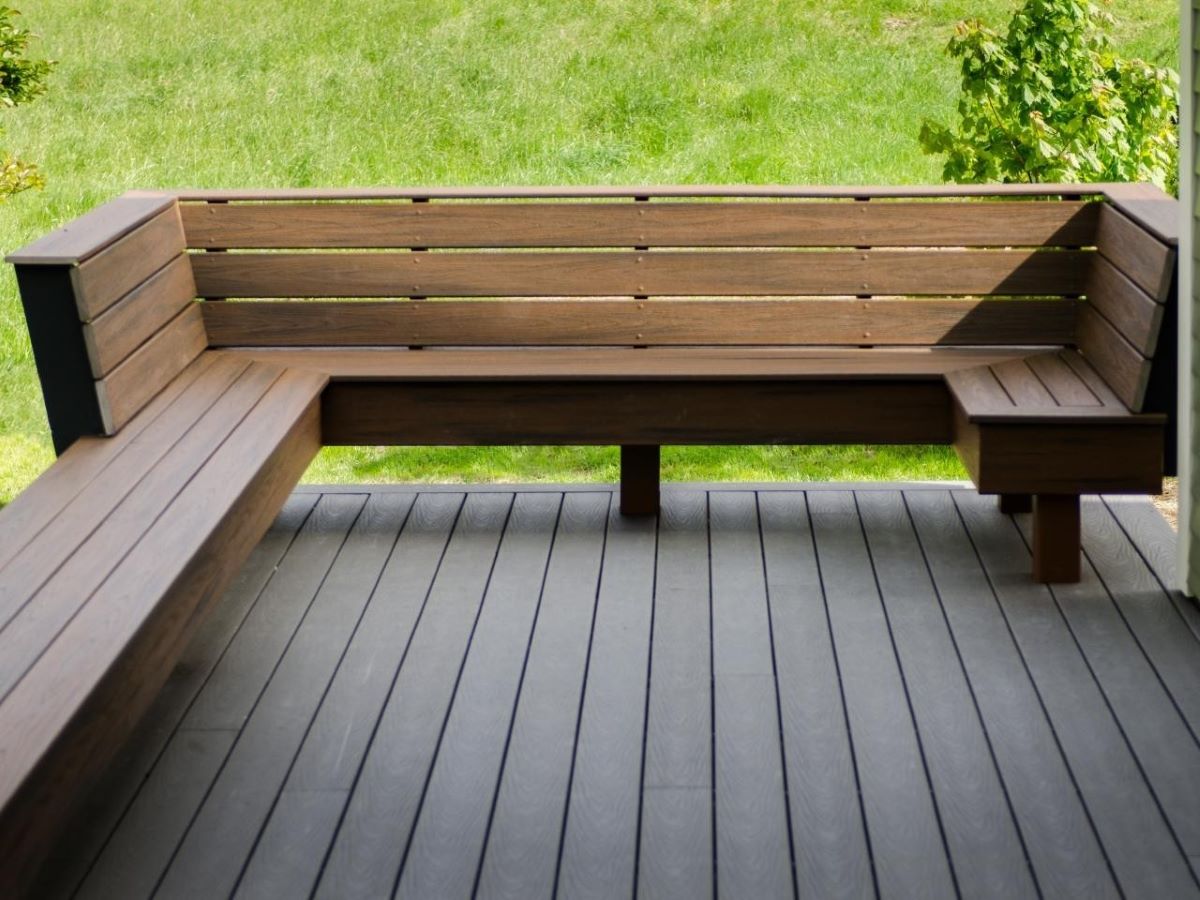
- Add trim or fascia: To create a polished and finished look, consider adding decorative trim or fascia along the edges of the roof. This will not only enhance the aesthetic appeal but also help protect the roof’s edge from weathering and wear. Choose materials that complement the overall design of your deck and home exterior.
- Apply a protective coating: Depending on the roofing material used, applying a protective coating can help extend the lifespan of your deck roof. Certain roofing materials, such as metal panels, may require a specific coating to prevent corrosion or fading. Follow the manufacturer’s recommendations for any necessary coatings or treatments.
- Consider additional features: If desired, you can add additional features to enhance the functionality and comfort of your deck roof. This could include installing skylights or windows for natural light, incorporating electrical wiring for lighting or fans, or adding retractable shades for increased shade and privacy.
Throughout the sealing and finishing process, it’s important to pay attention to detail and ensure that all elements are properly installed and secured. Proper sealing techniques and attention to finishing touches will not only extend the lifespan of your deck roof but also improve its overall performance and aesthetics.
By taking the time to properly seal and add the finishing touches, you can enjoy a well-constructed and visually appealing deck roof that provides protection, comfort, and added value to your outdoor living space.
Conclusion
Congratulations! You’ve reached the end of our comprehensive guide on how to add a roof to your deck. By following the steps outlined in this article, you now have the knowledge and understanding to undertake this project with confidence.
Throughout the process, we emphasized the importance of thorough planning and preparation, checking local building codes, evaluating the structure of your deck, choosing a suitable roof design, gathering the necessary materials and tools, installing support posts, attaching the beam and rafters, adding roofing materials, sealing, and completing the finishing touches.
Remember, safety should always be a top priority. Don’t hesitate to consult with professionals or seek expert advice when needed, especially if you’re uncertain about any aspect of the project.
Adding a roof to your deck not only provides shade, protection, and increased functionality, but it also enhances the overall aesthetics of your outdoor space and adds value to your home. Enjoying the comfort and versatility of your beautifully covered deck is just around the corner!
Now that you have a solid foundation of knowledge on how to add a roof to your deck, it’s time to put your plan into action. Take the time to gather the necessary materials, follow the proper installation techniques, and enjoy the satisfaction of creating a functional and visually appealing outdoor living area.
Good luck with your deck roof project, and may it bring years of enjoyment and relaxation to you and your family!
Now that you've learned how to add a roof to your deck, why not take your outdoor space to the next level? Our next guide on creating a vibrant and inviting area for outdoor living offers plenty of ideas for colorful decor and simple enhancements. From choosing the right colors to selecting accessories that make a statement, this article will help you transform your deck into a perfect spot for relaxation and entertainment.
Frequently Asked Questions about How To Add A Roof To A Deck
Was this page helpful?
At Storables.com, we guarantee accurate and reliable information. Our content, validated by Expert Board Contributors, is crafted following stringent Editorial Policies. We're committed to providing you with well-researched, expert-backed insights for all your informational needs.


0 thoughts on “How To Add A Roof To A Deck”