Articles
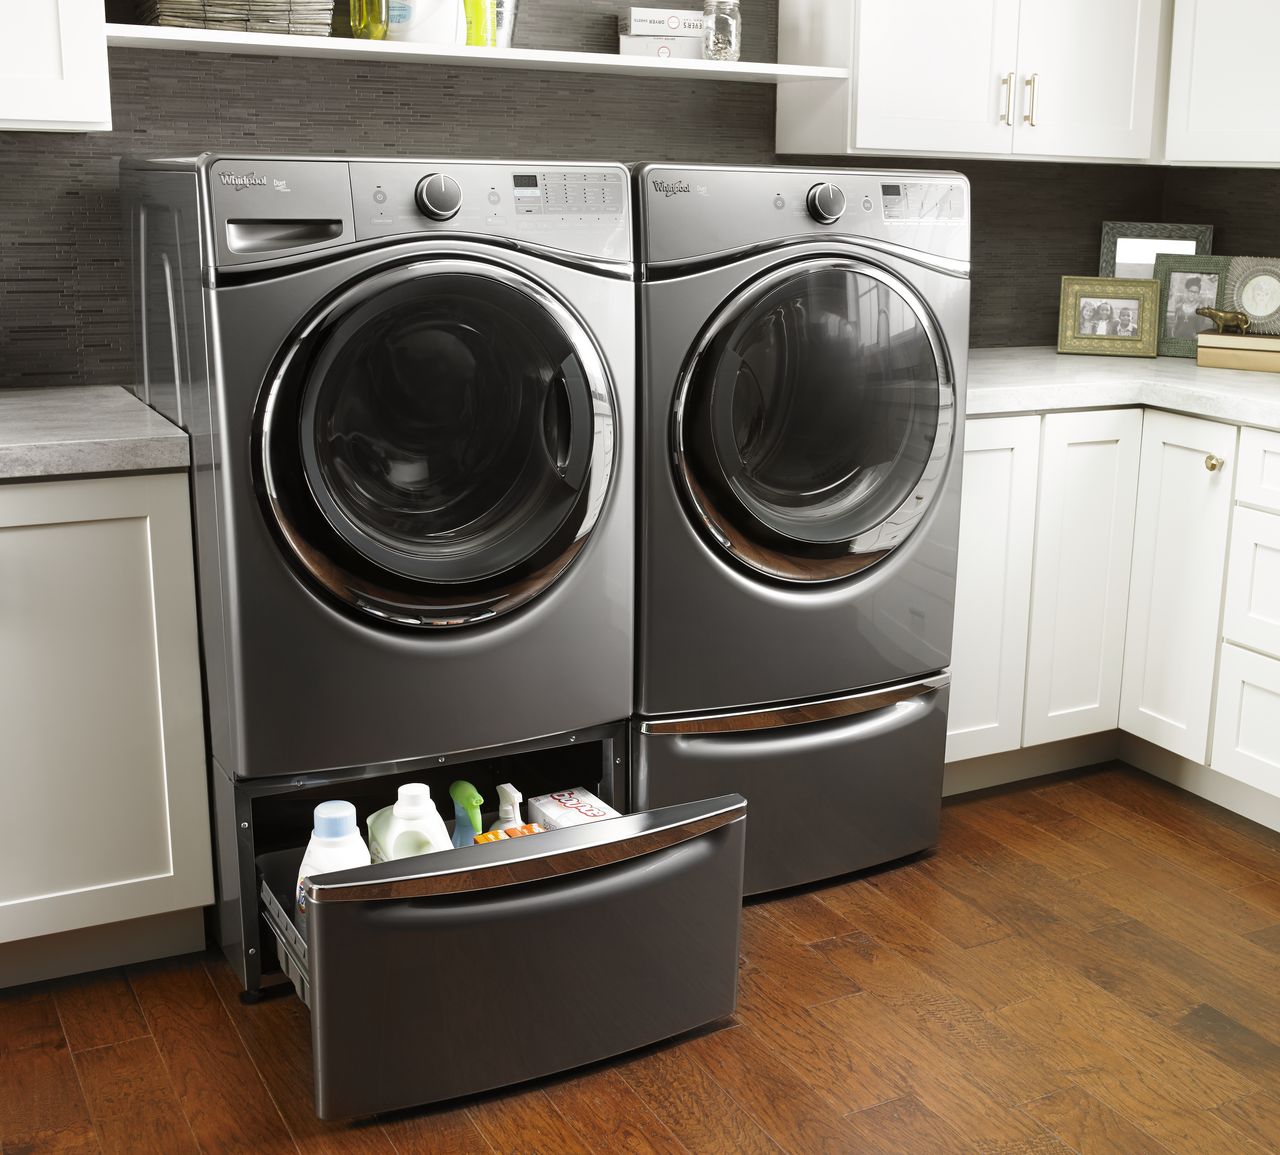
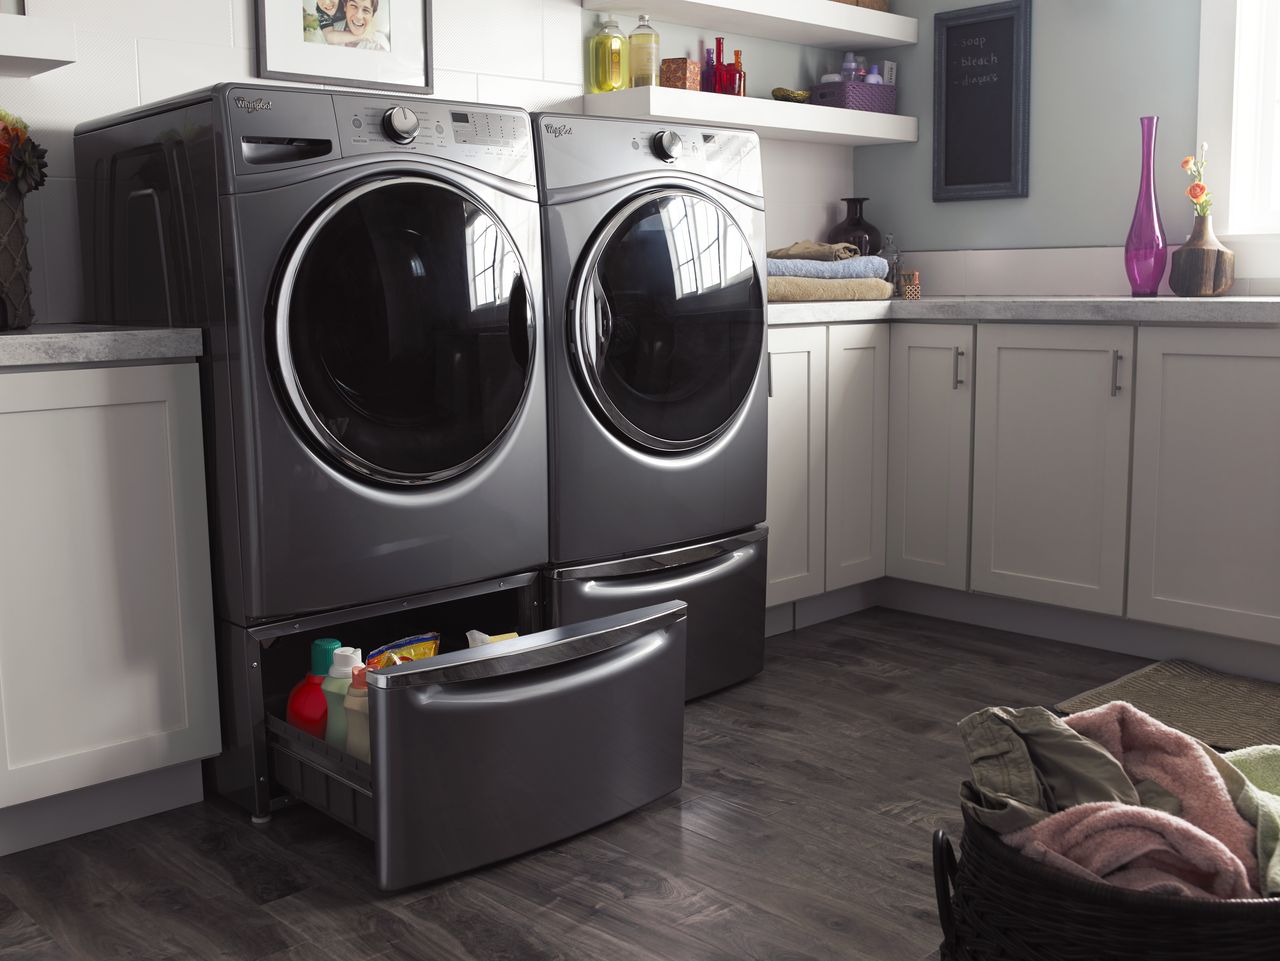
How To Clean A Whirlpool Dryer
Modified: August 28, 2024
Discover effective techniques and step-by-step instructions in our comprehensive articles on how to clean your Whirlpool dryer, ensuring optimal performance and efficiency.
(Many of the links in this article redirect to a specific reviewed product. Your purchase of these products through affiliate links helps to generate commission for Storables.com, at no extra cost. Learn more)
Introduction
Welcome to our comprehensive guide on how to clean a Whirlpool dryer! Your dryer is an essential appliance in your home, helping to keep your clothes clean and fresh. However, over time, lint, dust, and debris can build up inside the dryer, affecting its performance and potentially posing a fire hazard. Regular maintenance and cleaning are crucial to ensure your dryer operates efficiently and safely.
In this article, we will walk you through the step-by-step process of cleaning your Whirlpool dryer. From safety precautions to tools and materials needed, we’ve got you covered. By following these instructions, you’ll not only enhance the longevity of your dryer but also maintain proper airflow for more effective drying.
So, let’s dive in and learn how to clean your Whirlpool dryer safely and effectively!
Key Takeaways:
- Regularly cleaning your Whirlpool dryer, including the lint trap, drum, and vent, is crucial for preventing lint buildup, maintaining efficient drying performance, and reducing the risk of fire hazards.
- Prioritize safety by following recommended precautions, such as unplugging the dryer, wearing protective gear, and allowing the dryer to cool down. Dedicate time to maintain your Whirlpool dryer for optimal performance and safety.
Read more: How To Reset Whirlpool Dryer
Safety Precautions
Before you start cleaning your Whirlpool dryer, it is essential to prioritize your safety. Follow these precautions to minimize the risk of accidents or injuries:
1. Turn off the power: Always disconnect your dryer from the power source by unplugging it or switching off the circuit breaker. This prevents any risk of electrical shock during the cleaning process.
2. Allow the dryer to cool down: Ensure that the dryer has been idle for at least 30 minutes before cleaning. The internal components can become hot during operation, so it’s important to allow them to cool down to prevent burns.
3. Wear protective gear: To protect yourself from any potential hazards, wear safety glasses, gloves, and a dust mask. This will shield you from debris, dust, and chemicals that may be present during the cleaning process.
4. Work in a well-ventilated area: Cleaning your dryer can release dust and debris into the air. Make sure you are in a well-ventilated space or consider opening windows and using fans to aid in ventilation.
5. Keep the area clear: Remove any surrounding items near the dryer, such as laundry baskets or cleaning supplies. This will provide a clear workspace and help prevent accidents or damage to objects.
6. Follow manufacturer instructions: Consult your Whirlpool dryer’s manual for specific safety guidelines. Each model may have different recommendations, so it’s crucial to familiarize yourself with the instructions provided by the manufacturer.
By following these safety precautions, you’ll ensure a safe and hassle-free cleaning process for your Whirlpool dryer. Now that we’ve covered the safety measures, let’s move on to the tools and materials you’ll need.
Tools and Materials Needed
Before you start cleaning your Whirlpool dryer, gather the following tools and materials:
Tools:
- Screwdriver (Phillips or flathead depending on your dryer’s screws)
- Vacuum cleaner with hose attachment
- Lint brush or dryer vent cleaning kit
- Soft cloth or microfiber cloth
- Small brush (toothbrush or paintbrush)
Materials:
- All-purpose cleaner or mild detergent
- Warm water
- Lint-free cloth or paper towels
- Lint trap cleaning solution (optional)
Having these tools and materials on hand will make the cleaning process more efficient and effective. Now that you’re prepared, let’s move on to the next step: preparing the dryer for cleaning.
Read more: How To Fix A Whirlpool Dryer
Preparing the Dryer
Before you begin cleaning your Whirlpool dryer, it’s essential to prepare it properly. Follow these steps to ensure a smooth cleaning process:
- Unplug the dryer: Ensure that the dryer is fully disconnected from the power source by unplugging it from the wall socket or turning off the circuit breaker.
- Remove any items: Take out any clothes, lint, or debris from the dryer drum. Check the pockets of clothes to ensure no loose items are left behind, as they can cause damage to the dryer during cleaning.
- Remove the lint trap: Locate the lint trap, typically located inside the dryer door or on the top of the dryer. Pull out the lint trap and remove any lint or debris that has accumulated. You can use your hands or a small brush to clean the trap thoroughly.
- Inspect the drum: Check the inside of the dryer drum for any visible debris or stains. If you notice any stubborn stains, you can use a mild detergent or all-purpose cleaner diluted in warm water to spot clean the affected areas. Be sure to wipe down the drum with a lint-free cloth or paper towels afterward.
By following these steps, you’ll ensure that your Whirlpool dryer is ready for a thorough cleaning. Now that the dryer is prepared, let’s move on to cleaning the exterior.
Cleaning the Exterior
Now that you have prepared your Whirlpool dryer, it’s time to clean the exterior. Follow these steps to give the outside of your dryer a fresh and clean look:
- Wipe down the control panel: Use a soft cloth or microfiber cloth dampened with water or a mild detergent solution to clean the control panel. Gently wipe away any dirt, dust, or fingerprints. Avoid using abrasive cleaners or excessive water, as they can damage the control panel.
- Clean the exterior surface: Wipe down the sides, front, and top of the dryer with a clean cloth or microfiber cloth. For stubborn stains or spills, you can use a mild detergent diluted in warm water. Be sure to rinse the cloth thoroughly and wring out any excess water before wiping the surface to prevent water damage to the dryer.
- Pay attention to buttons and knobs: Use a small brush, such as a toothbrush or paintbrush, to clean any crevices, buttons, and knobs. Gently brush away any dirt or debris that may have accumulated.
- Dry and shine: After cleaning the exterior, use a dry lint-free cloth to dry and shine the surface of the dryer. This will help remove any remaining moisture and leave a polished finish.
Regularly cleaning the exterior of your Whirlpool dryer not only keeps it looking its best but also helps maintain its longevity. With the exterior now clean, let’s move on to cleaning the lint trap.
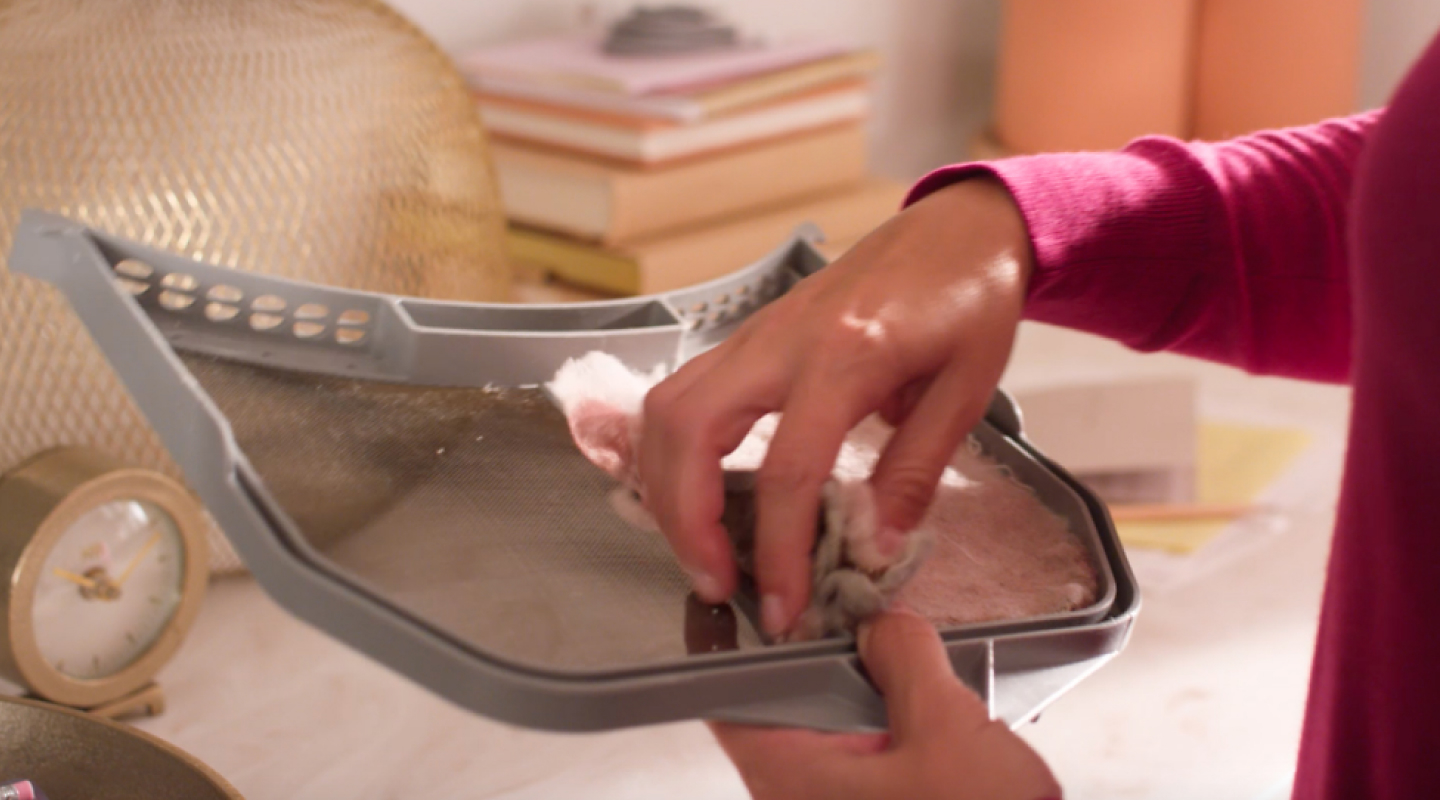
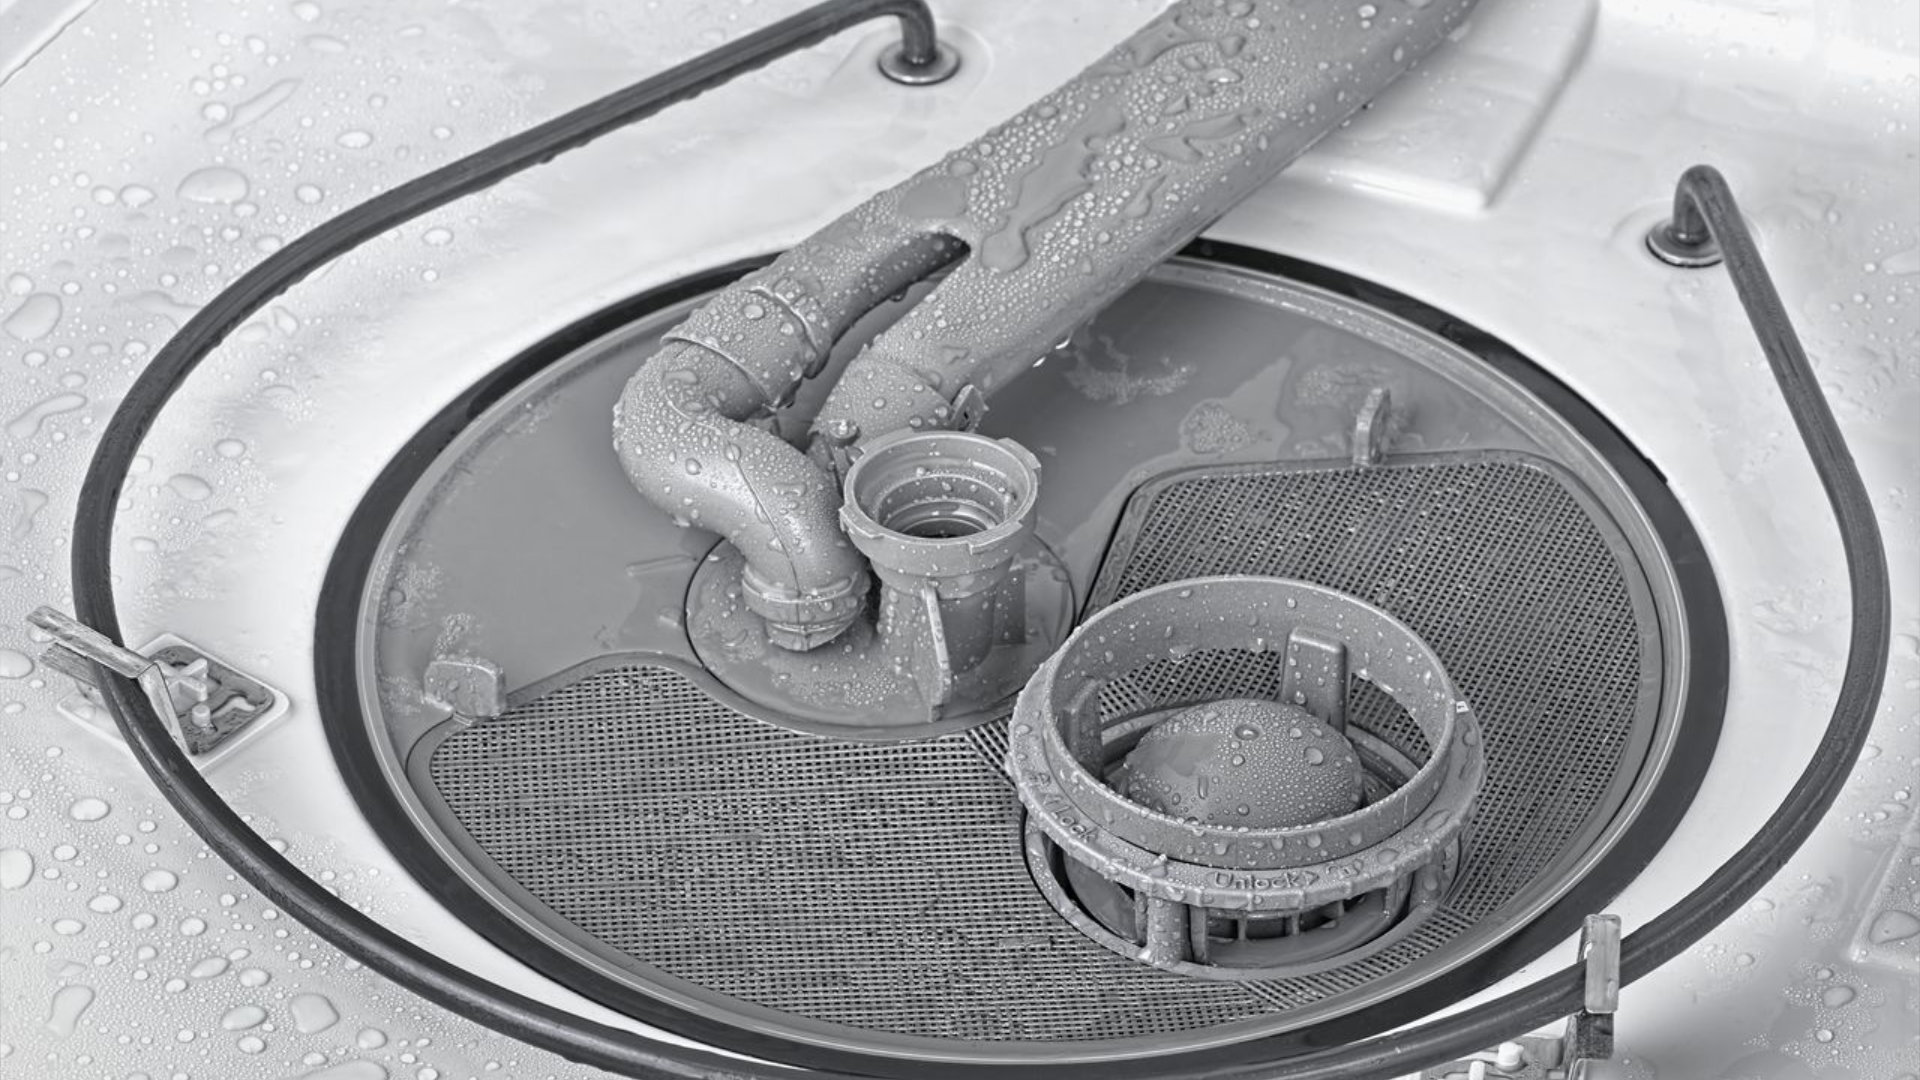
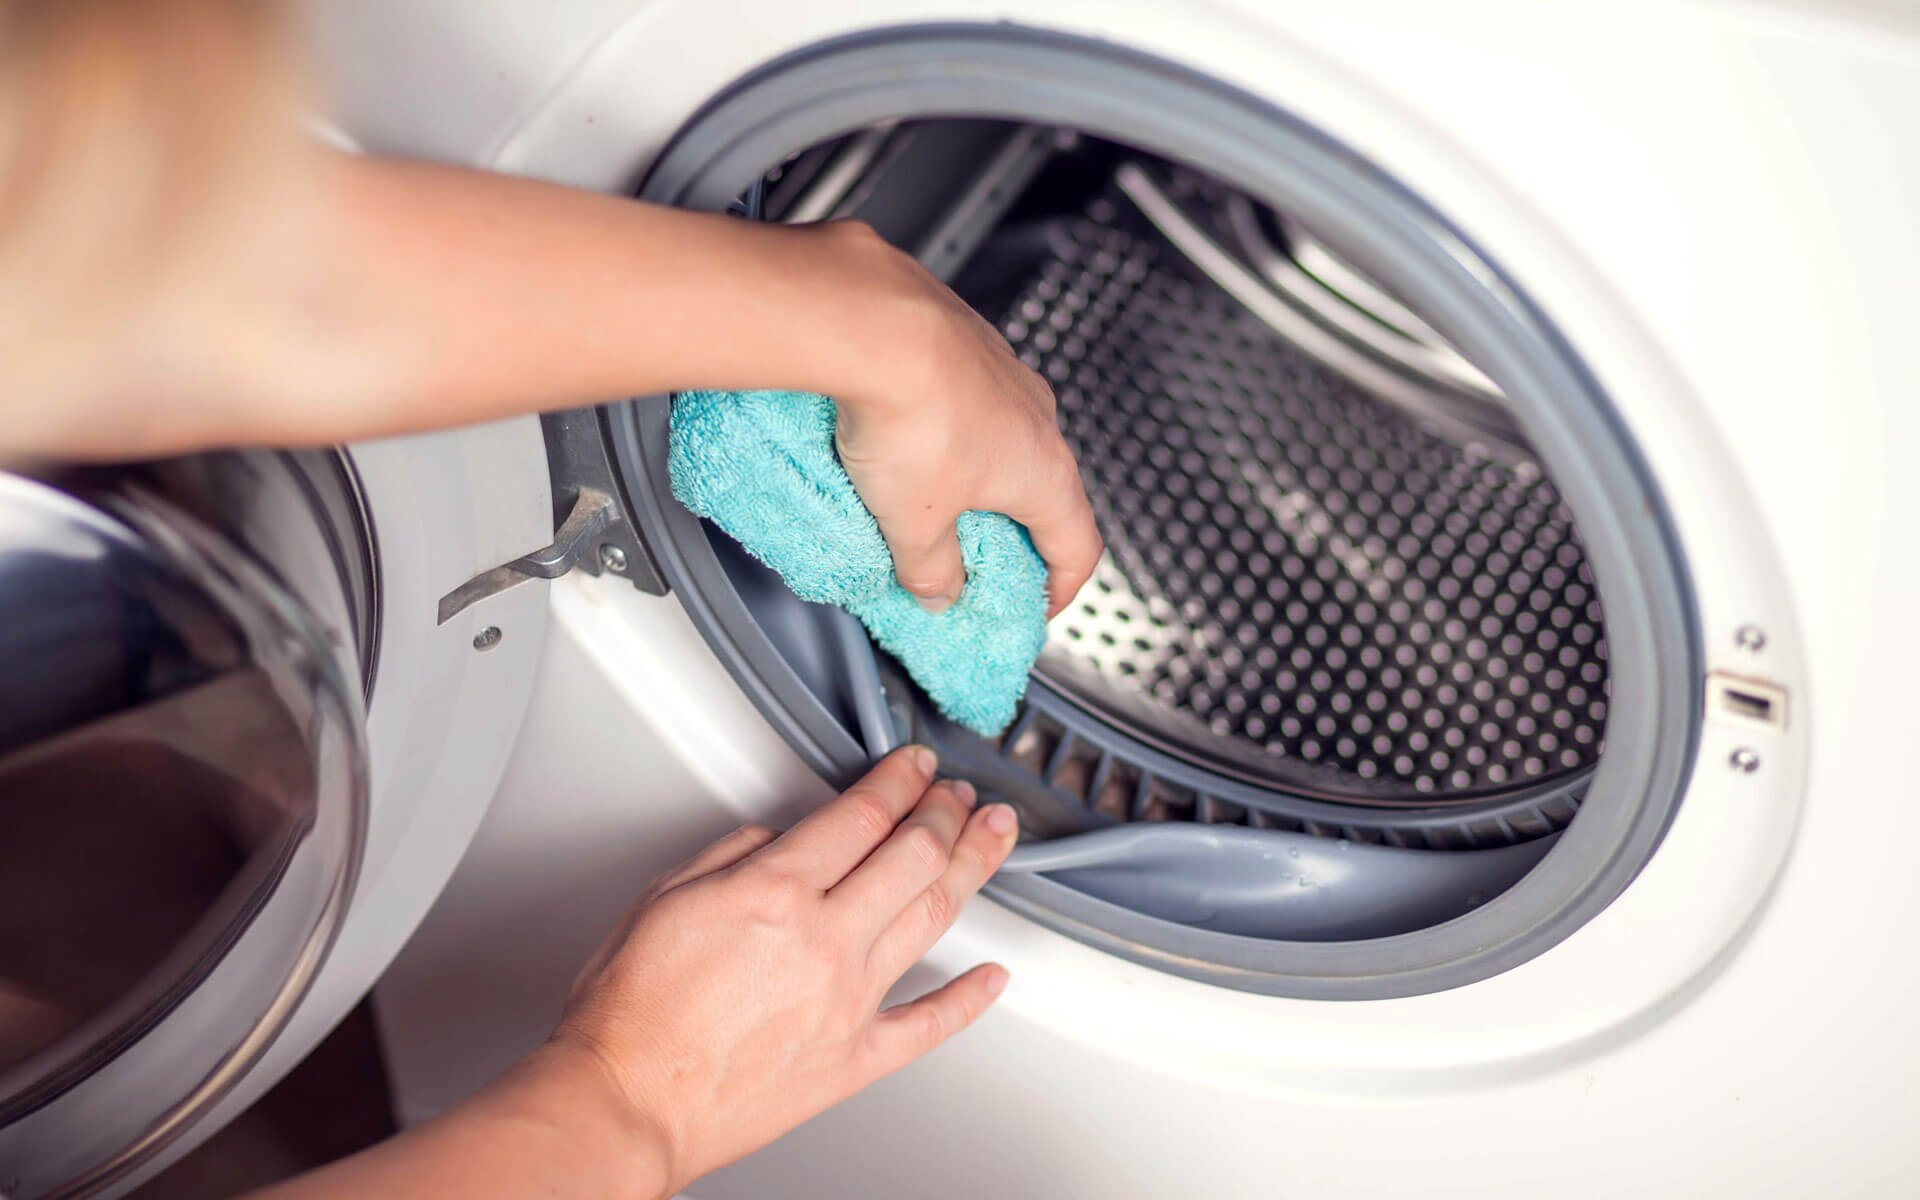
Cleaning the Lint Trap
The lint trap is a crucial component of your Whirlpool dryer that helps prevent lint from clogging the vent and compromising the dryer’s performance. Follow these steps to clean the lint trap effectively:
- Remove the lint trap: Locate the lint trap, typically inside the dryer door or on the top of the dryer. Pull it out by the handle or grip, being careful not to spill any lint.
- Dispose of the lint: Dispose of the lint by either placing it in a trash bag or using a trash can. This helps prevent the lint from spreading and creating a mess.
- Clean the lint trap: Use a lint brush or a specialized dryer vent cleaning kit to remove any lint or debris that may be trapped in the lint trap. Run the brush or the kit through the trap, ensuring it reaches all sides and corners. This will help dislodge any stubborn lint buildup.
- Rinse with water (optional): If you notice that the lint trap has accumulated residue from dryer sheets or fabric softeners, you can rinse it with warm water. Make sure to thoroughly dry the trap before reinserting it into the dryer.
- Inspect for damage: While cleaning the lint trap, inspect it for any signs of damage, such as cracks or tears. If you notice any damage, consider replacing the lint trap to maintain its effectiveness.
Regularly cleaning the lint trap is vital to prevent lint buildup, improve airflow, and reduce the risk of a dryer fire. Now that the lint trap is clean, let’s move on to cleaning the dryer drum.
Regularly clean the lint trap and exhaust vent of your Whirlpool dryer to improve its efficiency and reduce the risk of fire. Use a vacuum attachment to remove lint from the vent and clean the lint trap with a brush and warm, soapy water.
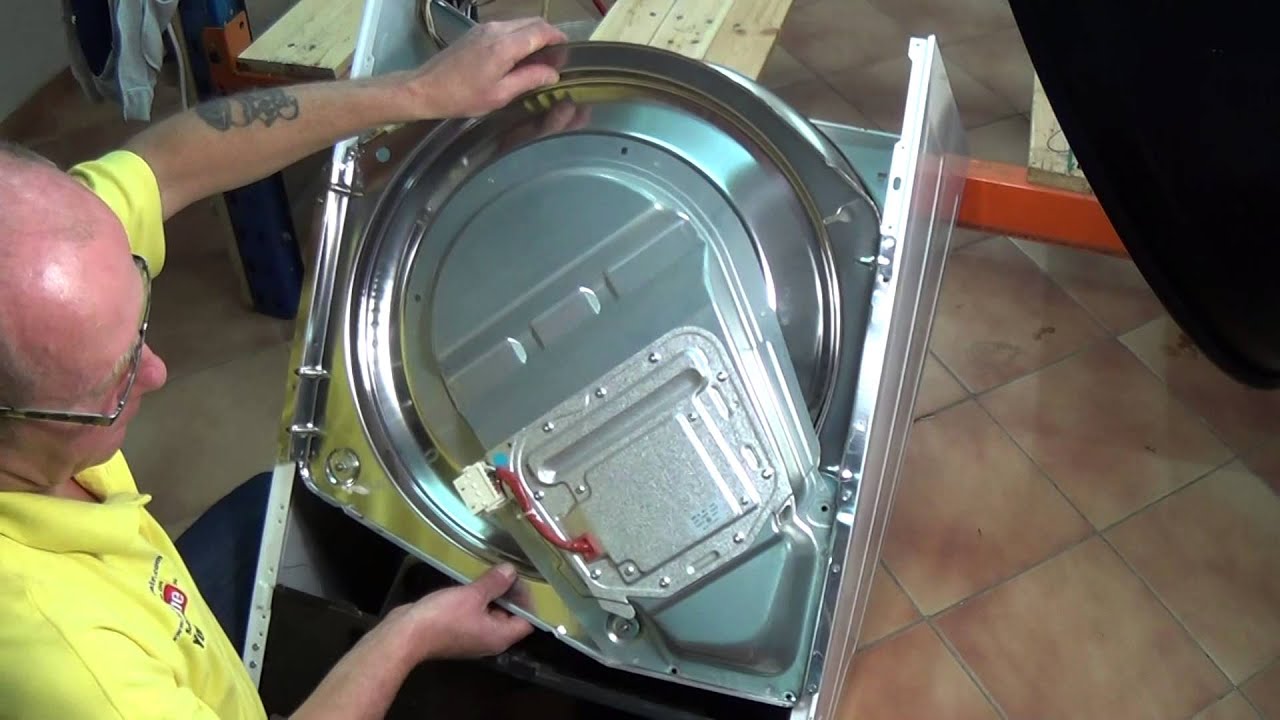
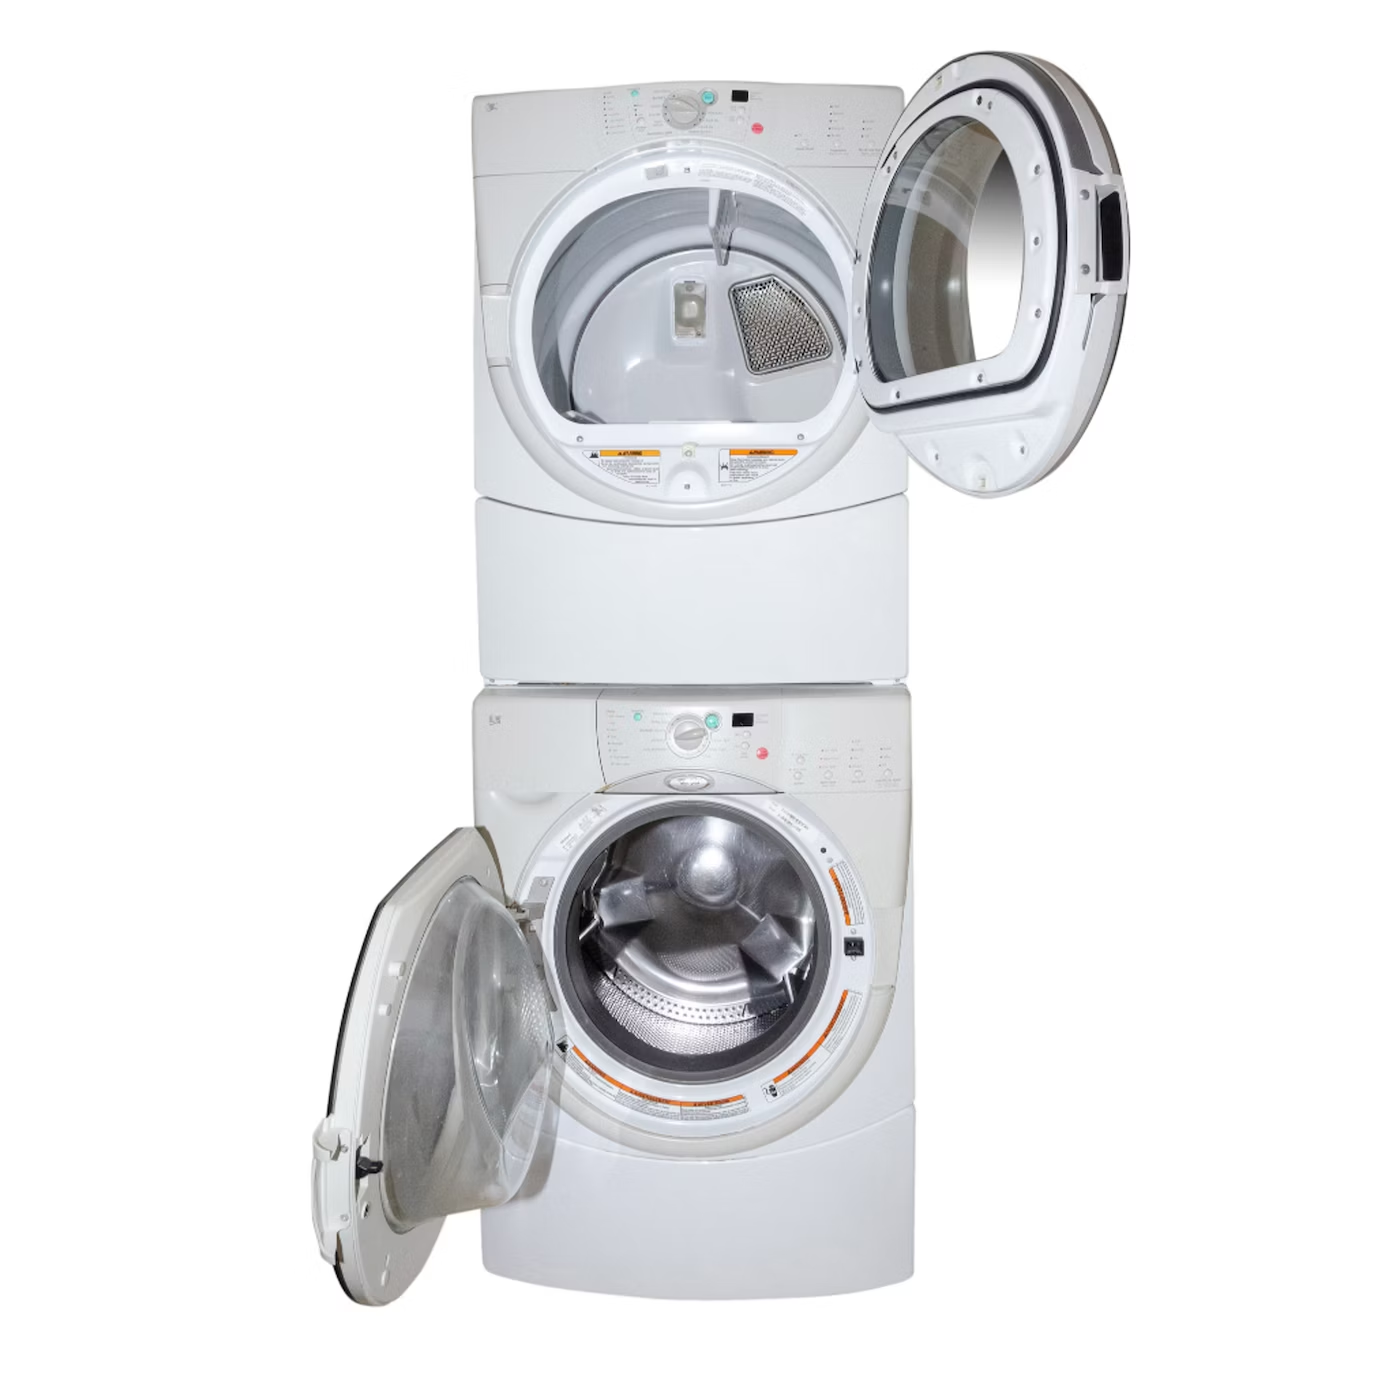
Cleaning the Drum
The dryer drum is where your clothes tumble and dry, and over time, it can accumulate lint and other debris. Cleaning the drum not only improves the dryer’s performance but also ensures that your clothes come out clean and fresh. Follow these steps to clean the Whirlpool dryer drum:
- Prepare a cleaning solution: In a bucket or sink, mix a mild detergent or all-purpose cleaner with warm water. Use a lint-free cloth or sponge to soak in the cleaning solution.
- Wipe the drum: Start by wiping the inside of the drum with the dampened cloth or sponge. Pay close attention to areas with visible stains or residue, and gently scrub to remove any buildup.
- Clean hard-to-reach areas: Use a small brush, such as a toothbrush or paintbrush, to reach difficult-to-clean areas, such as the drum’s edges, corners, and crevices. Brush away any lint or debris that may have accumulated.
- Rinse and dry: Once the drum is clean, rinse the cloth or sponge, and wipe down the drum with clean water to remove any remaining residue or cleaner. Finally, use a dry lint-free cloth or towel to thoroughly dry the drum.
Regularly cleaning the dryer drum helps prevent lint buildup, eliminates any odors, and ensures optimal drying performance. With the drum now clean, let’s move on to cleaning the dryer vent.
Read more: How To Start Whirlpool Dryer
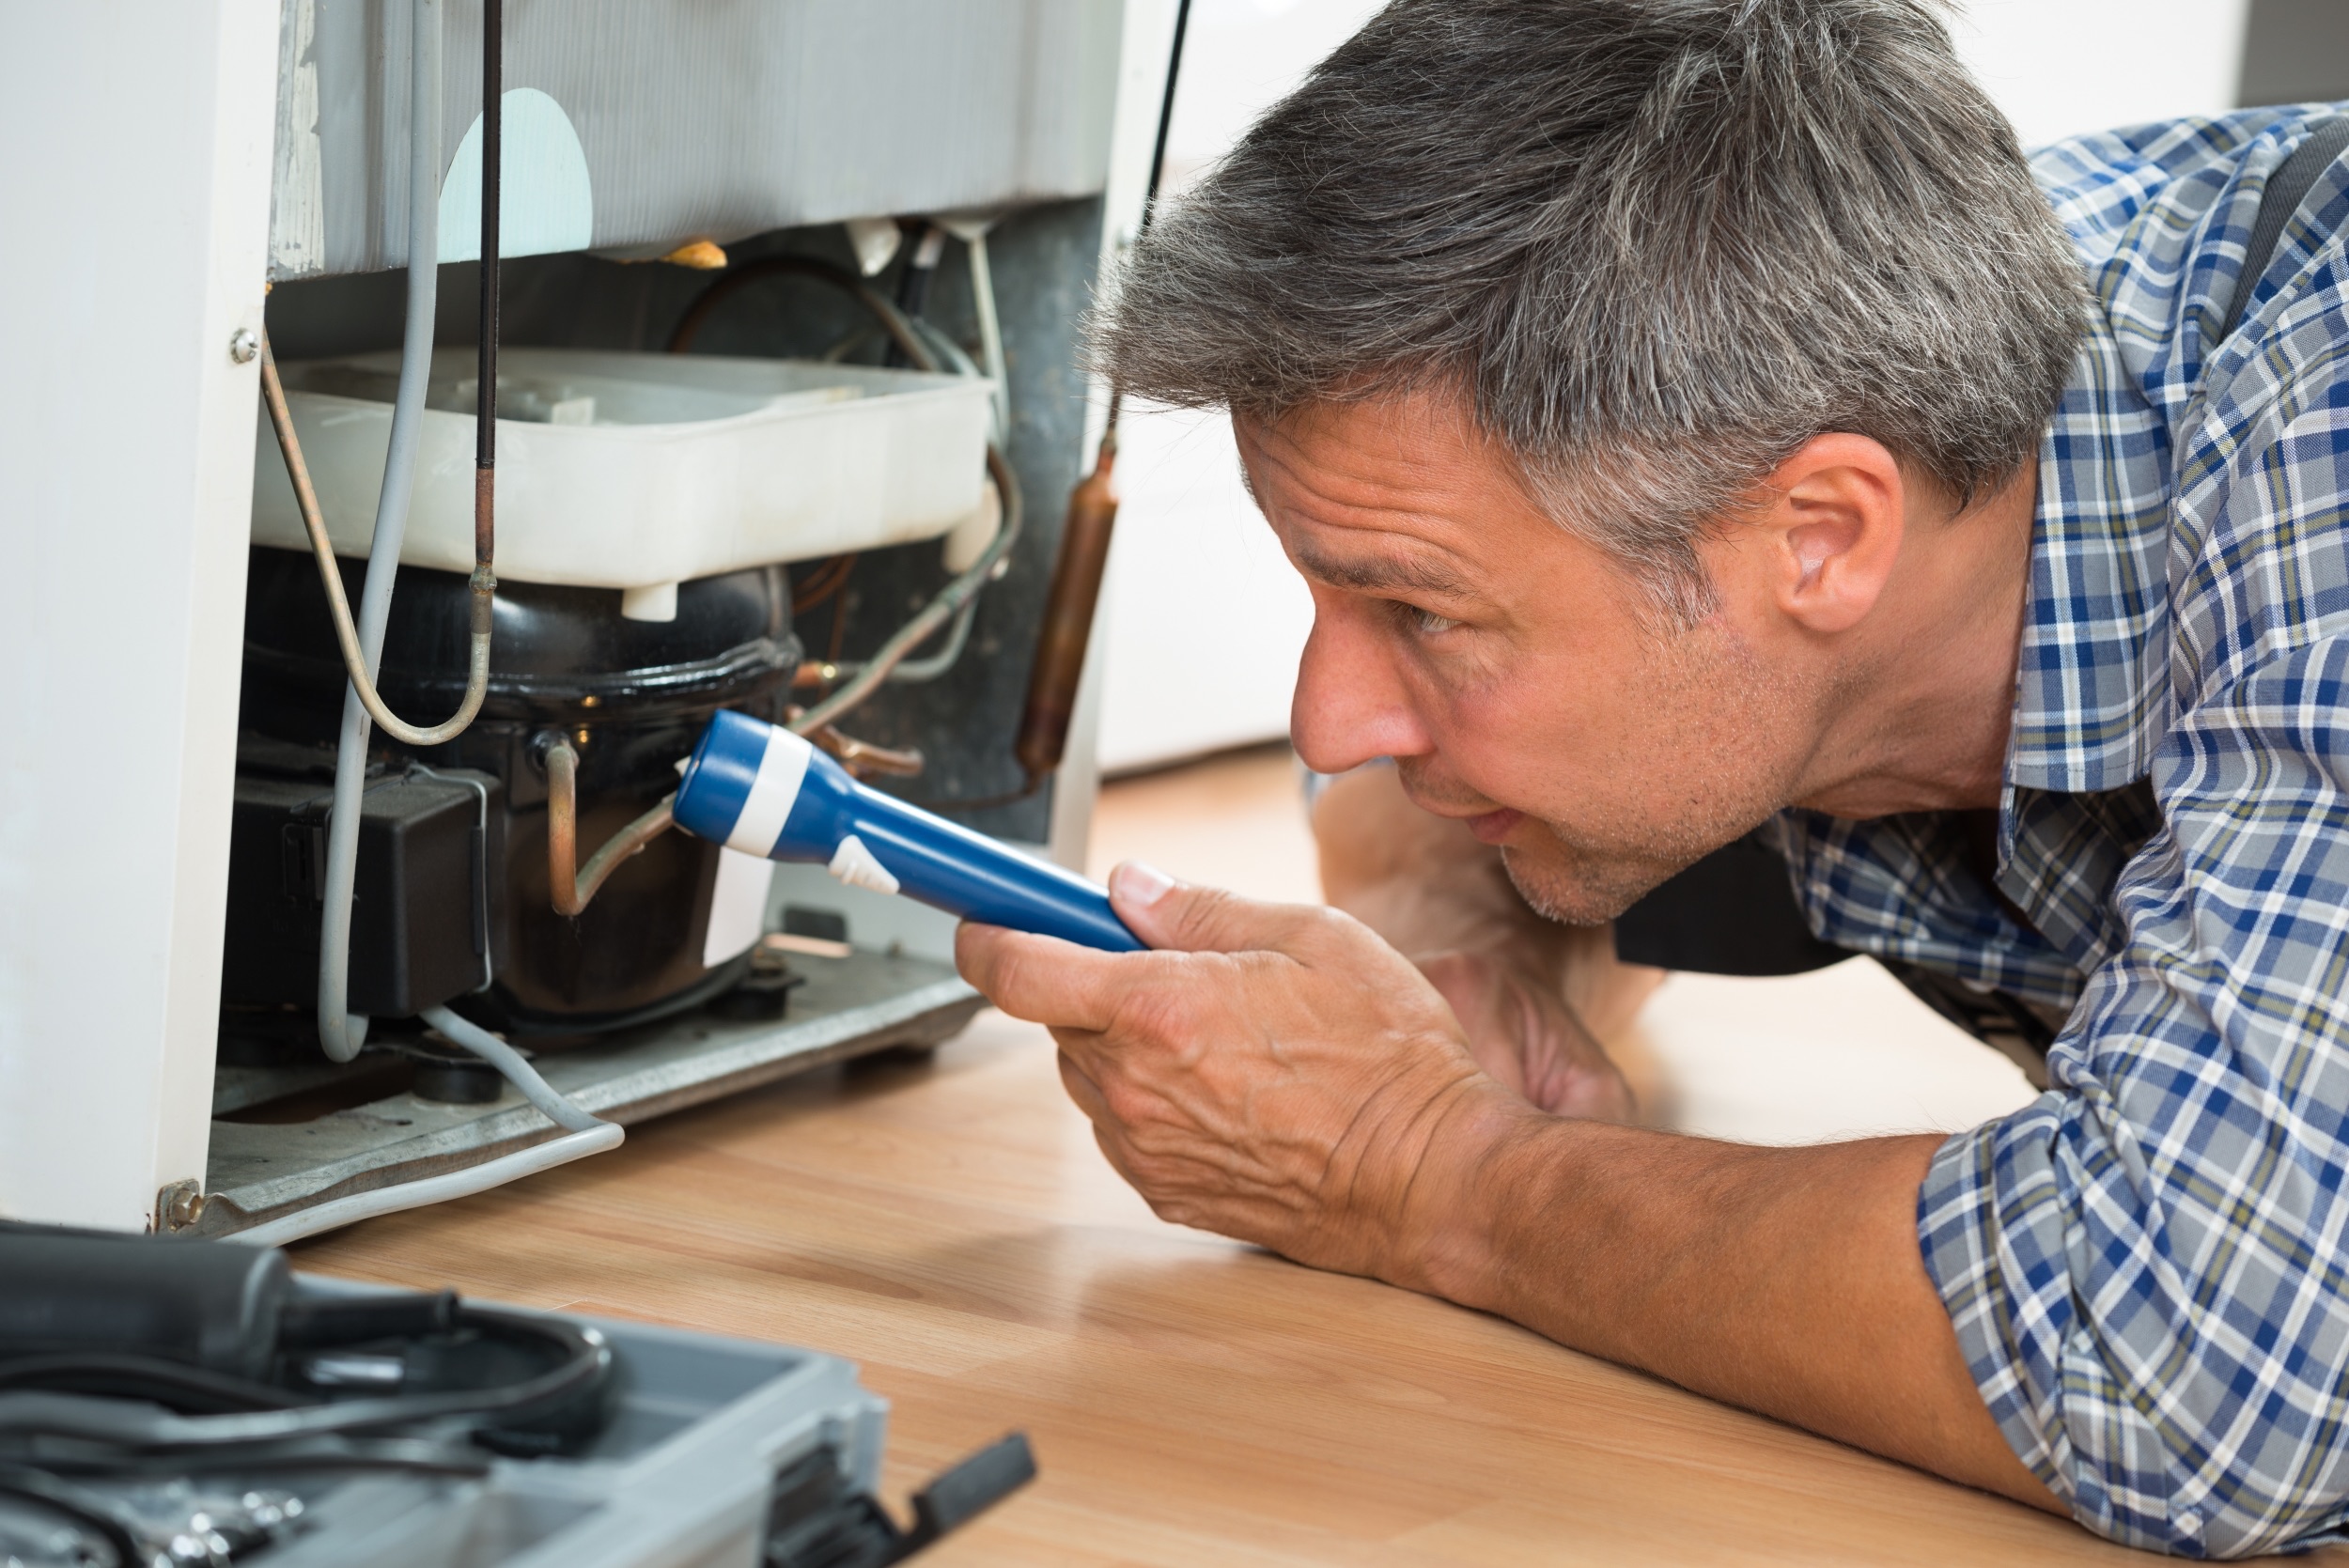
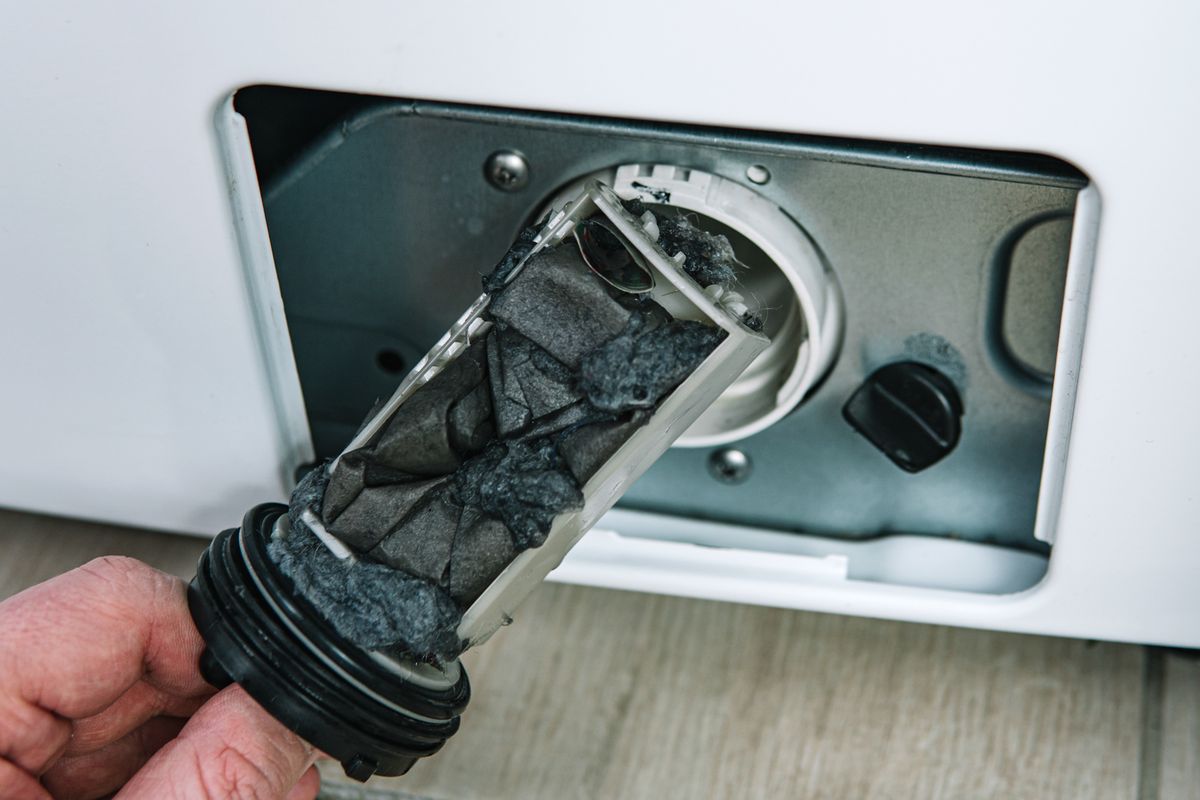
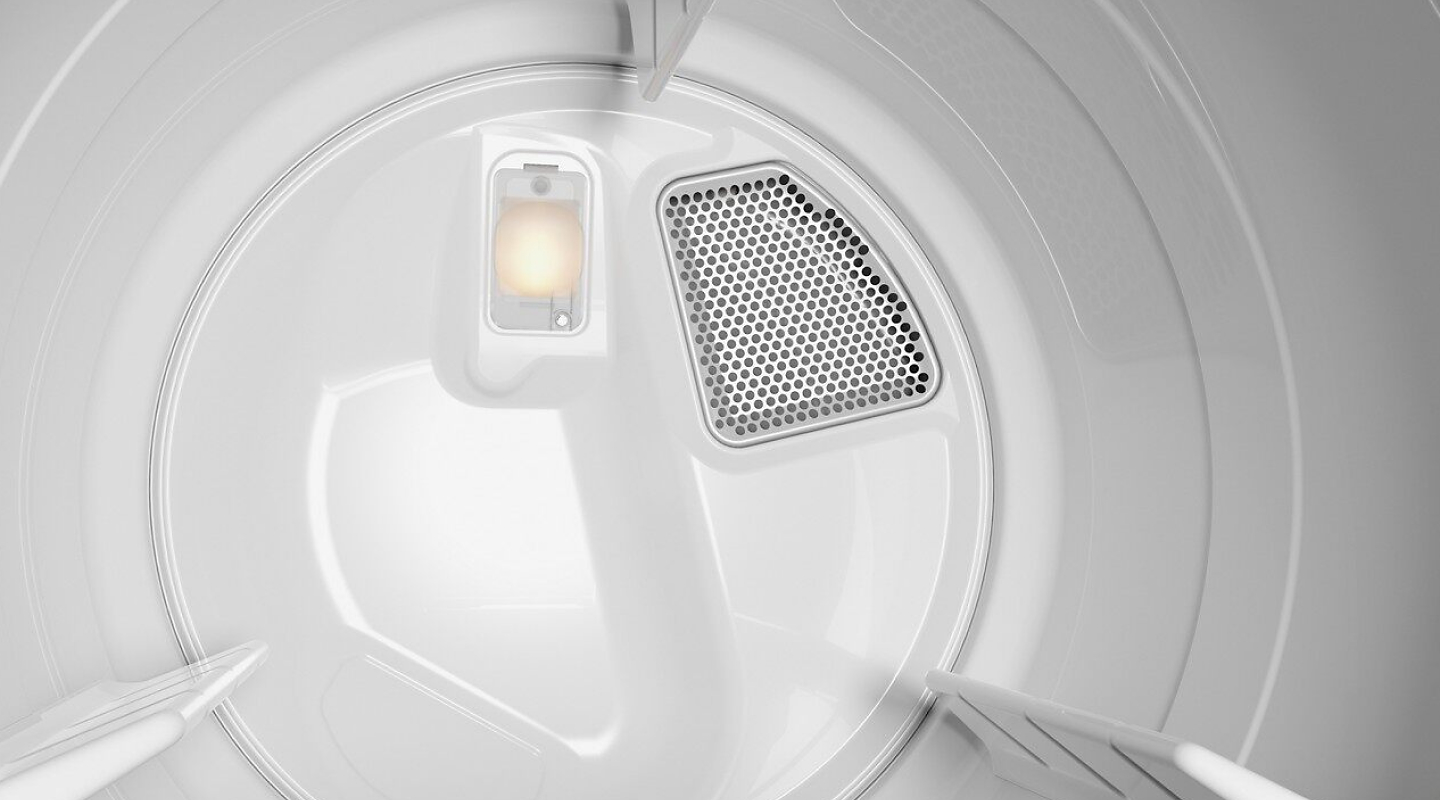
Cleaning the Vent
The dryer vent plays a crucial role in removing moist air and lint from your Whirlpool dryer. Over time, the vent can become clogged with lint, reducing airflow and increasing the risk of a fire hazard. Follow these steps to clean the dryer vent:
- Locate the vent outlet: Find the vent outlet on the back of your dryer. This is typically a flexible metal or plastic tube that vents the air outside your home. Disconnect the vent from the dryer by loosening the clamps or removing the screws.
- Remove lint buildup: Use a vacuum cleaner with a hose attachment to remove any lint or debris from the vent. Insert the hose attachment into the vent and gently move it back and forth to collect the lint. Pay special attention to areas where lint may have accumulated, such as bends or elbows in the vent.
- Inspect for blockages: After cleaning the vent, visually inspect it for any blockages or obstructions. Look for any signs of excessive lint buildup or debris that may impede airflow. If you notice any blockages, use the vacuum cleaner or a long lint brush to remove them.
- Reconnect the vent: Once the vent is clean and free from blockages, reattach it to the dryer by tightening the clamps or screws. Ensure a secure connection to prevent any air leaks.
Regularly cleaning the dryer vent promotes proper airflow, reduces the risk of overheating, and increases the efficiency of your Whirlpool dryer. With the vent now clean, let’s move on to reassembling the dryer and concluding the cleaning process.
Reassembling the Dryer
After the thorough cleaning of your Whirlpool dryer, it’s time to reassemble the various components. Follow these steps to ensure a proper reassembly:
- Reinsert the lint trap: Locate the lint trap opening and reinsert the cleaned lint trap. Ensure a secure fit to prevent any lint from escaping into the dryer.
- Reconnect the vent hose: Align the vent hose with the dryer vent outlet. Tighten the clamps or screws to secure the connection and prevent air leaks.
- Plug in the dryer: Reconnect the power cord to the power source. Ensure that the dryer is properly grounded to prevent electrical hazards.
- Test the dryer: Before running a full load, turn on the dryer and run it briefly to ensure it is operating correctly. Check for any unusual noises or vibrations.
By reassembling the dryer correctly, you’ll ensure that all components are securely in place and that the dryer will function properly. Now that you’ve completed the reassembly, let’s wrap up the cleaning process.
Conclusion
Congratulations! You have successfully completed the process of cleaning your Whirlpool dryer. By following the steps outlined in this guide, you have taken important measures to maintain the efficiency and safety of your dryer.
Regular cleaning of your Whirlpool dryer is essential to prevent lint buildup, enhance drying performance, and reduce the risk of fire hazards. Remember to clean the exterior, lint trap, drum, and vent on a regular basis to keep your dryer running smoothly.
When performing any maintenance or cleaning tasks on your Whirlpool dryer, always prioritize safety. Follow the recommended safety precautions, including unplugging the dryer, wearing protective gear, and allowing the dryer to cool down before starting the cleaning process.
By dedicating a little time to clean and maintain your Whirlpool dryer, you can enjoy its optimal performance, prolong its lifespan, and ensure the safety of your home and family.
We hope this guide has been helpful to you. Now you can sit back, relax, and enjoy the convenience of a clean and efficient Whirlpool dryer!
Frequently Asked Questions about How To Clean A Whirlpool Dryer
Was this page helpful?
At Storables.com, we guarantee accurate and reliable information. Our content, validated by Expert Board Contributors, is crafted following stringent Editorial Policies. We're committed to providing you with well-researched, expert-backed insights for all your informational needs.
0 thoughts on “How To Clean A Whirlpool Dryer”