Articles
How To Replace A Range Hood Fan Motor
Modified: January 6, 2024
Learn how to replace a range hood fan motor with our detailed articles. Follow our step-by-step guide to easily swap out a faulty motor and restore optimal ventilation in your kitchen.
(Many of the links in this article redirect to a specific reviewed product. Your purchase of these products through affiliate links helps to generate commission for Storables.com, at no extra cost. Learn more)
Introduction
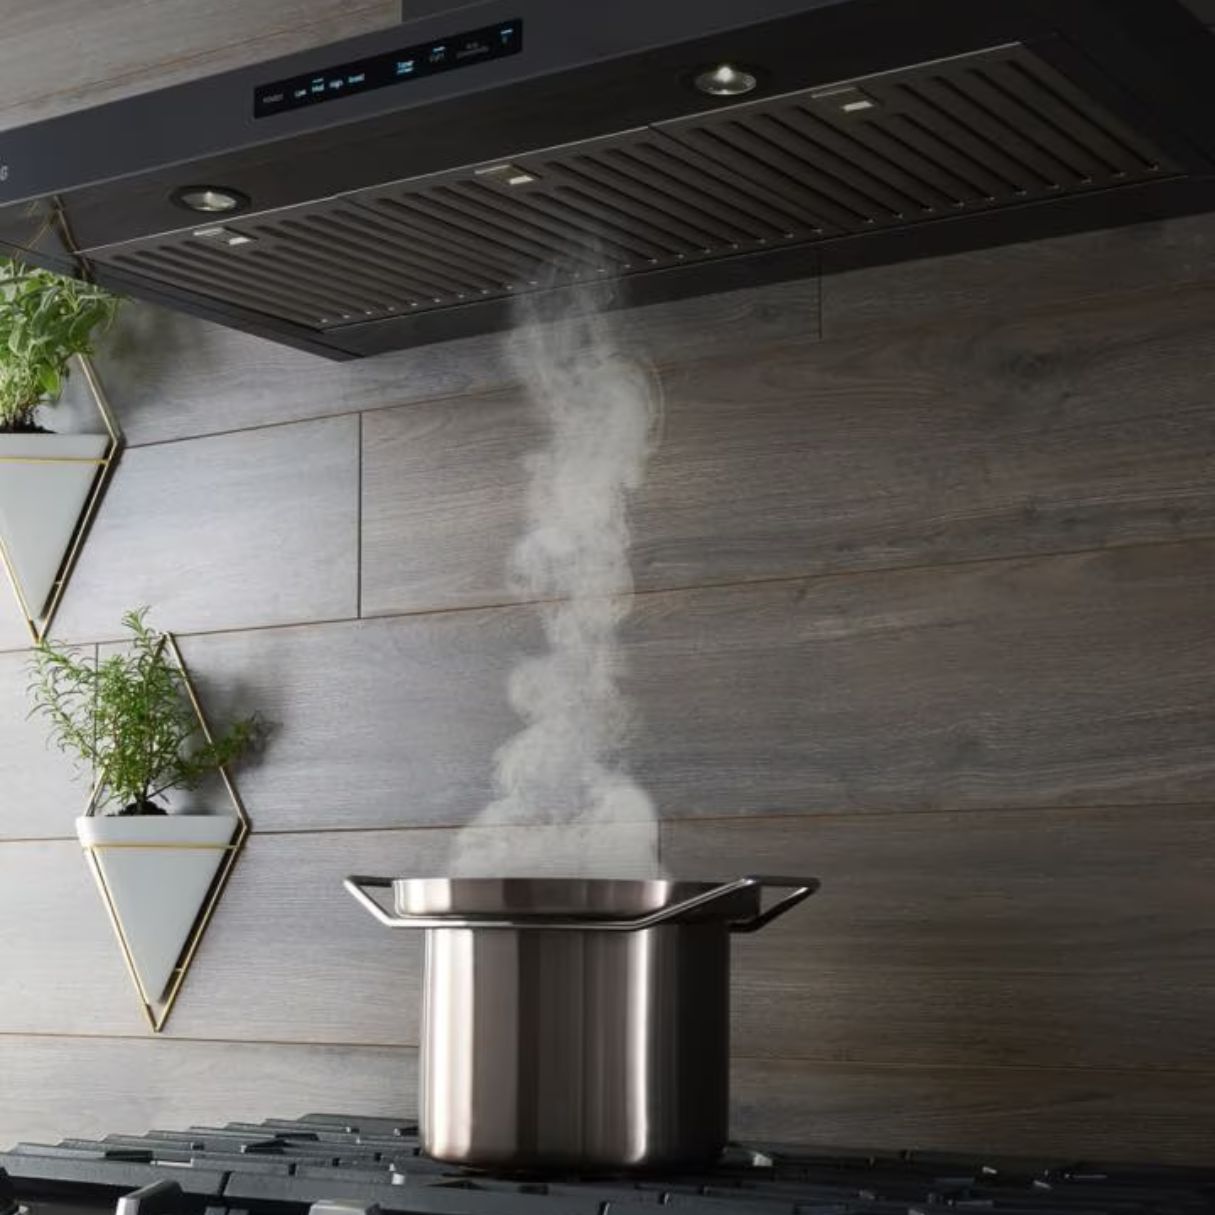
Replacing a range hood fan motor is a common task that many homeowners find themselves faced with. Over time, the fan motor can wear out or malfunction, leading to reduced performance or even complete failure of the range hood. Luckily, with a few basic tools and some DIY know-how, replacing a range hood fan motor can be a relatively straightforward process.
In this article, we will guide you through the step-by-step process of replacing a range hood fan motor. Before we begin, it is important to note that safety should always be your top priority when dealing with any electrical appliance. Make sure to turn off the power supply and take precautionary measures to avoid any accidents or injuries while working on your range hood.
By following these instructions, you will be able to successfully replace the fan motor and restore your range hood to its optimal functionality.
Let’s get started!
Key Takeaways:
- Replacing a range hood fan motor is a manageable DIY task that requires careful preparation, safety measures, and step-by-step guidance. With the right tools and attention to detail, homeowners can restore optimal functionality to their range hood.
- Prioritizing safety, proper wiring connections, and meticulous handling of components are crucial for a successful range hood fan motor replacement. Following the outlined steps and seeking professional assistance when needed can ensure a smooth and efficient installation process.
Read also: 10 Amazing Range Hood Fan Motor For 2025
Step 1: Prepare the necessary tools and materials
Before you begin replacing the range hood fan motor, it is important to gather all the necessary tools and materials. This will ensure that you have everything you need within reach and prevent any unnecessary interruptions during the process.
Here is a list of tools and materials you will need:
- Screwdriver – to remove screws and fasteners
- Pliers – for gripping and maneuvering small parts
- Wire cutters – to disconnect the wiring
- New range hood fan motor – make sure it is compatible with your specific range hood model
- Replacement screws – if the old ones are damaged or need to be replaced
Having these tools and materials ready before you begin will save you time and frustration during the replacement process.
Additionally, it is always a good idea to have safety equipment on hand, such as gloves and safety goggles, to protect yourself from any potential hazards.
Once you have gathered all the necessary tools and materials, you are ready to move on to the next step.
Step 2: Disconnect the power supply
Before you start working on the range hood fan motor, it is crucial to ensure that the power supply is completely disconnected. This is essential to prevent any electrical accidents or injuries during the replacement process.
To disconnect the power supply, follow these steps:
- Locate the circuit breaker or fuse box in your home.
- Identify the circuit that controls the range hood and switch it off.
- For added safety, use a voltage tester to verify that there is no electrical current running to the range hood.
Once you have confirmed that the power supply is disconnected, it is safe to proceed with the next steps of replacing the range hood fan motor.
Remember, electrical safety should always be a top priority. If you are unsure about any aspect of disconnecting the power supply, it is recommended to consult a qualified electrician.
With the power supply disconnected, you are now ready to move on to the next step of removing the range hood cover.
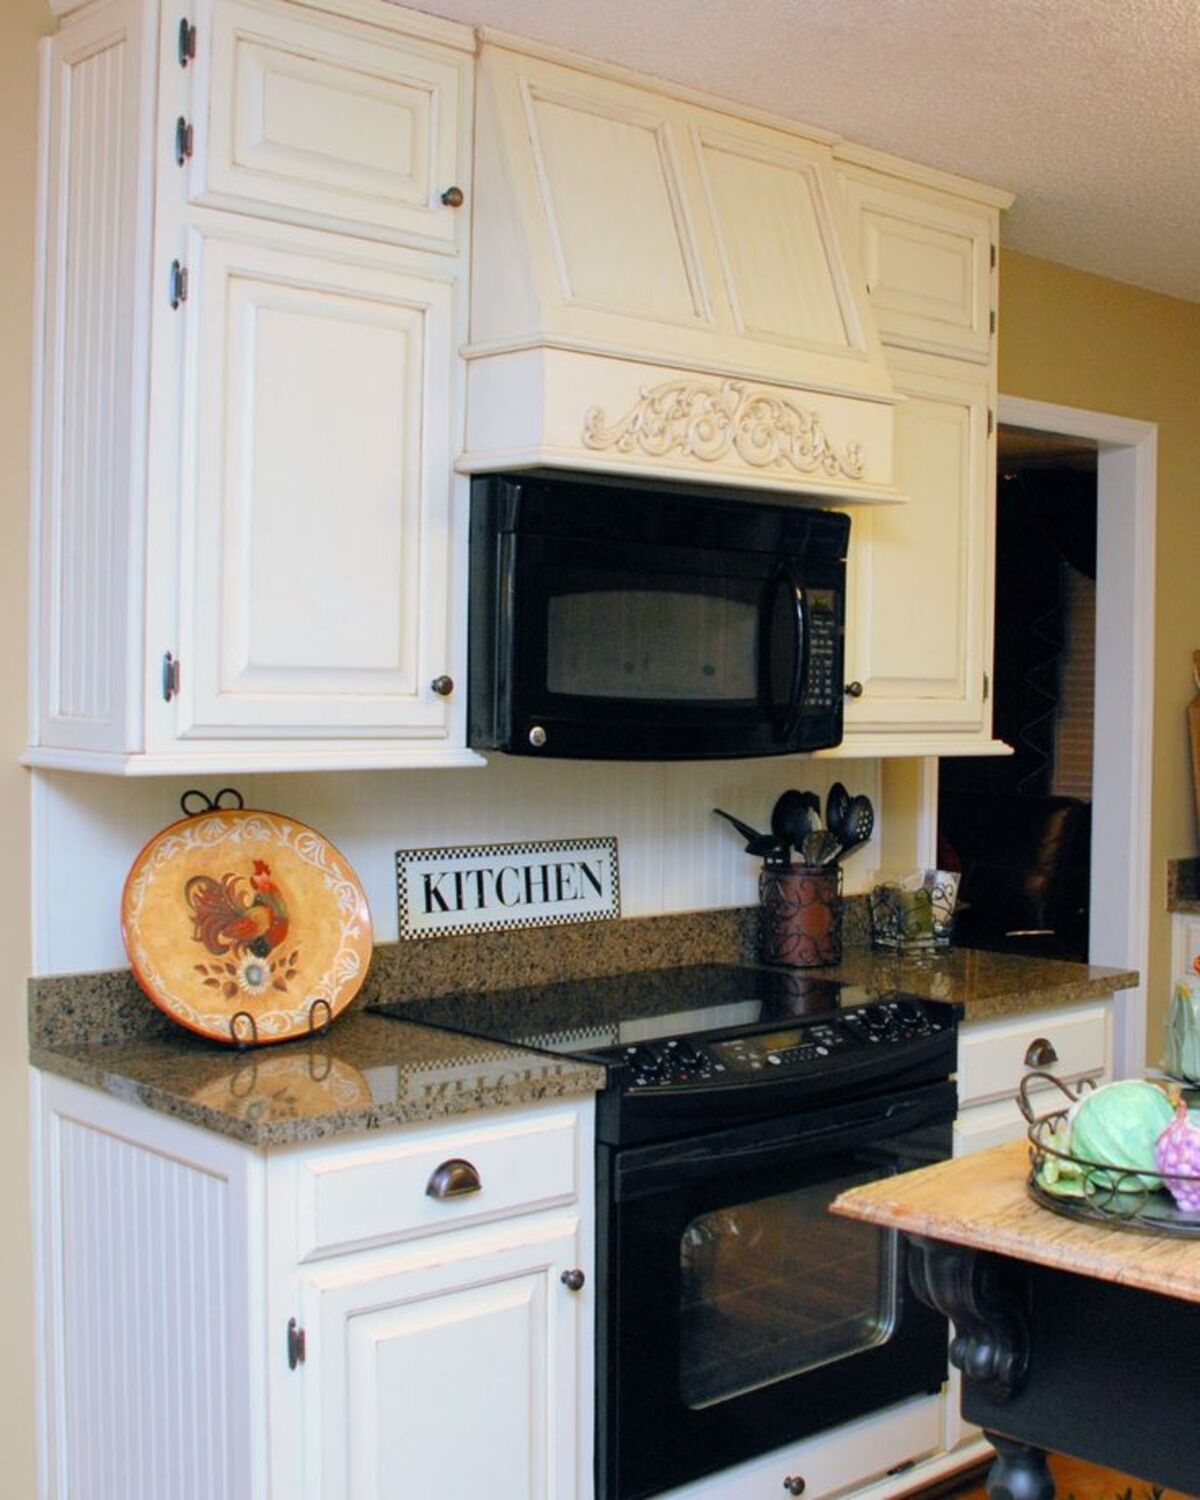
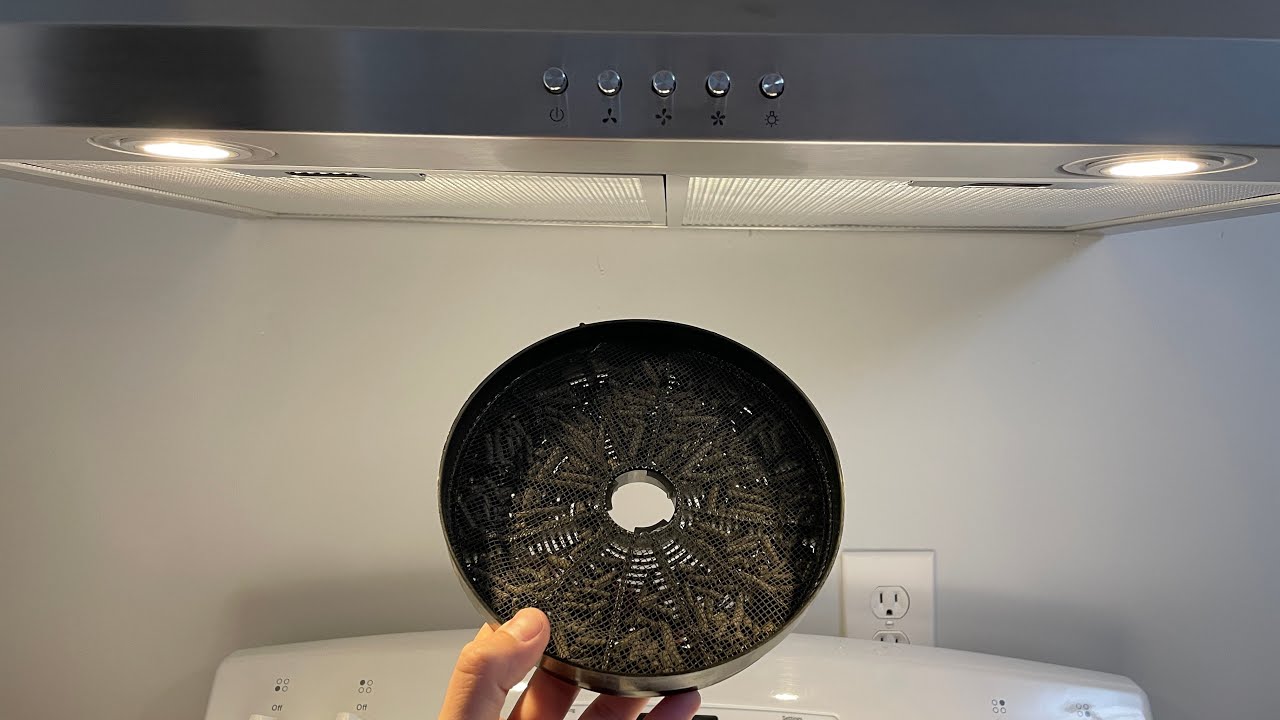
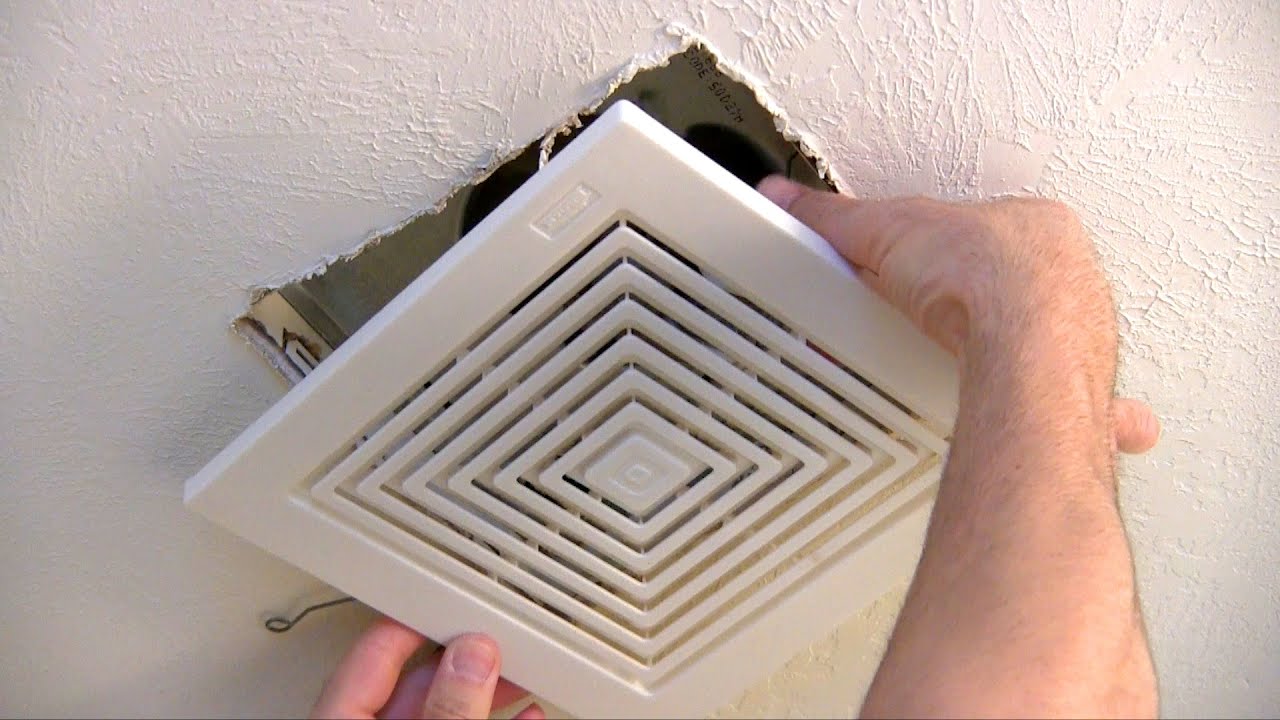
Step 3: Remove the range hood cover
With the power supply disconnected, it is now time to remove the range hood cover. The cover is typically secured in place by screws or clips, depending on the specific model of your range hood. Follow these steps to remove the cover:
- Locate the screws or clips that are securing the range hood cover.
- Using a screwdriver or your fingers, carefully remove the screws or release the clips.
- Set aside the screws or clips in a safe place, as you will need them later to reinstall the cover.
- Gently lift the cover up and away from the range hood, ensuring that you do not damage any of the components or wiring.
Once you have removed the range hood cover, take a moment to inspect the interior for any signs of damage or debris. This is a good opportunity to clean the area and remove any accumulated grease or dirt.
Keep in mind that range hood covers can vary in design and attachment methods. If you encounter any difficulties during this step, consult your range hood’s user manual or seek assistance from a professional.
With the range hood cover removed, you are now ready to proceed to the next step of locating the fan motor.
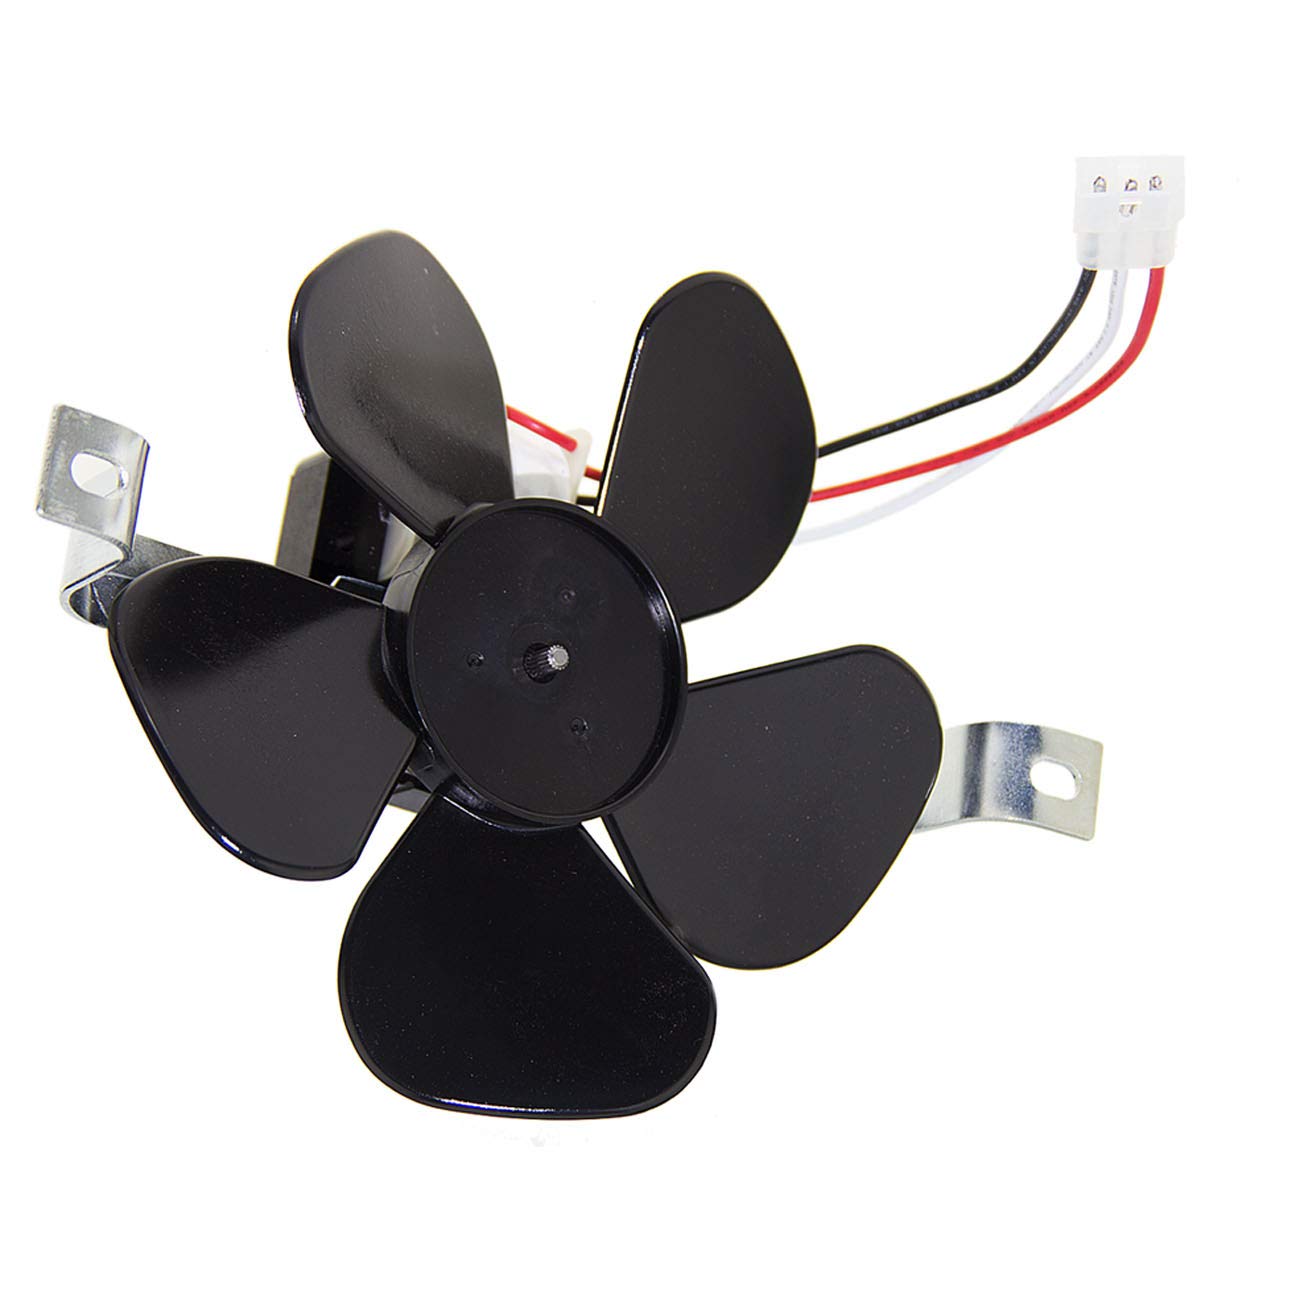
Step 4: Locate the fan motor
Now that the range hood cover has been removed, you can easily locate the fan motor. The fan motor is typically positioned toward the center or rear of the range hood, and it is responsible for drawing in air and ventilating the cooking area.
To locate the fan motor, follow these steps:
- Inspect the interior of the range hood for a cylindrical or rectangular component.
- Look for wires connected to the motor, as this will help you identify it.
- Take note of the mounting brackets or screws that secure the motor in place.
It is important to familiarize yourself with the exact location and design of the fan motor before proceeding with the replacement process. This will help ensure a smooth and efficient replacement process.
If you are unsure about the location of the fan motor in your specific range hood model, consult the user manual or refer to the manufacturer’s website for guidance.
Once you have located the fan motor, you can proceed to the next step of disconnecting the wiring.
Read more: How To Clean Range Hood Motor
Step 5: Disconnect the wiring
Before replacing the fan motor, it is necessary to disconnect the wiring that connects it to the range hood. This will ensure a safe and successful replacement process.
Follow these steps to disconnect the wiring:
- Identify the wires that are connected to the fan motor.
- Using wire cutters or pliers, carefully disconnect the wires by removing any wire nuts or connectors.
- Take note of the wire colors or labels for later reference when connecting the new fan motor.
- Set aside the disconnected wires in a safe place to prevent them from falling back into the range hood.
It is important to handle the wiring with care and avoid any excessive force or pulling that may damage the wires or connections. If you are unsure about the wiring or encounter any difficulties during this step, it is recommended to seek assistance from a professional.
With the wiring properly disconnected, you are now ready to move on to the next step of removing the old fan motor.
When replacing a range hood fan motor, make sure to turn off the power to the range hood before starting the replacement process to avoid any electrical accidents.
Step 6: Remove the old fan motor
Now that the wiring has been disconnected, you can proceed to remove the old fan motor from the range hood. The method of removal may vary depending on the specific model of your range hood, but the general process remains the same.
Follow these steps to remove the old fan motor:
- Check for any mounting brackets or screws that are securing the fan motor in place.
- Using a screwdriver or pliers, carefully remove the mounting brackets or screws.
- Gently pull the old fan motor away from its housing, being mindful of any attached wires or components.
- Set aside the old fan motor in a safe place for proper disposal.
It is important to handle the old fan motor with care and avoid any damage to the housing or surrounding components. If necessary, refer to your range hood’s user manual or consult the manufacturer’s guidelines for specific instructions on removing the fan motor.
Once the old fan motor has been removed, you can proceed to the next step of installing the new fan motor.
Step 7: Install the new fan motor
With the old fan motor removed, it’s time to install the new one. Proper installation is crucial for the efficient and safe operation of your range hood.
Follow these steps to install the new fan motor:
- Ensure that the new fan motor is compatible with your specific range hood model.
- Position the new fan motor in the same location from which you removed the old one.
- Align the mounting brackets or screw holes on the new fan motor with the corresponding holes in the range hood housing.
- Secure the new fan motor in place using the appropriate mounting brackets or screws.
- Double-check that the fan motor is securely attached and properly aligned within the range hood.
It is important to follow the manufacturer’s instructions for the specific installation process of your range hood fan motor. If you encounter any difficulties or discrepancies, consult the user manual or contact the manufacturer for assistance.
Once the new fan motor is securely installed, you are ready to proceed to the next step of reconnecting the wiring to ensure proper functionality.
Step 8: Reconnect the wiring
With the new fan motor in place, it is time to reconnect the wiring to restore power and functionality to your range hood. Properly connecting the wires is crucial for the safe and efficient operation of the fan motor.
Follow these steps to reconnect the wiring:
- Refer to any previous notes or markings you made to identify the wire colors or labels.
- Take the wires that were previously disconnected and match them up with the corresponding wires on the new fan motor.
- Join the wires together using wire nuts or connectors, ensuring a secure and tight connection.
- Check that there is no exposed wiring and that the connections are properly insulated.
It is important to handle the wiring with care and ensure that the connections are secure and free from any loose or exposed wires. If needed, refer to the manufacturer’s instructions or consult a professional for guidance.
Once the wiring is securely connected, you can proceed to the next step of replacing the range hood cover.
Read more: How To Replace A Range Hood
Step 9: Replace the range hood cover
Now that the new fan motor is installed and the wiring is properly connected, it’s time to replace the range hood cover. The cover not only provides a finished look to your range hood but also helps protect the internal components.
Follow these steps to replace the range hood cover:
- Align the range hood cover with the corresponding slots or attachment points on the range hood.
- Ensure that the cover is properly aligned and level before proceeding.
- Using the screws or clips that were previously removed, secure the range hood cover back in place.
- Tighten the screws or fasten the clips until the cover is firmly secured.
Take care not to overtighten the screws or clips, as this may damage the cover or the range hood housing.
Once the range hood cover is securely in place, give it a gentle tug to ensure that it is properly attached and won’t come loose during operation.
With the range hood cover replaced, you are almost done. The final step is to restore the power supply.
Step 10: Restore the power supply
Now that the range hood cover is back in place and the installation is complete, it’s time to restore power to the range hood. This will allow you to test the new fan motor and ensure that everything is functioning correctly.
Follow these steps to restore the power supply:
- Return to the circuit breaker or fuse box in your home.
- Locate the circuit that controls the range hood and switch it back on.
- Verify that power has been restored by turning on the range hood and testing the fan motor.
- Listen for any unusual sounds or vibrations, as these may indicate a problem with the installation.
If everything is working properly, you can pat yourself on the back for successfully replacing the range hood fan motor.
However, if you encounter any issues or the fan motor fails to operate, it is recommended to double-check your installation and consult the manufacturer’s instructions or seek professional assistance if needed.
Remember to exercise caution and prioritize your safety at all times when working with electrical appliances.
Congratulations, you have now completed the process of replacing the range hood fan motor!
Conclusion
Replacing a range hood fan motor might seem like a daunting task, but with the right tools, materials, and step-by-step guidance, it can be easily accomplished. By following the ten steps outlined in this article, you can successfully replace a faulty or worn-out fan motor and restore the optimal performance of your range hood.
From preparing the necessary tools and disconnecting the power supply to removing the old fan motor, installing the new one, and reconnecting the wiring, each step is essential for a successful replacement process. Taking the time to ensure proper alignment, secure connections, and careful handling of the components will help ensure a smooth and safe installation.
Remember, safety should always be your top priority when working with electrical appliances. Always disconnect the power supply and take necessary precautions to avoid any accidents or injuries. If you’re unsure about any step in the process or encounter any difficulties, it’s wise to seek the assistance of a professional electrician or consult the manufacturer’s instructions.
By following the steps outlined in this article, you can confidently replace a range hood fan motor and enjoy efficient ventilation and air circulation in your kitchen. Regular maintenance of your range hood, including cleaning and inspecting the fan motor, will help prolong its lifespan and ensure it continues to perform optimally.
We hope this guide has been helpful in guiding you through the process of replacing a range hood fan motor. With a little time, effort, and attention to detail, you can successfully tackle this DIY project and keep your kitchen workspace clean and comfortable.
Frequently Asked Questions about How To Replace A Range Hood Fan Motor
Was this page helpful?
At Storables.com, we guarantee accurate and reliable information. Our content, validated by Expert Board Contributors, is crafted following stringent Editorial Policies. We're committed to providing you with well-researched, expert-backed insights for all your informational needs.


0 thoughts on “How To Replace A Range Hood Fan Motor”