Articles
How To Replace Boat Floor
Modified: October 27, 2024
Discover helpful articles on how to replace your boat floor. Learn step-by-step instructions and expert tips for a successful flooring renovation.
(Many of the links in this article redirect to a specific reviewed product. Your purchase of these products through affiliate links helps to generate commission for Storables.com, at no extra cost. Learn more)
Introduction
Replacing the floor of a boat can be a challenging task, but it is essential to maintain the overall integrity and safety of your vessel. The boat floor is constantly exposed to moisture, changing temperatures, and heavy foot traffic, which can lead to wear and tear over time.
Whether you have noticed soft spots, rotting, or damaged flooring, it is crucial to address these issues promptly to avoid further damage and ensure a safe boating experience. This comprehensive guide will walk you through the step-by-step process of replacing your boat floor, from assessing the damage to sealing and finishing the new floor.
Before you begin, gather all the necessary tools and materials to streamline the process. This may include a circular saw, a jigsaw, safety goggles, a pry bar or crowbar, marine-grade adhesive, screws, a measuring tape, and the new flooring material of your choice, such as marine plywood or synthetic flooring.
Remember, every boat is unique, and the specific steps and materials required may vary. It is essential to consult your boat’s manufacturer guidelines or seek professional advice if needed. With that said, let’s dive into the process of replacing your boat floor.
Key Takeaways:
- Thoroughly assess the boat floor for soft spots, rot, and hidden damage before replacing. Proper preparation and careful installation of the new flooring material are crucial for a successful and long-lasting upgrade.
- Choose the right flooring material based on durability, maintenance, and installation requirements. Seal and finish the new floor to protect it from moisture and wear, ensuring a safe and visually appealing boat interior.
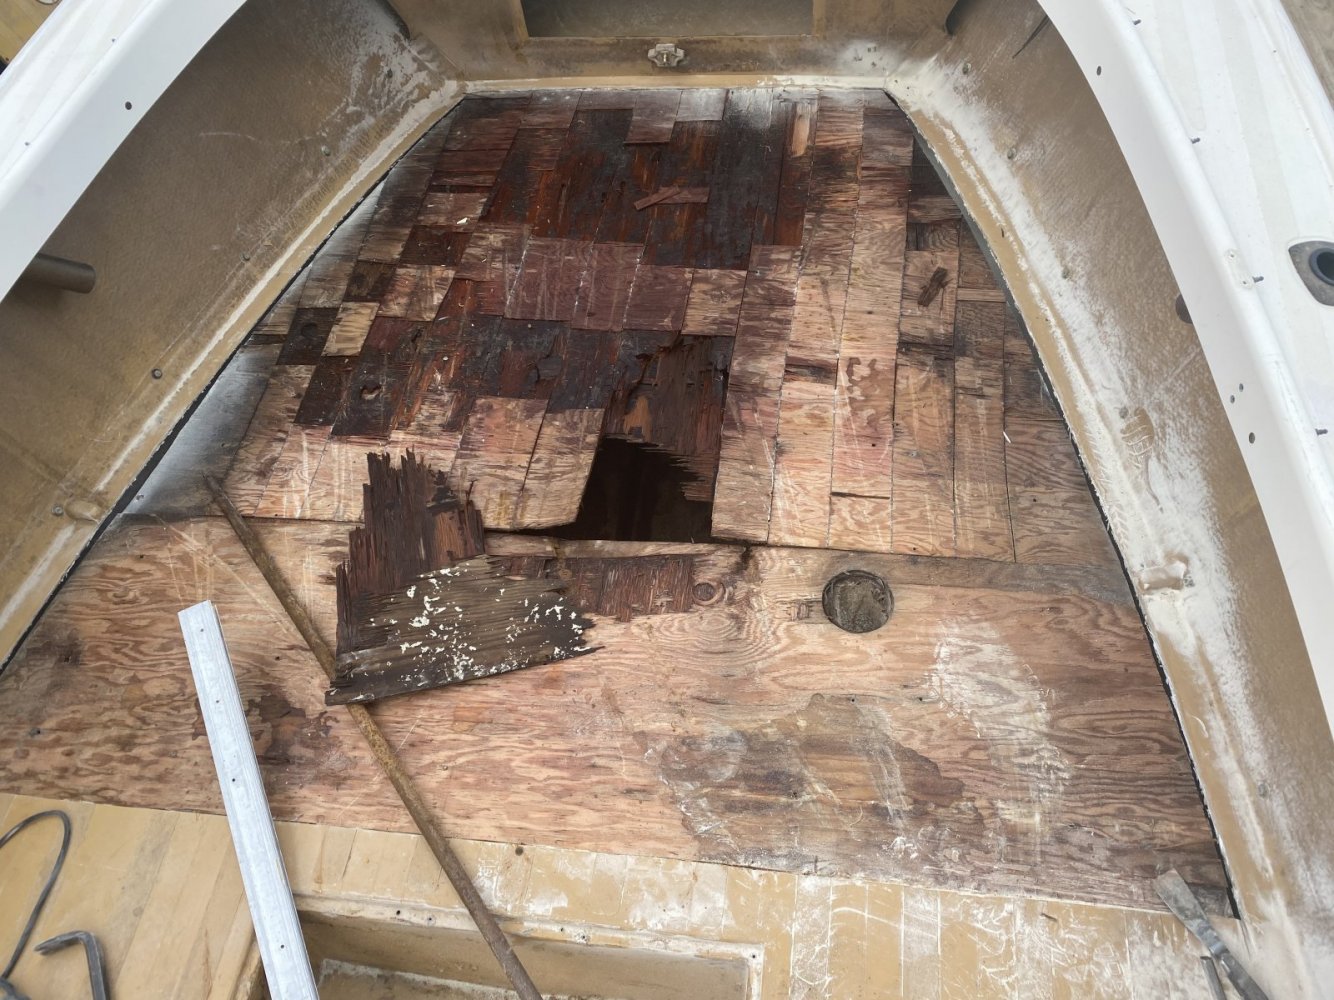
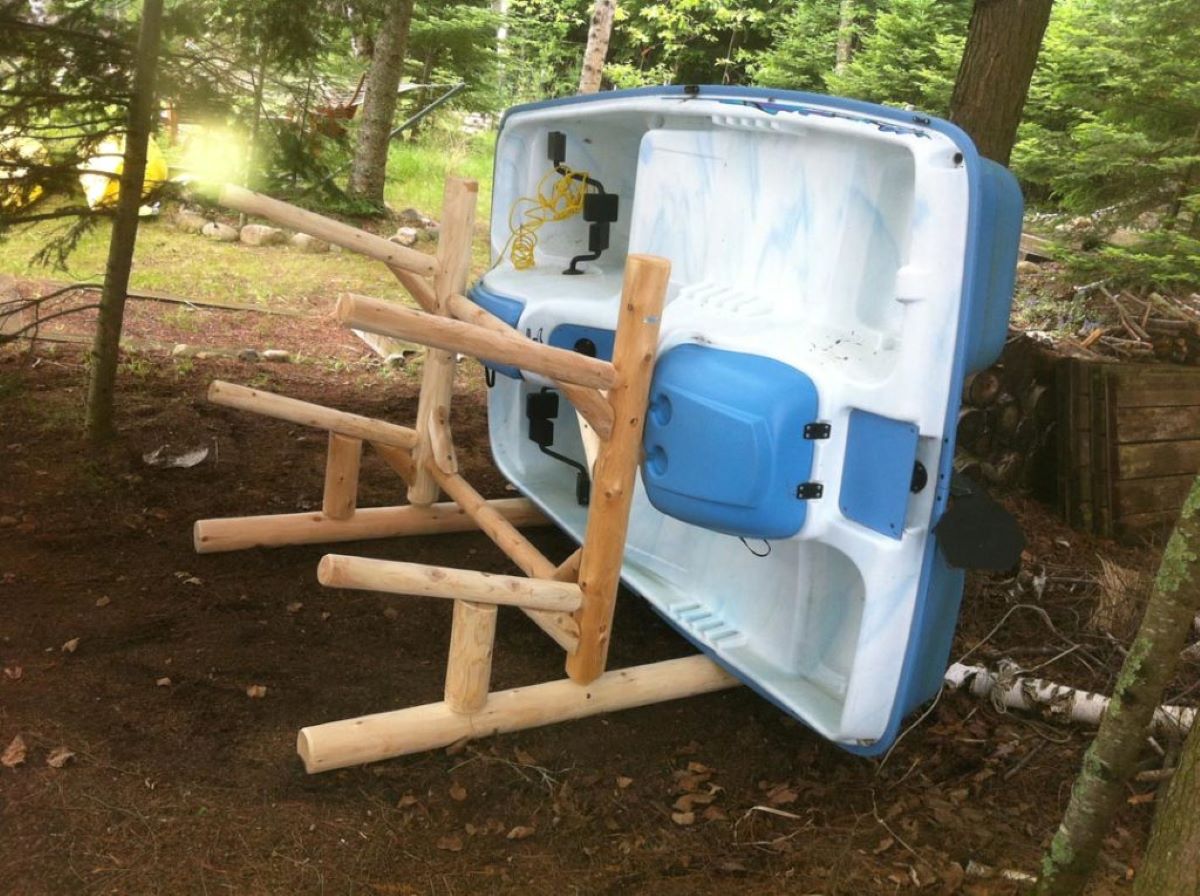
Step 1: Assessing the Damage
The first step in replacing your boat floor is to thoroughly assess the extent of the damage. This will help you determine the scope of the project and ensure you have a clear understanding of what needs to be replaced.
Start by inspecting the entire floor area of your boat. Look for any signs of soft spots, rotting wood, or delamination. Soft spots indicate water damage and are typically caused by leaks or prolonged exposure to moisture.
Use a mallet or your fist to gently tap the surface of the floor. If you notice any areas that feel sponge-like or give in easily, it is an indication of water damage or rot. Pay close attention to high traffic areas and around fittings, as these are common areas for wear and tear.
If you suspect that your boat floor is damaged but cannot pinpoint the exact location, you can use a moisture meter to identify problem areas. These instruments can detect moisture levels beneath the surface and help you locate hidden damage.
Once you have identified the damaged areas, mark them with a pencil or tape. This will serve as a guide during the removal process.
Keep in mind that damage to the subfloor, such as corroded metal or weakened support beams, may also need to be addressed during this step. It is crucial to thoroughly examine the subfloor to ensure its stability before proceeding with the replacement.
By carefully assessing the damage, you will have a clear understanding of the extent of the project and can proceed to the next step with confidence. Remember, if you are unsure about any aspect of the assessment, it is always best to seek professional advice.
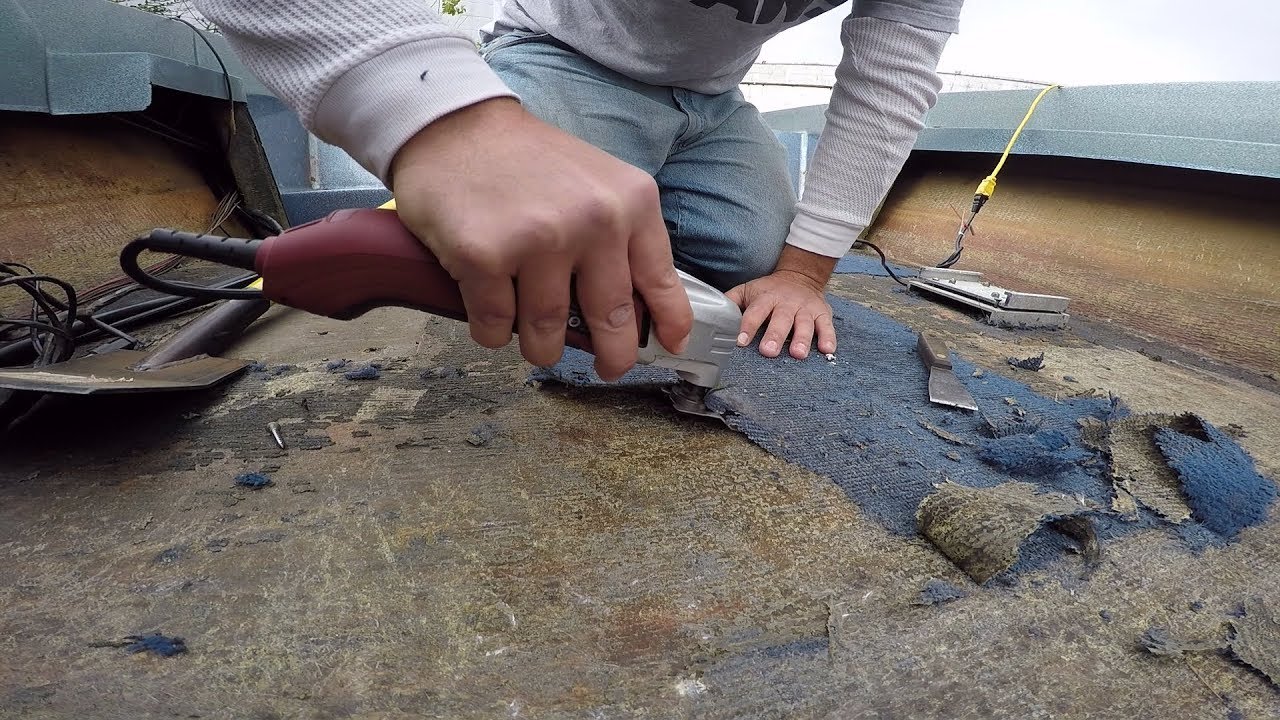
Step 2: Removing the Old Flooring
After assessing the damage and identifying the areas that need to be replaced, it’s time to remove the old boat flooring. This process requires caution and precision to ensure the surrounding structure remains intact.
Start by removing any fixtures or fittings that are attached to the flooring, such as seats, storage compartments, or rails. This will provide you with more space to work and prevent potential damage to these components.
Next, use a pry bar or crowbar to carefully lift and remove the old flooring. Start at the marked areas where the damage is located and work your way outward. Apply light pressure with the pry bar to avoid causing further damage to the surrounding structure.
If the boat floor is secured using screws or fasteners, use a screwdriver or drill to remove them. Take note of the placement of these fasteners as you will need to replicate it later when installing the new flooring.
As you remove the old flooring, be cautious of any hidden obstacles such as wiring, plumbing, or other utility lines that may be attached to the underside. Take your time to ensure these are carefully disconnected or moved out of the way without causing any damage.
Once the old flooring has been completely removed, take the time to clean and prepare the subfloor for the installation of the new flooring. Remove any remaining debris or adhesive residue using a scraper or sandpaper.
Inspect the subfloor for any signs of damage or decay, especially in the areas directly beneath the soft spots or rotted sections. If necessary, make the necessary repairs or reinforce the subfloor to ensure its stability and longevity.
By removing the old flooring carefully and preparing the subfloor properly, you are laying the foundation for a successful and long-lasting replacement process. Take your time during this step to ensure a smooth transition to the next phase of the project.
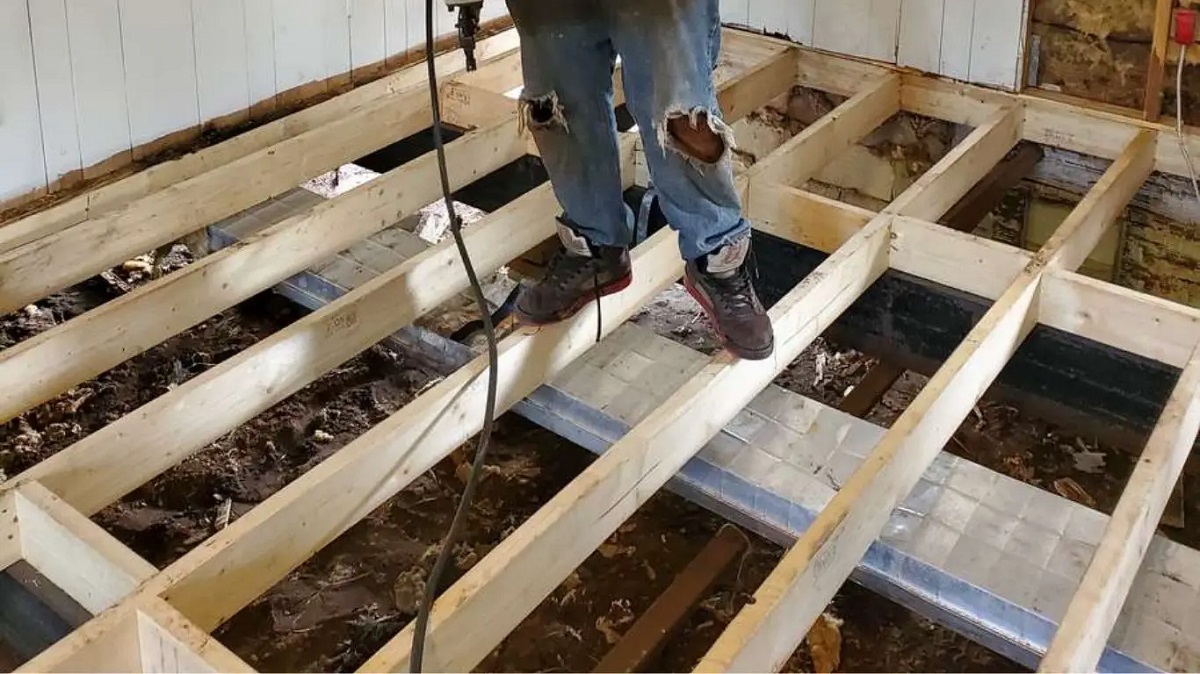
Step 3: Preparing the Subfloor
Once the old flooring has been removed, it’s crucial to properly prepare the subfloor before installing the new boat flooring. Proper preparation will ensure a solid and secure foundation for the new materials.
Start by thoroughly cleaning the subfloor to remove any dirt, dust, or debris. Use a broom, vacuum, or damp cloth to wipe the surface clean. This will help ensure proper adhesion between the subfloor and the new flooring material.
If there are any remaining traces of adhesive or residue from the old flooring, use a suitable adhesive remover or solvent to remove it. Follow the manufacturer’s instructions for the specific product you are using, and ensure proper ventilation in the area.
Inspect the subfloor for any signs of damage, such as cracks, holes, or uneven surfaces. If necessary, repair these issues before proceeding with the installation. Fill in any gaps or cracks with an appropriate epoxy or filler, and ensure that the surface is smooth and level.
In some cases, it may be necessary to reinforce the subfloor to provide additional strength and stability. This is especially true if the previous flooring was extensively damaged or if you plan to install heavier flooring materials.
Consider adding additional support beams or braces to strengthen the subfloor. Use marine-grade materials that are resistant to corrosion and can withstand the harsh marine environment effectively.
Before proceeding with the installation, it’s essential to ensure that the subfloor is completely dry. Moisture can compromise the adhesion and durability of the new flooring material. Use a moisture meter to detect any moisture or humidity in the subfloor, and take steps to eliminate it if necessary.
By properly preparing the subfloor, you are setting the stage for a successful installation of the new boat flooring. Take your time during this step to ensure that the subfloor is clean, level, and structurally sound.
When replacing a boat floor, make sure to properly measure and cut the new flooring material to fit the exact dimensions of the boat. Use marine-grade plywood for durability and consider adding a waterproof sealant for added protection against moisture.
Step 4: Choosing the New Flooring Material
Choosing the right flooring material for your boat is essential to ensure both functionality and aesthetics. There are various options available, each with its own advantages and considerations. Here are some popular choices:
- Marine Grade Plywood: Marine grade plywood is a common choice for boat flooring due to its durability and resistance to water damage. It is typically made with waterproof glue and has a higher number of veneer layers for added strength. Marine plywood can be sealed and finished with various coatings to enhance its longevity.
- Composite Decking: Composite decking is another popular option for boat flooring. It is made from a combination of wood fibers and recycled plastic, offering excellent durability and low maintenance. Composite decking is available in various colors and textures, allowing you to achieve the desired aesthetic for your boat.
- Vinyl Flooring: Vinyl flooring is a versatile choice for boat flooring. It is highly resistant to water, stains, and UV damage, making it ideal for marine environments. Vinyl flooring is available in a wide range of designs and patterns, allowing you to customize the look of your boat’s interior.
- Cork Flooring: Cork flooring is a unique and eco-friendly option for boat flooring. It provides excellent cushioning and insulation properties, making it comfortable to walk on and reducing noise levels. Cork flooring is also resistant to moisture and easy to maintain.
When choosing the flooring material, consider factors such as durability, maintenance requirements, slip resistance, and budget. It is also important to check if the chosen material complies with maritime regulations and safety standards.
Additionally, consider the installation process and whether you have the necessary tools and skills to install the chosen flooring material. Some materials may require professional installation, while others can be easily installed as a DIY project.
By carefully selecting the right flooring material for your boat, you can ensure a functional and visually appealing upgrade to your vessel’s interior.
Read more: How To Replace A Shed Floor
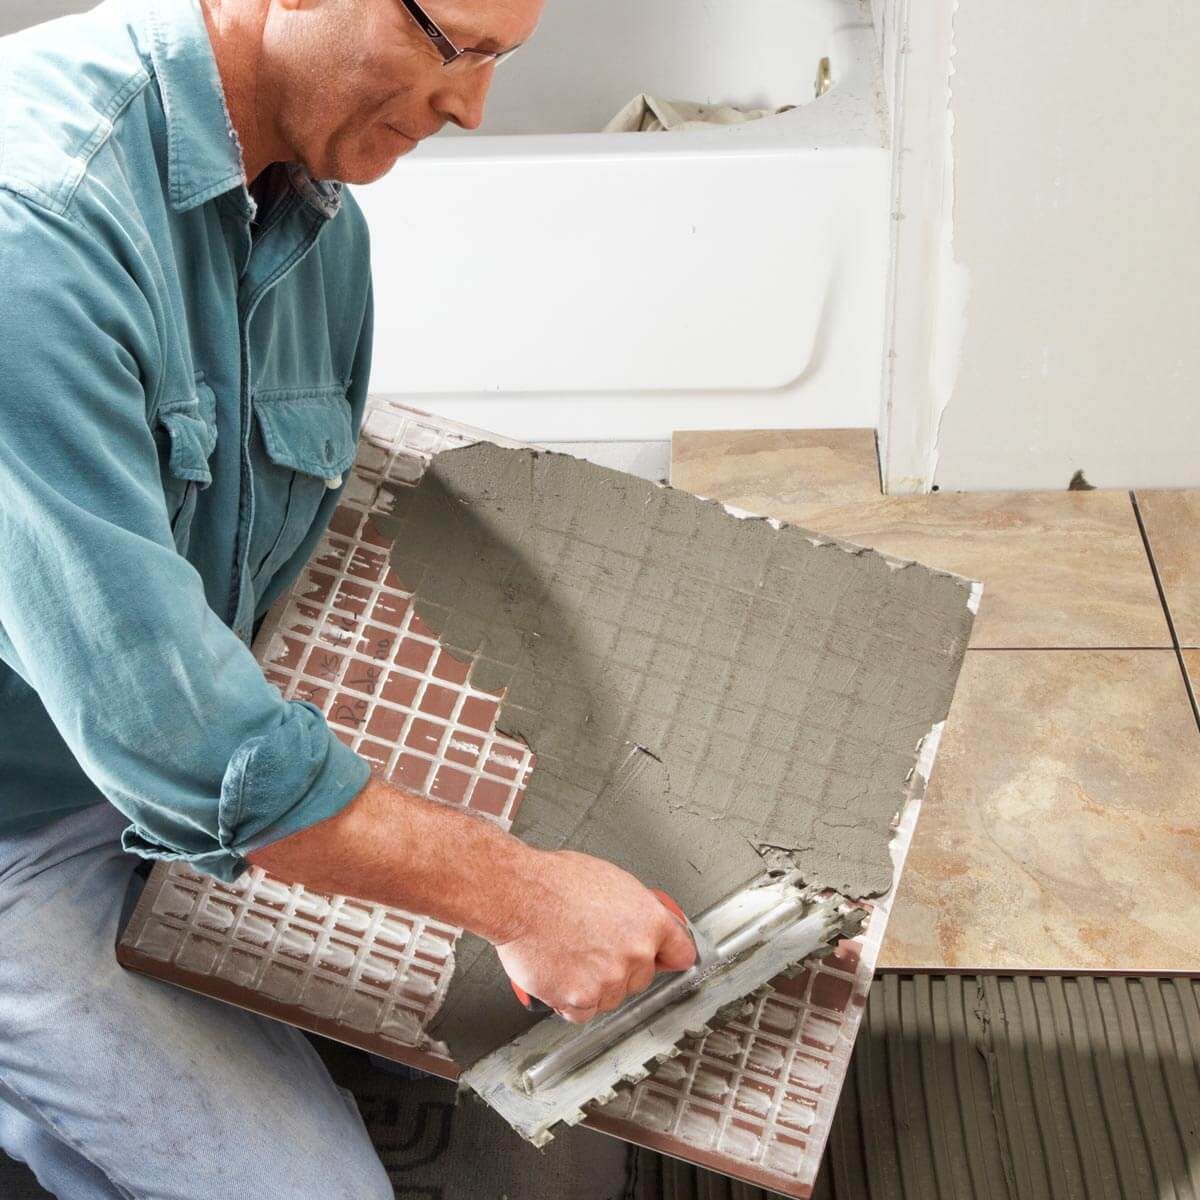
Step 5: Cutting and Installing the New Flooring
With the new flooring material chosen and the subfloor prepared, it’s time to cut and install the new boat flooring. This step requires precision and attention to detail to ensure a snug fit and a professional-looking finish.
Start by measuring the dimensions of the floor area that needs to be covered. Use a measuring tape to accurately measure the length, width, and any irregular shapes or cutouts. Take into account any fittings or fixtures that will need to be accommodated in the flooring.
Transfer the measurements to the new flooring material and mark the cutting lines using a pencil or a marker. It is crucial to double-check the measurements before making any cuts to ensure accuracy.
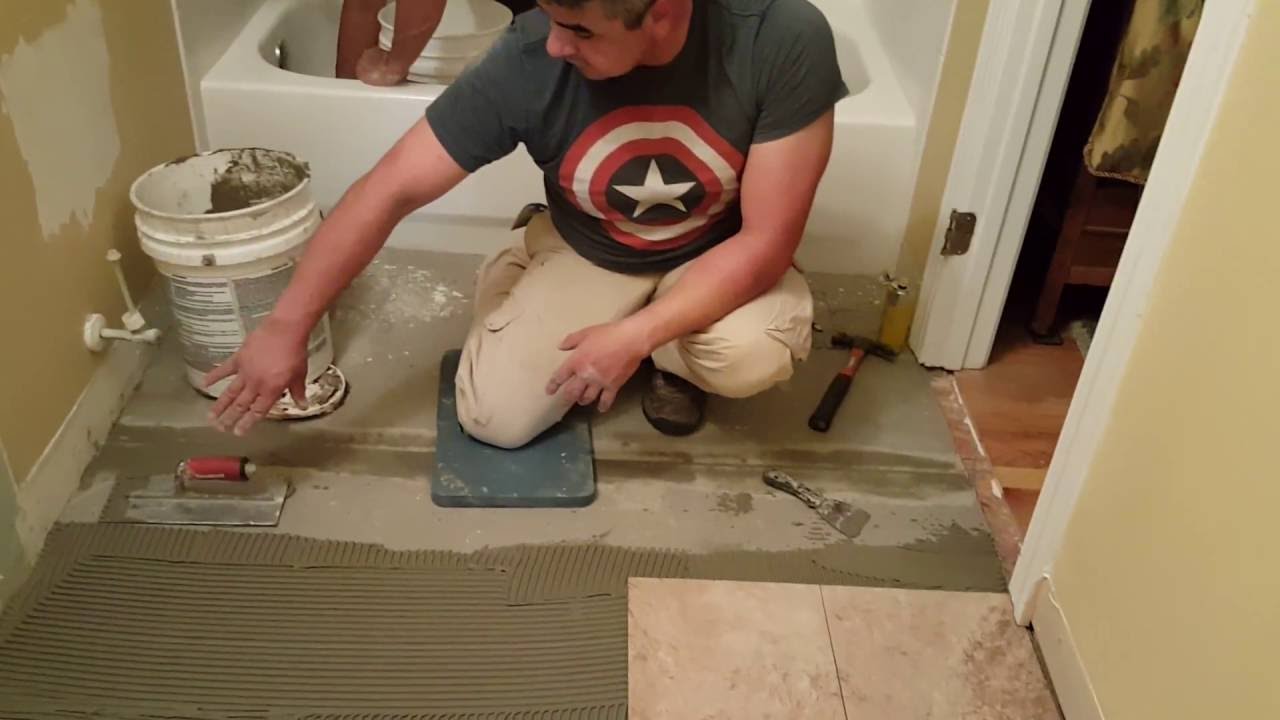
Use a circular saw or a jigsaw equipped with a fine-tooth blade to cut the new flooring material along the marked lines. Take your time and make smooth, controlled cuts to avoid splintering or damaging the material.
Before installing the new flooring, it is recommended to lay it out dry on the subfloor to check the fit and make any necessary adjustments. This will allow you to make sure that the flooring pieces align properly and that any cutouts or openings are accurately placed.
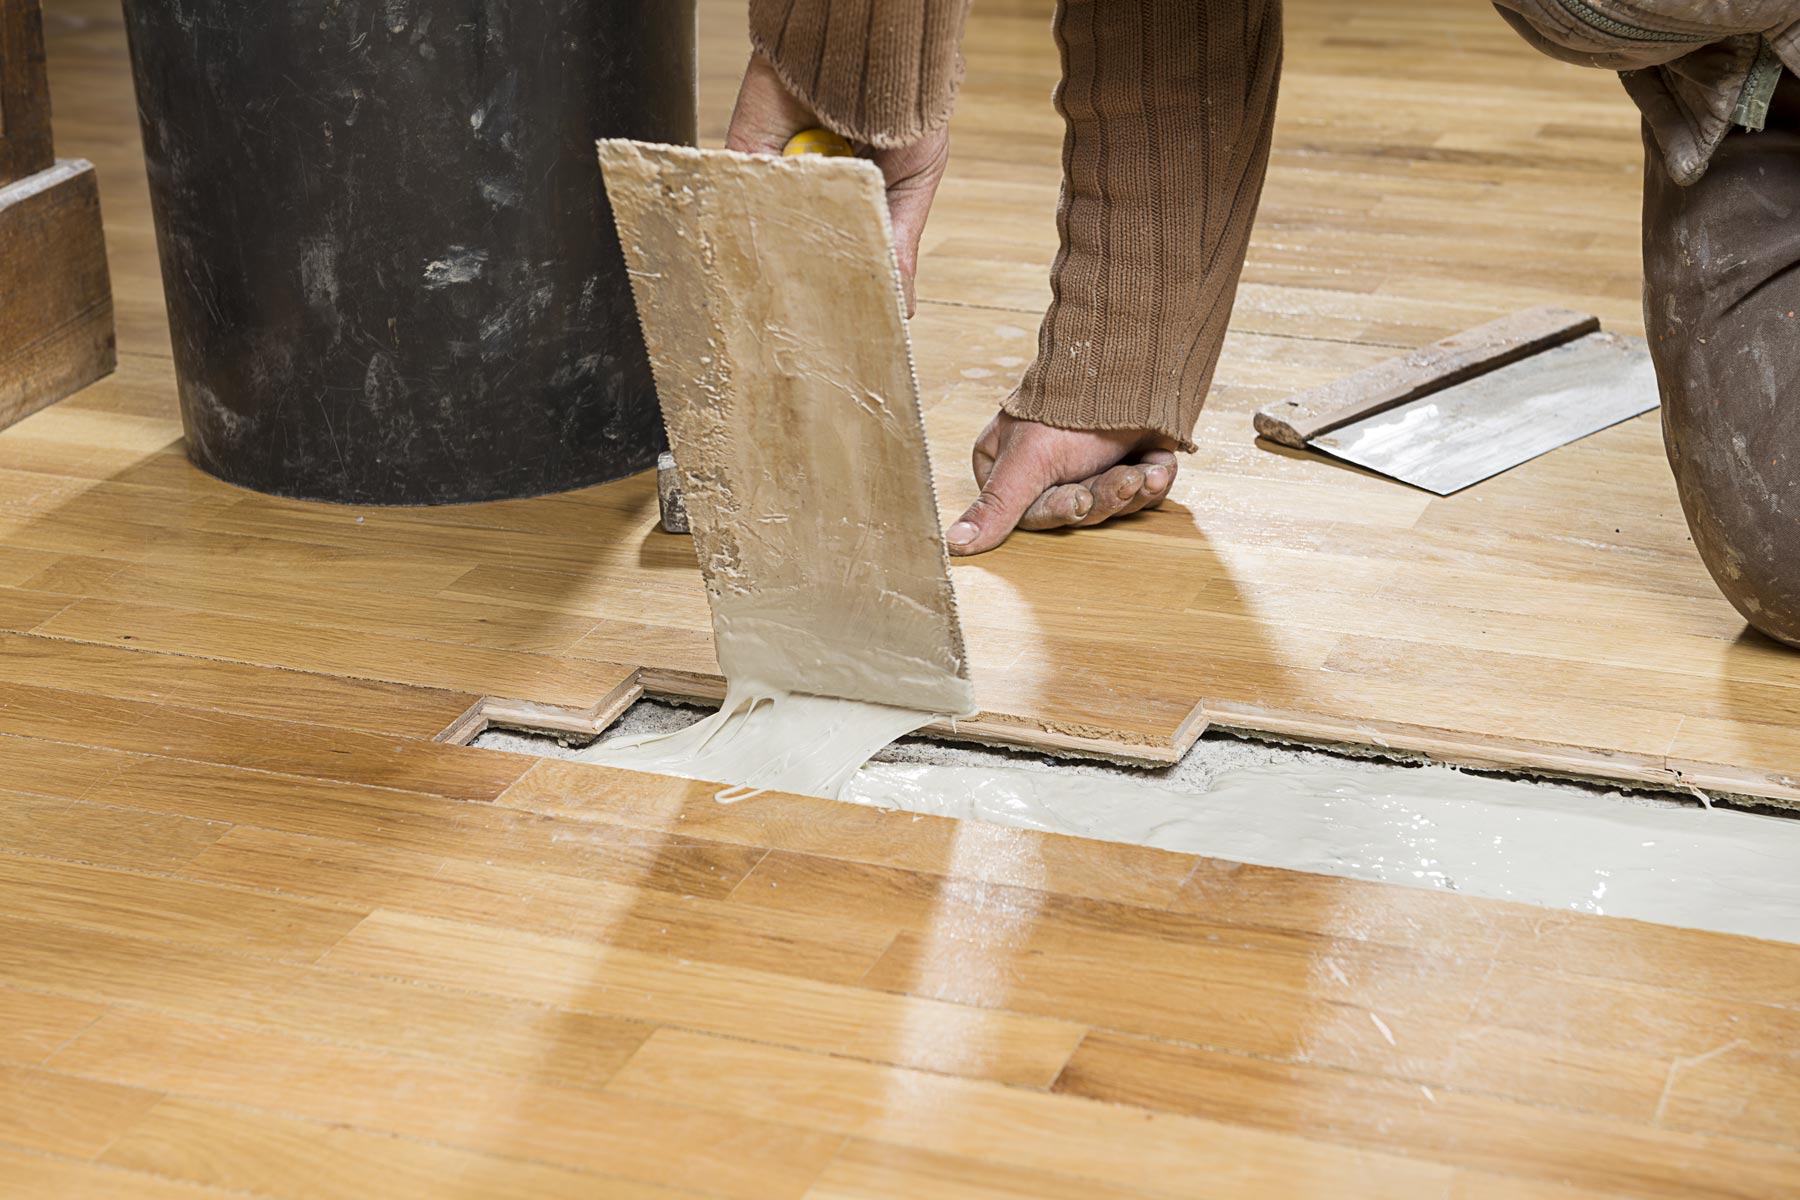
Once you are satisfied with the fit, begin installing the new flooring material. Apply marine-grade adhesive to the subfloor in a consistent, even layer. Place the flooring pieces onto the adhesive, starting from one end and working your way towards the other.
Press down firmly on each piece to ensure a secure bond with the adhesive. If needed, use a rubber mallet or a block of wood and a hammer to gently tap the flooring into place, ensuring a tight and flush fit.
If the flooring material requires screws or fasteners, carefully align the holes in the flooring with the subfloor’s pre-marked locations. Use marine-grade screws to secure the flooring to the subfloor. Be cautious not to over-tighten the screws, as it may damage the material.
Continue installing the flooring pieces until the entire area is covered. Pay close attention to corners, edges, and any intricate areas, ensuring a seamless and professional installation.
By cutting and installing the new boat flooring with precision and care, you can achieve a beautiful and functional transformation of your boat’s interior.
Step 6: Sealing and Finishing the Floor
After the new boat flooring has been installed, it is essential to seal and finish the floor to protect it from moisture, stains, and general wear and tear. This final step will enhance the durability and aesthetics of your boat’s interior.
Before applying any sealant or finish, ensure that the new flooring material has had sufficient time to acclimate to the environment. Follow the manufacturer’s recommendations regarding acclimation duration, as it may vary depending on the chosen material.
Start by thoroughly cleaning the newly installed flooring to remove any dust, debris, or adhesive residue. Use a mild cleaner and a soft brush or cloth to gently scrub the surface. Allow the floor to dry completely before moving on to the next step.
Next, apply a suitable marine-grade sealant to the floor. This will create a protective barrier against moisture and help prevent staining. Follow the manufacturer’s instructions for application techniques and drying time.
Once the sealant has dried, it’s time to apply the finishing touches. Depending on the chosen flooring material, this may involve applying a topcoat, wax, or polish to enhance the appearance and provide additional protection.
When applying the finish, follow the manufacturer’s instructions and use the recommended tools, such as a roller or brush. Apply even coats, allowing each layer to dry completely before applying the next one. Take care to avoid trapping air bubbles or leaving streaks in the finish.
As you apply the finish, pay close attention to any joints, edges, and corners. These areas are more prone to wear and may require additional coats for added protection.
After the final coat of finish has dried, inspect the floor for any imperfections or areas that may require touch-ups. Use a fine-grit sandpaper to smooth out any rough spots or uneven patches.
Finally, clean the floor once again to remove any dust or debris generated during the finishing process. Use a gentle cleaner and a soft cloth to wipe down the surface, ensuring a clean and polished look.
By sealing and finishing the new boat flooring, you are safeguarding it against potential damage and enhancing its overall appearance. This final step will ensure that your boat’s interior remains in excellent condition for years to come.
Conclusion
Replacing the boat floor is a significant undertaking that requires careful planning, assessment, and execution. By following the step-by-step process outlined in this guide, you can successfully replace your boat’s flooring, ensuring a safe, durable, and visually appealing result.
Assessing the damage and thoroughly inspecting the boat floor is crucial to understanding the scope of the project. Removing the old flooring with caution and preparing the subfloor properly will lay the foundation for a successful replacement.
Choosing the right flooring material based on durability, maintenance requirements, and budget will ensure optimal functionality and aesthetics. Cutting and installing the new flooring material accurately will result in a seamless and professional finish.
Sealing and finishing the floor with the appropriate products will protect it from moisture and wear, as well as enhance its overall appearance. Taking the time to seal and finish the floor will add longevity and beauty to your boat’s interior.
It is important to follow manufacturer recommendations, consult professional advice when needed, and comply with maritime regulations throughout the entire process. Safety should always be a priority when working on your boat.
By successfully replacing your boat floor, you are not only upgrading the appearance of your vessel but also ensuring that it remains safe and functional for all your future boating adventures.
Remember to take your time, be diligent in the preparation and execution of each step, and enjoy the process of transforming your boat’s interior. Happy boating!
Frequently Asked Questions about How To Replace Boat Floor
Was this page helpful?
At Storables.com, we guarantee accurate and reliable information. Our content, validated by Expert Board Contributors, is crafted following stringent Editorial Policies. We're committed to providing you with well-researched, expert-backed insights for all your informational needs.


0 thoughts on “How To Replace Boat Floor”