Articles
How To Replace A Carpet With Vinyl Flooring
Modified: October 18, 2024
Looking for articles on how to replace a carpet with vinyl flooring? Get expert tips and step-by-step guides to transform your home with durable and stylish vinyl flooring.
(Many of the links in this article redirect to a specific reviewed product. Your purchase of these products through affiliate links helps to generate commission for Storables.com, at no extra cost. Learn more)
Introduction
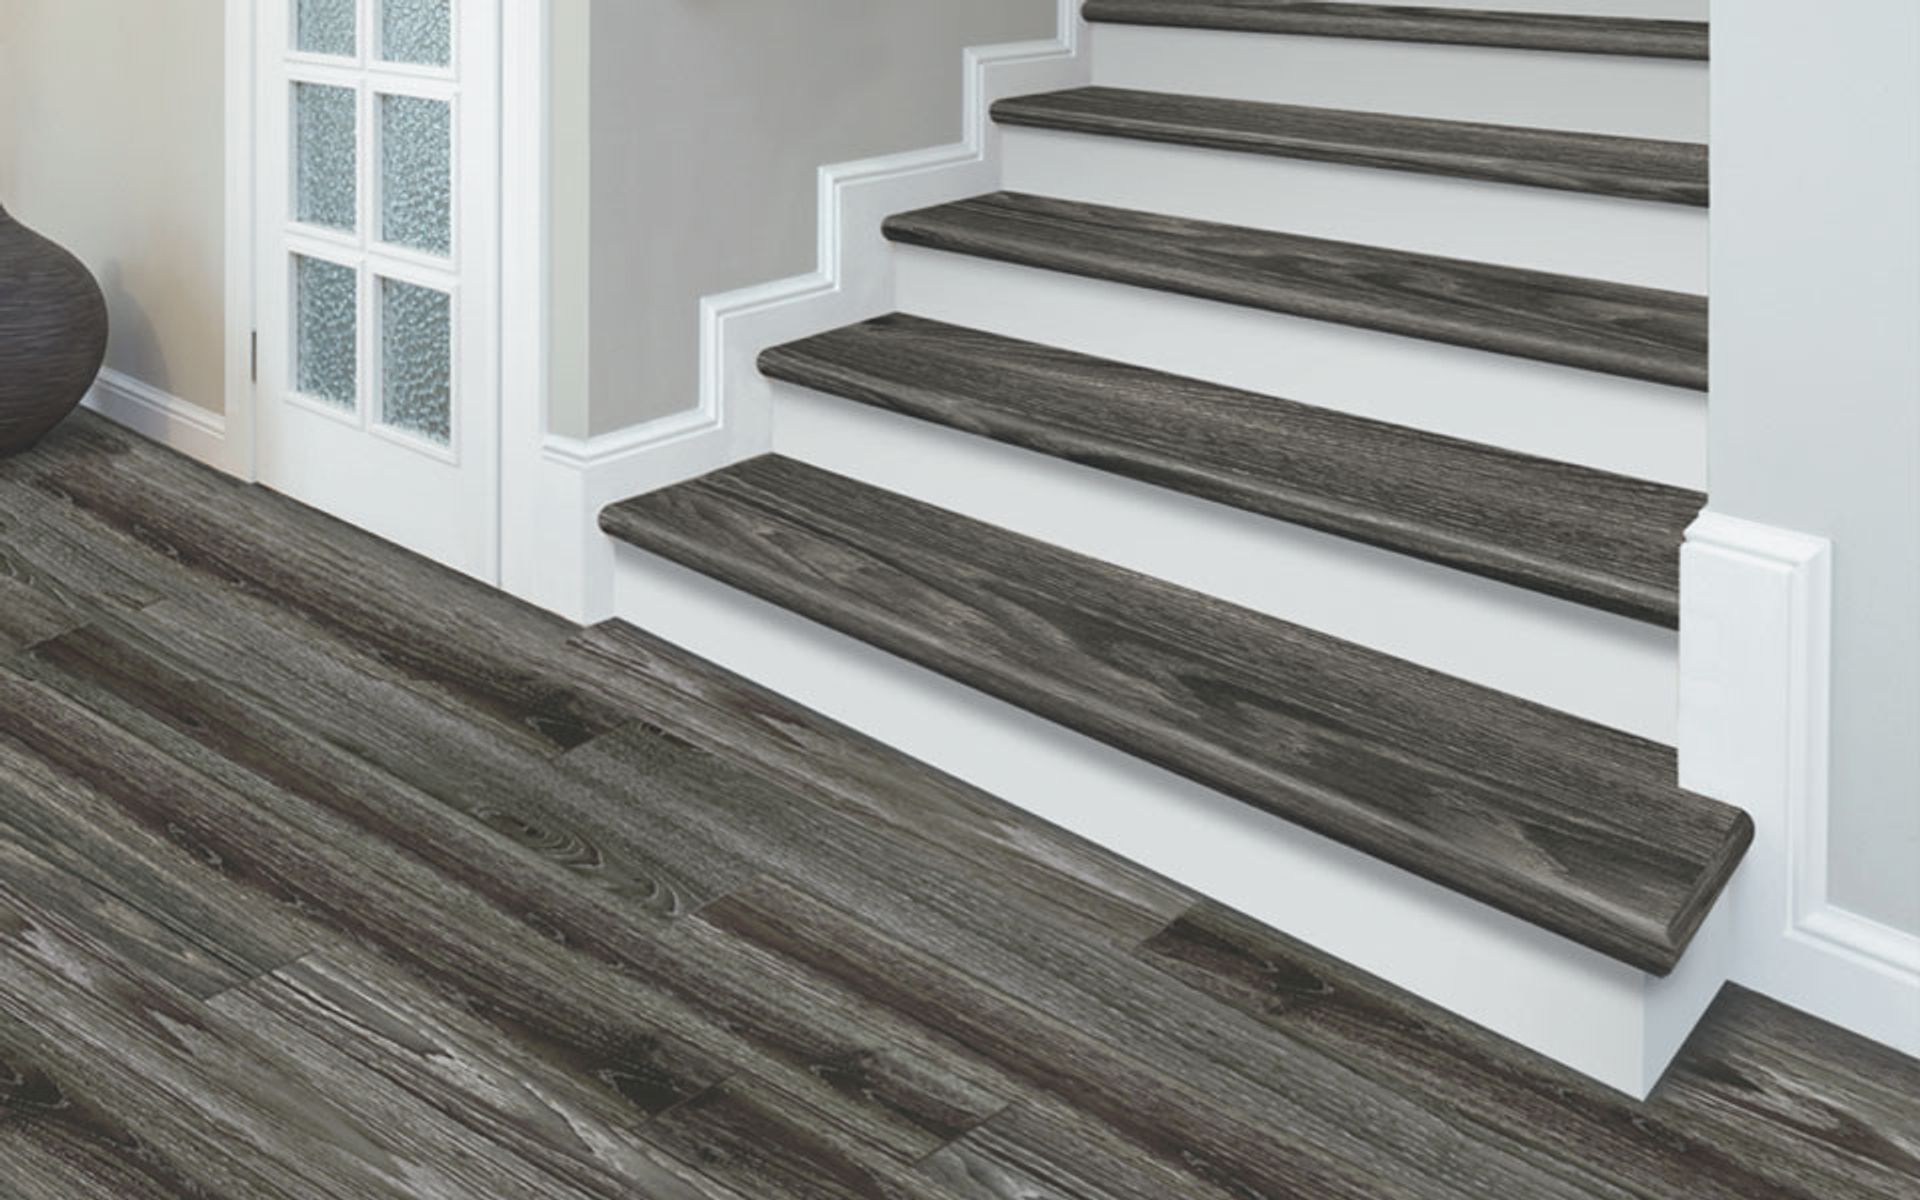
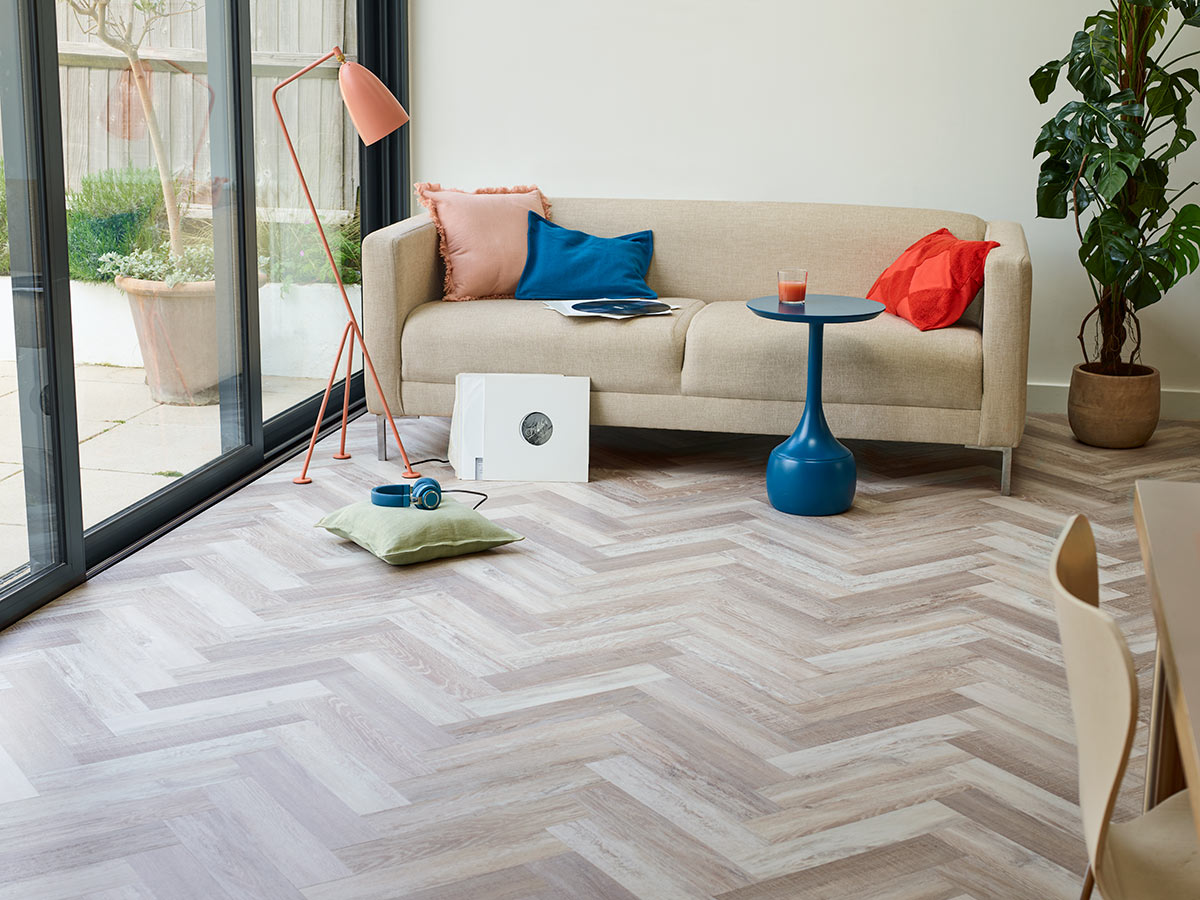
Replacing a carpet with vinyl flooring can be a great way to transform the look and feel of a room. Vinyl flooring offers numerous benefits, including durability, easy maintenance, and a wide range of styles and designs to choose from. Whether you’re tired of dealing with stained and worn-out carpets or simply want to update the aesthetic of your space, replacing the carpet with vinyl flooring is a relatively straightforward process that can yield stunning results.
In this article, we will guide you through the step-by-step process of replacing a carpet with vinyl flooring. We will provide helpful tips and advice to ensure that you achieve a professional-looking finish and enjoy the benefits of your new flooring for years to come.
Before you dive into the project, it’s important to gather all the necessary tools and materials. This will help ensure a smooth installation and prevent any delays or interruptions during the process. Let’s move on to step one!
Key Takeaways:
- Replacing carpet with vinyl flooring is a straightforward process that can yield stunning results. From gathering tools to finishing edges, following the step-by-step guide ensures a professional and visually appealing installation.
- Maintaining vinyl flooring is essential for its longevity. Regular cleaning, protecting against scratches and excessive moisture, and performing routine inspections will keep your vinyl flooring looking pristine for years to come.
Read more: How To Polish Vinyl Floor
Step 1: Gather necessary tools and materials
Before you begin the process of replacing your carpet with vinyl flooring, it’s essential to gather all the necessary tools and materials. Having everything on hand will save you time and make the installation process much more efficient. Here is a list of tools and materials you will need:
- Vinyl flooring: Measure the area to determine how much vinyl flooring you will need. Make sure to account for any waste or extra material for trimming.
- Underlayment: Depending on the type of vinyl flooring you choose, you may need an underlayment. Check the manufacturer’s recommendations to see if an underlayment is necessary for your specific product.
- Tape measure: A tape measure is essential for accurately measuring the dimensions of the room and the vinyl flooring.
- Utility knife: A sharp utility knife will be used to cut the vinyl flooring to size.
- Straight edge: A straight edge or a metal ruler will help you make precise cuts when trimming the vinyl flooring.
- Pry bar: A pry bar will come in handy when removing the old carpet and any existing baseboards or moldings.
- Hammer: You will need a hammer to remove any nails or staples from the subfloor during the carpet removal process.
- Safety goggles and gloves: Protect your eyes and hands with safety goggles and gloves to prevent any injuries.
- Vacuum cleaner: Before installing the vinyl flooring, thoroughly clean the subfloor and remove any debris or dust.
- Safety mask: When working with adhesives or chemicals, it’s crucial to wear a safety mask to protect yourself from fumes or irritants.
Once you have gathered all the necessary tools and materials, you can proceed to the next step: removing the old carpet.
Step 2: Remove the old carpet
Now that you have all the necessary tools and materials, it’s time to roll up your sleeves and remove the old carpet. Follow these steps to ensure a smooth and efficient removal process:
- Clear the room: Start by removing all furniture and any other obstacles from the room. This will give you a clear working space and prevent any damage to your belongings during the removal process.
- Use a pry bar: Beginning at one corner of the room, insert a pry bar between the carpet and the baseboard or molding. Gently pry up the carpet and detach it from the tack strips along the perimeter of the room.
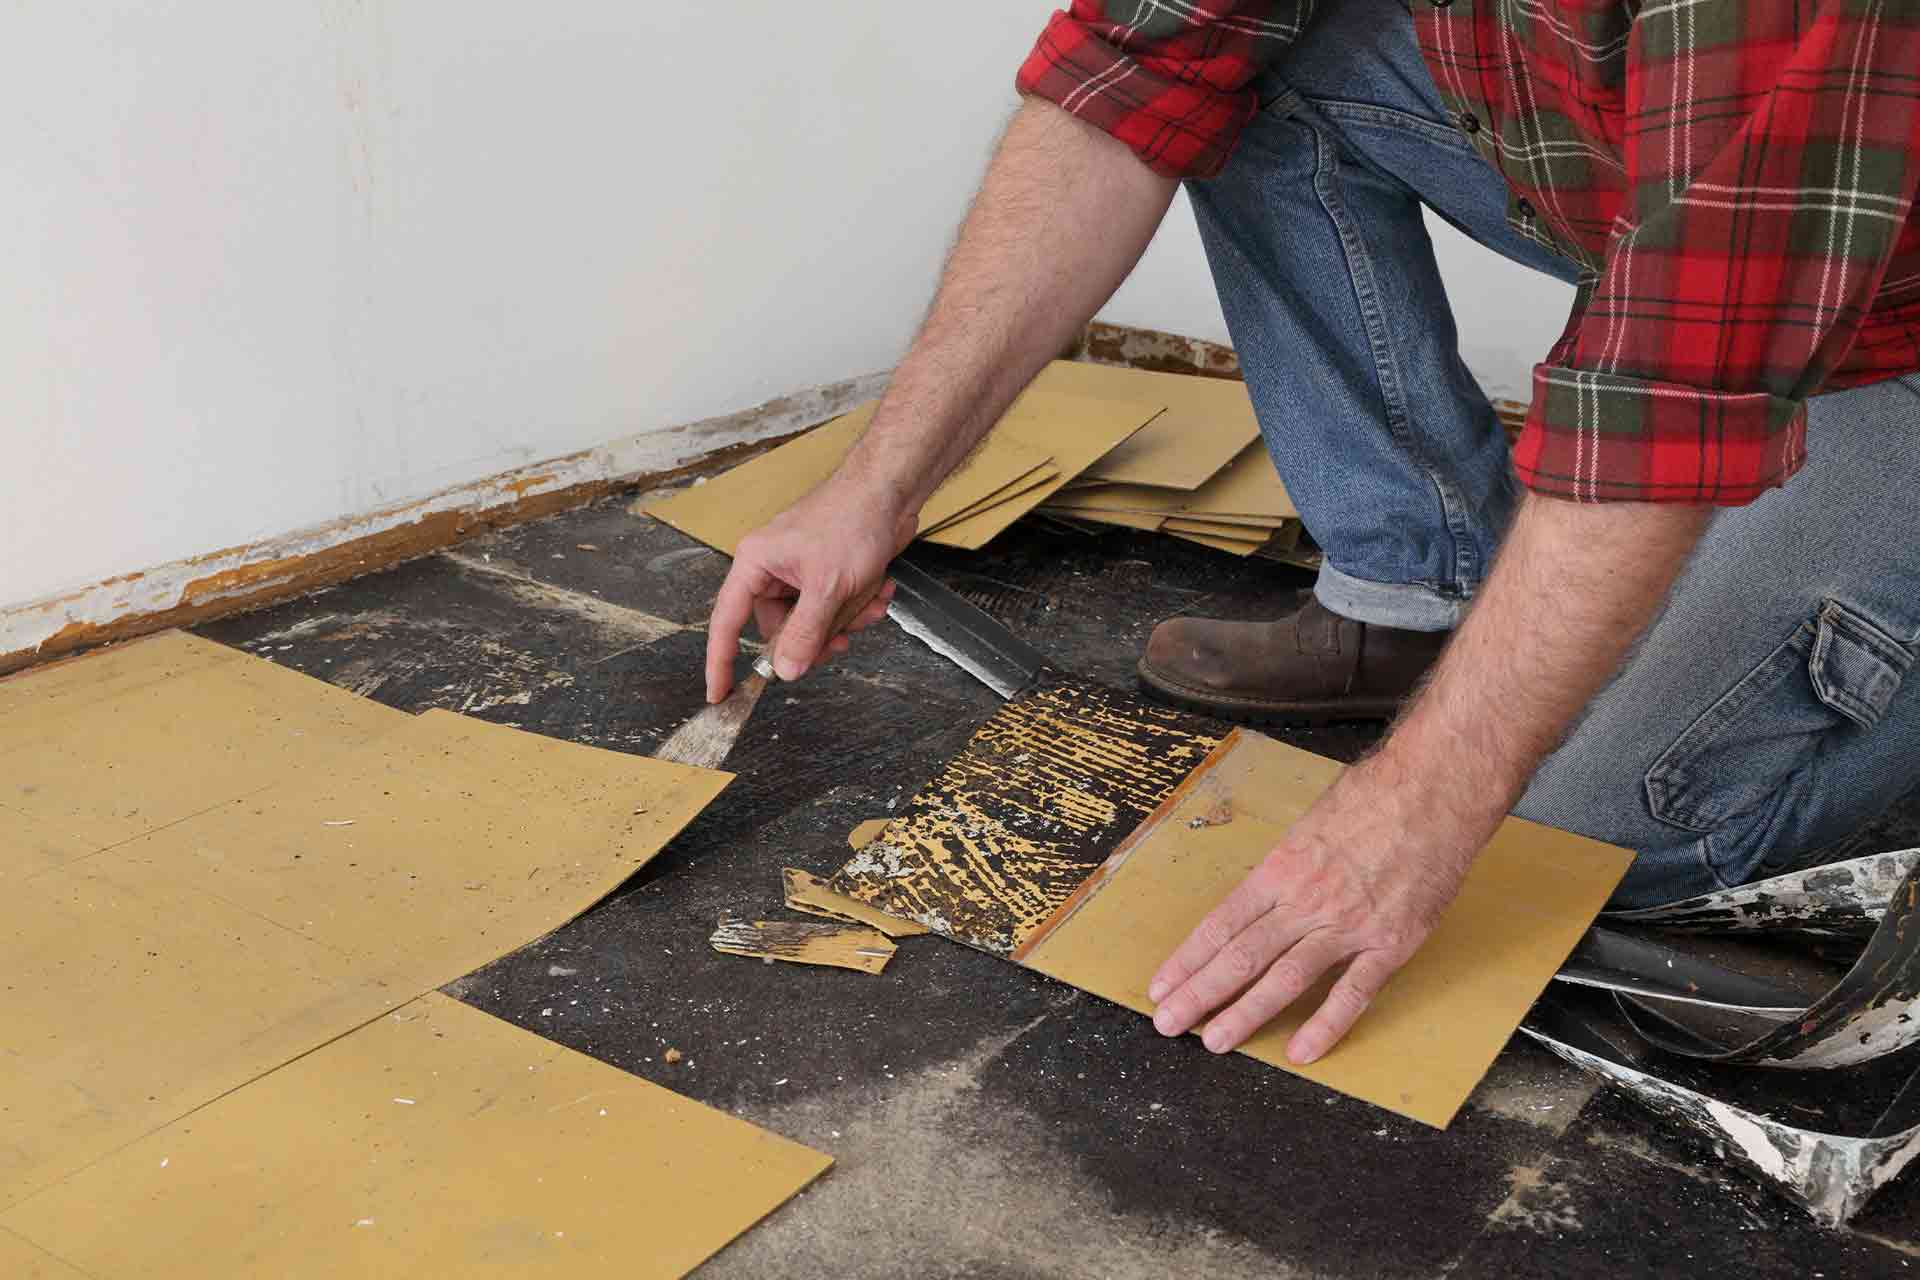
- Roll up the carpet: Once you’ve detached the carpet from the edges, start rolling it up from one end to the other. Use a utility knife to cut the carpet into manageable sections if necessary. Be cautious not to damage the subfloor underneath.
- Remove the tack strips: With the carpet removed, you will be left with tack strips along the edges of the room. Use a pry bar and a hammer to carefully remove the tack strips. Take your time to avoid damaging the subfloor.
- Remove any adhesive residue: Depending on the type of carpet you had installed, there may be adhesive residue left on the subfloor. Use a scraper or an adhesive remover to remove any remaining adhesive. Ensure that the subfloor is clean and smooth before moving on to the next step.
- Dispose of the old carpet: Properly dispose of the old carpet by either rolling it up and placing it in garbage bags or contacting a local waste management service for guidance on disposal options.
Removing the old carpet is a crucial step in the process of replacing it with vinyl flooring. Take your time and be mindful of any nails or staples that may be present during the removal process. Once the old carpet and tack strips are removed, you’re ready to prepare the subfloor in the next step.
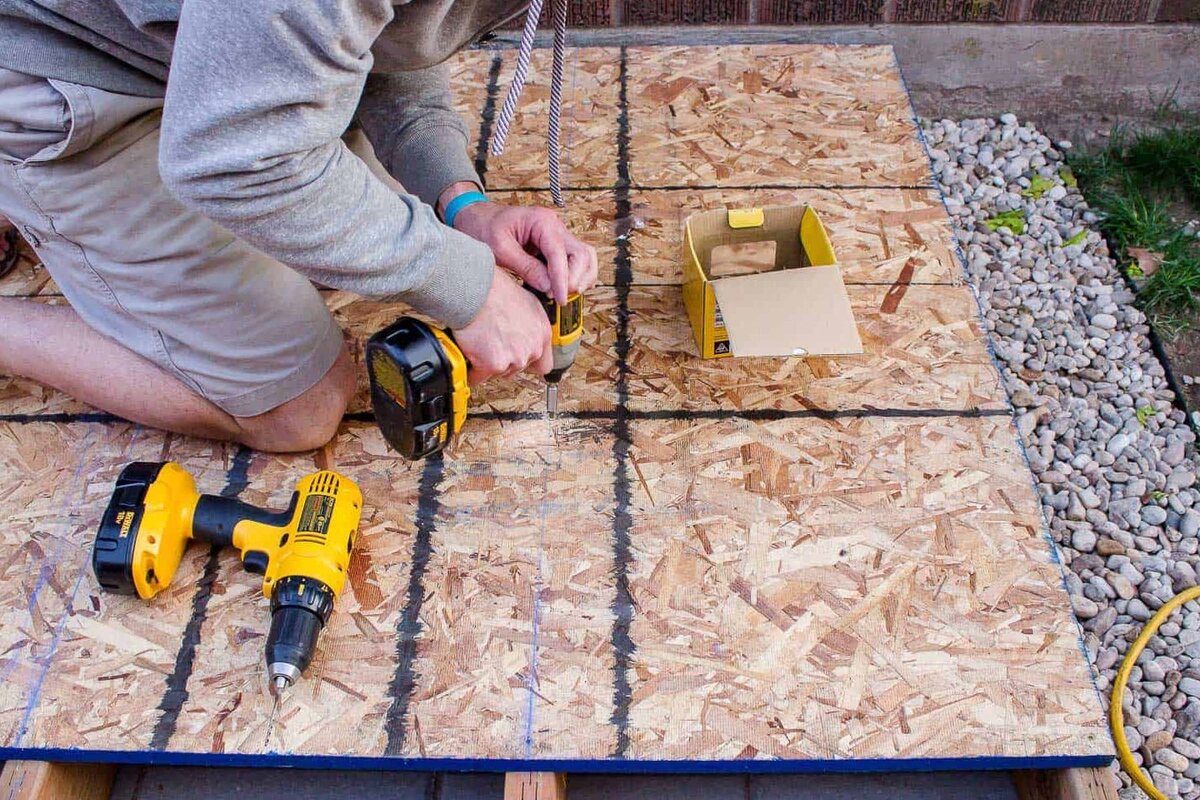
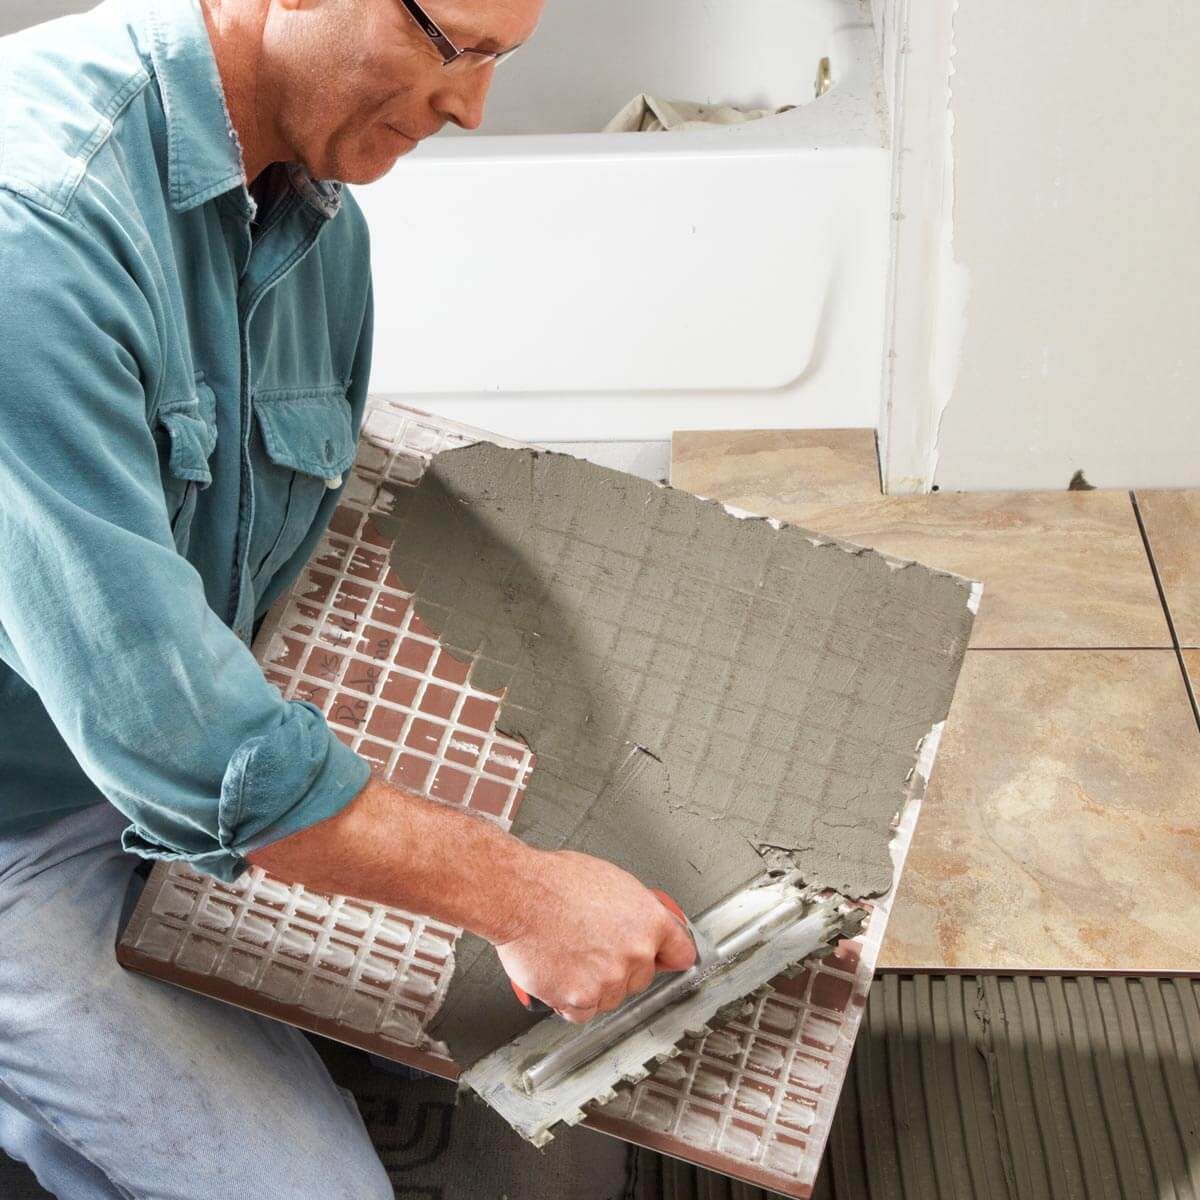
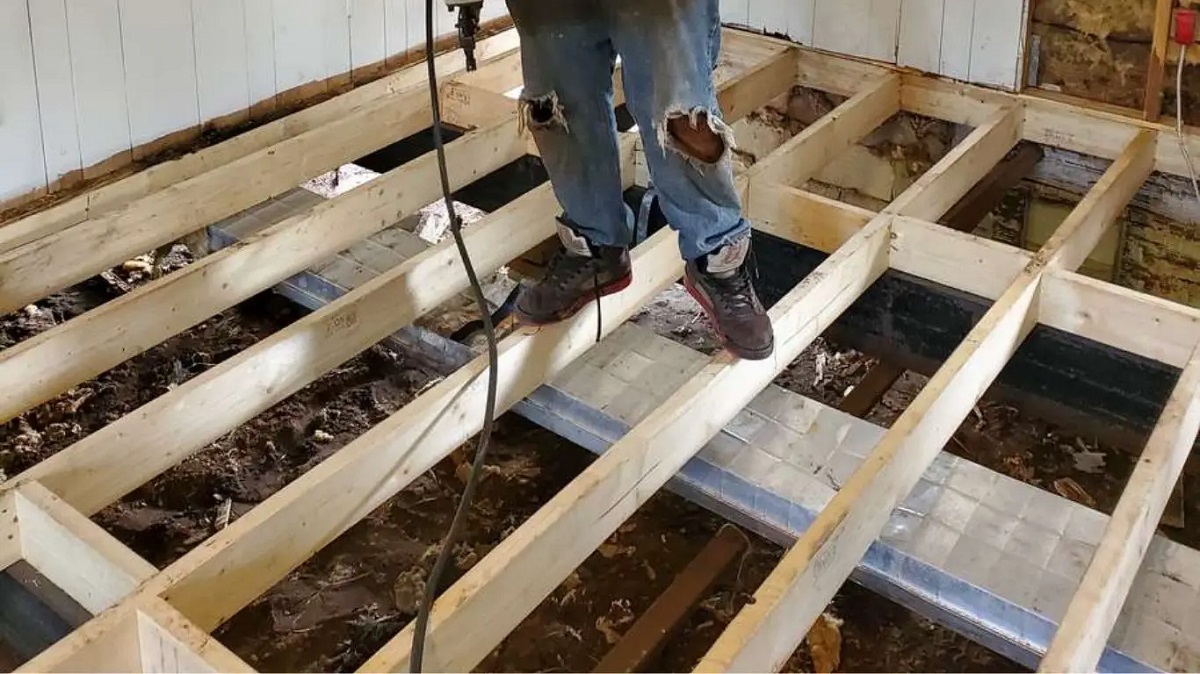
Step 3: Prepare the subfloor
Now that the old carpet is removed, it’s time to prepare the subfloor for the installation of the vinyl flooring. A properly prepared subfloor is essential for a smooth and long-lasting installation. Follow these steps:
- Inspect the subfloor: Thoroughly inspect the subfloor for any damage or issues that need to be addressed before installing the vinyl flooring. Look for any loose or squeaky boards, cracks, or uneven areas. Repair or replace any damaged sections to ensure a stable and even surface.
- Clean the subfloor: Remove any debris, dust, or adhesive residue from the subfloor. Use a vacuum cleaner to thoroughly clean the surface. A clean subfloor will help ensure proper adhesion of the vinyl flooring.
- Address moisture issues: Check the moisture levels of the subfloor. Vinyl flooring is not recommended for areas with excessive moisture. If you suspect moisture issues, consult a professional for guidance on how to address them before proceeding with the installation.
- Level the subfloor: If you notice any areas of the subfloor that are uneven or have dips, you will need to level them. Use a self-leveling compound to fill in gaps and create a smooth and level surface. Follow the manufacturer’s instructions for mixing and applying the compound.
- Prime the subfloor: Before installing the vinyl flooring, it’s recommended to apply a primer to the subfloor. The primer will help improve the adhesion of the vinyl flooring and prevent any moisture-related issues. Follow the manufacturer’s instructions for applying the primer and allow it to dry completely.
Preparing the subfloor is a crucial step in ensuring a successful installation of the vinyl flooring. Take your time to address any issues and create a clean, level, and primed surface. Once the subfloor is prepared, you can move on to the next step: installing the underlayment.
Step 4: Install the underlayment
Installing an underlayment is an important step before laying down the vinyl flooring. The underlayment provides a smooth and moisture-resistant surface, enhances the comfort and sound insulation of the flooring, and helps to prolong the lifespan of the vinyl. Follow these steps to properly install the underlayment:
- Measure and cut the underlayment: Begin by measuring the dimensions of the room and then transfer those measurements onto the underlayment material. Use a utility knife or a pair of scissors to cut the underlayment to fit the room, leaving a small gap of about ¼ inch along the edges.
- Lay the underlayment: Start in one corner of the room and roll out the underlayment. Ensure it is positioned properly, with the smooth side facing up. Butt the edges of the underlayment together without overlapping them. Use a utility knife to trim the underlayment if necessary.
- Secure the underlayment: Once the underlayment is laid out, secure it to the subfloor by stapling or taping it down. Use a stapler or a double-sided adhesive tape specifically designed for underlayment installation. Place staples or tape every 6 to 8 inches along the edges and in the field of the underlayment to prevent it from shifting during the vinyl flooring installation.
- Overlap seams: If the underlayment comes in rolls and needs to be seamed, overlap the edges by about 2 inches. Apply underlayment seam tape along the length of the overlap to create a tight and secure seal.
- Inspect the underlayment: After installing the underlayment, take a moment to inspect it for any wrinkles, bubbles, or gaps. Smooth out any imperfections before proceeding to the next step.
Installing the underlayment is crucial as it provides a stable and moisture-resistant base for the vinyl flooring. Take the time to properly measure, cut, and secure the underlayment to ensure a smooth installation process. With the underlayment in place, you’re ready to proceed to the next step: laying the vinyl flooring.
Before installing vinyl flooring, make sure the subfloor is clean, dry, and level. Any imperfections can show through the vinyl, so it’s important to prepare the surface properly.
Read more: How To Install Vinyl Floor
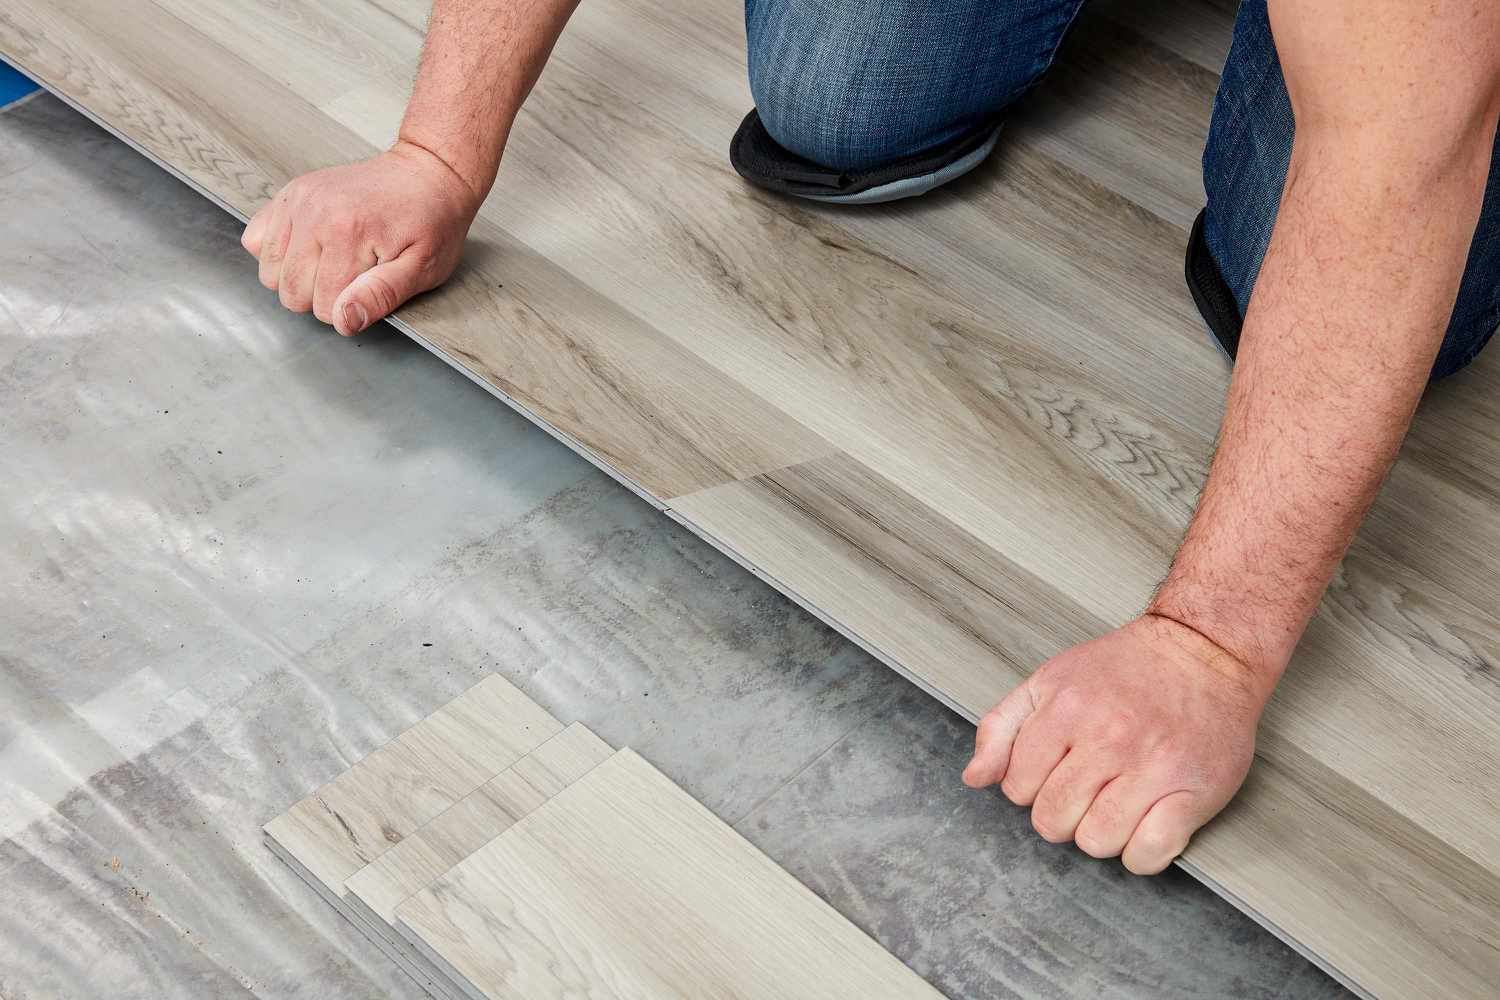
Step 5: Lay the vinyl flooring
Now that the underlayment is installed, it’s time to lay the vinyl flooring. Follow these steps to ensure a precise and professional-looking installation:
- Plan the layout: Begin by planning the layout of the vinyl flooring. Consider the shape and size of the room, as well as any obstacles like doorways or cabinets. It’s recommended to start in a corner and work your way outward for a seamless and cohesive look.
- Measure and cut the vinyl flooring: Measure the dimensions of the room and transfer those measurements onto the back of the vinyl flooring. Use a sharp utility knife and a straight edge to carefully cut the vinyl flooring to fit the room. Leave a small gap of about ¼ inch along the edges for expansion.
- Lay the first piece: Roll out the first piece of vinyl flooring in the corner of the room. Press it firmly against the underlayment, ensuring that it is aligned with the walls. Smooth it out to remove any air bubbles or wrinkles.
- Continue laying the flooring: Lay the subsequent pieces of vinyl flooring one by one, working in rows. Connect the pieces using their interlocking edges, or adhere them to the underlayment using a recommended adhesive. Be sure to maintain the same direction and pattern throughout the installation process.
- Trim as needed: As you reach the edges of the room or encounter obstacles like doorways, trim the vinyl flooring to fit. Use a sharp utility knife and a straight edge to make clean cuts. Remember to leave a small gap for expansion around the edges.
- Press and seal the flooring: Once all the vinyl flooring is installed, go over the entire surface and press it firmly against the underlayment. Use a floor roller or a weighted object to ensure maximum adhesion and remove any air bubbles.
Take your time and work carefully when laying the vinyl flooring to ensure a smooth and professional result. It’s crucial to follow the manufacturer’s instructions for installation and use the recommended adhesive, if necessary. With the vinyl flooring in place, you can move on to the next step: trimming excess vinyl.
Step 6: Trim excess vinyl
After laying the vinyl flooring, it’s important to trim the excess vinyl to achieve a clean and finished look. Follow these steps to properly trim the vinyl:
- Inspect the edges: Begin by inspecting the edges of the newly installed vinyl flooring. Look for any areas where the vinyl extends beyond the desired boundaries or overlaps with baseboards or moldings.
- Mark the cutting line: Use a straight edge or a metal ruler to mark the cutting line along the edges of the vinyl flooring. This will serve as a guide for making precise cuts.
- Trim the excess vinyl: Using a sharp utility knife, carefully cut along the marked cutting line. Apply firm and consistent pressure to ensure a clean cut. Take your time and make multiple passes if needed, rather than trying to cut through the vinyl in one go.
- Trim around obstacles: If there are any obstacles, such as door frames or cabinets, carefully cut the vinyl flooring to fit around them. Use a template or a cardboard cutout to create a pattern for accurate cuts.
- Check for smooth transitions: After trimming the excess vinyl, check for smooth transitions between the vinyl flooring and the walls, baseboards, or any other adjacent surfaces. Make any necessary adjustments or trims to achieve a seamless and professional finish.
Trimming the excess vinyl is an important step in the installation process, as it ensures a neat and polished appearance. Take your time and work carefully, paying attention to detail. With the excess vinyl trimmed, you can move on to the next step: finishing the edges.
Step 7: Finish the edges
Finishing the edges of the vinyl flooring is the final touch to achieve a polished and professional-looking installation. Follow these steps to properly finish the edges:
- Install baseboards or moldings: One common method to finish the edges of vinyl flooring is by installing baseboards or moldings. Measure and cut the baseboards or moldings to fit along the perimeter of the room. Secure them to the wall using finishing nails or an adhesive. This will create a clean and visually appealing transition between the vinyl flooring and the walls.
- Use transition strips: If you have a transition between the vinyl flooring and another type of flooring in an adjacent room or area, consider using transition strips. They come in a variety of styles and finishes and provide a smooth and safe transition between different flooring surfaces.
- Apply edge trims: Edge trims are another option for finishing the edges of the vinyl flooring. They are designed to cover the exposed edge of the vinyl and give it a finished look. Simply cut the edge trim to the desired length, apply adhesive if necessary, and press it onto the edge of the vinyl flooring.
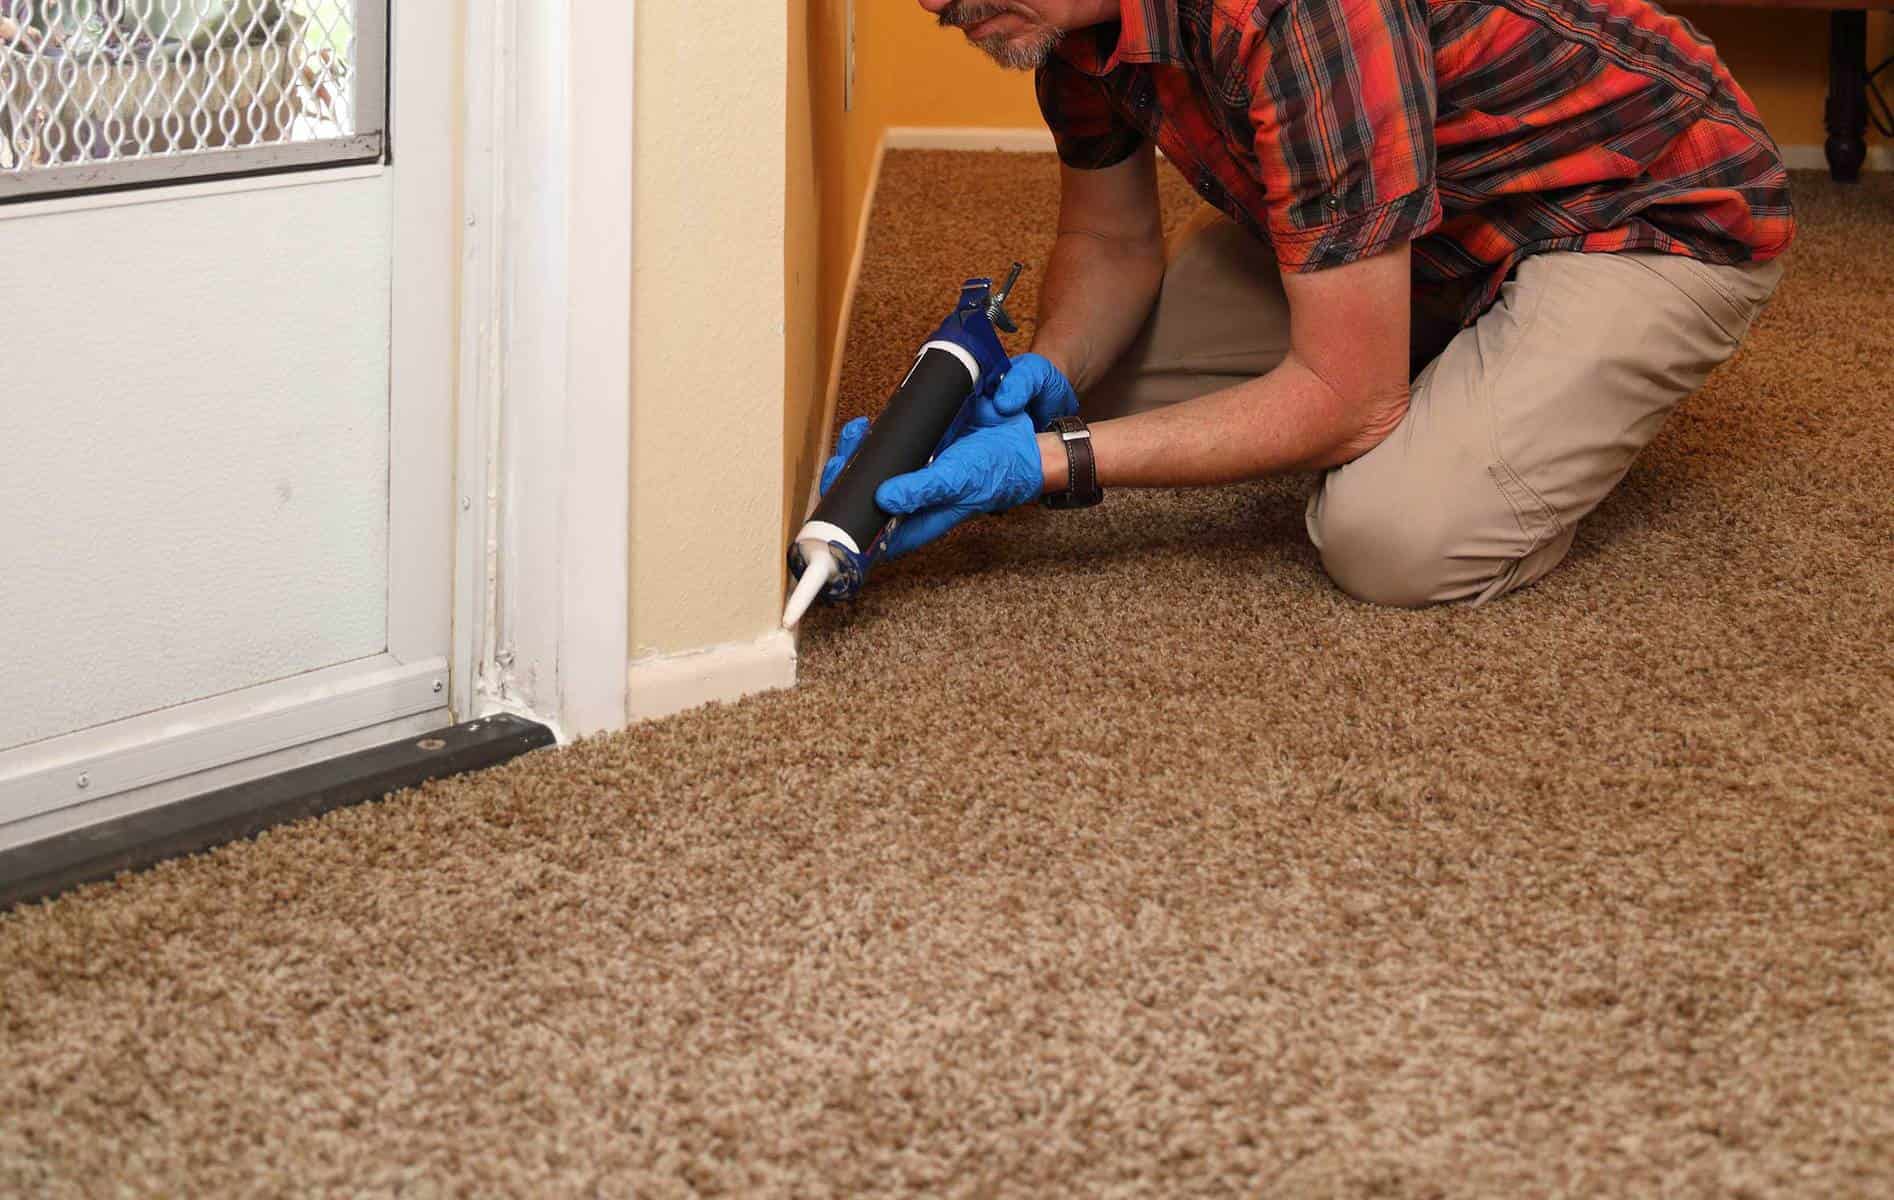
- Caulk around edges: For areas where the vinyl flooring meets fixtures or permanent structures, such as kitchen cabinets or bathroom vanities, use caulk to create a waterproof and seamless seal. Apply caulk along the edges to prevent water or moisture from seeping underneath the vinyl flooring.
- Clean up and inspect: Once the edges are finished, clean up any dust or debris from the installation process. Inspect the entire flooring surface, including the edges, for any imperfections or loose areas. Make any necessary adjustments or repairs before considering the installation complete.
Finishing the edges of the vinyl flooring is essential to achieve a polished and cohesive look. By following these steps and using the appropriate finishing materials, you can ensure that the edges of your vinyl flooring are well-protected and visually appealing.
With the edges finished, you have successfully completed the installation process. However, it’s important to take proper care of your vinyl flooring to maintain its appearance and durability. In the next step, we will provide some cleaning and maintenance tips to help you keep your vinyl flooring in top condition.
Step 8: Clean up and maintenance tips
After completing the installation of your vinyl flooring, it’s important to clean up the space and establish a regular maintenance routine to keep your floors looking their best. Follow these clean-up and maintenance tips:
- Clean up debris: Remove any dust, dirt, or debris from the newly installed vinyl flooring. Sweep or vacuum the surface regularly to prevent the accumulation of dirt and grit that can cause scratching.
- Use a damp mop: For regular cleaning, a damp mop is usually sufficient. Make sure to wring out the mop well and use a mild cleaning solution specifically designed for vinyl flooring. Avoid using excess water, as excess moisture can damage the flooring.
- Wipe up spills promptly: In case of spills or accidents, clean them up immediately. Use a soft cloth or paper towel to blot and absorb the liquid. Avoid using harsh chemicals or abrasive cleaners that can damage the vinyl surface.
- Protect against scratches: Place felt pads or furniture glides under furniture legs to protect the vinyl flooring from scratches. Use caution when moving heavy furniture or appliances to avoid dragging them across the floor.
- Avoid excessive moisture: While vinyl flooring is generally moisture-resistant, it’s important to avoid excessive moisture. Clean up any spills promptly and avoid using excessive water when mopping. Use moisture-absorbent mats at entryways to prevent tracking in excess moisture from outside.
- Avoid harsh chemicals: When cleaning the vinyl flooring, avoid using harsh chemicals, abrasive cleaners, or scrub brushes. These can damage the surface and strip away the protective finish. Stick to mild cleaning solutions recommended for vinyl flooring.
- Protect from sun damage: Direct and prolonged exposure to sunlight can cause fading and discoloration in vinyl flooring. Use blinds, shades, or curtains to protect the flooring from harmful UV rays.
- Perform regular inspections: Regularly inspect your vinyl flooring for any signs of wear, damage, or loose areas. Address any issues promptly to prevent further damage and ensure the longevity of your vinyl flooring.
By following these clean-up and maintenance tips, you can keep your vinyl flooring looking pristine and extend its lifespan. Remember to consult the manufacturer’s guidelines for specific cleaning products and recommendations to ensure you’re caring for your vinyl flooring properly.
Congratulations on successfully replacing your carpet with vinyl flooring! Enjoy the new look and durability of your space.
Please note: This article is intended as a general guide and may not cover all specific situations or flooring types. It’s always recommended to consult the manufacturer’s instructions and seek professional advice if needed.
Read more: How To Fix Scratched Vinyl Floor
Conclusion
Replacing a carpet with vinyl flooring can completely transform the look and feel of a room. The process may seem daunting at first, but by following the step-by-step guide outlined in this article, you can achieve a professional and visually appealing result.
From gathering the necessary tools and materials to removing the old carpet, preparing the subfloor, installing the underlayment, laying the vinyl flooring, trimming excess vinyl, finishing the edges, and finally, cleaning up and establishing a maintenance routine, each step is crucial in ensuring a successful installation process.
By embracing the benefits of vinyl flooring, including its durability, easy maintenance, and wide range of styles and designs, you can enhance the aesthetics of your space while enjoying long-lasting performance.
Remember to take care of your vinyl flooring by regularly cleaning it, protecting it from scratches and excessive moisture, and performing routine inspections to address any issues promptly. Following these maintenance tips will ensure that your vinyl flooring continues to look its best for years to come.
Now that you have the knowledge and guidance, it’s time to embark on your journey of replacing your carpet with vinyl flooring. Enjoy the process and the exciting transformation it will bring to your space!
Frequently Asked Questions about How To Replace A Carpet With Vinyl Flooring
Was this page helpful?
At Storables.com, we guarantee accurate and reliable information. Our content, validated by Expert Board Contributors, is crafted following stringent Editorial Policies. We're committed to providing you with well-researched, expert-backed insights for all your informational needs.