Articles
How To Replace Carpet In An RV
Modified: October 28, 2024
Looking to replace the carpet in your RV? Read our helpful articles on how to tackle this project and give your RV a fresh new look.
(Many of the links in this article redirect to a specific reviewed product. Your purchase of these products through affiliate links helps to generate commission for Storables.com, at no extra cost. Learn more)
Introduction
Welcome to this comprehensive guide on how to replace carpet in an RV. Over time, the carpet in your RV can become worn, stained, or outdated, affecting the overall look and feel of your vehicle. Replacing the carpet not only revitalizes the interior, but it also helps maintain a clean and comfortable living space.
While many RV owners may feel intimidated by the idea of replacing the carpet themselves, it is actually a manageable DIY project that can save you both time and money. By following the steps outlined in this article, you can achieve professional-looking results without the need for expensive professional installation.
Before diving into the process, it’s important to gather the necessary tools and materials. Having everything on hand will make the transition smoother and more efficient. So let’s get started on this exciting journey of giving your RV a fresh new carpet!
Key Takeaways:
- Replacing the carpet in your RV is a manageable DIY project that can save you time and money. From gathering the necessary tools to securing the edges and corners, this guide equips you with the knowledge and confidence to achieve professional-looking results.
- After successfully replacing the carpet in your RV, take the time to thoroughly clean and organize the space. By decluttering and adding rugs or mats to high-traffic areas, you can maintain the beauty and functionality of your new carpet for years to come.
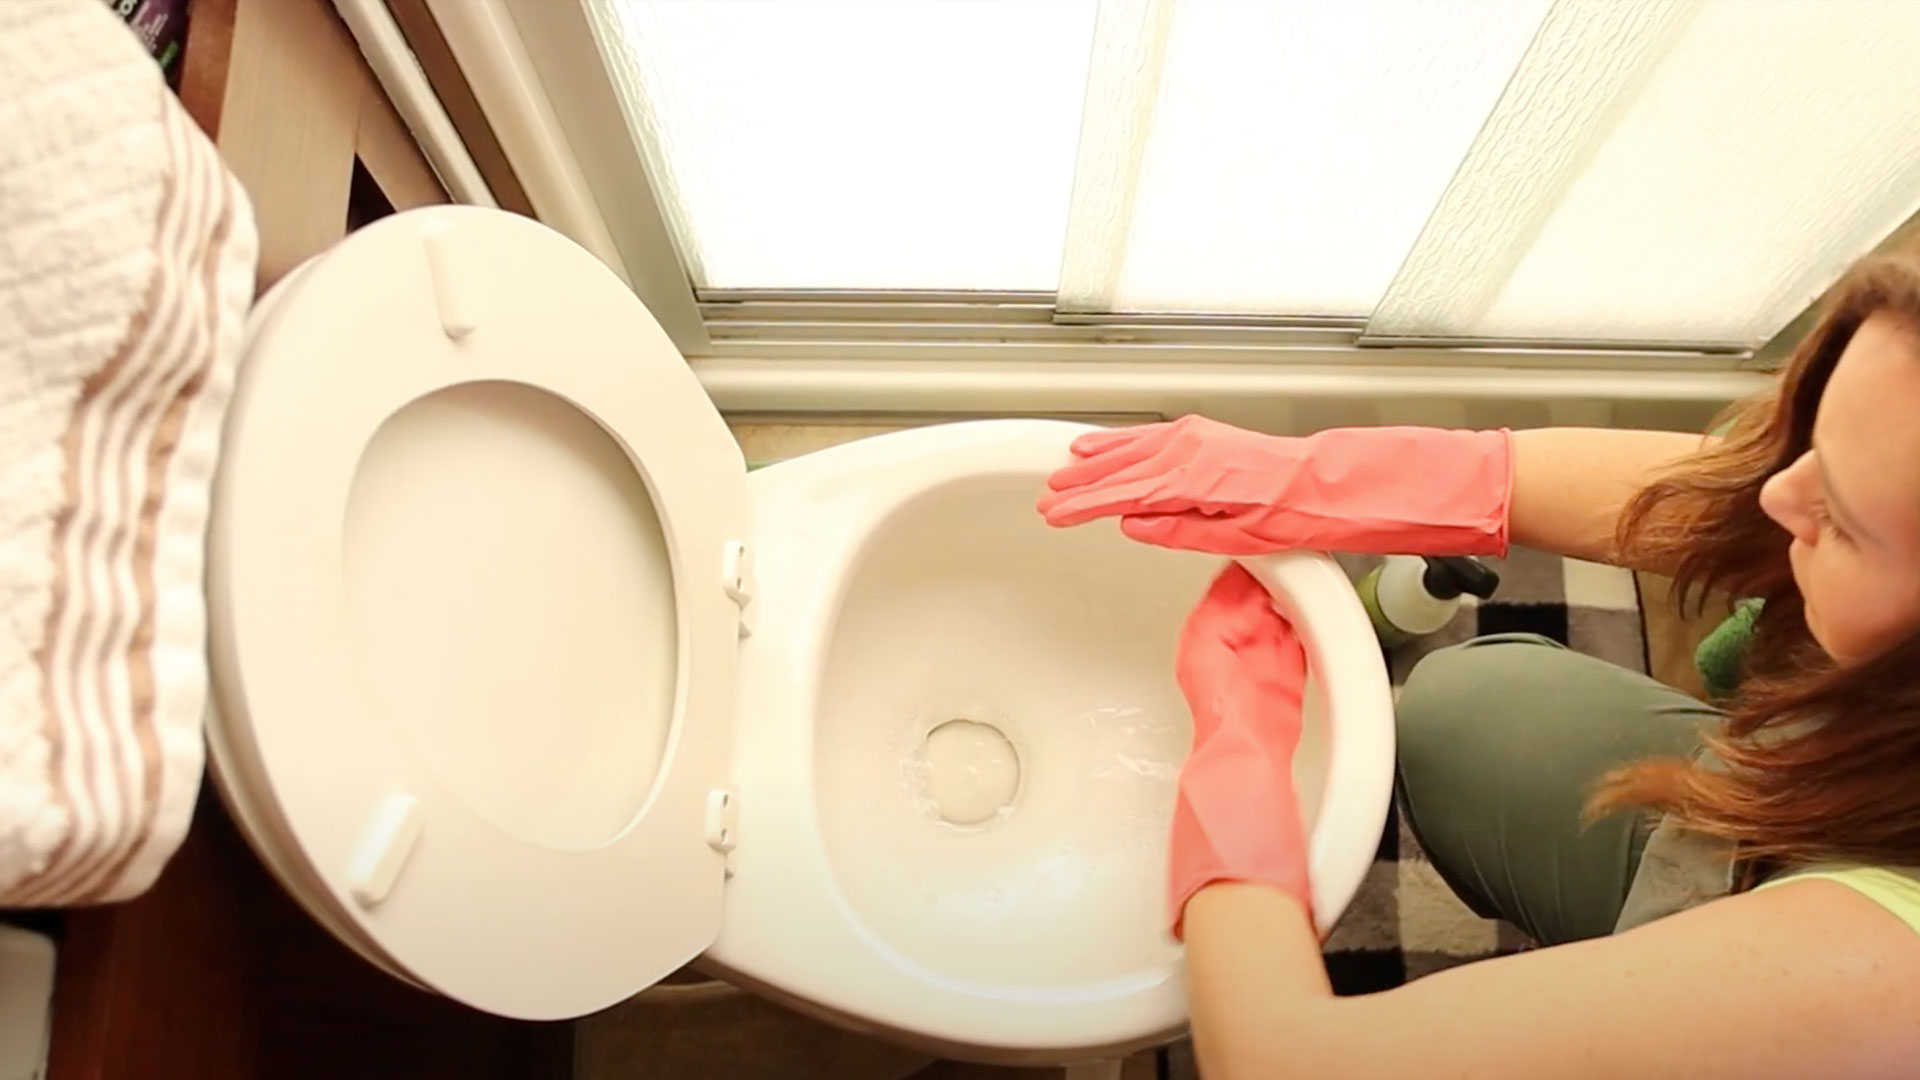
Read more: How To Replace An Rv Toilet
Step 1: Gather the Necessary Tools and Materials
Before you begin replacing the carpet in your RV, it’s important to ensure you have all the tools and materials you’ll need. Having everything ready beforehand will help streamline the process and make it more efficient. Here’s a list of essential items you should gather:
- Utility knife or carpet cutter: This will be used to trim and cut the carpet.
- Measuring tape: Accurate measurements are crucial for a proper fit.
- Staple gun: You’ll need this to secure the carpet to the subfloor.
- Adhesive or carpet tape: Depending on the type of carpet you choose, you may need adhesive or carpet tape to secure it in place.
- Pry bar or pliers: These tools will help you remove any existing carpet or carpet padding.
- Vacuum cleaner: Before installing the new carpet, thoroughly clean the RV to remove any dirt or debris.
- Safety glasses and gloves: Protect your eyes and hands while working on this project.
- New carpet: Measure the dimensions of the area you plan to carpet and purchase enough carpet to cover it.
- Carpet padding: If your RV requires carpet padding, make sure to get the appropriate thickness and size.
It’s a good idea to have these tools and materials organized and easily accessible throughout the project. This will save you time and prevent any unnecessary delays.
Once you have everything ready, you’re one step closer to giving your RV a fresh and updated look. Let’s move on to the next step of removing the old carpet.
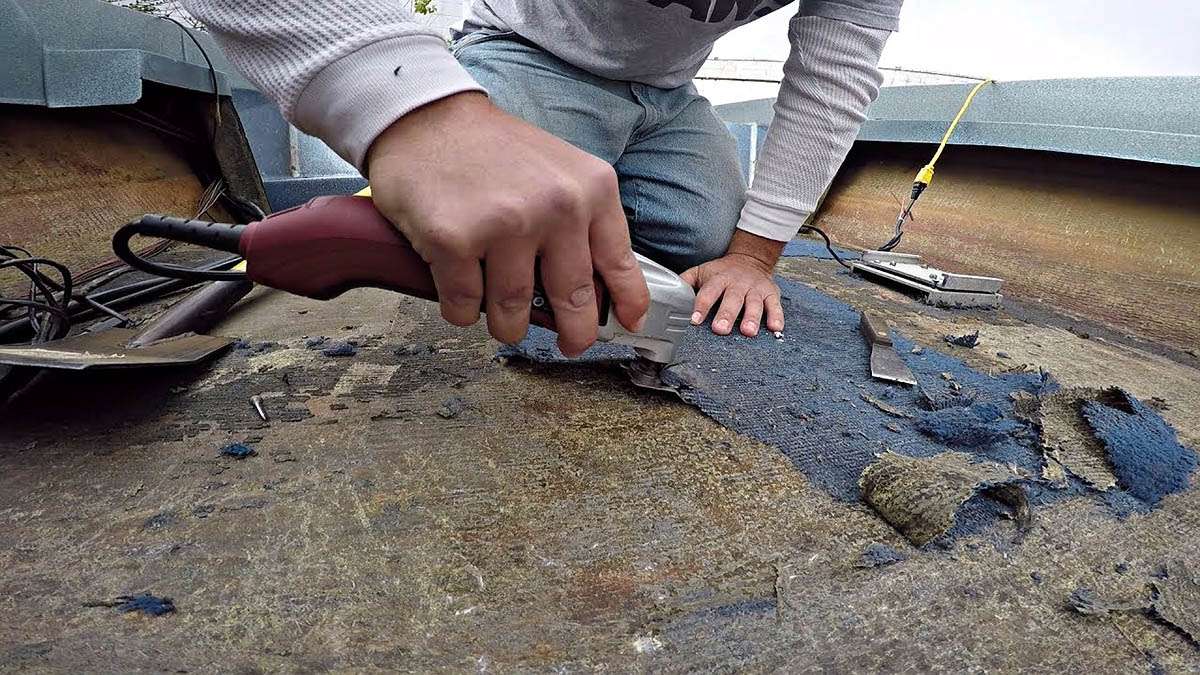
Step 2: Remove the Old Carpet
Now that you have gathered all the necessary tools and materials, it’s time to remove the old carpet from your RV. This step requires a bit of patience and carefulness, as you want to avoid damaging the subfloor or other components of your vehicle. Follow these steps to remove the old carpet:
- Start by clearing out the RV and removing any furniture or objects on top of the carpet. This will give you a clear workspace and make the process easier.
- Locate the edges of the carpet and carefully lift them using a pry bar or pliers. Slowly work your way around the perimeter of the carpet, lifting and pulling it up.
- If the carpet is stapled or glued down, use a pry bar to remove the staples or loosen the glue. Be gentle to avoid damaging the subfloor.
- Once the edges are free, begin rolling the carpet towards the center of the room. This will help you manage the removal process and prevent any tripping hazards.
- If your RV has carpet padding, remove it as well by following the same process. Be aware that the padding may be adhered to the subfloor, so take your time to avoid tearing or damaging it.
- Dispose of the old carpet and padding responsibly. You may need to cut it into smaller sections for easier disposal.
- Inspect the subfloor for any damage or signs of moisture. If you notice any issues, address them before installing the new carpet.
- Thoroughly clean the subfloor and remove any debris or remnants of the old carpet. This will create a clean and smooth surface for the new carpet installation.
With the old carpet successfully removed and the subfloor prepared, you are now ready to move on to the next step: preparing the subfloor for the installation of the new carpet.
Step 3: Prepare the Subfloor
Preparing the subfloor is a crucial step in ensuring a smooth and successful installation of your new carpet. The subfloor serves as the foundation for the carpet, so it’s important to make sure it is clean, level, and in good condition. Follow these steps to prepare the subfloor:
- Inspect the subfloor for any protruding nails, staples, or adhesive residue. Use a pair of pliers or a flathead screwdriver to remove any obstructions and create a smooth surface.
- If you notice any uneven or damaged areas on the subfloor, it’s important to address them before proceeding. Repair any holes, cracks, or other damage using appropriate subfloor repair products or materials.
- Ensure that the subfloor is dry and free from moisture. Use a moisture meter or visually inspect for any signs of water damage. If there are any moisture issues, address them to prevent future problems such as mold or mildew.
- If you’re installing carpet padding, now is the time to lay it down. Measure and cut the padding to fit the dimensions of your RV. Install it according to the manufacturer’s instructions, ensuring it is smooth and flat.
- Once the subfloor is clean, level, and free from any issues, vacuum it thoroughly to remove any remaining dust or debris. This will provide a clean surface for the new carpet.
Preparing the subfloor properly will not only ensure a professional-looking installation but also help extend the lifespan of your new carpet. With the subfloor ready, let’s move on to the next step: measuring and cutting the new carpet.
Step 4: Measure and Cut the New Carpet
With the subfloor prepared, it’s time to measure and cut the new carpet for your RV. Accurate measurements and careful cutting are essential for a proper and seamless installation. Follow these steps to measure and cut the new carpet:
- Start by taking precise measurements of the area you plan to carpet in your RV. Use a measuring tape to measure the length and width. It’s important to measure the widest point of each area to ensure you have enough carpet to cover it.
- Add a few inches to each measurement to allow for any adjustments and ensure a proper fit. This extra material will be trimmed later, so it’s better to have more than less.
- If your RV has multiple rooms or sections that require carpeting, measure each area separately and make note of the measurements. This will help you cut the carpet accurately for each space.
- Lay out the new carpet in a spacious and clean area. Use the measurements you took to mark the dimensions on the back of the carpet using a pencil or marker.
- Double-check your measurements to ensure accuracy before cutting. Remember, it’s always better to measure twice and cut once.
- Using a utility knife or carpet cutter, carefully cut along the marked lines. Keep the cuts straight and clean to achieve a professional finish.
- If your RV has curved or irregularly shaped areas, make small relief cuts to help the carpet conform to the shape. Take your time and be cautious to avoid cutting too much.
- Once the carpet is cut, roll it up for easier handling and transportation to the RV.
Remember to work in a well-ventilated area and use protective eyewear and gloves when handling the carpet and cutting tools. With the new carpet measured and cut to size, it’s time to move on to the next step: installing the new carpet in your RV.
When replacing the carpet in an RV, be sure to measure the area accurately and choose a durable, easy-to-clean material suitable for the unique demands of RV living. Consider options like vinyl plank flooring or outdoor carpet for a long-lasting and low-maintenance solution.
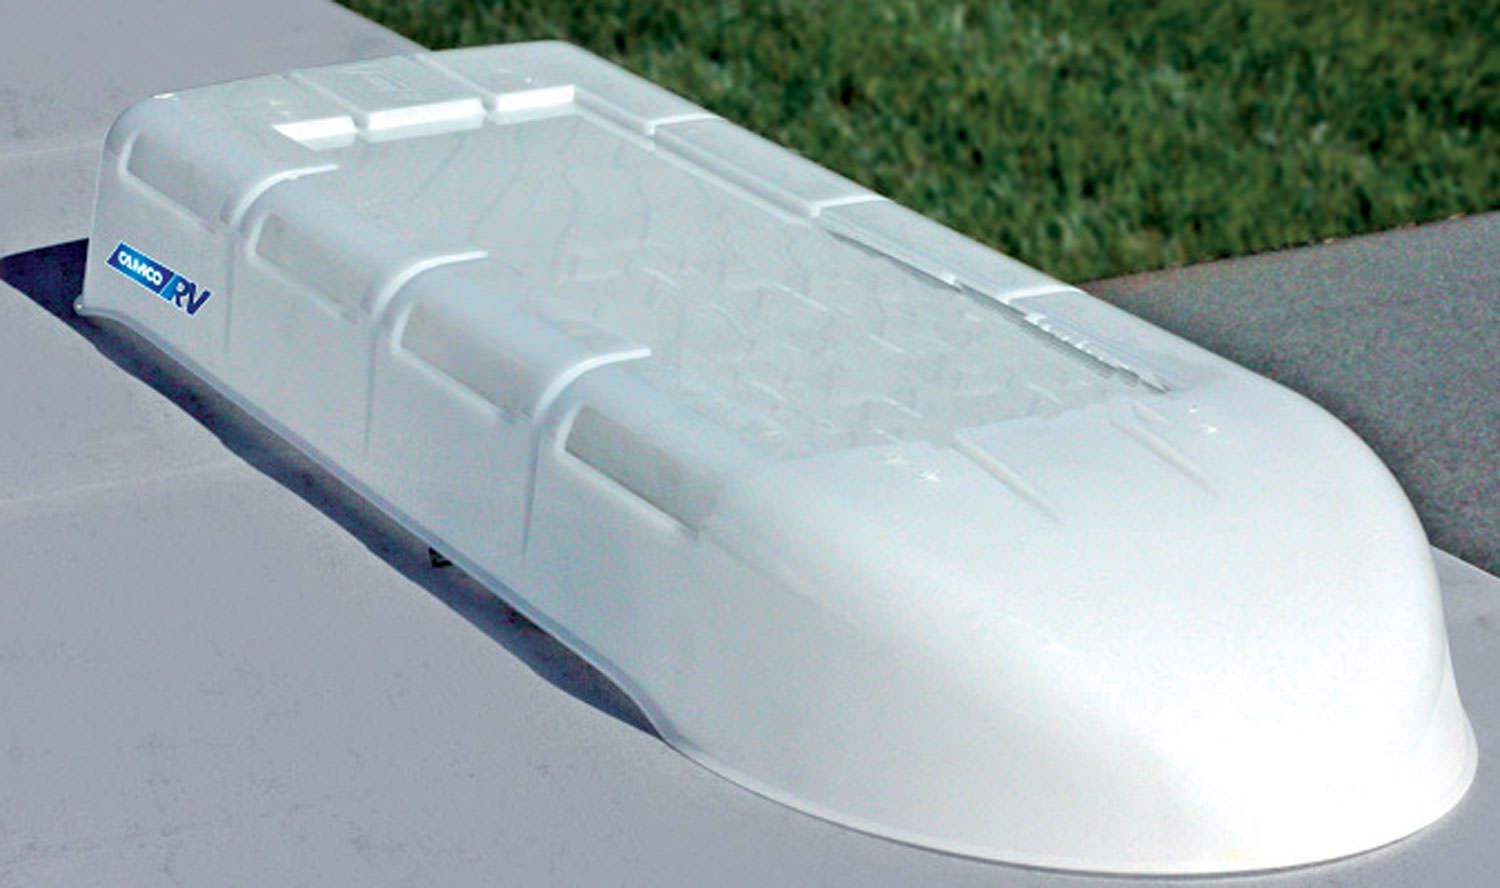
Read more: How To Replace RV Skylight
Step 5: Install the New Carpet
Now that you have measured and cut the new carpet for your RV, it’s time to move on to the exciting step of installing it. Follow these steps to ensure a successful installation:
- Begin by unrolling the carpet in the area where you will start the installation. Make sure the carpet is properly aligned and positioned before proceeding.
- If you’re using carpet adhesive, apply it according to the manufacturer’s instructions. Be sure to work in small sections to prevent the adhesive from drying too quickly.
- If you’re using carpet tape, carefully place the tape along the edges and seams of the carpet. Press it firmly to ensure a secure bond.
- Starting from one corner, begin laying the carpet onto the subfloor, smoothing it out as you go. Use a carpet roller or your hands to press the carpet down firmly and remove any wrinkles or air bubbles.
- Continue laying the carpet in sections, working your way across the room. Make sure each section is aligned properly and fits snugly against the walls.
- Pay special attention to corners and edges, ensuring that the carpet is properly tucked and secured. Use a putty knife or the edge of a credit card to push the carpet into the corners and create a clean finish.
- If necessary, trim excess carpet along the edges using a utility knife or carpet cutter. Be careful not to cut into the walls or baseboards.
- As you progress, periodically check the carpet for any wrinkles or loose areas. Smooth them out and readjust as needed.
Installing the new carpet may take some time and patience, but the end result will be worth it. Step back and admire your RV’s fresh and updated interior. Now, let’s move on to the next step: securing the edges and corners of the carpet.
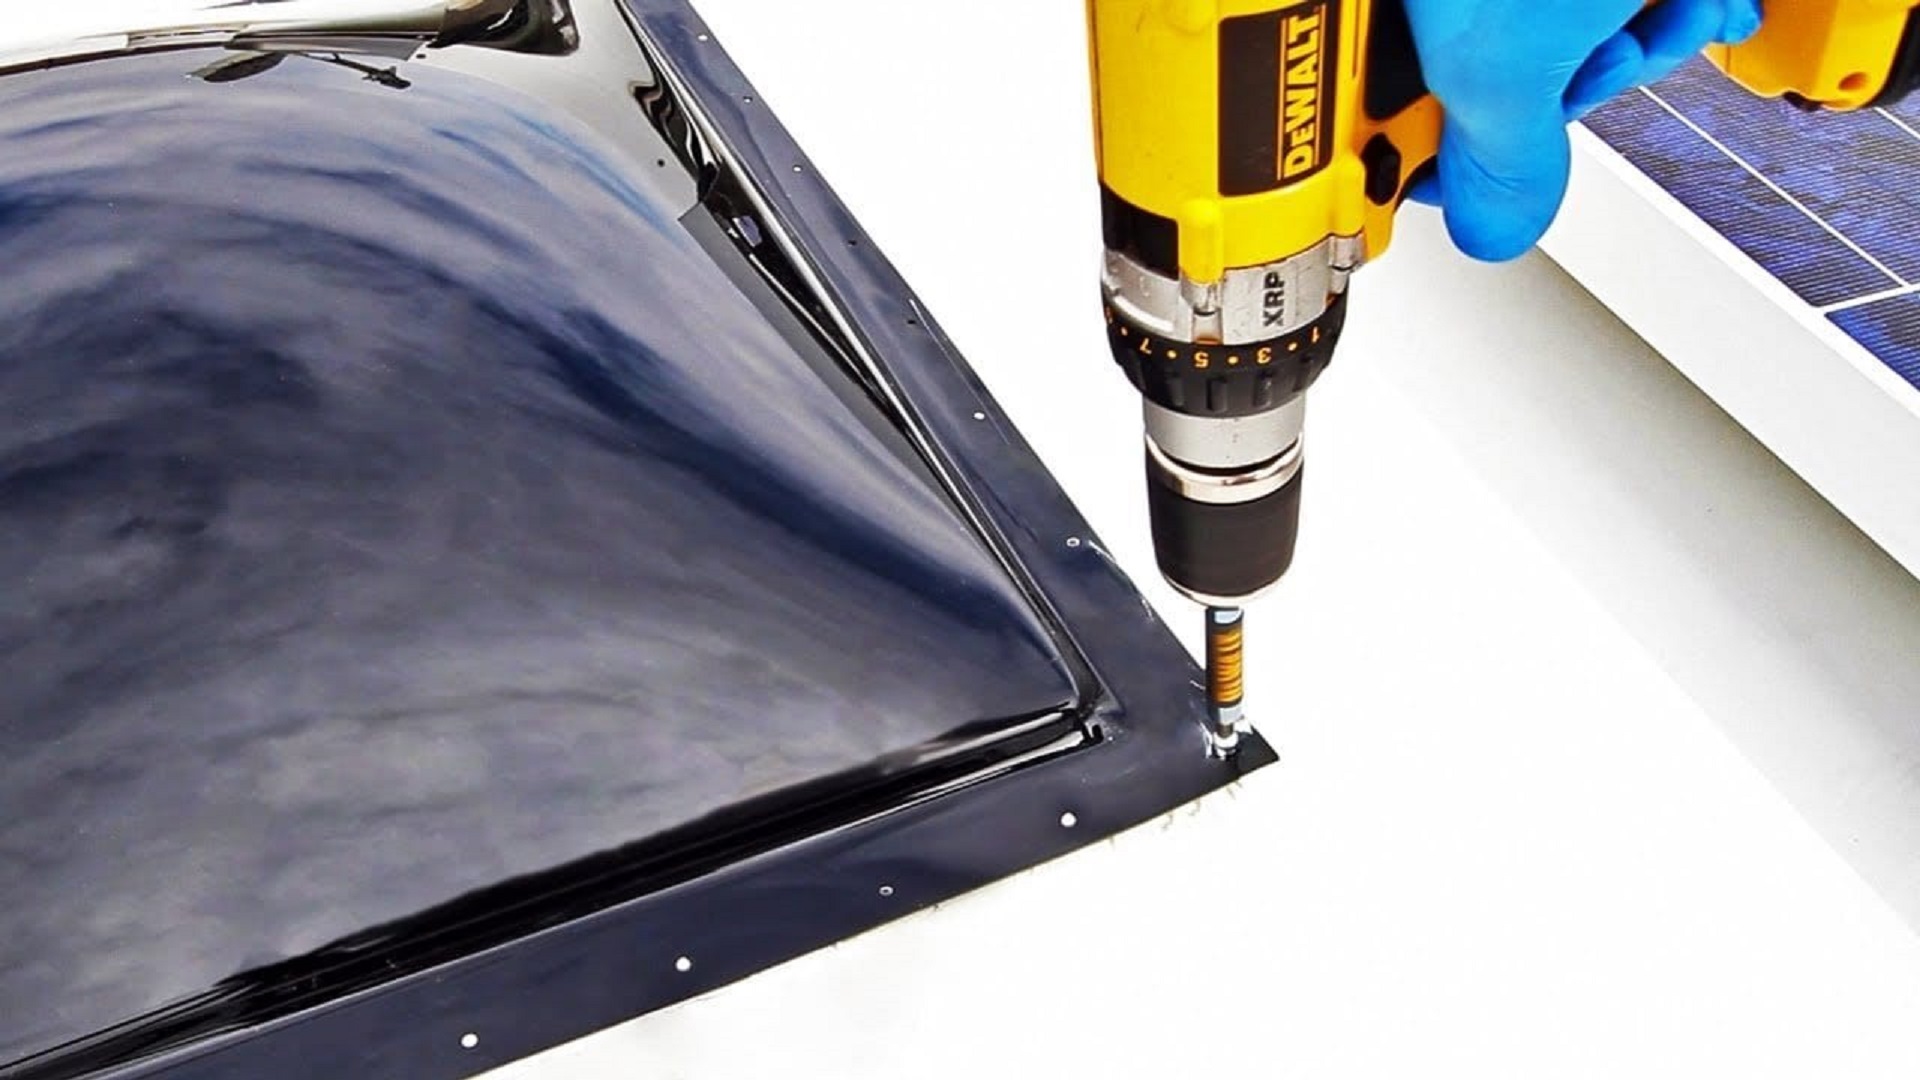
Step 6: Secure the Edges and Corners
Securing the edges and corners of the carpet is an important step to ensure a professional and long-lasting installation. It helps to prevent the carpet from shifting or coming loose over time. Follow these steps to secure the edges and corners:
- Starting with the edges, use a staple gun to secure the carpet to the subfloor. Place staples approximately 6 inches apart along the edge of the carpet, ensuring they go through both the carpet and into the subfloor.
- For corners and curved areas, use a carpet knee kicker or carpet stretcher to stretch the carpet tight and create a smooth finish. This will help eliminate any wrinkles or excess material.
- If you prefer not to use staples, you can use adhesive or carpet tape along the edges and corners. Follow the manufacturer’s instructions for proper application.
- Be mindful of any trim or molding near the edges of the carpet. Ensure that the carpet is tucked neatly beneath them for a clean and finished look. Use a putty knife or the edge of a credit card to push the carpet under the trim.
- Double-check all edges and corners to ensure they are securely fastened and free from any loose areas. Make any necessary adjustments and re-secure as needed.
Securing the edges and corners of the carpet is an important step in the installation process. It promotes a professional appearance and helps to extend the longevity of the carpet. With the edges and corners secured, let’s move on to the next step: trimming any excess carpet.
Step 7: Trim Excess Carpet
After installing and securing the new carpet in your RV, it’s time to trim any excess material for a clean and polished finish. Trimming the carpet ensures that it fits snugly against the walls and does not create tripping hazards. Follow these steps to trim the excess carpet:
- Start by carefully inspecting the edges of the carpet, especially along the walls and corners. Look for any areas where the carpet extends beyond the desired length.
- Using a utility knife or carpet cutter, make small incisions along the edge of the carpet, following the contour of the walls or baseboards. Take your time and make precise cuts.
- Once you have made the initial incisions, gently lift the excess carpet and continue cutting along the marked lines. Be cautious not to cut into the walls or baseboards.
- If necessary, use a putty knife or the edge of a credit card to tuck the trimmed edge of the carpet beneath any trim or molding along the walls.
- Periodically step back and check the appearance of the trimmed carpet. Make any necessary adjustments or additional trims to ensure a seamless and refined look.
Trimming the excess carpet is an essential step in the installation process. By removing any overhanging material, you create clean lines and prevent tripping hazards. Once the excess carpet has been trimmed, it’s time to move on to the final step: cleaning and organizing the RV.
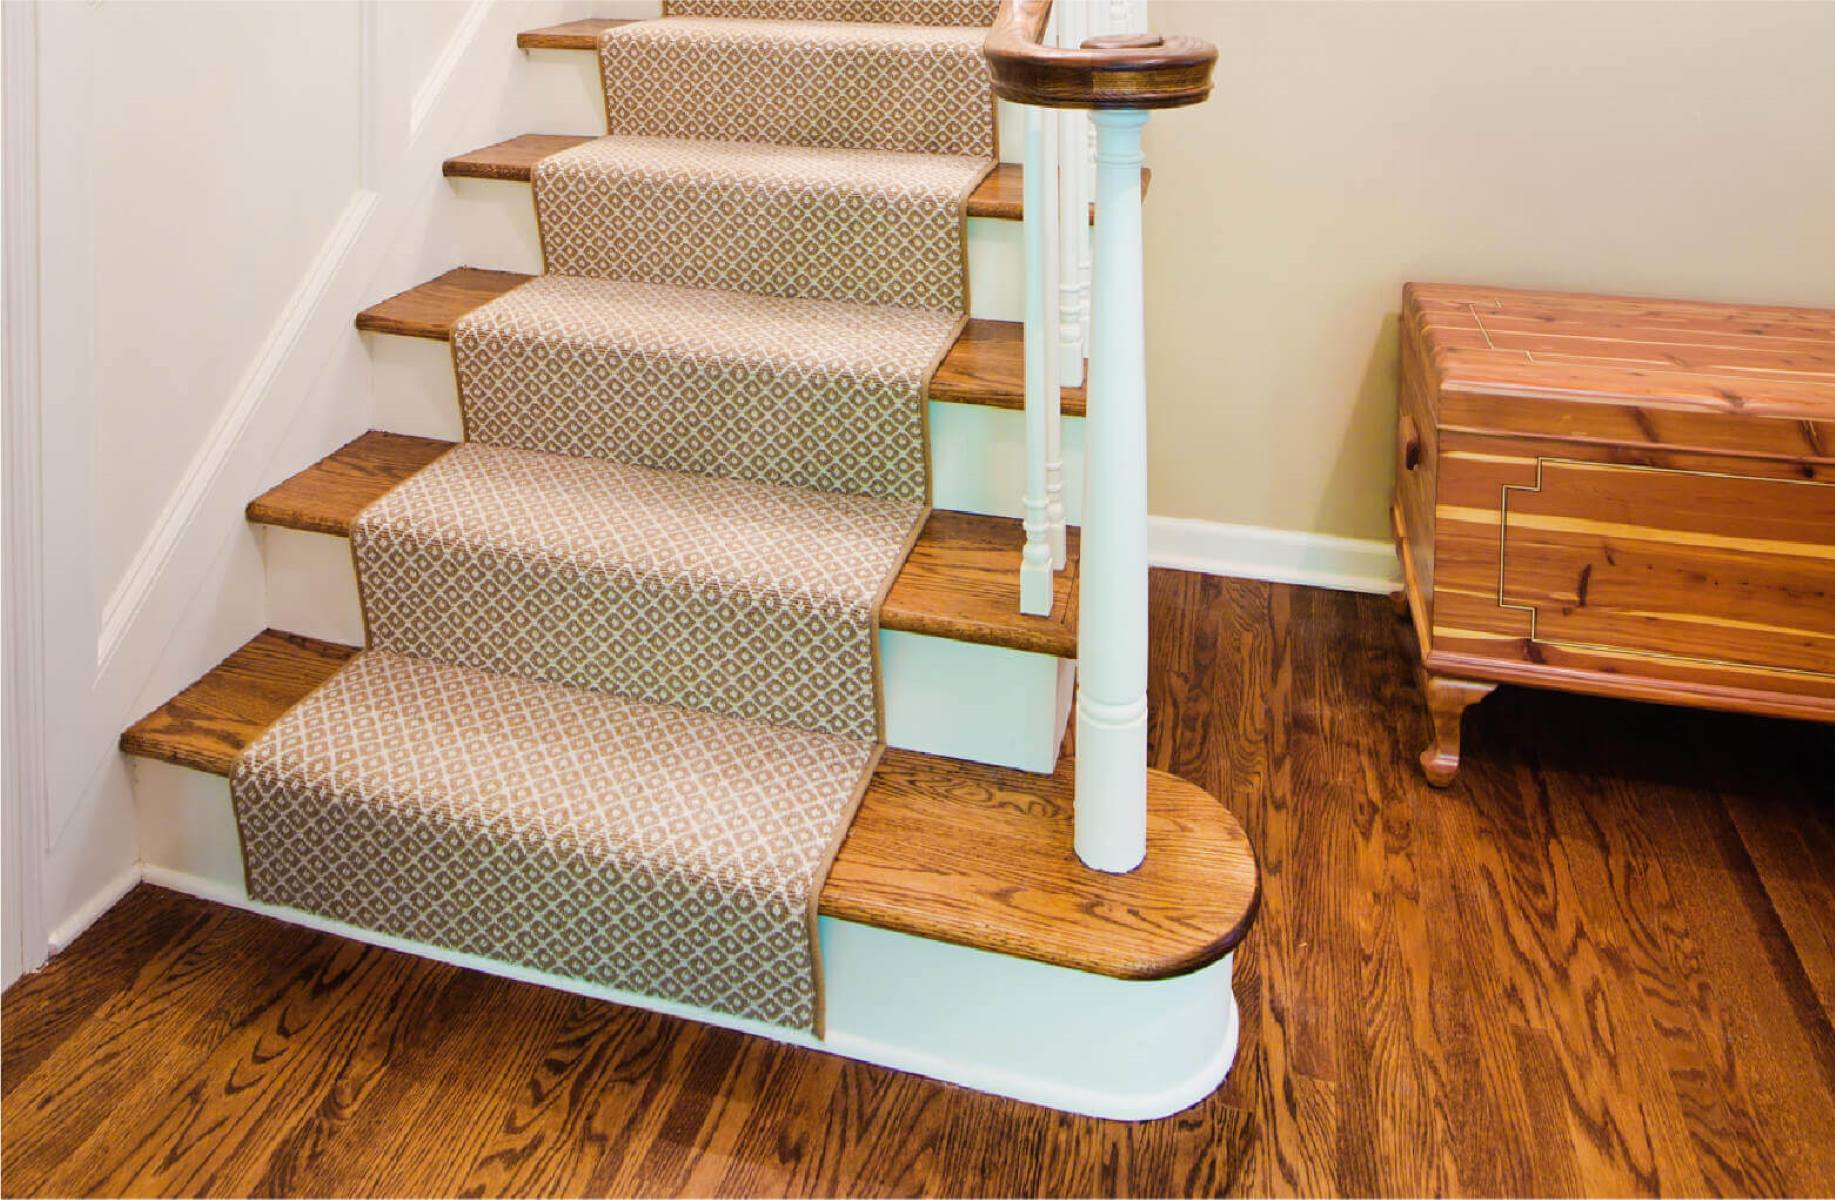
Step 8: Clean and Organize
With the new carpet installed and properly trimmed, it’s time to give your RV a thorough cleaning and organize the space to fully enjoy your refreshed interior. Follow these steps to clean and organize your RV:
- Start by vacuuming the new carpet to remove any loose debris or fibers. Pay special attention to the edges and corners to ensure they are clean and well-maintained.
- Wipe down any surfaces, such as countertops, tables, and cabinetry, using a mild cleaner. Remove any dust, dirt, or stains that may have accumulated during the carpet installation process.
- Take the opportunity to declutter and reorganize your RV. Remove unnecessary items and find proper storage solutions for your belongings. This will help create a more organized and functional living space.
- If needed, consider adding rugs or mats to high-traffic areas or places where spills are likely to occur. This will help protect the new carpet and make it easier to clean and maintain.
- Inspect the entire RV for any remaining debris or areas that may require additional cleaning or touch-ups. Address any issues promptly to ensure your new carpet remains in pristine condition.
- Take a moment to appreciate your hard work and enjoy the fresh and updated look of your RV’s interior. Sit back and relax in your newly transformed living space.
Cleaning and organizing your RV after installing new carpet not only enhances the overall appearance but also ensures a comfortable and inviting environment. By taking the time to properly clean and organize, you’ll be able to maintain the beauty and functionality of your new carpet for years to come.
Congratulations on successfully replacing the carpet in your RV! Your hard work and attention to detail have paid off. Now, it’s time to hit the road and embark on new adventures in your revamped vehicle.
Read more: How To Replace Fabric On An RV Awning
Conclusion
Replacing the carpet in your RV is a rewarding and transformative project that can breathe new life into your vehicle’s interior. By following the steps outlined in this comprehensive guide, you can successfully replace the carpet yourself, saving both time and money.
We started by gathering the necessary tools and materials, ensuring that everything was readily available. Then, we moved on to removing the old carpet, taking care to protect the subfloor and clean the area thoroughly.
After preparing the subfloor, we measured and cut the new carpet to ensure a precise fit. Installing the new carpet involved securing the edges and corners, creating a seamless and professional appearance.
To achieve a clean and polished finish, we trimmed any excess carpet and paid attention to detail in securing and tucking the carpet along the walls and baseboards.
Finally, we cleaned and organized the RV, leaving no stone unturned in ensuring a pristine and comfortable living space.
This guide has equipped you with the knowledge and confidence to tackle the carpet replacement project in your RV. Remember to work carefully and be patient throughout the process, as attention to detail yields the best results.
Enjoy the fruits of your labor, and may your newly installed carpet bring you many years of comfort and enjoyment during your RV adventures. Happy travels!
Frequently Asked Questions about How To Replace Carpet In An RV
Was this page helpful?
At Storables.com, we guarantee accurate and reliable information. Our content, validated by Expert Board Contributors, is crafted following stringent Editorial Policies. We're committed to providing you with well-researched, expert-backed insights for all your informational needs.